All the best everyone
The world is digital, but life is analog..
All the best everyone
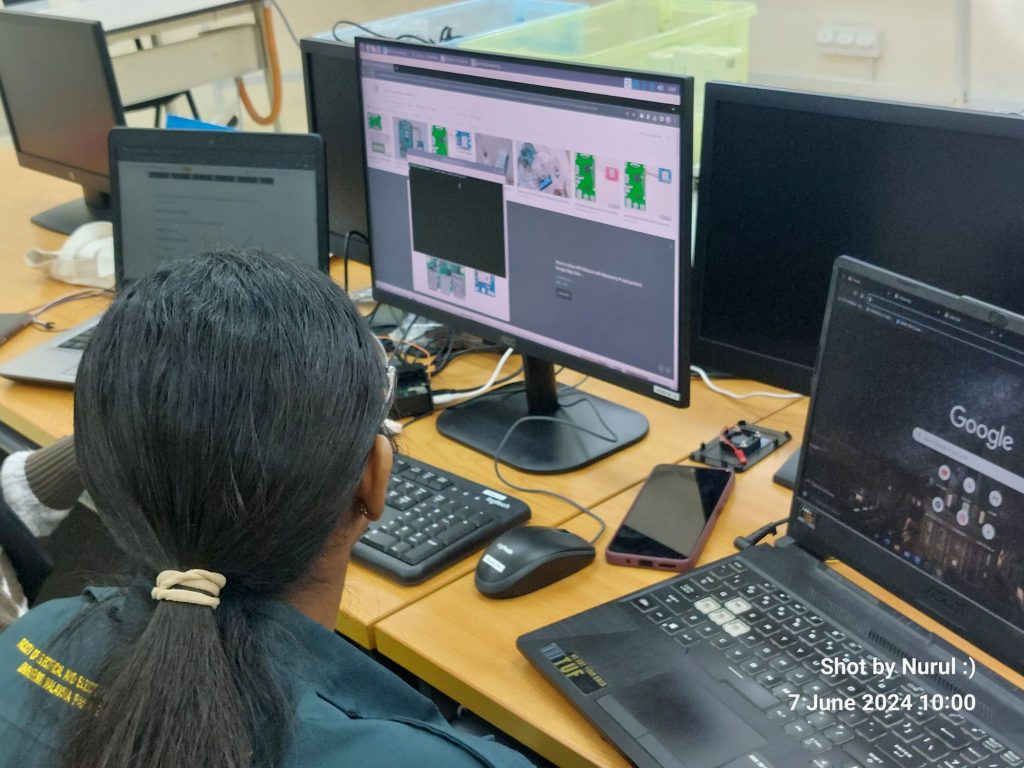
Today’s BTE 1522 class was an exciting dive into the world of GPS technology and its integration with Raspberry Pi. We explored the essential concepts, from importing relevant Python modules for GPS functionality to circuit construction and function coding. This session is a crucial part of our project development series, providing students with hands-on experience in incorporating GPS modules into their Raspberry Pi projects.
Global Positioning System (GPS) is a satellite-based navigation system that provides geolocation and time information to a GPS receiver anywhere on or near the Earth. Integrating GPS into Raspberry Pi projects opens up numerous possibilities, such as tracking, navigation, and location-based services, which are pivotal in various applications like autonomous vehicles, drones, and IoT devices.
Components Needed:
Steps:
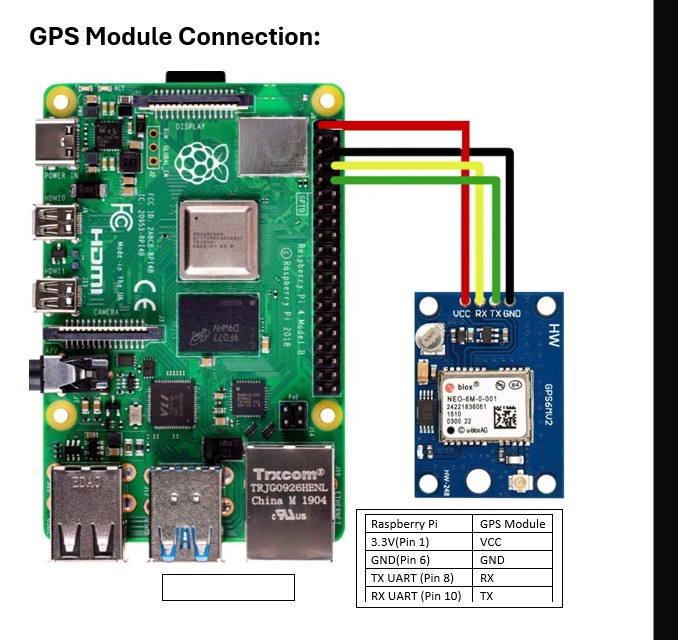
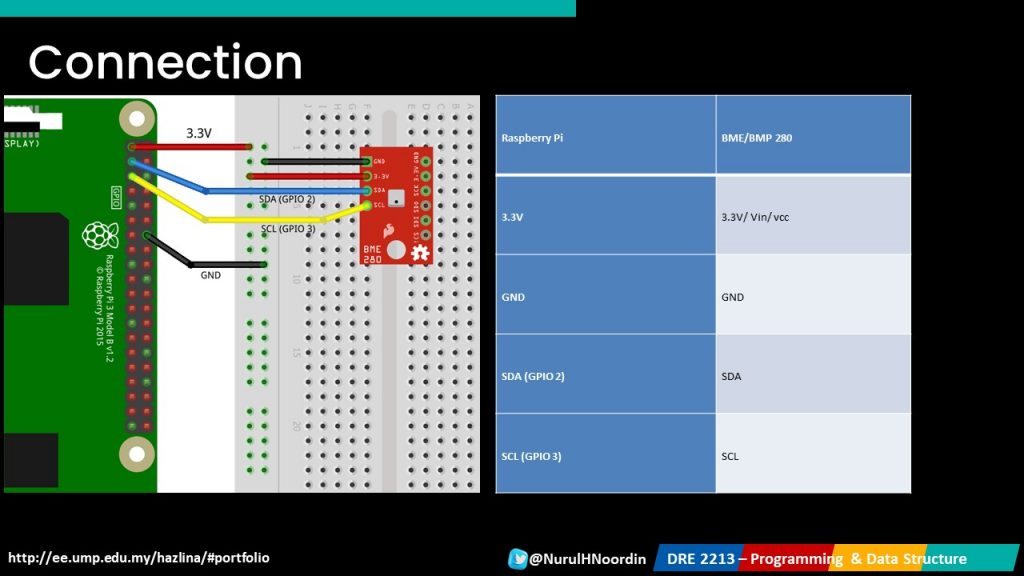
Connecting the GPS Module:
Powering Up: Power on the Raspberry Pi and ensure all connections are secure.
Python Modules:
gpsd: A popular library for interfacing with GPS modules.serial: A library for handling serial communication.UART Communication:
Installing Libraries:
sudo apt-get install gpsd gpsd-clients python-gps
Python Code Example:
import gpsd

# Connect to the local gpsd
gpsd.connect()

# Get GPS data
def get_gps_data():
packet = gpsd.get_current()
latitude = packet.lat
longitude = packet.lon
    time = packet.time
    return latitude, longitude, time

# Print GPS data
lat, lon,
timestamp = get_gps_data()
print(f"Latitude: {lat}, Longitude: {lon}, Time: {timestamp}")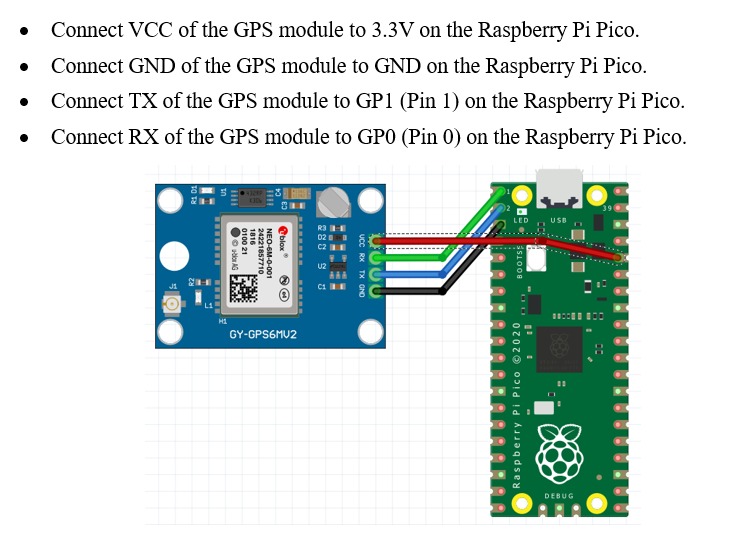
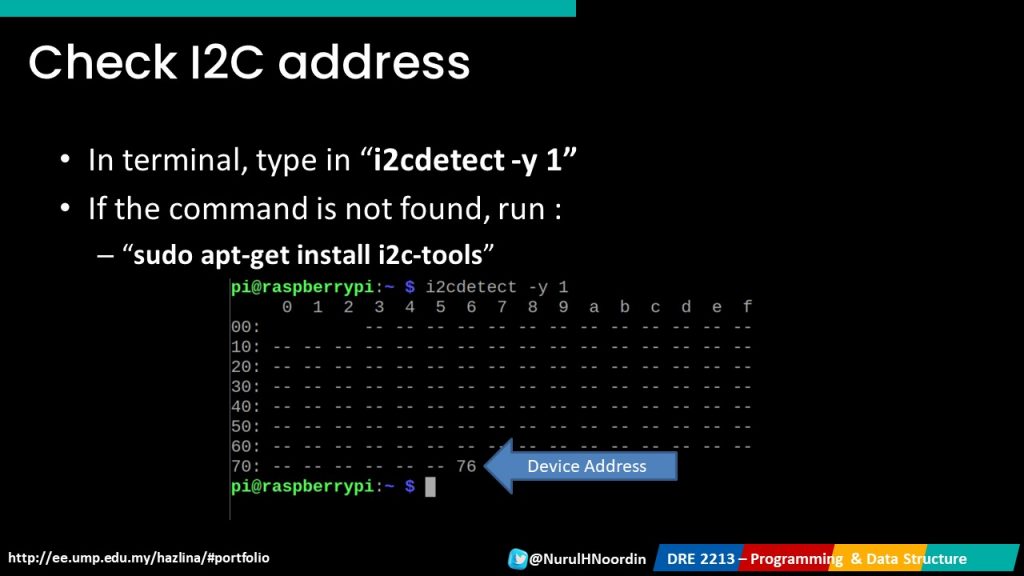
I2C Communication:
Enabling I2C:
sudo raspi-config
Navigate to ‘Interfacing Options’ and enable I2C.
Python Code Example:
import smbus2
import time

bus = smbus2.SMBus(1)
address = 0x42  # Replace with your GPS module's I2C address
def read_gps():
    data = bus.read_i2c_block_data(address, 0, 16)
    return data

while True:
gps_data = read_gps()
    print(gps_data)
    time.sleep(1)
UART (Universal Asynchronous Receiver-Transmitter):
I2C (Inter-Integrated Circuit):
Integrating GPS functionality into Raspberry Pi projects offers a robust foundation for creating advanced IoT applications and location-based services. Today’s class provided a comprehensive understanding of the hardware setup and coding techniques necessary to harness GPS data effectively. As we move forward, these skills will be crucial for the final project development phase, enabling students to implement sophisticated and innovative solutions.
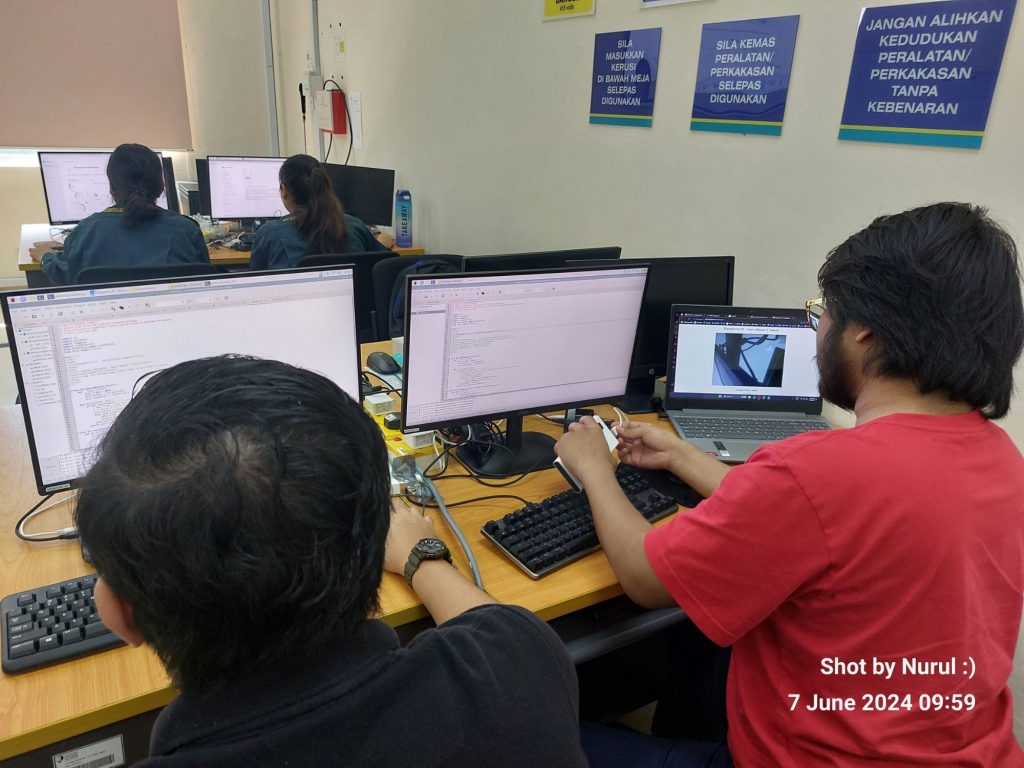
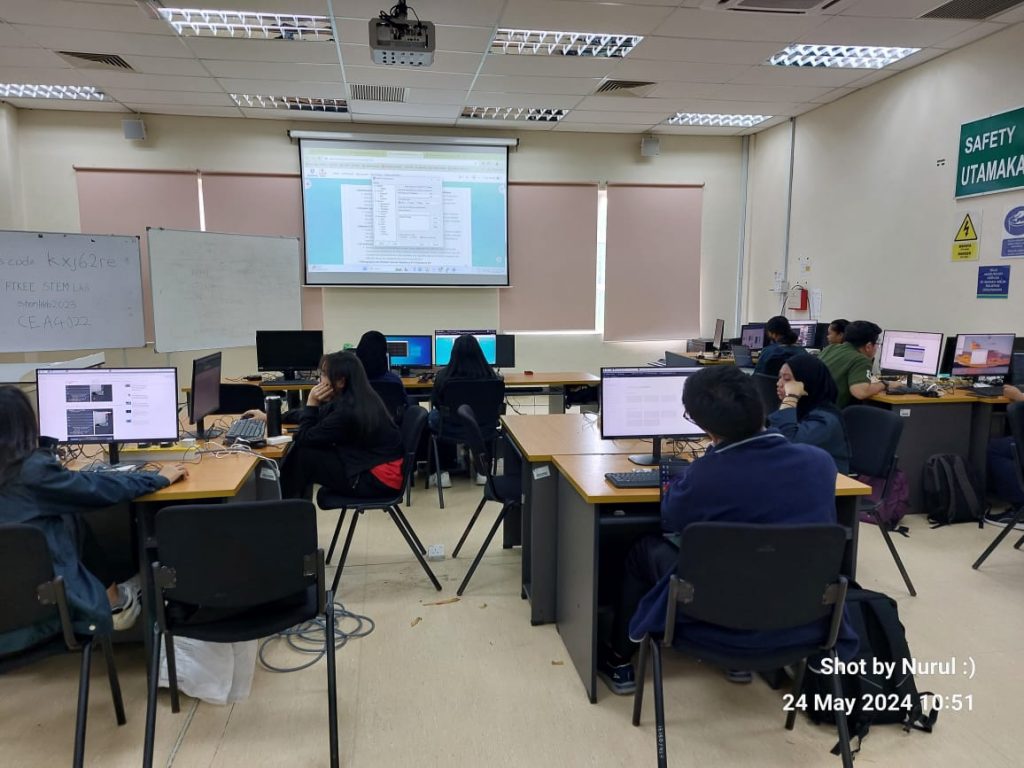
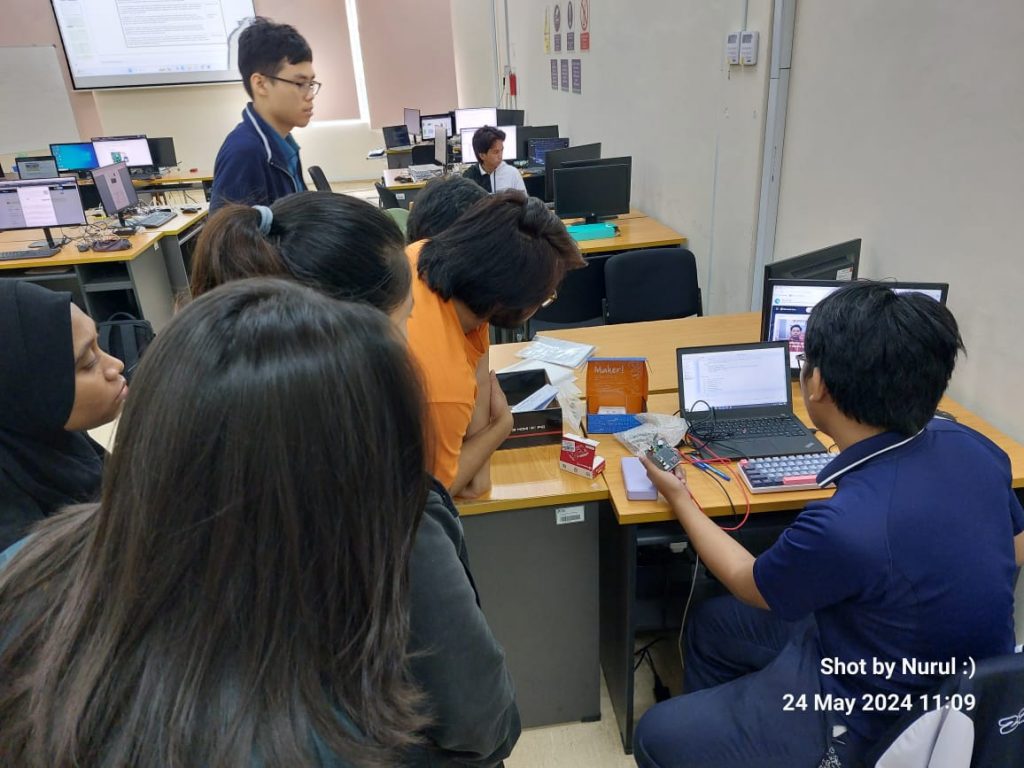
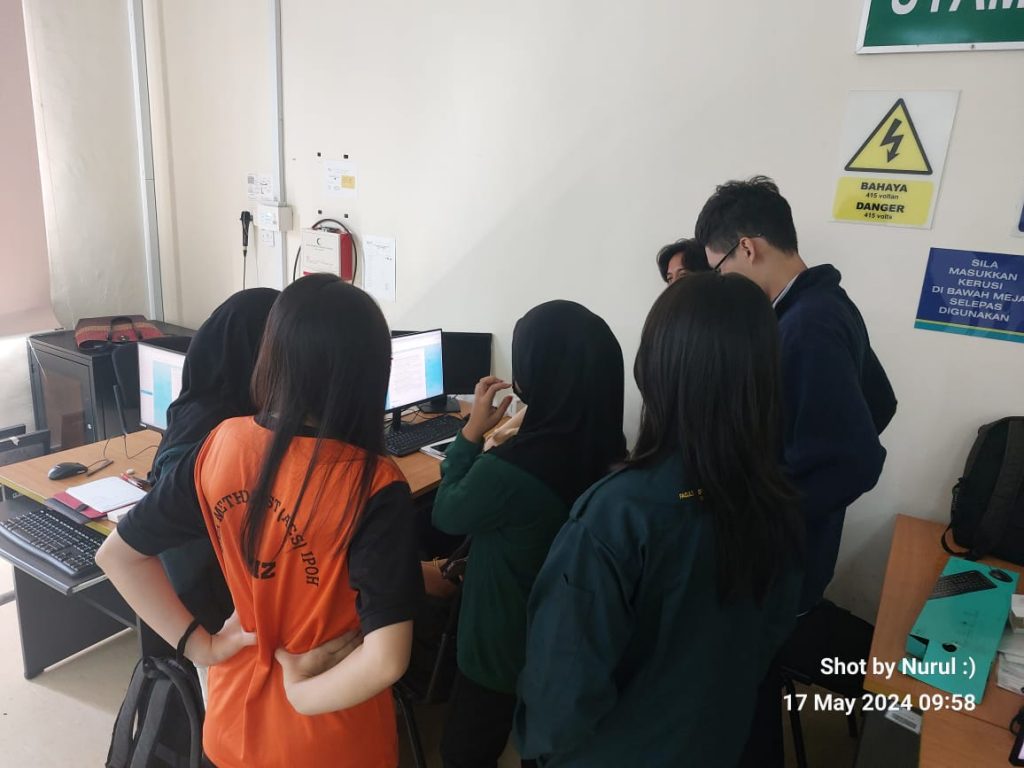
Today we explored SSH (Secure Shell) and data visualization using the Raspberry Pi platform. This is the final session before students embark on their final projects, providing them with essential skills in remote control and data acquisition.
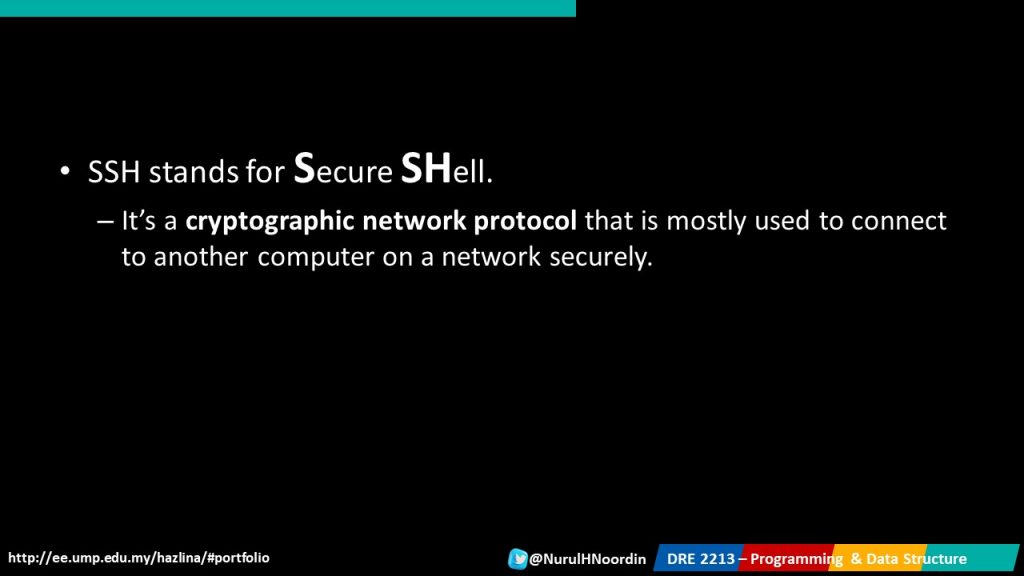
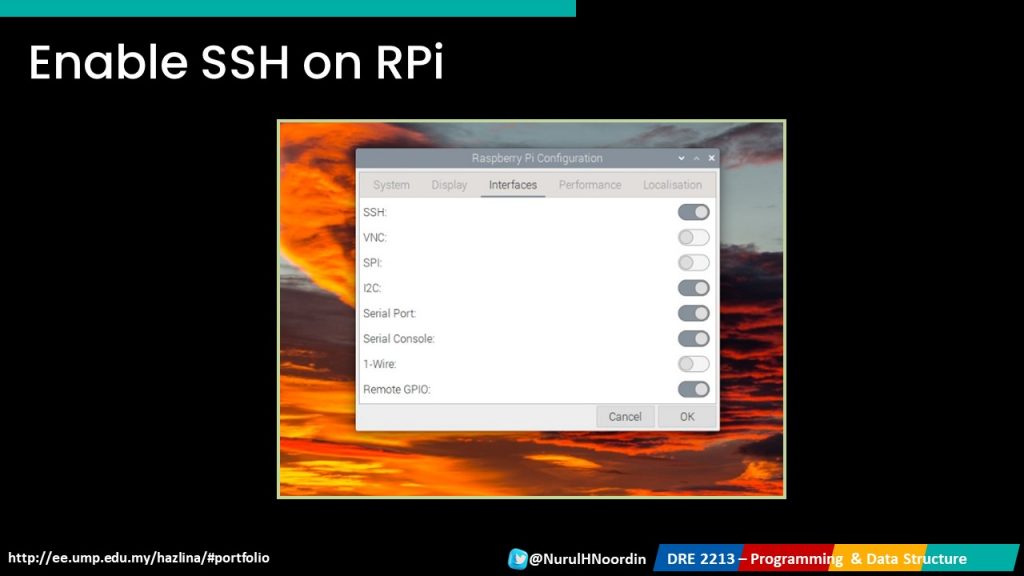
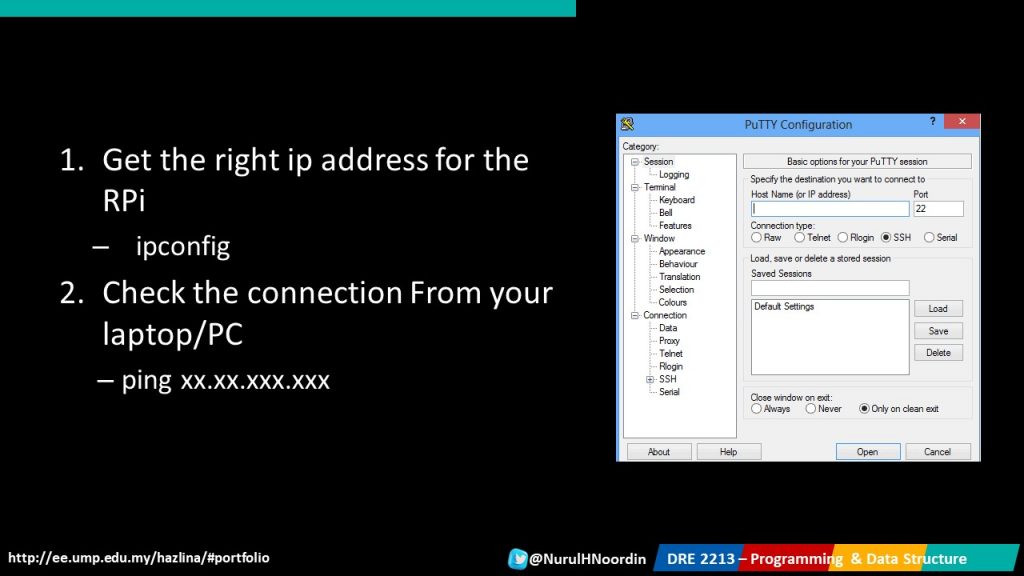
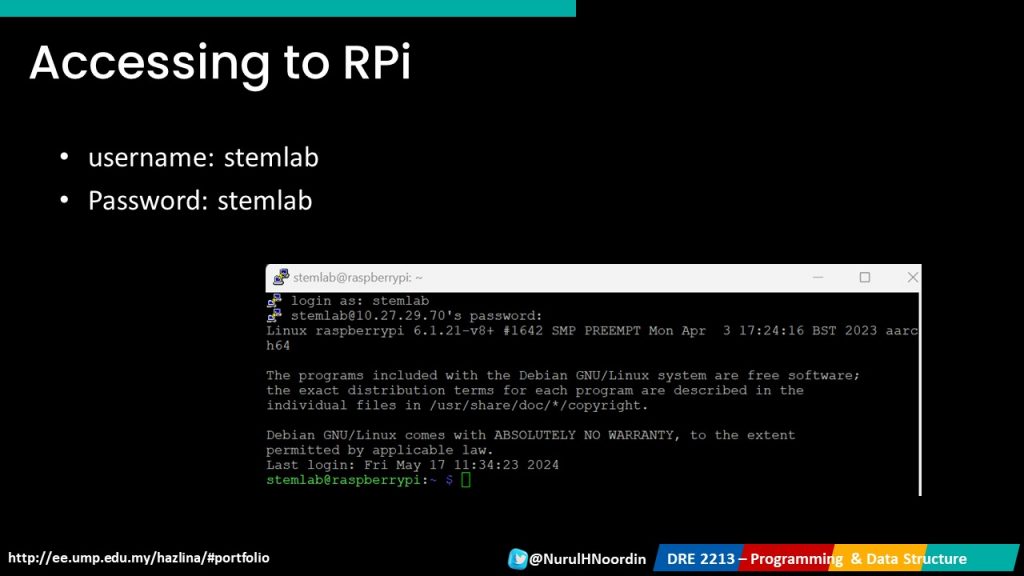
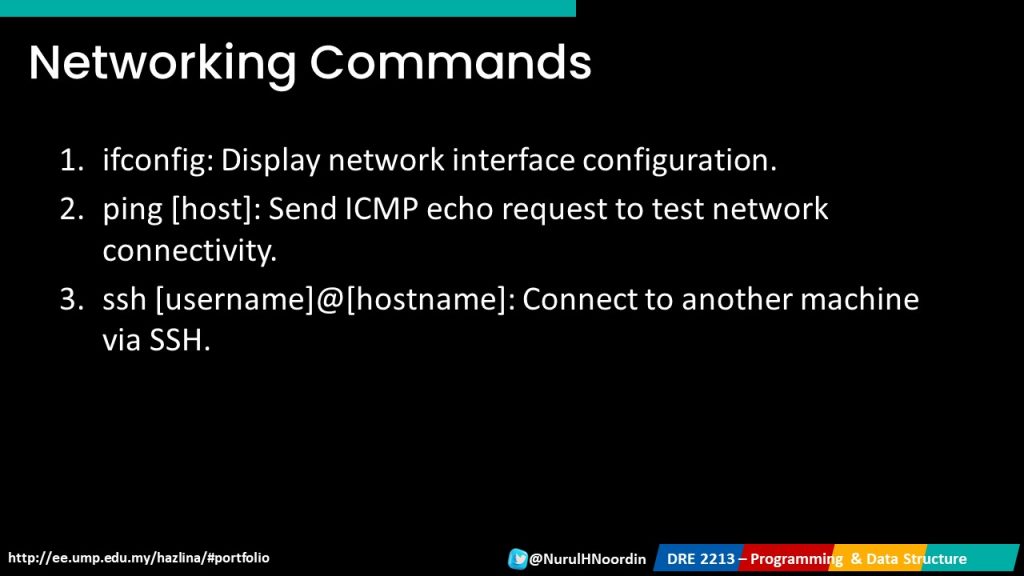
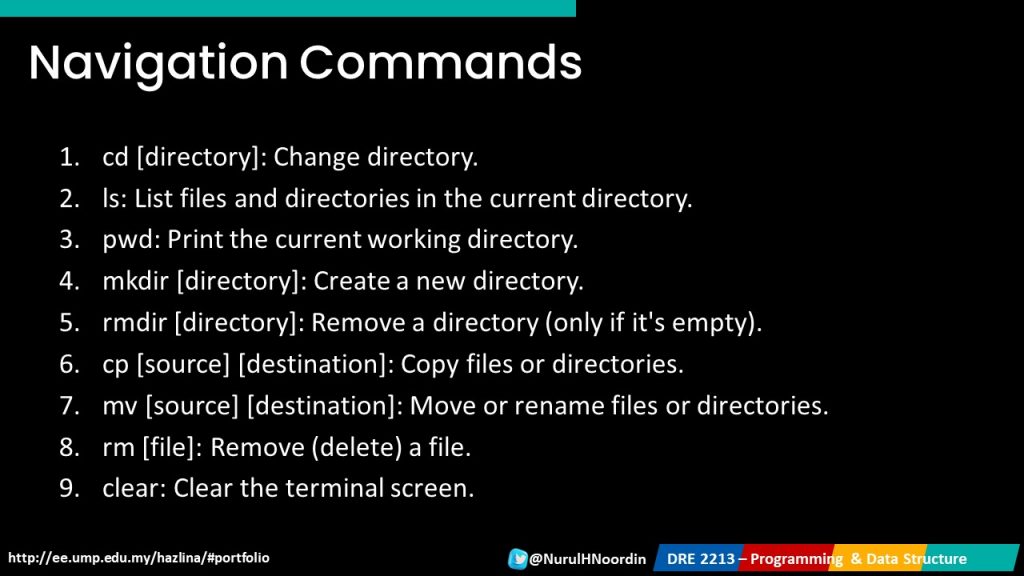
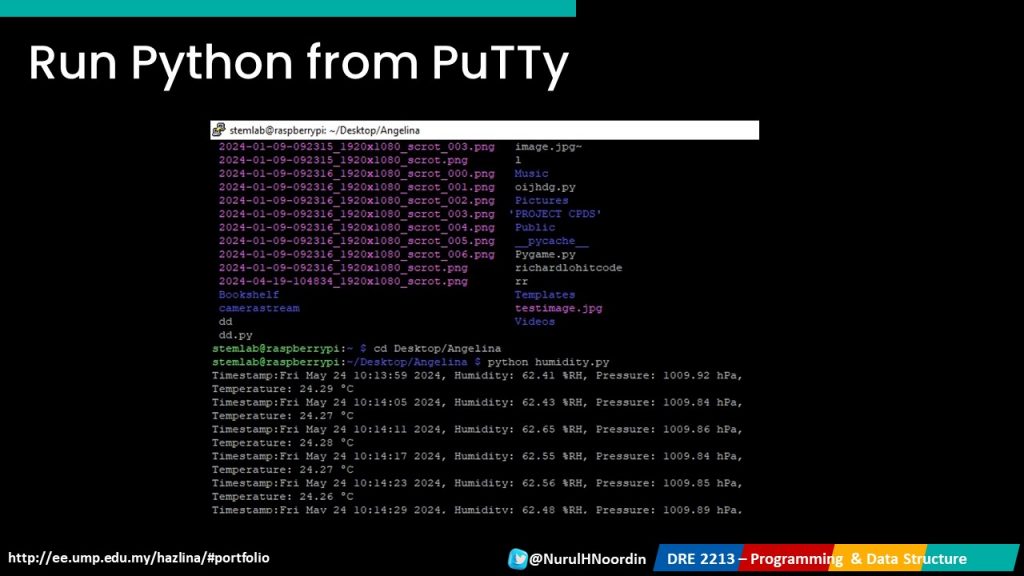
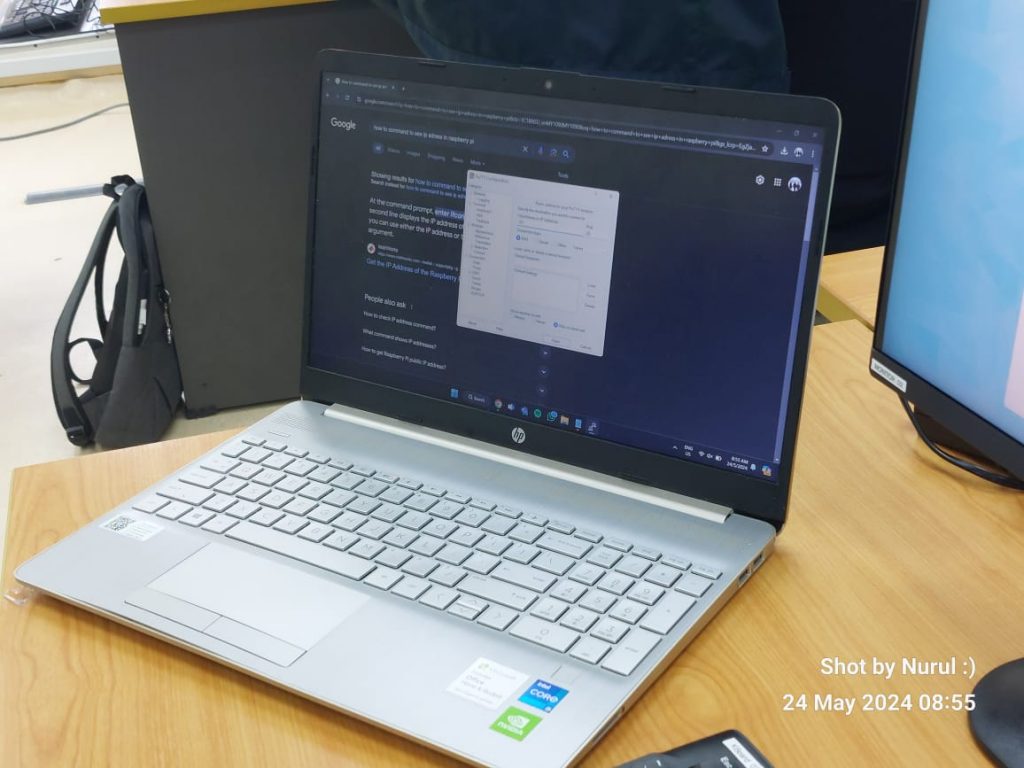
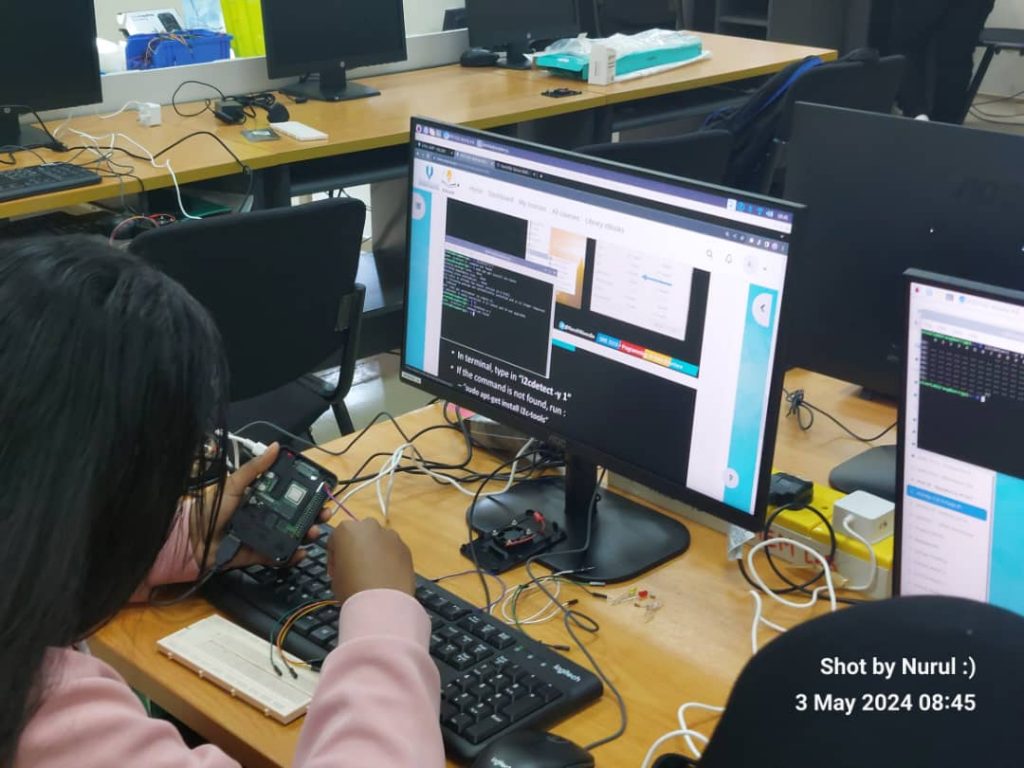
SSH Connection with Raspberry Pi – We began by establishing an SSH connection to our Raspberry Pi using Putty, a widely-used SSH client. Through SSH, students learned how to remotely control their Raspberry Pi from their local machines, enabling seamless interaction with the Pi’s command-line interface. Navigational commands such as cd, ls, pwd, and mkdir were explored, empowering students to navigate the file system, create directories, and manage files effortlessly.

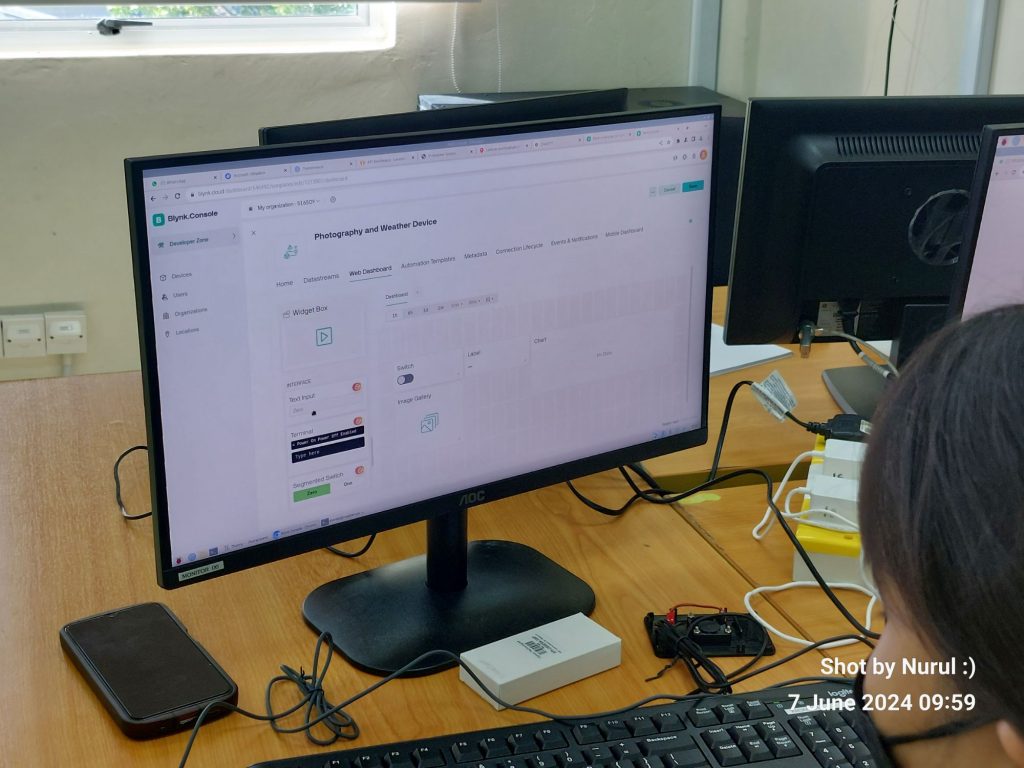
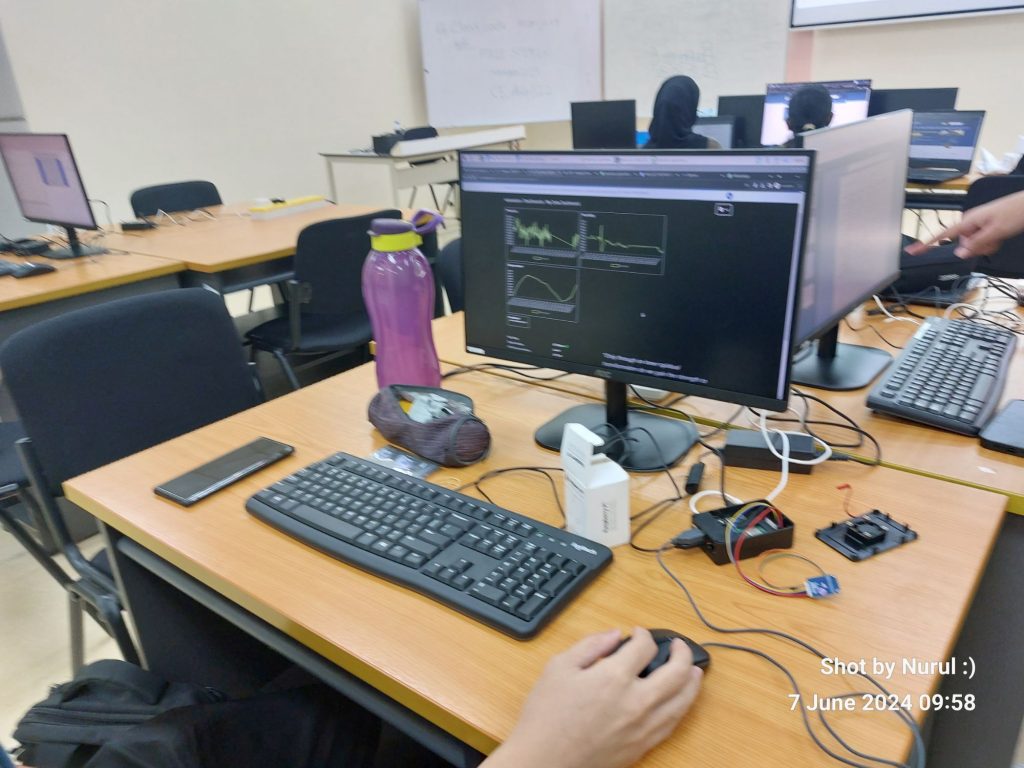
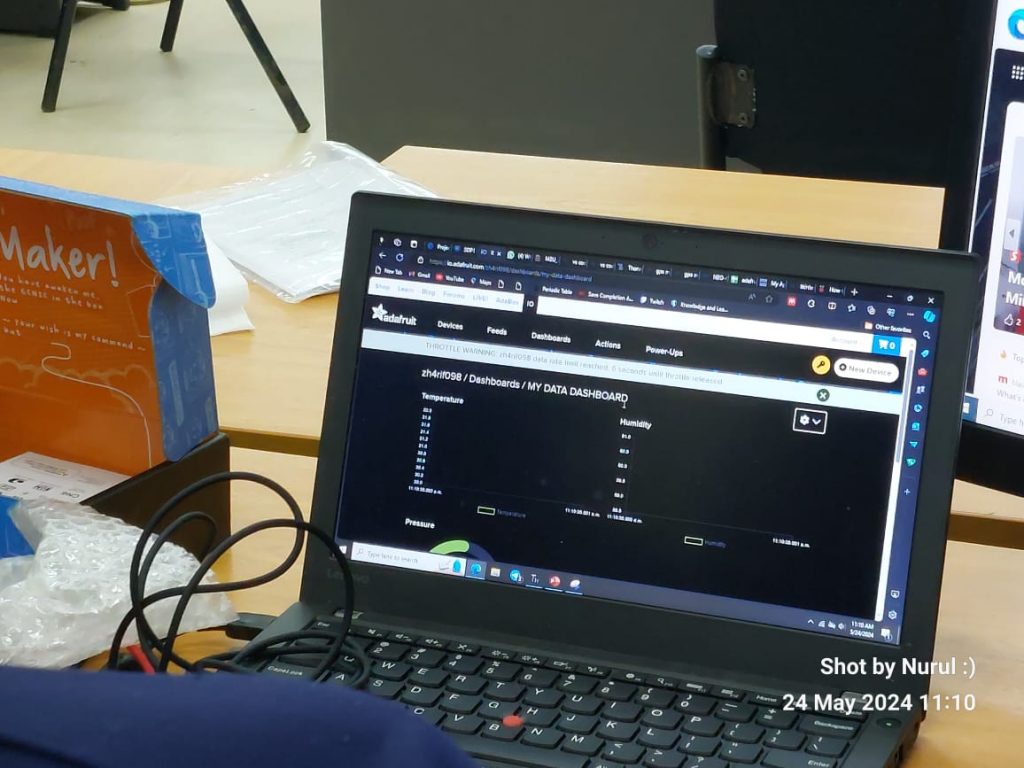
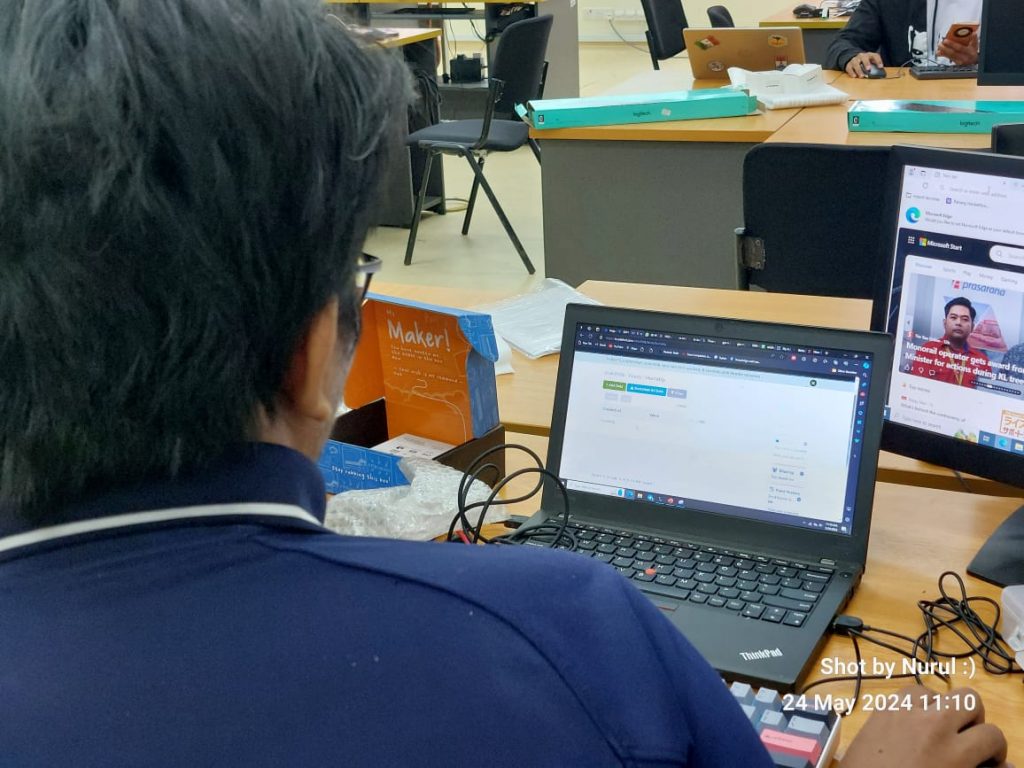
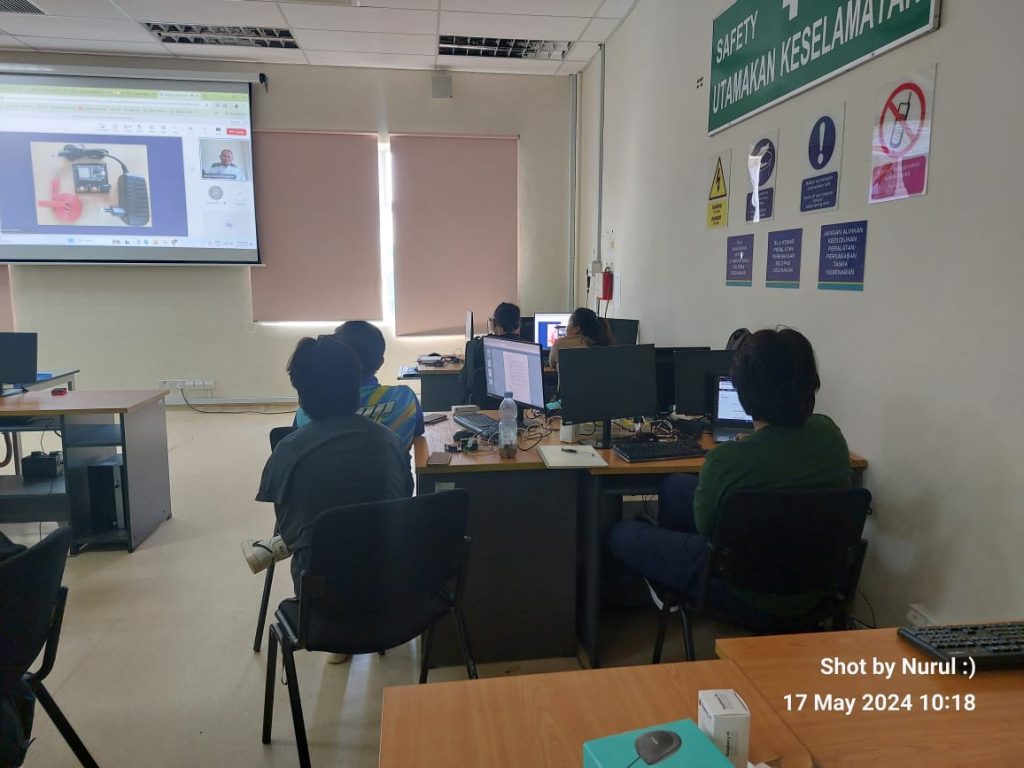
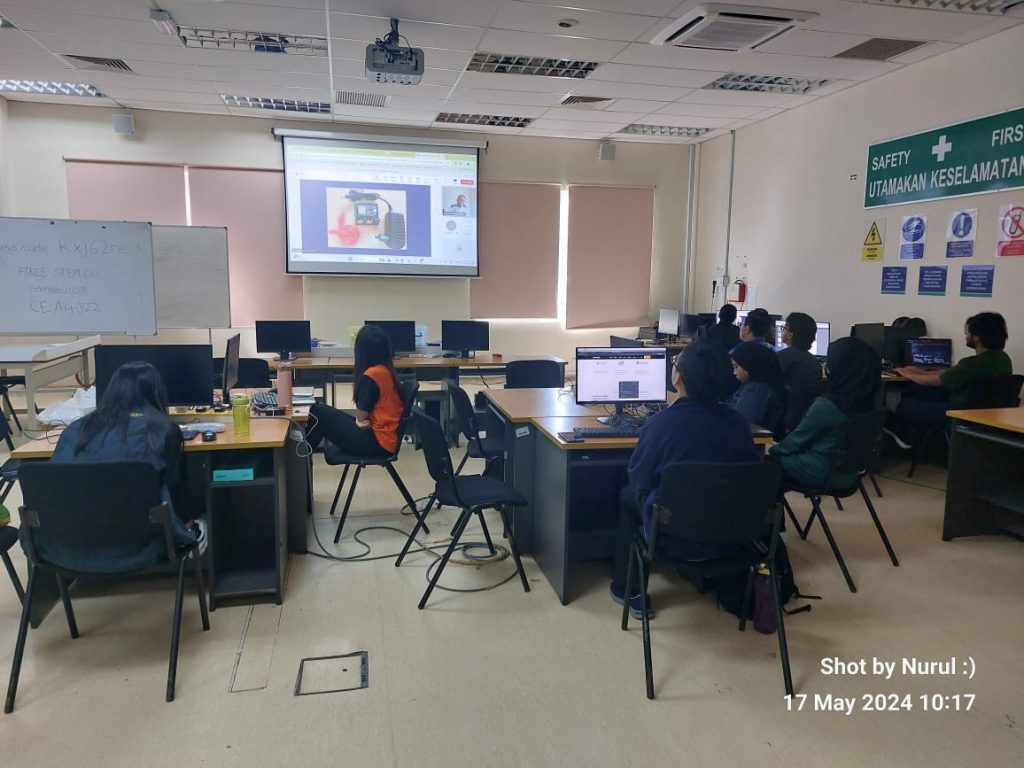
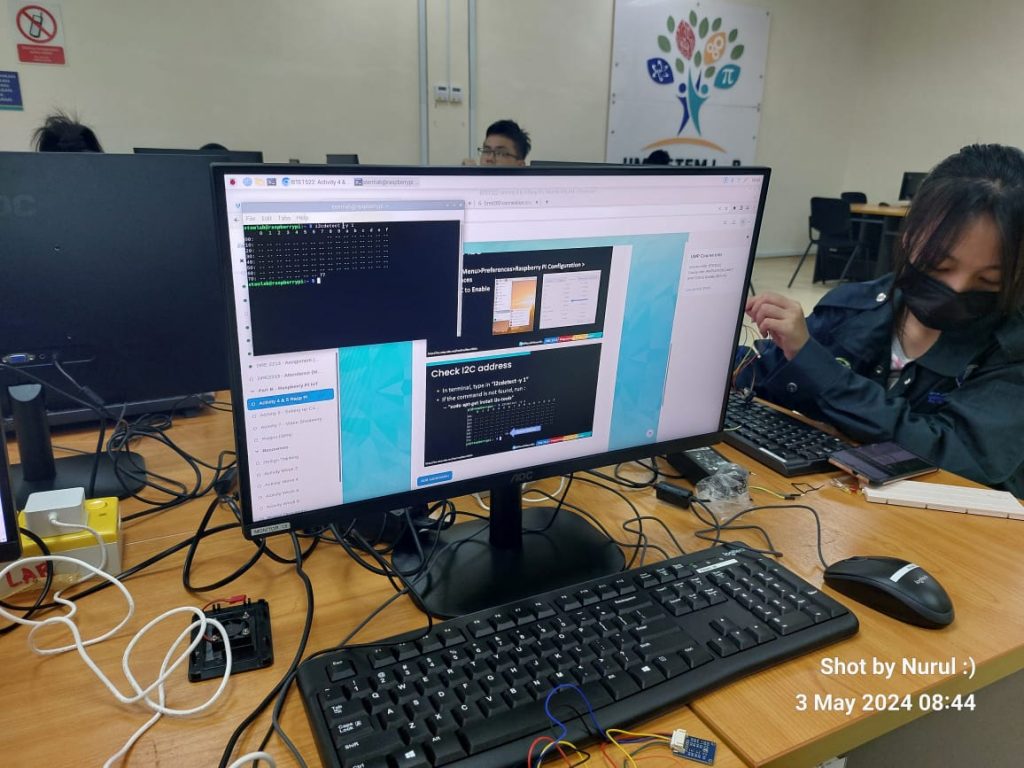
Data Visualization with Adafruit and BME280 -The session also featured a demonstration of data visualization using the Adafruit platform and the BME280 sensor. Students gained hands-on experience in acquiring environmental data such as temperature, humidity, and pressure using the BME280 sensor, a vital component for IoT (Internet of Things) applications. By visualizing this data, students could better understand real-world applications of sensor data and its significance in various projects.
Remote Python Program Execution -A key highlight of today’s activities was the execution of Python programs remotely via SSH. Students learned how to run Python scripts on their Raspberry Pi from their local machines, enabling them to execute code, perform data analysis, and control hardware components without direct physical access to the Pi. Commands such as nano for text editing and cat for displaying file contents further enriched their understanding of remote file management.
Exploring System Information:
To wrap up the session, we delved into exploring system information commands such as uname -a, df -h, and free -h. These commands provided insights into system specifications, disk space usage, and memory utilization, essential for monitoring and optimizing Raspberry Pi performance.
I look forward to the upcoming project phase, I am confident you are well-prepared to could apply their this knowledge and skills in developing innovative Raspberry Pi-based solutions.
Nurul
May 24th
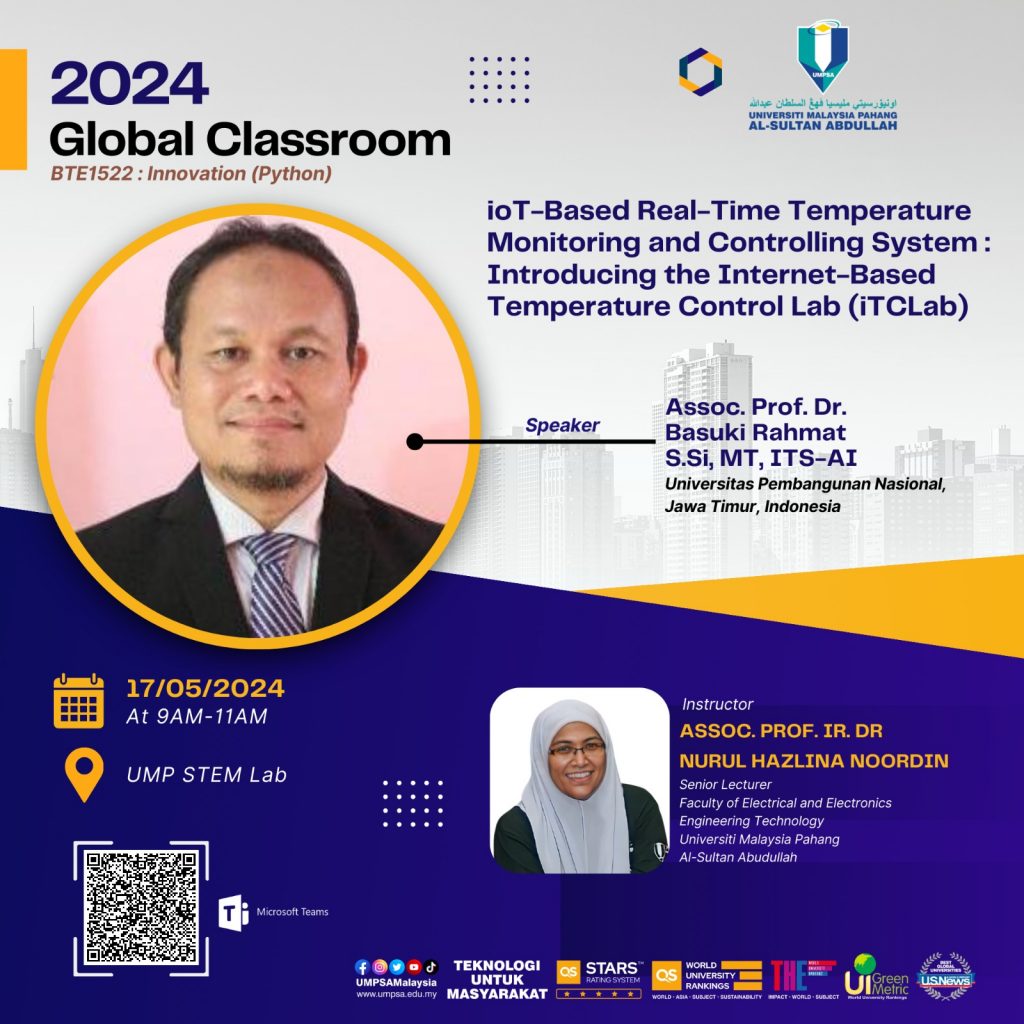
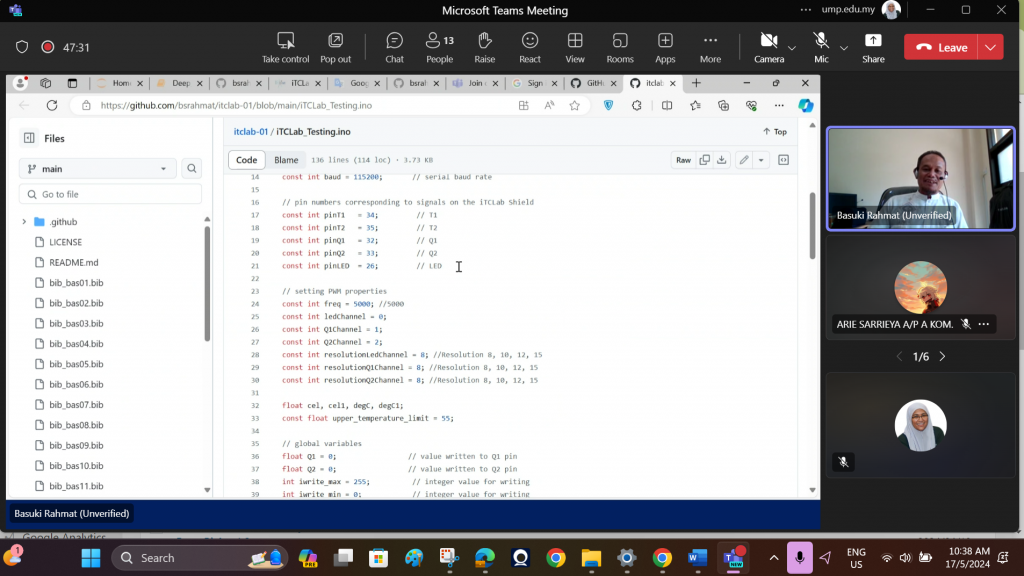
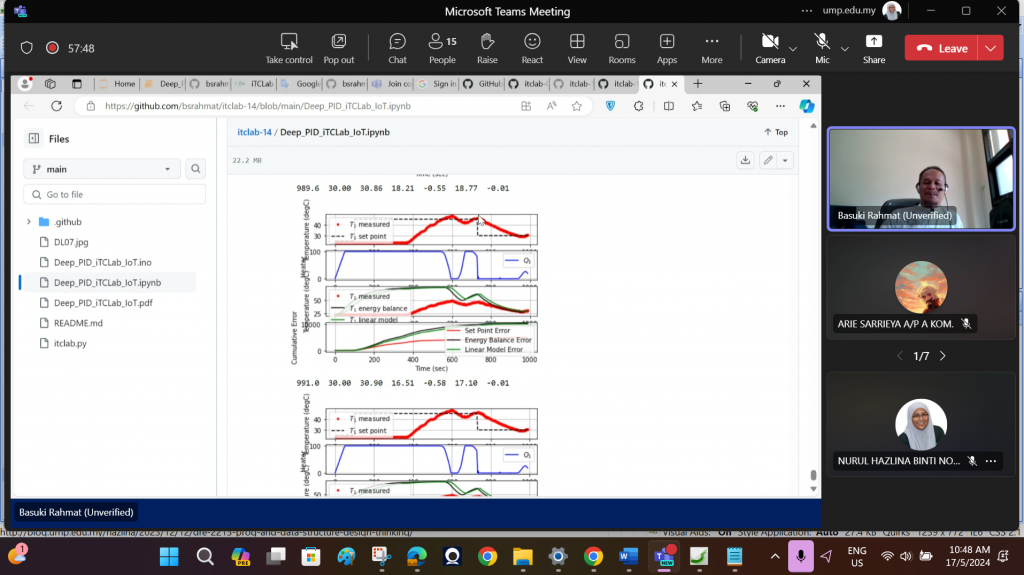
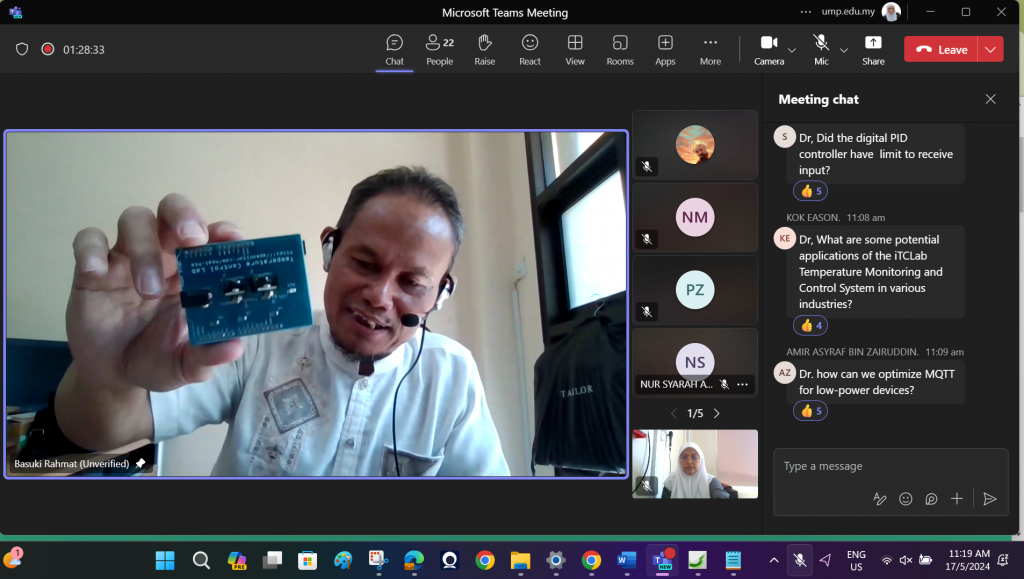
Today’s global classroom session was an honor as I had the privilege of hosting Dr. Basuki Rahmat from Universitas Pembangunan Nasional “Veteran” Jawa Timur. Dr. Basuki’s expertise in IoT-Based Real-Time Temperature Monitoring and Controlling System, particularly the introduction of the Internet-Based Temperature Control Lab (iTCLab), enriched our learning experience and provided valuable insights into the subject matter.
Here’s a recap of today’s session:
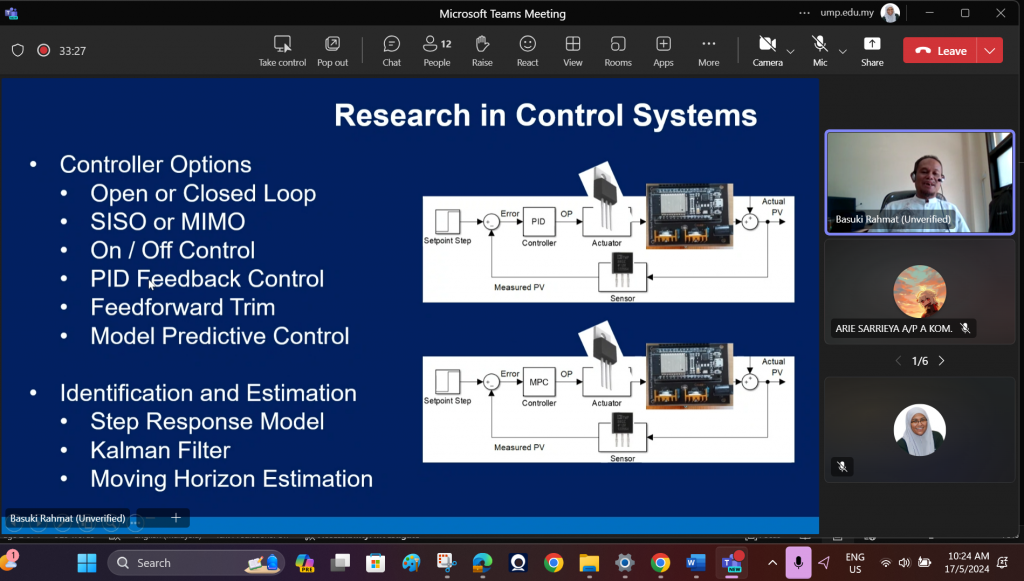
Today’s global classroom session gives a valuable insights into the IoT-based real-time temperature monitoring and controlling system, focusing on the technological advancements, challenges, and opportunities in the field.
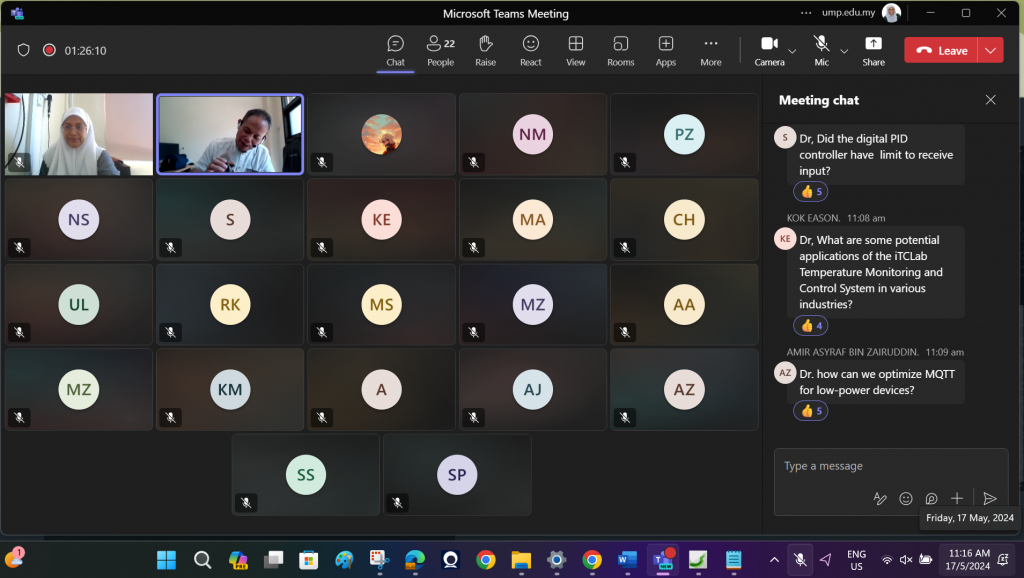
The interactive discussions and active participations from students highlighted the diverse applications, design considerations, and optimization strategies relevant to IoT deployments.
I look forward to such collaborative learning environments and engage in knowledge-sharing initiatives to drive innovation and address real-world challenges effectively.


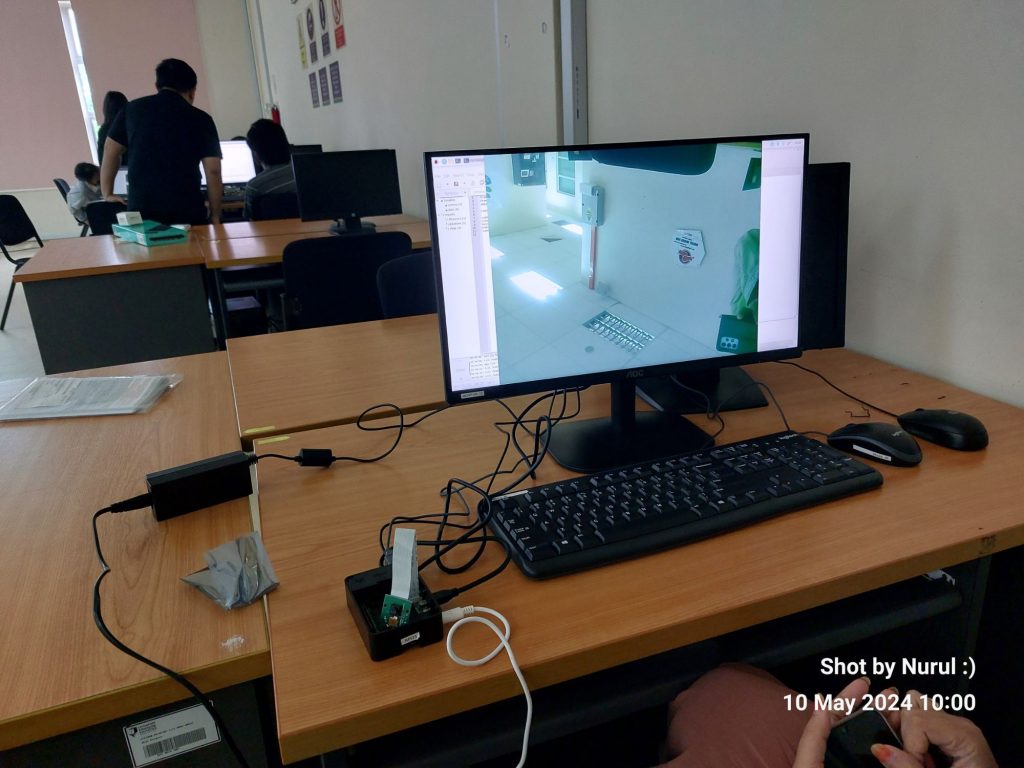
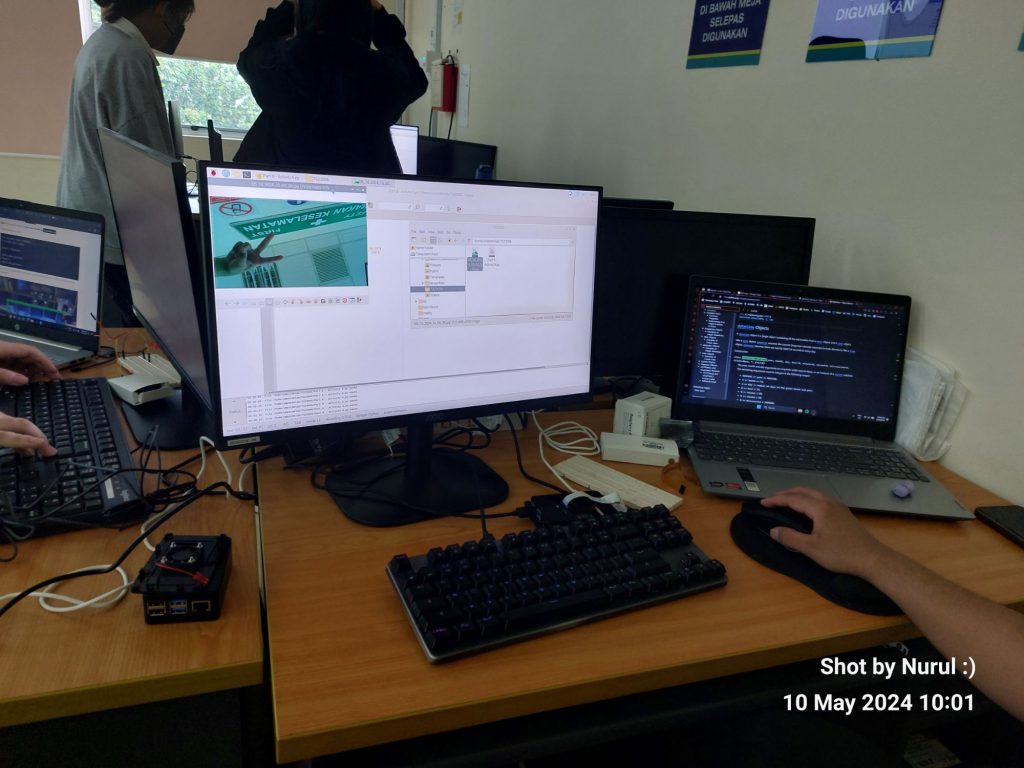
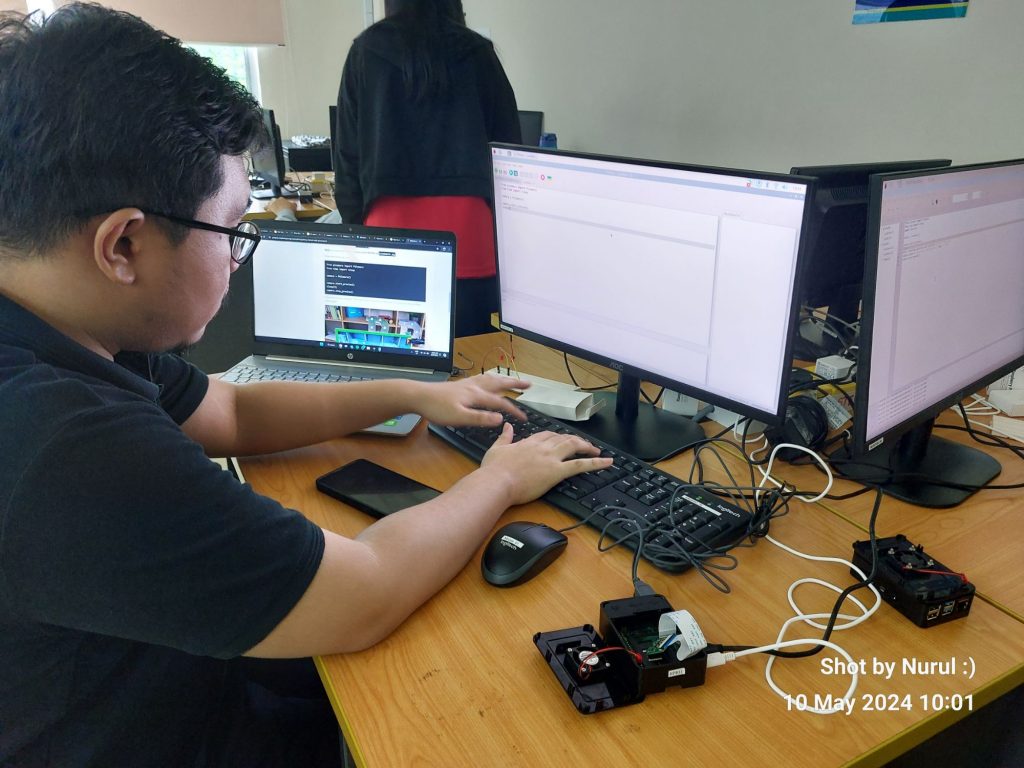
In today’s BTE1522 session, we looked into the multimedia capabilities offered by the Raspberry Pi. Step 6 and Step 7 of our hands-on activities took us through the exciting journey of photo capture, video recording, and local video streaming.
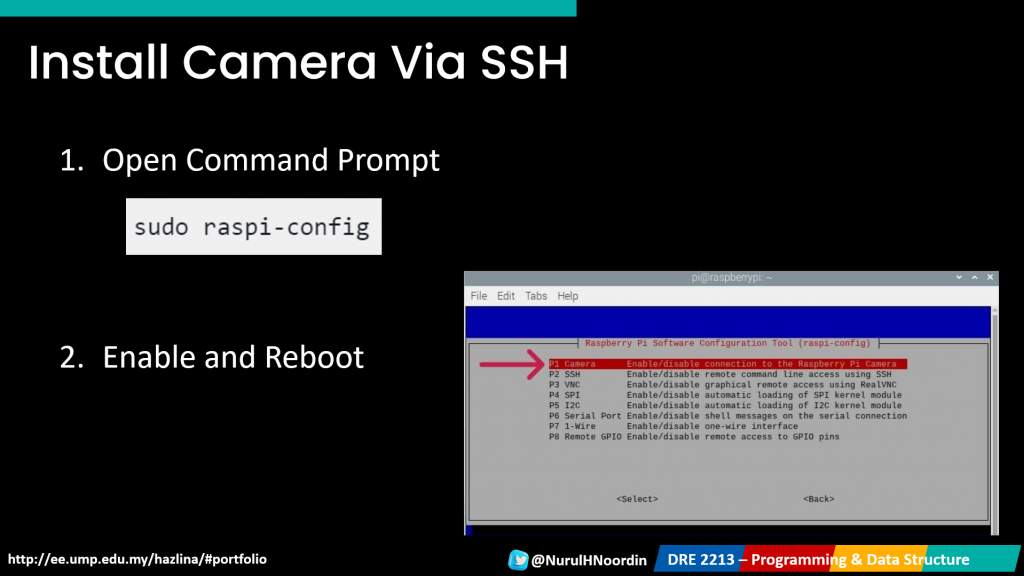
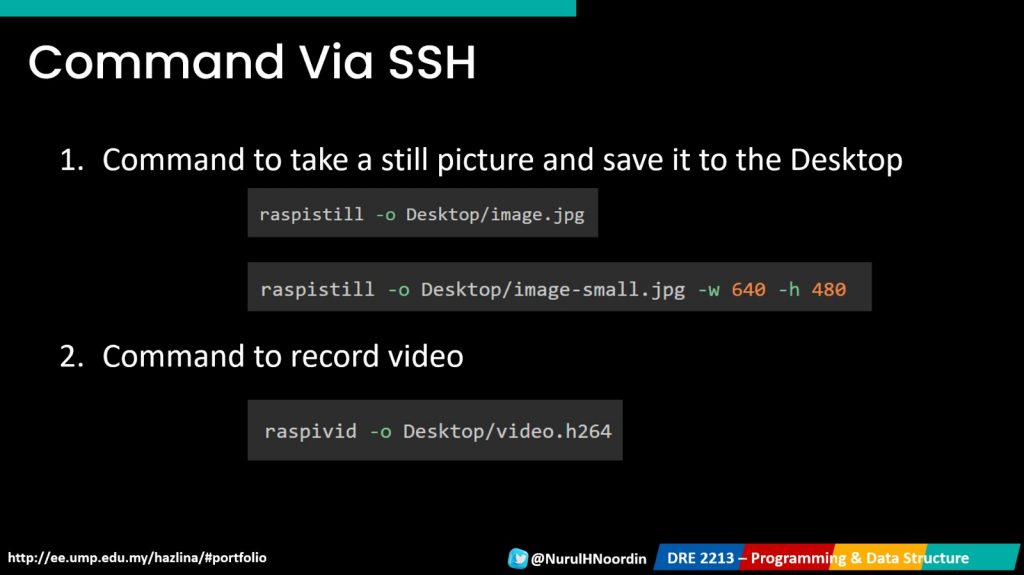
Photo Capture and Video Recording
In this step, our focus was on harnessing the power of the Raspberry Pi camera module to capture photos and record videos using Python. The learning outcomes were twofold: exploring multimedia capabilities and mastering Python programming for media tasks.
Photo capture using the Raspberry Pi camera module enables users to capture high-quality images directly from their Raspberry Pi devices. This functionality is very useful in projects requiring visual documentation, such as surveillance systems, wildlife monitoring, and environmental monitoring. With Python programming, users can customize photo capture settings, automate image capture based on predefined conditions, and integrate photos into larger projects seamlessly.
Innovative Uses includes –
Local Video Streaming
Moving forward, we explored the basics of video streaming and implemented local video streaming on the Raspberry Pi. This step aimed to broaden our understanding of multimedia applications and introduce the concept of live video streaming.
Video streaming on the Raspberry Pi enables users to transmit live video footage over a network, facilitating real-time communication, monitoring, and collaboration. This functionality finds applications in remote surveillance, video conferencing, educational webinars, and live event broadcasting. Using the power of Python and video streaming libraries, users can create customized video streaming solutions tailored to their specific needs.
It’s innovative work includes:-
This activities today laid the foundation for more advanced streaming applications and paved the way for further exploration in multimedia development. By the end of these activities, students gained valuable insights into the multimedia capabilities of Raspberry Pi and develop their Python skills for media-related tasks. They left the session equipped with the knowledge and confidence to embark on more ambitious multimedia projects in the future.

Stay tuned for our next session as we continue our journey into the world of innovation with Raspberry Pi!
Exploring Temperature & Humidity Sensing with Python
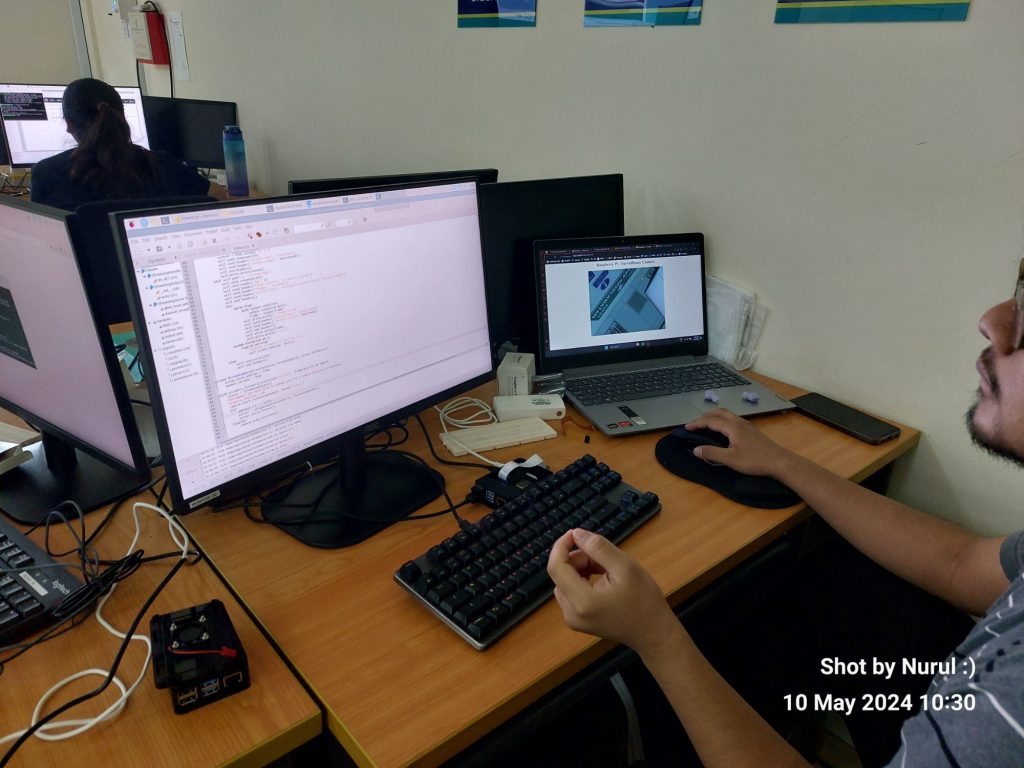
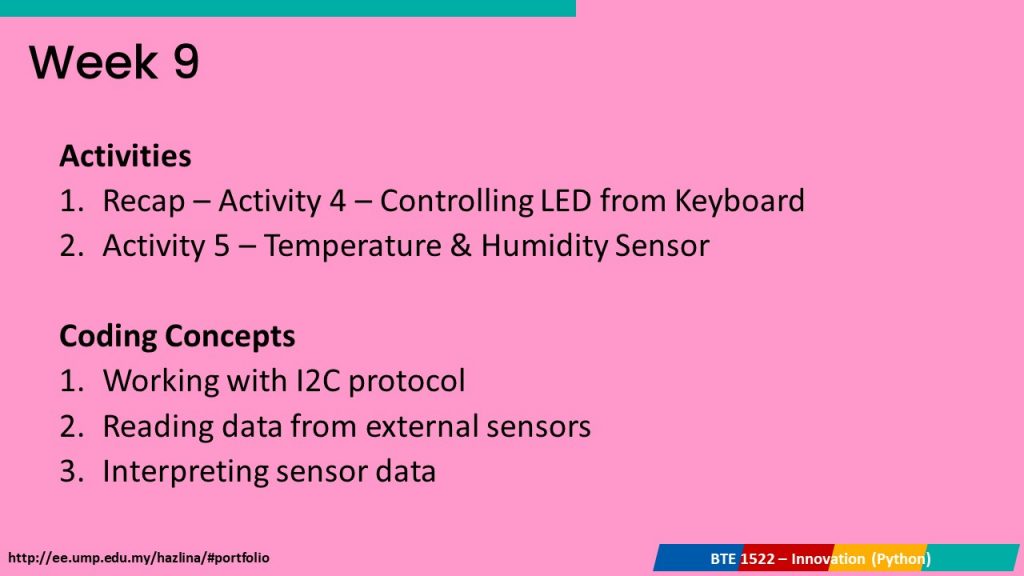
In Week 9 of our BTE 1522 Innovation (Python) class, we explored temperature and humidity sensing using Python programming. Let’s recap the key activities and learning outcomes from this week’s session:
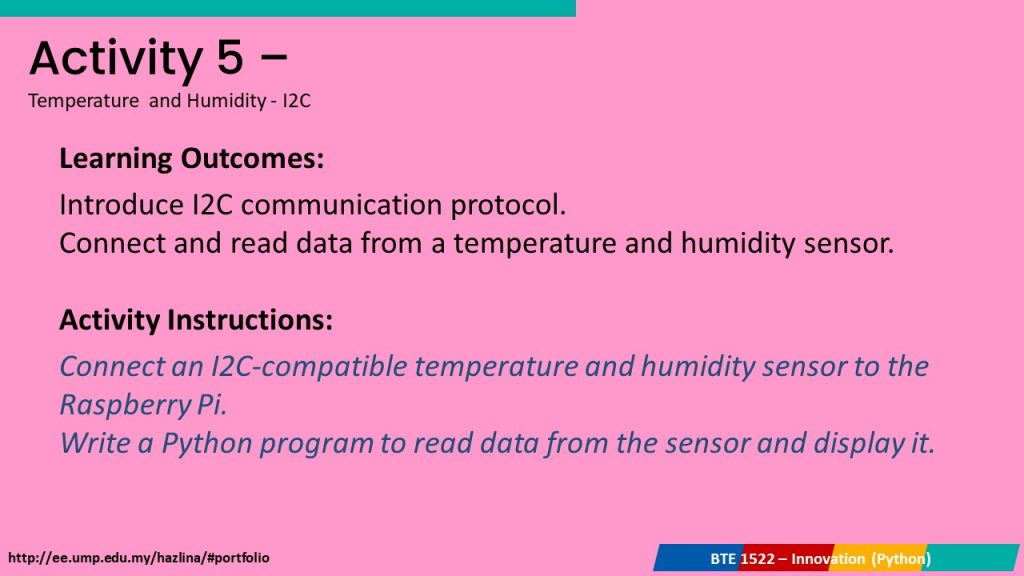
Activity 5 – Temperature & Humidity Sensor
We learned about working with the I2C communication protocol, which is commonly used for connecting and communicating with external sensors.
Reading data from external sensors and interpreting the sensor data were the main coding concepts covered in this activity.
Level up Activities
In the Level Up challenge for Week 9, students were tasked with building upon their knowledge from previous labs and enhancing their Python programs to incorporate additional features and functionalities.
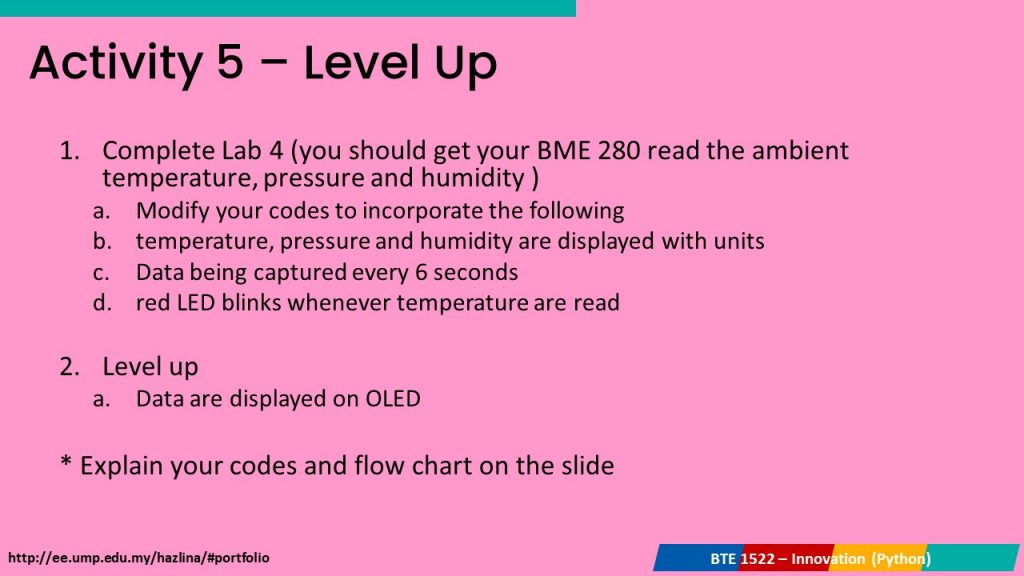
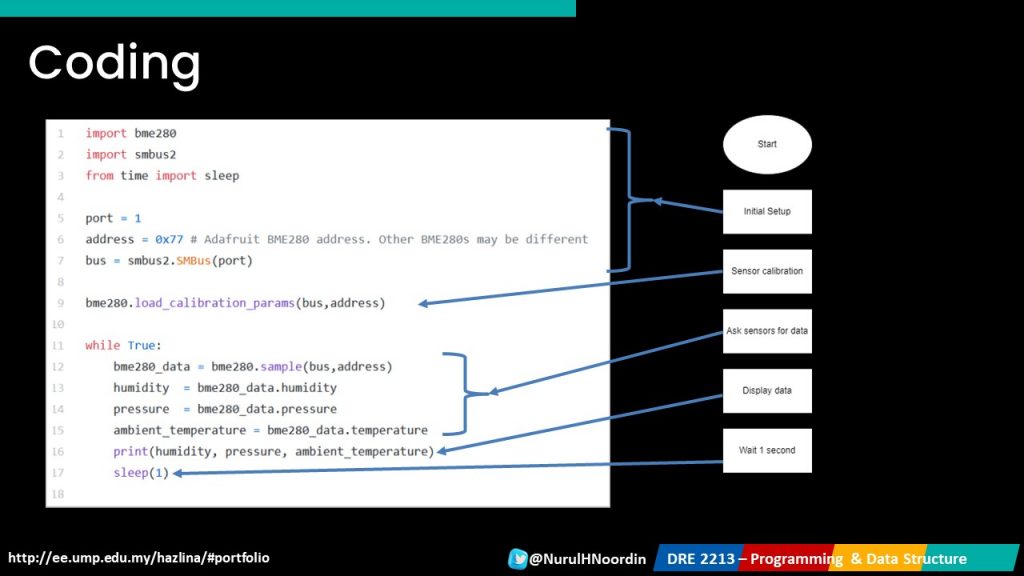
1. Completed Lab 4 with BME 280 Sensor
Students revisited Lab 4, which involved reading ambient temperature, pressure, and humidity using the BME 280 sensor. This sensor is commonly used for environmental sensing applications and provides accurate measurements of these parameters.
2. Modified Codes to Incorporate Enhancements
3. Level Up Challenge: Displayed Data on an OLED Screen
The level up activities encouraged students to innovate and enhance their Python programs beyond the basic requirements. By incorporating OLED display integration, students elevated their projects to a new level of sophistication. OLED displays provide a visually appealing way to present sensor data in real-time, offering clear and concise information to users. Through this enhancement, students not only demonstrated their mastery of sensor data acquisition and interpretation but also showcased their creativity in user interface design and data visualization. Overall, the level up activities served as a platform for students to explore advanced concepts and apply innovative solutions to real-world challenges, fostering a spirit of creativity and experimentation in their Python projects.
Job well done everyone!
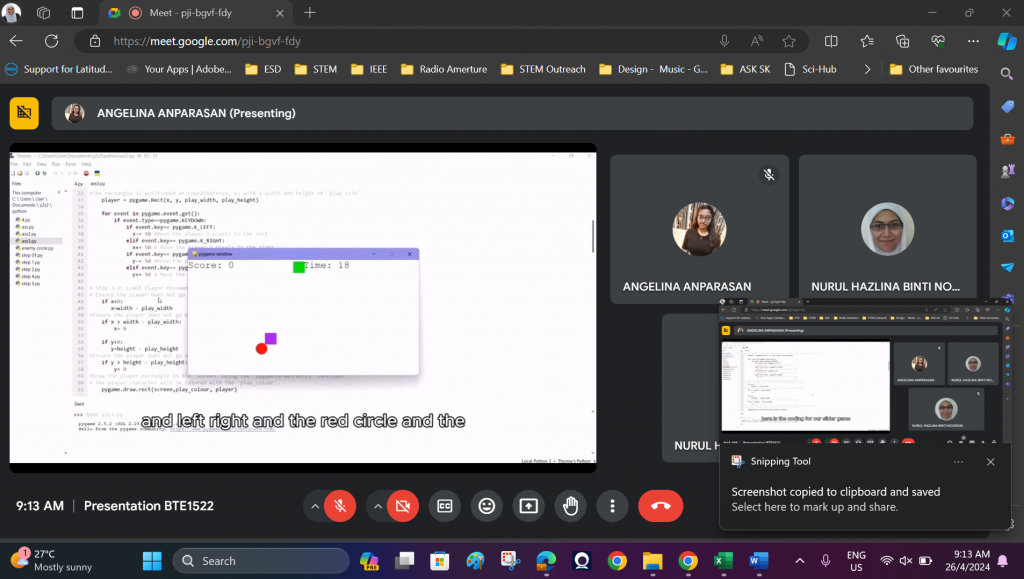
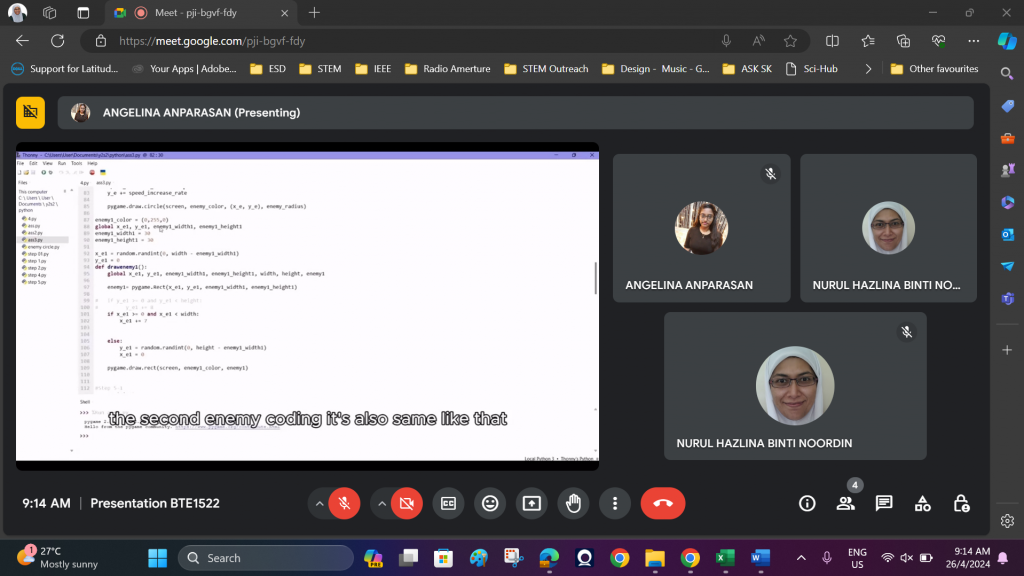
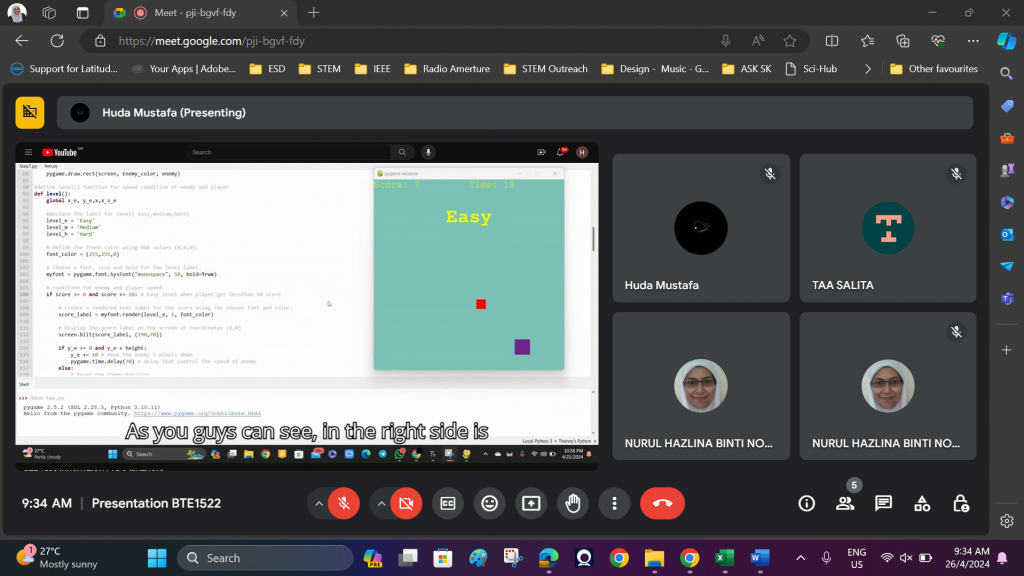
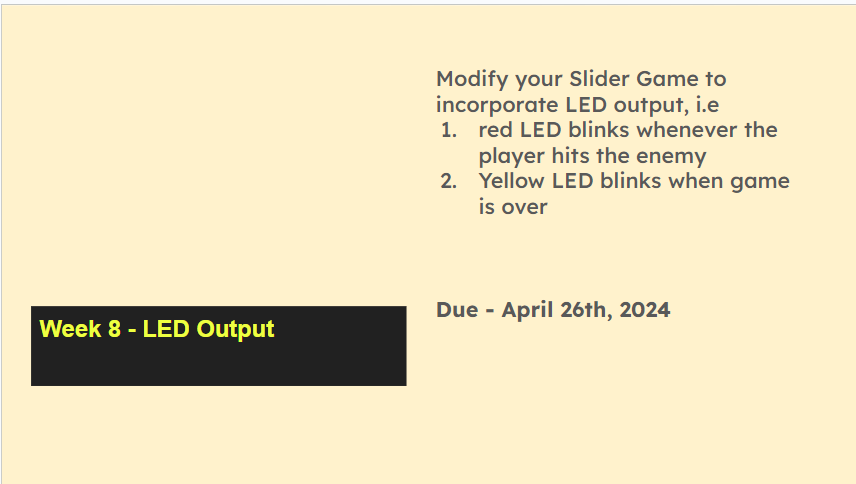
In this assignment, students of BTE1522 are required to modify the Slider Game with the following requirements:-
https://x.com/angelina_lina05/status/1780980368713355396?t=OiP41KEI_H3ZtgVfFKuzPQ&s=08
https://x.com/yIchiBaN1/status/1782343976680591540?t=QmEYhoxrJFqziV-SiZ5YsQ&s=08
Customizable Player: Allow the player to choose from different characters with varying sizes and colors. Ensure that collision detection and player movement are adjusted accordingly. Farihin &
….. and they did well. Congratulations!


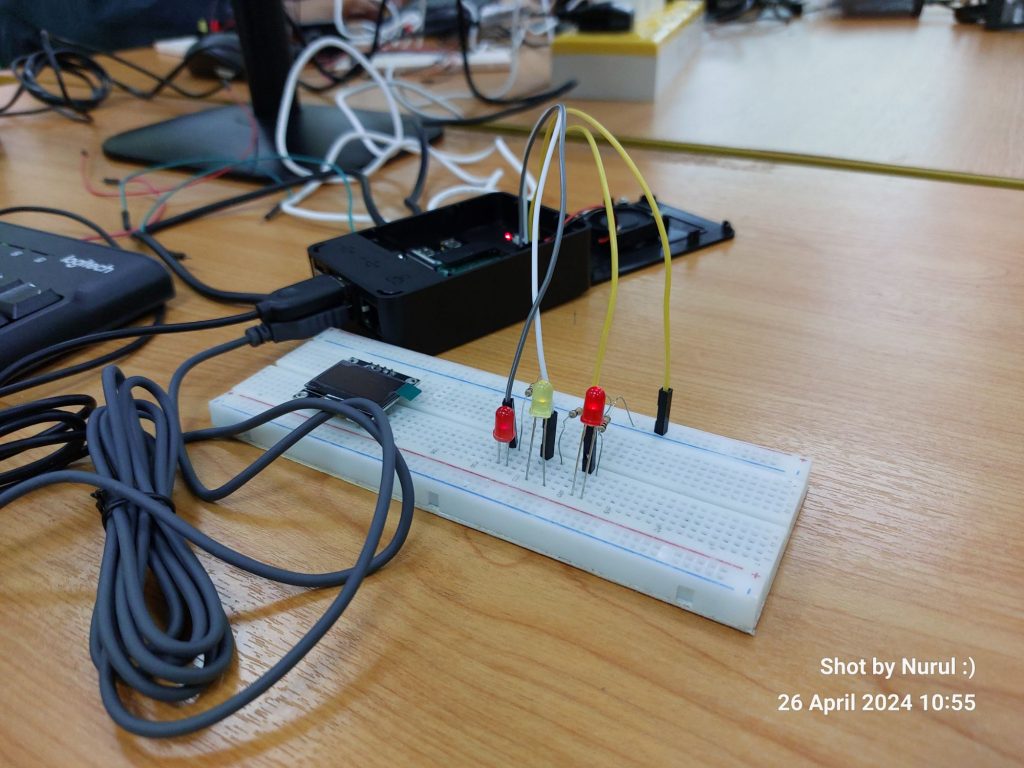
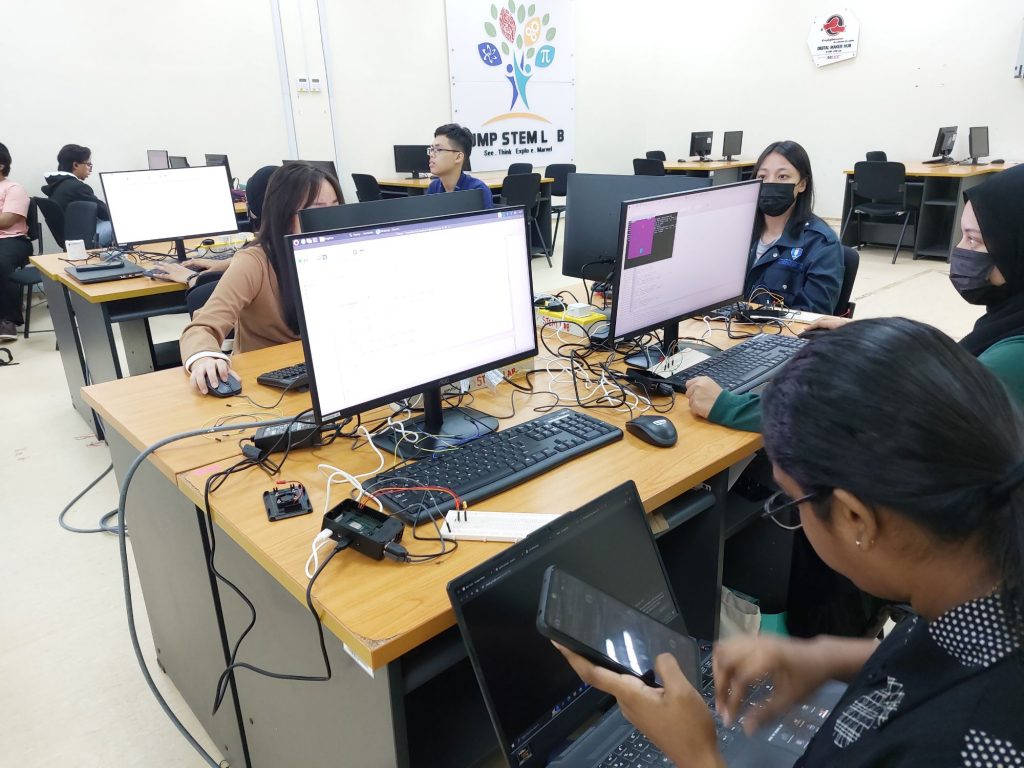
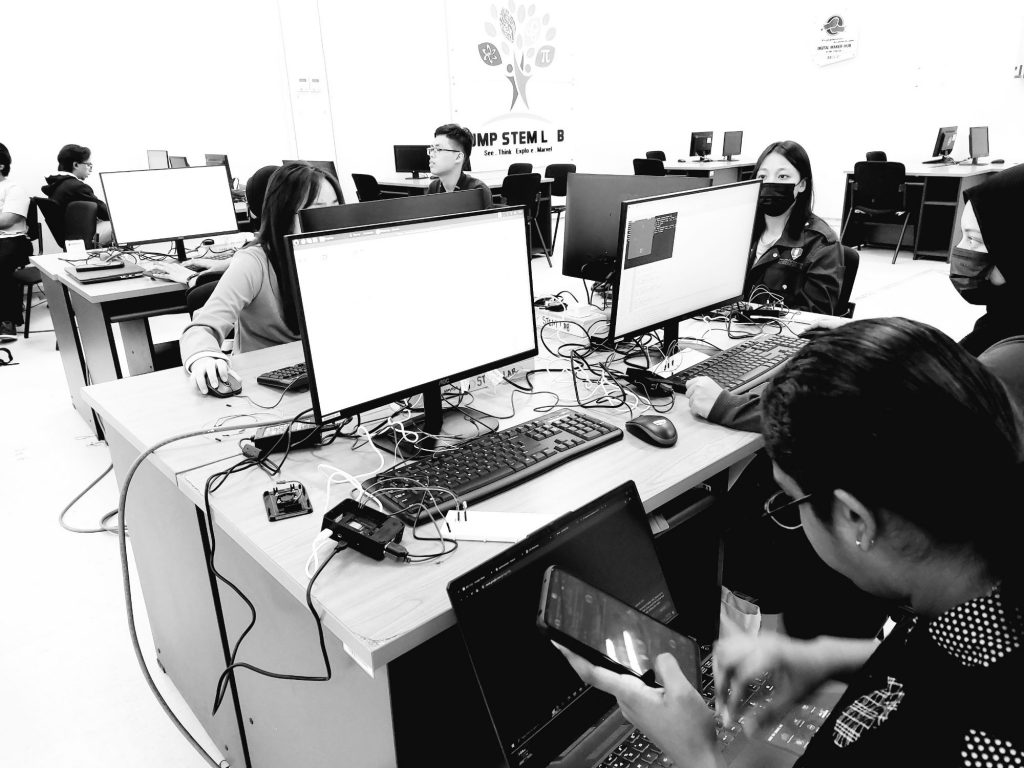
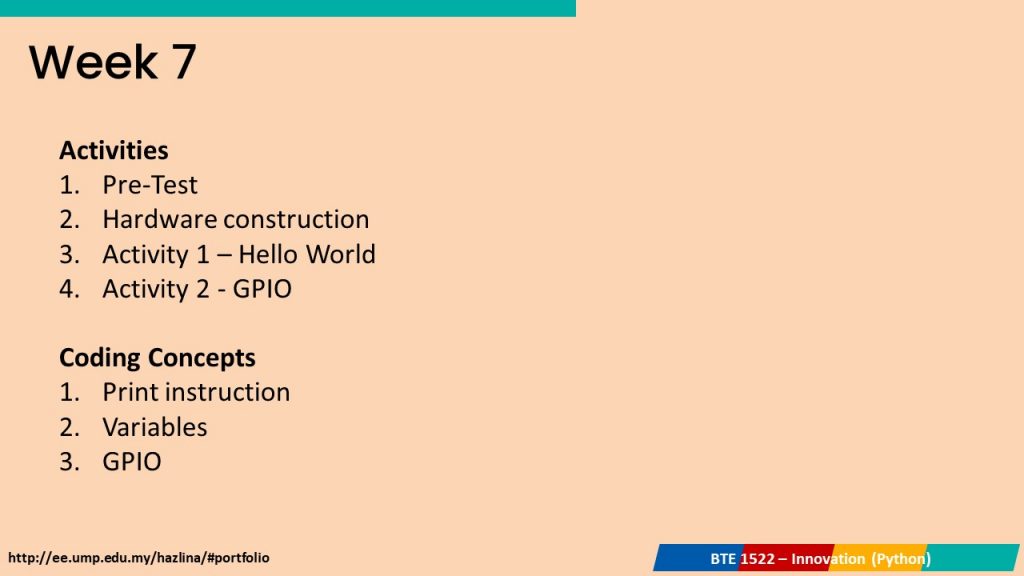
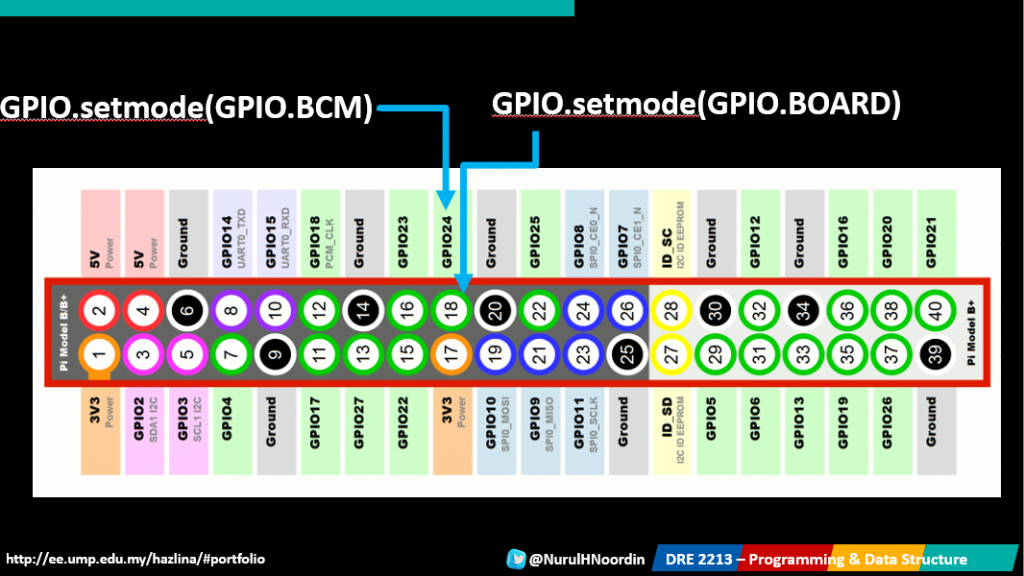
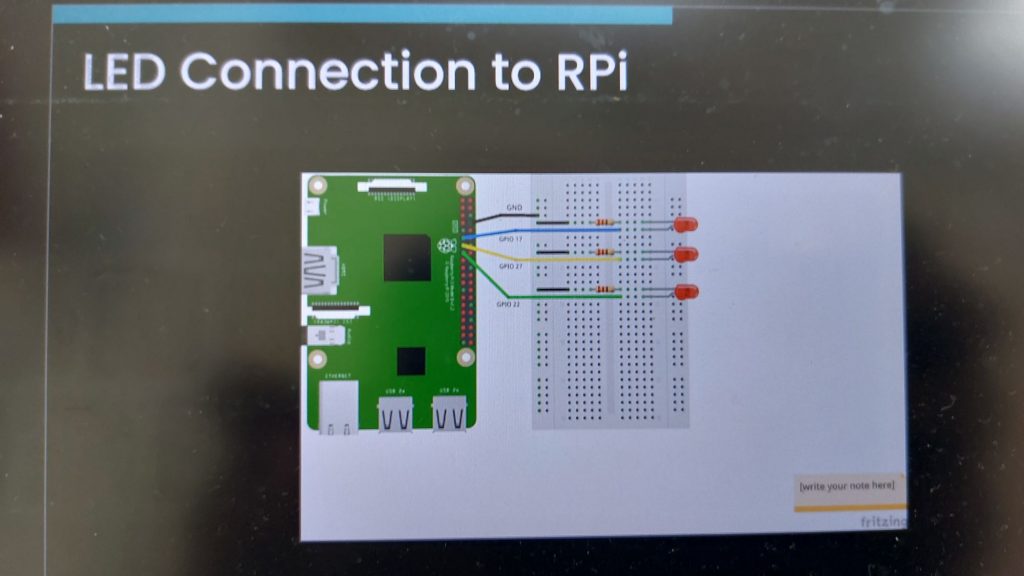
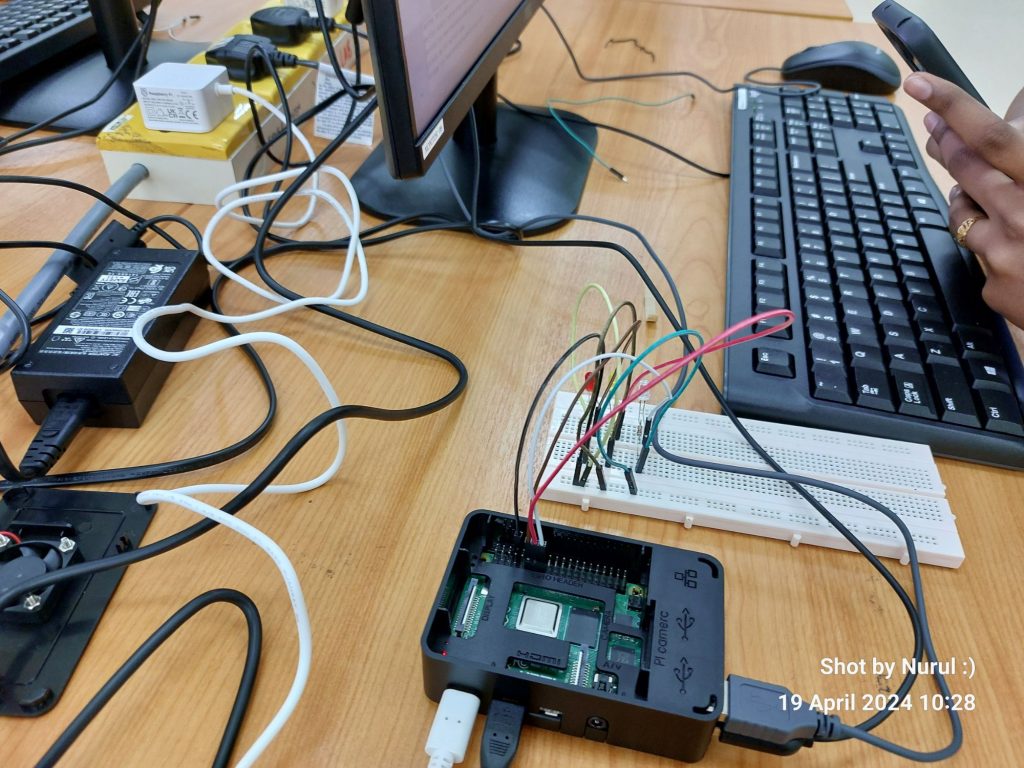
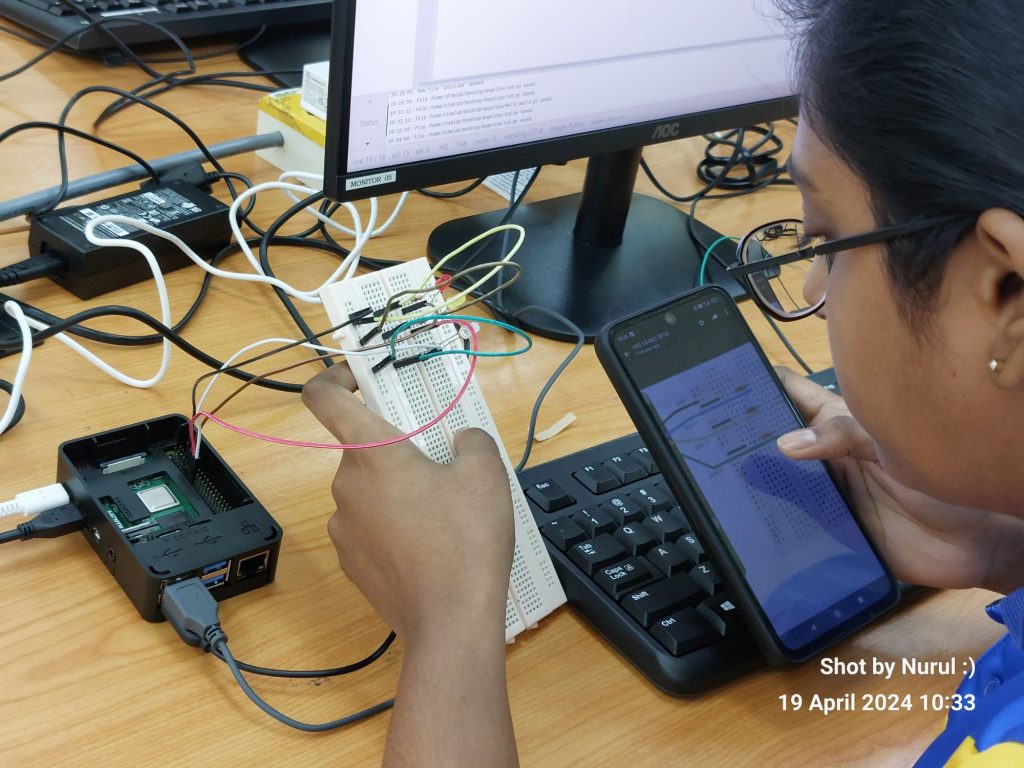
This week, we looked into hardware construction and coding concepts, exploring fundamental skills essential for building interactive systems. The plan is o integrate GPIO (General Purpose Input/Output) pins and Python programming to control hardware components such as LEDs.
Activity 3 – Delay, time sleep
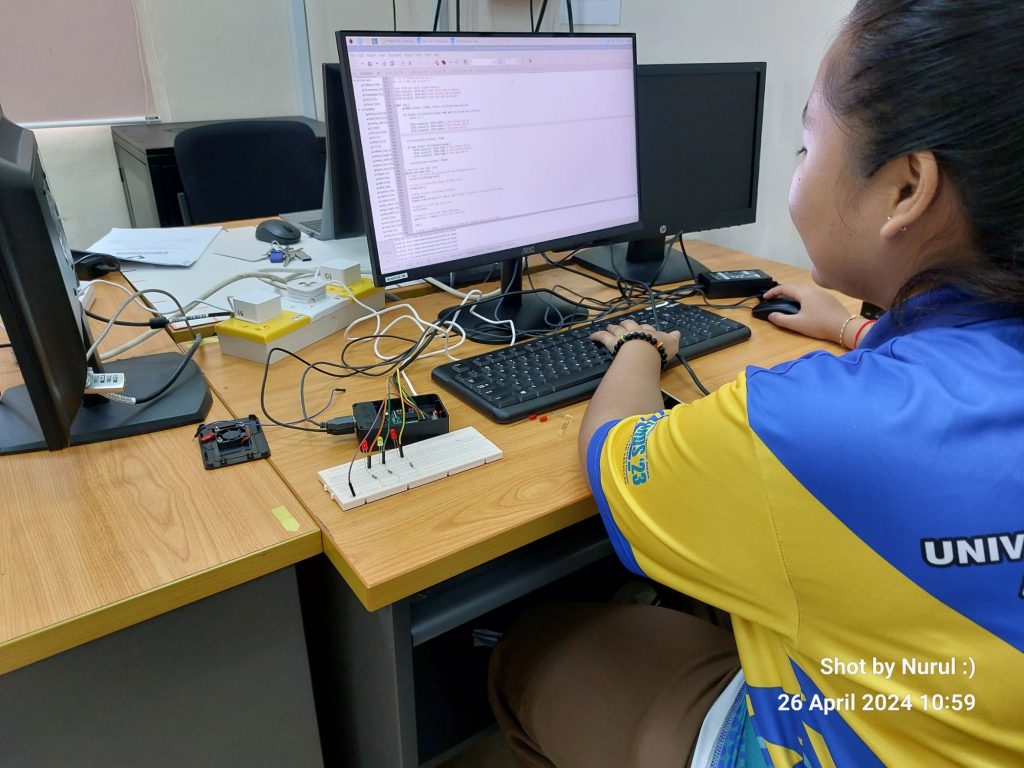
In this activity, we look into the importance of timing in hardware control, specifically the time.sleep() function – introduce delays between actions, gaining insight into how timing impacts the behavior of hardware components. By constructing simple circuits and adjusting delay intervals, students developed a deeper understanding of the relationship between code execution and physical response.
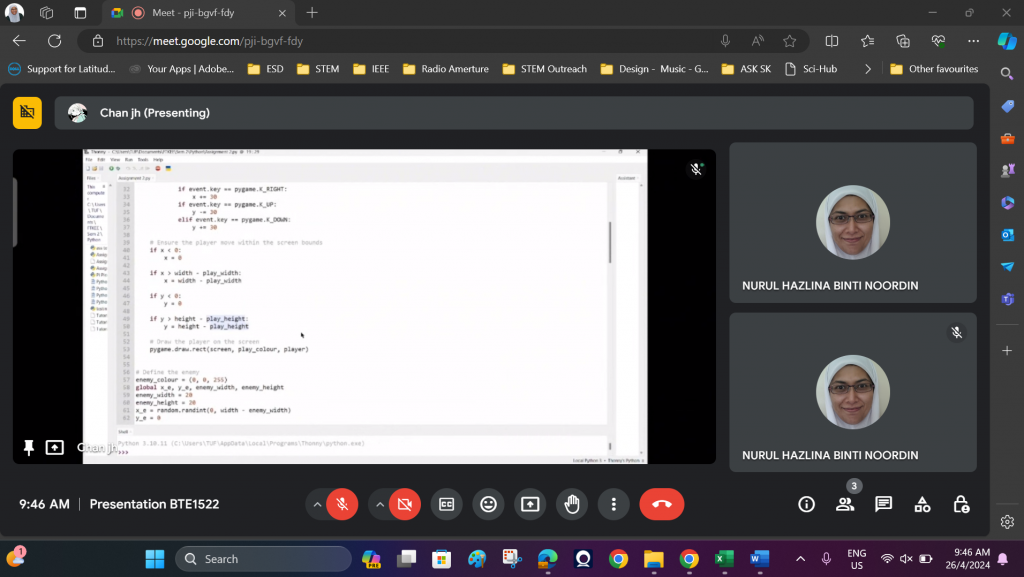
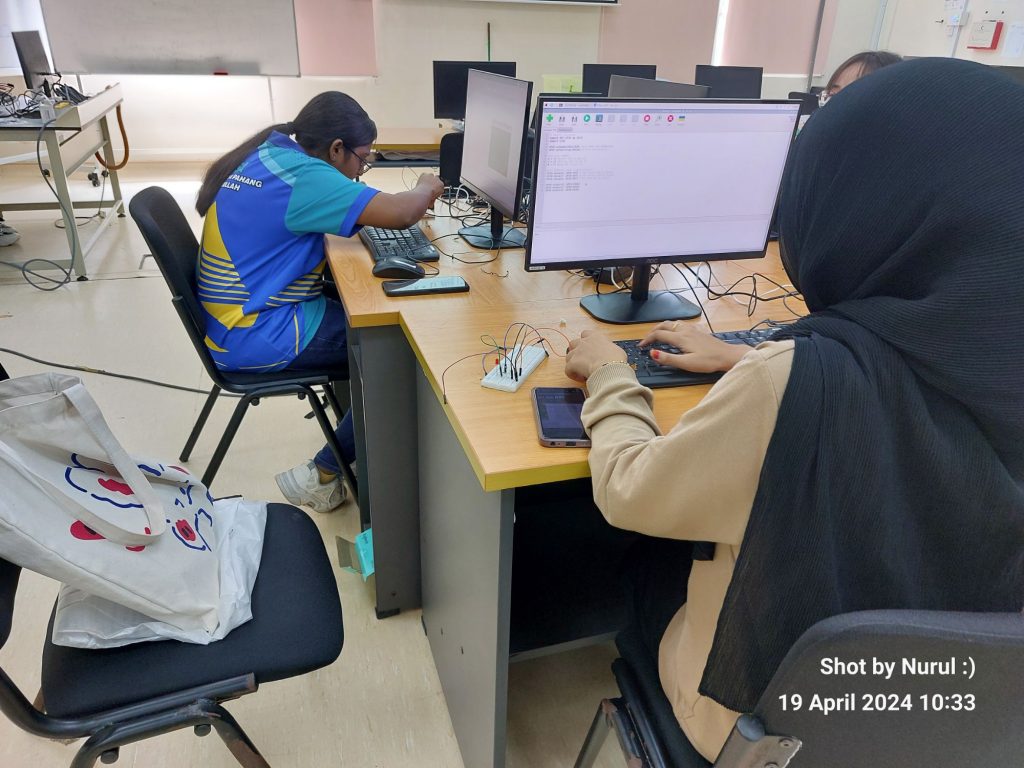
Activity 4 – Controlling LED from Keyboard
Building upon the timing and GPIO control, we looked into interactive programming by controlling an LED using keyboard input. Conditional statements and event handling techniques, are applied, to manipulate the LED’s state based on user commands. This activity encourages students to explore the concept of user-driven interaction, laying the foundation for more complex control schemes in future projects.
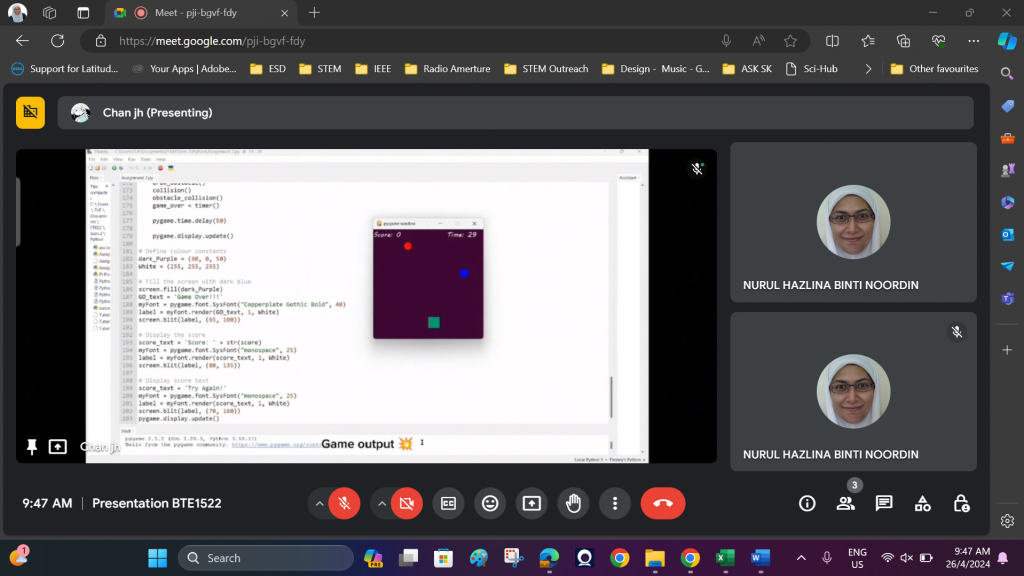
Challenge: Incorporating LED Output into the Slider Game:
Towards the end, students were tasked with enhancing their Slider Game project by integrating LED output, aiming at synchronizing LED behavior with game events, such as player collisions and game over conditions. Through creative problem-solving and iterative development, students aimed to create an immersive gaming experience where LED feedback enhances player engagement and provides real-time feedback.
Learning Outcomes:


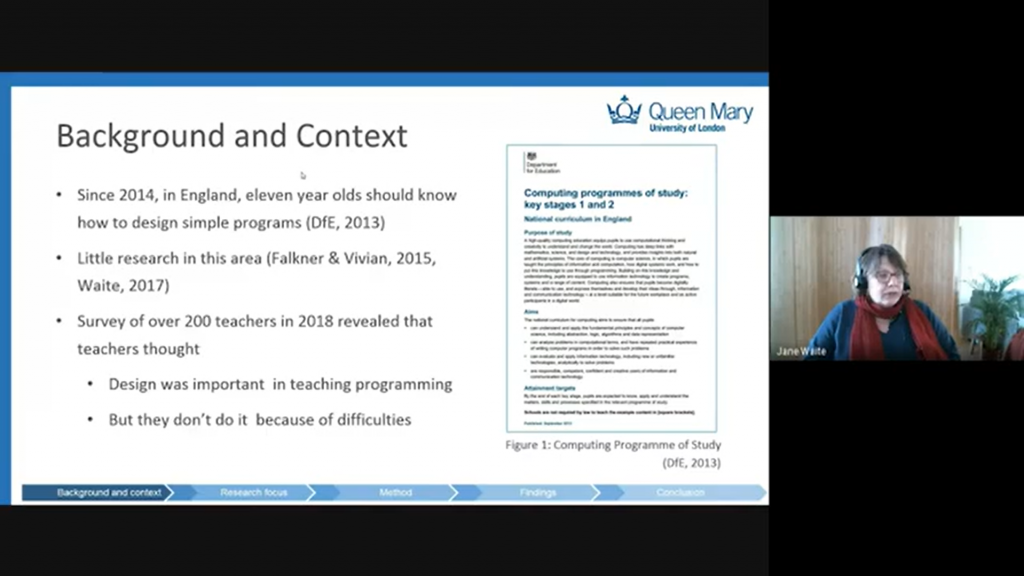
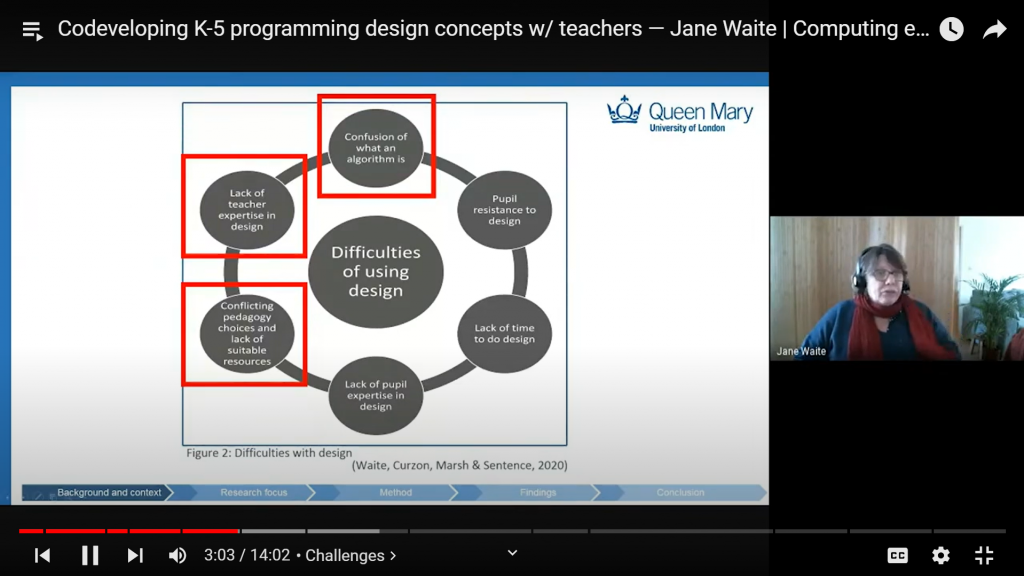
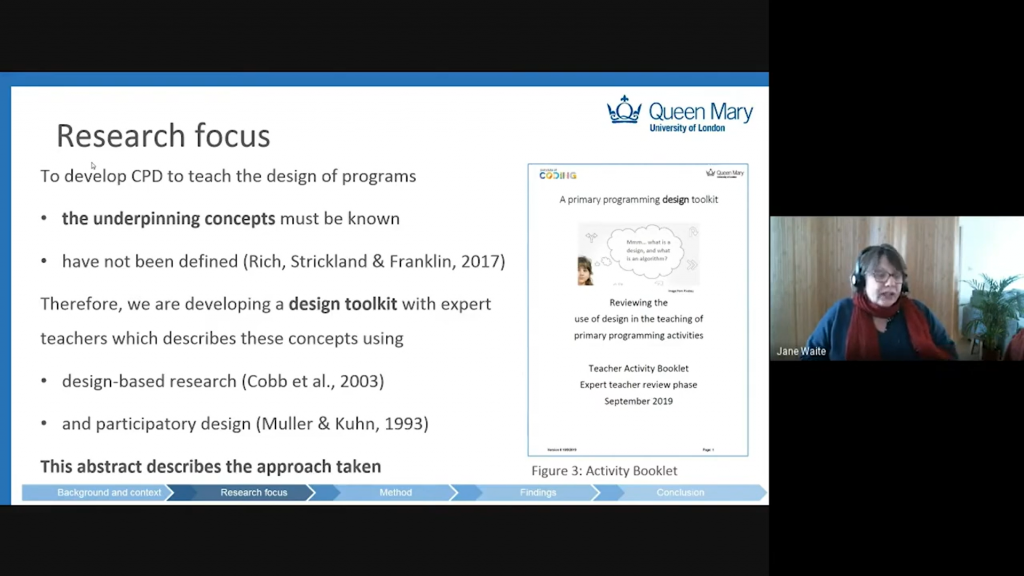
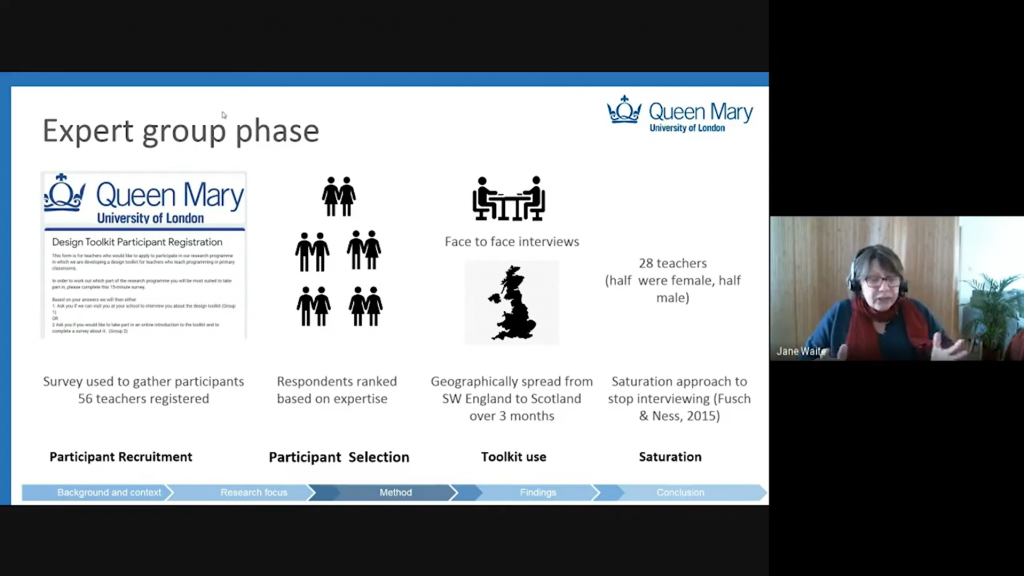
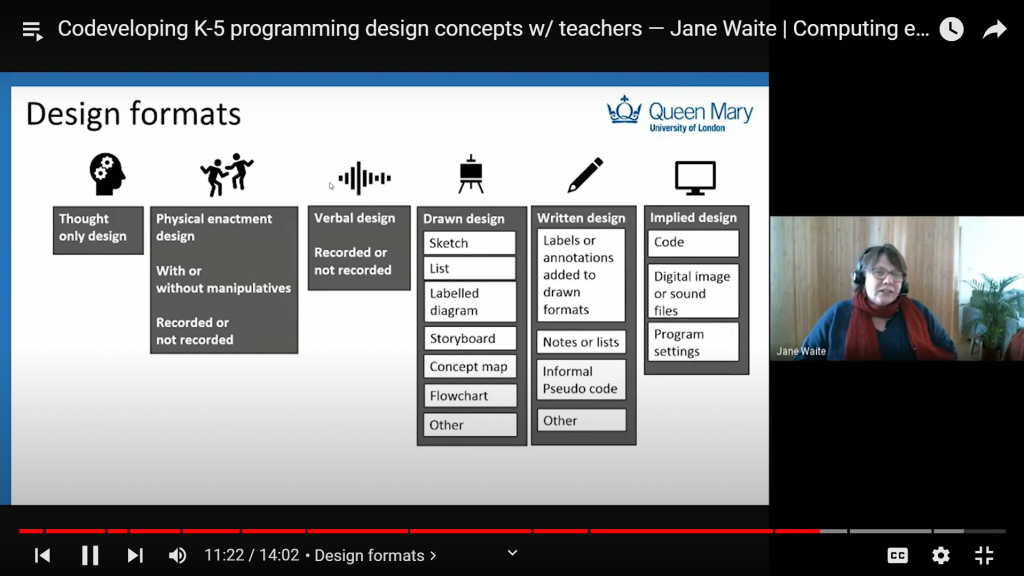
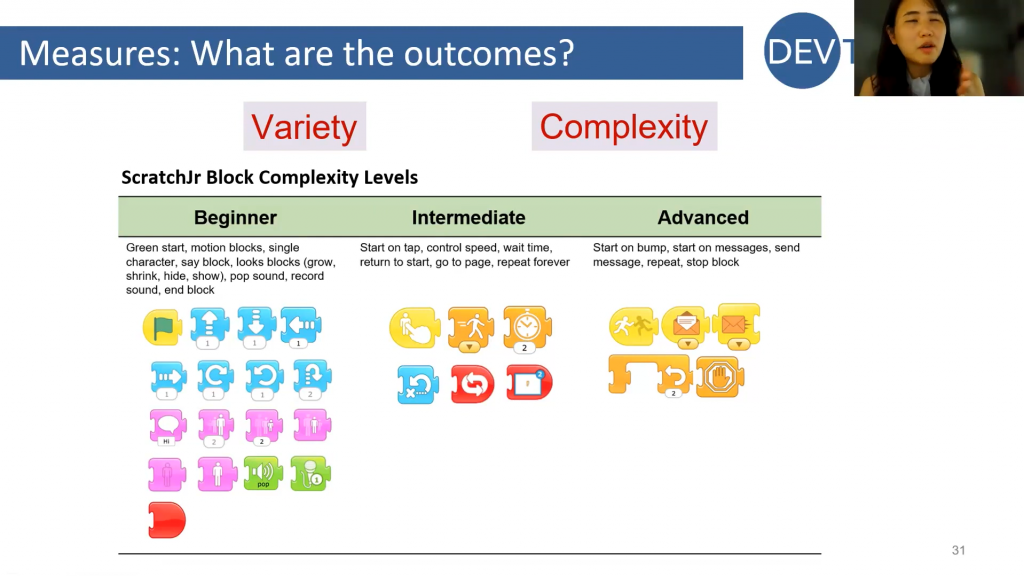
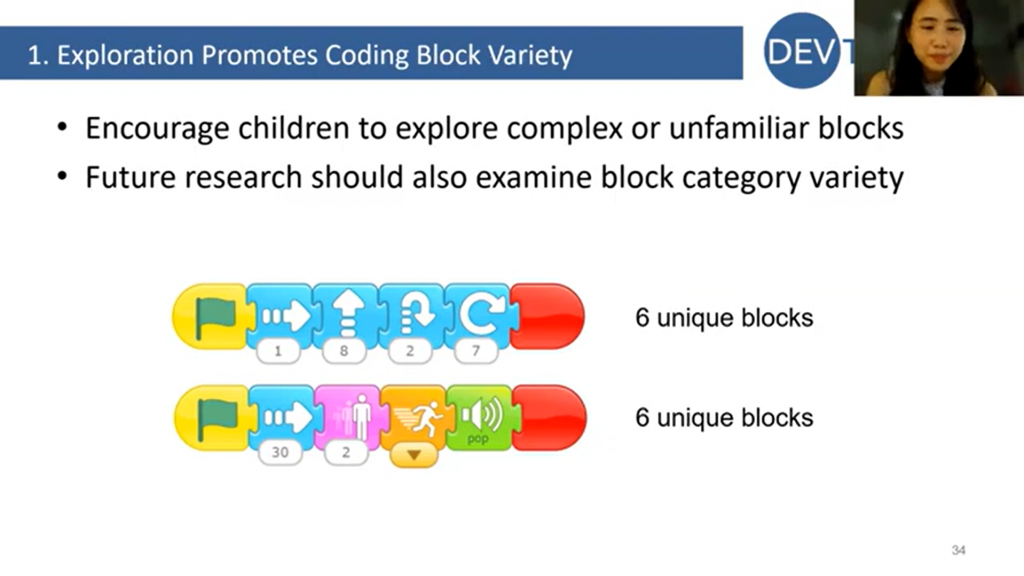
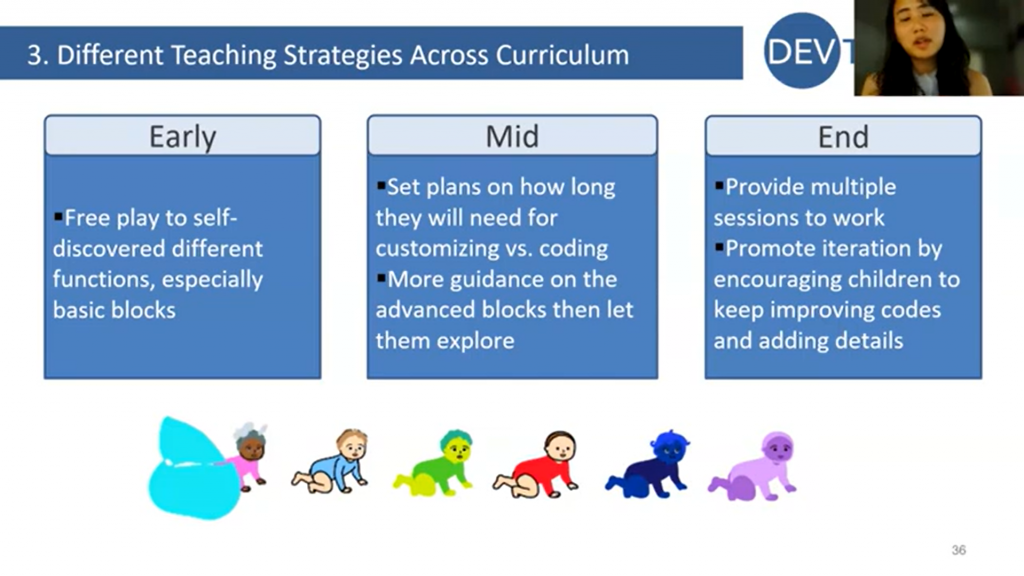
A very interesting seminars on computer science education researches. Brilliant speakers and works!