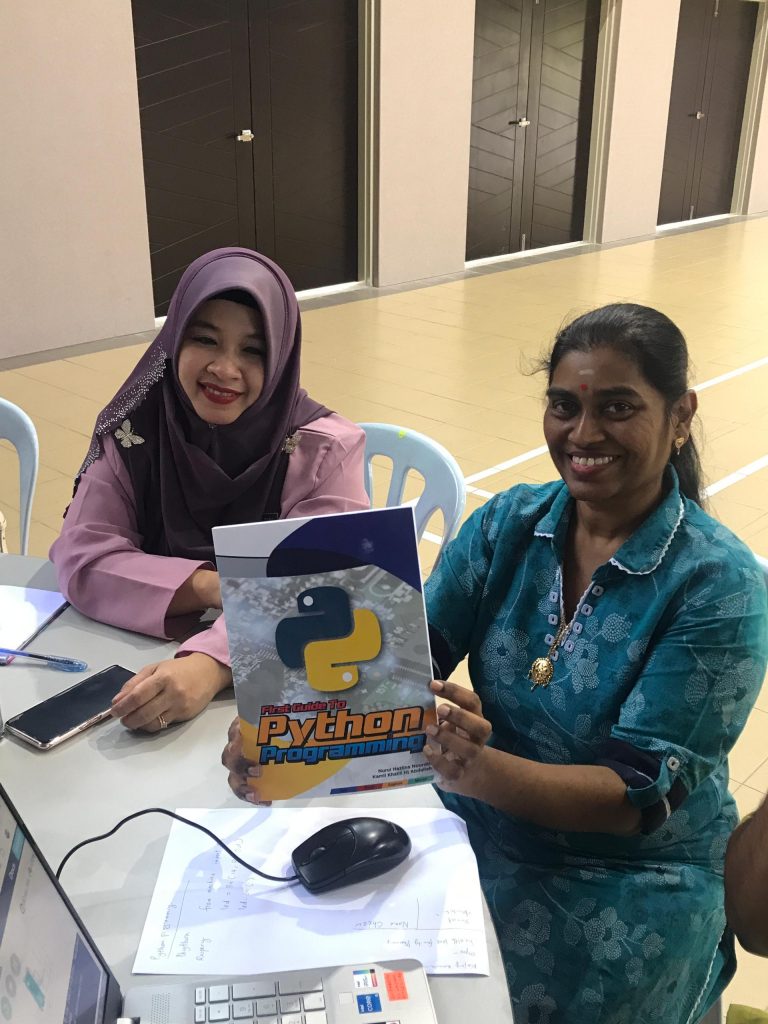
Today, I had the opportunity to deliver a workshop on Introduction to Python, specifically targeting its application in image processing. This workshop was part of a preparatory class for UMPSA double-degree students, who will be enrolling in their image processing course next semester. The objective was to provide them with a foundation in Python programming through a hands-on project-based approach.


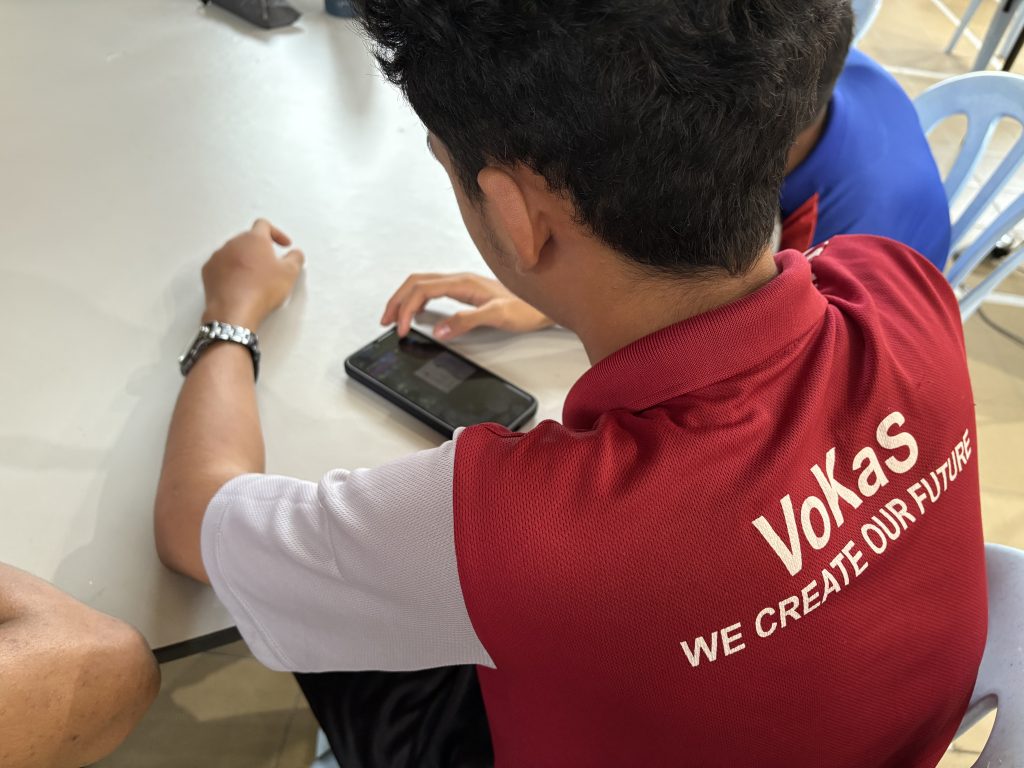
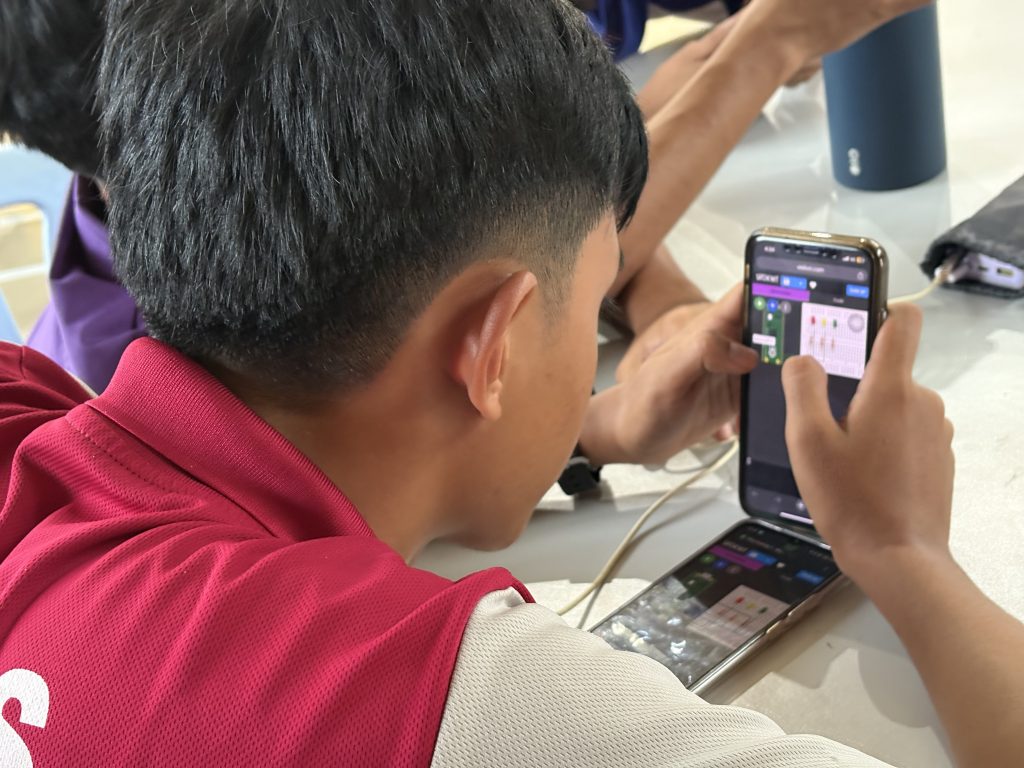
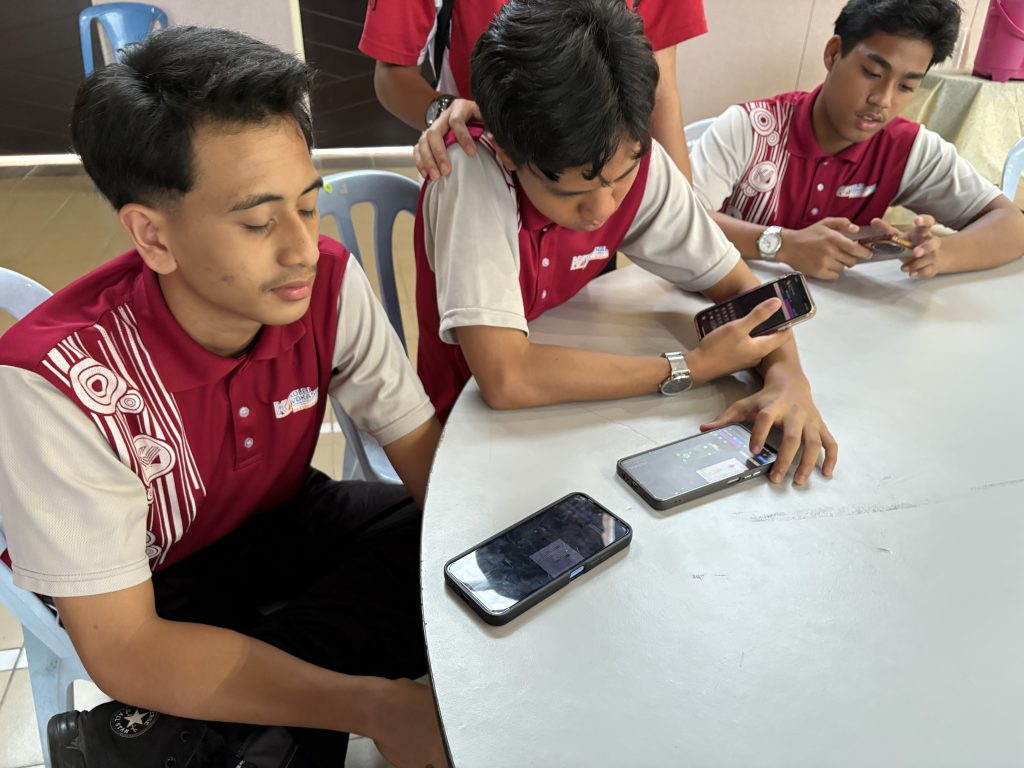
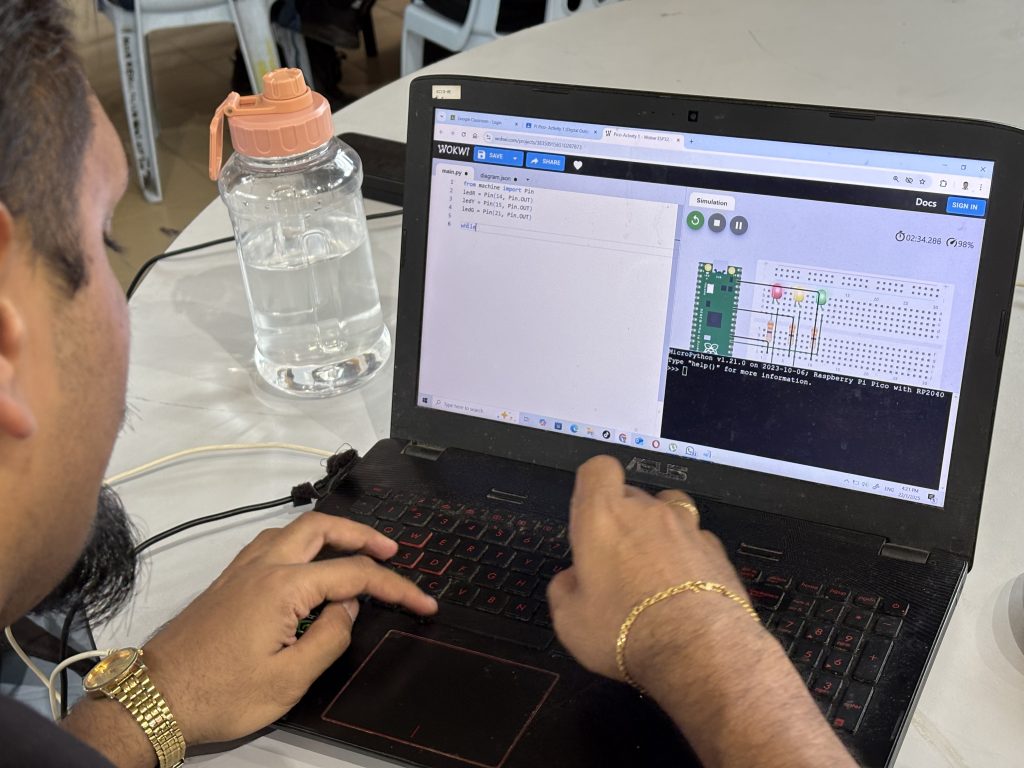
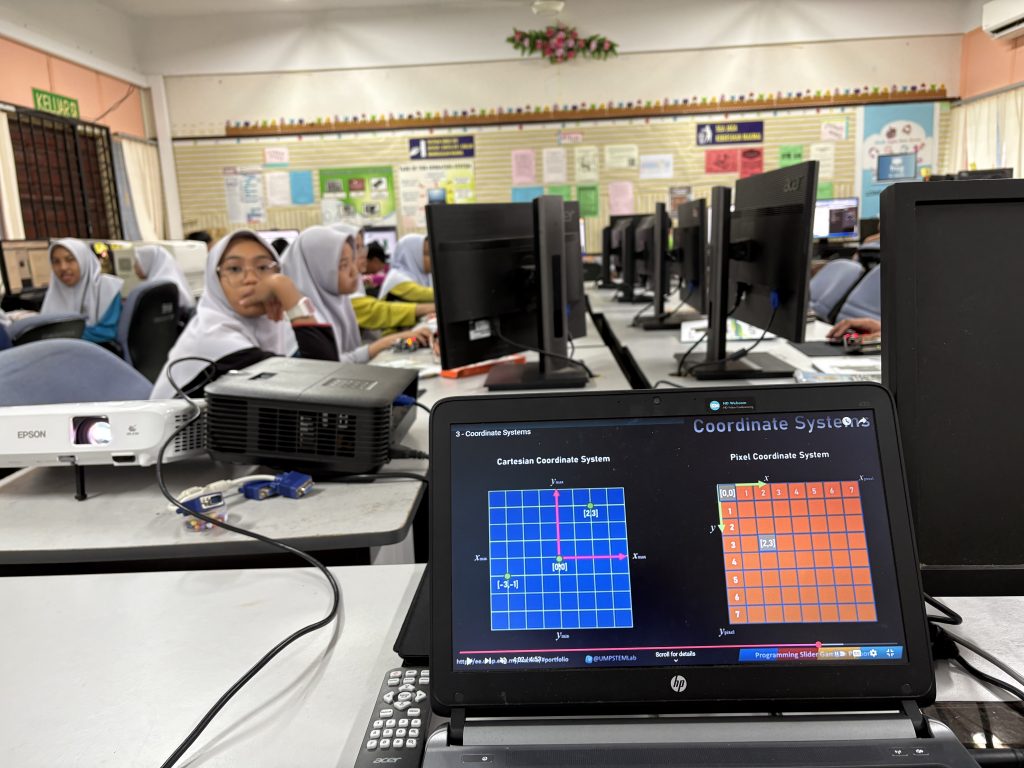
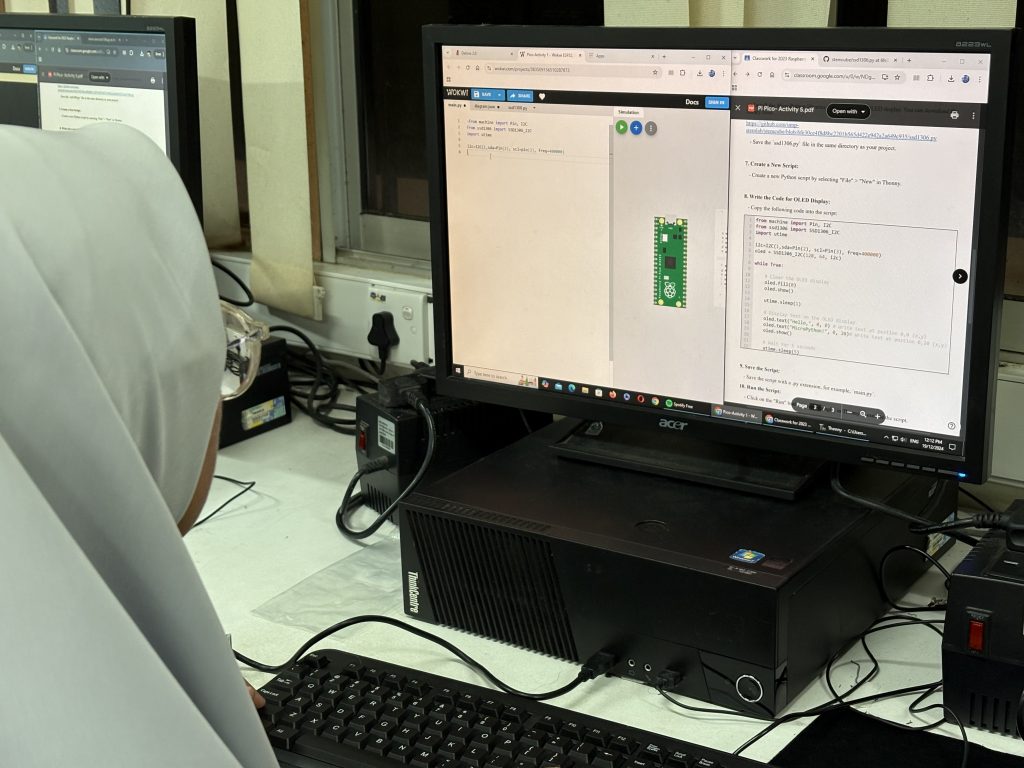
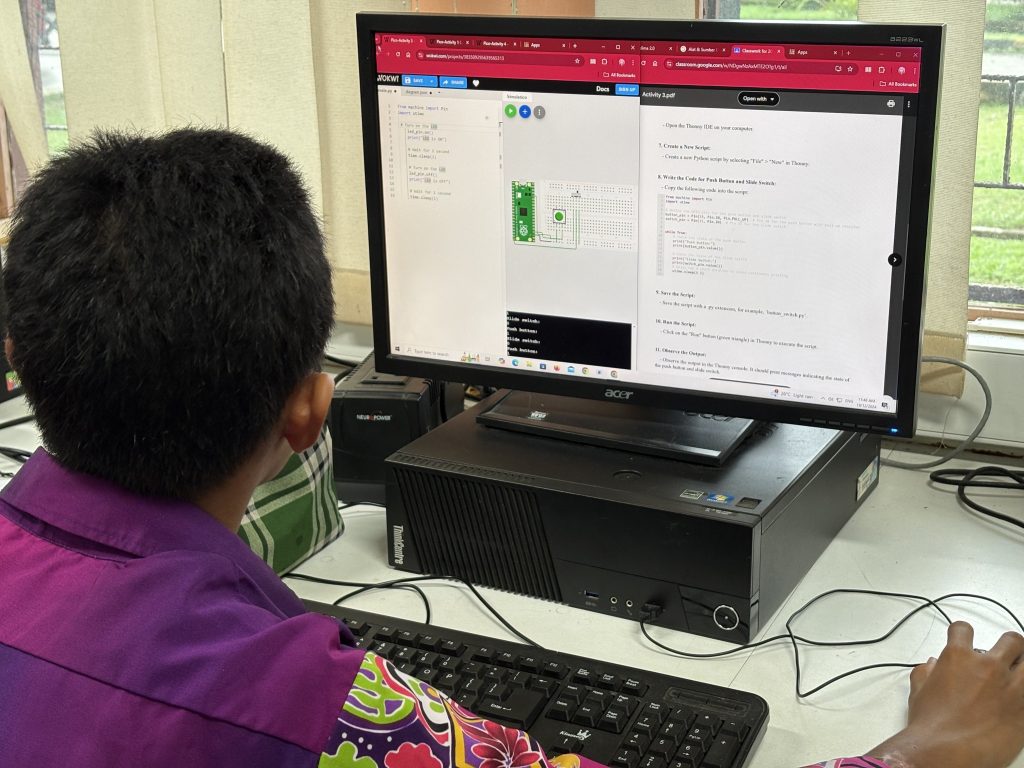
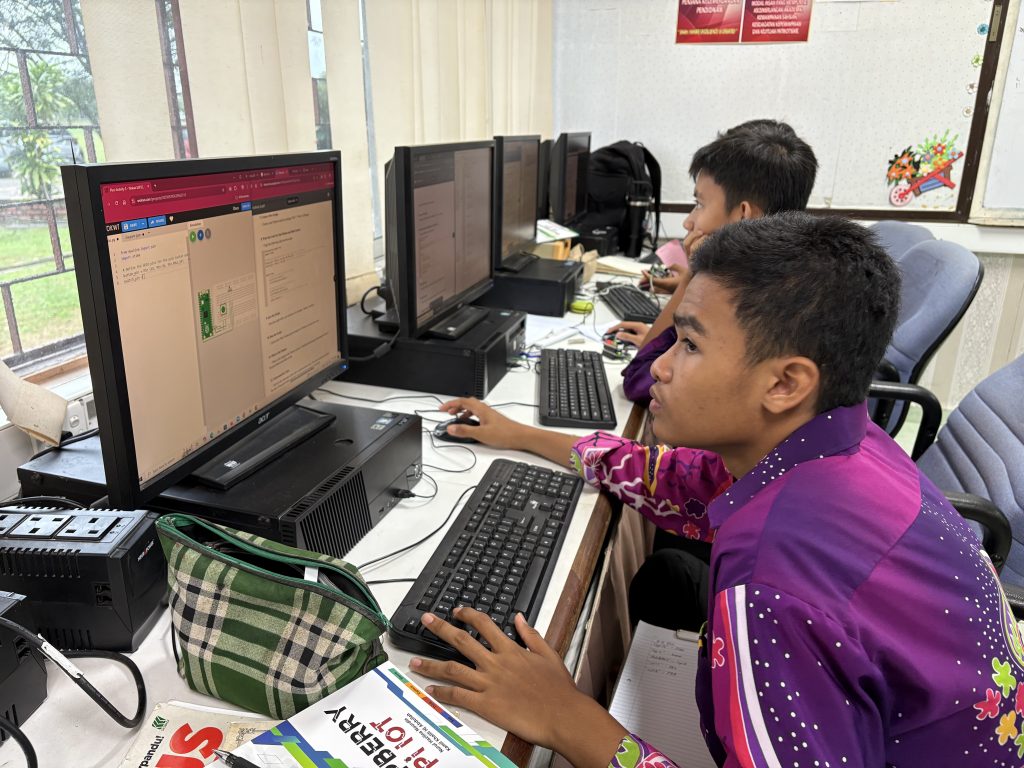
Instead of a conventional lecture-style introduction to Python, the workshop focused on a project-based learning approach, where students were introduced to programming concepts by developing a Slider Game. This project served as an engaging platform to explore Python syntax and core programming concepts, including:
-
-
- Pixels and Color Schemes – Understanding how colors and pixels form the basis of image processing.
- Object-Oriented Programming (OOP) – Declaring objects, defining classes, and implementing methods.
- Control Statements – Implementing loops (
for,while) and conditional statements (if-else). - Event Handling – Managing user input and interactions within the game.
- Timers – Implementing countdowns and delays for interactive experiences.
-
This step-by-step approach helped students grasp the syntax and structure of Python while simultaneously building a fun, interactive game.

Following the Python fundamentals and project development, the workshop transitioned into setting up Anaconda, a critical tool for managing Python environments and dependencies efficiently. Special attention was given to embedding the .yml environment file prepared by the image processing course coordinator. This ensured that students had access to all key libraries and tools required for their upcoming course, including:
-
-
- scikit-image – For advanced image processing tasks.
- Matplotlib – For data visualization and plotting image transformations.
- OpenCV – For real-time image manipulation and computer vision applications.
-
By setting up a pre-configured environment, we aimed to provide students with a smooth learning experience without the hassle of installing dependencies manually.


The workshop concluded with a hands-on session exploring fundamental image processing techniques. Students experimented with:
-
-
- Image Scaling – Resizing and adjusting image dimensions.
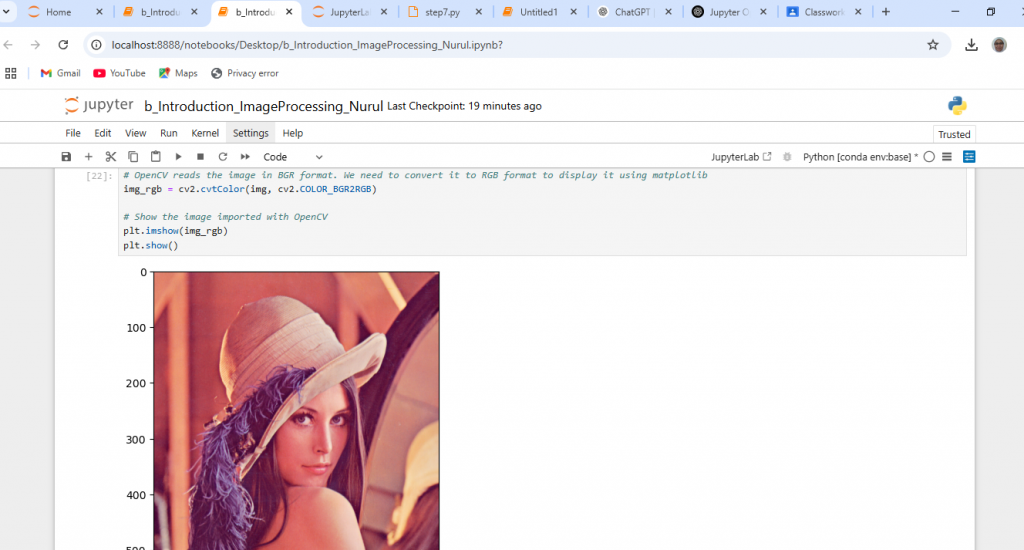
- Color Manipulation – Converting RGB images to grayscale.
- Basic Filters & Enhancements – Adjusting brightness, contrast, and sharpening.
-
As a final exercise, students worked with the iconic Lenna.png file, applying different transformations to understand basic image properties.


This workshop was an exciting and fulfilling experience, as it introduced students to Python programming in a practical and engaging manner. By developing a project along the way, they not only learned Python syntax and concepts but also experienced how these concepts translate into real-world applications like image processing. I truly enjoyed guiding them through this process and hope they found this approach refreshing and insightful.
Wishing all the students the best of luck in their upcoming image processing course! Looking forward to seeing how they apply Python in their projects and beyond.