


The world is digital, but life is analog..
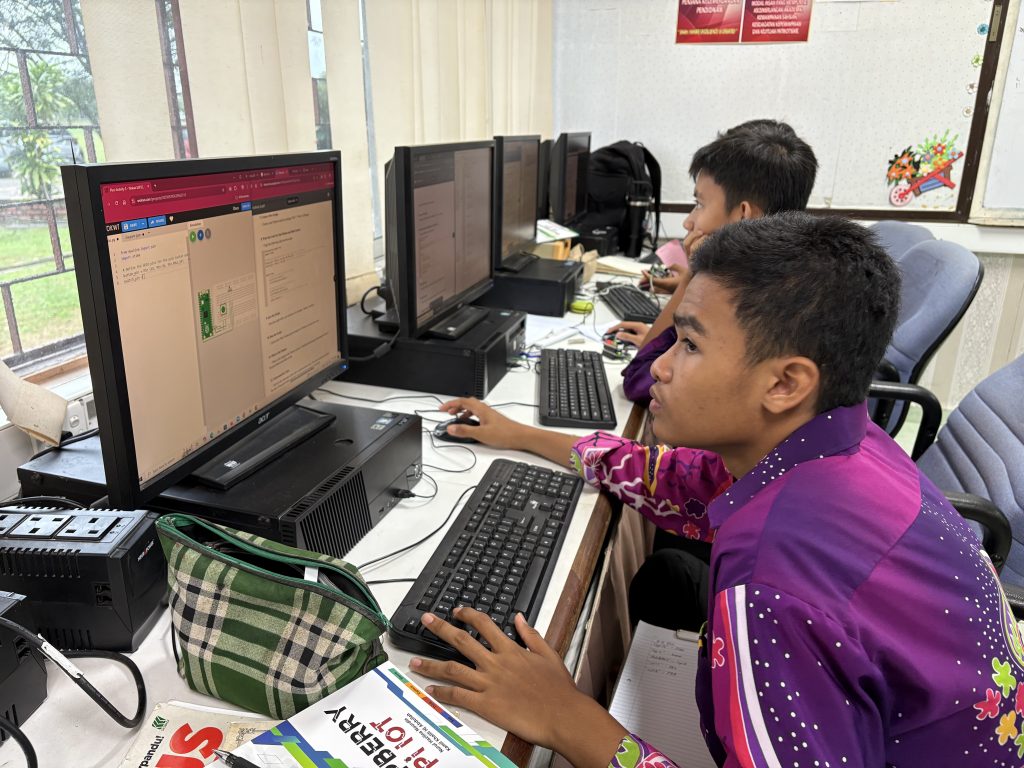
This week at the UMPSA STEM Lab, it’s a celebration weeks of effort, creativity, and learning as students from BTE1522 and DRE2323 showcased their project progress during their Week 13 presentations :), very well done.
The project list for this semester
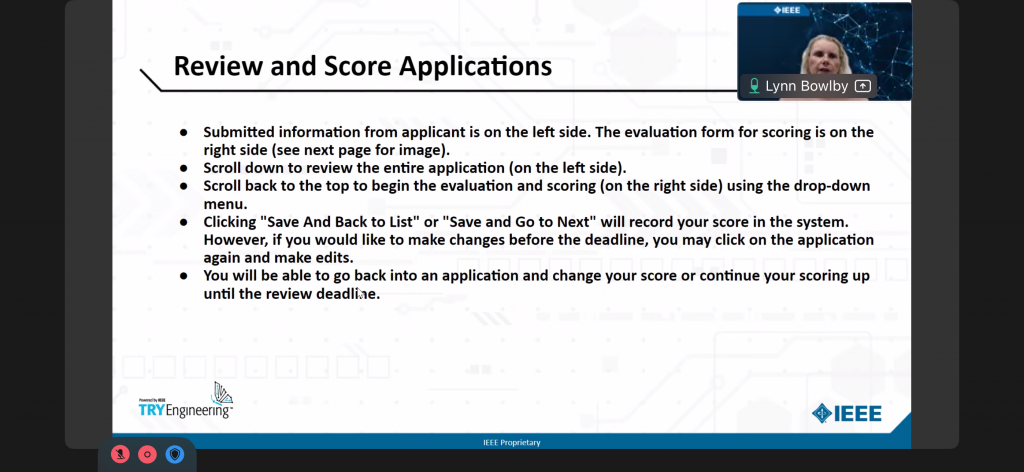
This session marked a critical checkpoint in the Project-Based Learning (PBL) approach, where students demonstrated their understanding of concepts learned from Week 1 to Week 8.
The Essence of Project-Based Learning
Project-Based Learning is more than just a teaching method—it’s a transformative approach to mastering coding and physical computing. Through hands-on activities, students delve into real-world challenges, integrating knowledge from various topics and applying it to create meaningful projects.
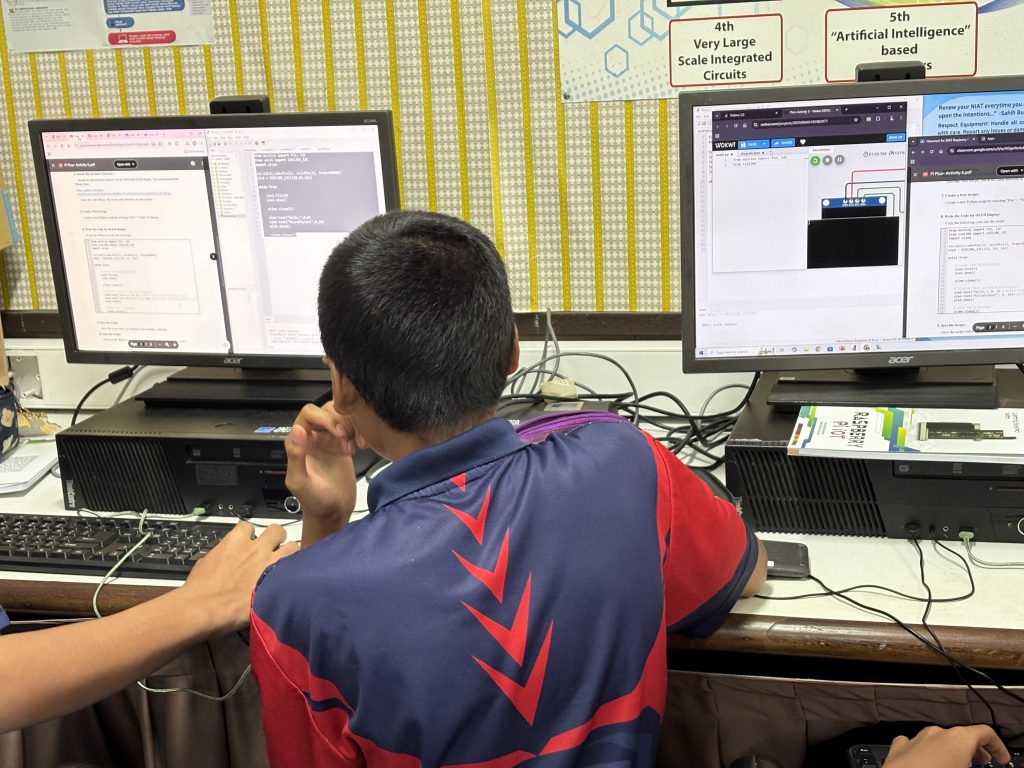
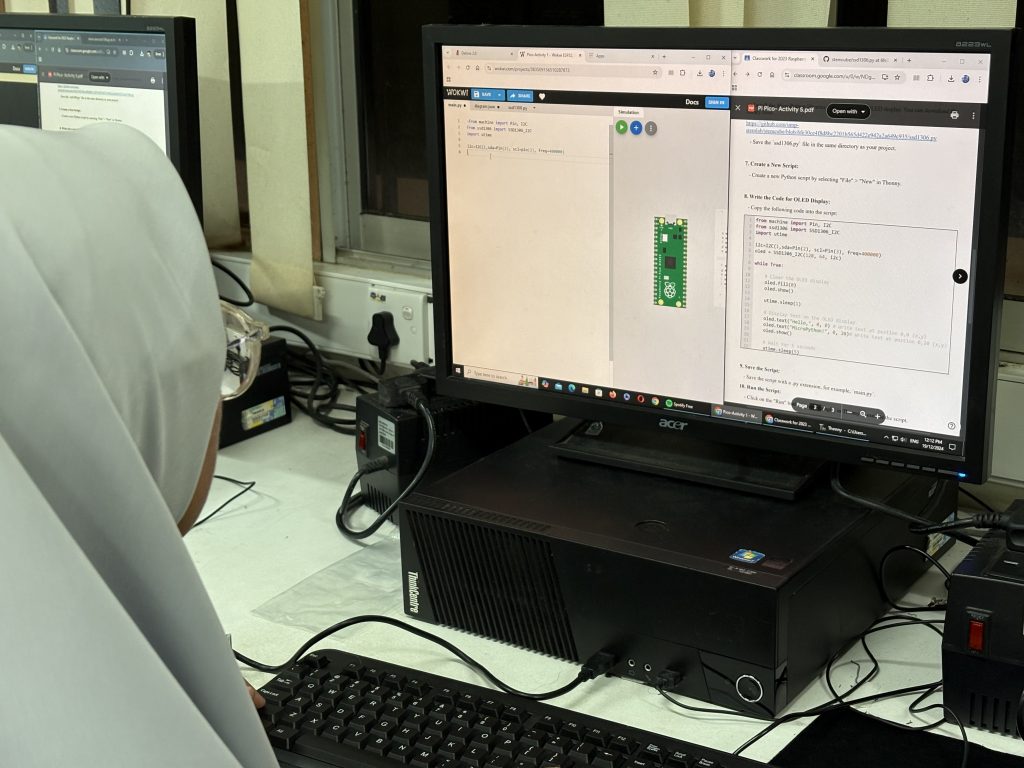
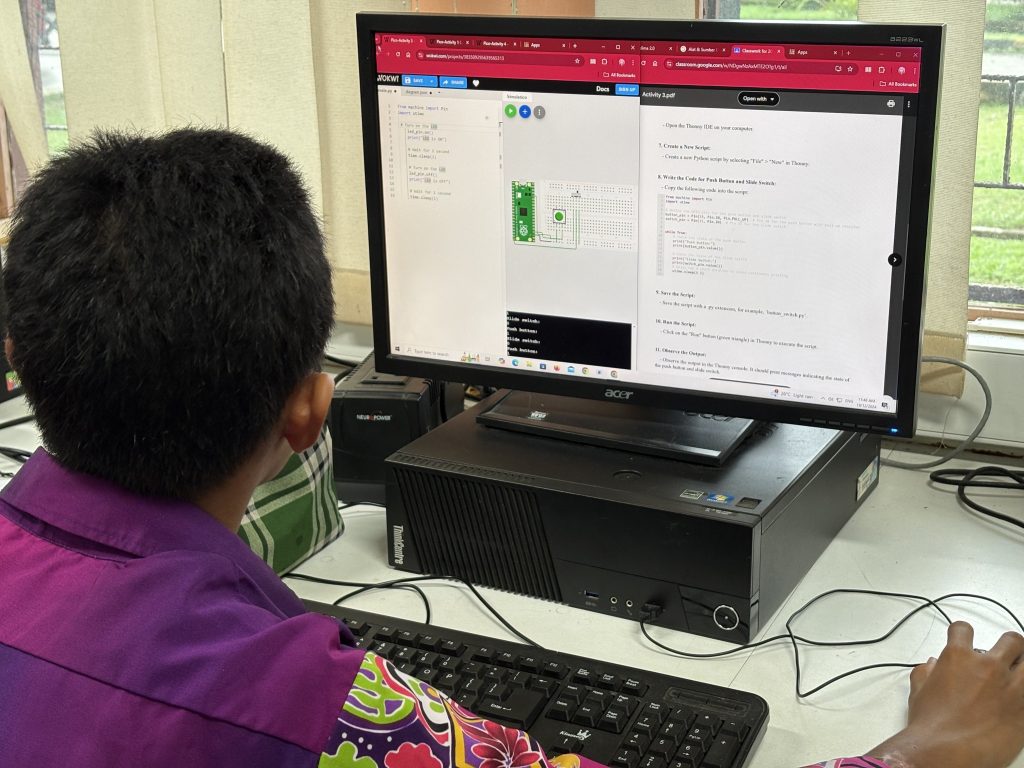
In the case of BTE1522 and DRE2323, this journey began with developing Python-based games and culminated in complex physical computing projects using Raspberry Pi and microcontrollers like the Pi Pico. By “learning through doing,” students gained practical skills in coding, troubleshooting, debugging, and tinkering—key competencies for future engineers and technologists.
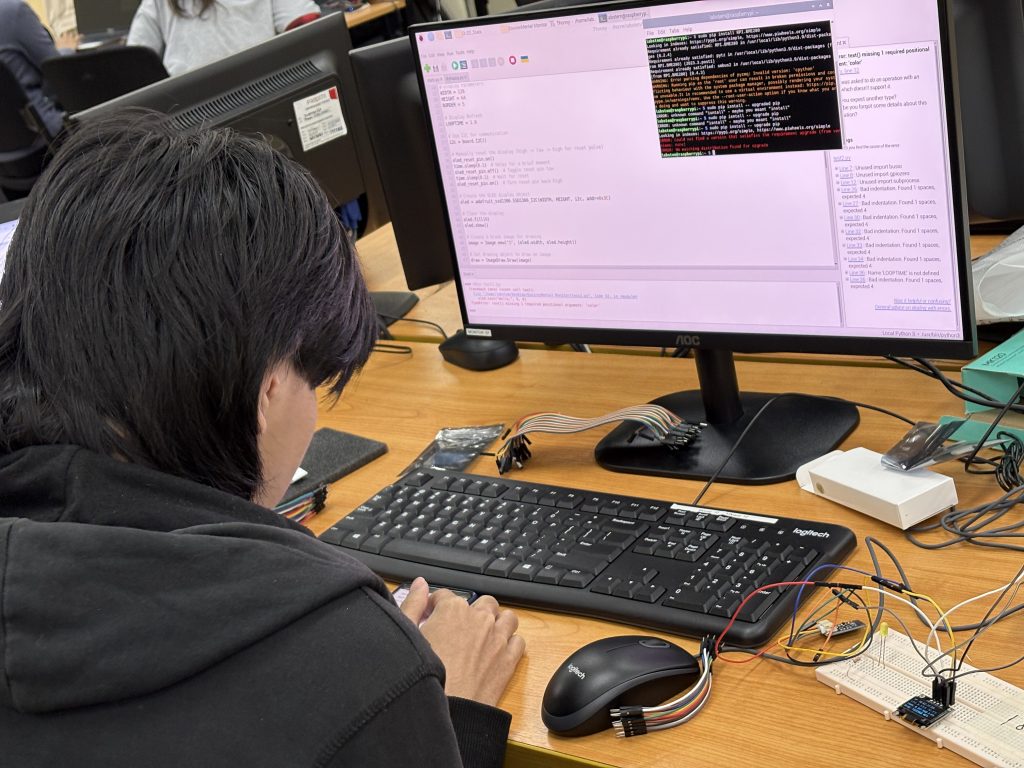
The Week 13 Presentations
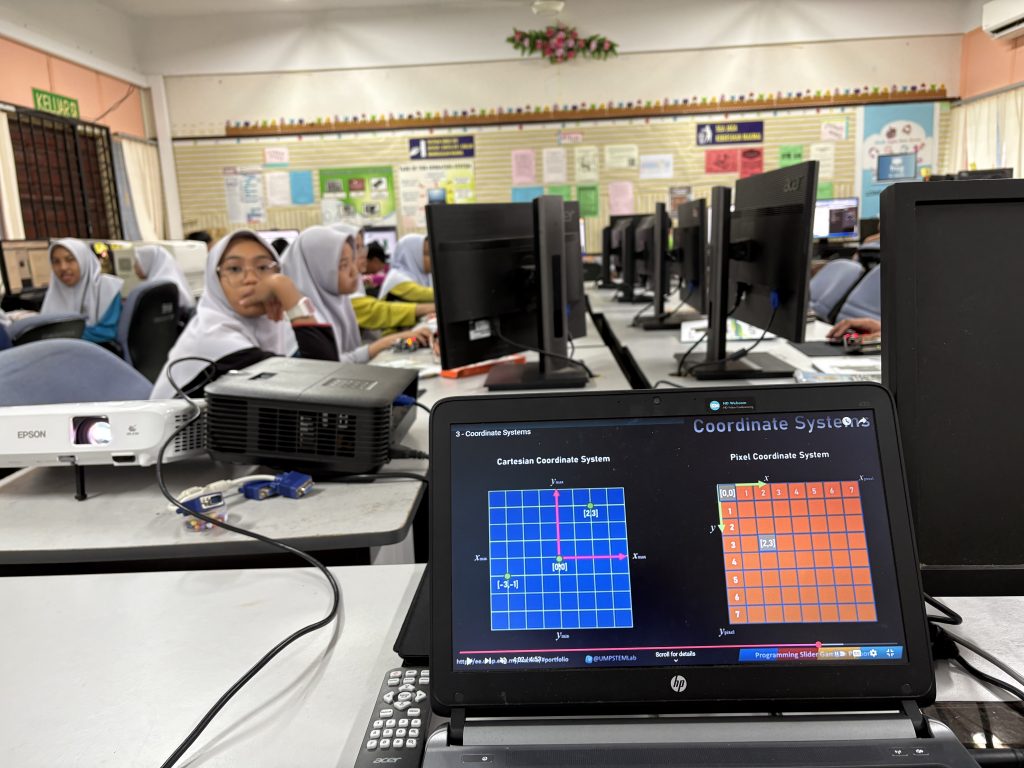
Students from both classes, DRE2213 and BTE1522 built on their foundational Python programming knowledge by creating interactive games in the early weeks, such as slider games and arcade-style challenges. These games taught them the core principles of programming, including variables, loops, and control structures.
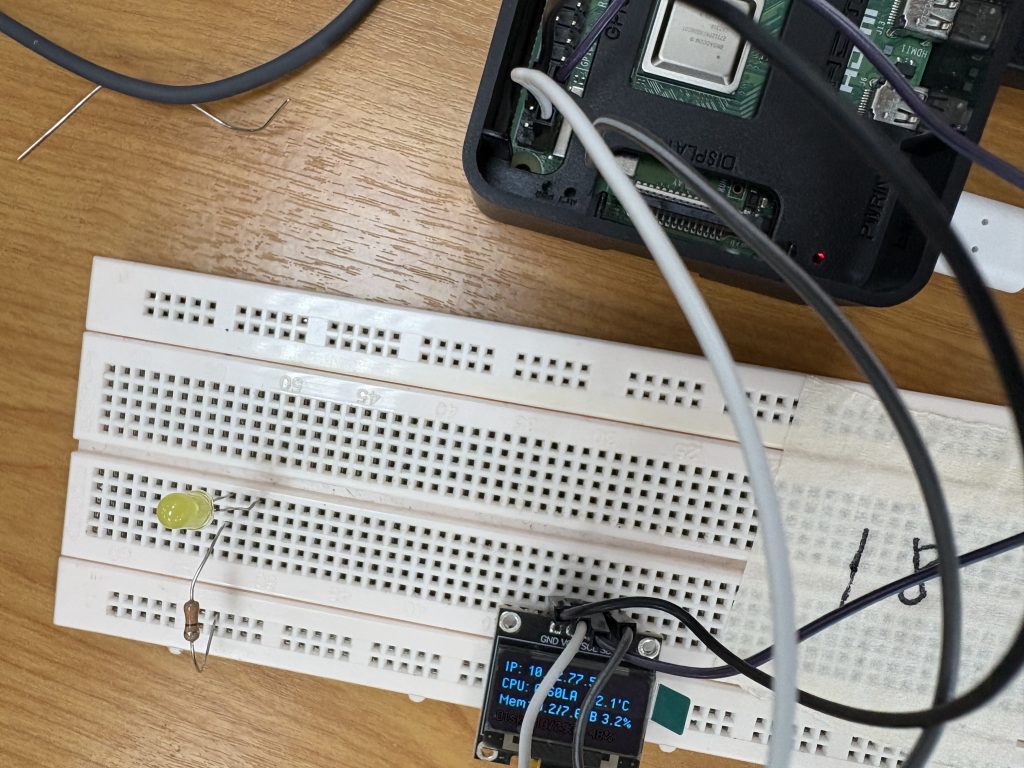
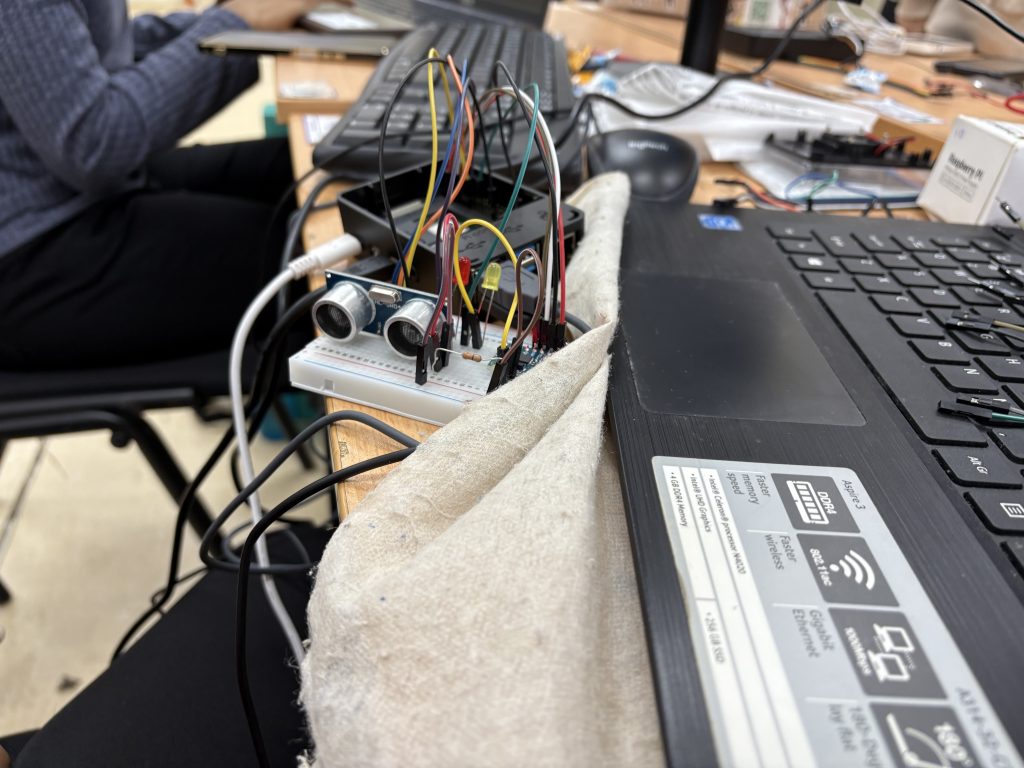
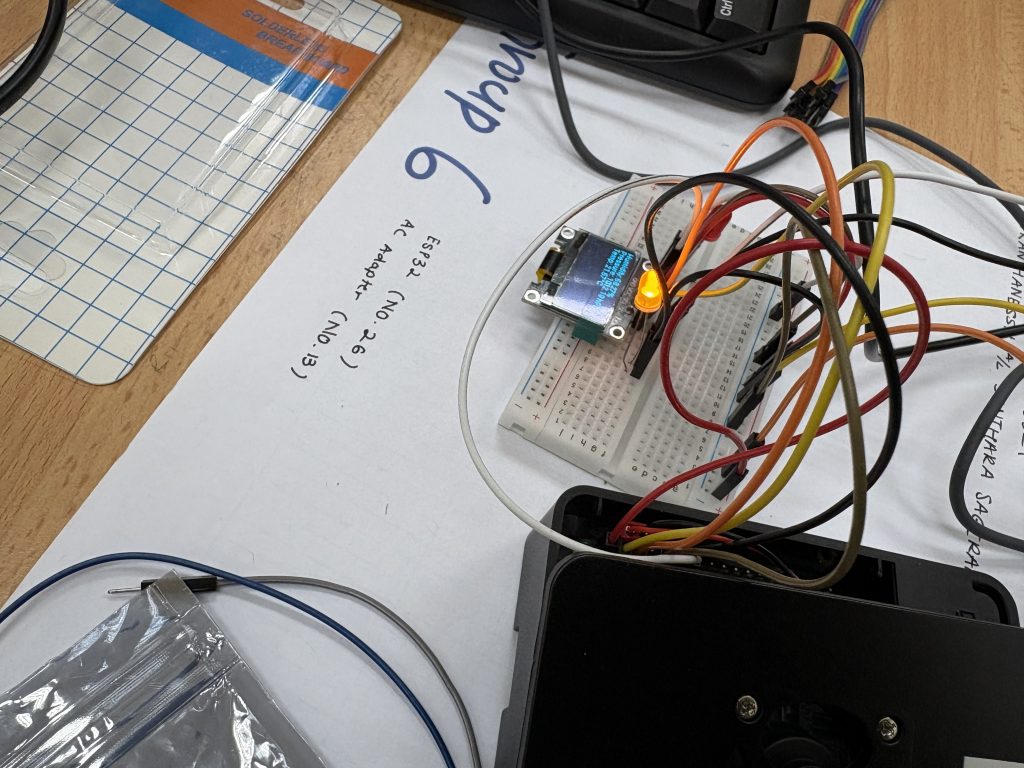
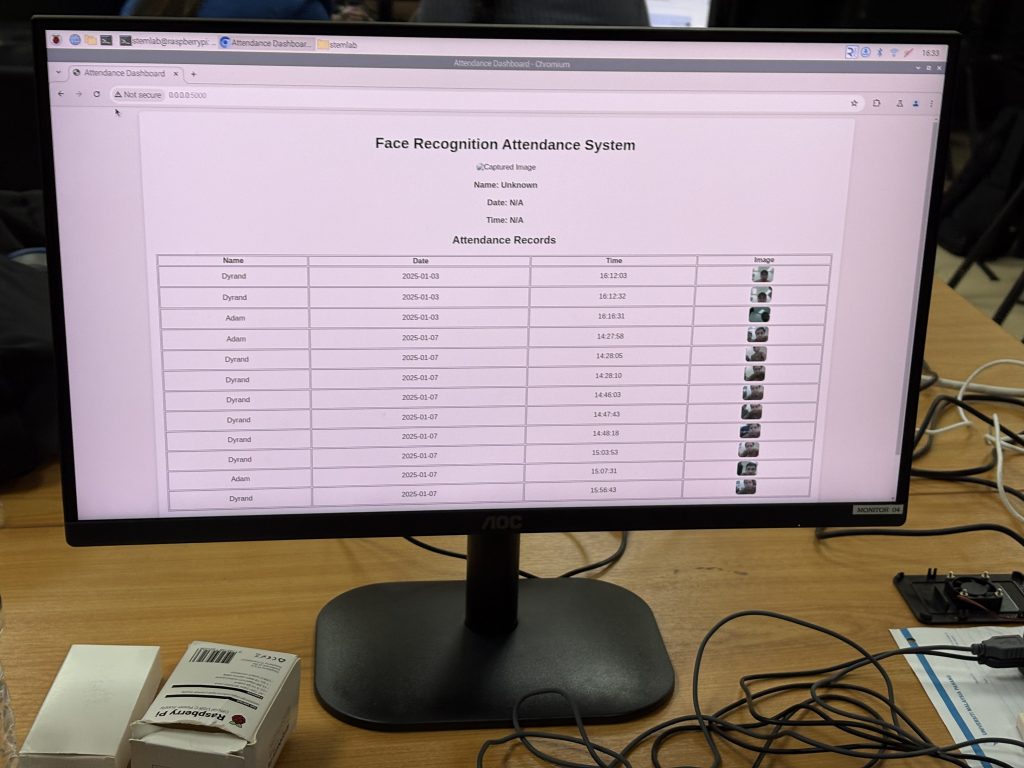
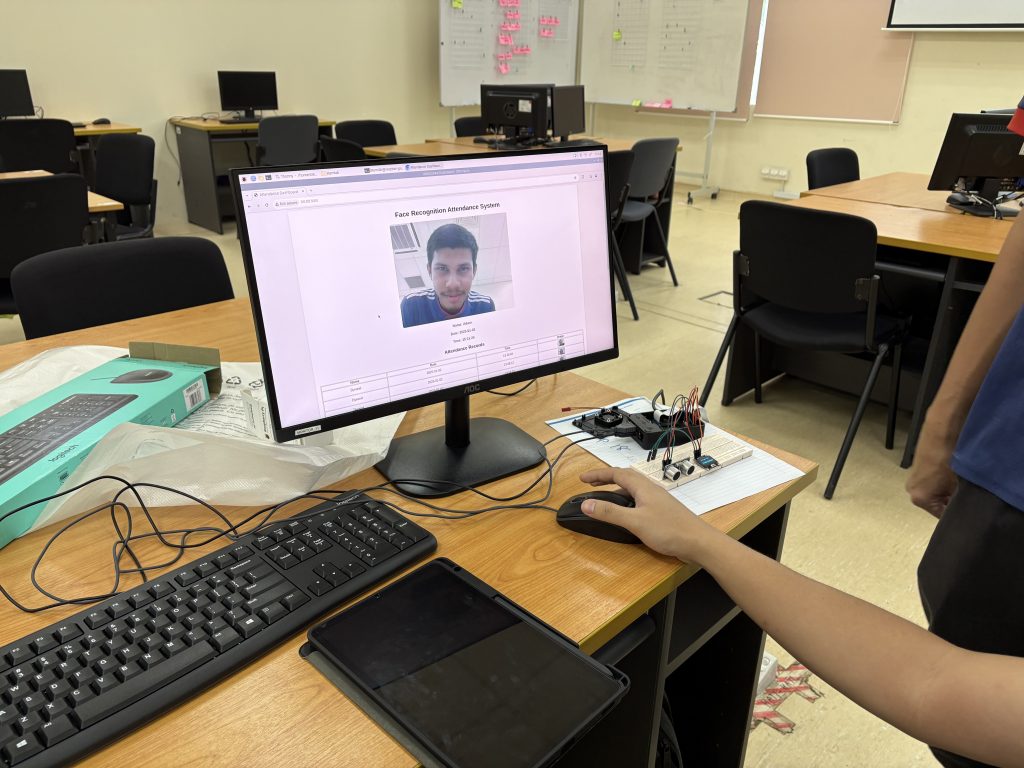
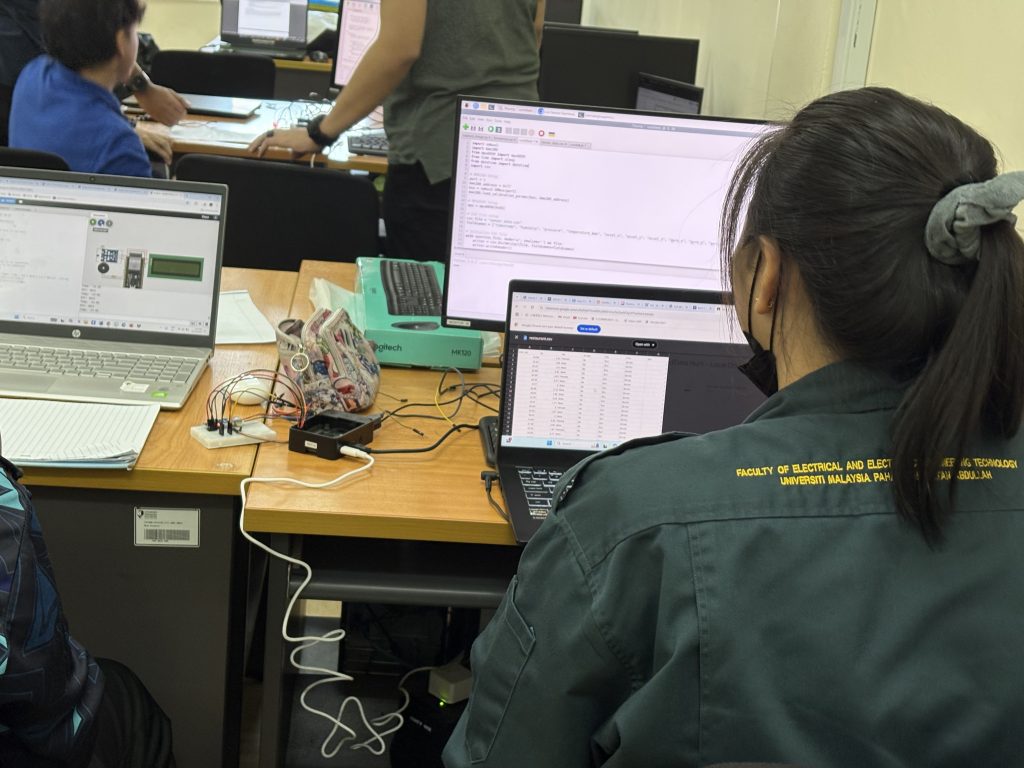
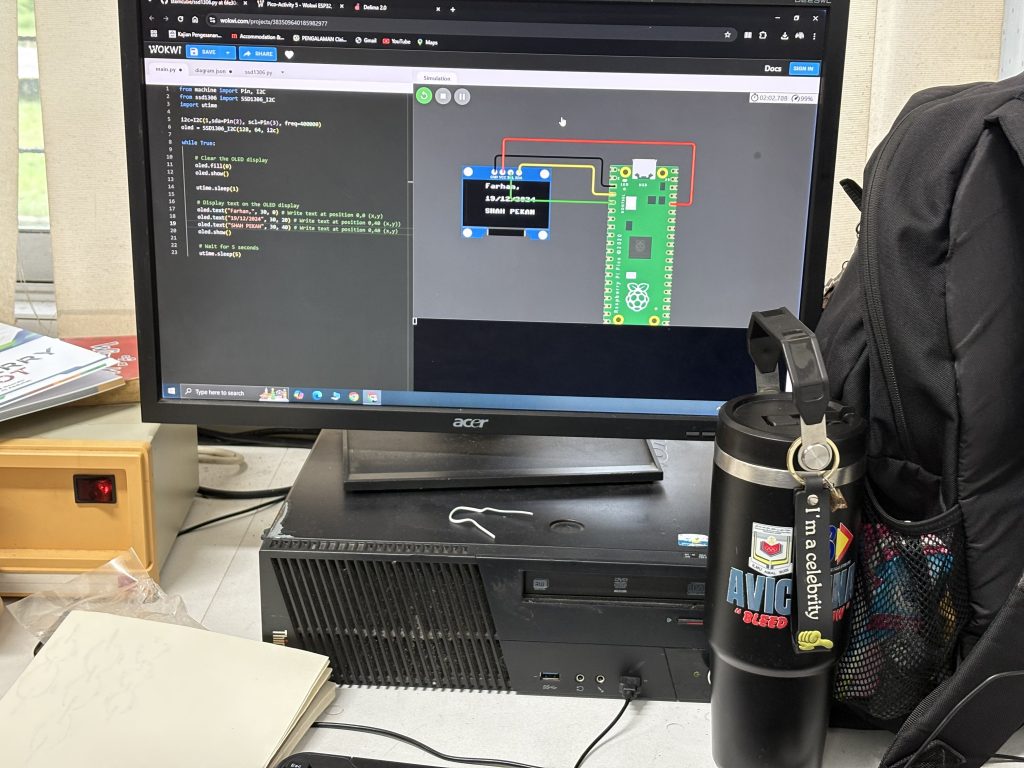
For their projects, they transitioned to physical computing, integrating Raspberry Pi with sensors and hardware to develop innovative systems. Projects included:
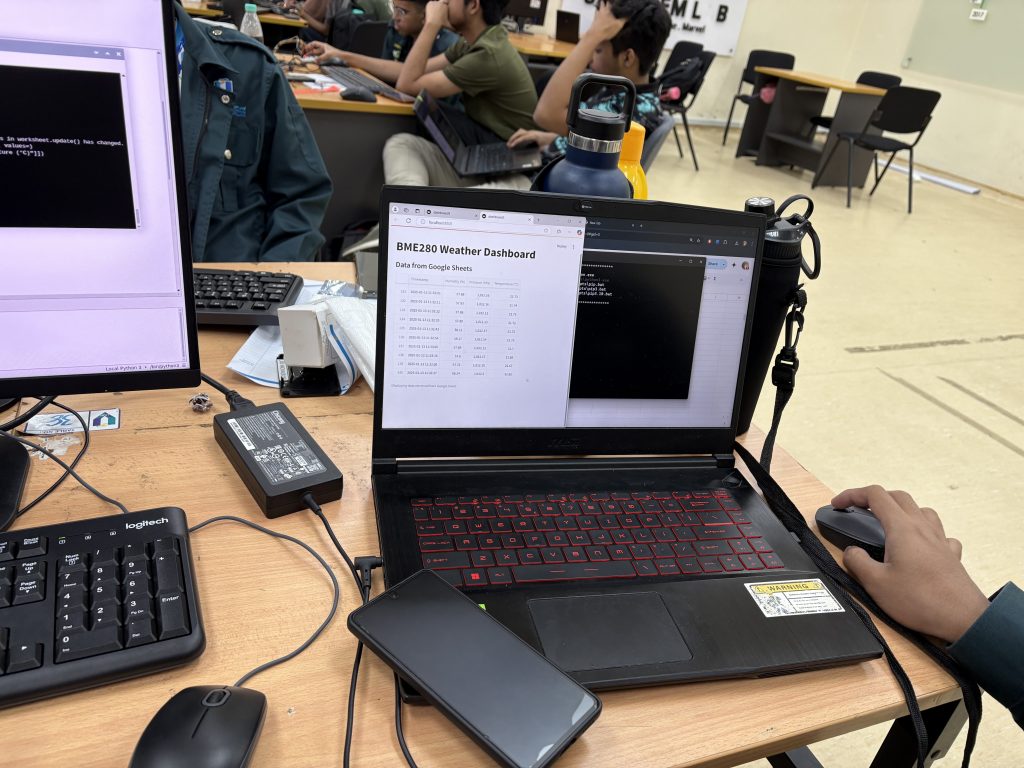
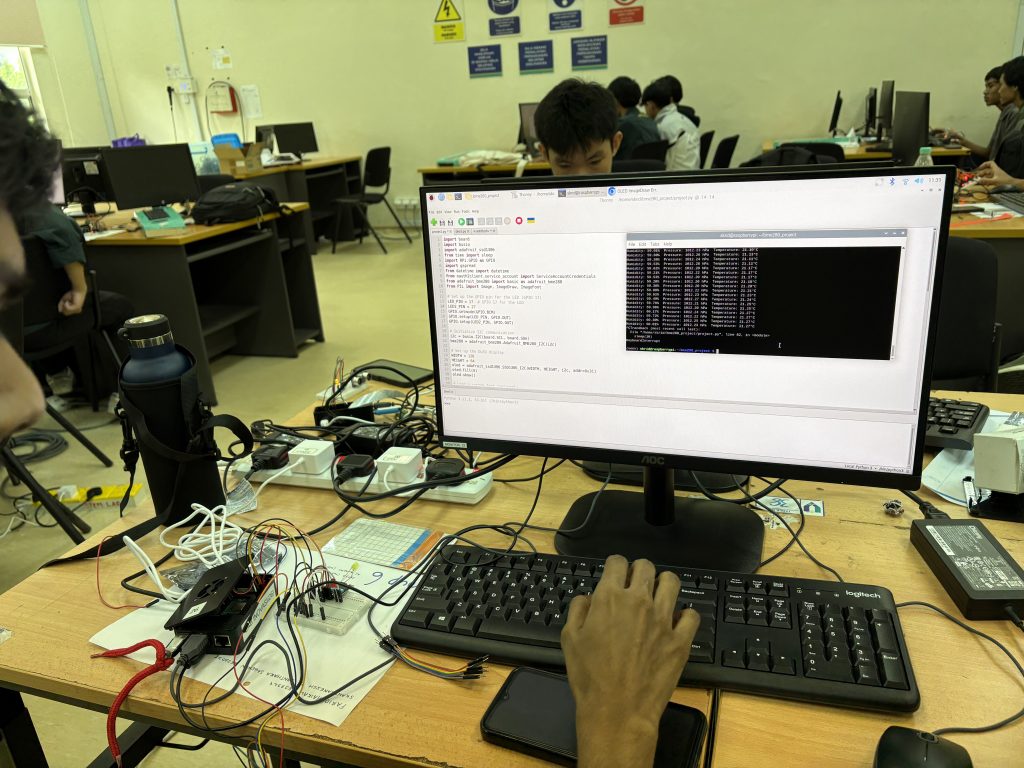
They then focused on blending Python programming with hardware integration. Their projects reflected their grasp of advanced concepts like data acquisition, cloud integration, and system automation. Some notable projects included:
Learning Through Challenges
The journey from Week 9 to Week 13 was filled with challenges that tested the students’ knowledge and resilience. Key lessons included:
Why Project-Based Learning Works
Coding is best learned by doing, and PBL offers a structured yet flexible framework to foster active learning. By working on tangible projects, students not only consolidate theoretical knowledge but also develop critical thinking, creativity, and problem-solving skills.
Looking Ahead
The Week 13 presentations are not the end but a milestone in the students’ journey. The feedback received during the session will guide them as they refine their projects in the coming weeks. The final showcase will demonstrate not just their technical expertise but also their growth as innovators and problem solvers.
Well done everyone!


*UMPSA STEM Lab Raspberry Pi Programming Synopsis can be found here.
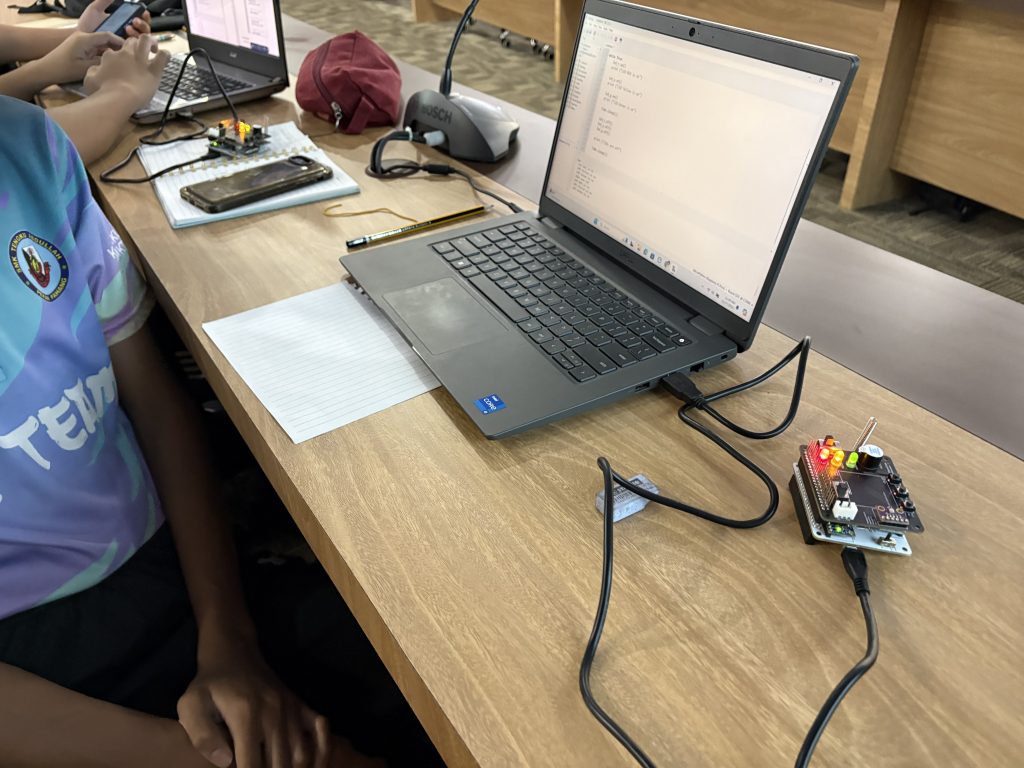
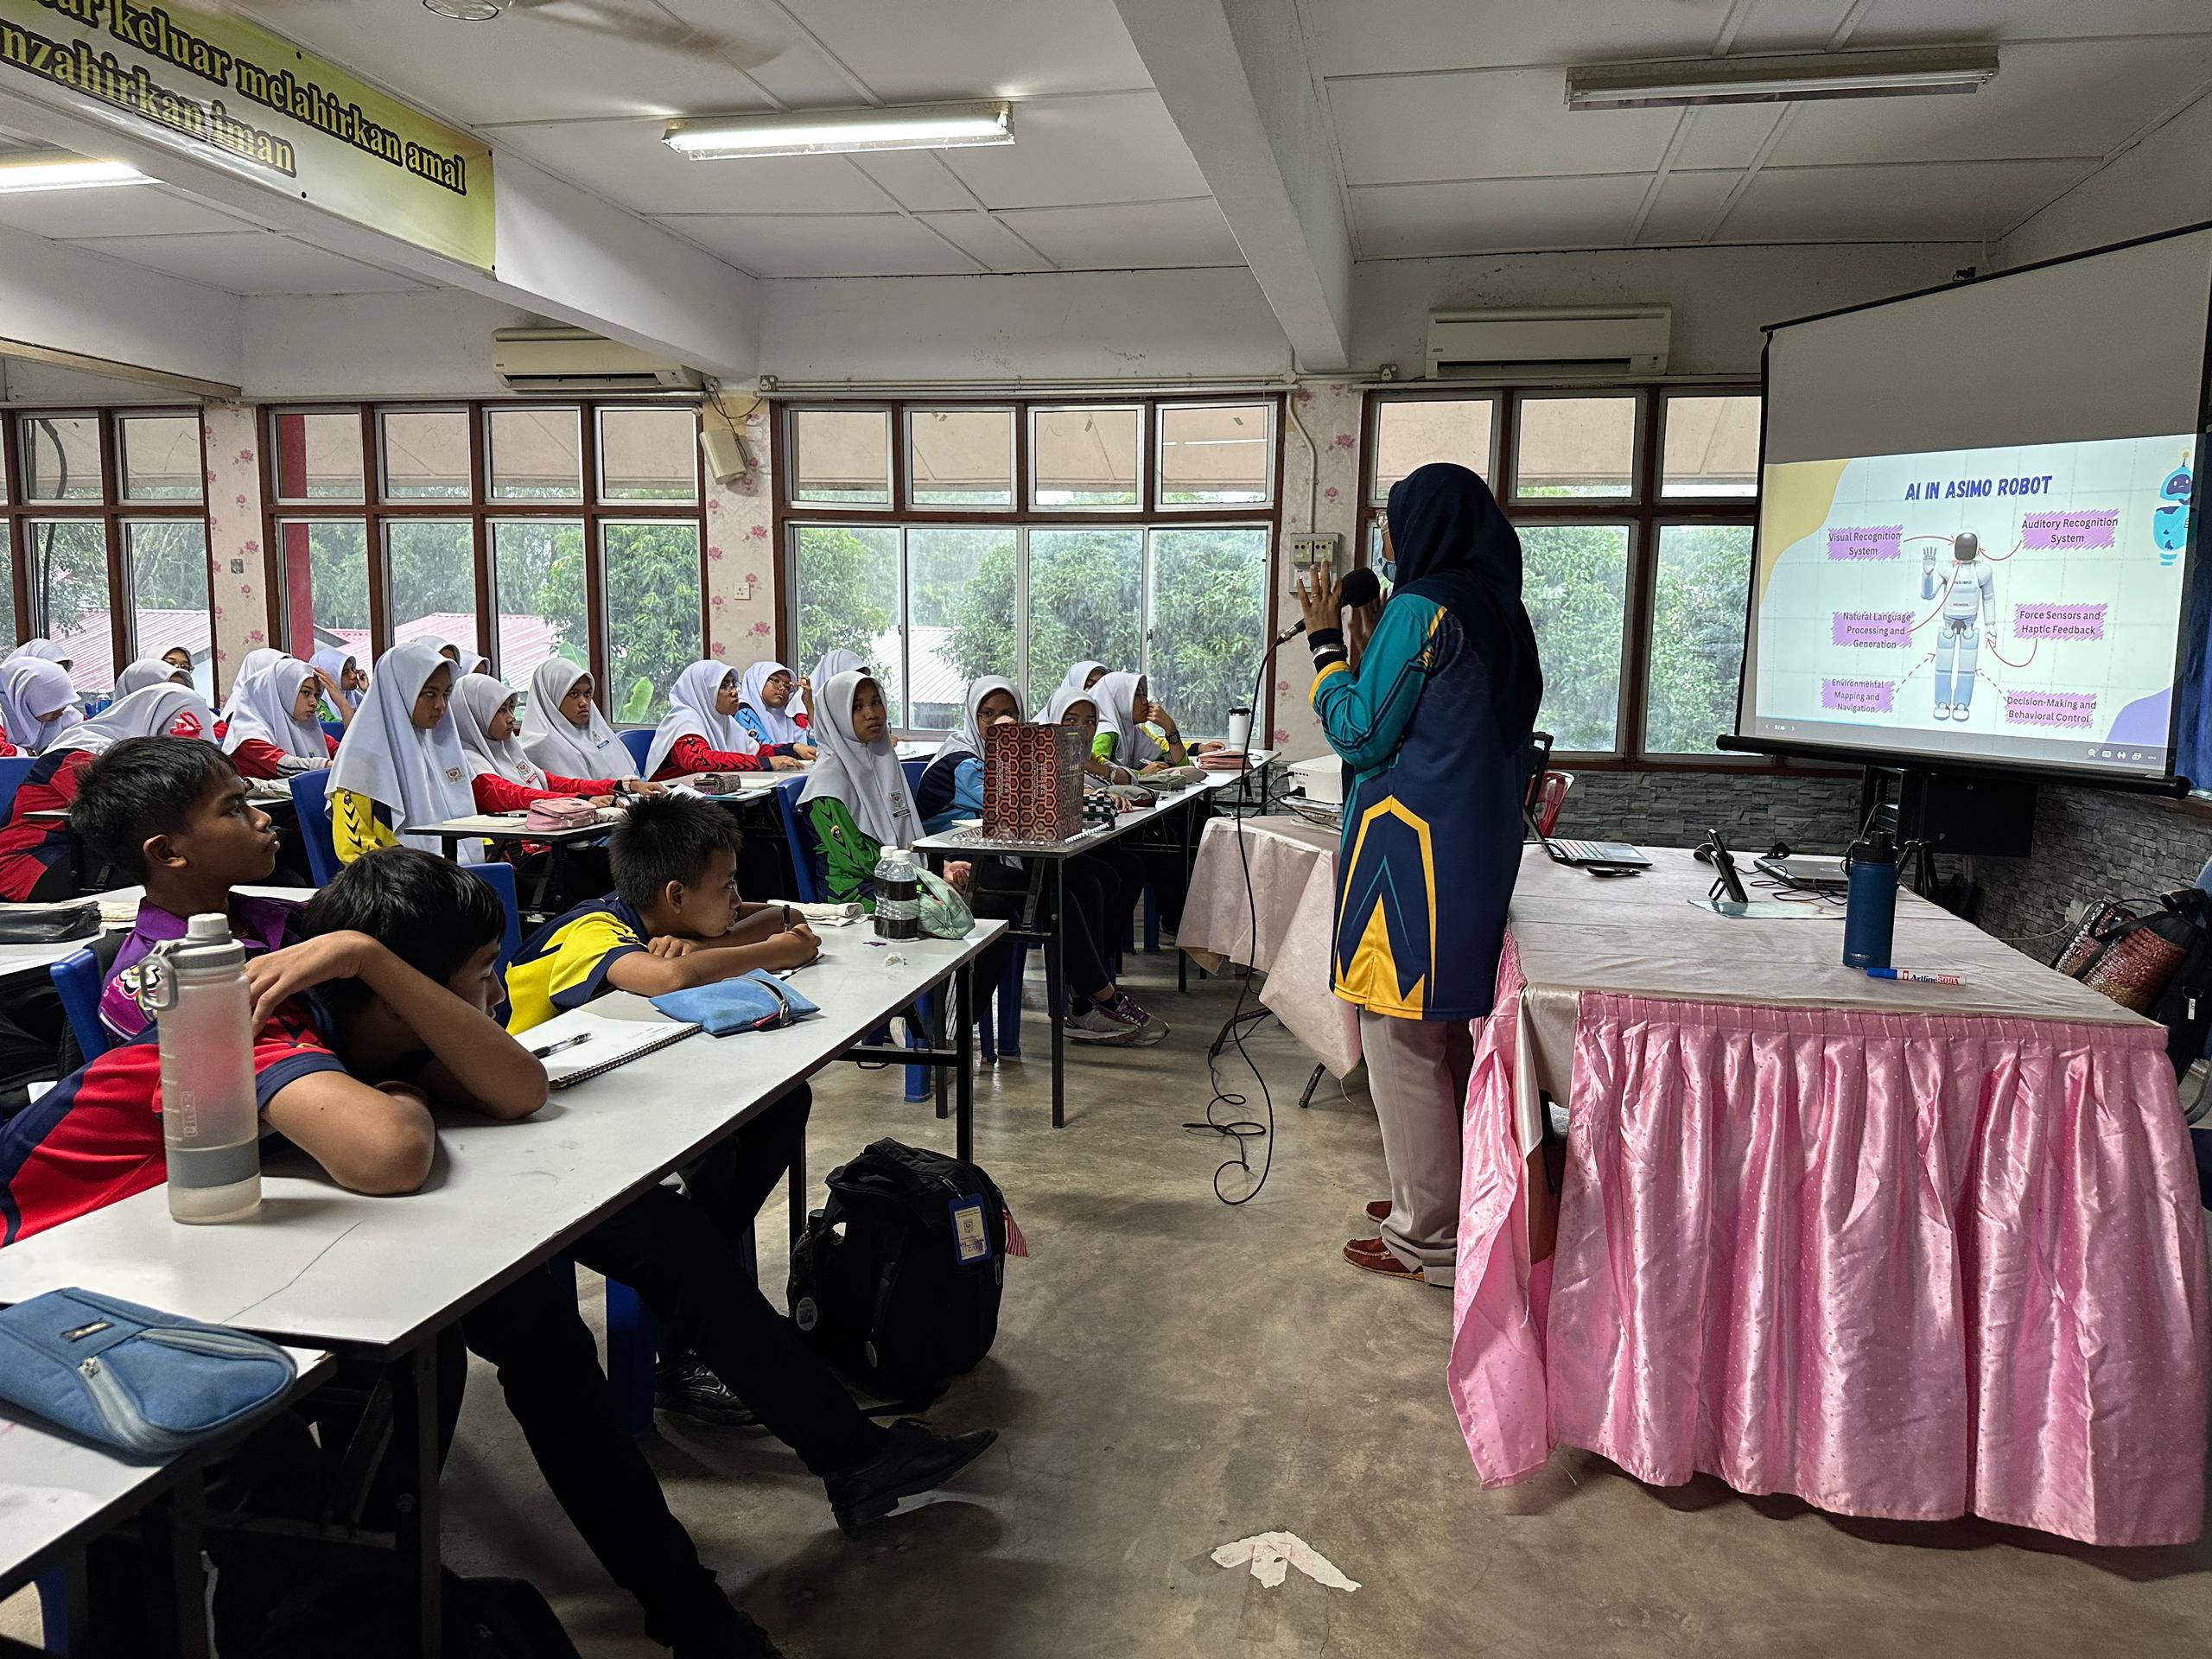
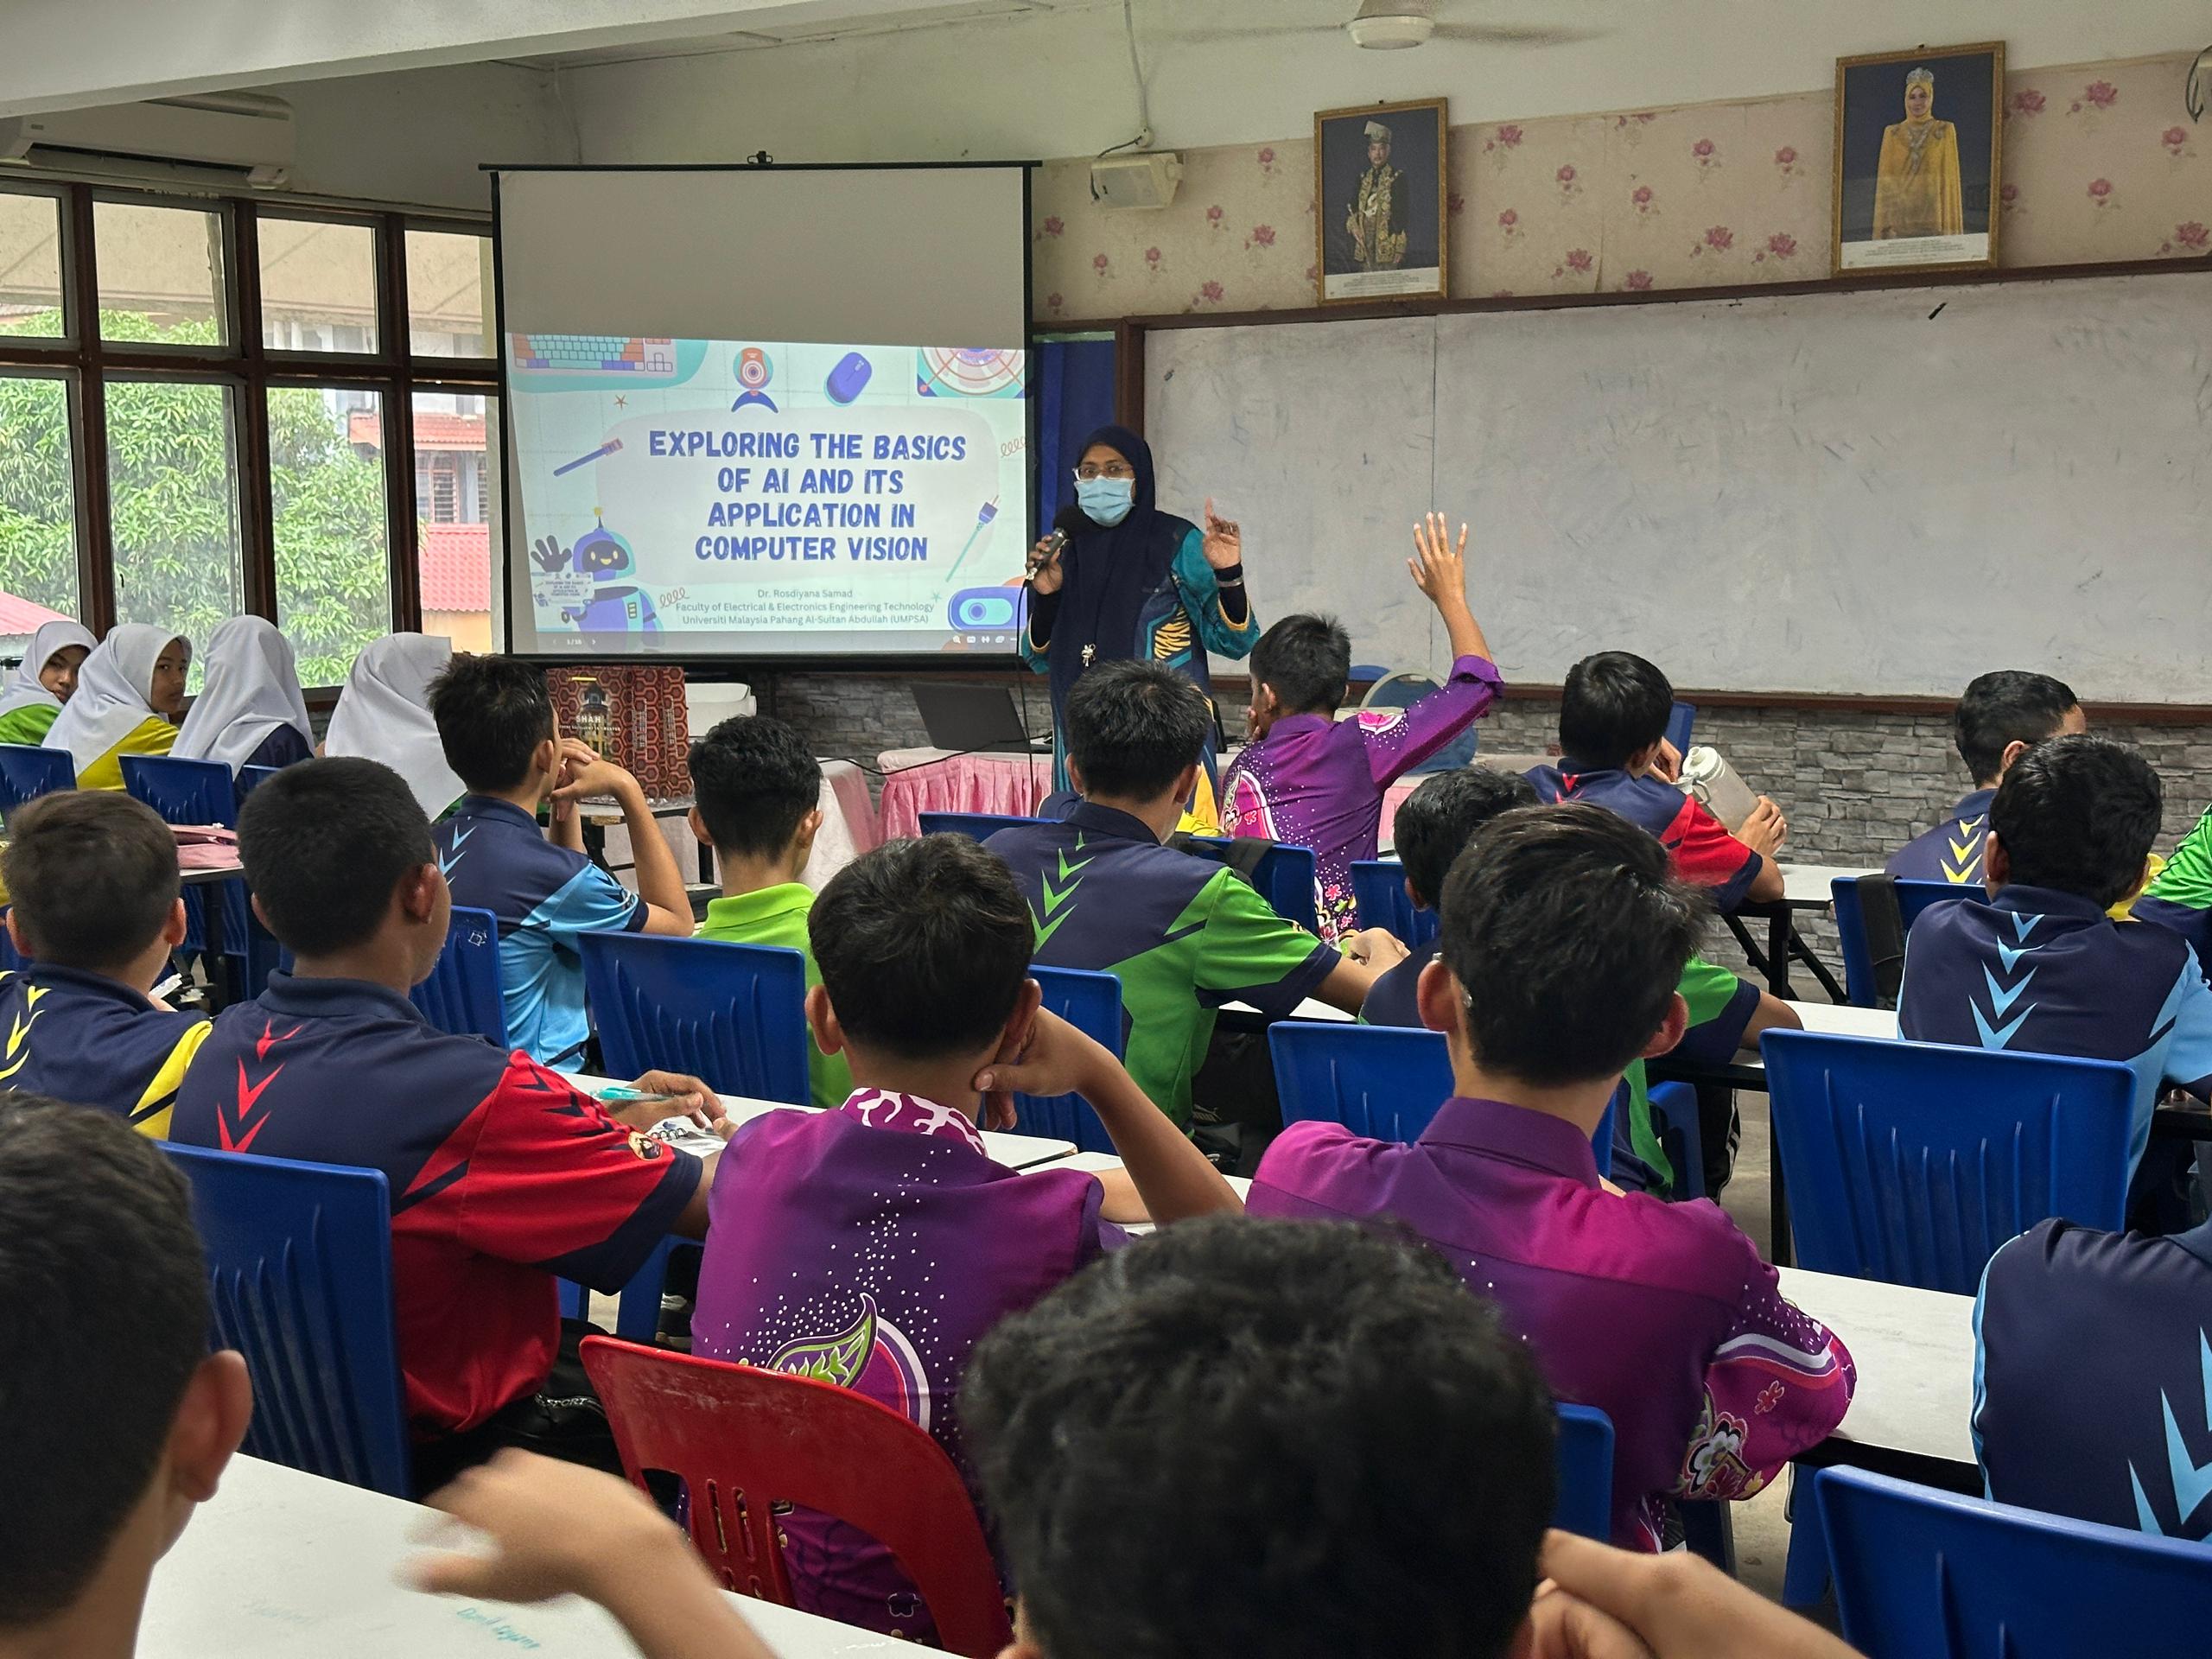
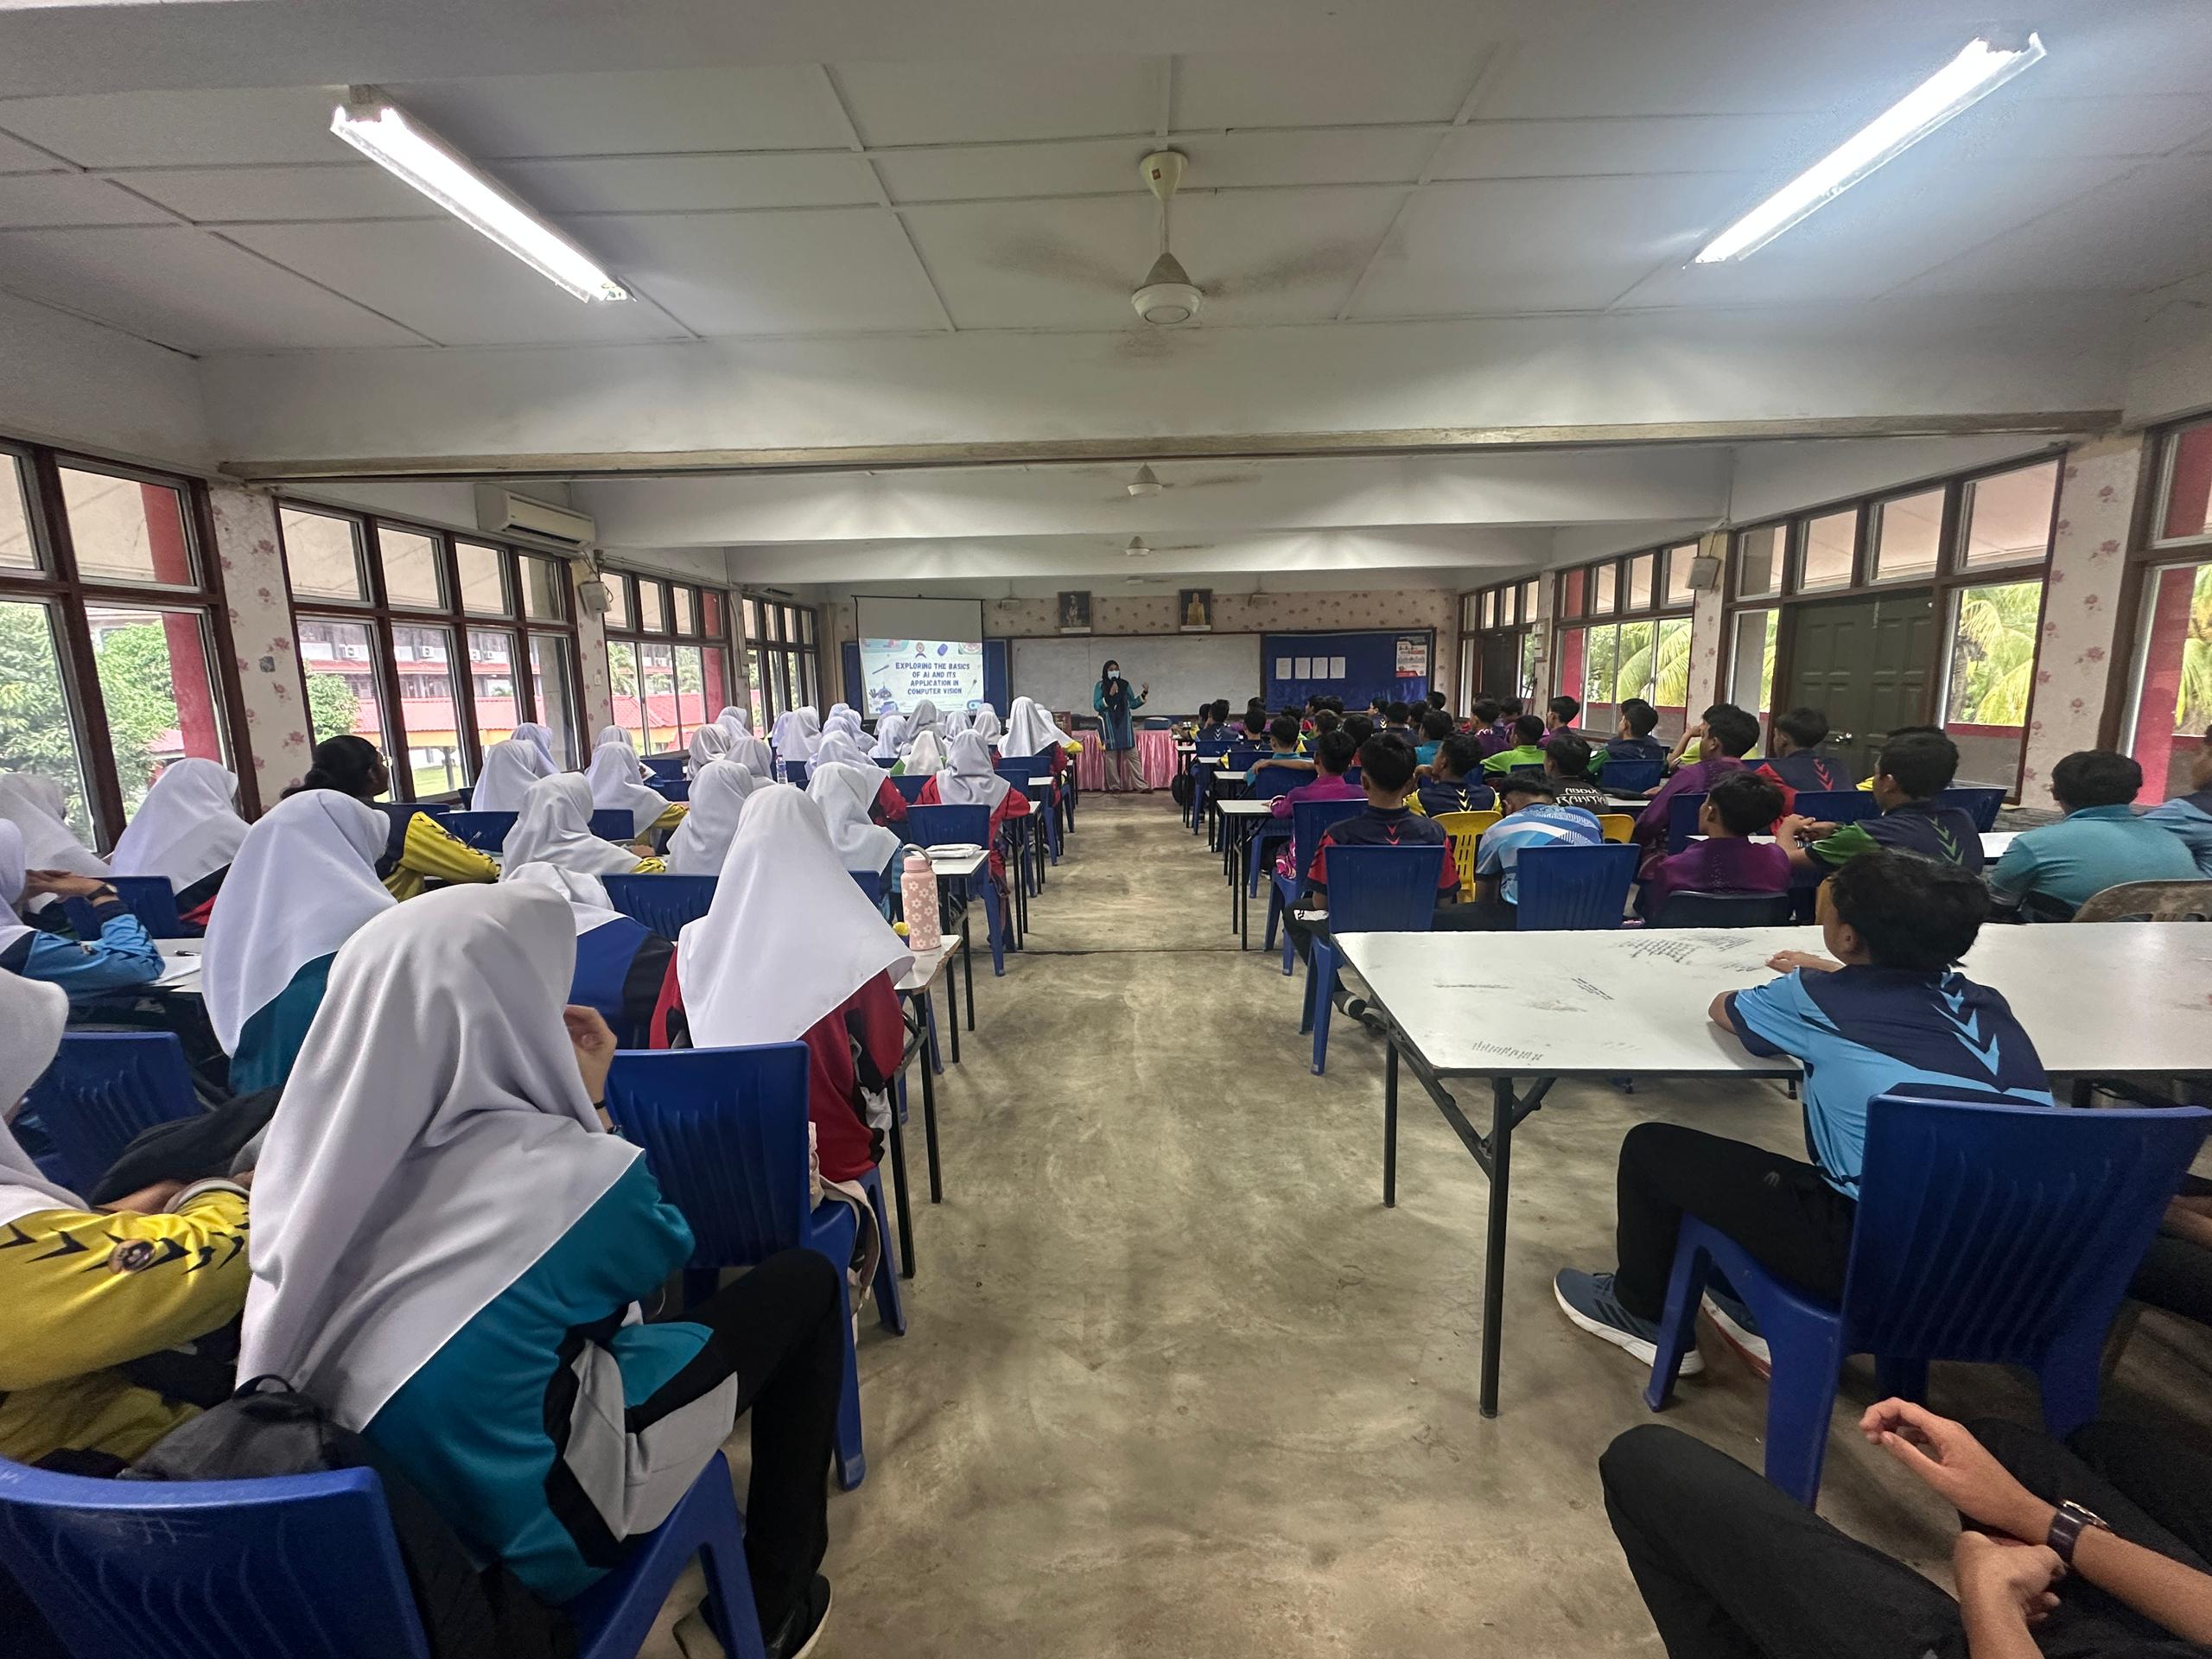
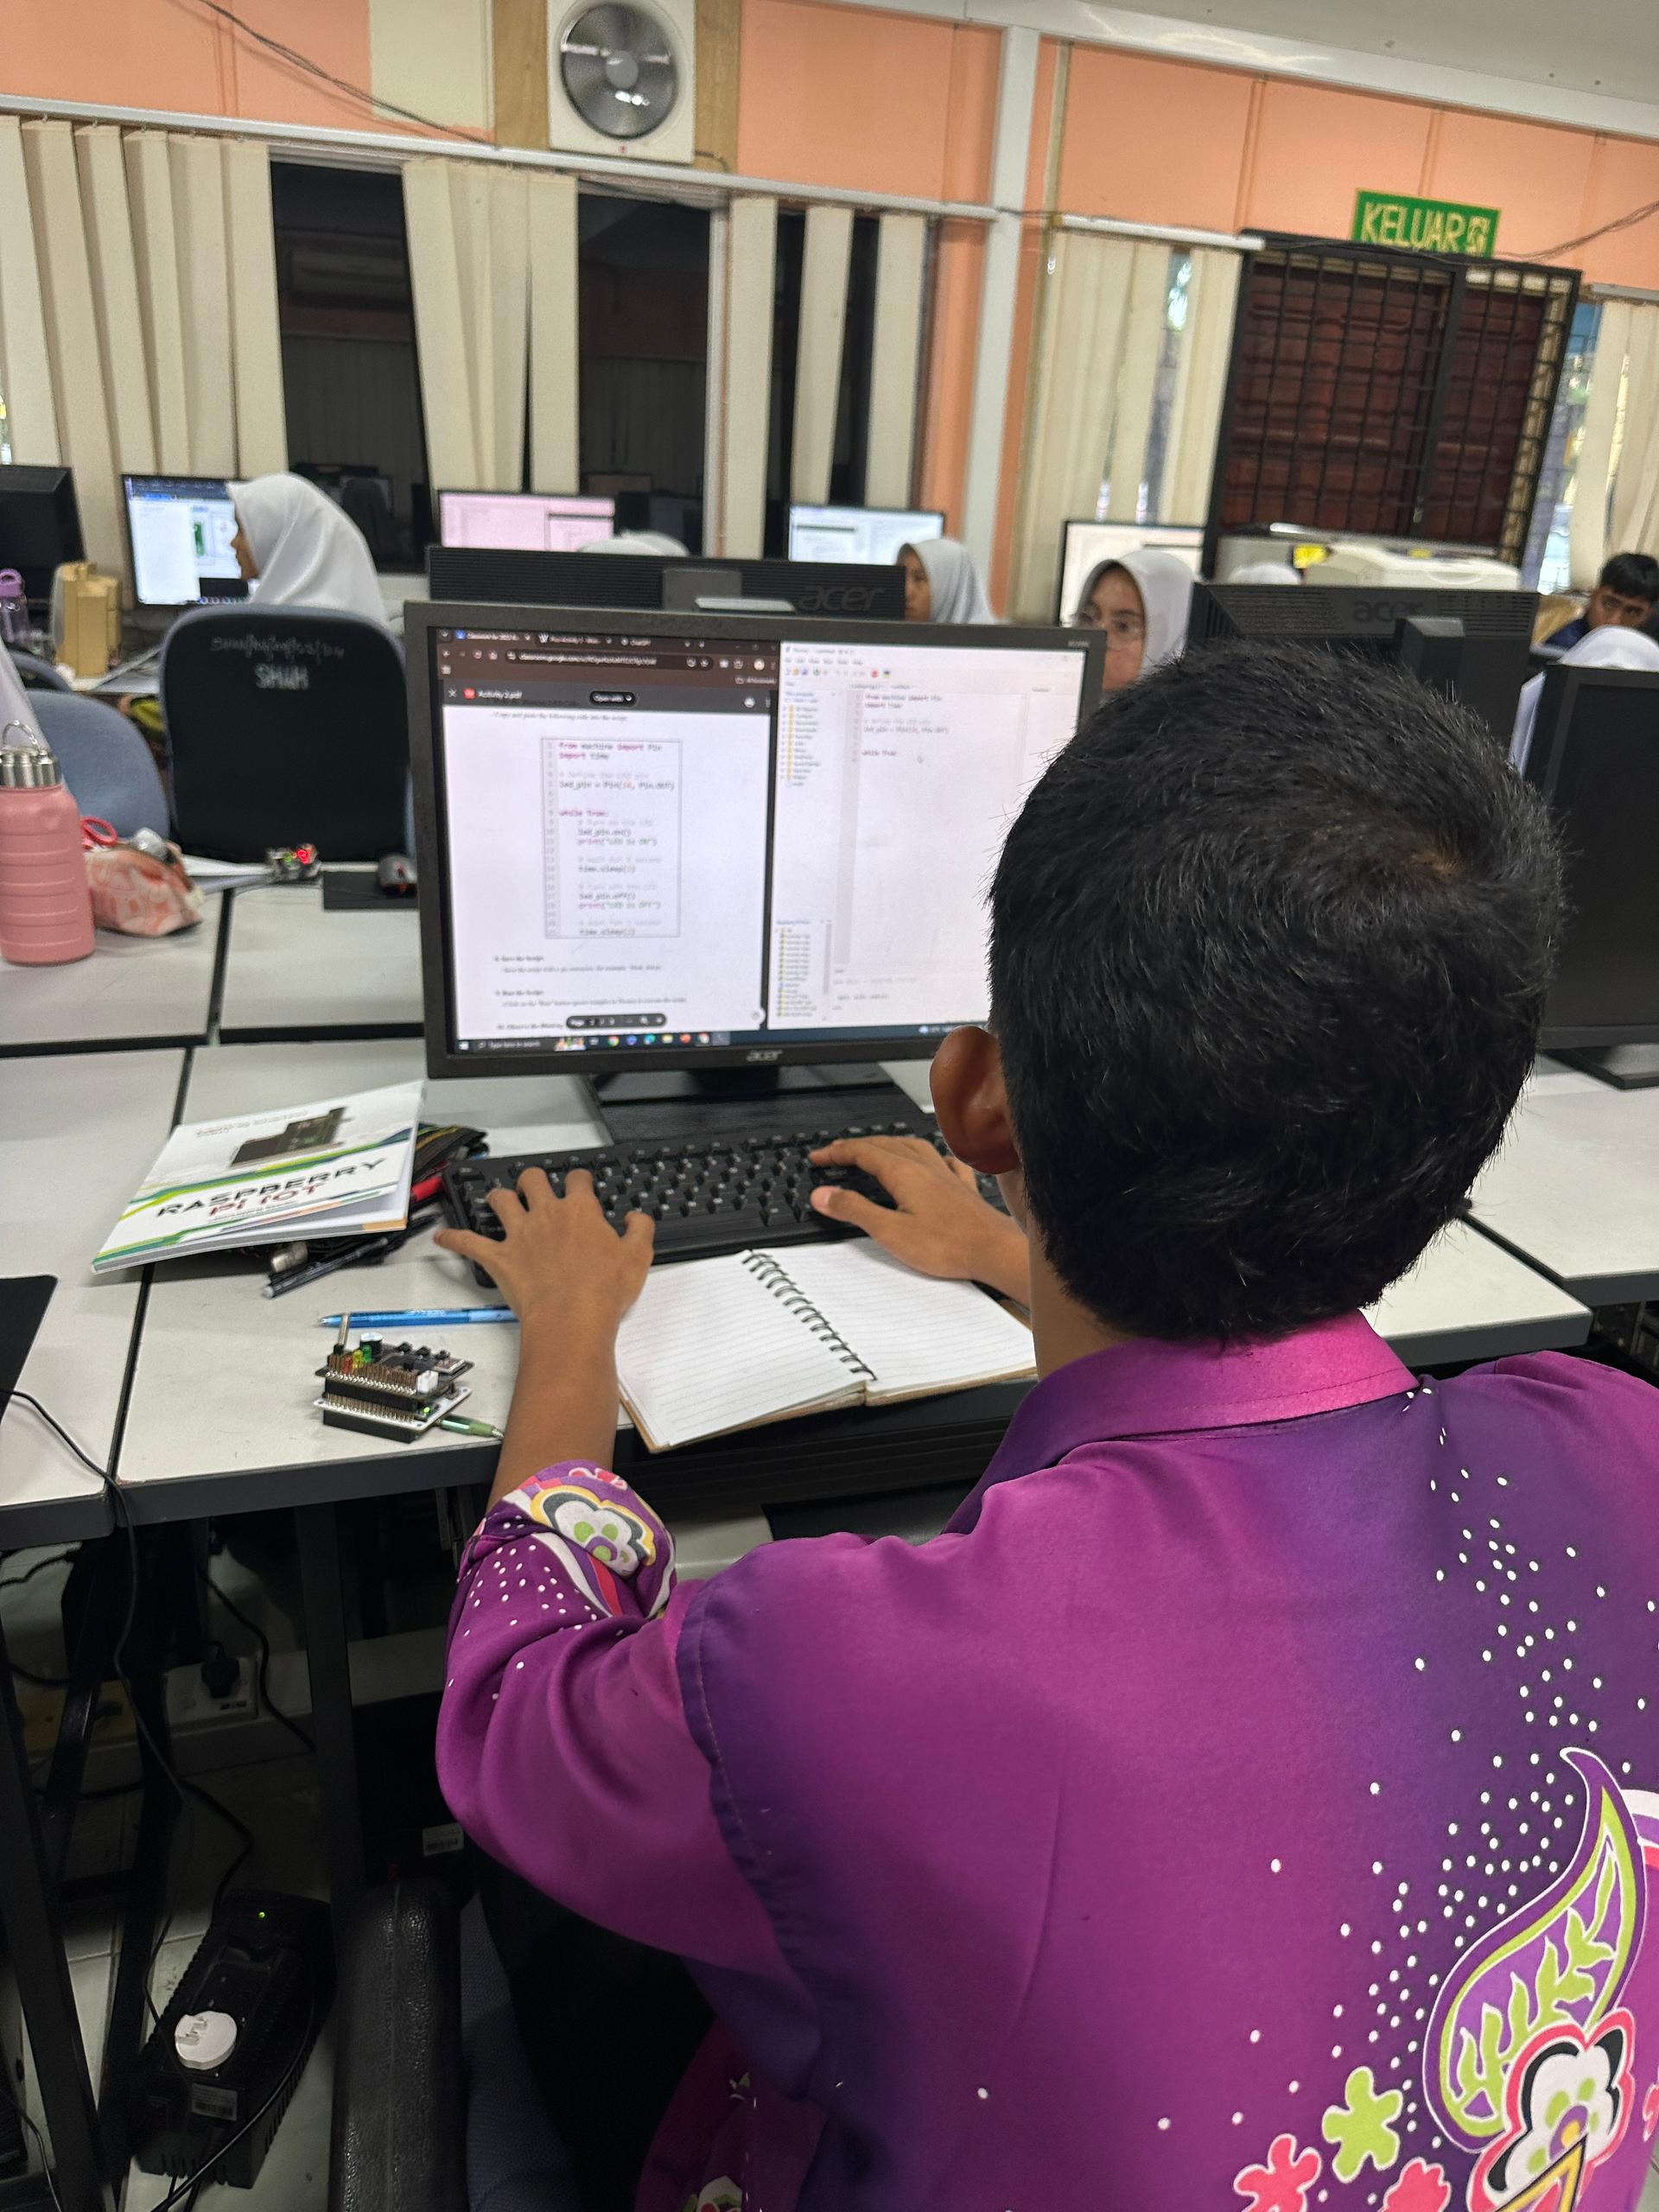
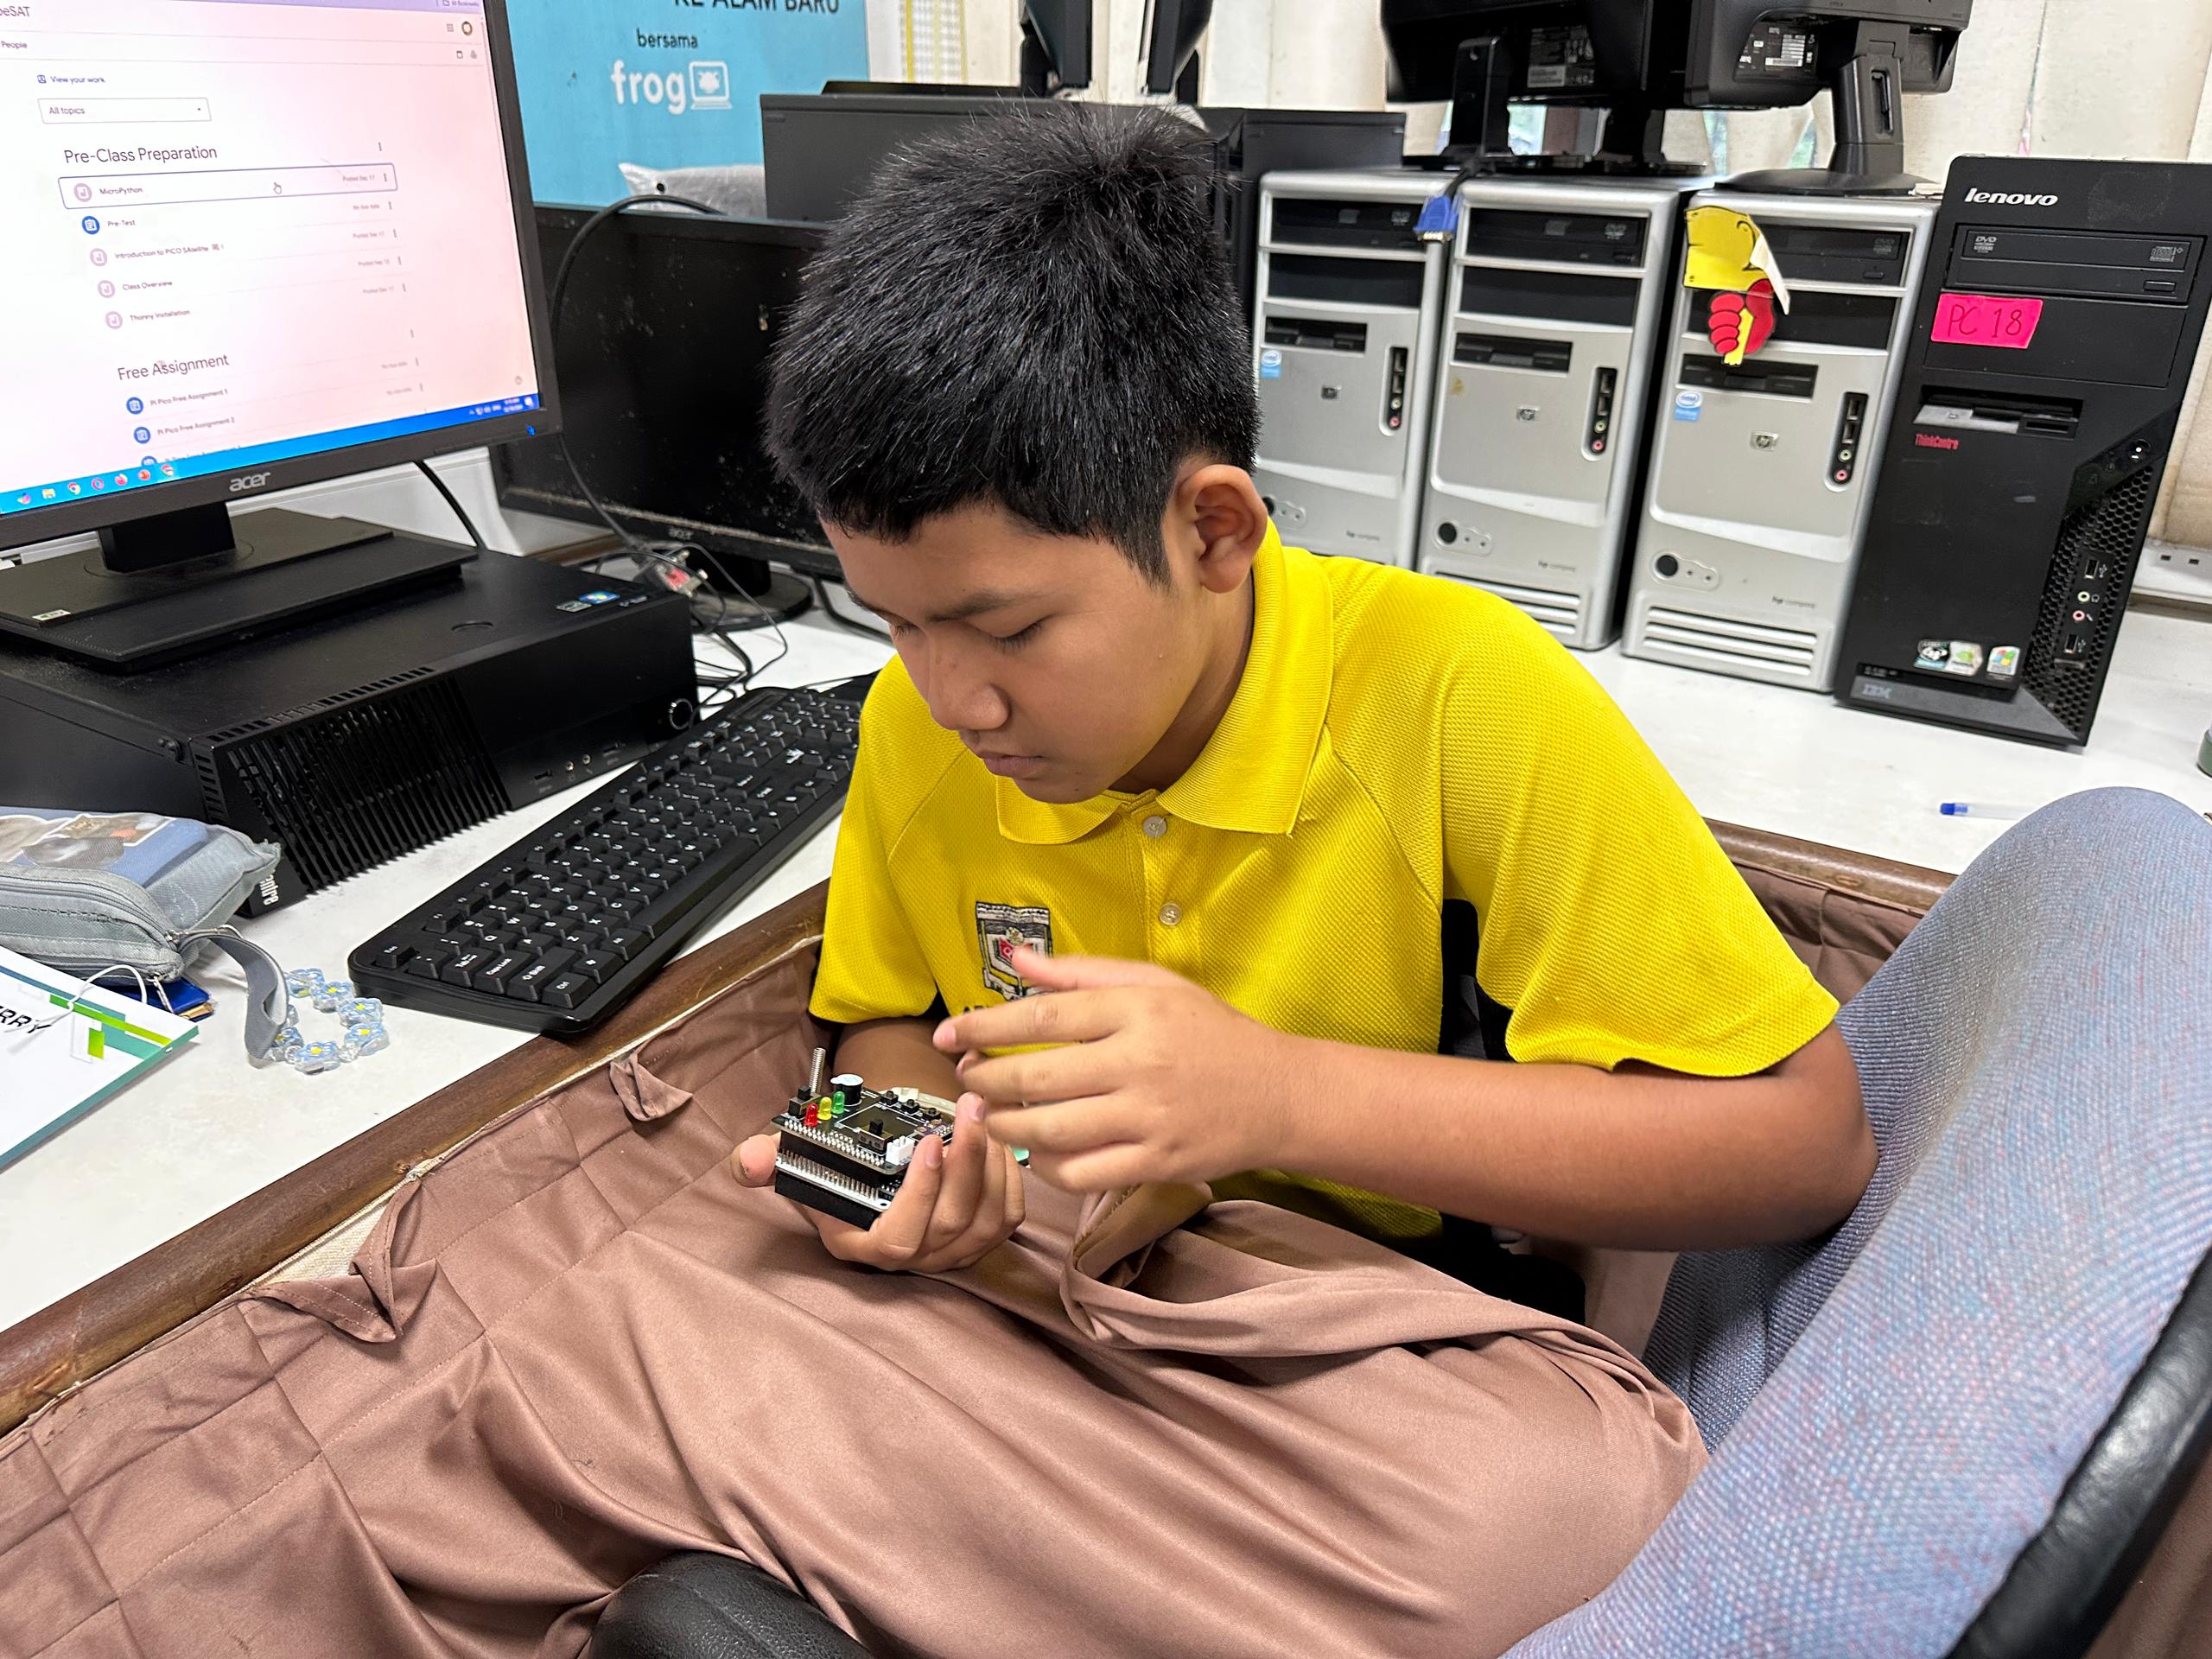
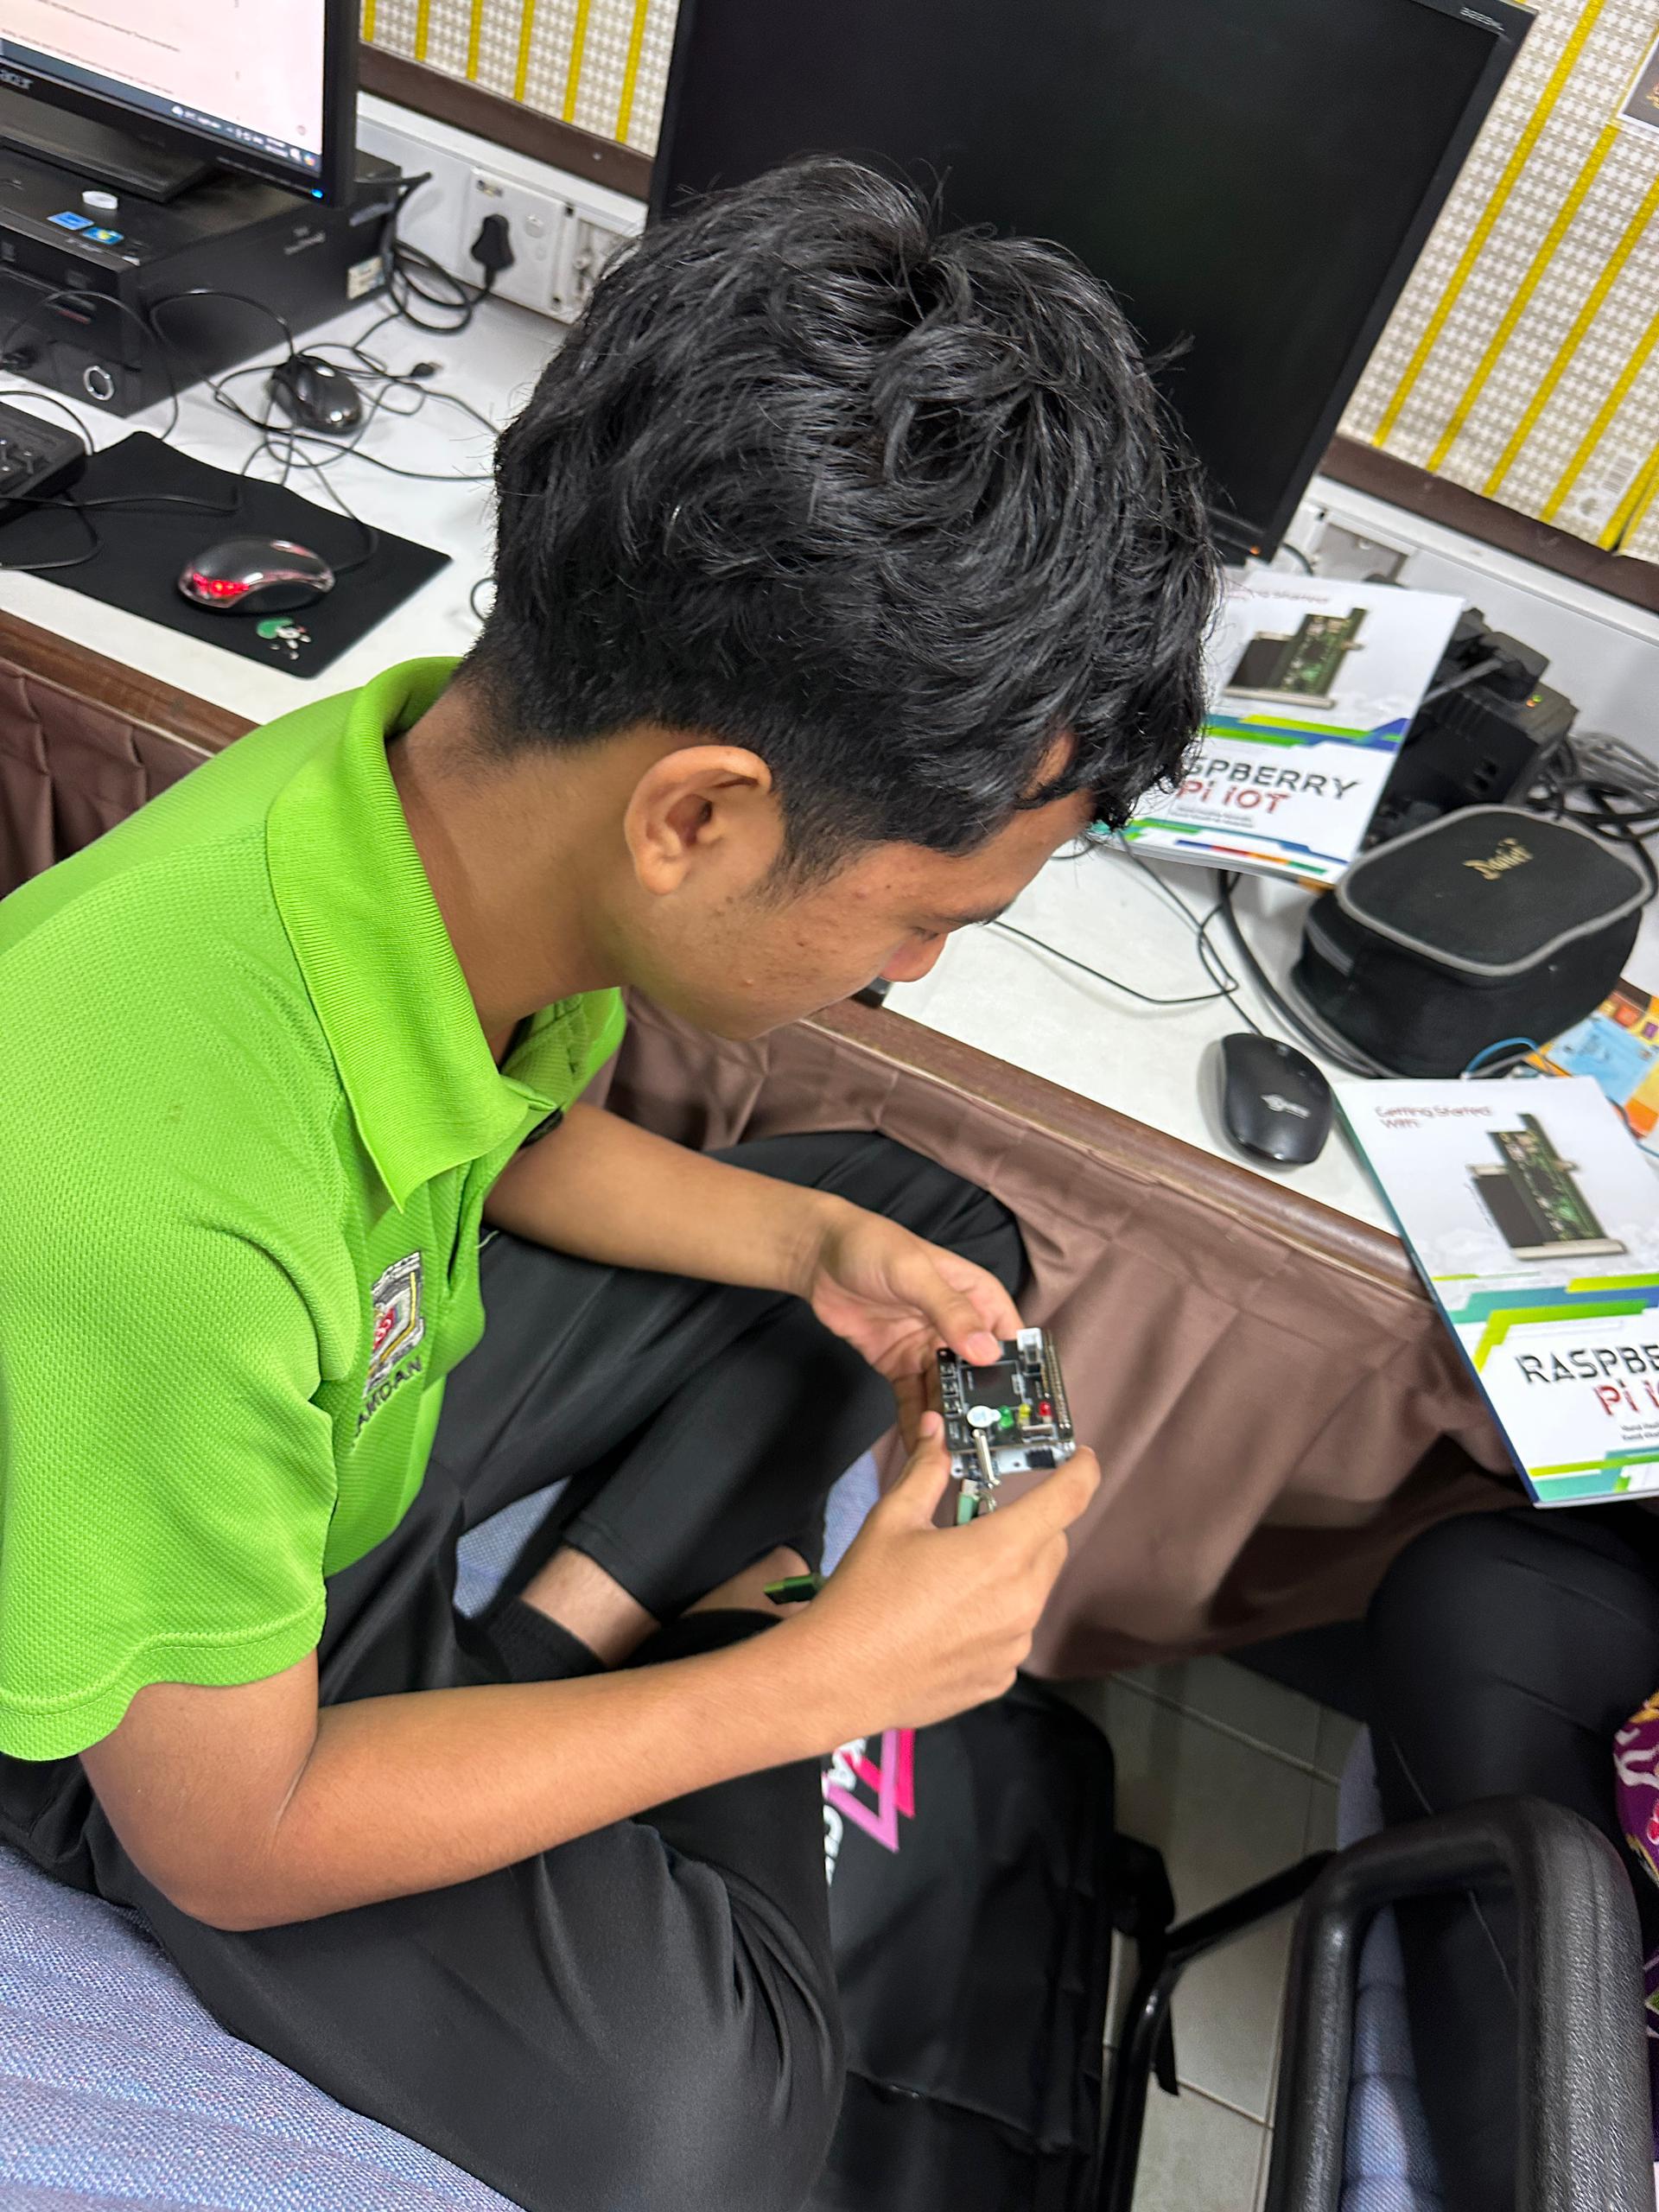
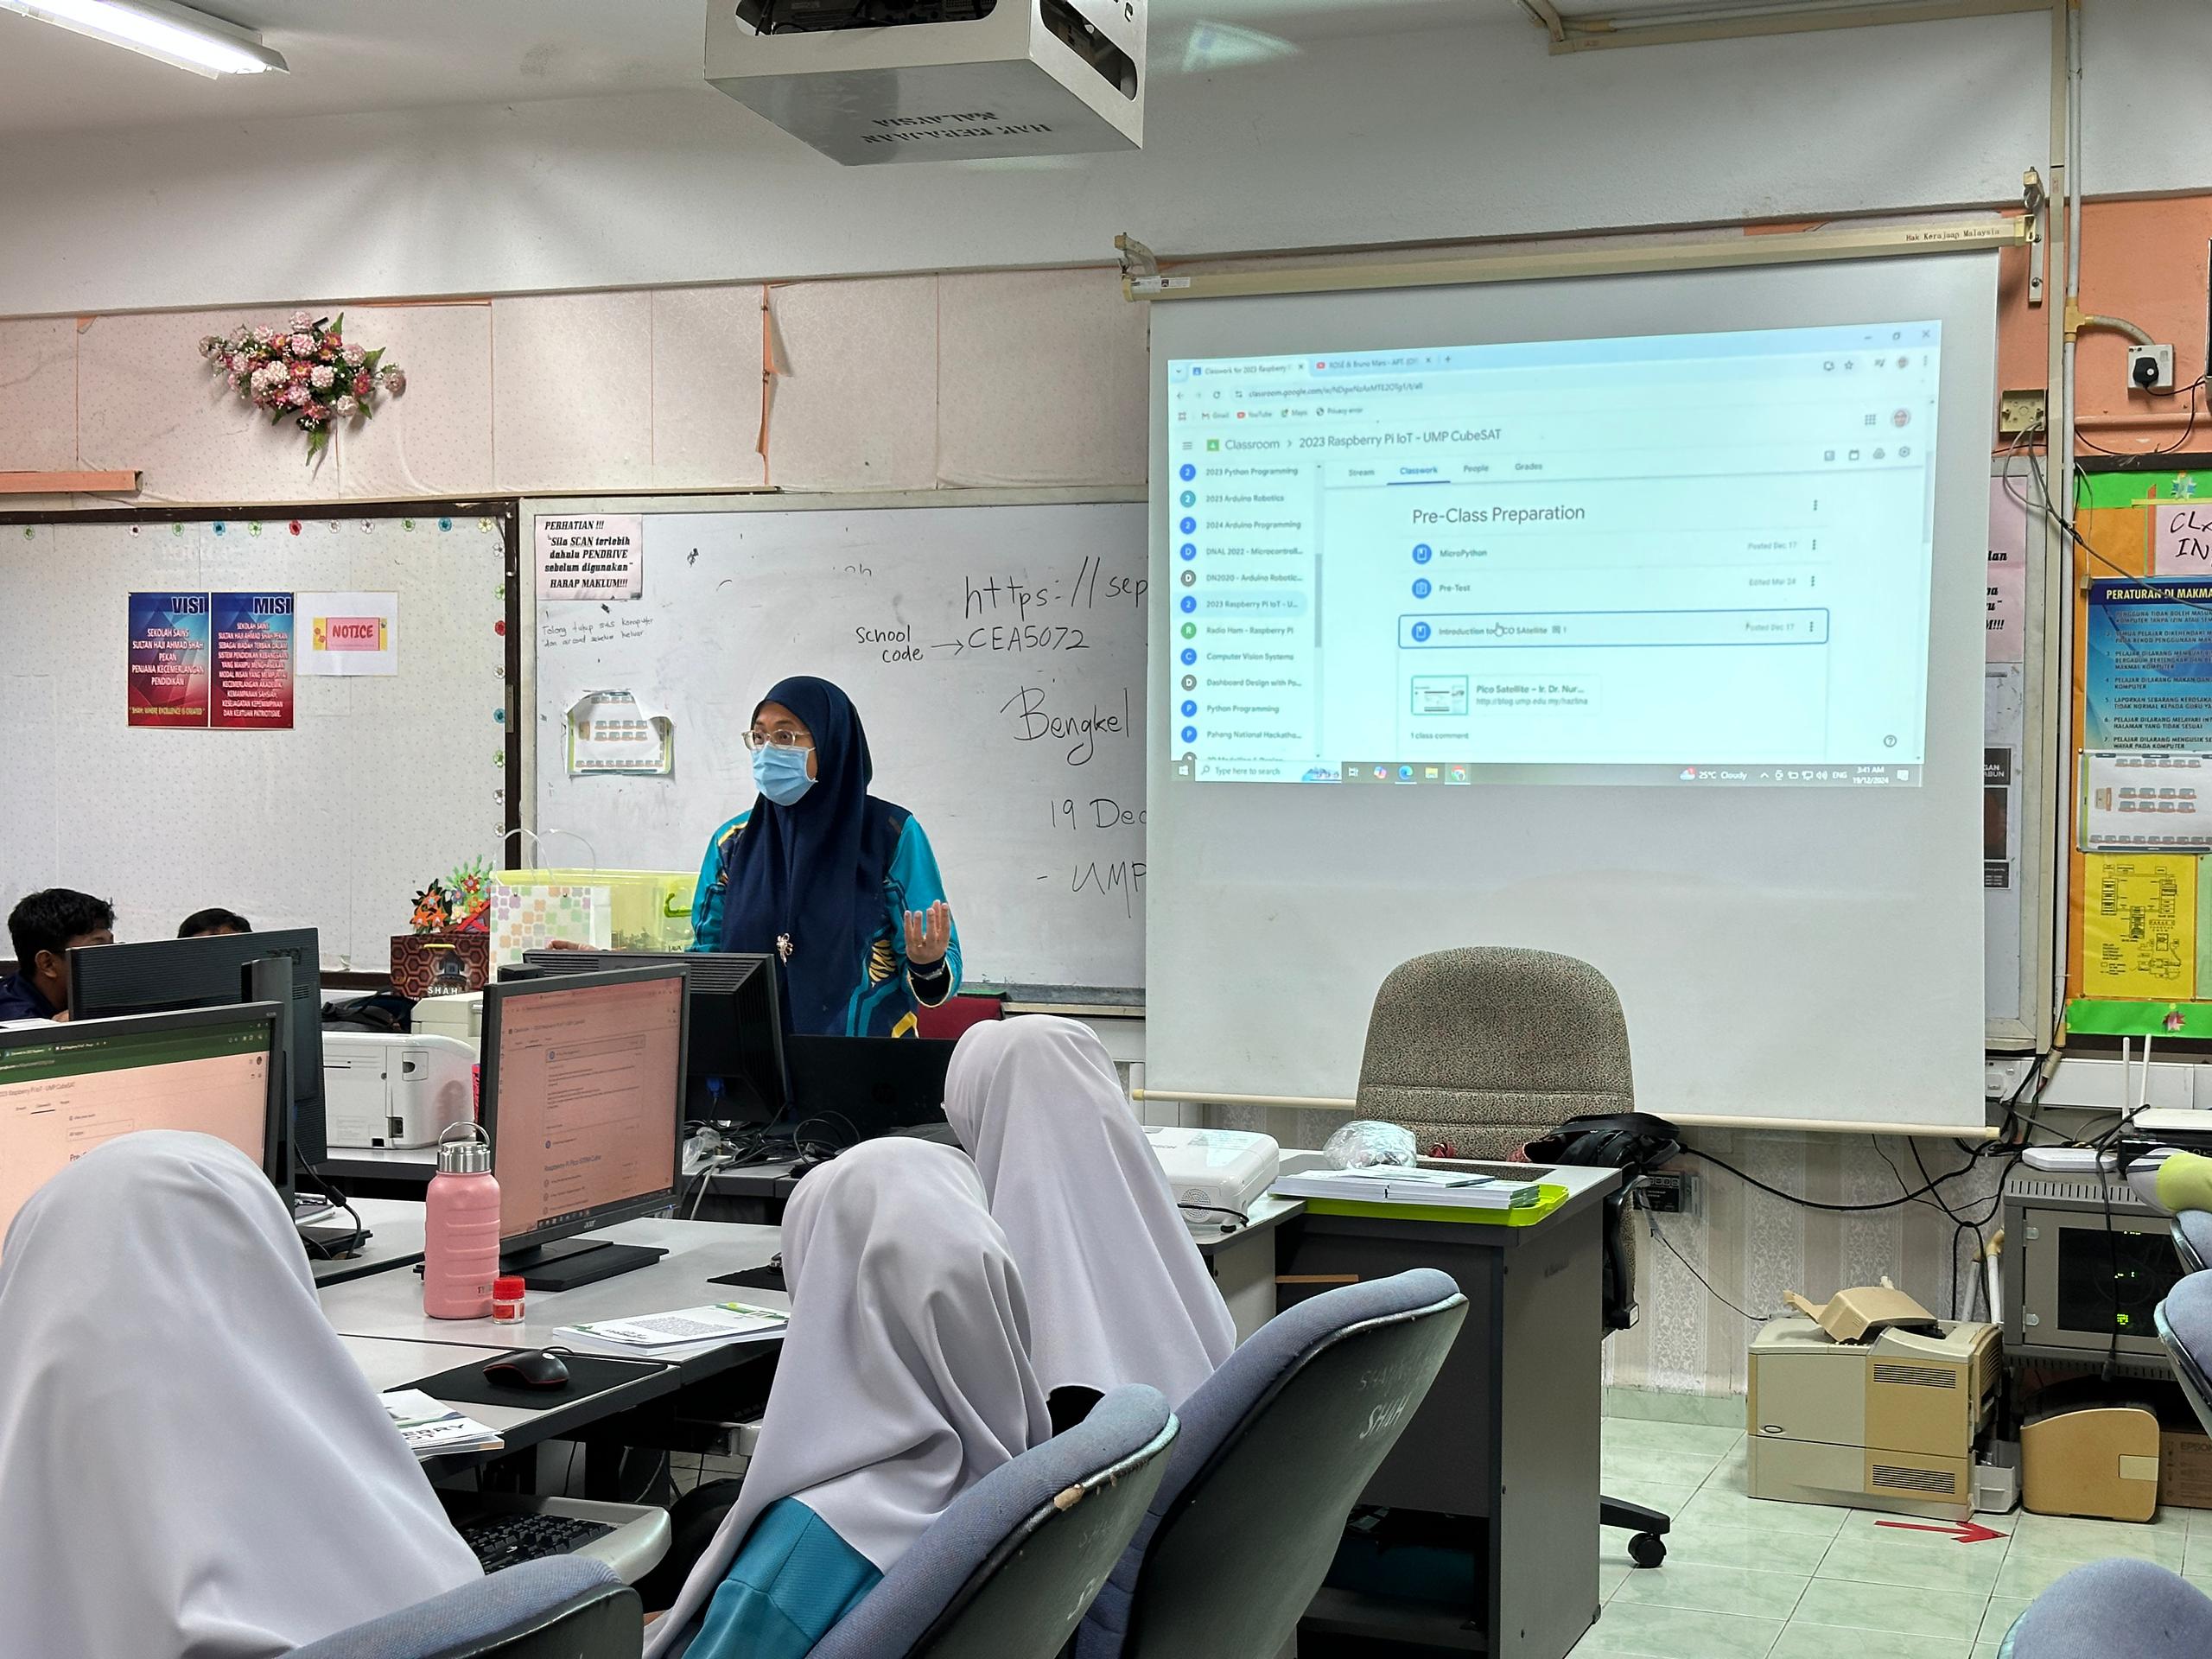
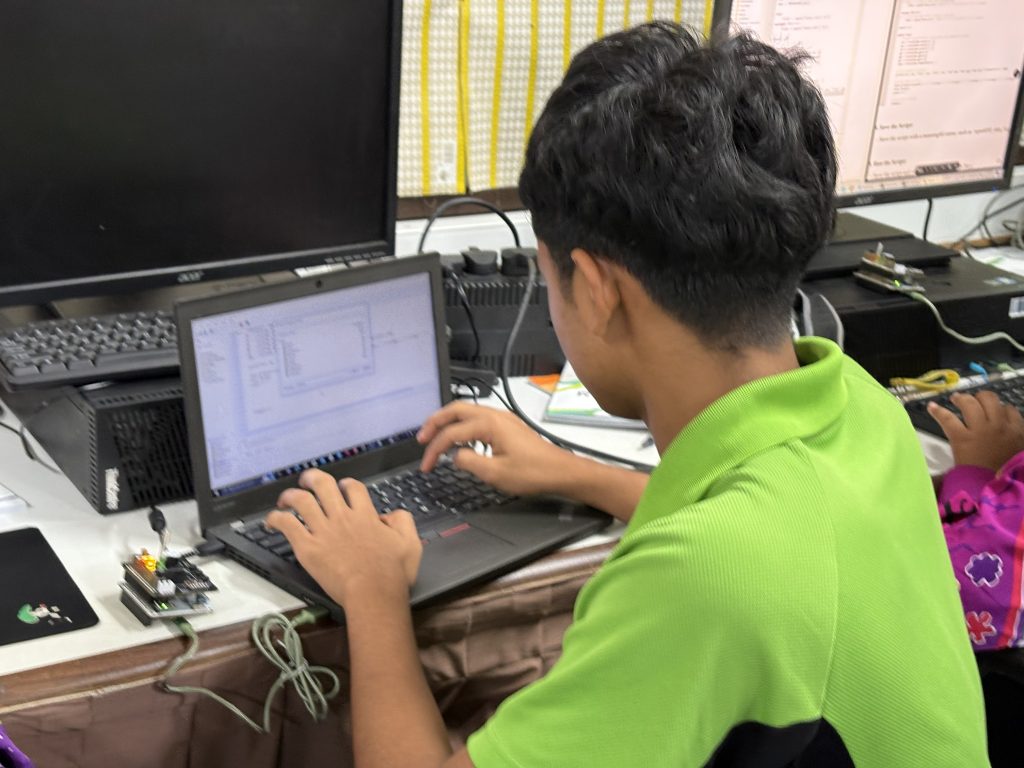
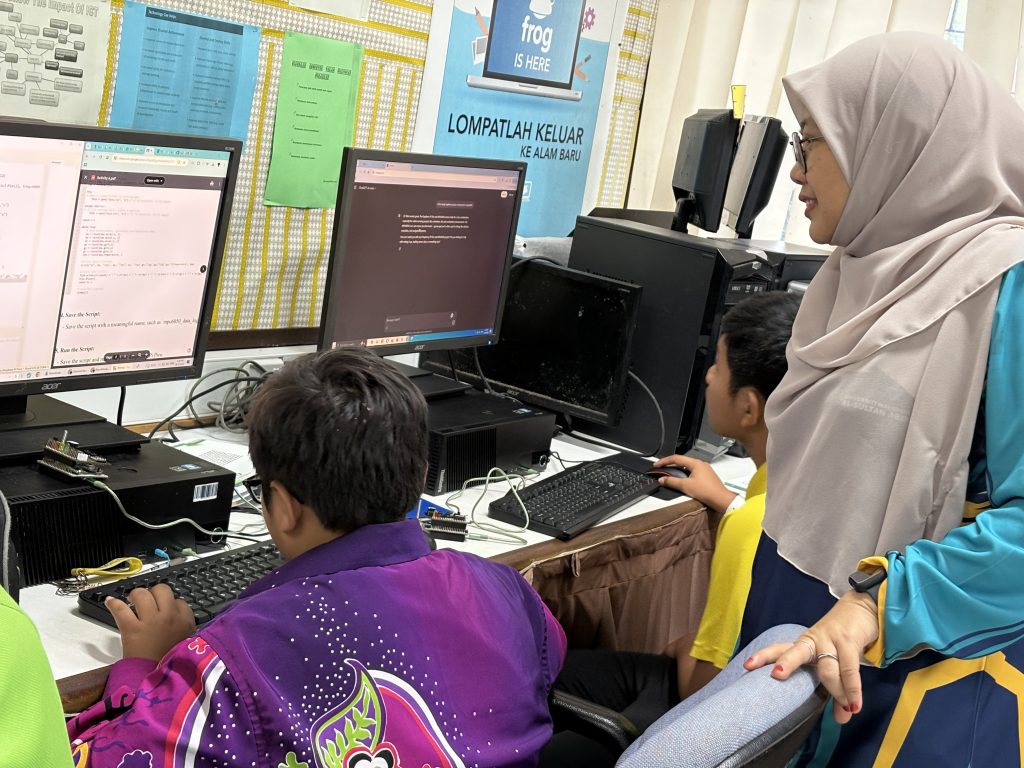
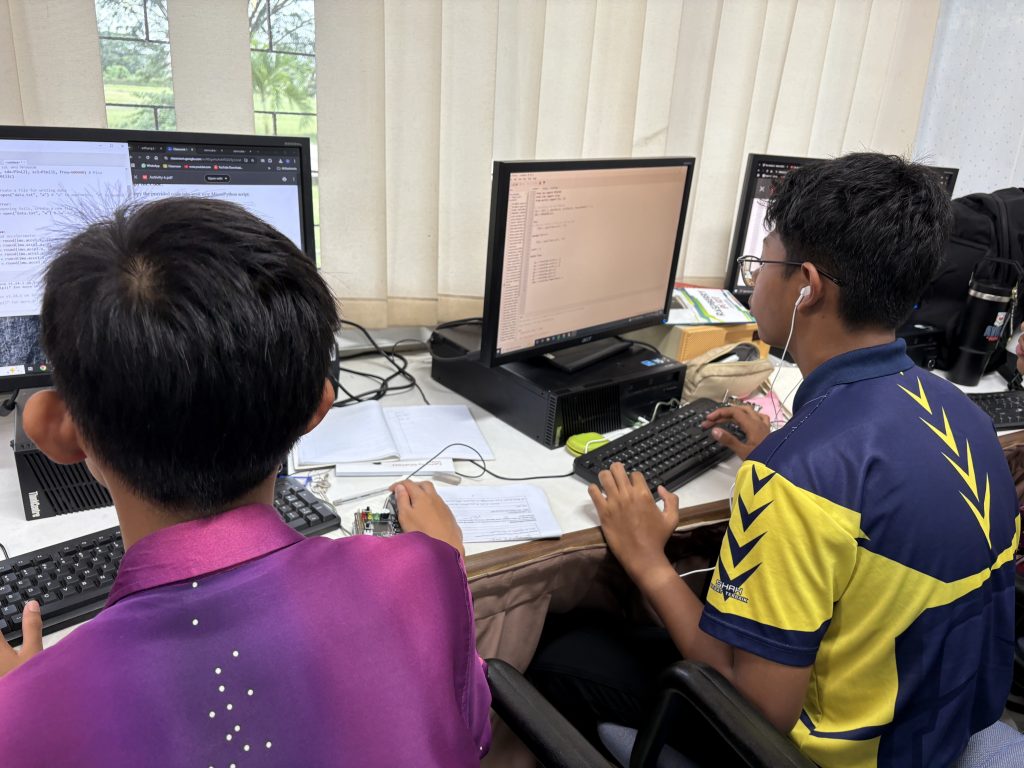
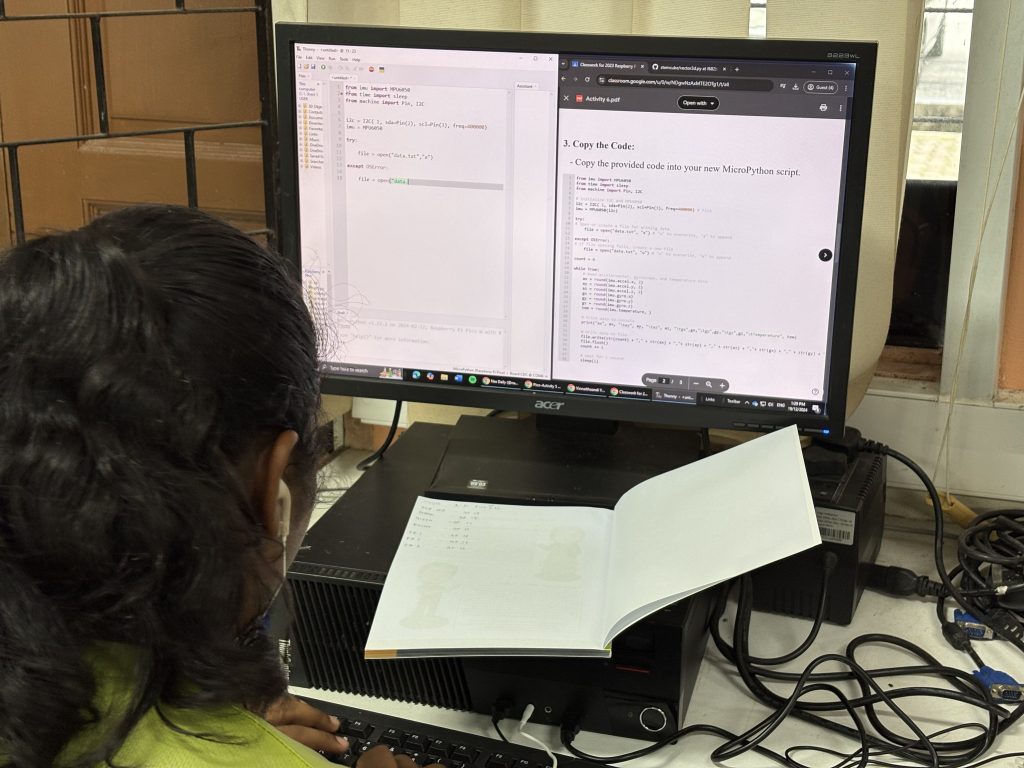
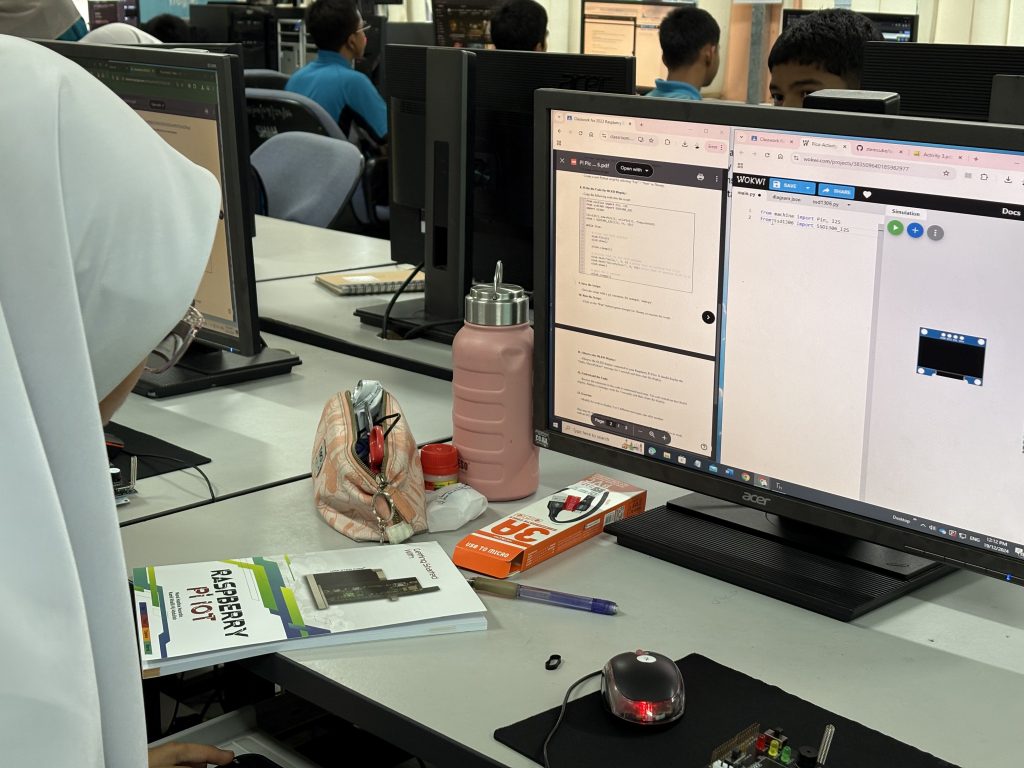
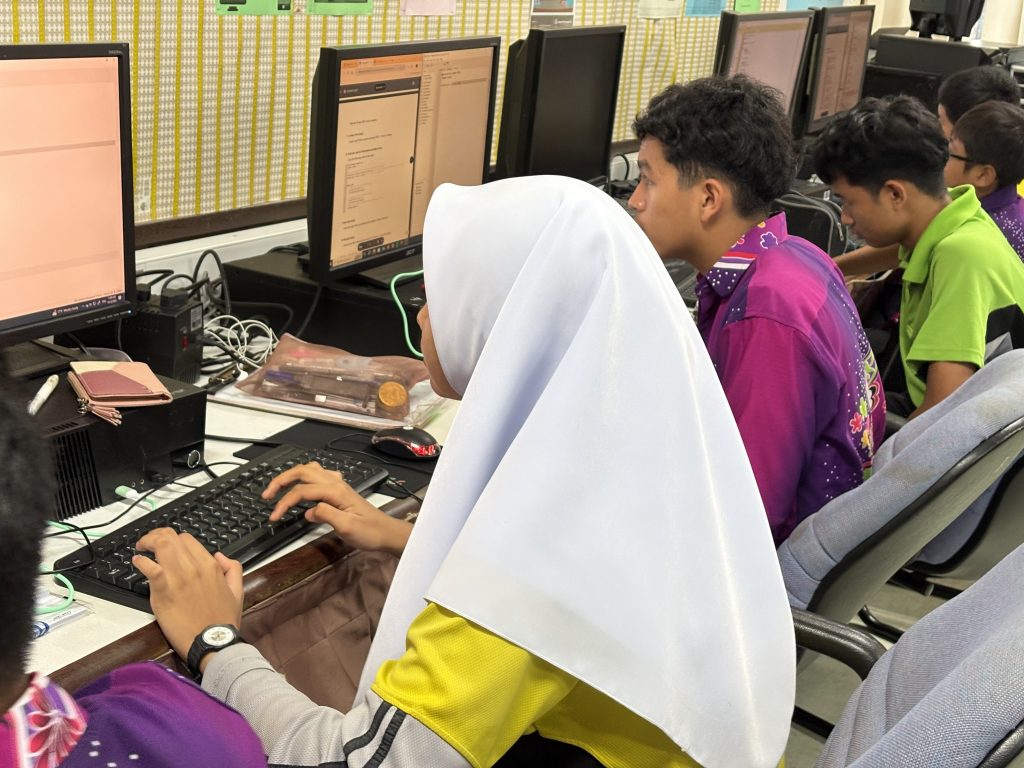
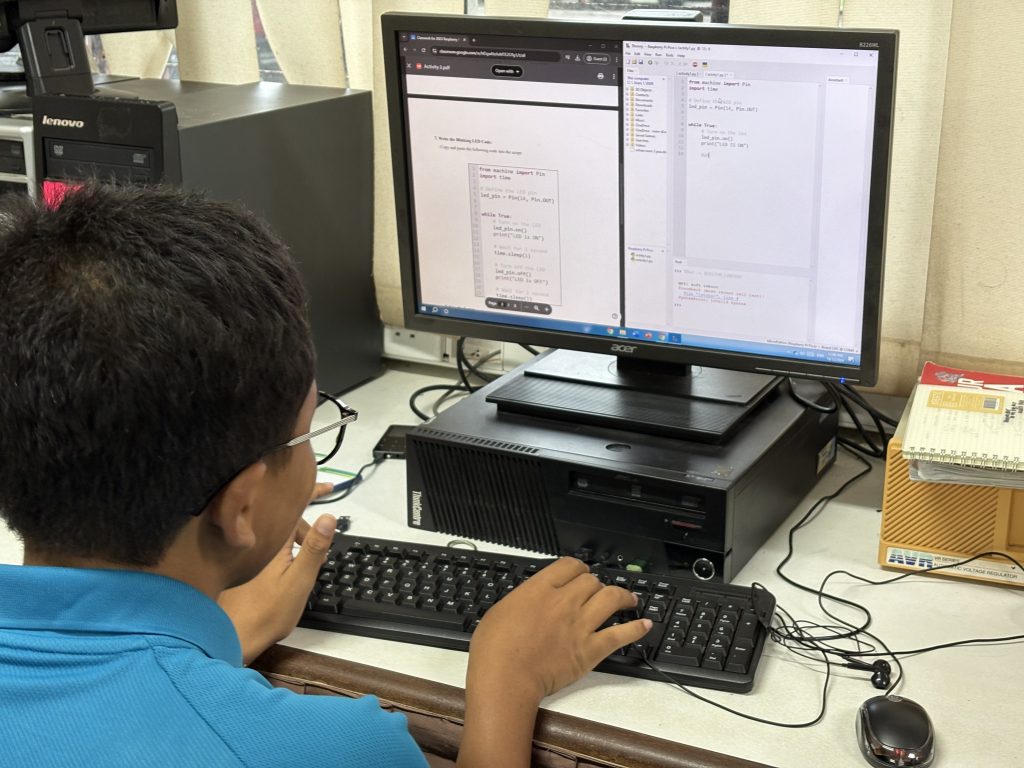
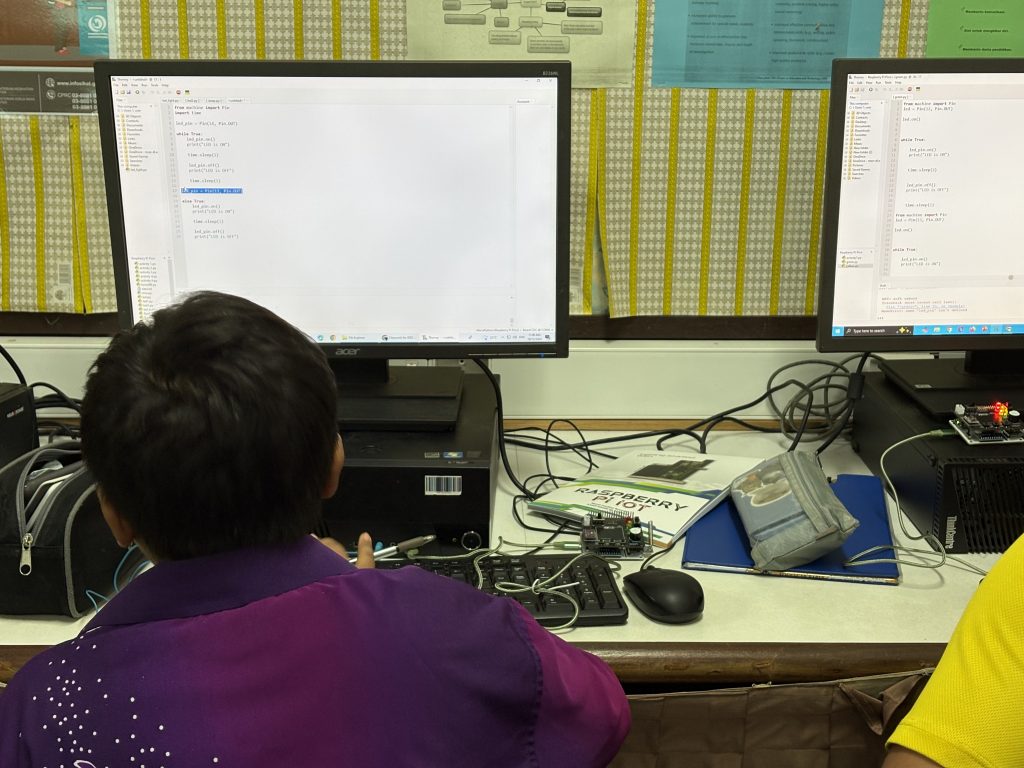
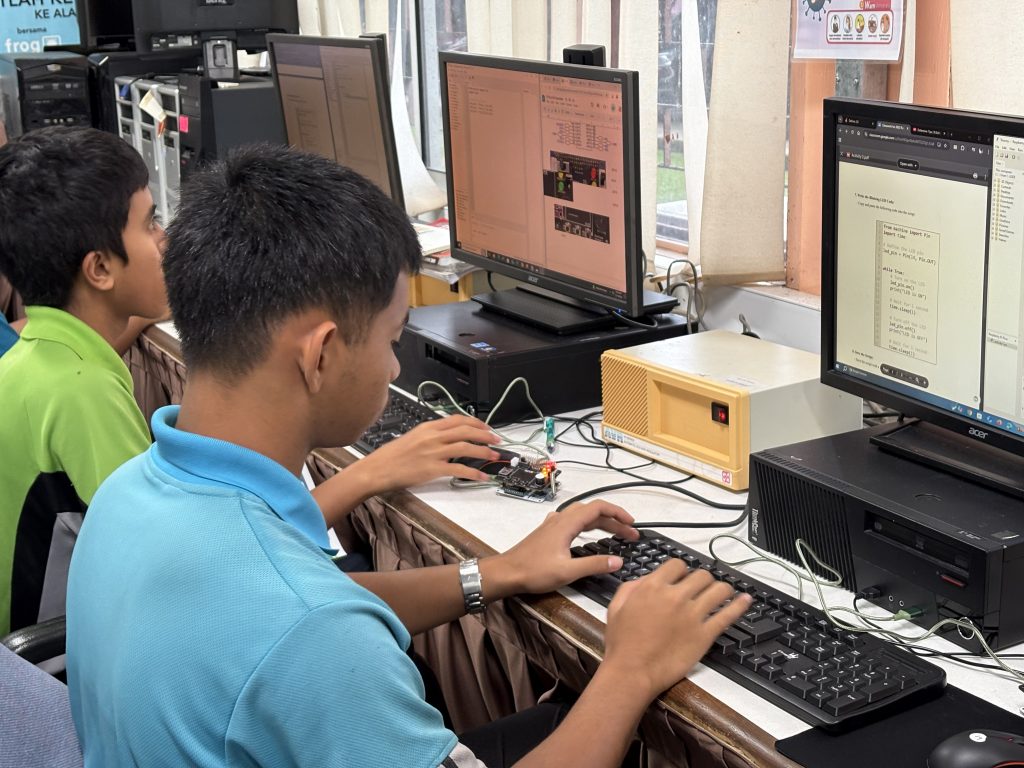
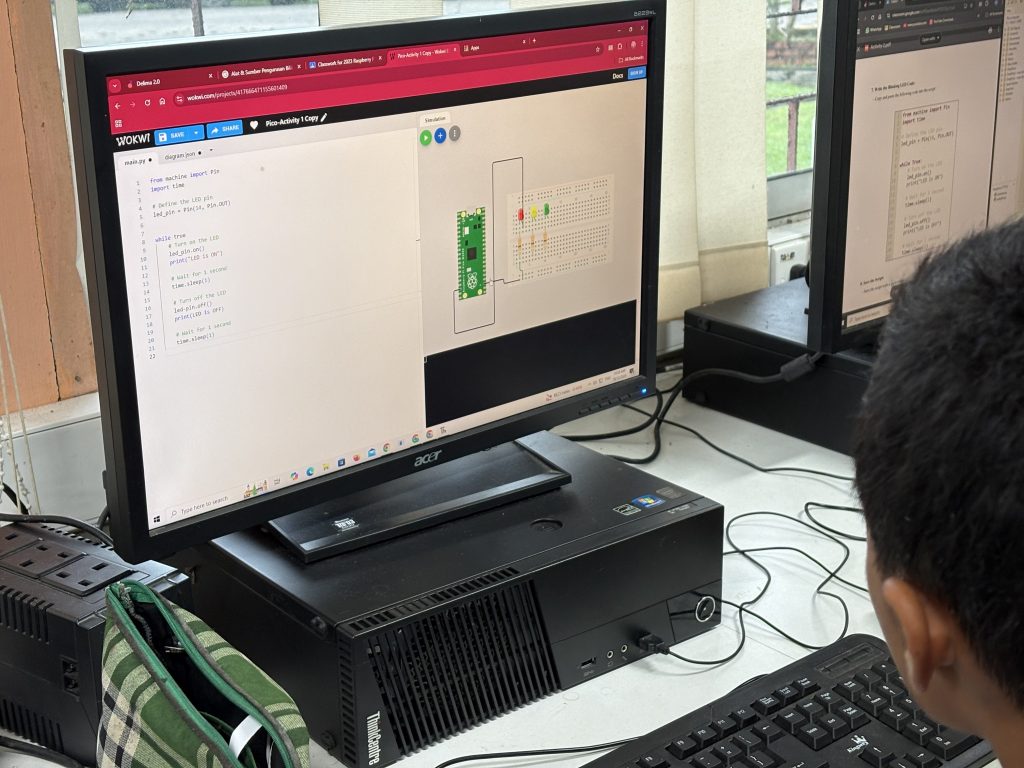
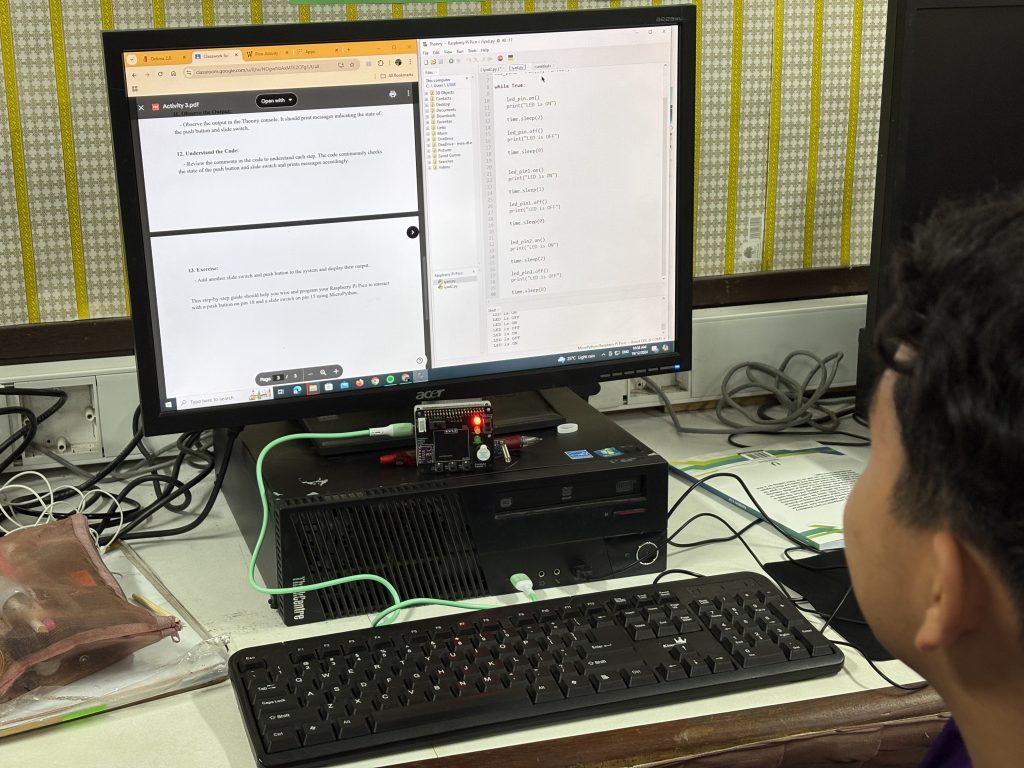
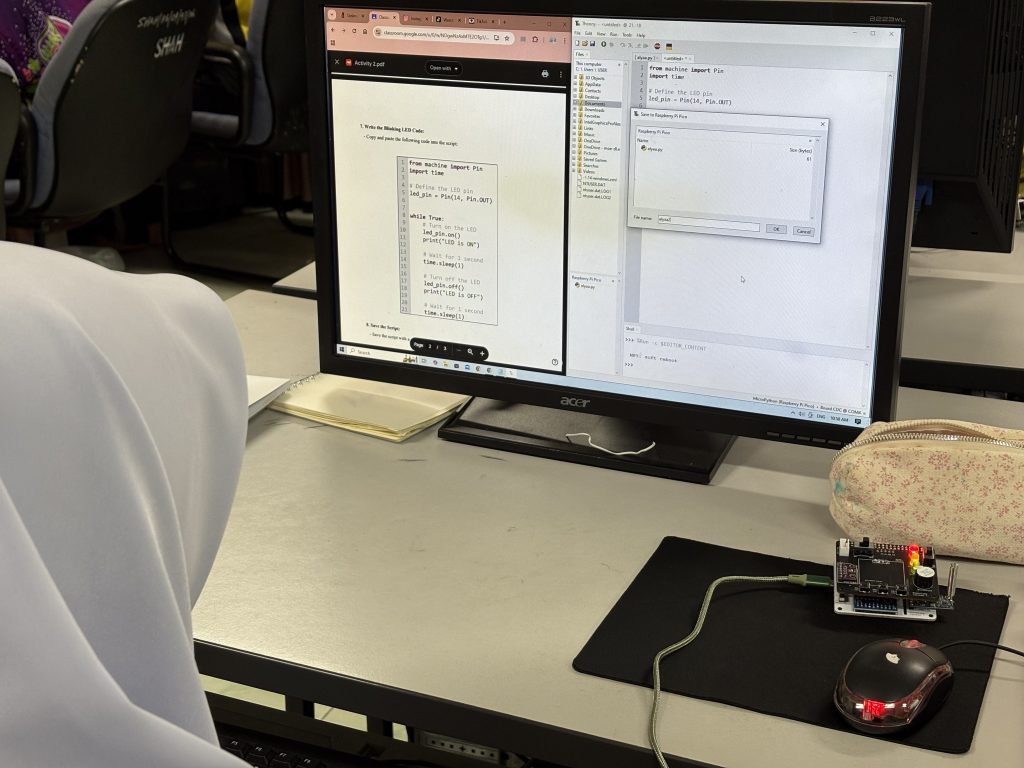
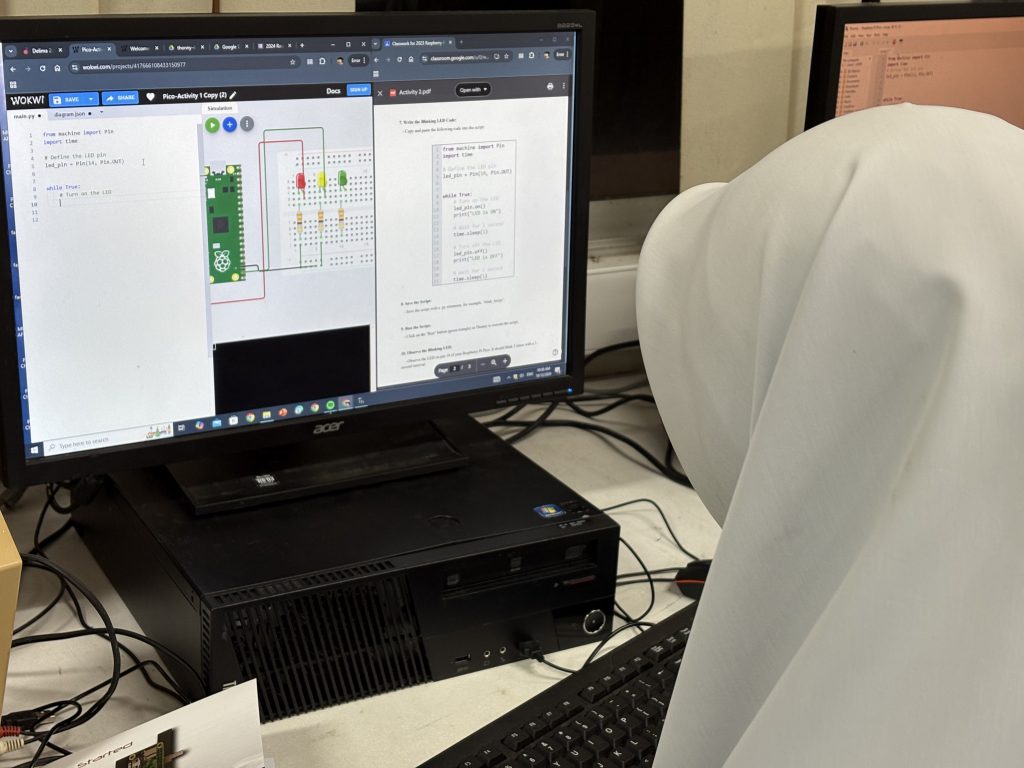
In the Raspberry Pi IoT session, 30 students from SHAH Pekan were introduced to the concept of the Internet of Things (IoT) using Raspberry Pi on the UMP STEM Cube, a pico-satellite learning kit specifically designed to facilitate engineering learning.
The content covered basic digital input/output operations on onboard LEDs, as well as topics such as dashboard design using gyro meter and BMU280 sensor data, including collecting and storing data in a cloud database. Participants learned to interface sensors with Raspberry Pi boards and develop IoT applications for real-world scenarios. The session provided students with valuable insights into IoT technology and its applications in various domains.
A special appreciation is extended to Cikgu Syakir and Cikgu Rita from SHAH Pekan for coordination in facilitating communication between the participants and the UMPSA STEM Lab :).
Dec 19th


21 titles are offered this semester. Both DRE2213 and BTE1522 students are divided into 3 person per group and 1 title per group. This is part of project based learning activities embedded in the class.
so what is project based learning? and why learning via making project would be beneficial for such project? 🙂