Category: Information


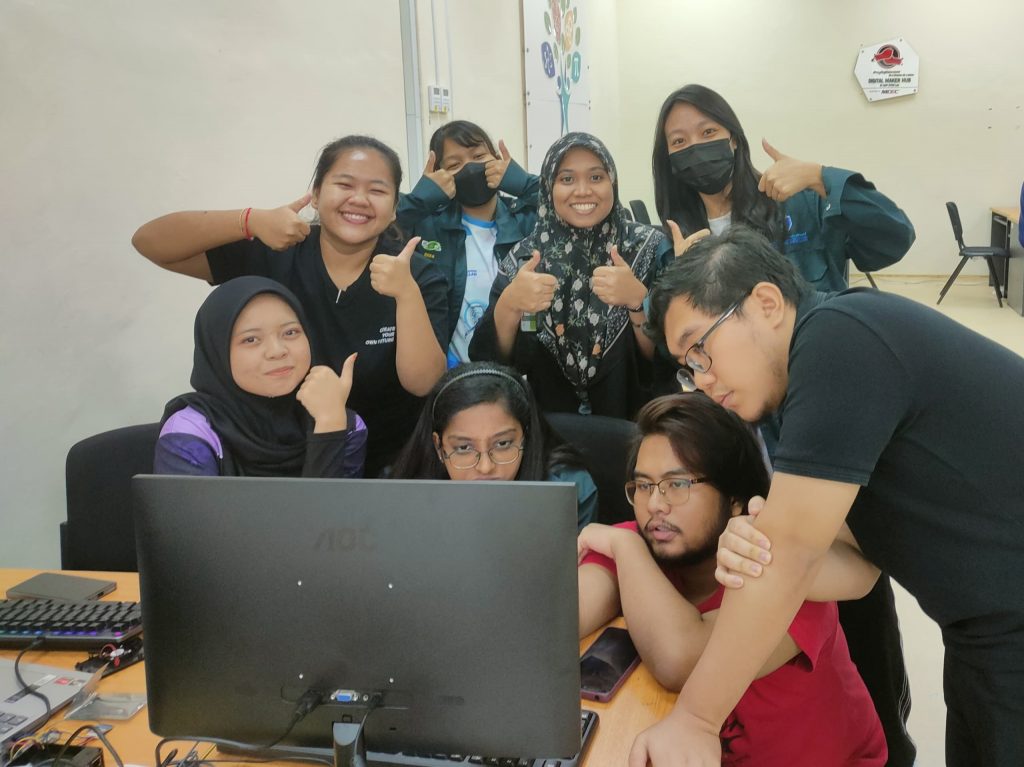
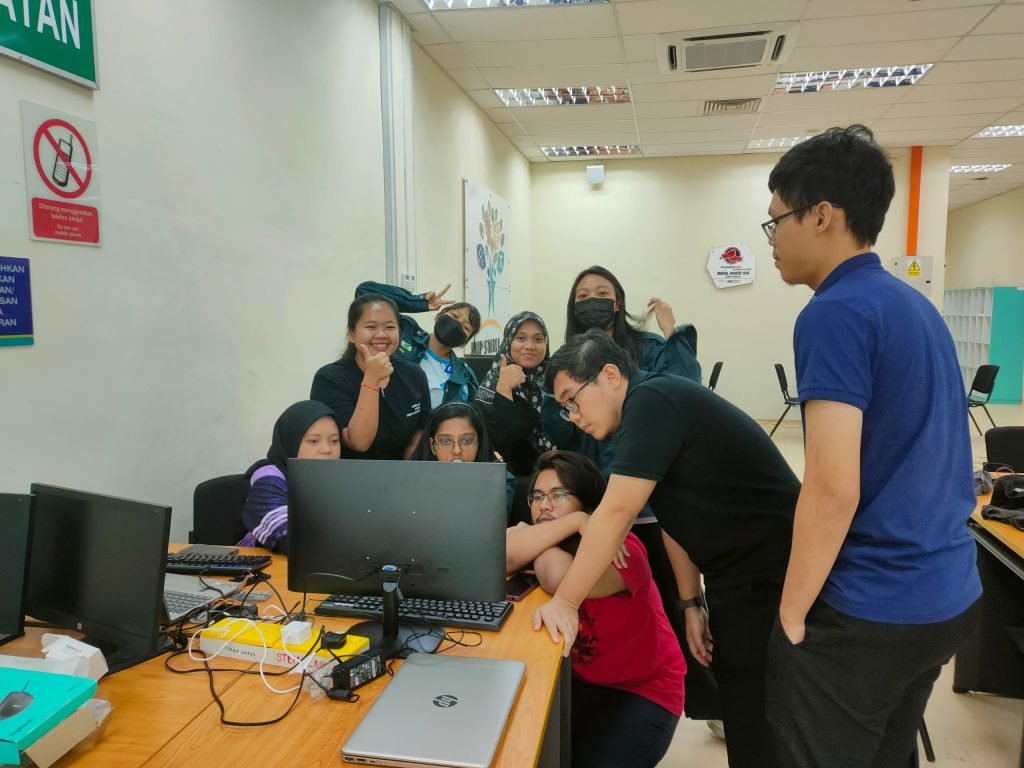
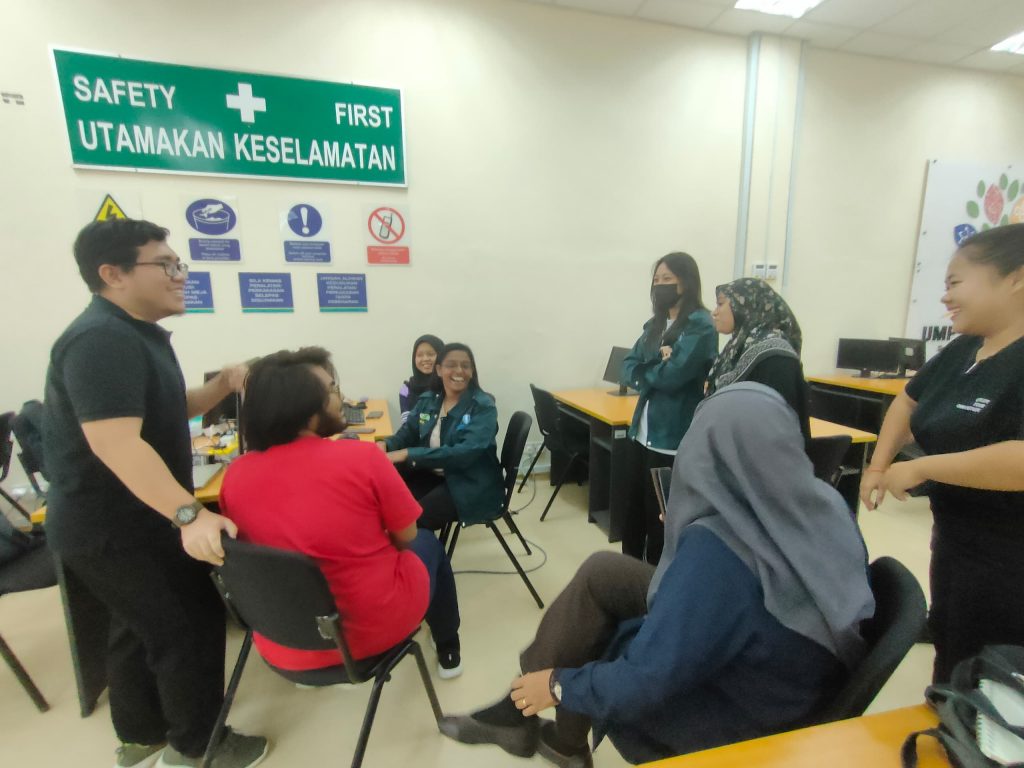
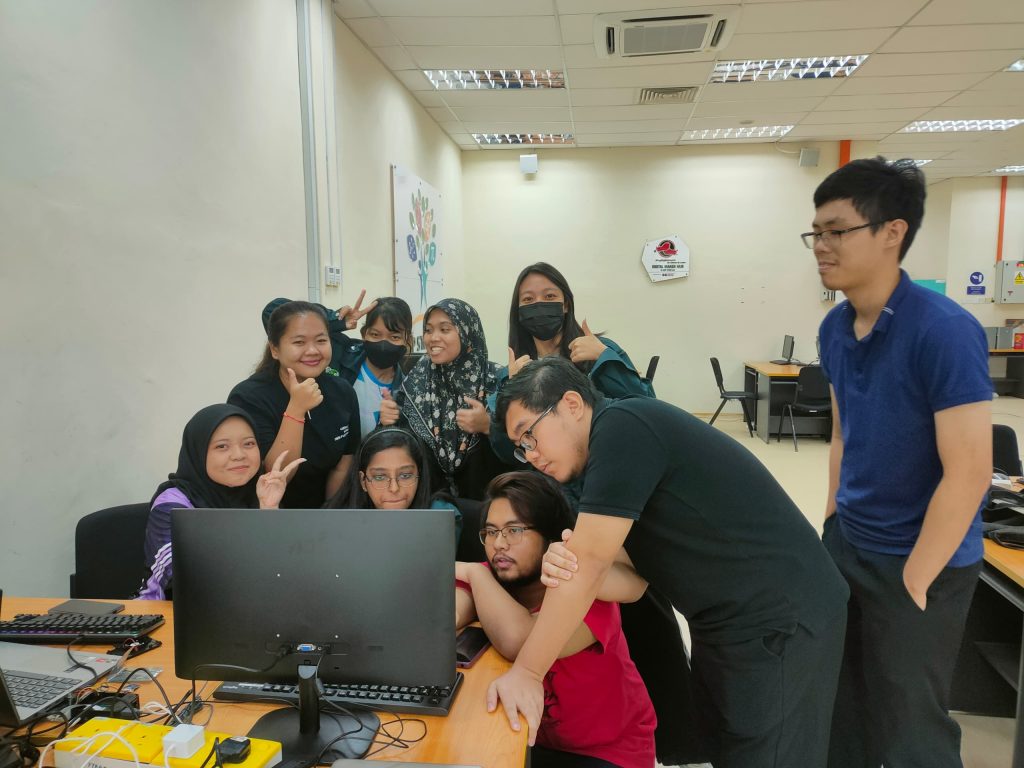
IEEE Try engineering Orientation
![]()
![]()
![]()
![]()
![]()
![]()
![]()
![]()
Movie Review 2024/4 – Podcast – The Exercise Neuroscientist NEW RESEARCH, The Link Between Exercise And Dementia!
A good podcast session.
Here, Prof Wendy Suzuki, a neuroscientist shared about things that matters to your brain, which include regular exercise =), of course.
Another one that caught my attention is how the brain learn the best (how human learn and memorize stuff) which includes:-
- Repetition – that involve consistent practice and review, aligning with behaviorist learning theories in education.
- Association – connecting new information with existing knowledge, similar to the use of metaphors in teaching and learning.
- Novelty – introducing new and unique elements to capture attention.
- Emotional resonance – creating emotional connections to make information more memorable.
This episode is highly recommended:-
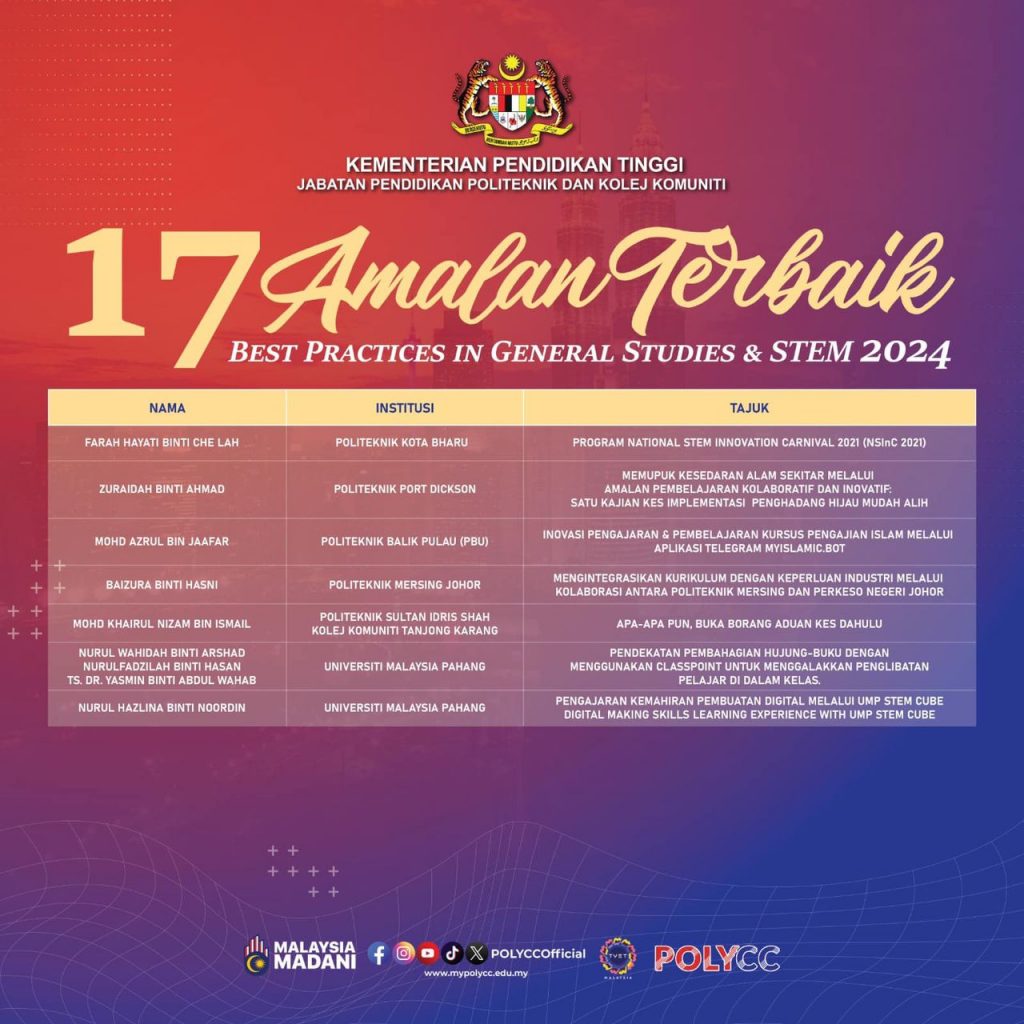
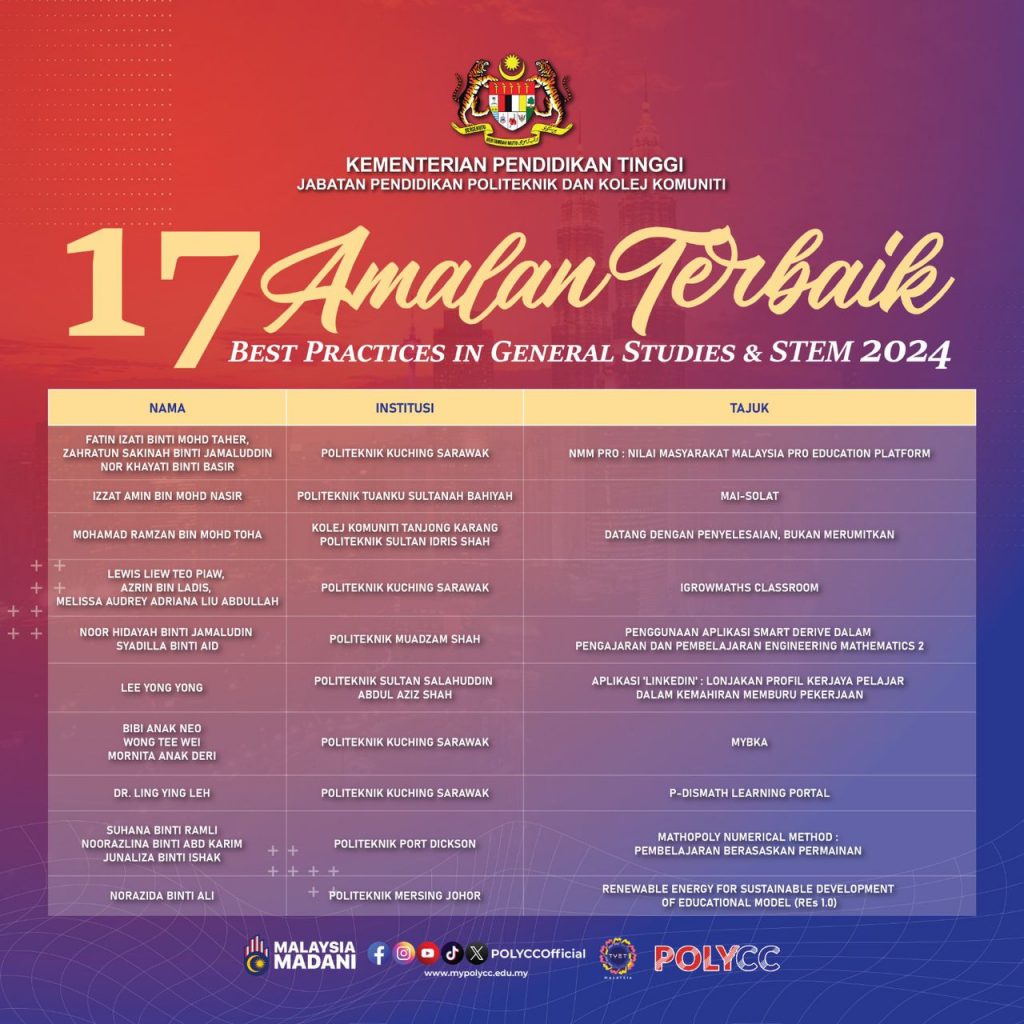
Best Practices in General Studies and STEM (BIGS) 2024
It was an honor to be selected to this program. Looking forward presenting on August 22nd, 2024.
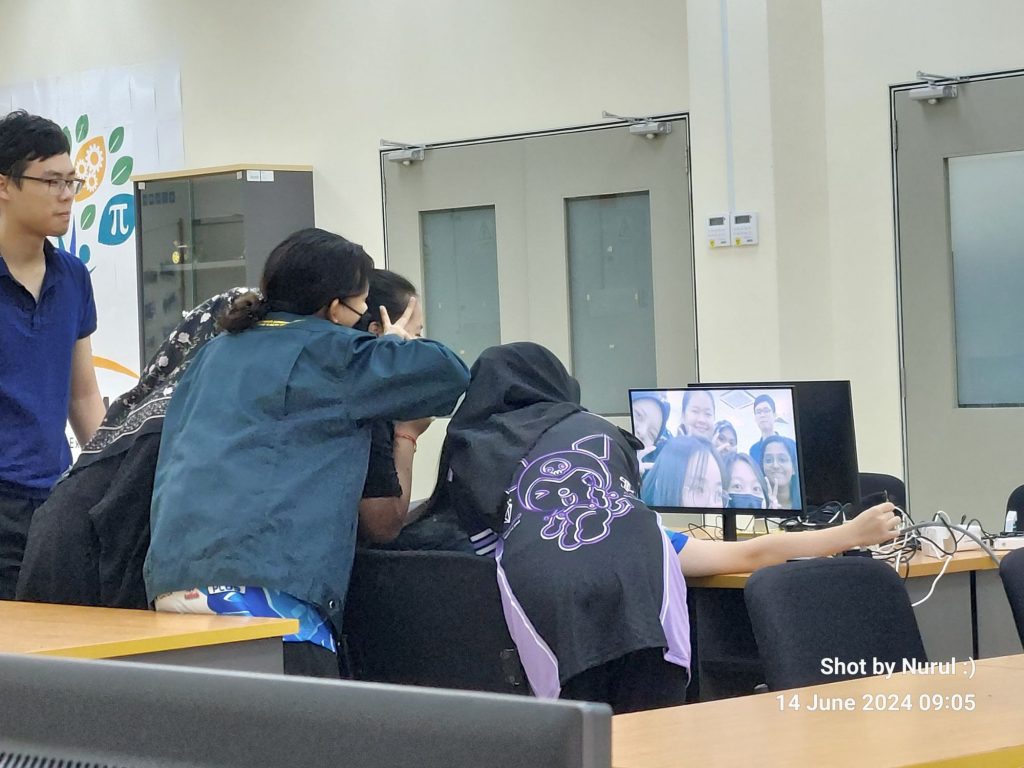
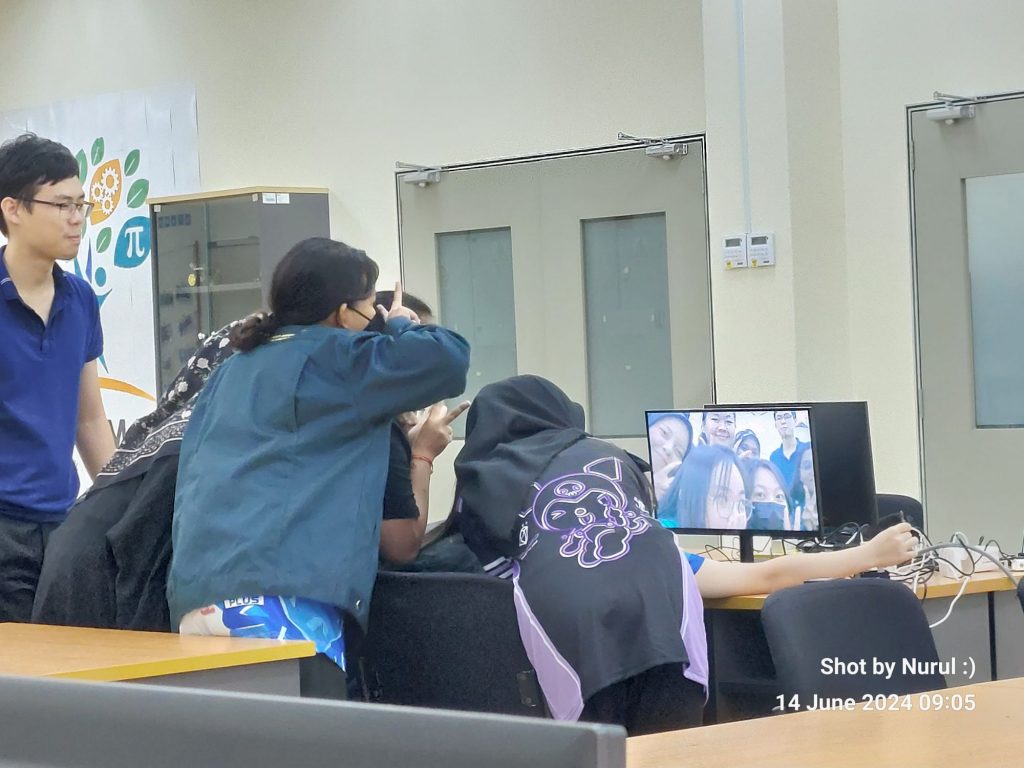
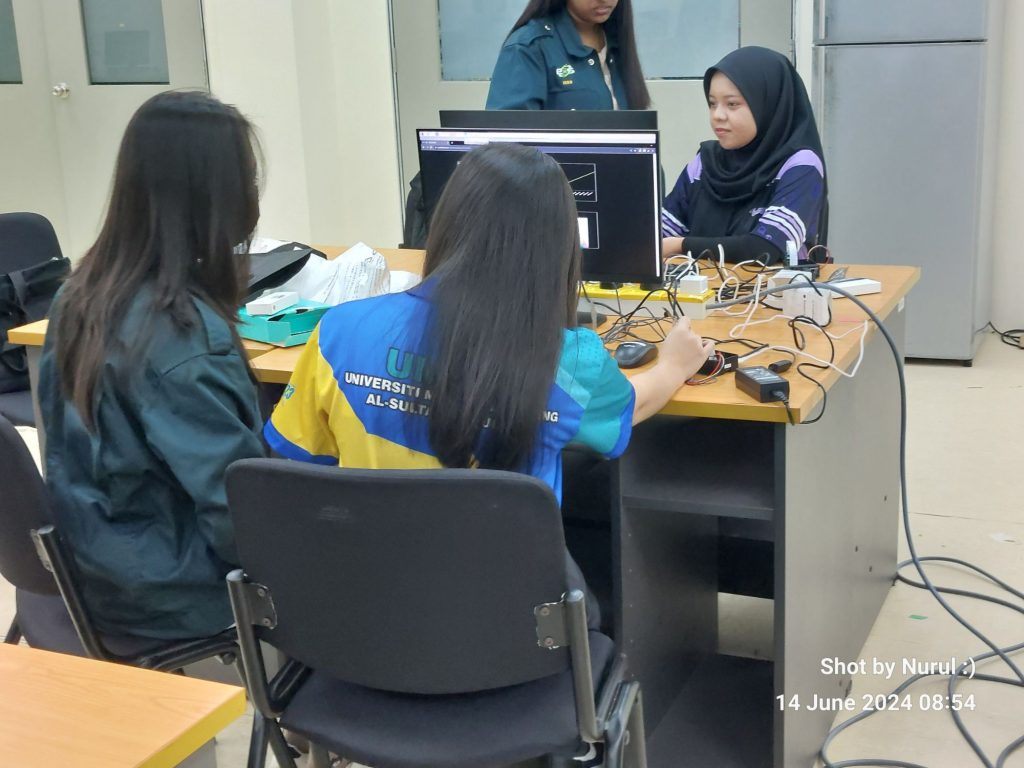
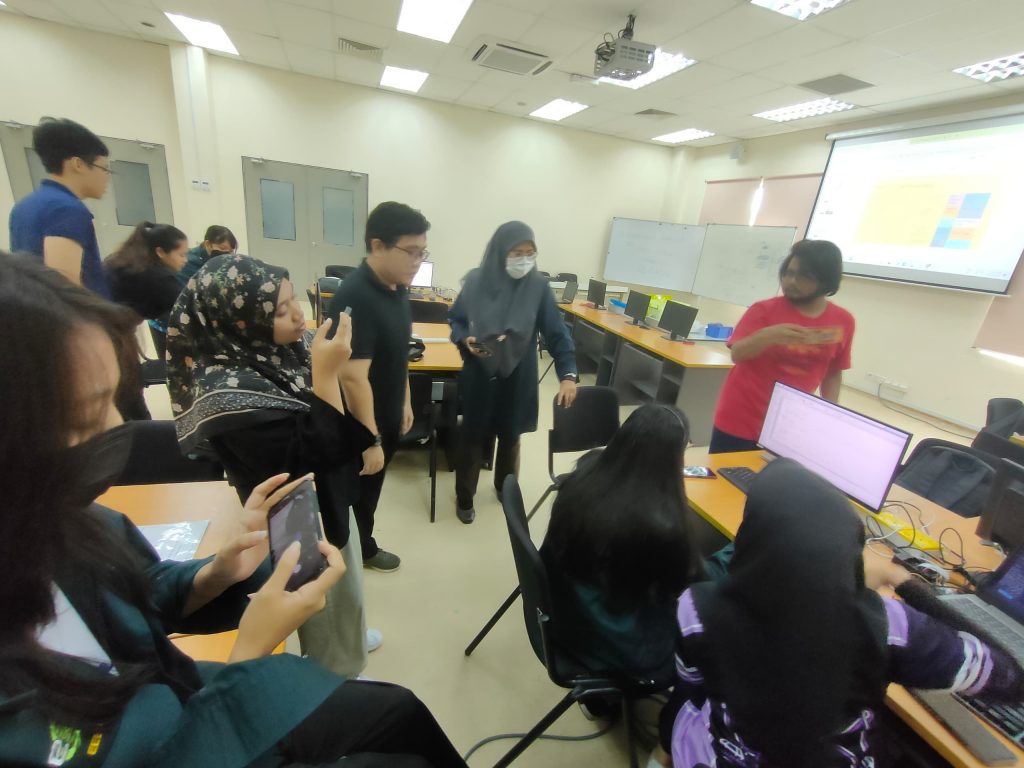
BTE1522 – Week 14 Project Assessment – Integrating Gallery Walk and Reciprocal Teaching
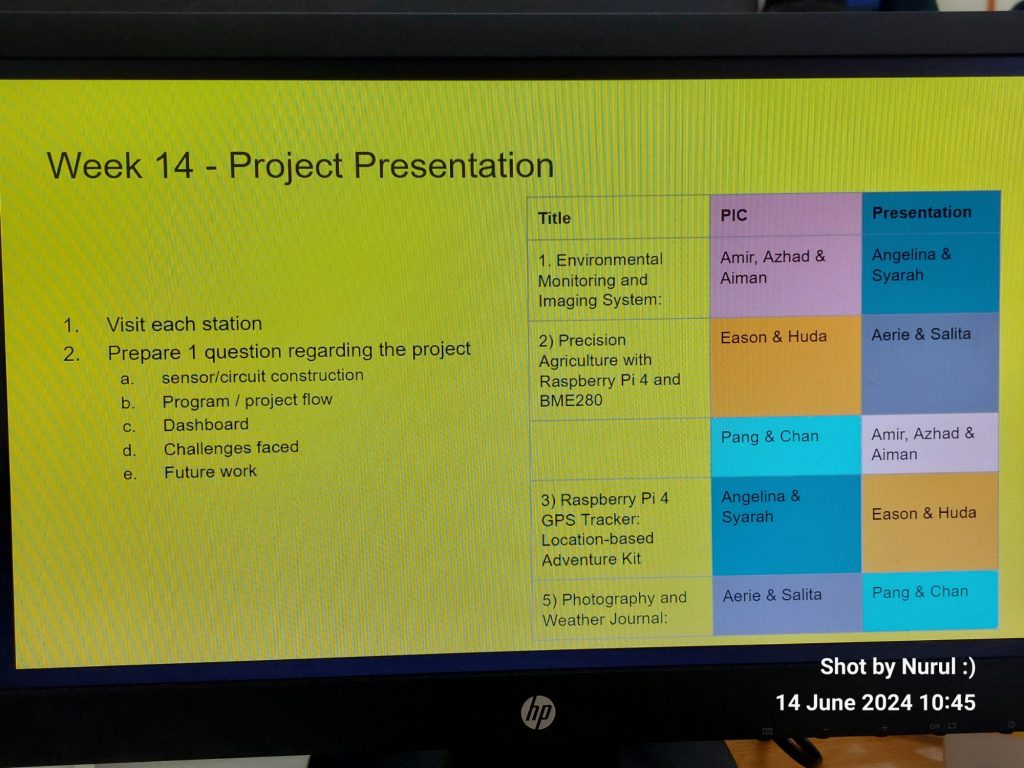
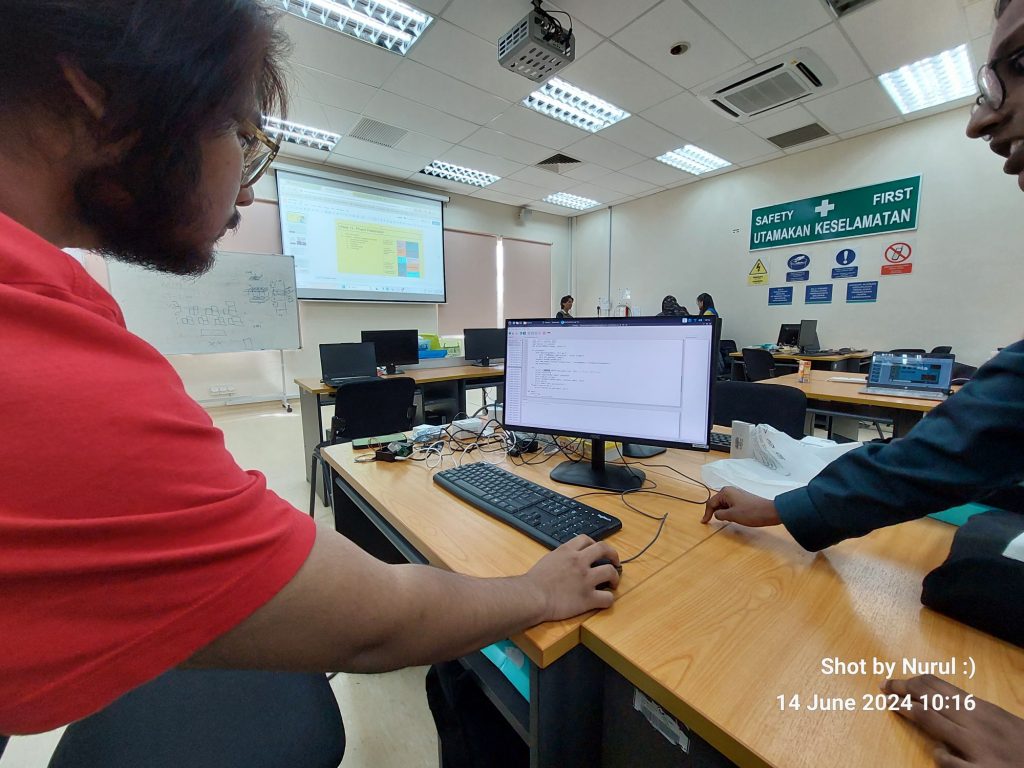
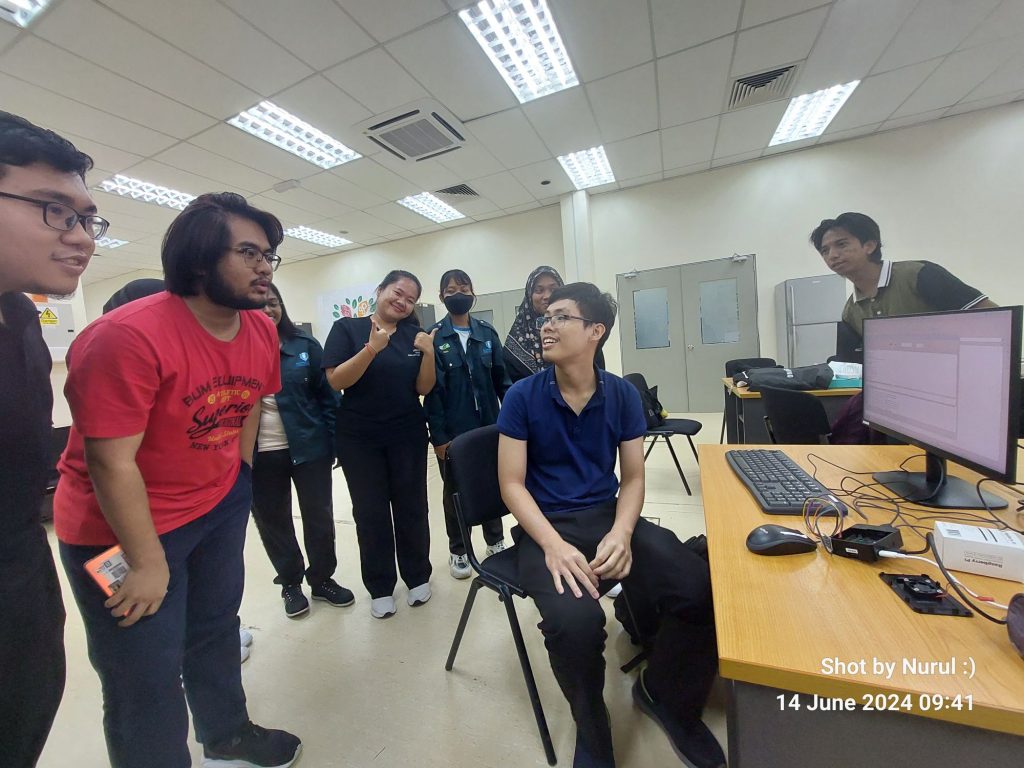
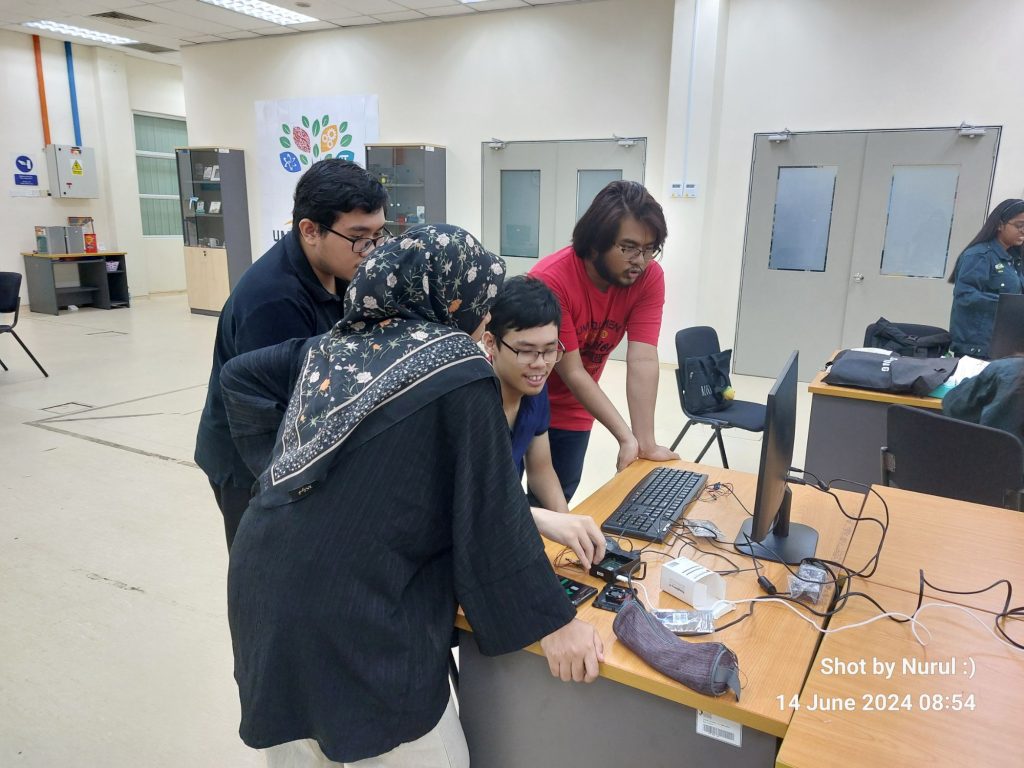
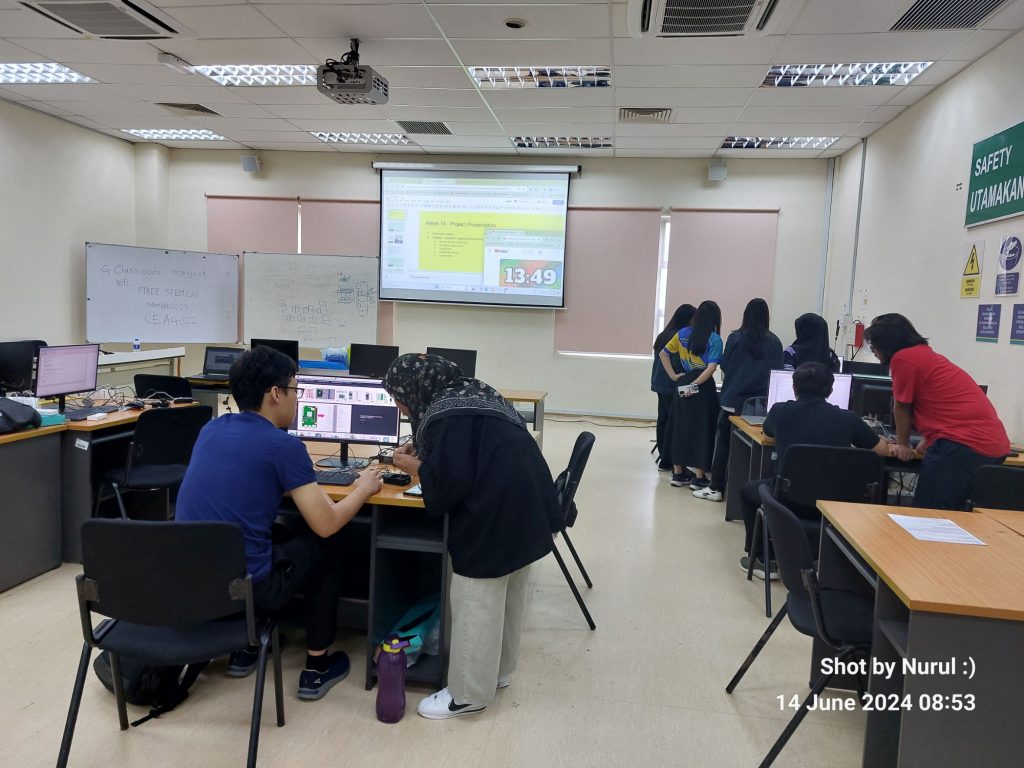
In today’s class – BTE 1522 – Innovation Python Programming and Raspberry Pi, we engaged in a dynamic and interactive learning session that combined elements of Gallery Walk and Reciprocal Teaching. This approach not only fostered collaboration and deeper understanding but also enhanced students’ ability to explain and defend their projects. Here’s a breakdown of how the session unfolded and the learning theories behind it.
Activity Overview
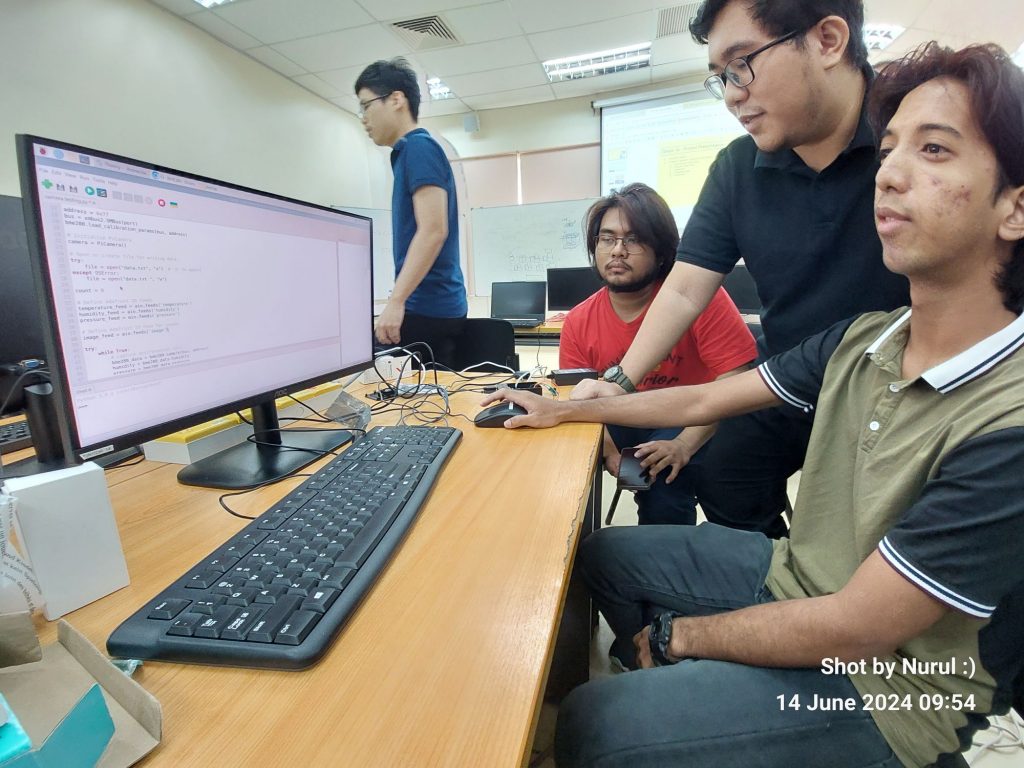
1 – Project Development
Students were divided into groups (1 through 5).
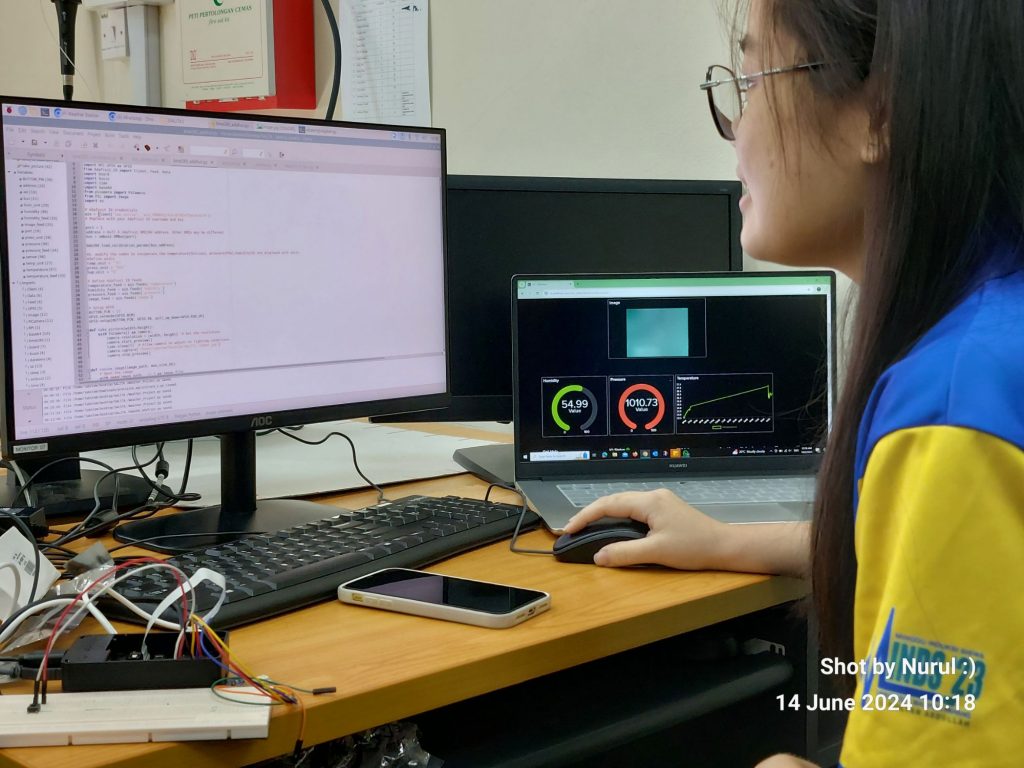
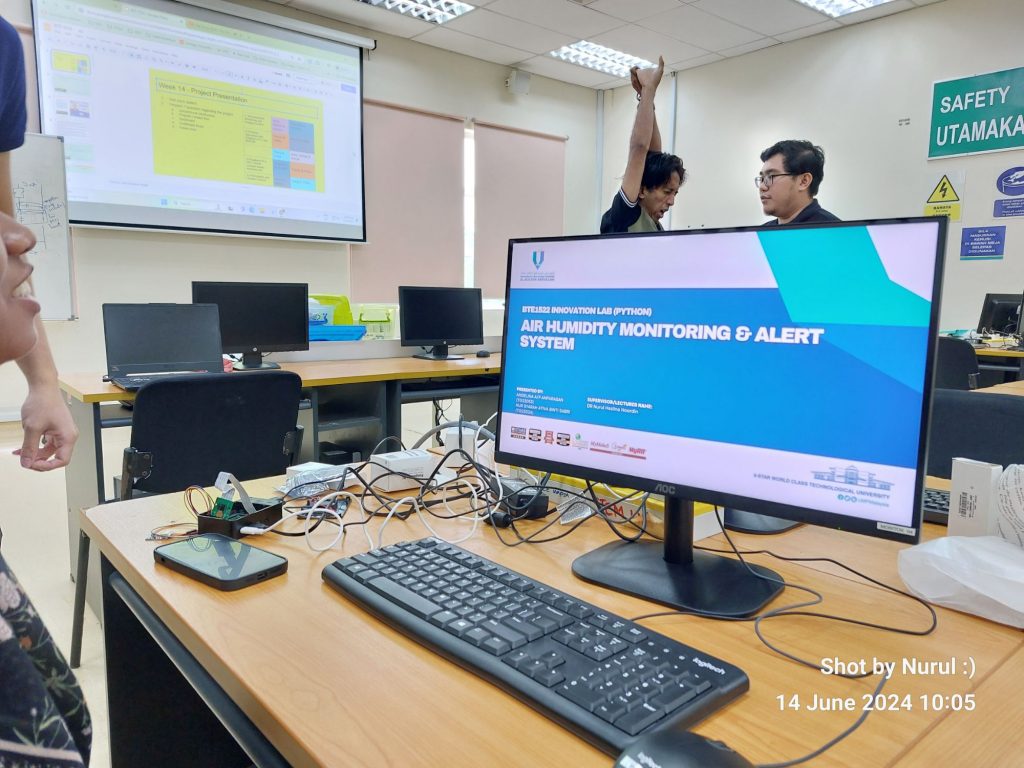
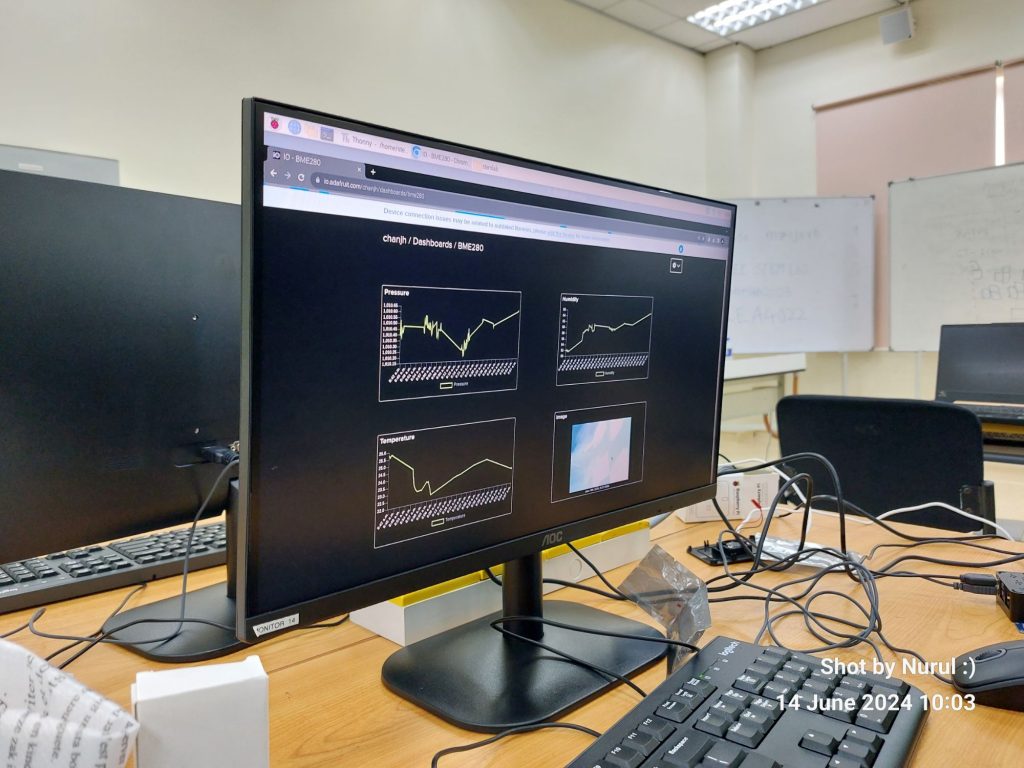
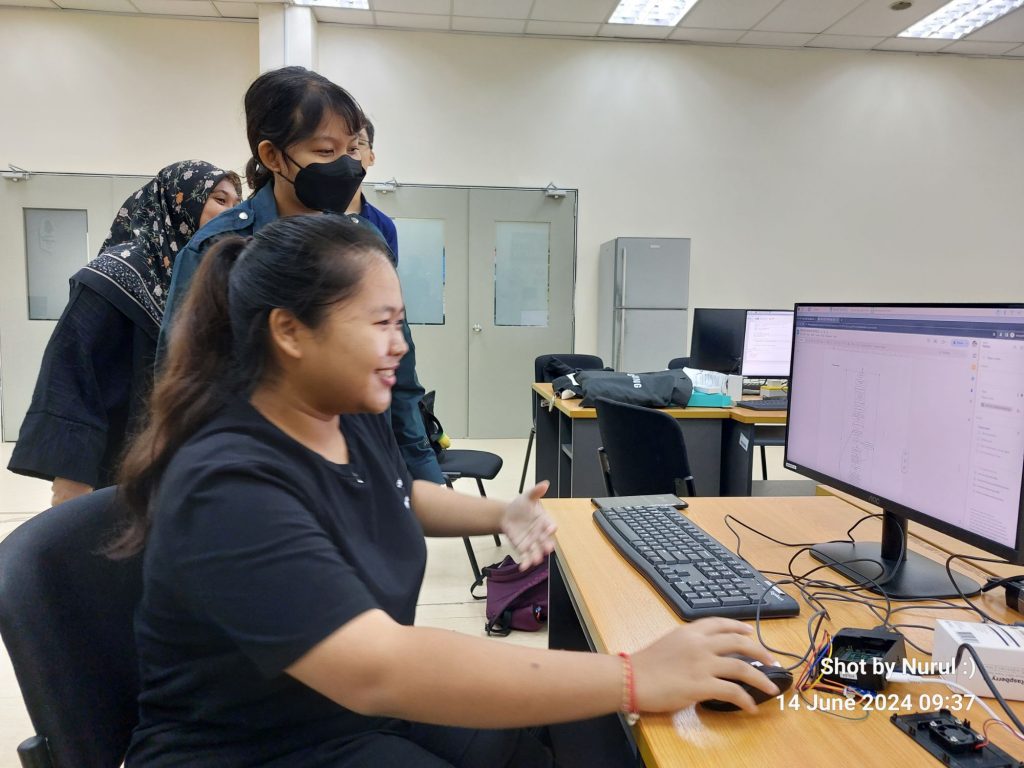
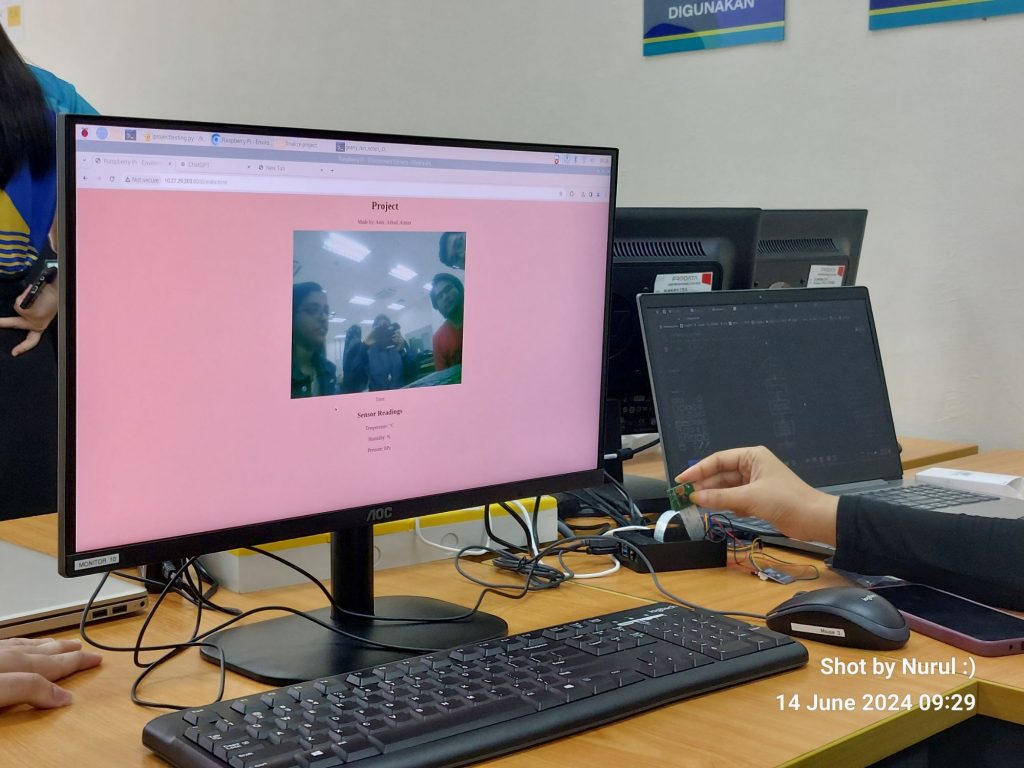
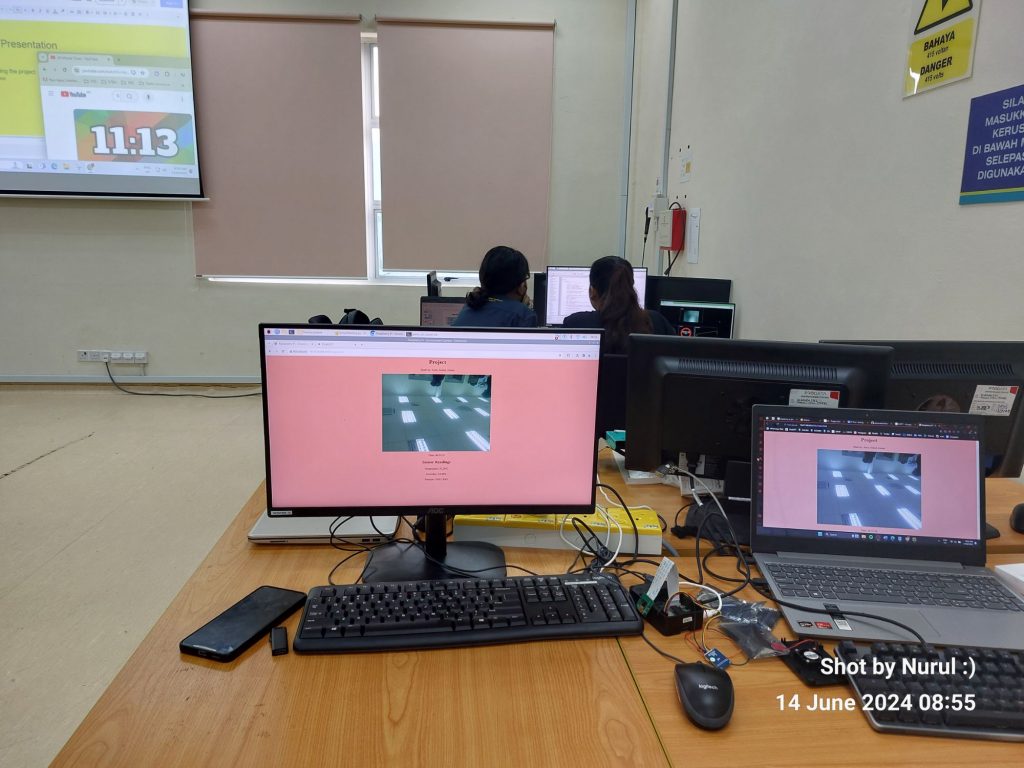
Each group developed a project using on Raspberry Pi, integrating sensors like BME280 & cameras, building databases, and creating dashboards.
2 – Reciprocal Teaching with a Twist
Instead of presenting their own work, each group was tasked with presenting the project of another group. For example, Group 2 (Angelina & Syarah) presented the work done by Group 1 (Amir, Azhad, Aiman).
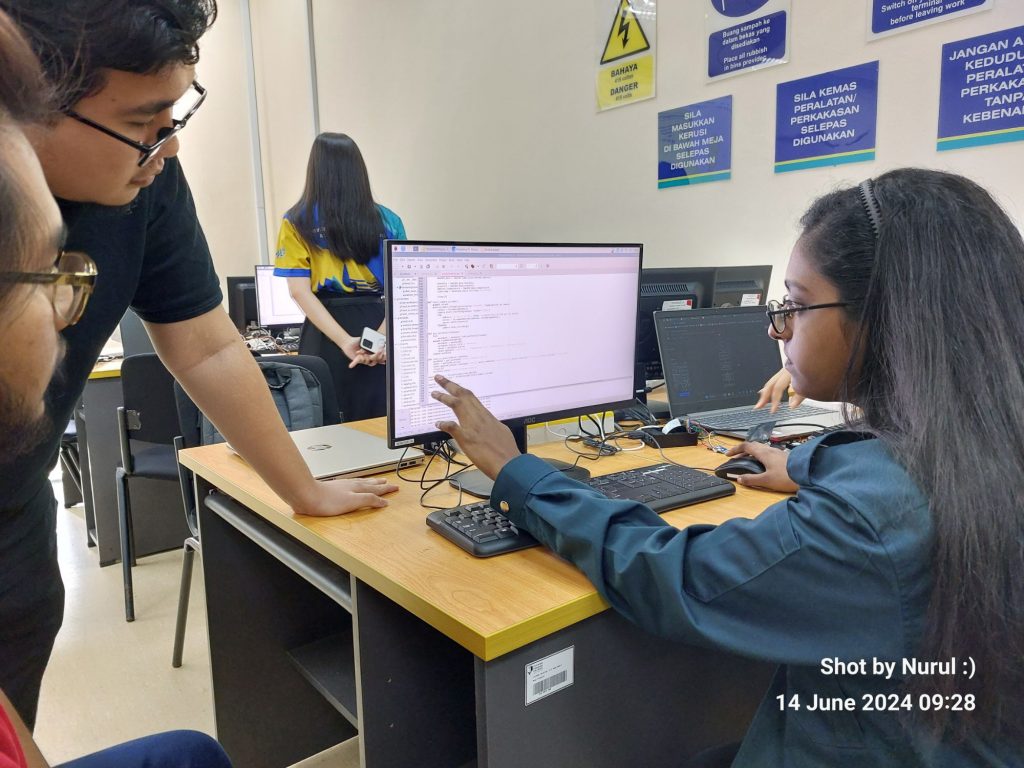
This approach required students to thoroughly understand projects created by other groups. By presenting and understanding projects from other groups, students applied their Python coding knowledge to analyze and interpret how different groups implemented solutions using Raspberry Pi. This hands-on experience allowed them to see real-world applications of Python in sensor integration, data handling, and project implementation on the Raspberry Pi platform. It reinforced their learning by showing them diverse approaches to coding, problem-solving, and integrating hardware components like sensors, cameras, and GPS modules into functional systems.
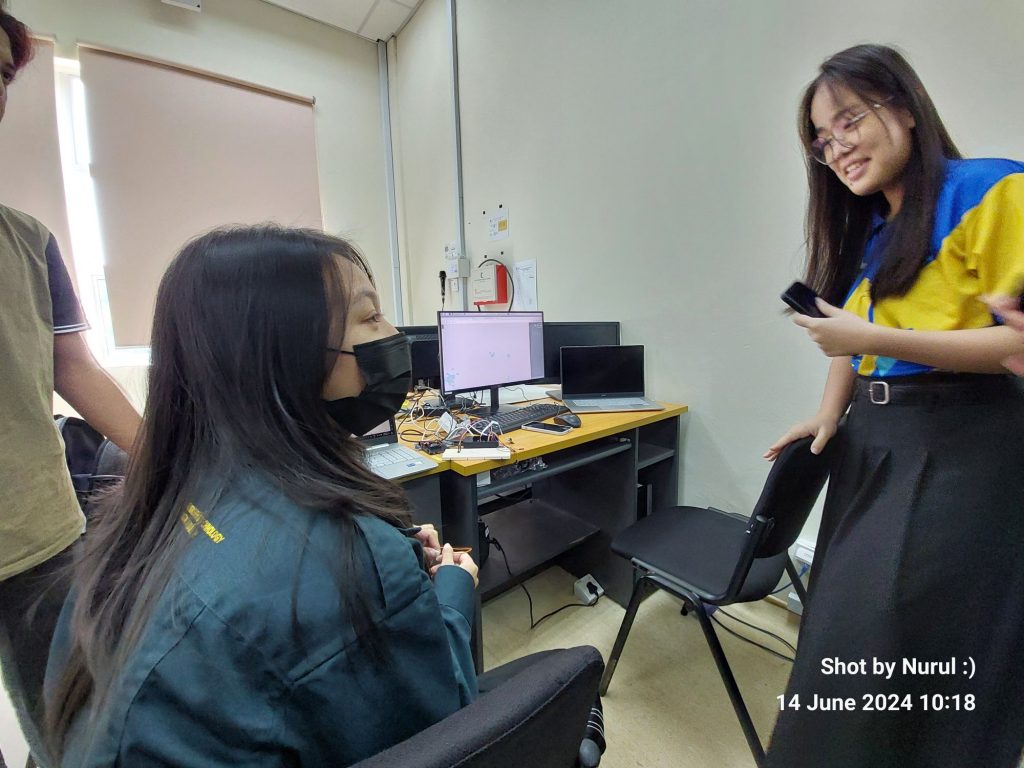
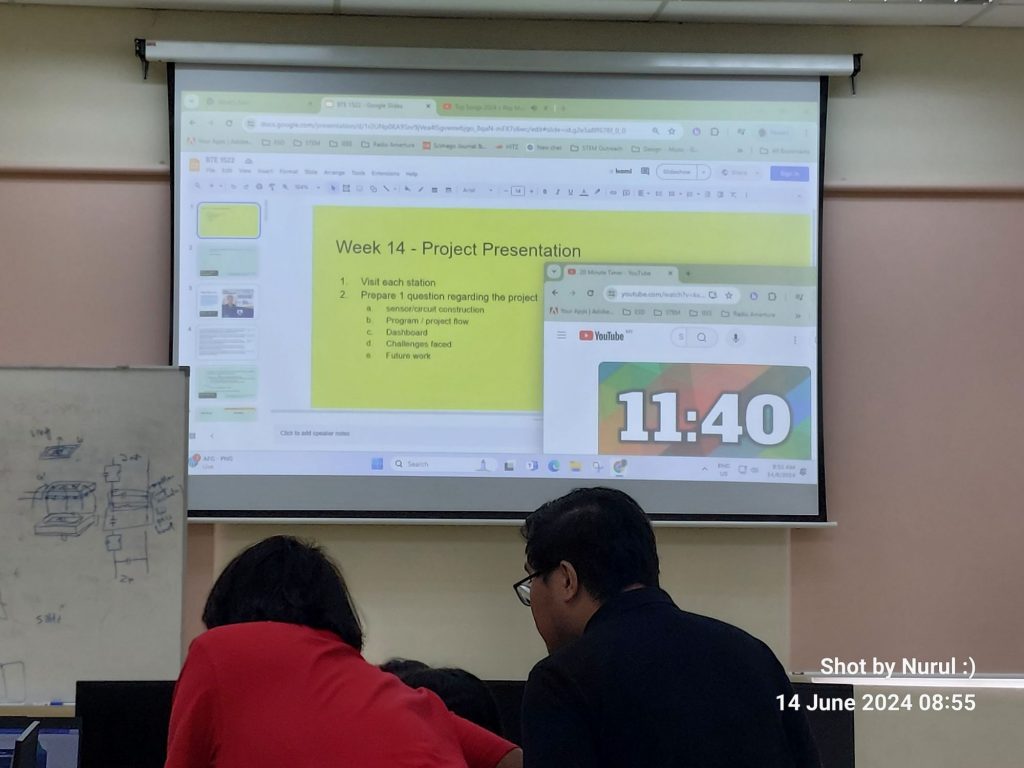
3 – Gallery Walk Elements
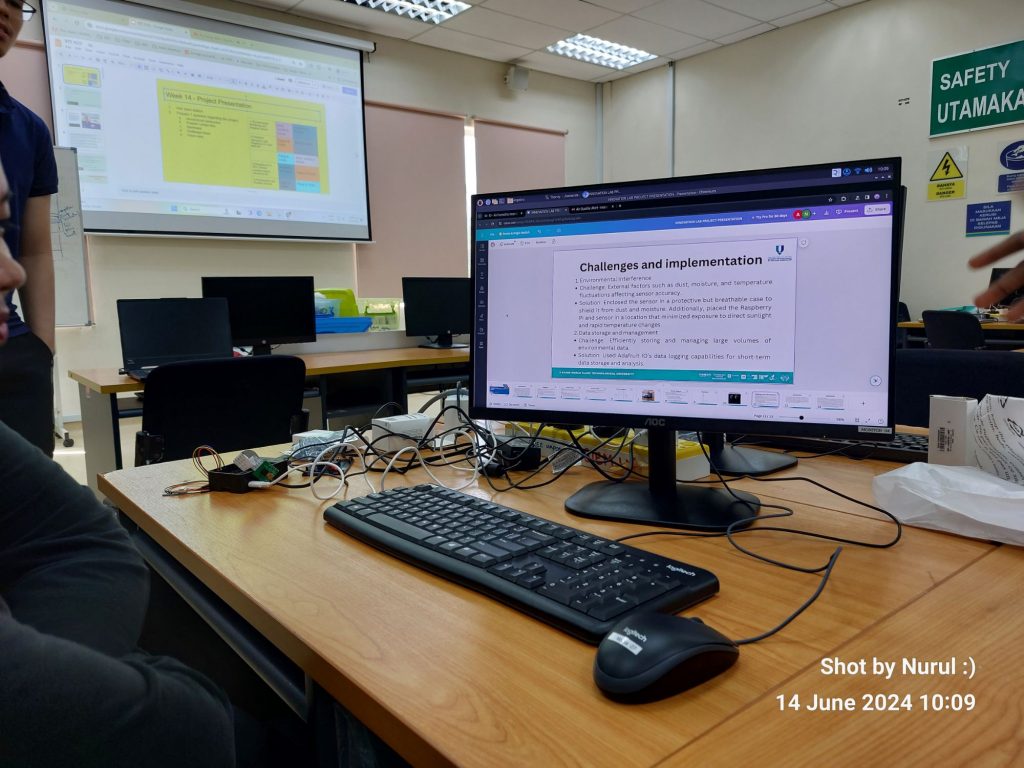
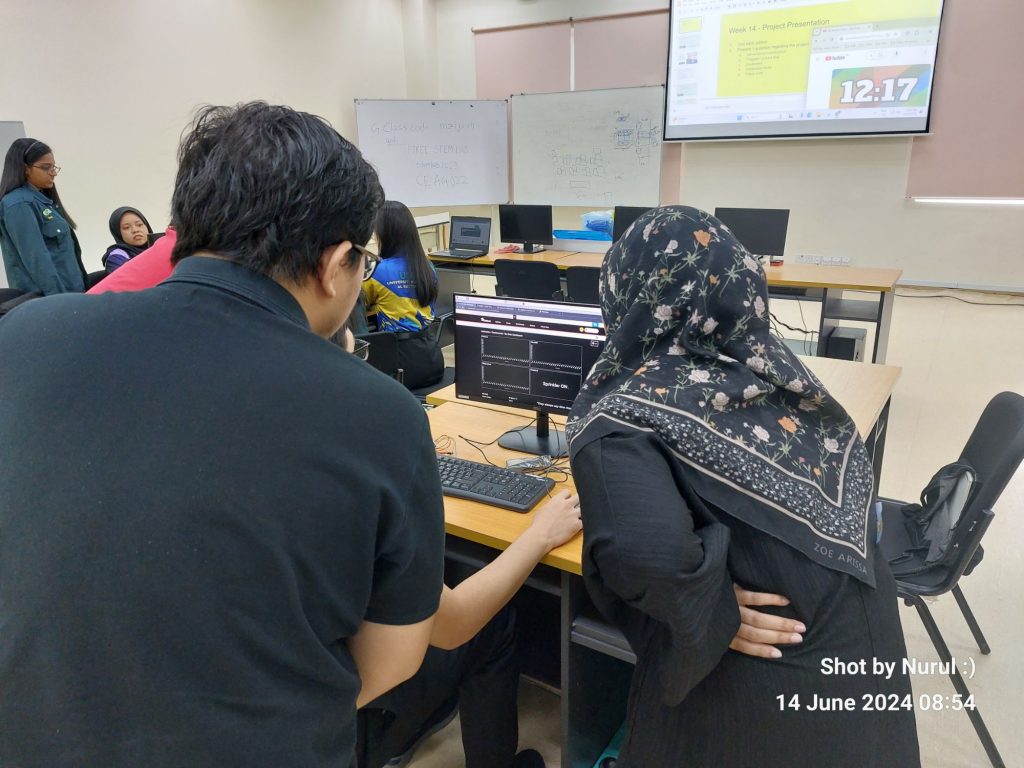
After Group 1 presents their project on the Environmental Monitoring and Imaging System, the session transitions into an interactive phase. Students from Groups 3, 4, 5, and 6 ask one question each about the presented project. These questions delve into various aspects of the system, such as the integration of sensors like the BME280 for environmental data collection, the methodologies employed in Python programming to process and visualize this data, and the techniques utilized for imaging purposes.
This structured Q&A session serves multiple purposes. First, it allows students from other groups to gain deeper insights into the technical details and methodologies employed by Group 1. By asking pertinent questions, students from Groups 3, 4, 5, and 6 not only expand their understanding of different project components but also evaluate the comprehensiveness and innovation of Group 1’s work.
For Group 1, this session becomes an opportunity to demonstrate their expertise and depth of knowledge regarding their project. By articulating clear and detailed responses to the questions posed by their peers, Group 1 showcases their understanding of Python programming techniques applied to sensor integration, data processing, and system implementation. They also highlight their proficiency in problem-solving and innovation within the context of environmental monitoring and imaging systems.
This approach fosters a collaborative learning environment where students engage critically with each other’s work, exchange ideas, and enhance their technical and communication skills. It aligns with the assignment topics by emphasizing the application of Python programming in real-world IoT (Internet of Things) projects involving environmental monitoring, precision agriculture, GPS tracking, and photography with weather data integration.
Evaluation Criteria
- Marks were awarded based on the quality of the presentation by the presenting group.
- The ability of Group 1 to answer the questions accurately and comprehensively.
- The ability of the presenting group to explain another group’s project clearly.
- Learning Theories and Techniques
Reciprocal Teaching
By having students present projects they did not create, we leveraged the principles of reciprocal teaching. This method encourages active learning, critical thinking, and the ability to teach others, which in turn reinforces their own understanding.
Gallery Walk
Incorporating a Q&A session akin to a gallery walk allowed students to engage with multiple projects, ask insightful questions, and provide constructive feedback. This technique promotes active engagement, observational learning, and peer-to-peer interaction.
Peer Teaching
This hybrid approach facilitated peer teaching, where students learned from each other by presenting and questioning different projects. Peer teaching is known to enhance comprehension and retention of material as students explain concepts to their peers.
Collaborative Learning
Working in groups to understand and present different projects encouraged collaboration. Collaborative learning helps develop teamwork skills, enhances problem-solving abilities, and fosters a sense of community within the class.
Benefits of the Approach
- Improved Understanding – Students gained a broader perspective by engaging with multiple projects, understanding various approaches and solutions.
- Enhanced Communication Skills – Presenting another group’s work and answering questions honed students’ communication and presentation skills.
- Critical Thinking – The Q&A session encouraged critical thinking, as students had to think on their feet to ask relevant questions and provide accurate answers.
- Engagement and Motivation – This interactive approach kept students engaged and motivated, as they were actively involved in learning and teaching processes.


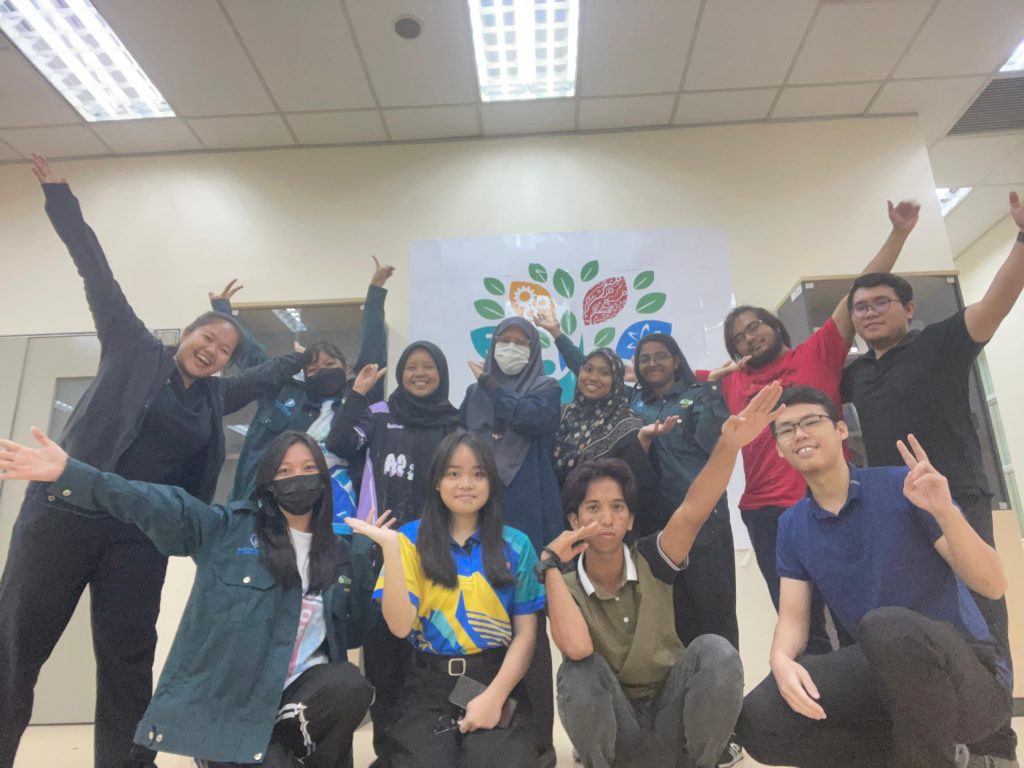
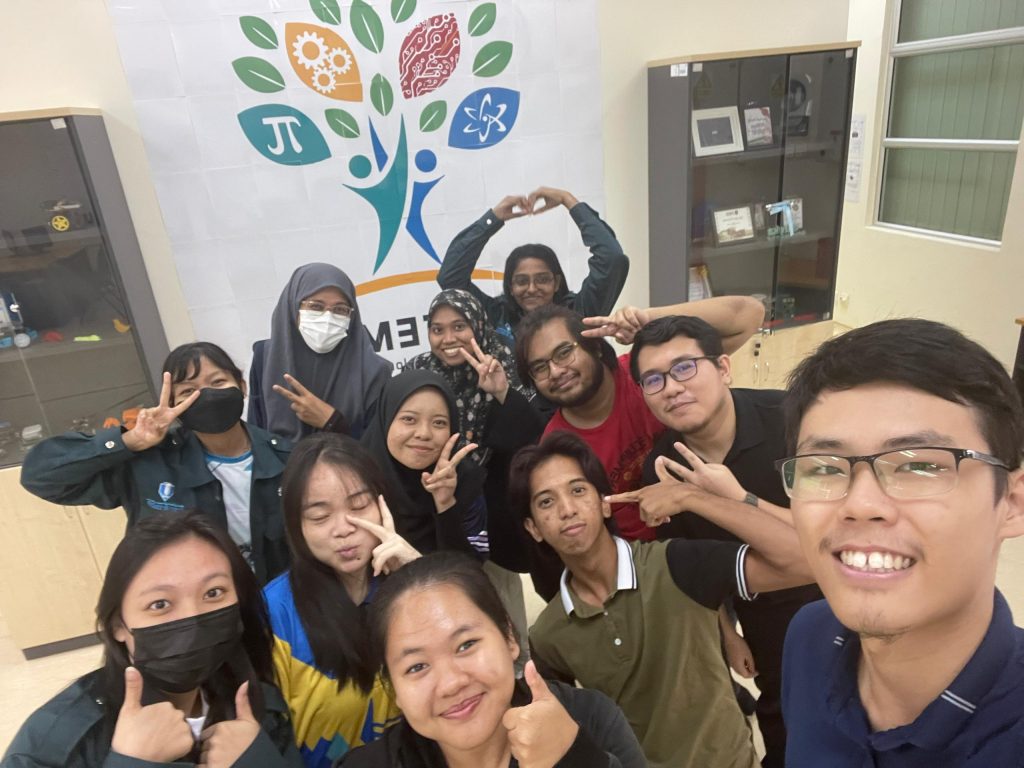
To all the BTE1522 students (Sem 1 2024 2025), thank you very much for your active participation throughout the semester. I hope you’ve enjoyed the classes as much as I do =).
Nurul – June 16th 2024
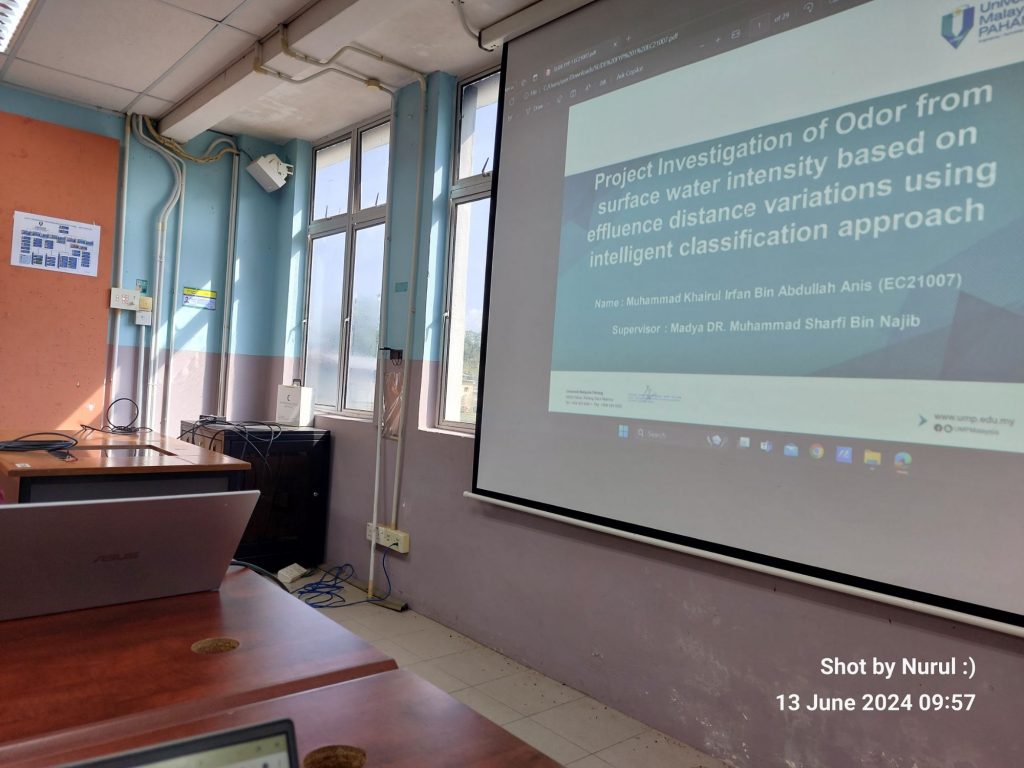
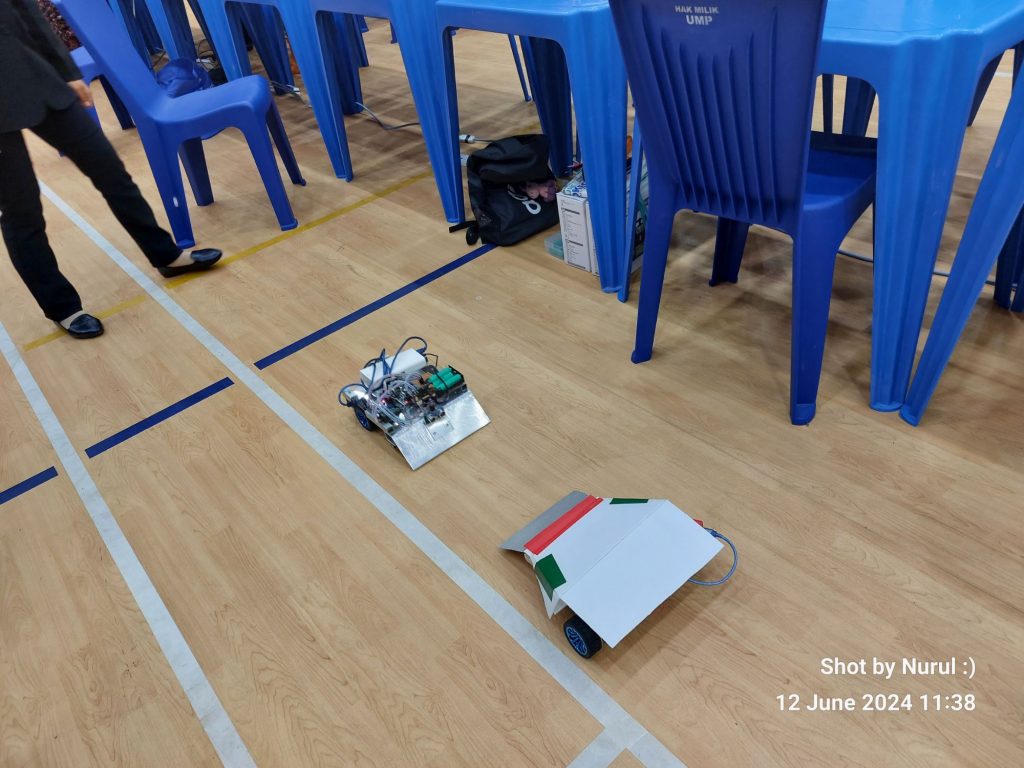
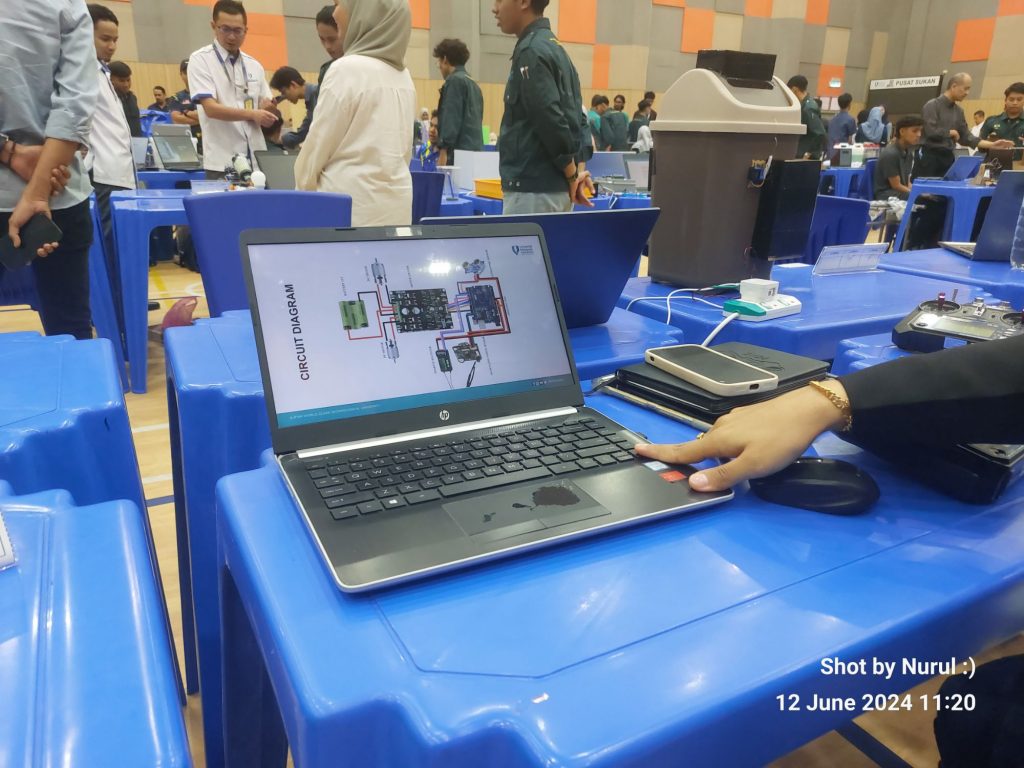
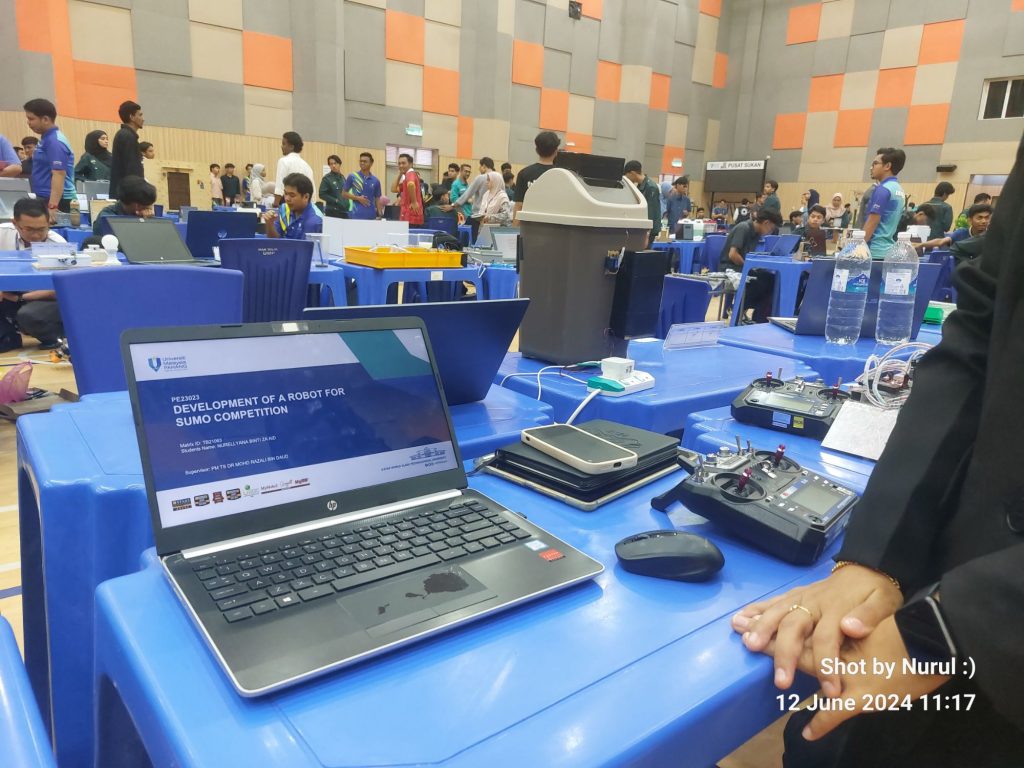
Pre Viva Evaluator
Undergraduate Research Presentation 1
SDP PSM Evaluation


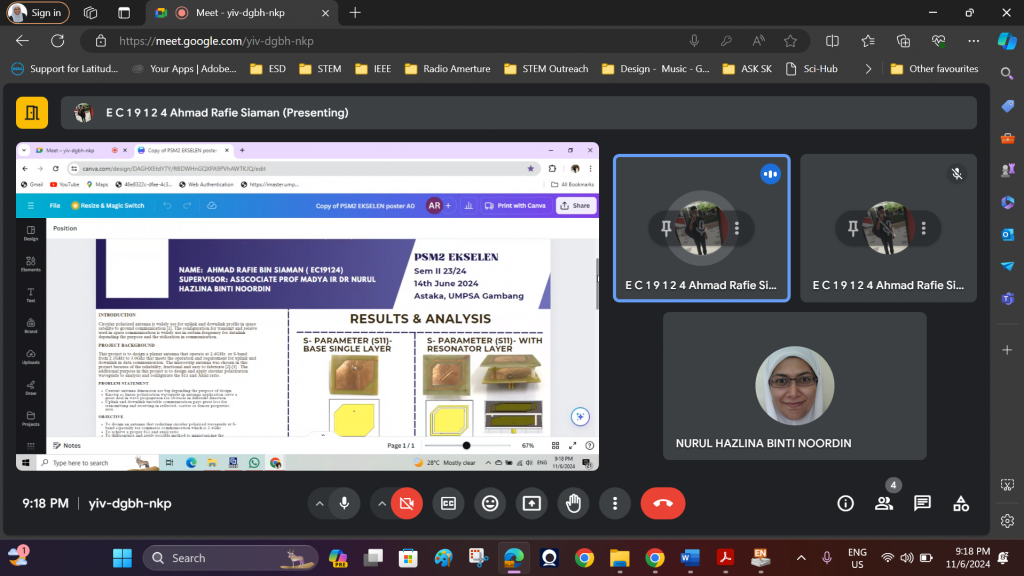
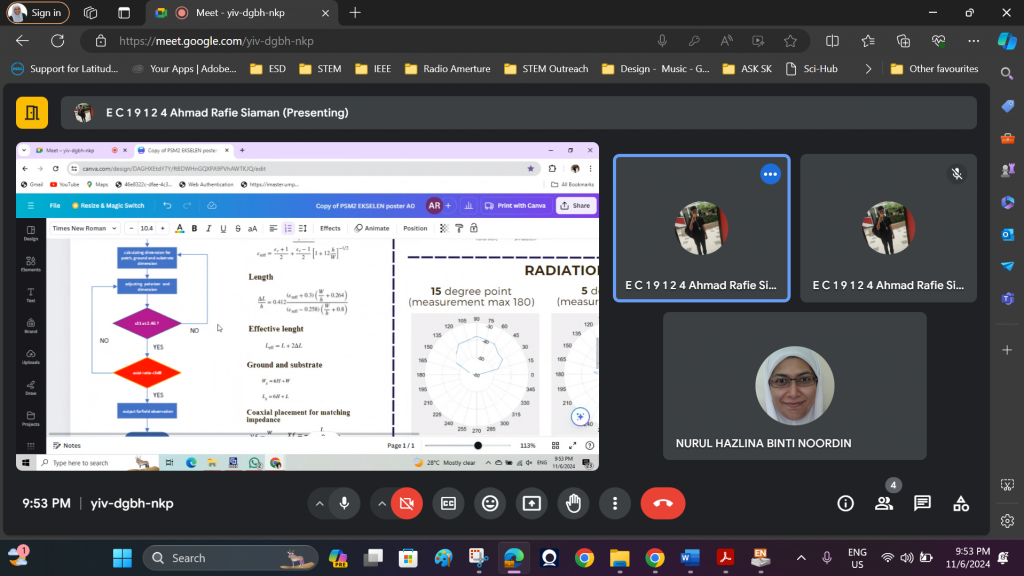
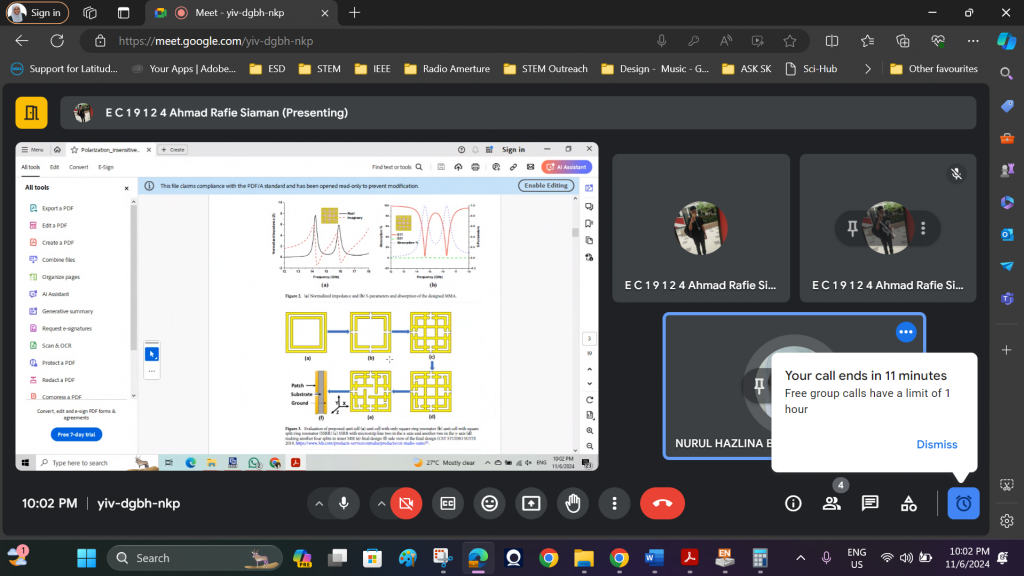
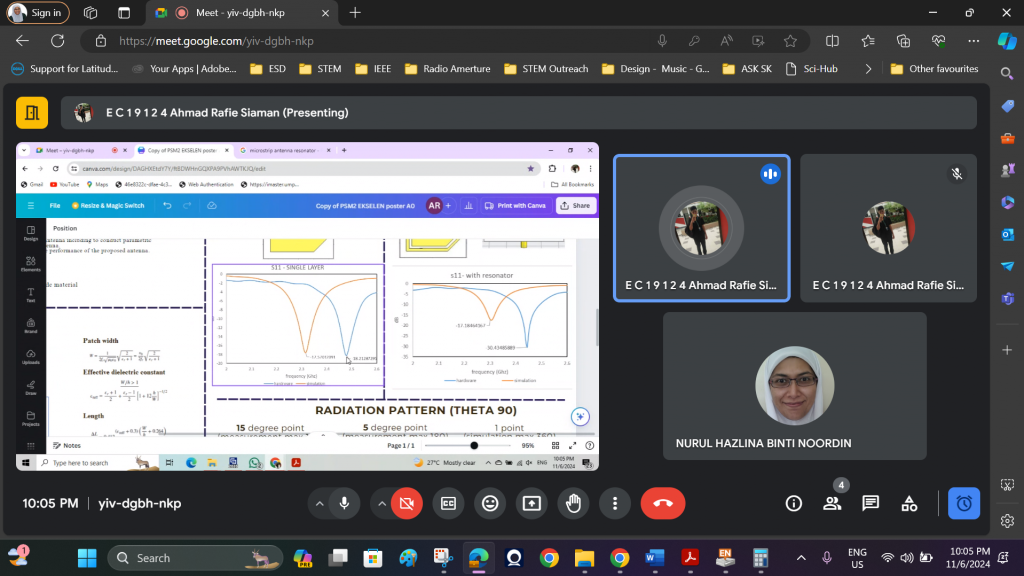
Discussion URP 2 – Circularly Polarized Antenna Design
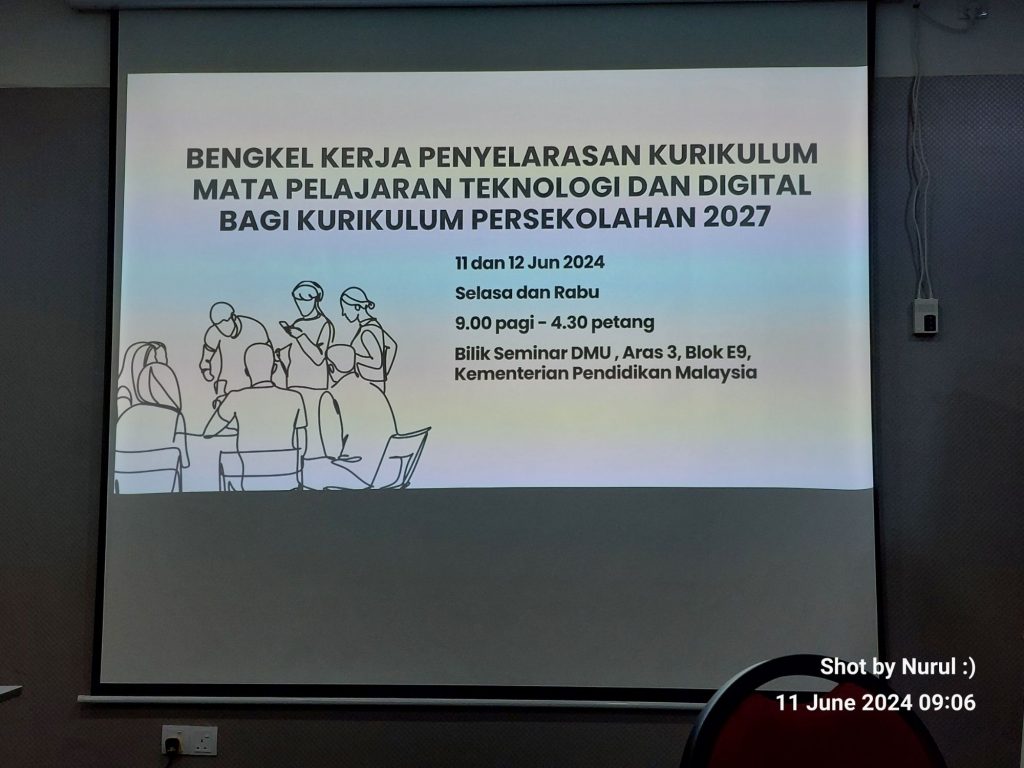
Bengkel Kurikulum Digital 2027