The world is digital, but life is analog..


Today I presented a work on A Study on Proficiency in Media and Information Literacy in the International Conference in Engineering Education (ICEED 2025) in Kuching Sarawak. This work is the extension of an earlier study, “Assessing Information Literacy Levels Among Underprivileged Communities” published in the Journal of Media Literacy Education (2024) that roots back to a collaborative project supported by a UNESCO IFAP grant in 2021.


From Community Literacy to Engineering Education
The earlier research focused on identifying information literacy gaps among underprivileged communities, revealing that misconceptions often arise when individuals lack structured approaches to evaluating information. Building on this, the current study expands the scope to assess media and information literacy (MIL) competencies across diverse demographics in Malaysia, with a specific emphasis on understanding both perceived abilities (via Likert scales) and actual knowledge (via concept inventory–style test scores).
The findings shows that while participants demonstrated confidence in basic searching and retrieval skills, critical evaluation and ethical content creation remained weak points. Importantly, the study showed that perceived competencies do not always align with actual proficiency, highlighting the persistence of misconceptions when navigating online content.

Why MIL Matters in Engineering Education
Linking this to engineering education, the implications are significant. Engineering students and professionals increasingly rely on digital platforms for:
Technical information retrieval – sourcing datasheets, academic papers, and technical standards.
Critical evaluation – distinguishing credible research from unverified online content.
Ethical content creation – producing reports, designs, or media that respect intellectual property and promote integrity.
Digital security – protecting data and managing privacy in collaborative platforms and IoT-based environments.
Deficiencies in MIL can therefore affect the quality of problem-solving, research rigor, and ethical decision-making in engineering practice. By embedding MIL competencies into engineering education, institutions can cultivate graduates who are not only technically skilled but also responsible digital citizens capable of navigating the complexities of today’s information-rich environments.


Media and information literacy is not peripheral but central to engineering education. It contributes directly to cultivating engineers who can think critically, communicate ethically, and innovate responsibly. For educators, it offers a reminder that curricula should integrate MIL training alongside traditional technical subjects, ensuring that graduates are equipped to evaluate, create, and protect digital knowledge effectively.

I would like to sincerely thank each and everyone who has been involved in this study—from the participants and enumerators to my colleagues at UMPSA STEM Lab, as well as our collaborators and supporters through the UNESCO IFAP grant, British Council, Cardiff Metropolitan University and the Miniatry of Higher Education Malaysia. Your contributions, guidance, and commitment have been invaluable in shaping this work and bringing it to the international stage at ICEED 2025.
At the International Conference on Engineering Education (ICEED) 2025, held in Kuching, Sarawak, the work on “Constructivist Scaffolding in Arduino Robotics Programming for Novice Learners” was presented. This study builds upon our ongoing efforts at the UMPSA STEM Lab to design effective teaching strategies that help learners take their first steps into robotics and programming. 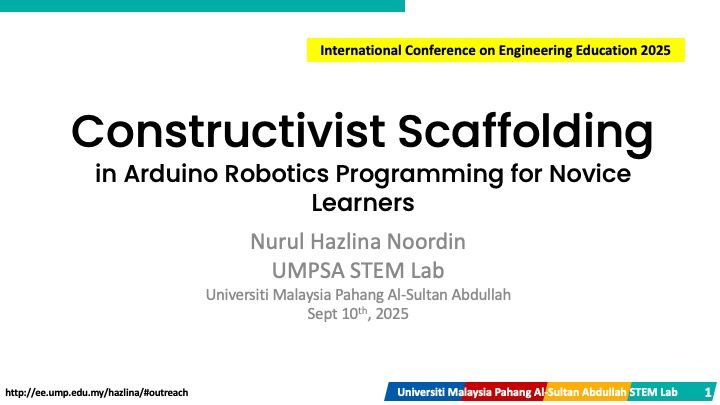
For many novice learners, programming a robot can be intimidating. Not only do they have to understand the logic of coding, but they also need to connect it with physical hardware like sensors, motors, and controllers. Without proper guidance, this can quickly become overwhelming.
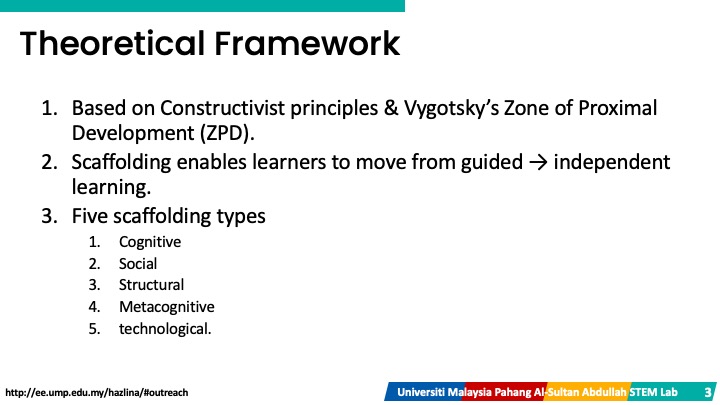
This is where constructivist scaffolding comes in. Inspired by Vygotsky’s Zone of Proximal Development (ZPD), scaffolding ensures that learners are supported at the right level: starting with more guidance and gradually moving towards independence. Combined with Kolb’s experiential learning cycle—learning by doing, reflecting, conceptualizing, and applying—this approach helps learners grow both skills and confidence.
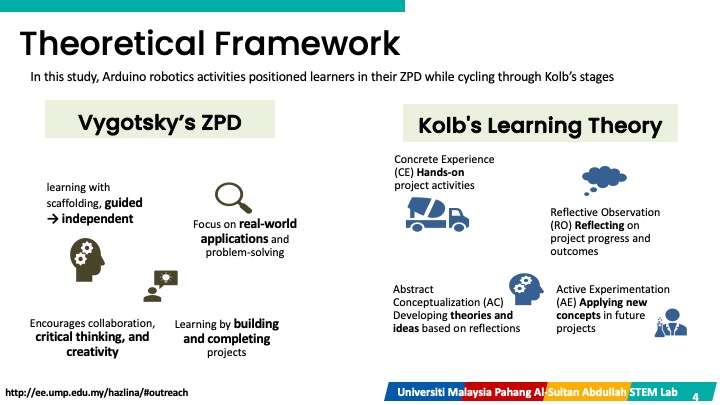
The Four-Tiered Scaffolding Model

The Arduino robotics module was designed with four progressive stages of support:
Workout Programming – Learners begin with full example codes and step-by-step guidance.
Debugging Malfunction – Learners fix pre-written codes with intentional bugs, strengthening problem-solving.
Semi-Completed Programming – Learners receive partially written codes, requiring them to fill in the gaps.
New Programming – Learners are given only the problem statement and circuit schematic, coding solutions independently.
This tiered approach ensures a smooth transition from guided learning to independent problem-solving.
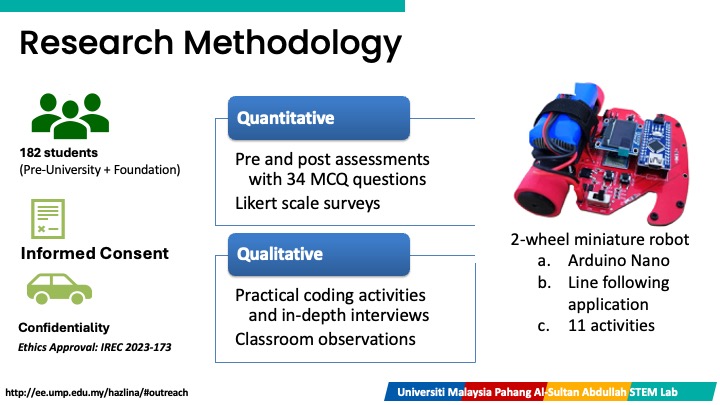
The work involves 182 novice learners from both pre-university and foundation programs. impact were measure with:
Pre- and post-tests to assess knowledge gains.
Surveys to capture learner confidence and attitudes.
Interviews and observations to understand their real experiences.
The results shows that –
Learners showed significant knowledge gains (12–14% improvement in test scores).
Participants reported feeling more confident and engaged with programming.
Each stage of scaffolding had its own impact:
Workout Programming gave learners a “safe starting point.”
Debugging was frustrating but rewarding.
Semi-completed Programming encouraged prediction and deeper thinking.
New Programming challenged learners but left them feeling accomplished.
Reliability of the survey instruments was high (Cronbach’s Alpha = 0.838), supports the findings.
Why It Matters for Engineering Education
This study highlights the value of scaffolding in robotics education. By carefully structuring learning tasks, educators can help students build confidence step by step, while still encouraging autonomy and creativity. For institutions looking to prepare students for the challenges of engineering, this approach offers a practical and research-backed model.

We are deeply grateful to the Ministry of Education Malaysia, Universiti Malaysia Pahang Al-Sultan Abdullah (UMPSA), British Council, Cardiff Met University, and the dedicated UMPSA STEM Lab mentors for their support in this project.


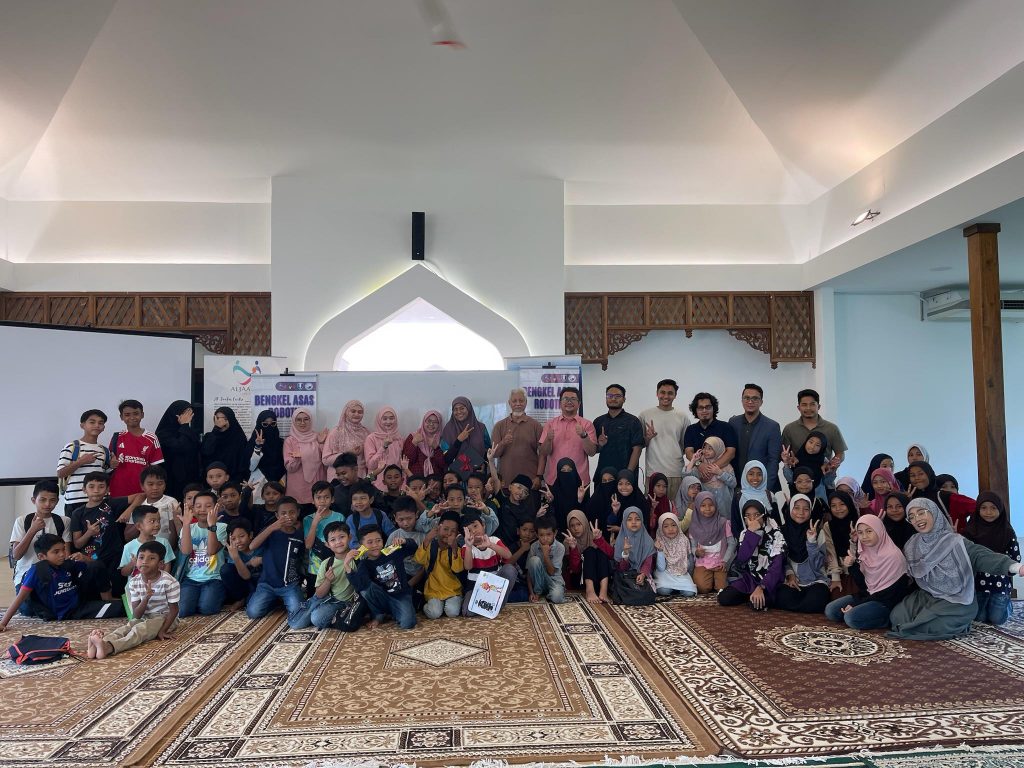
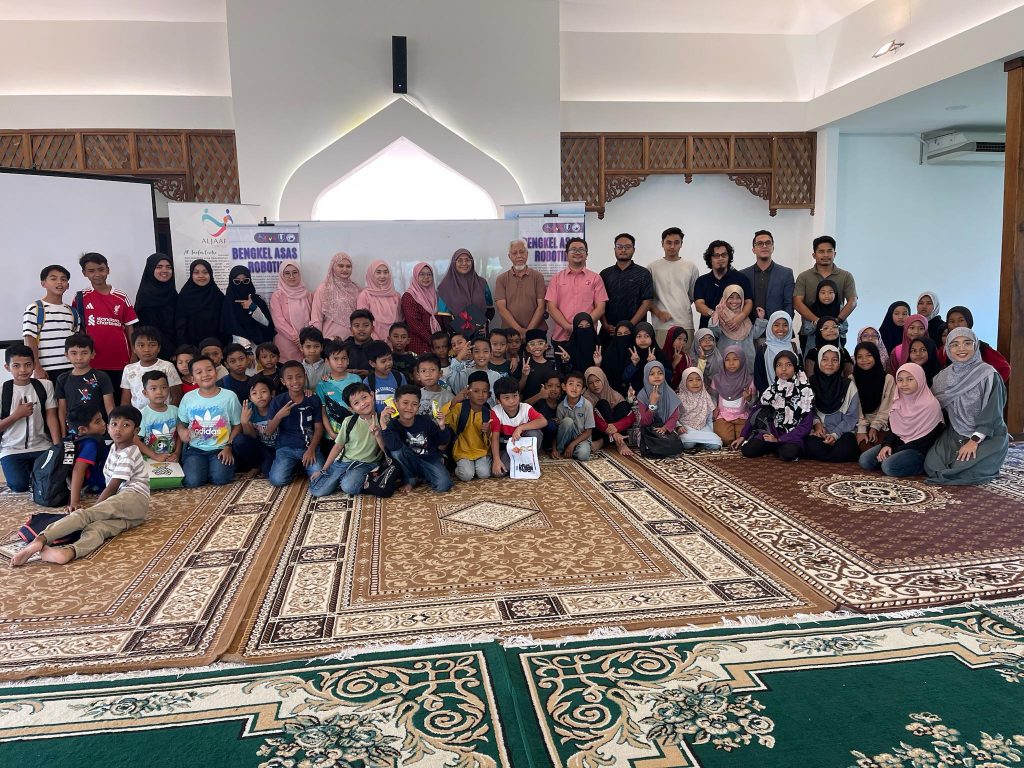
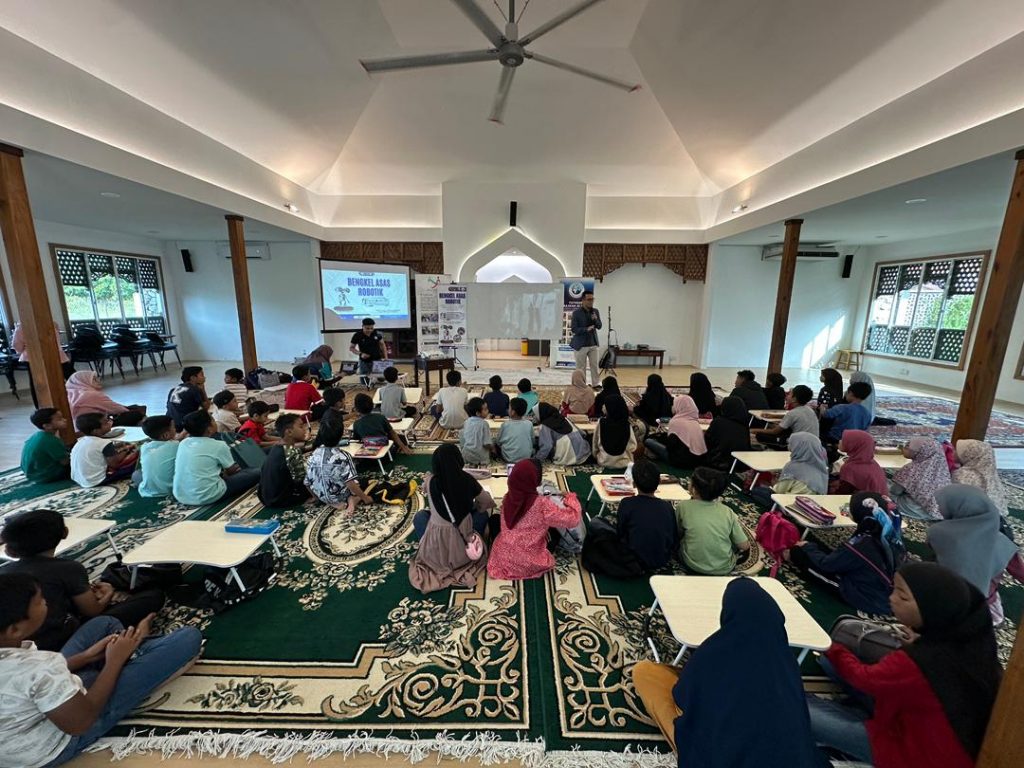
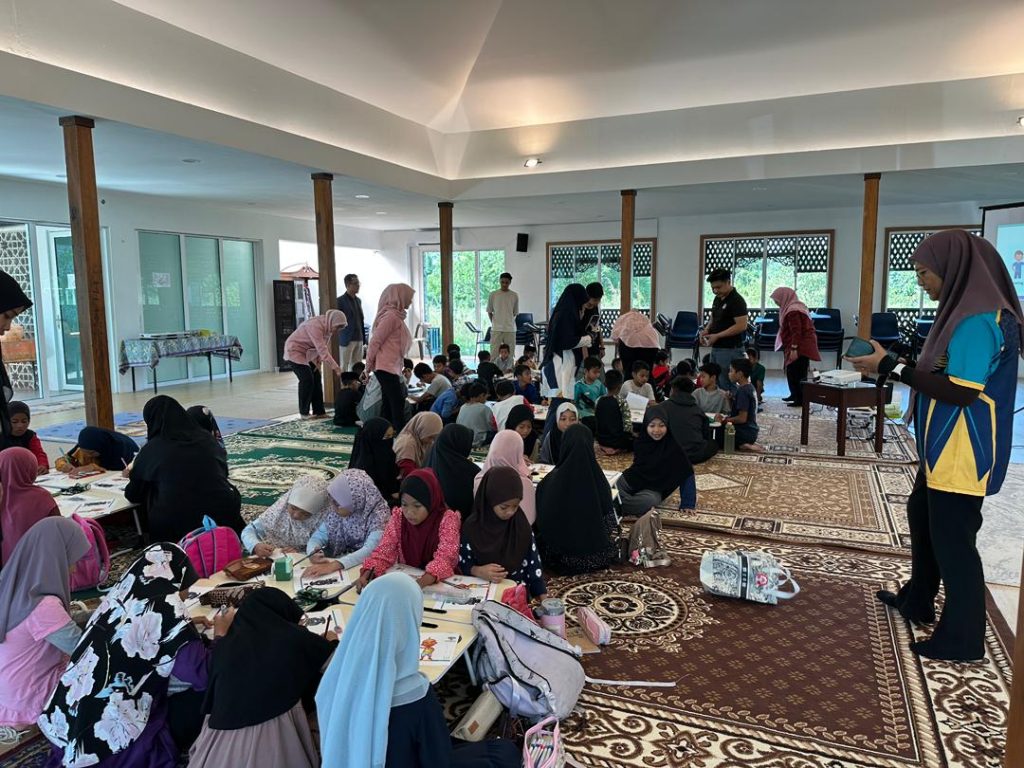
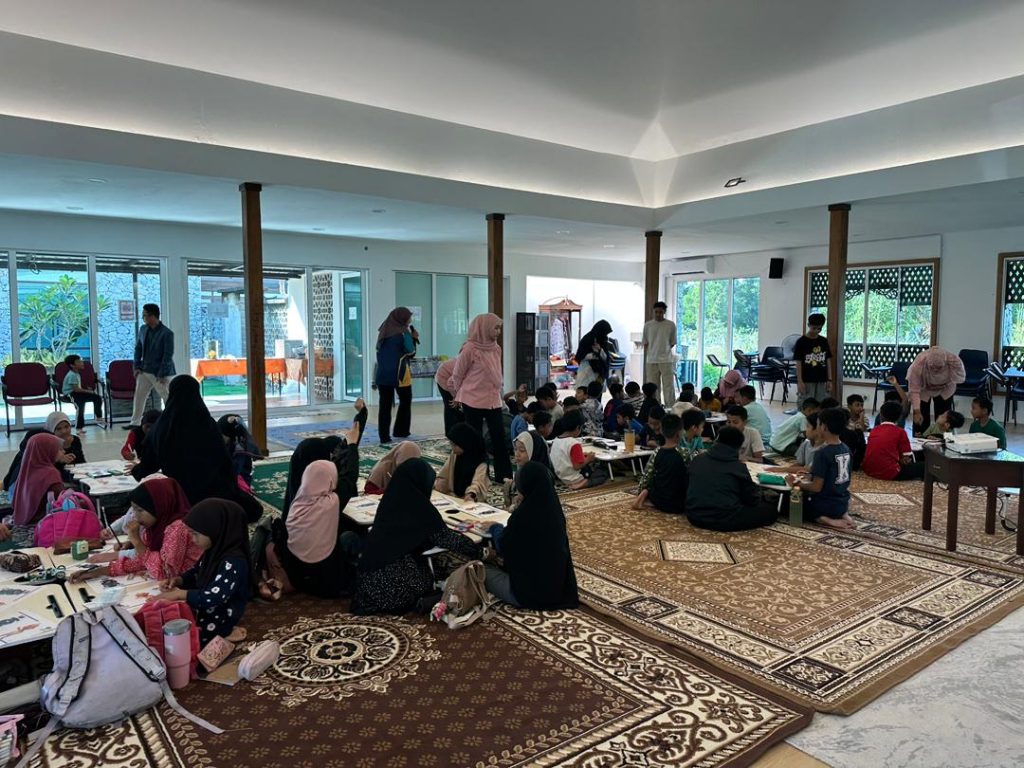
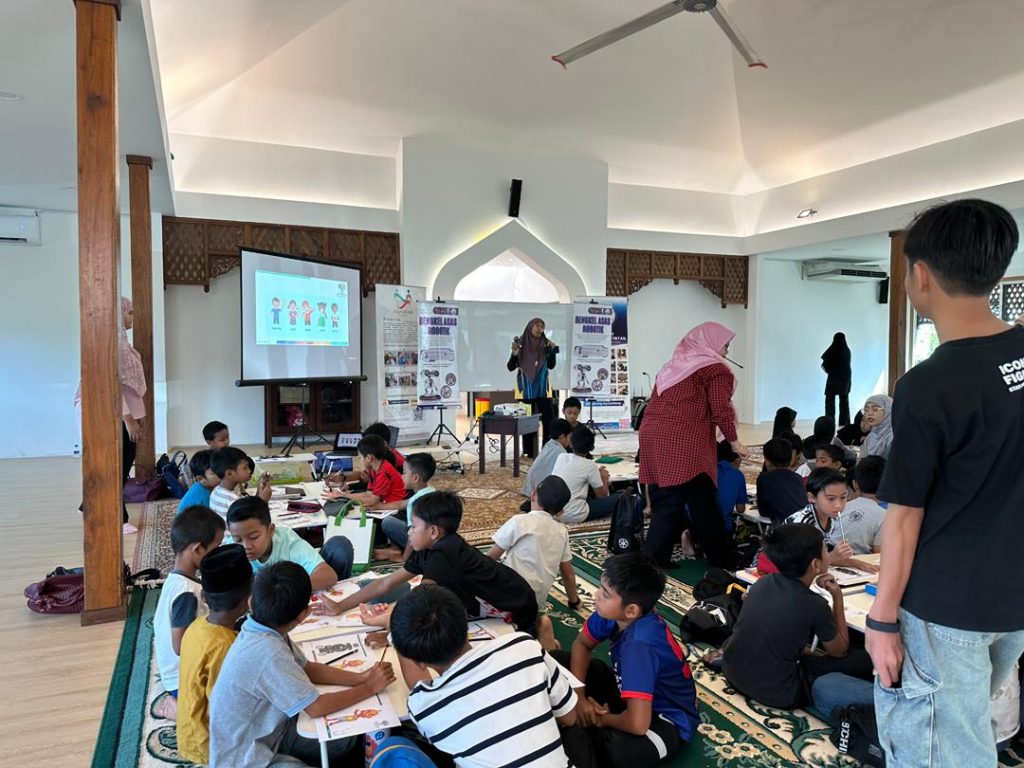
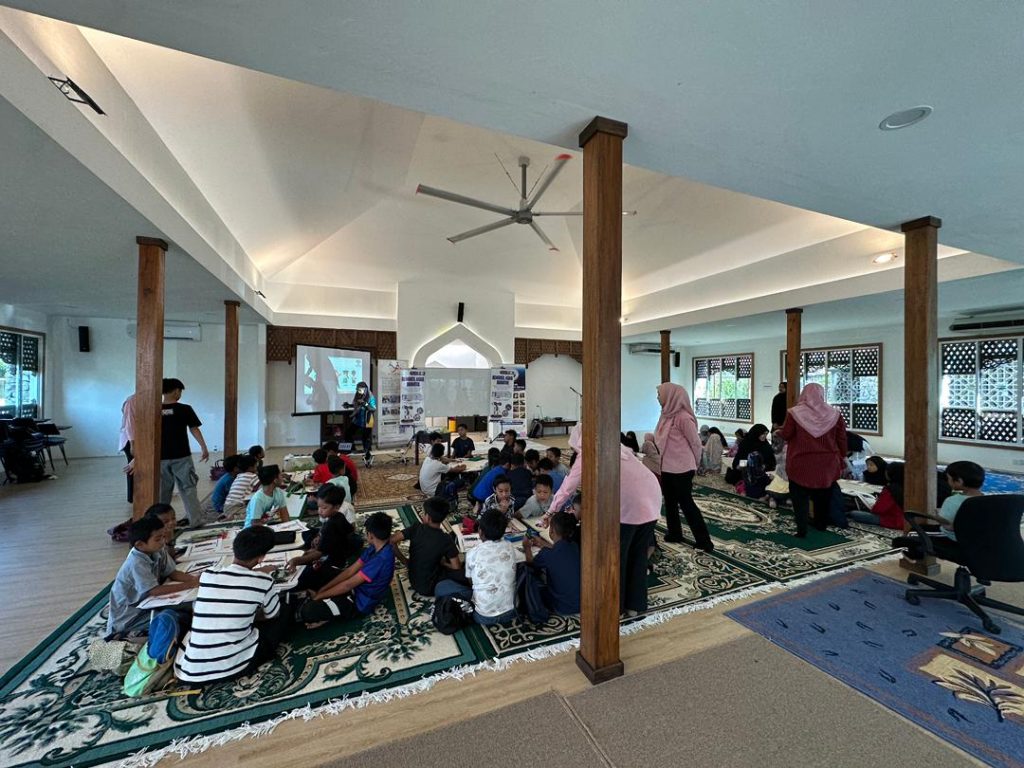
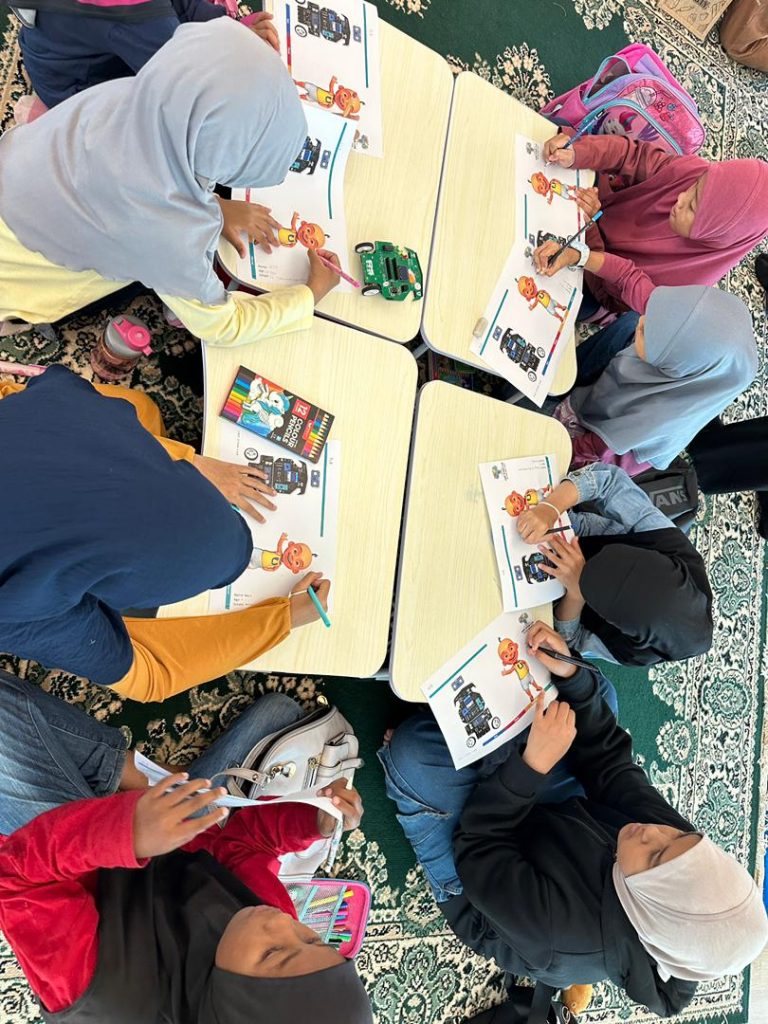
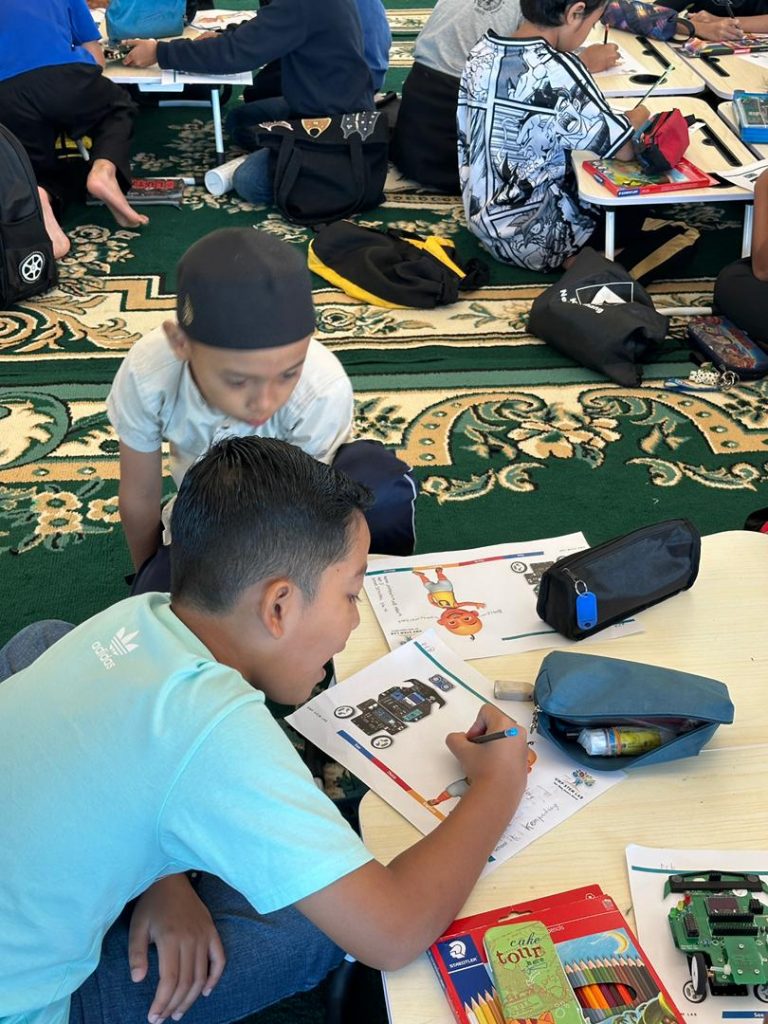
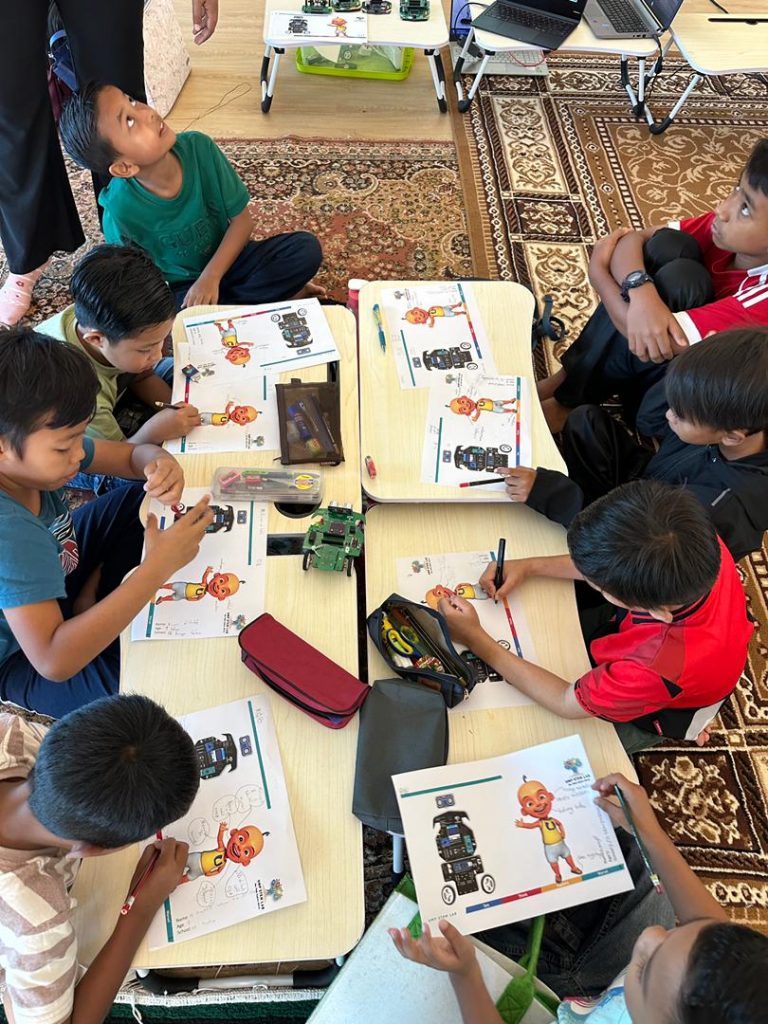
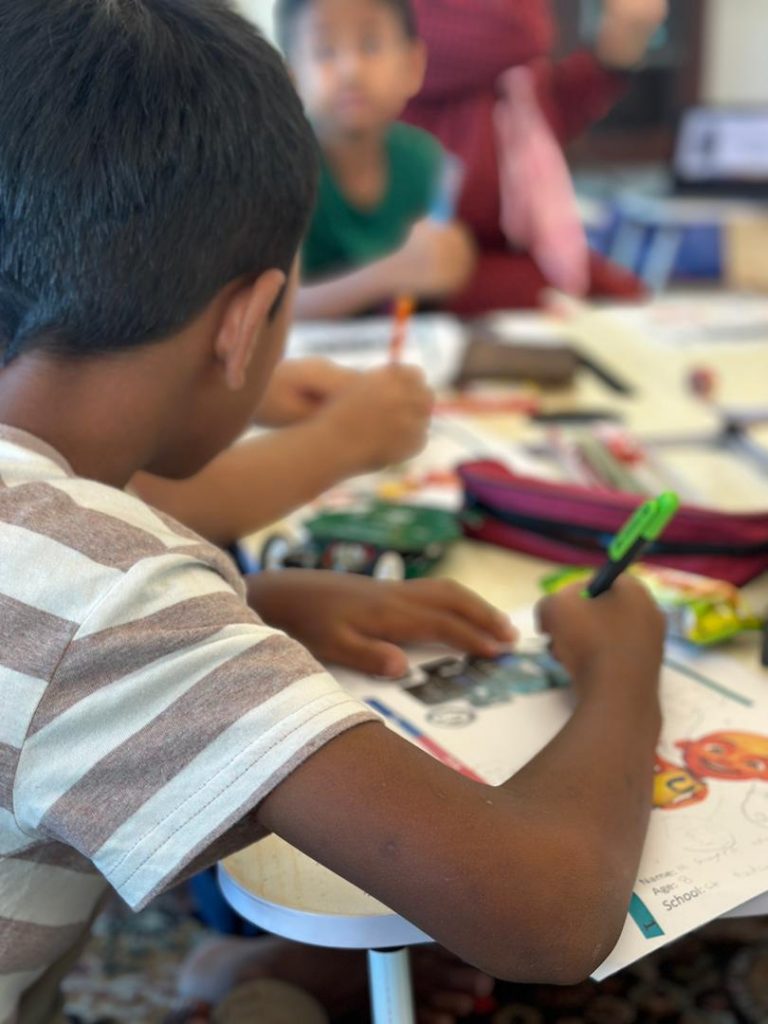
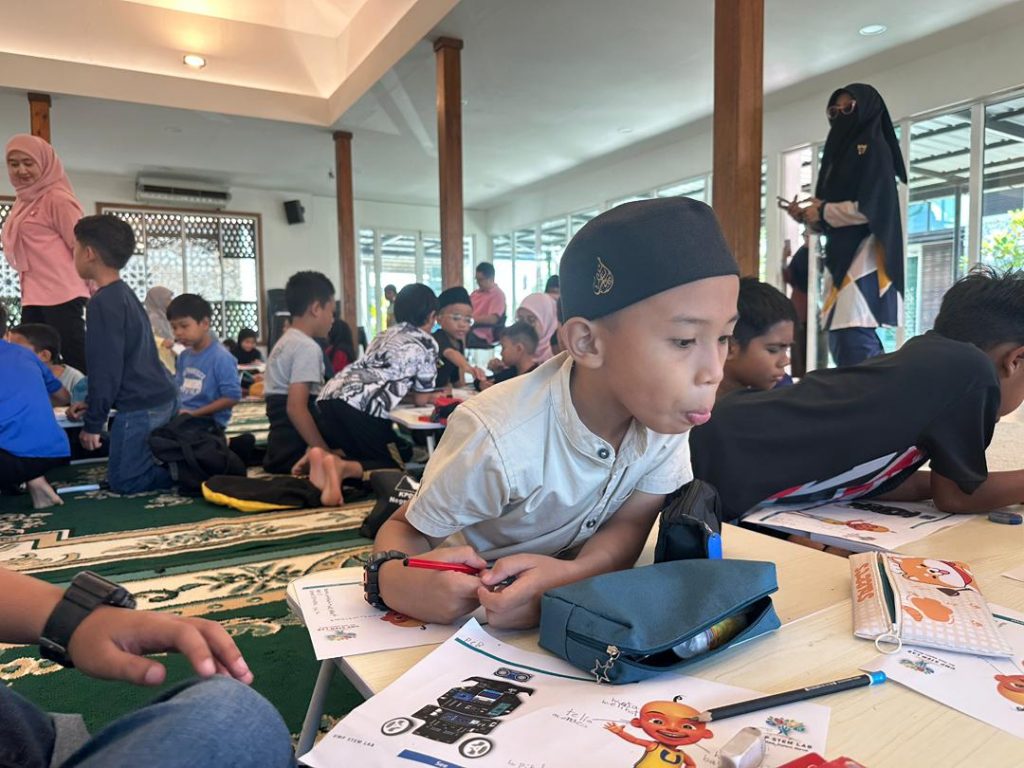
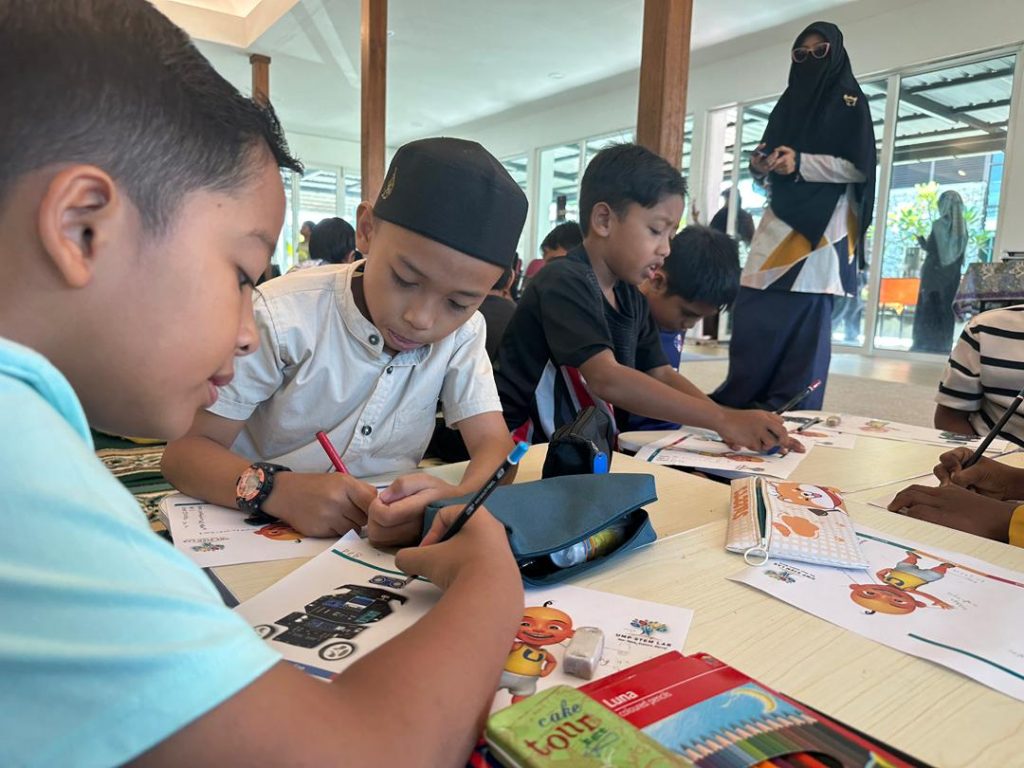
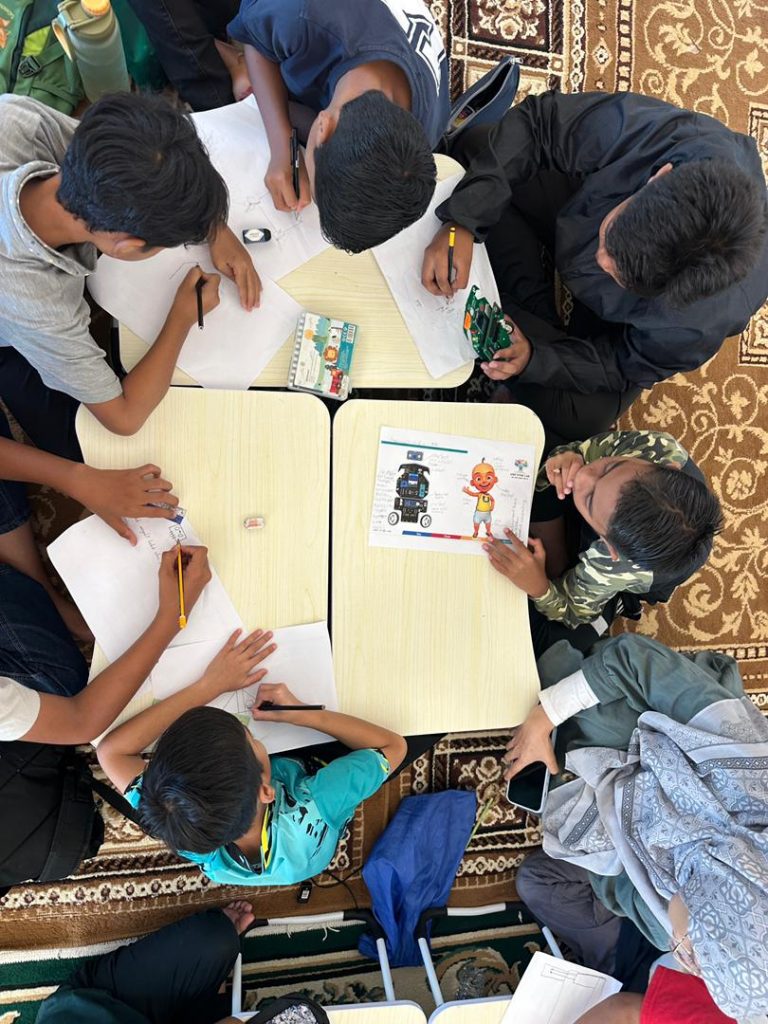
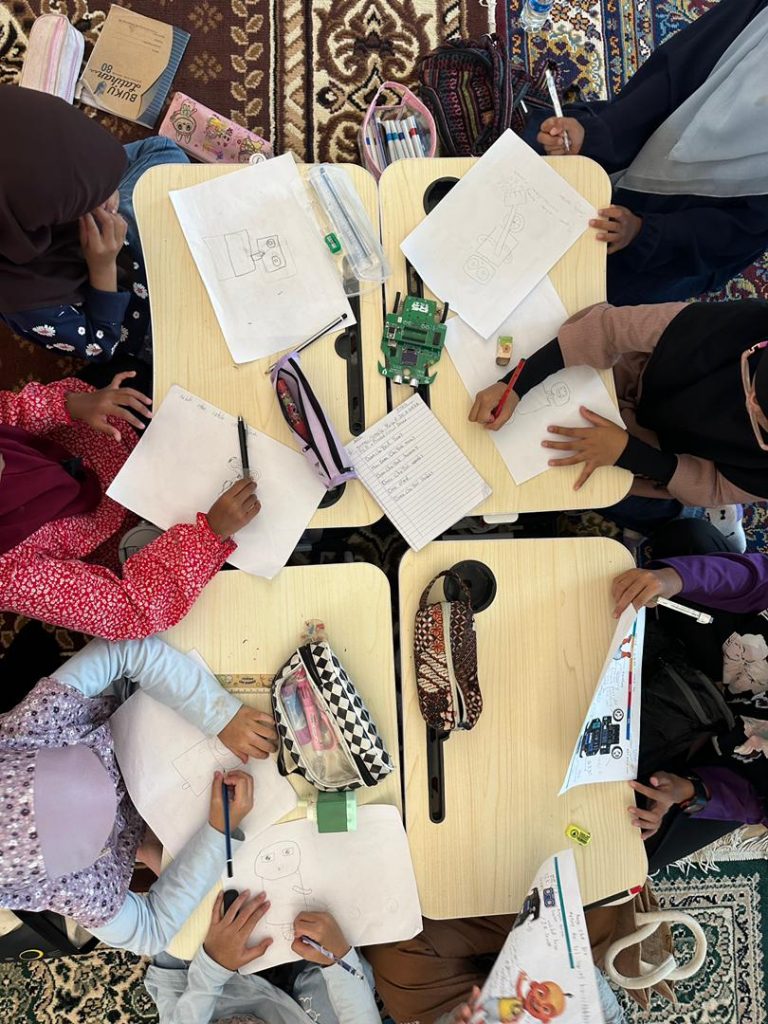
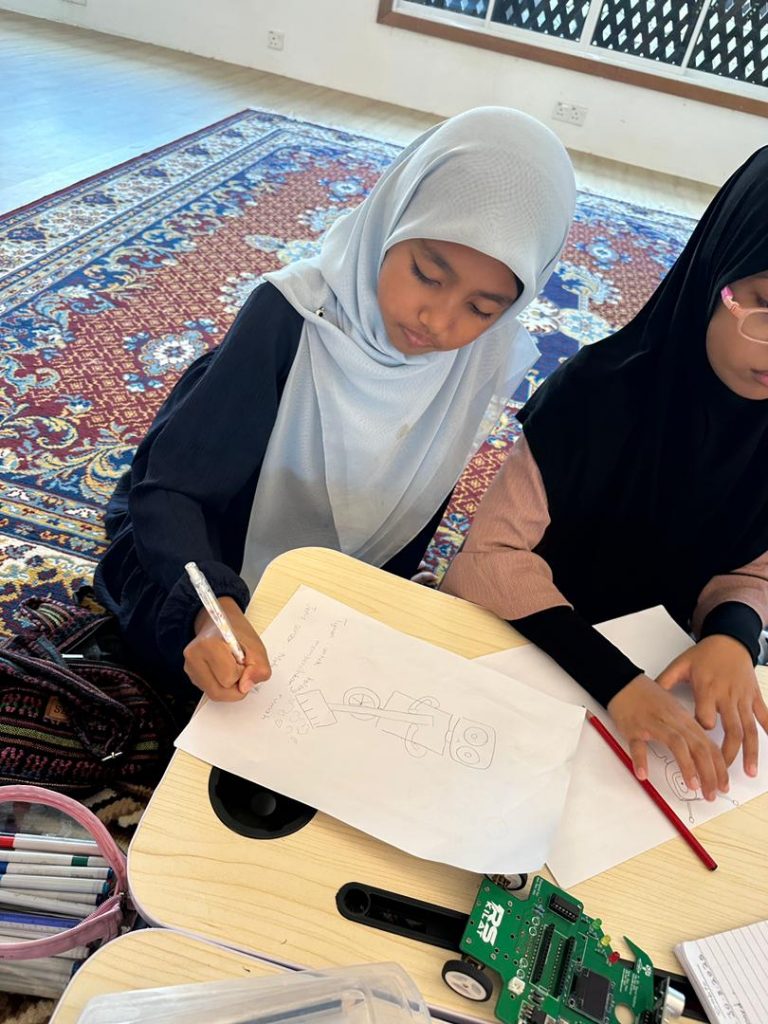
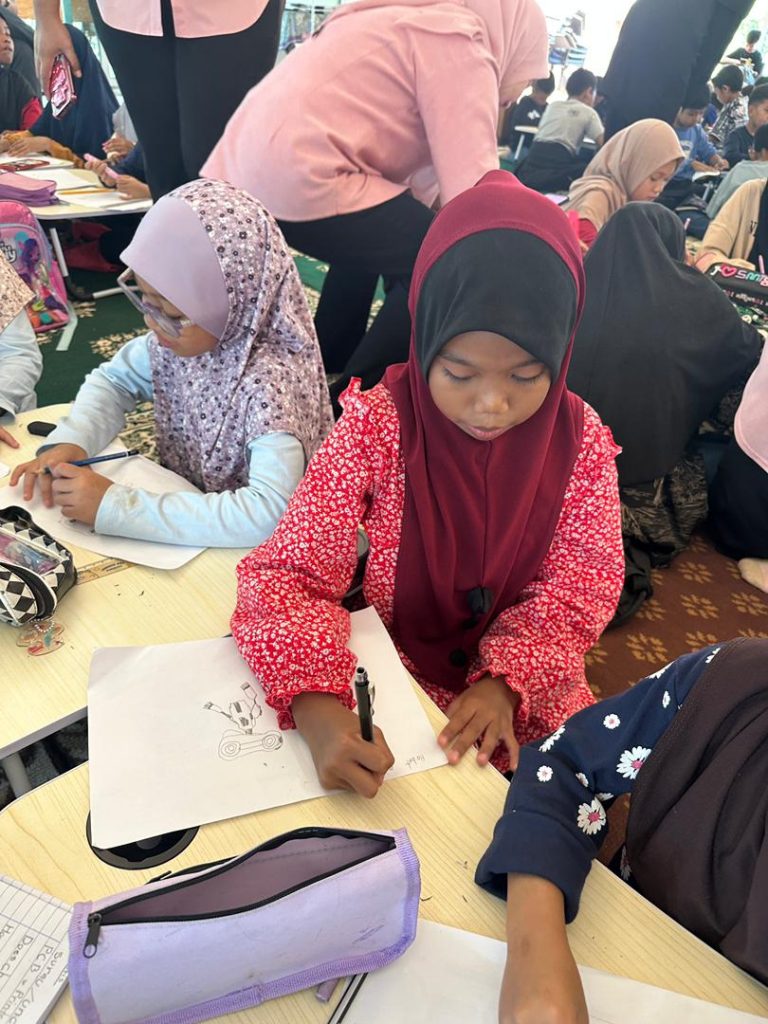
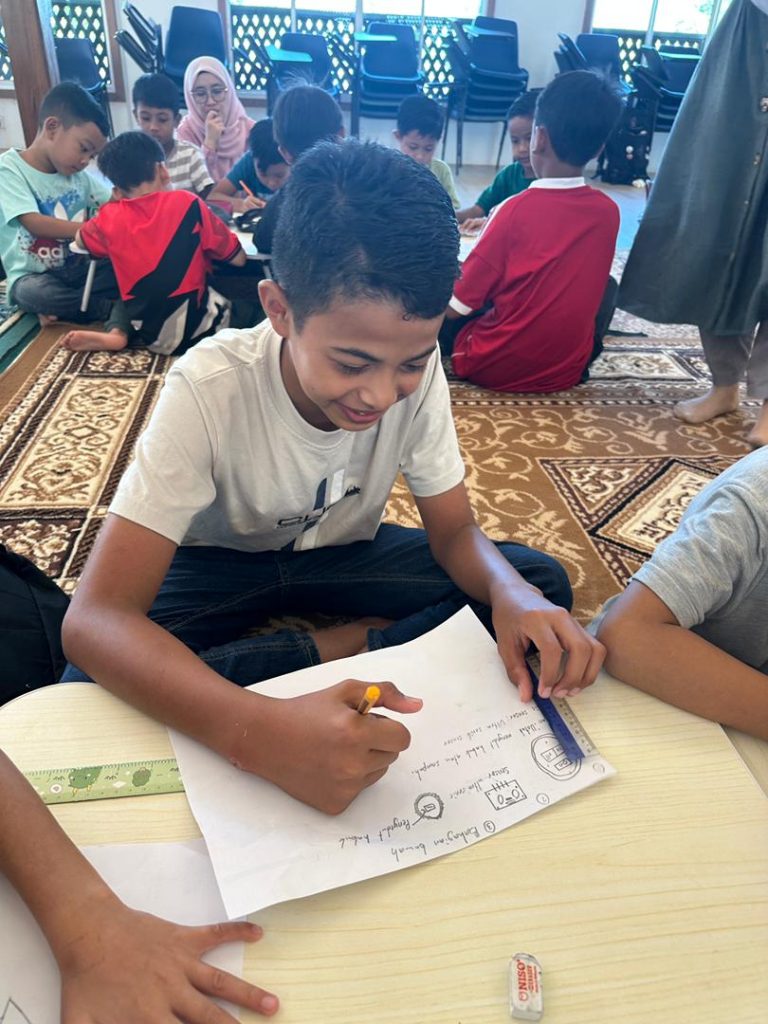
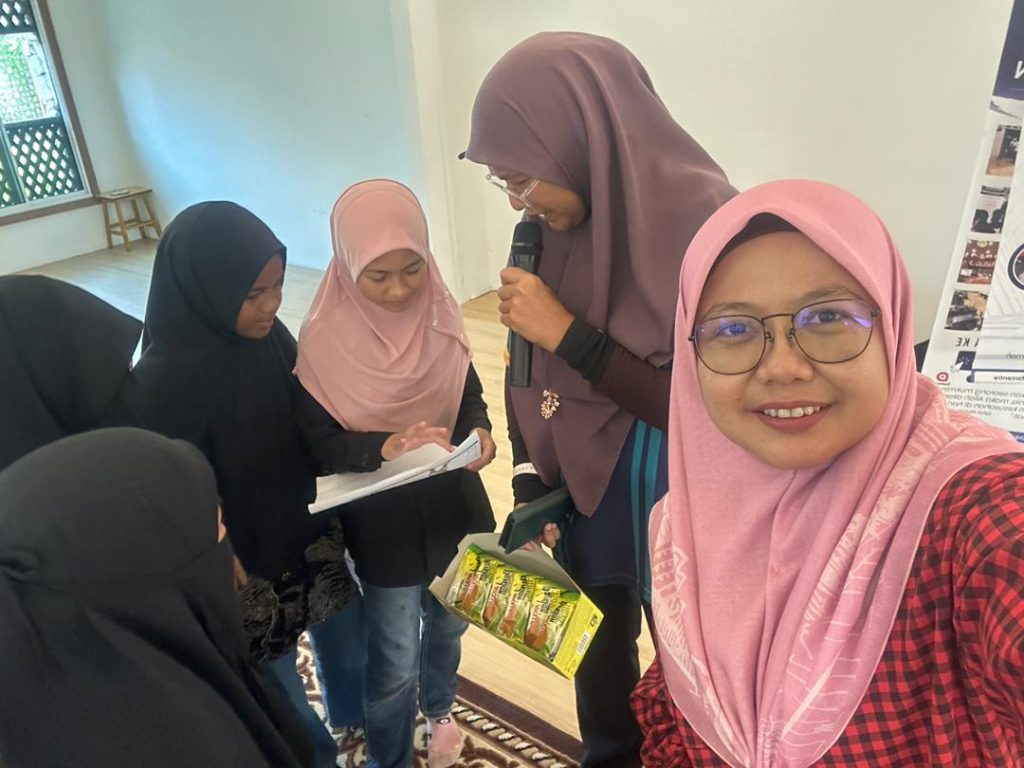
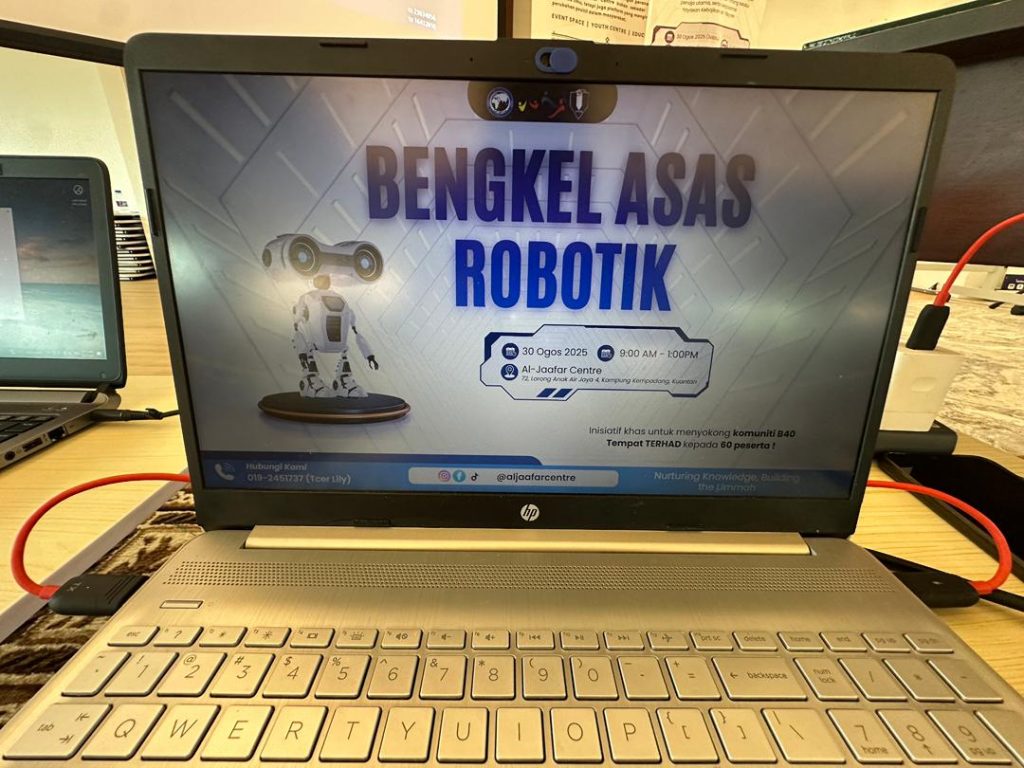
*UMPSA STEM Lab Robot Literacy – Introduction to Robot and Robotics can be found here.
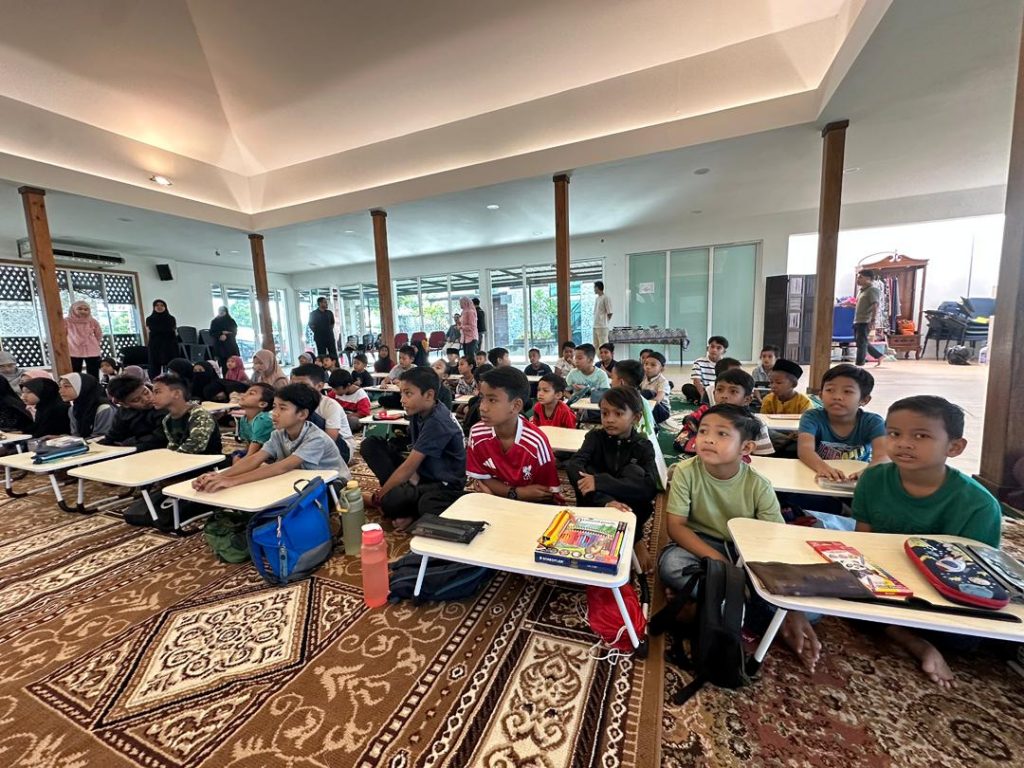
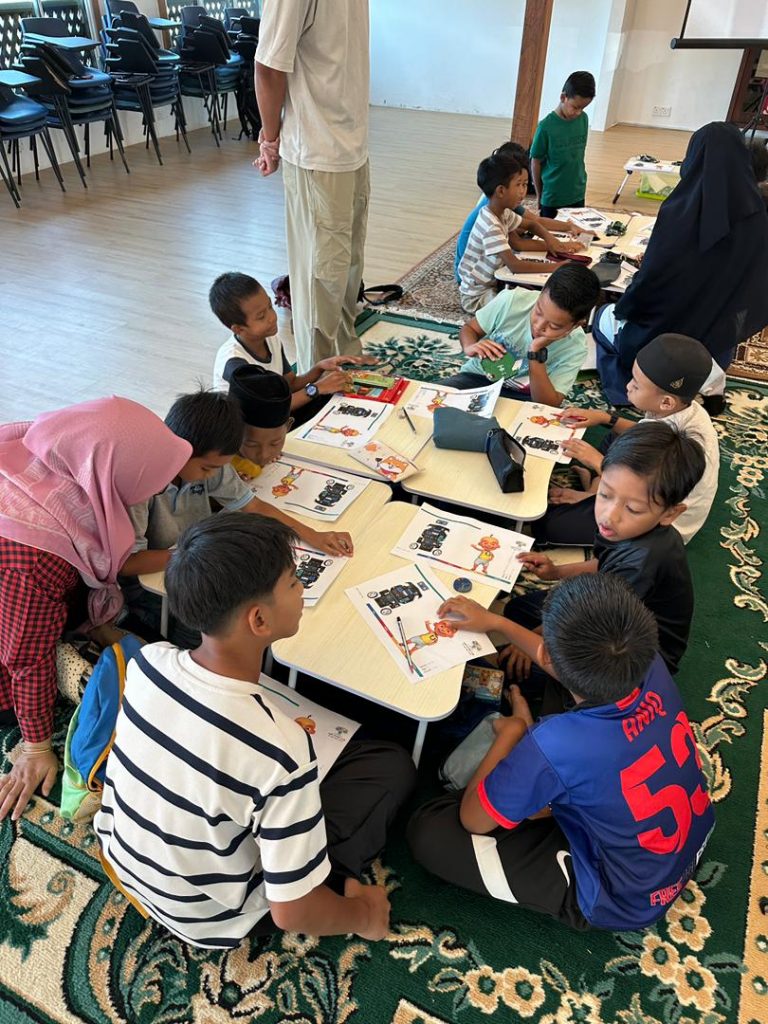
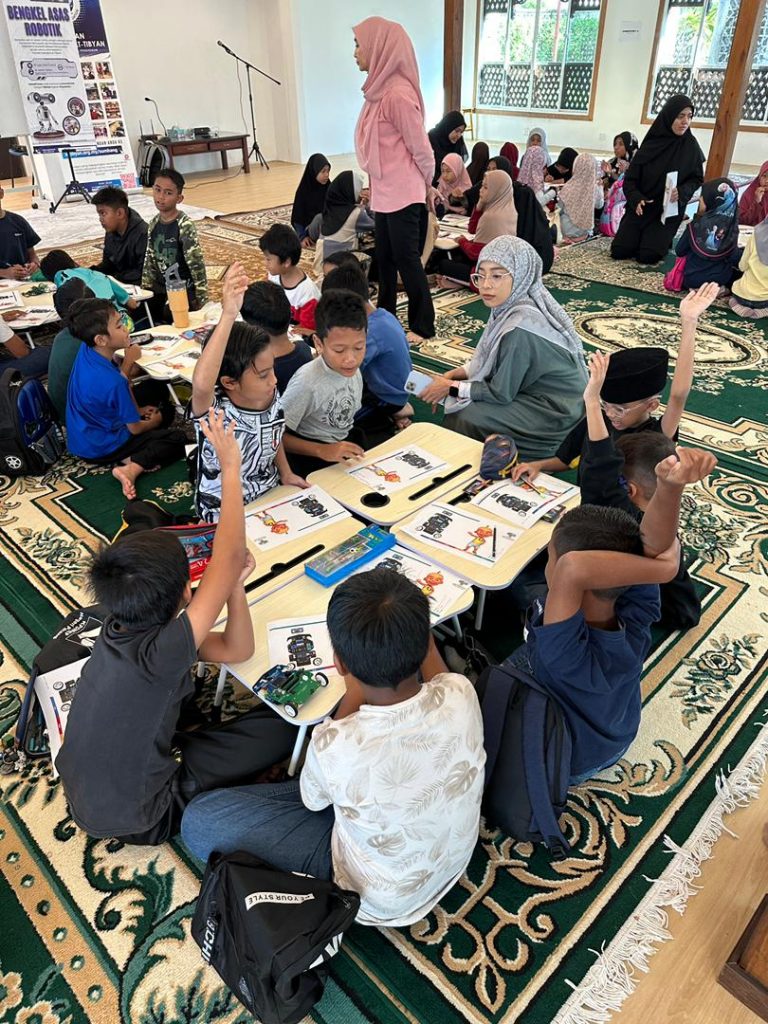
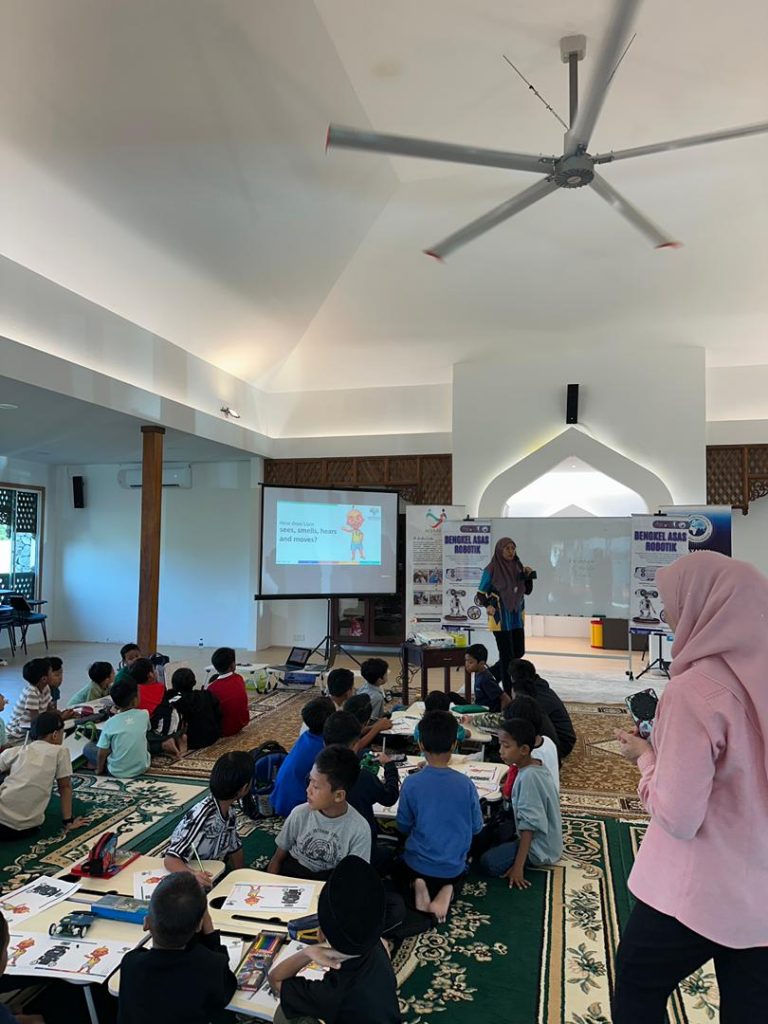
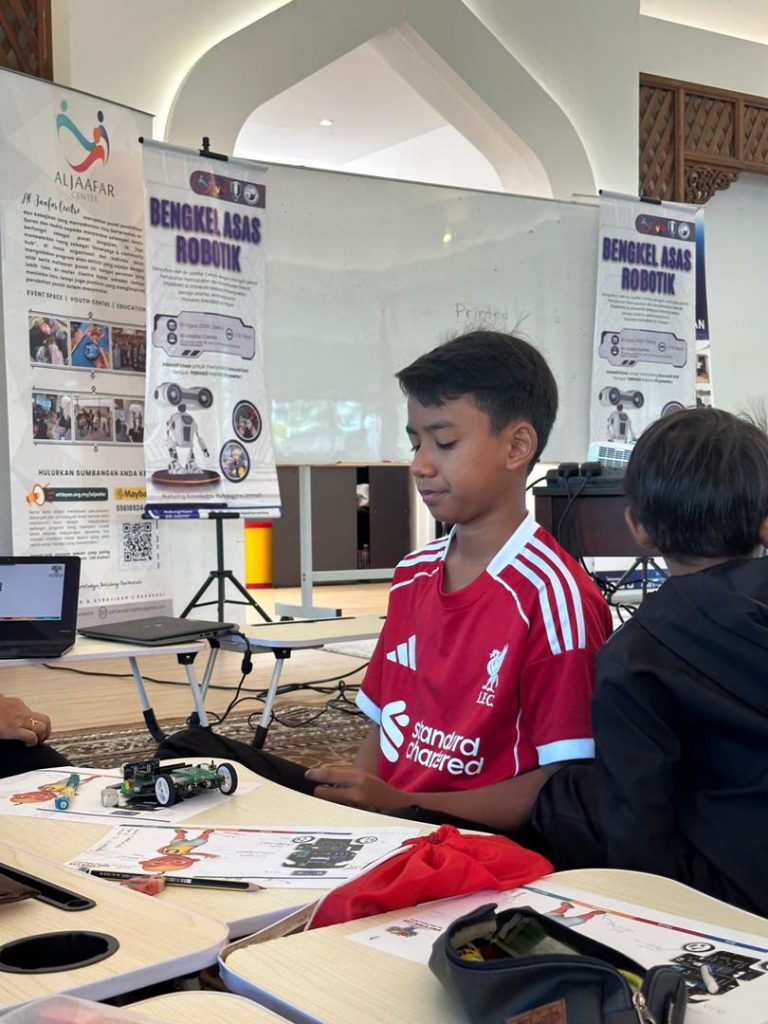
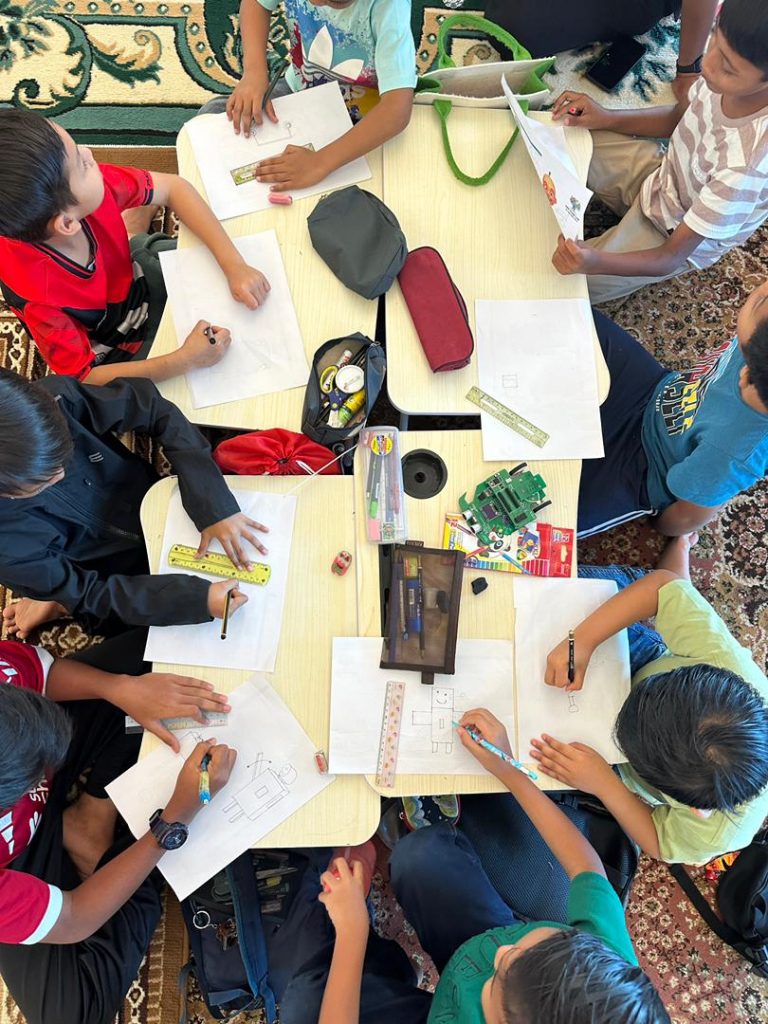
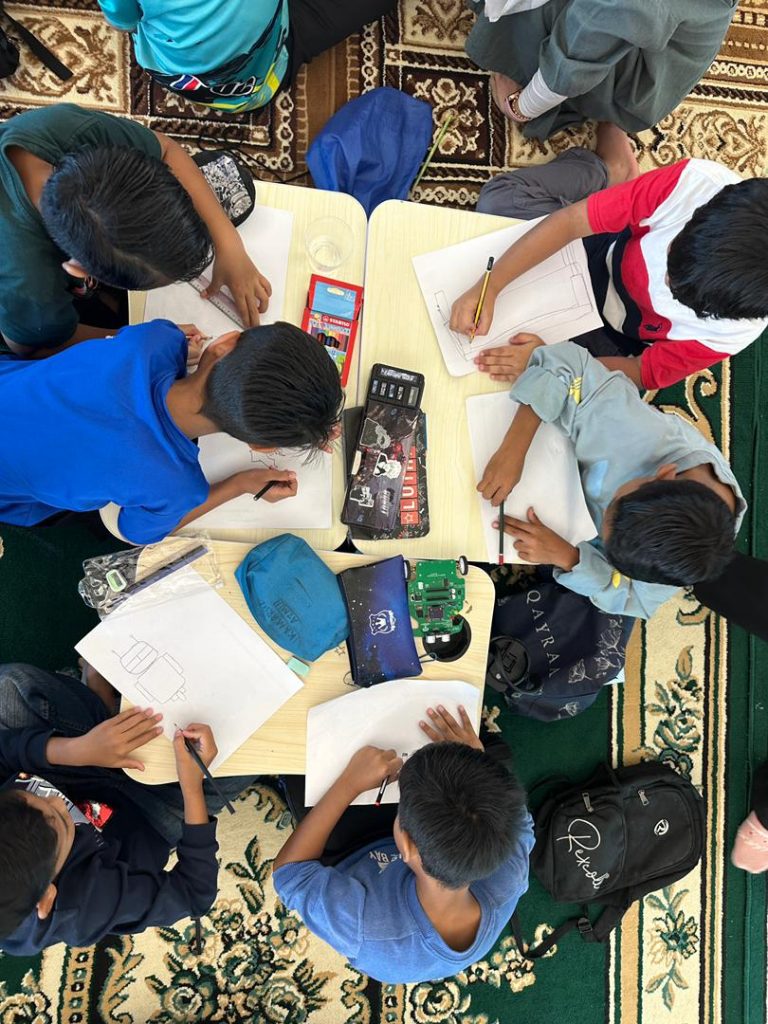
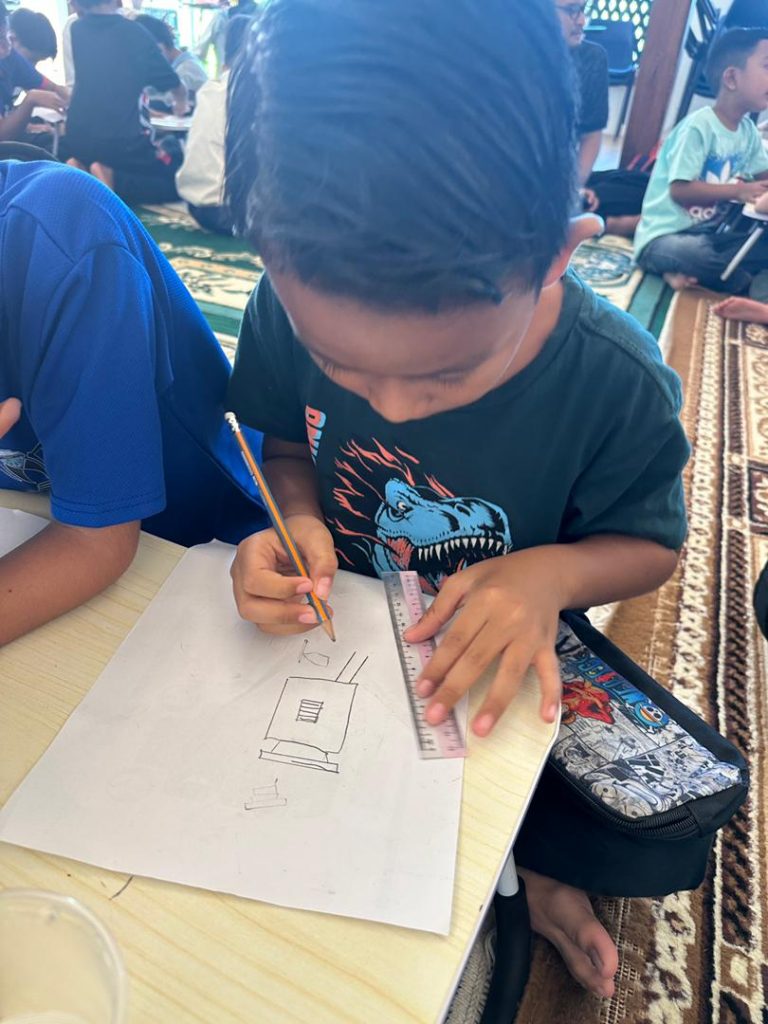
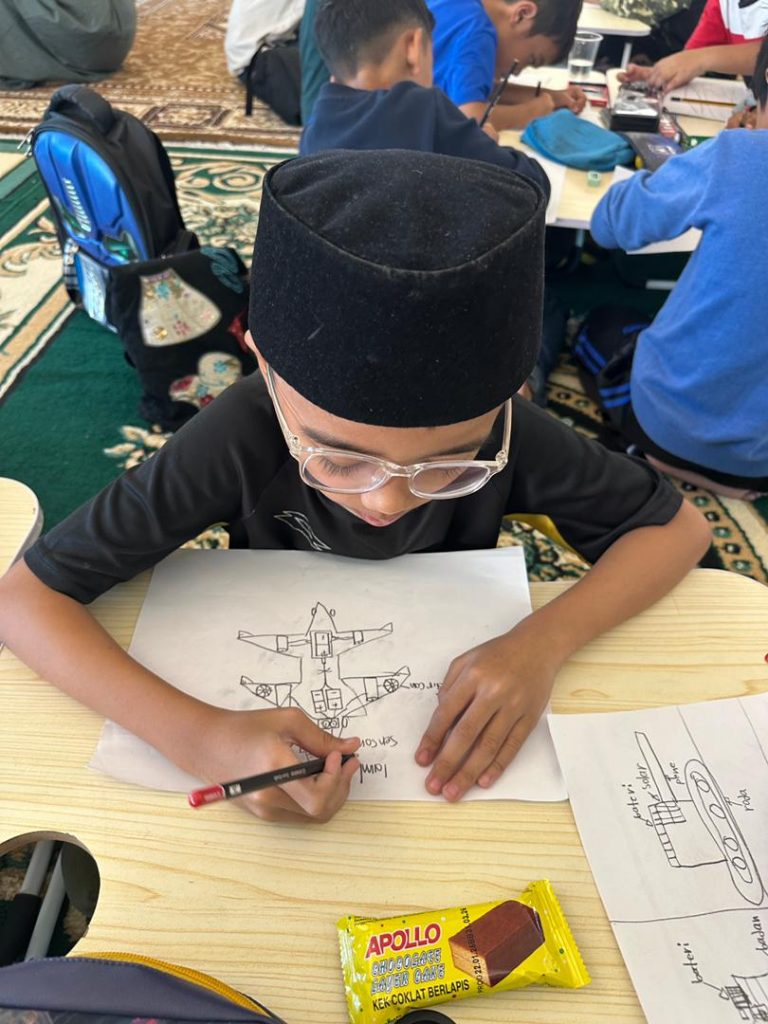
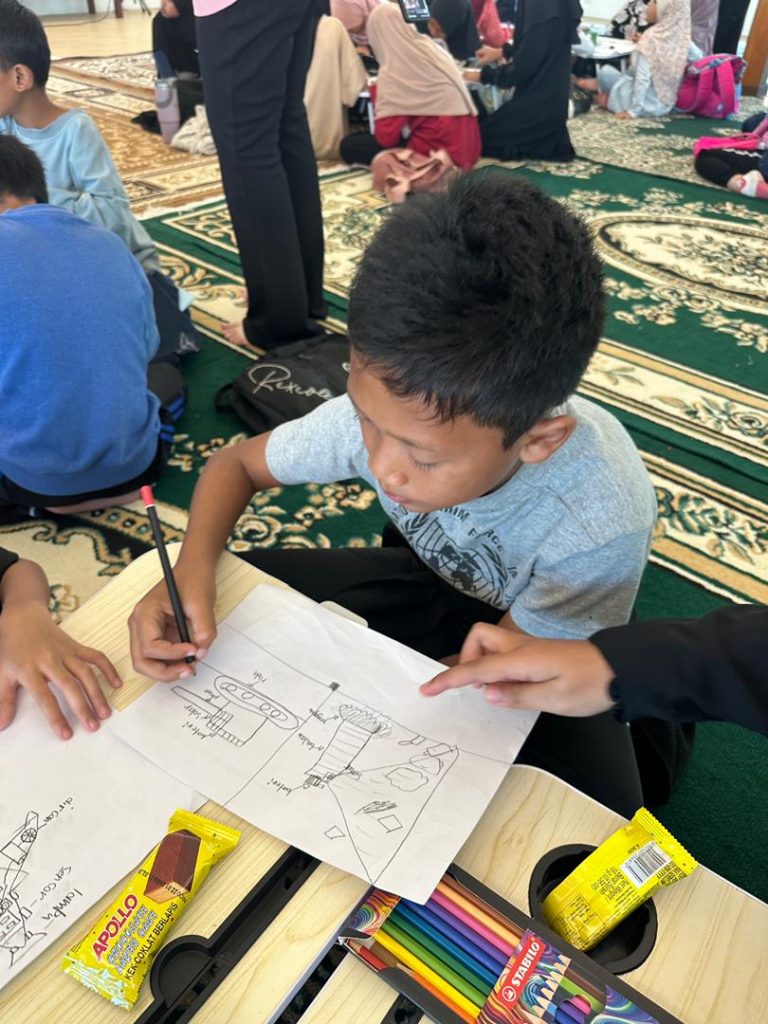
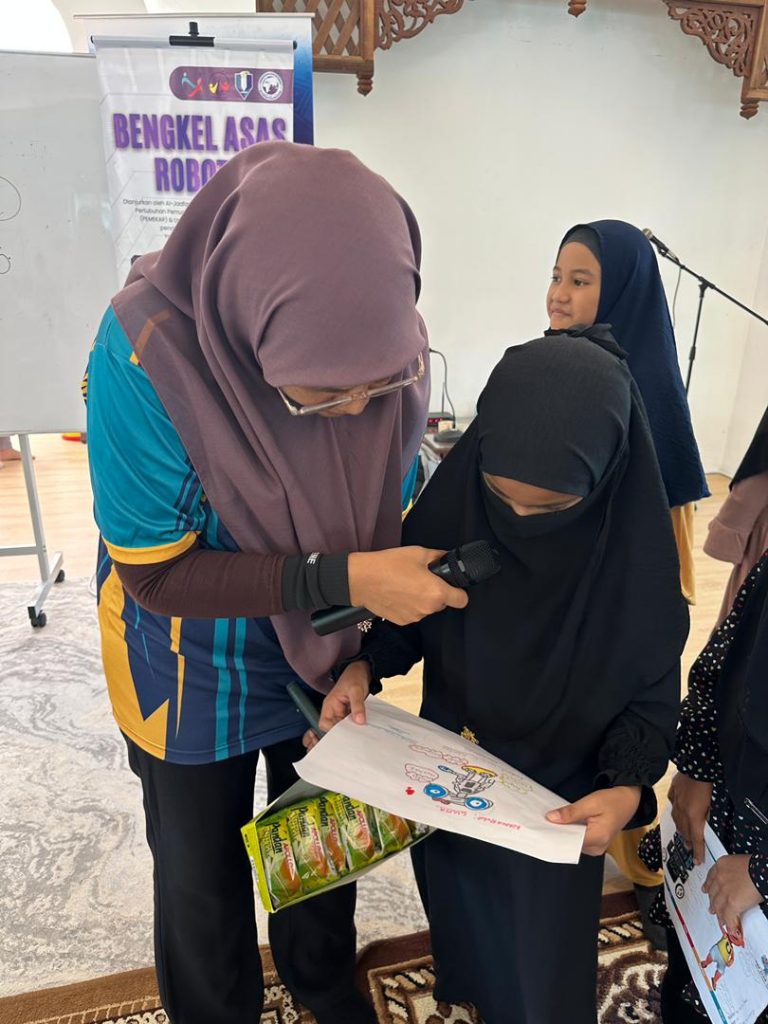
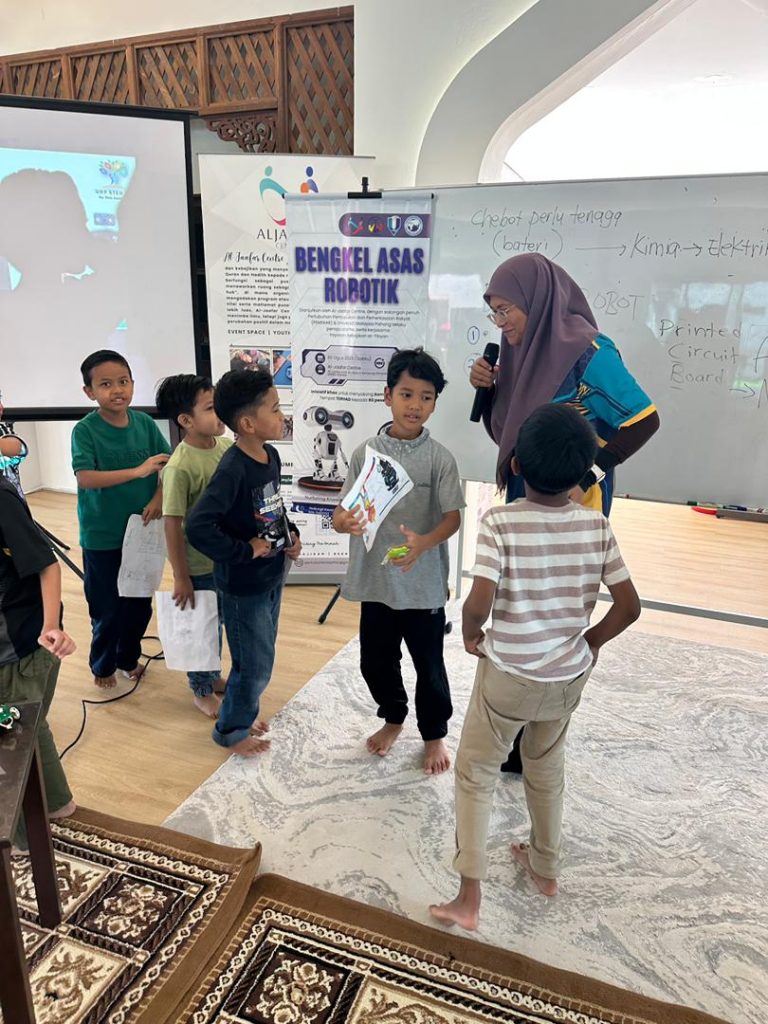
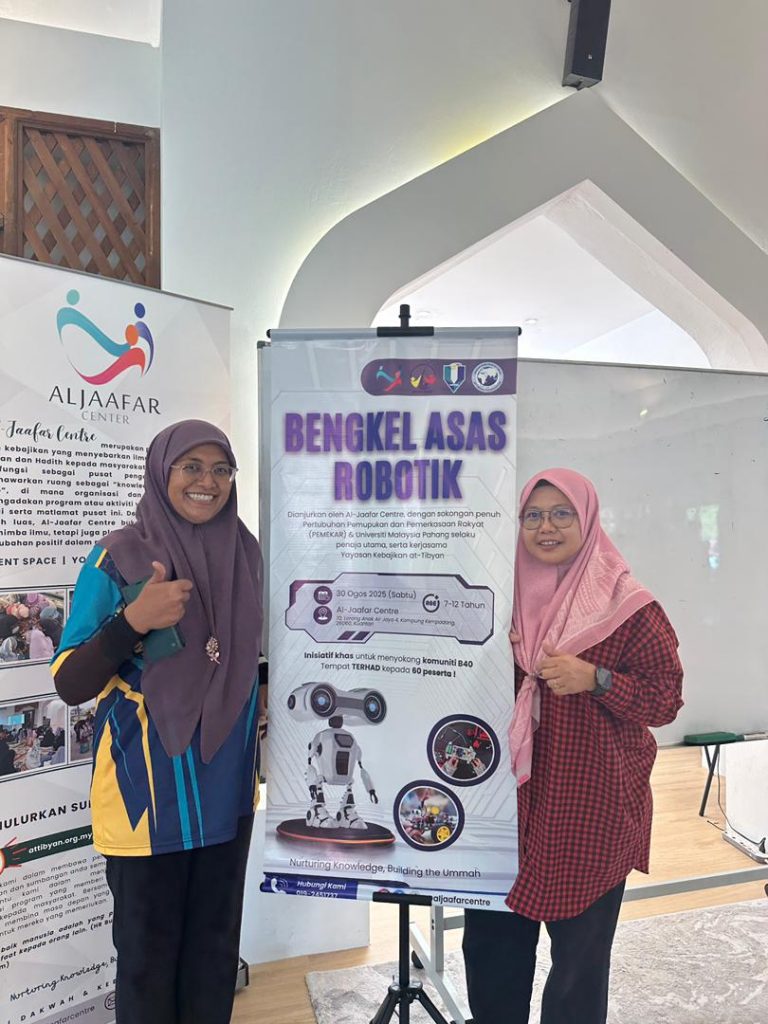
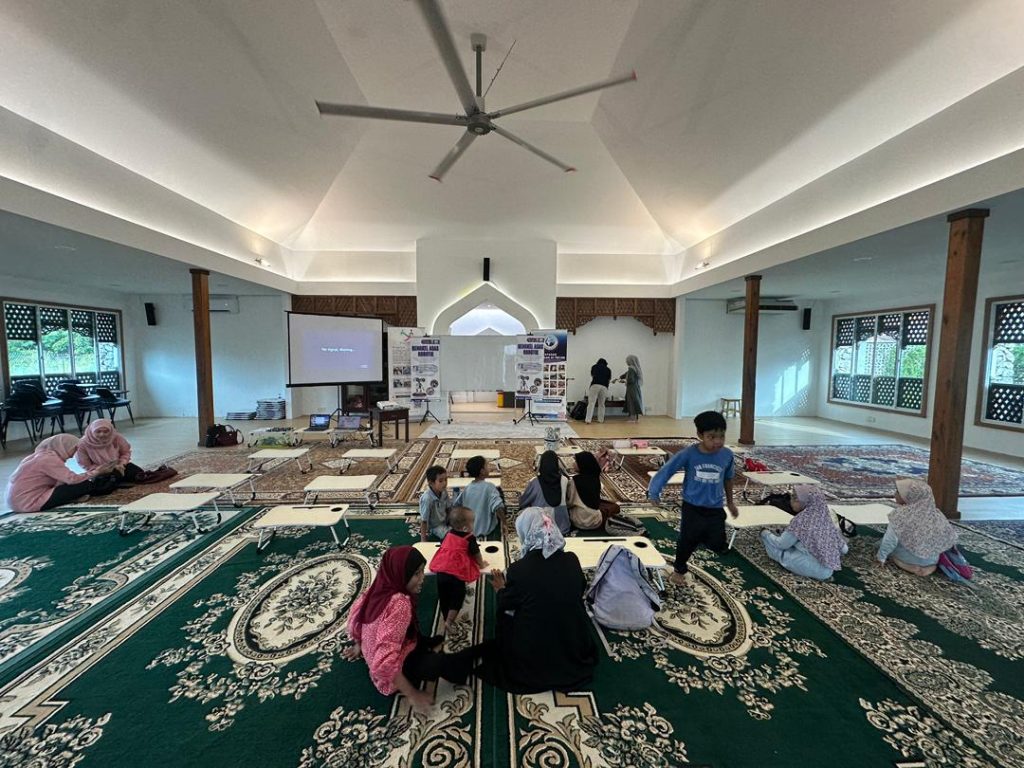
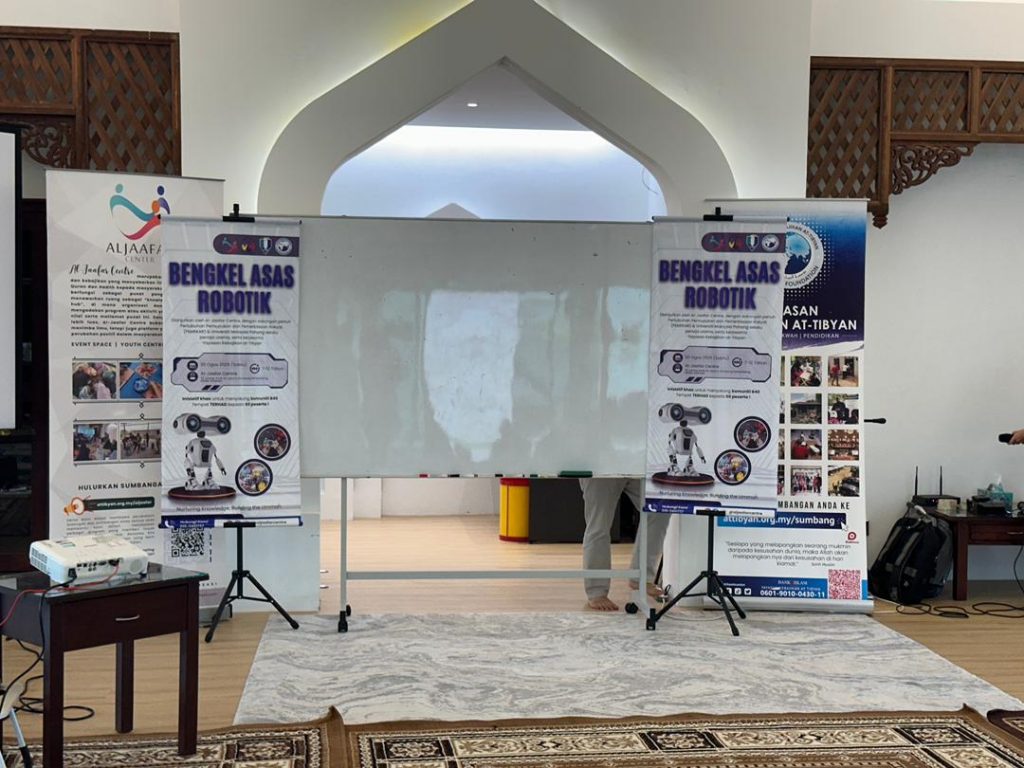
64 school children had participated in this program, in collaboration with Yayasan Al-Jaafar, Kuantan and PEMEKAR. Students have gone through activities including robot anatomy, actuators and sensors.
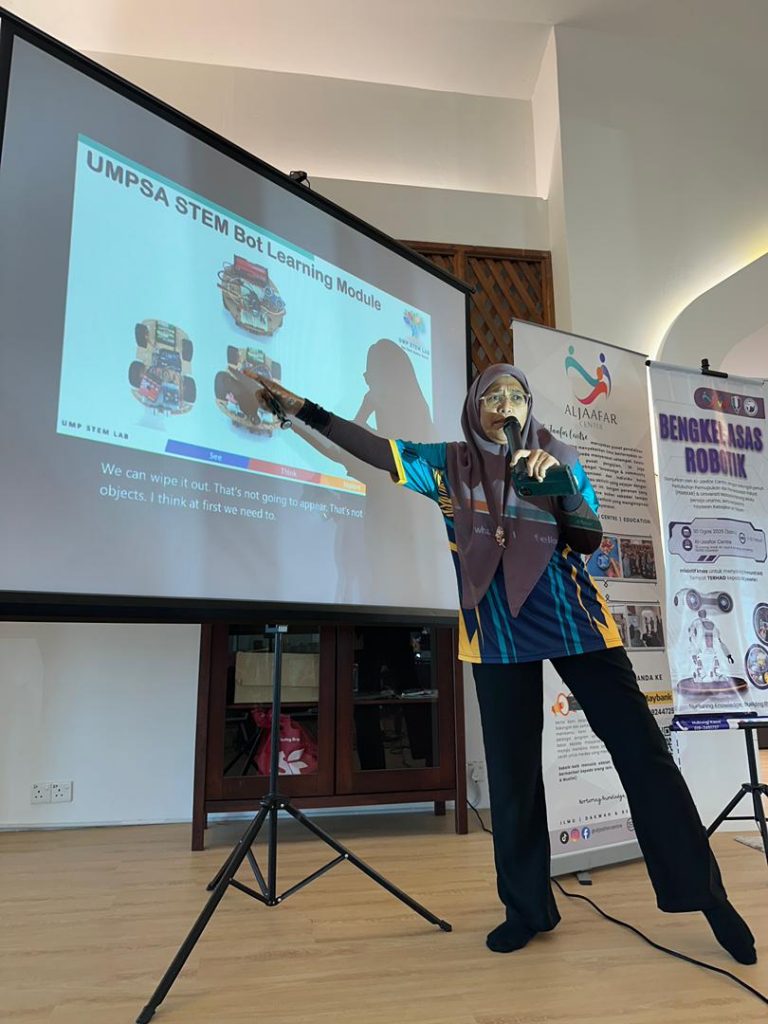
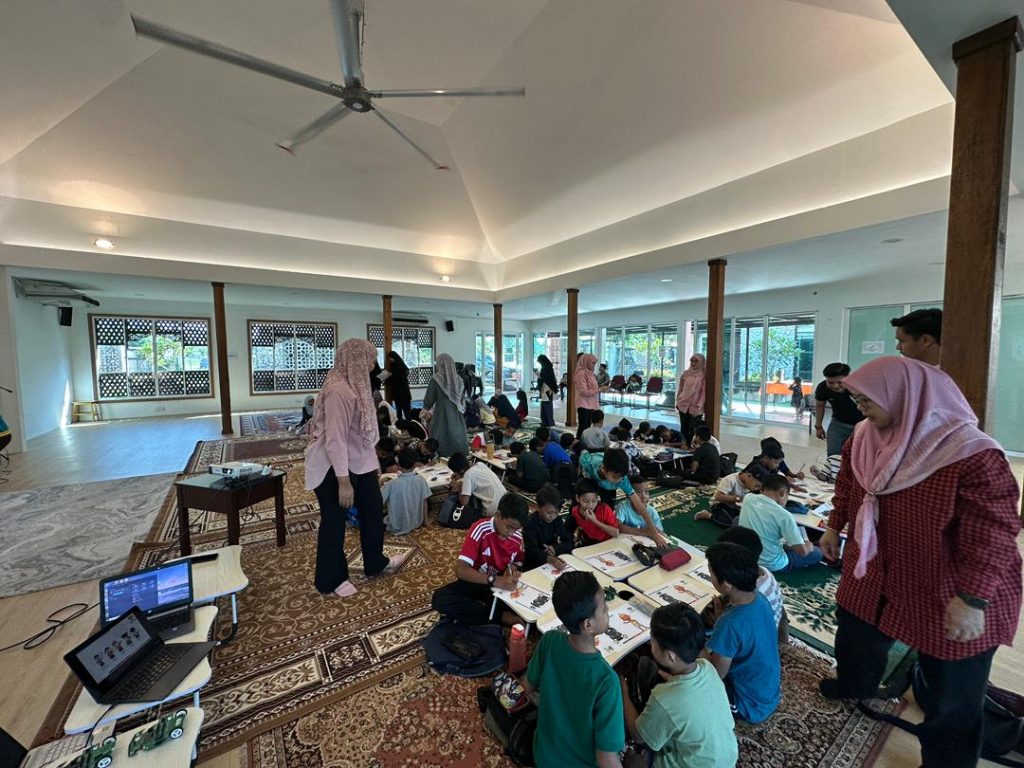
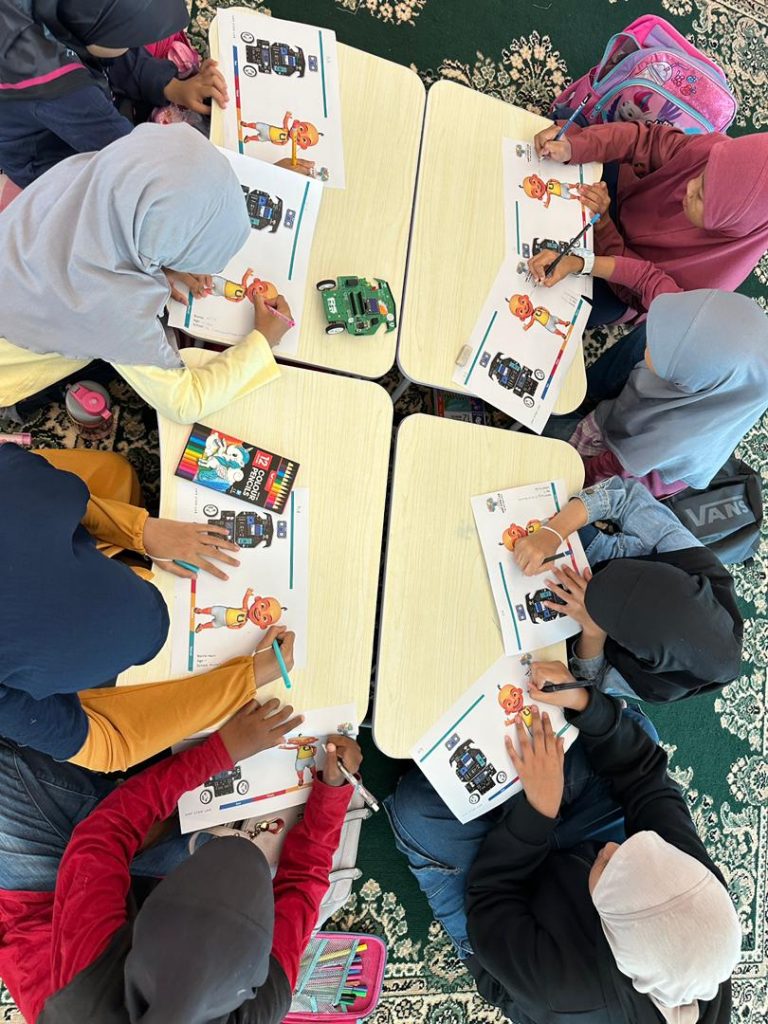
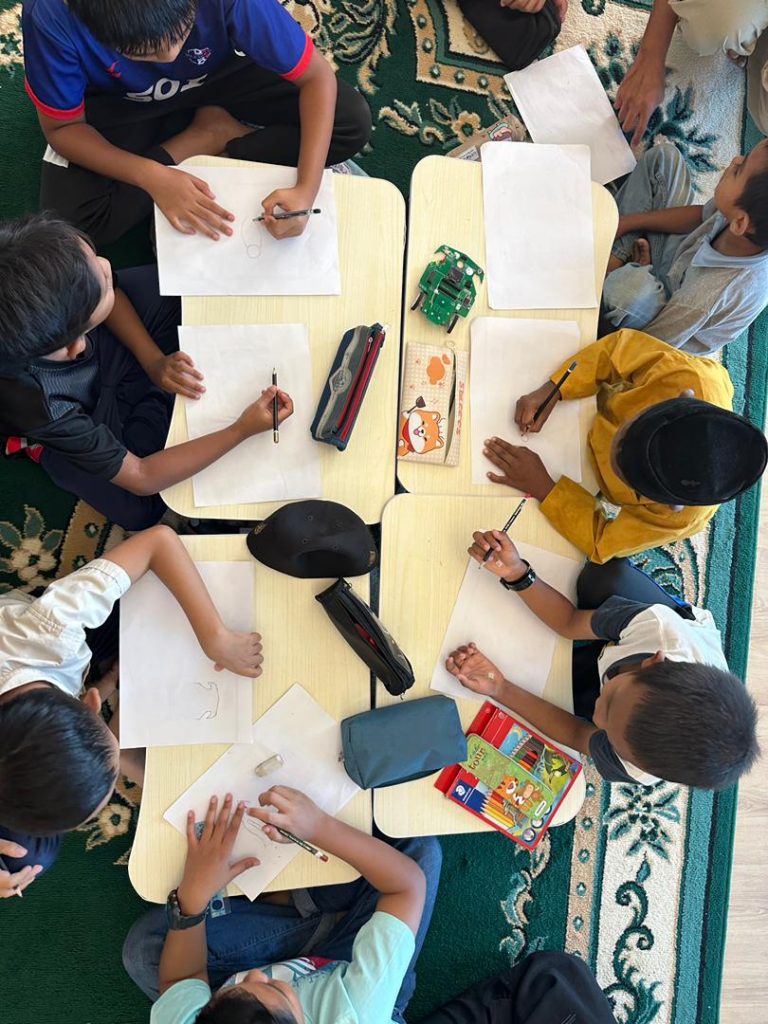
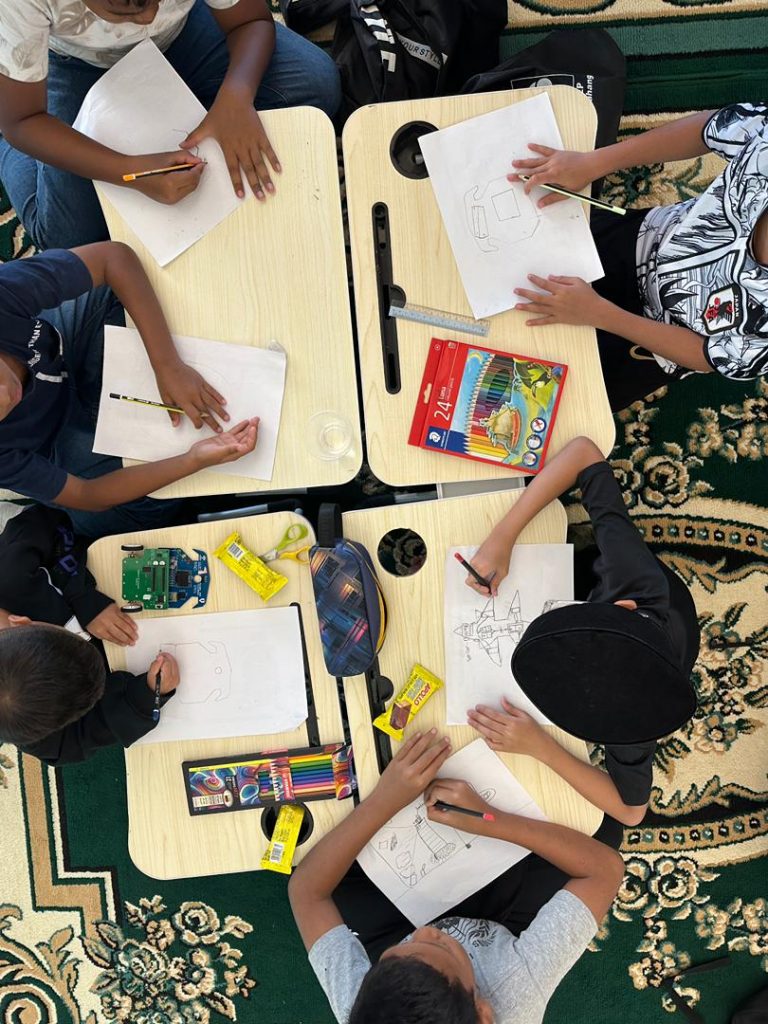
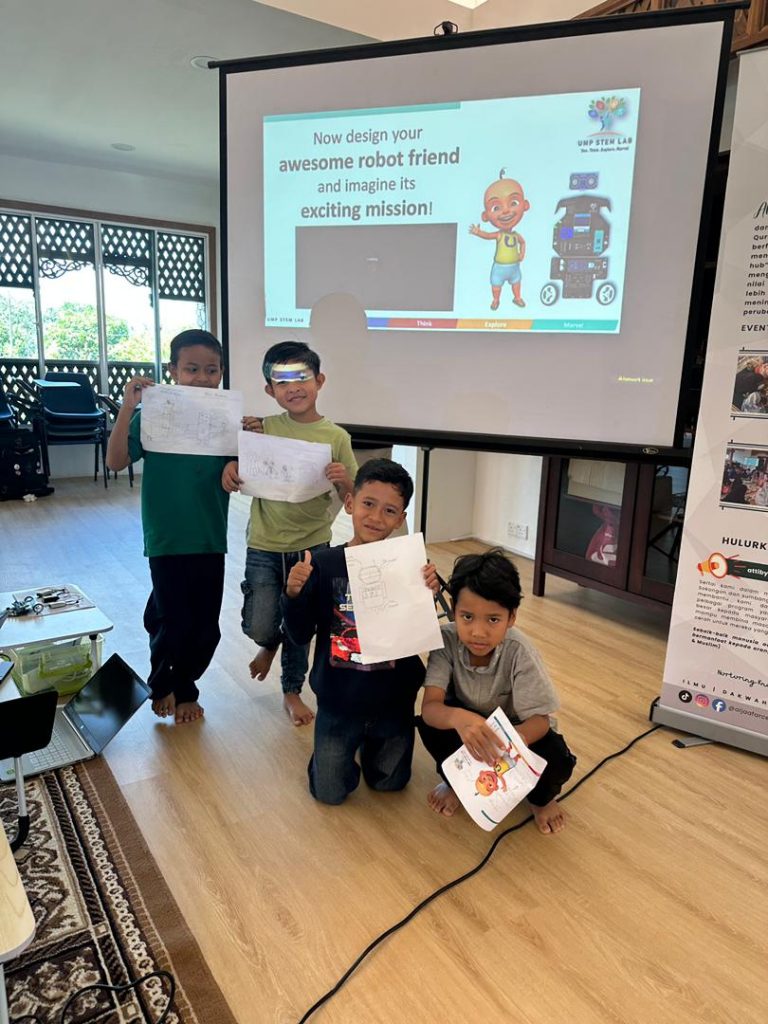
Robot Literacy module introduced participants to the basics of robot construction, programming, and problem-solving through interactive challenges.
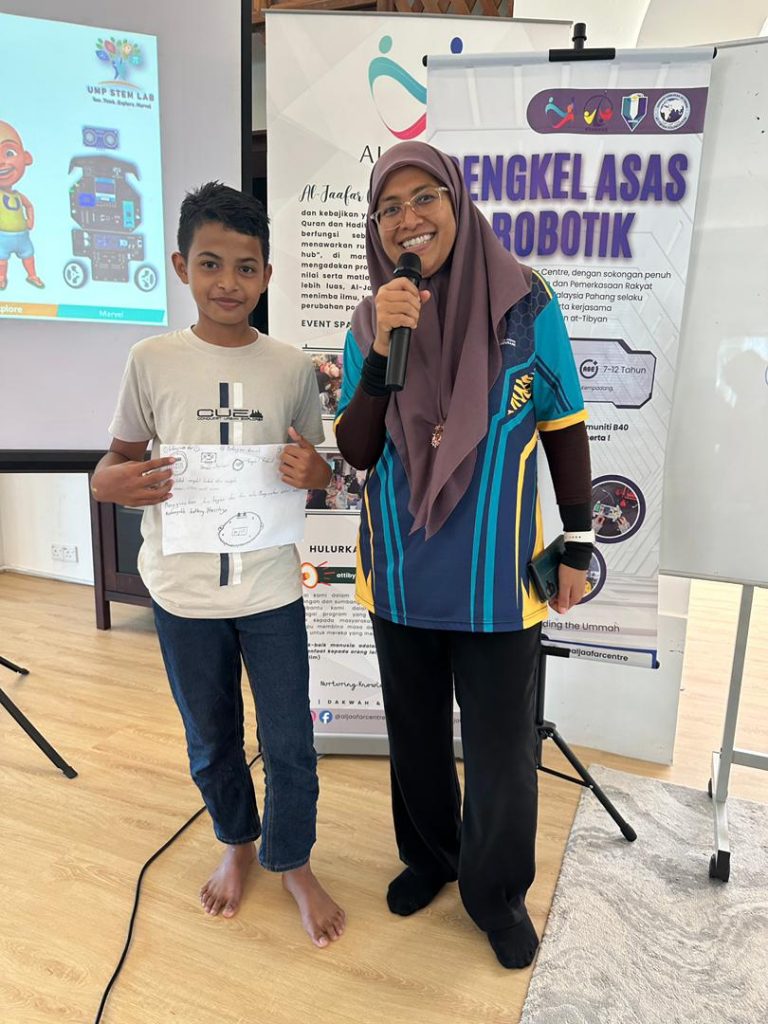
The initiative aimed to:
Build digital and technical literacy among students.
Nurture creativity, teamwork, and critical thinking.
Spark early interest in engineering, robotics, and STEM-related careers.
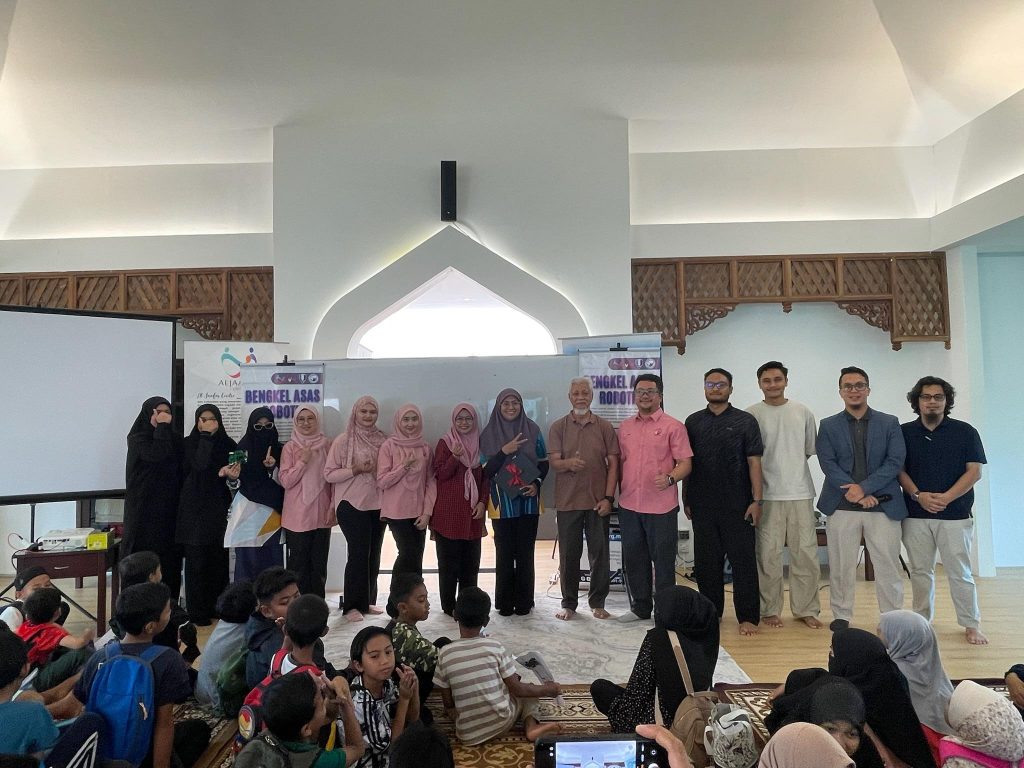
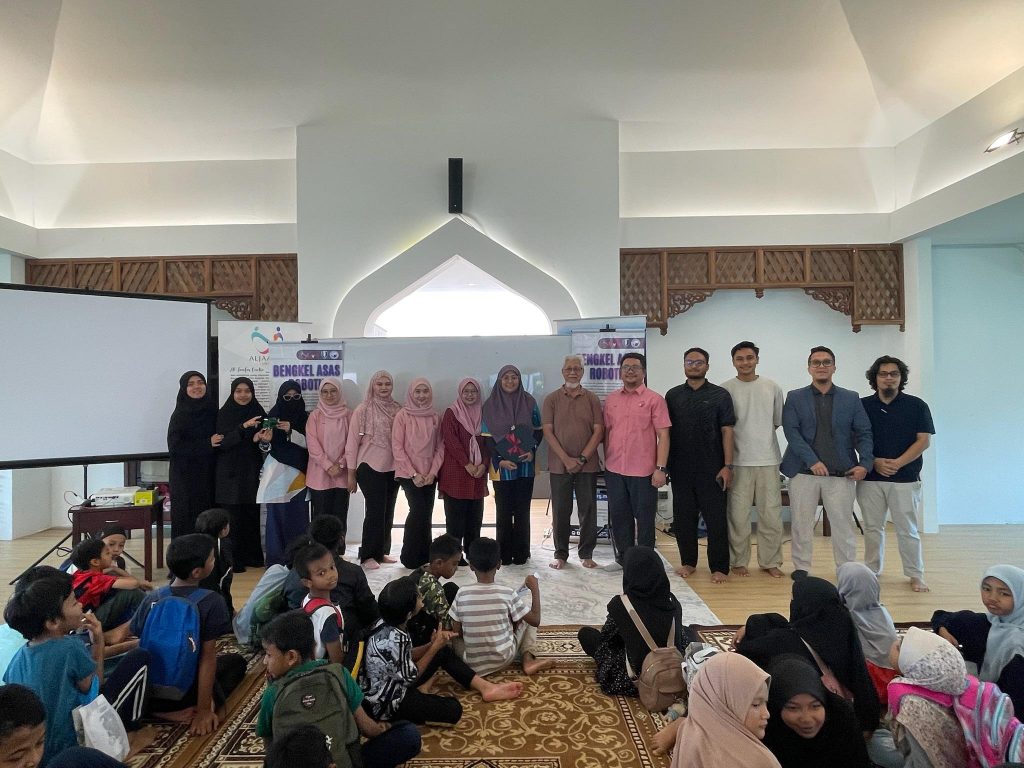
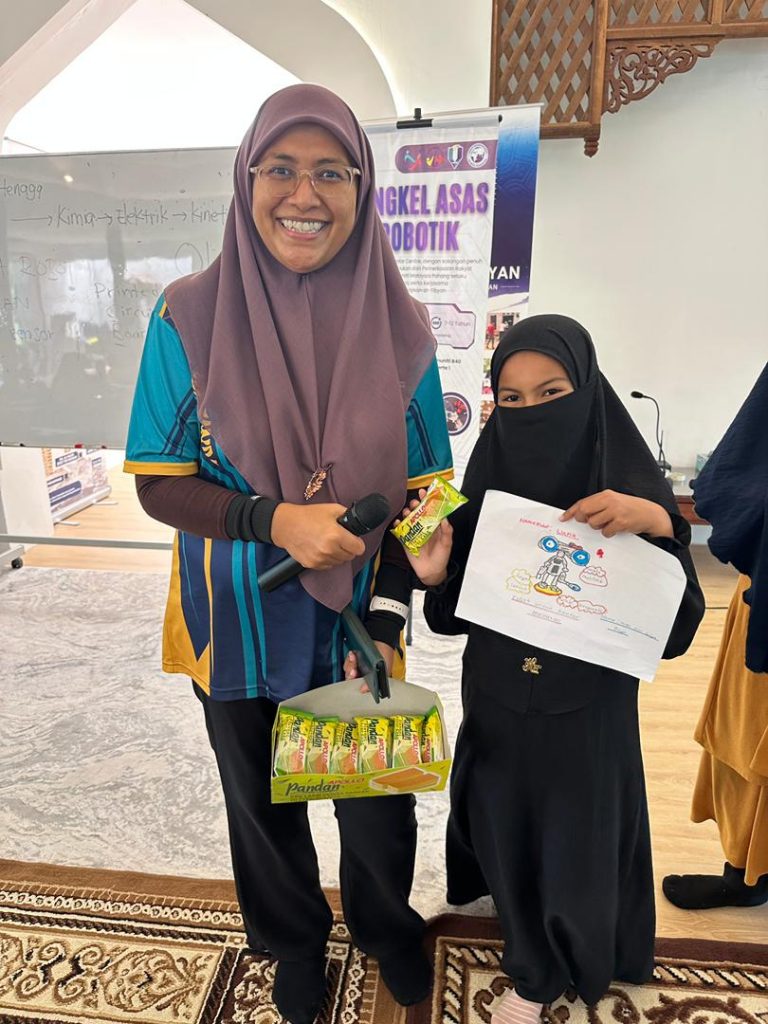
Importantly, today’s program also reached underrepresented groups ensuring inclusivity in STEM education.
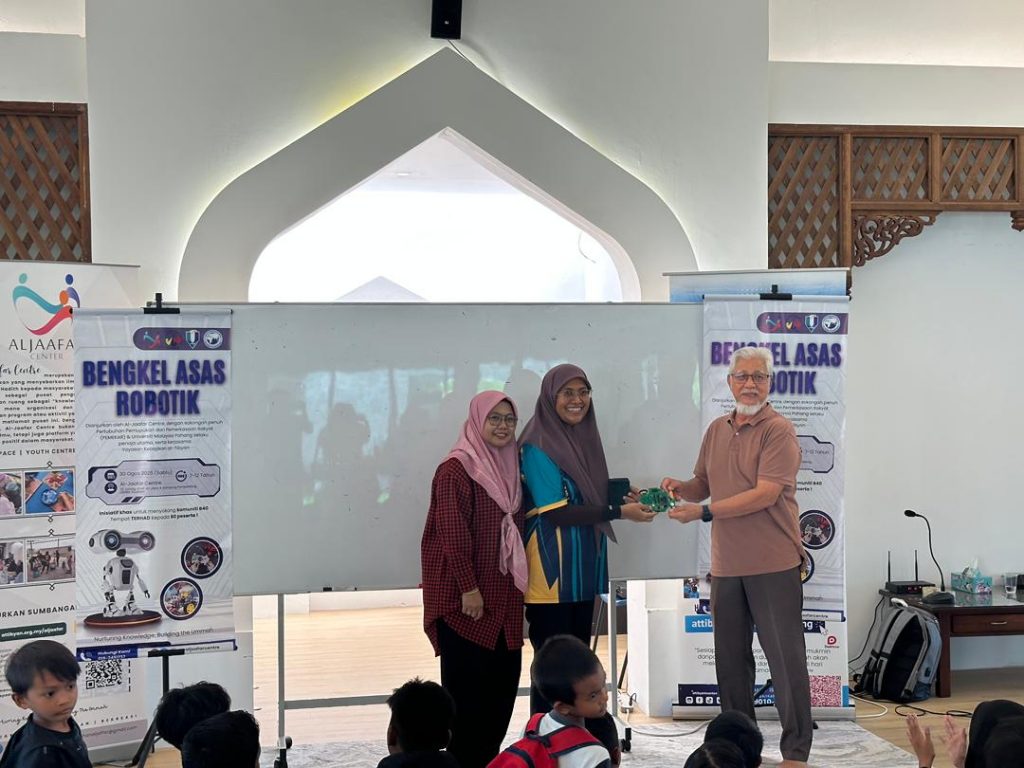
Thank you PEMEKAR – Datin Seri Fazia & Dato Seri Daing, Yayasan Al-Jaafar Dato’ Zulkifli and Khairul, for initiating the program and coordinating the communication between STEM Lab and the participants.