2024 IEEE STEM Summit

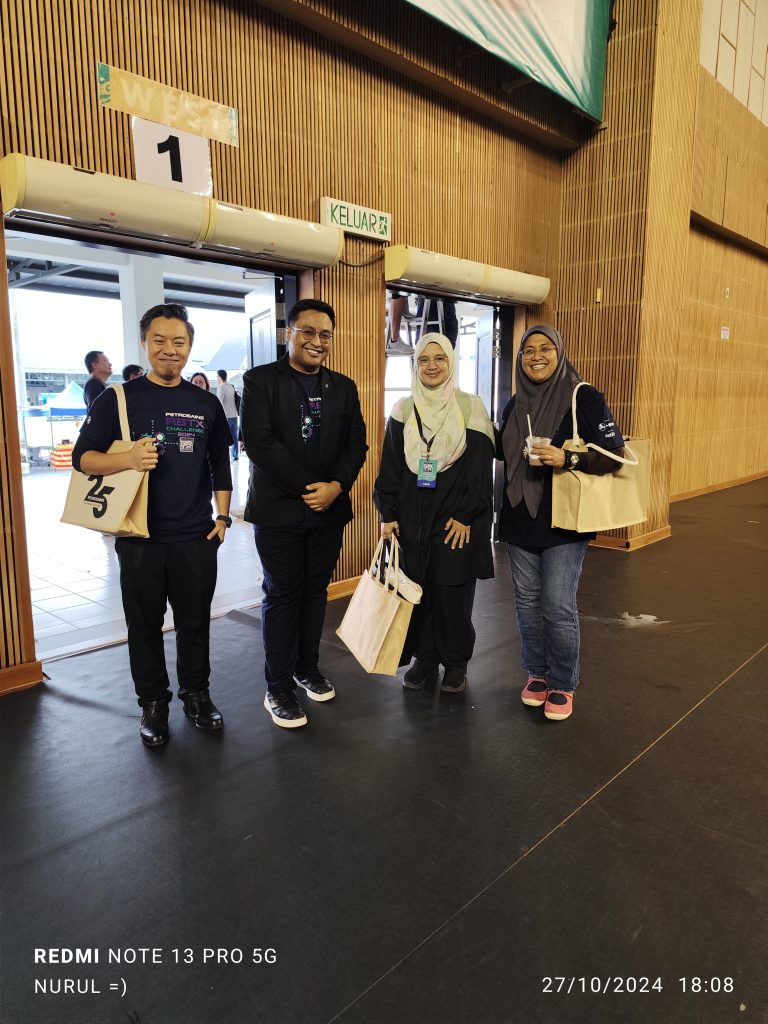
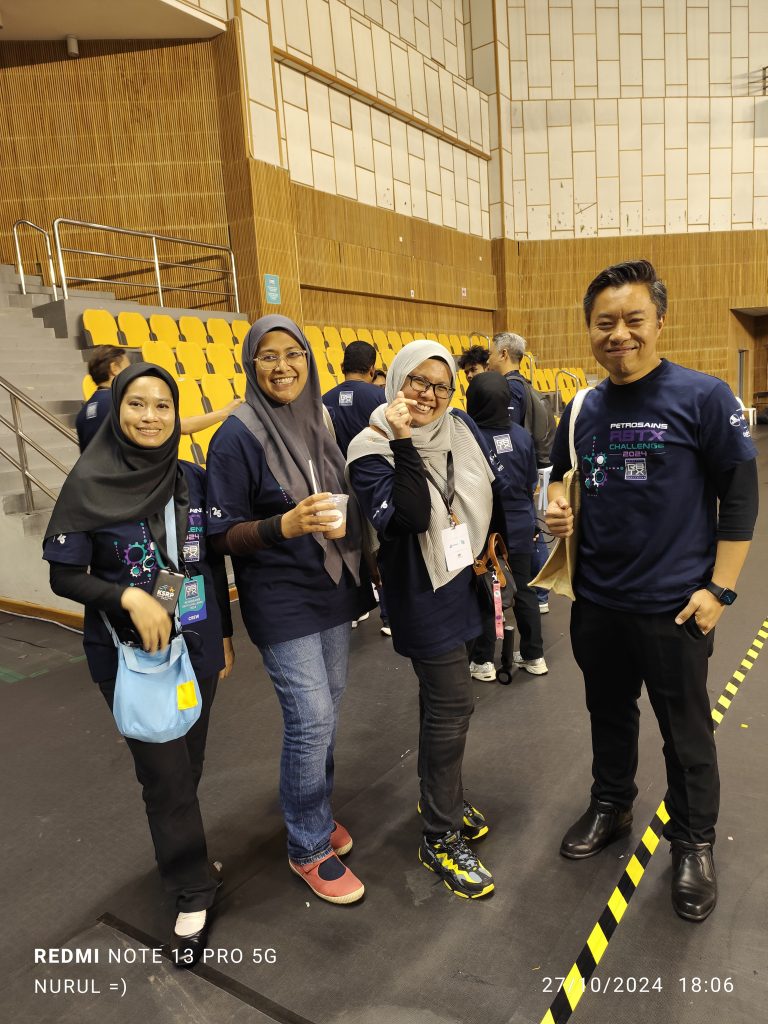
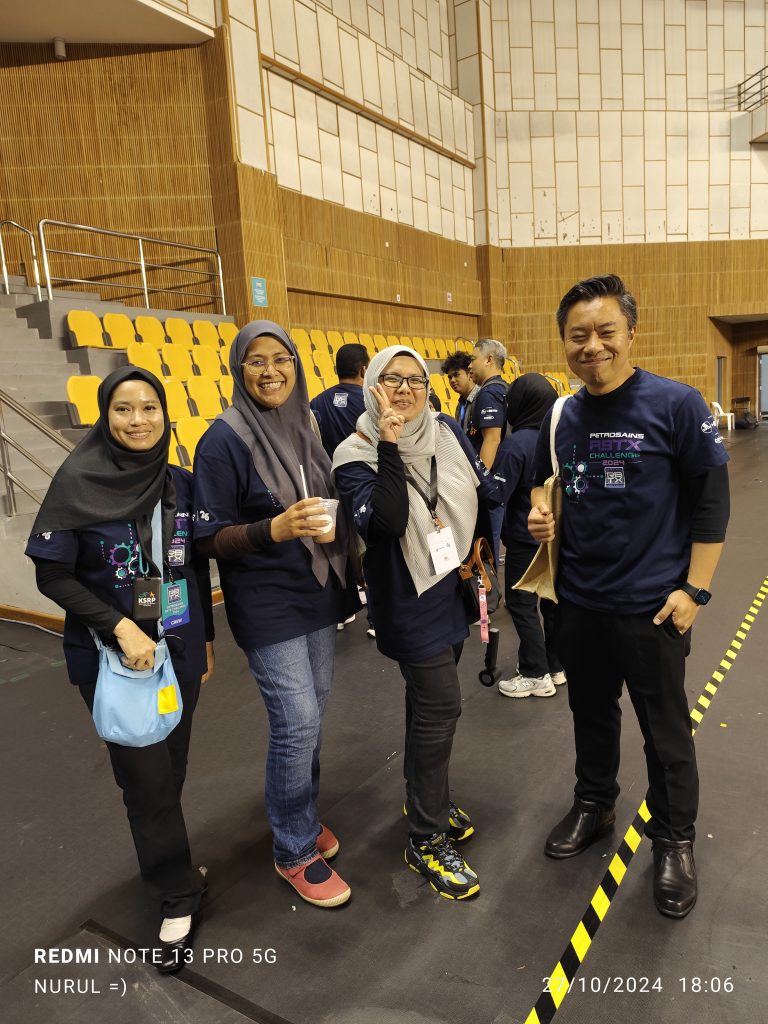
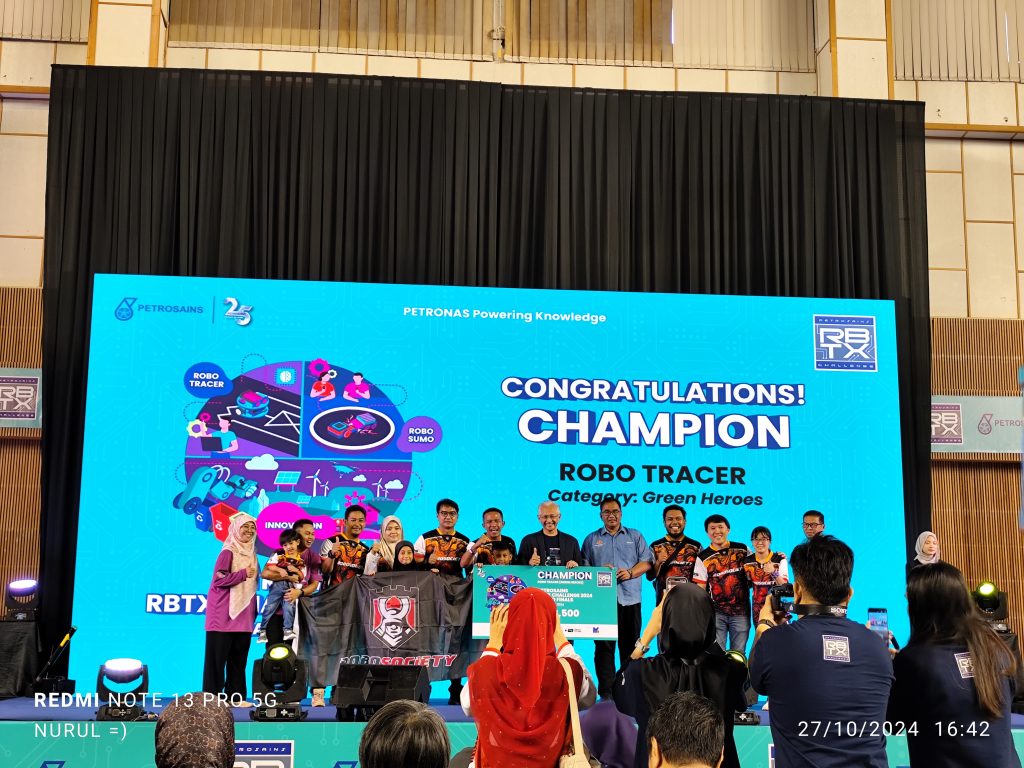
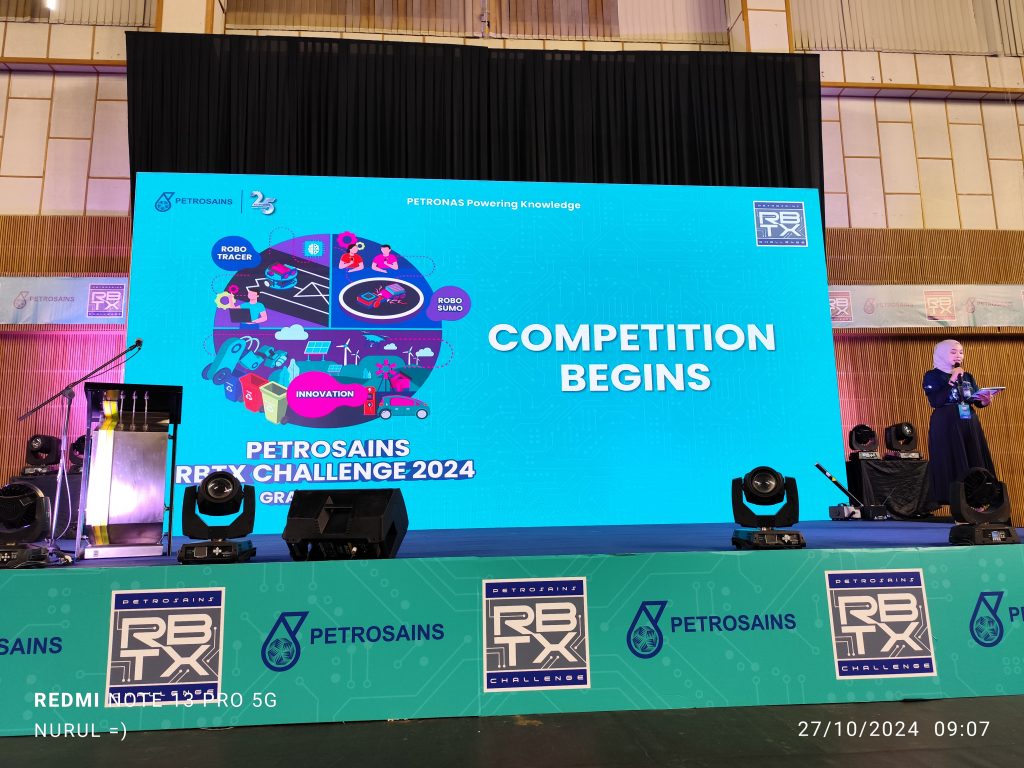
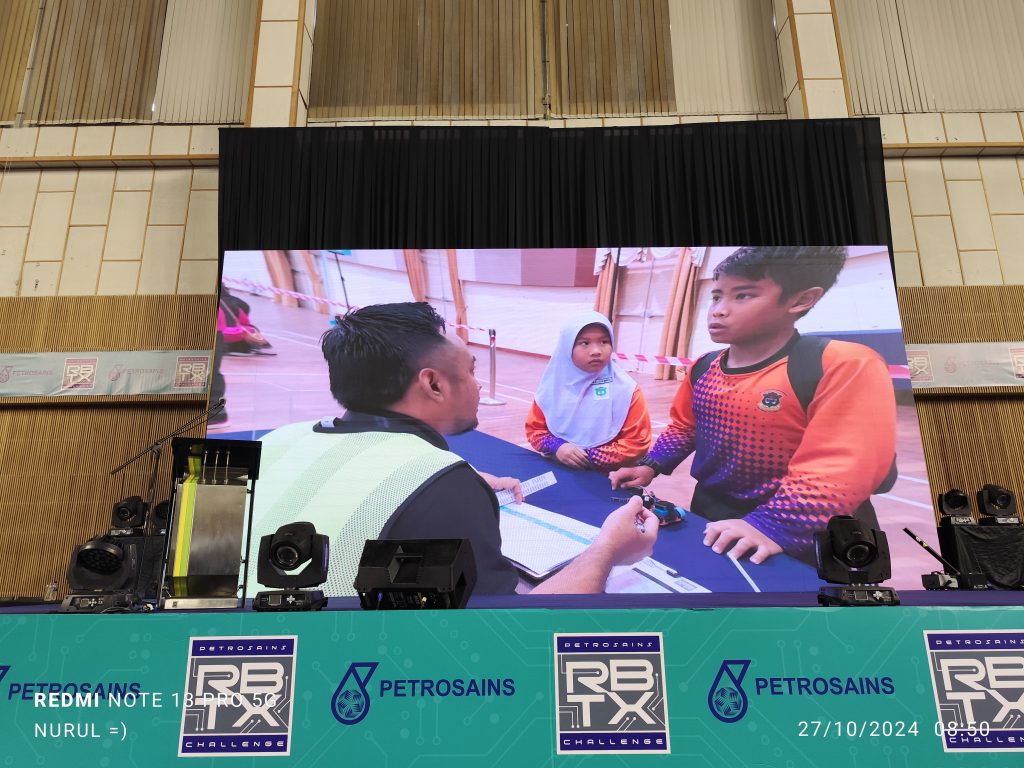
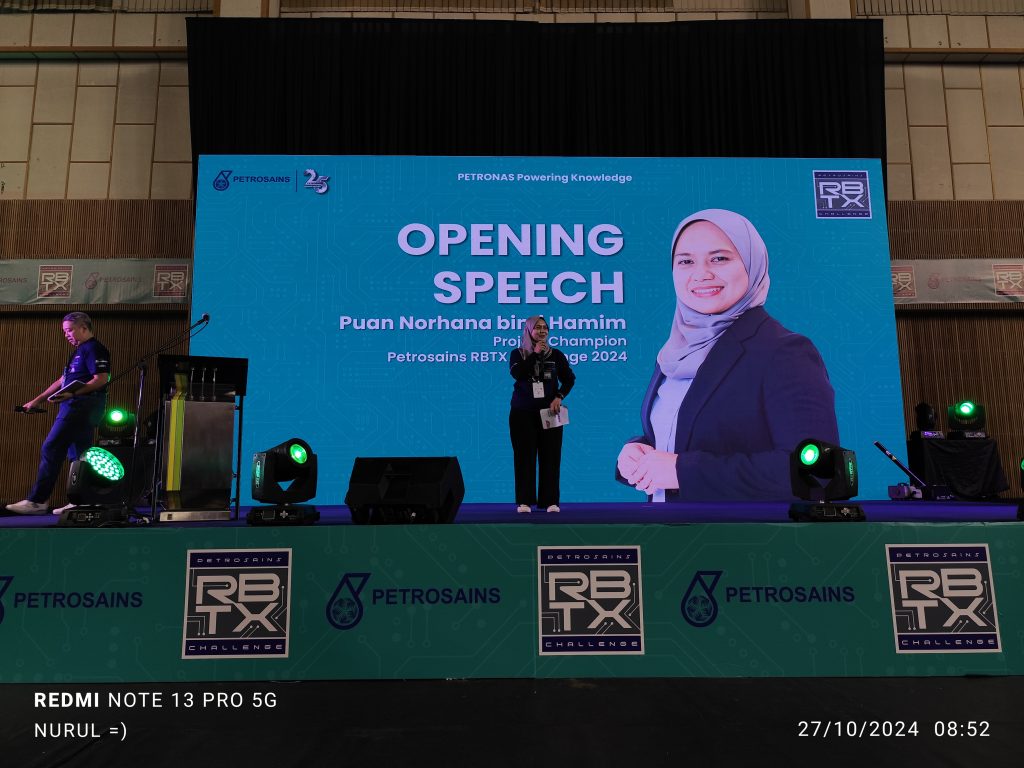
STEM Summit 2024 is happening now   Website


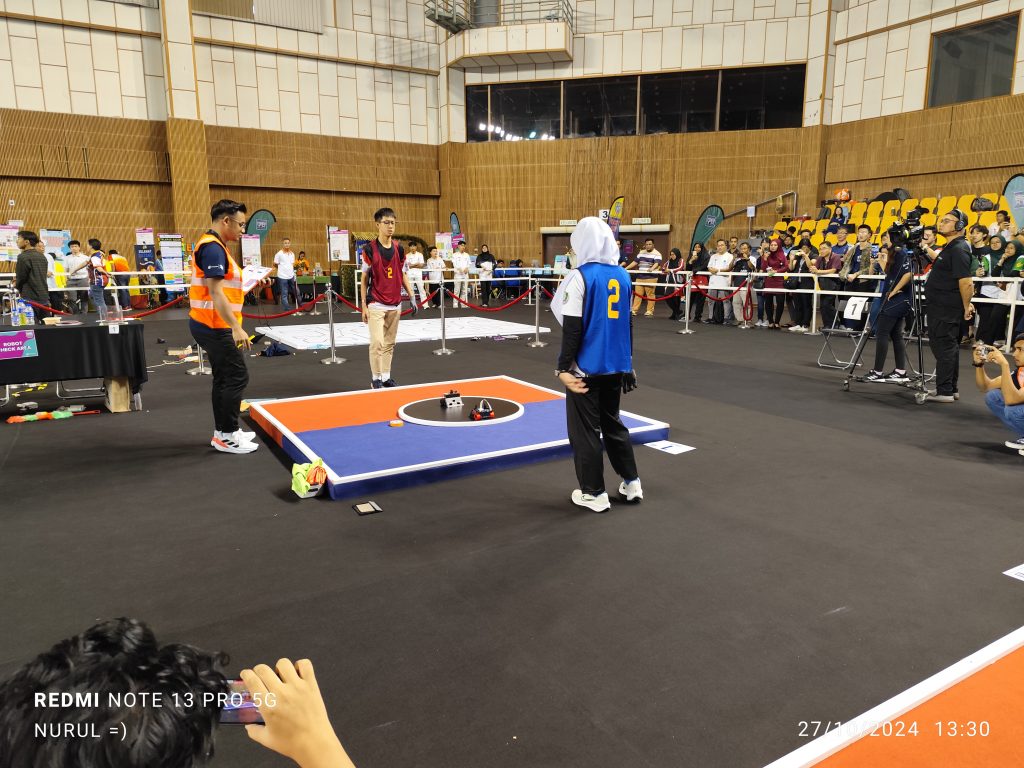
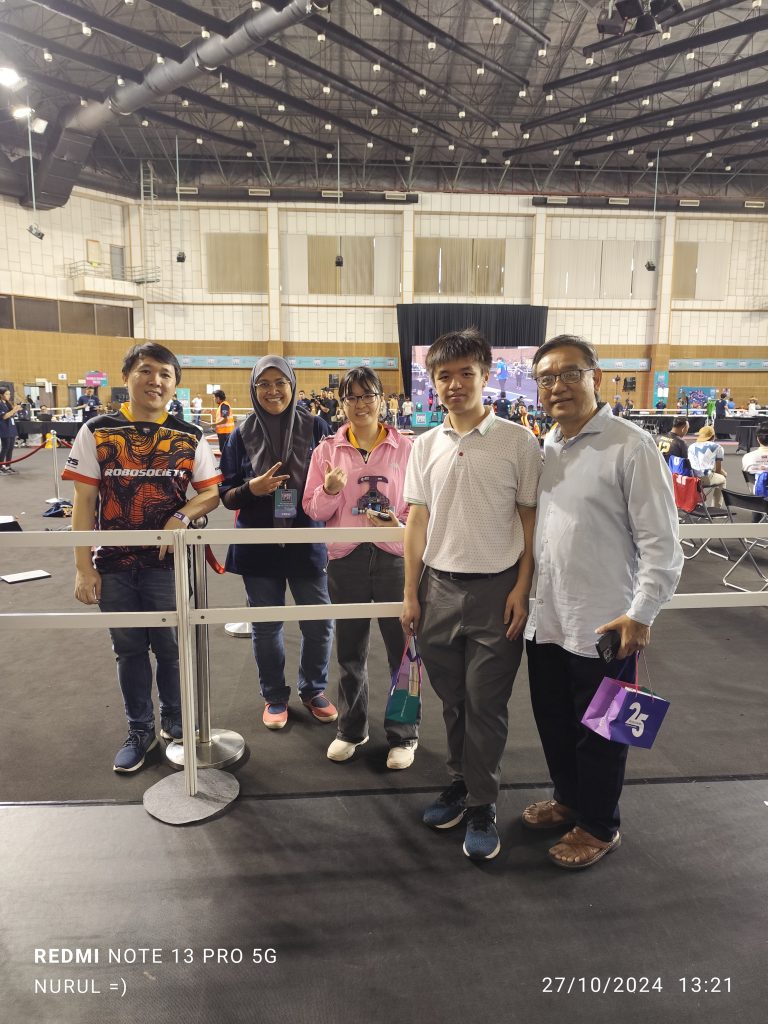
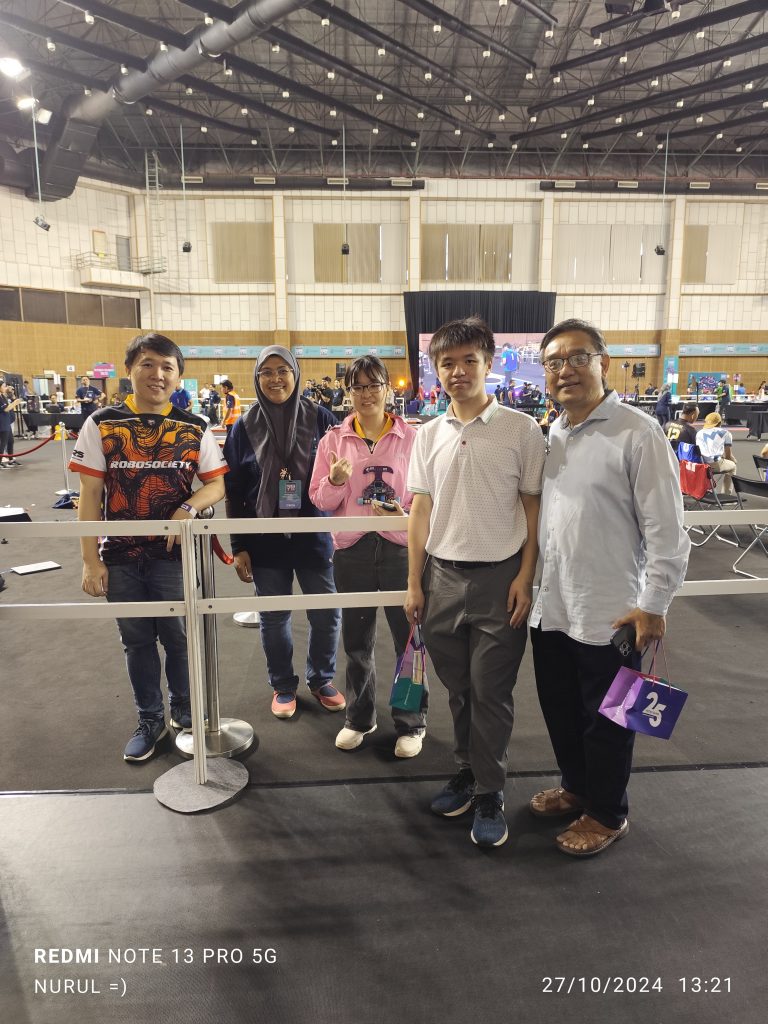
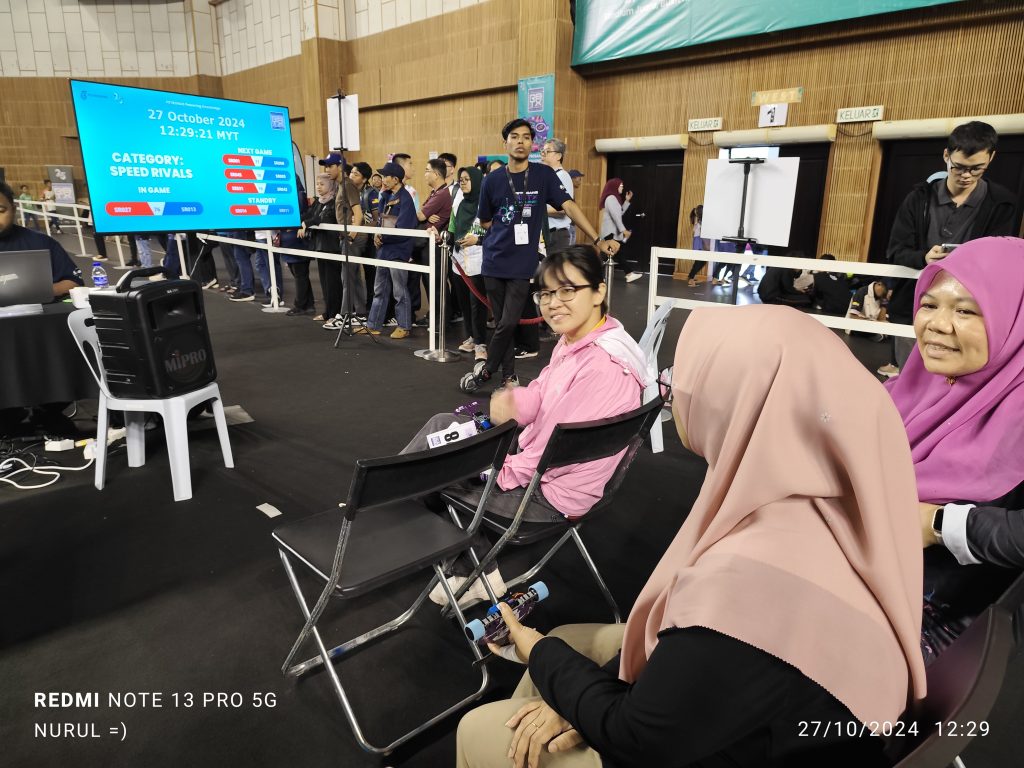
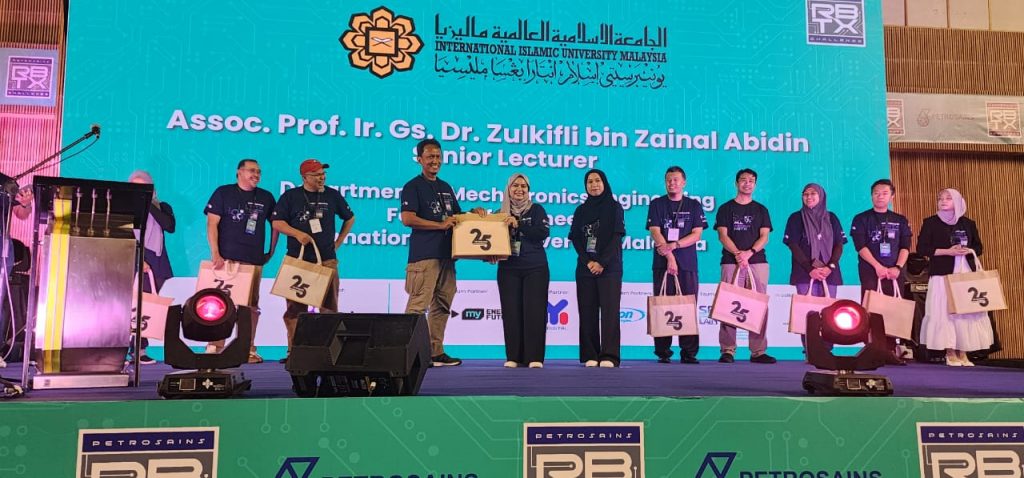
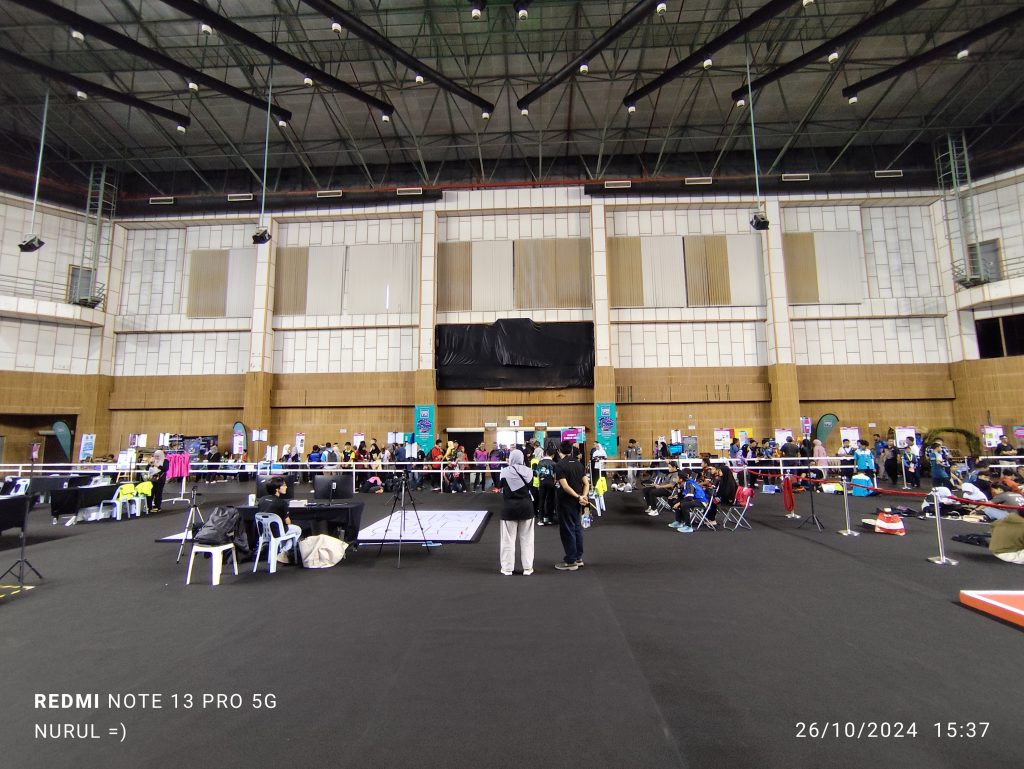
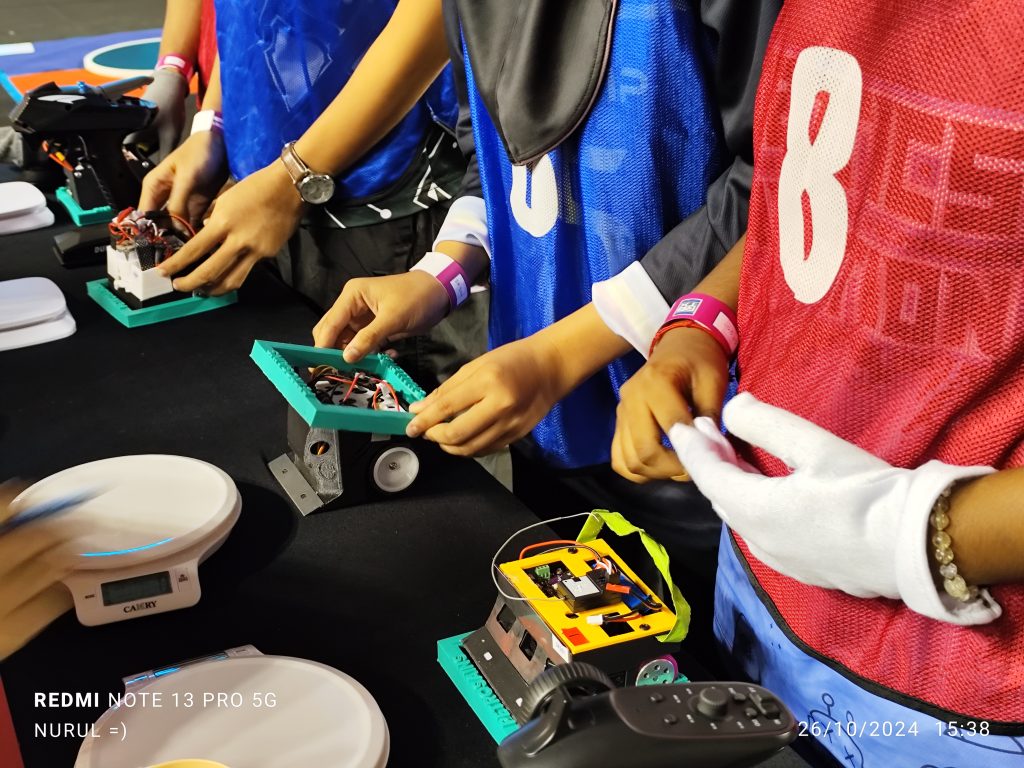
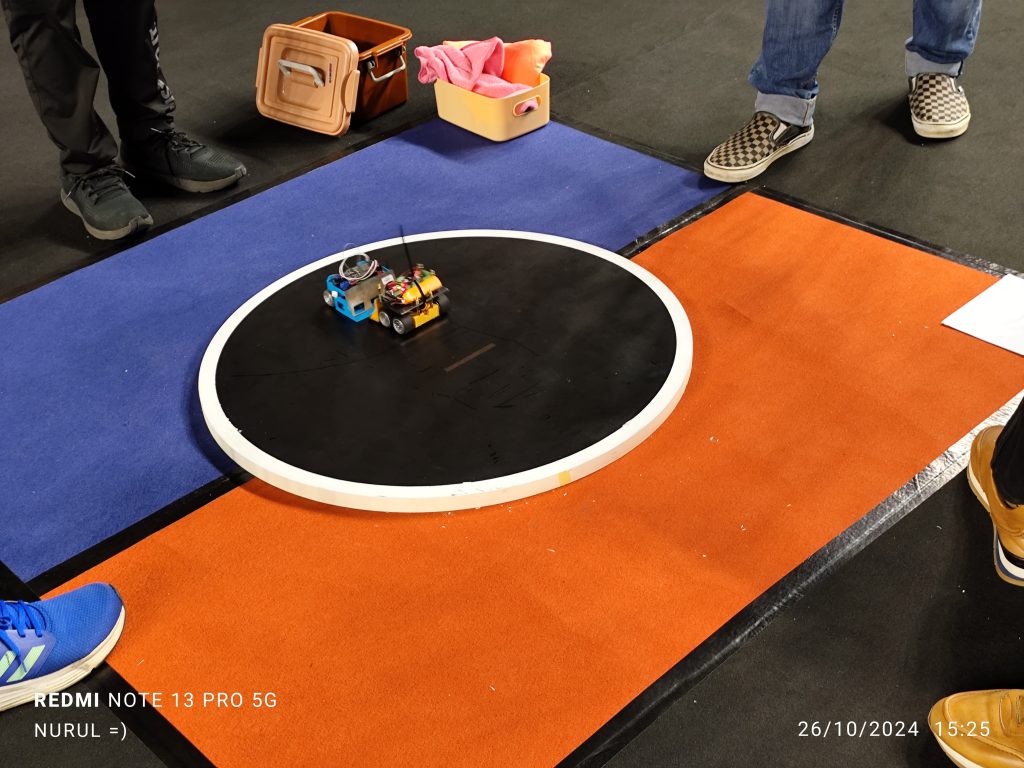
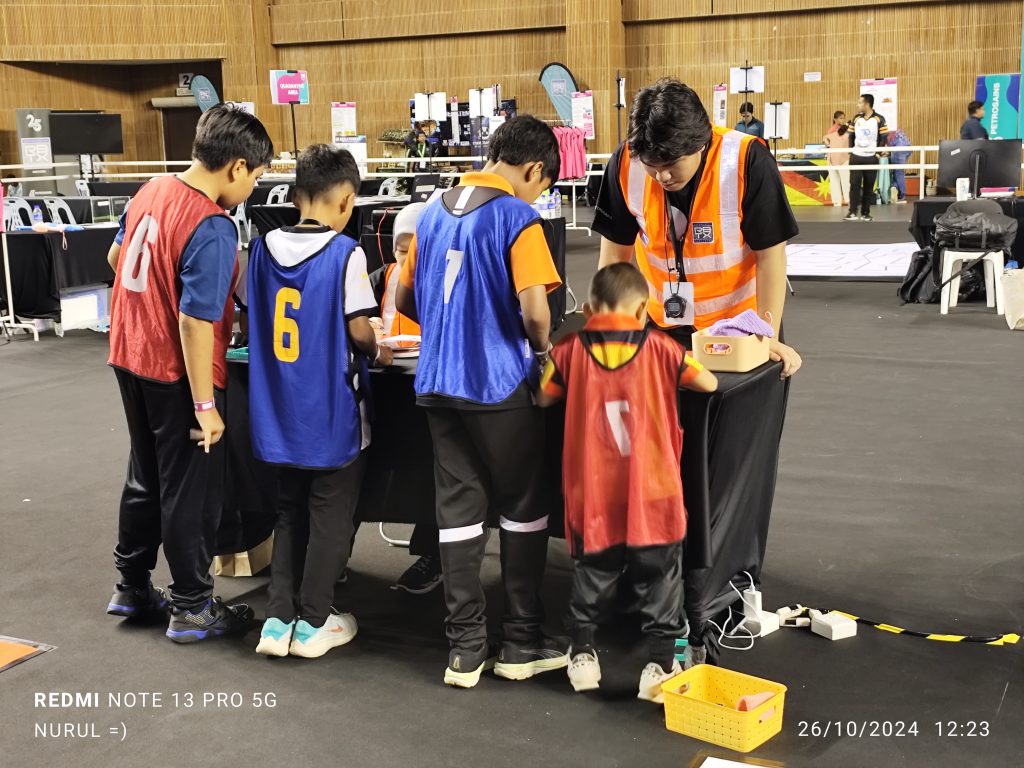
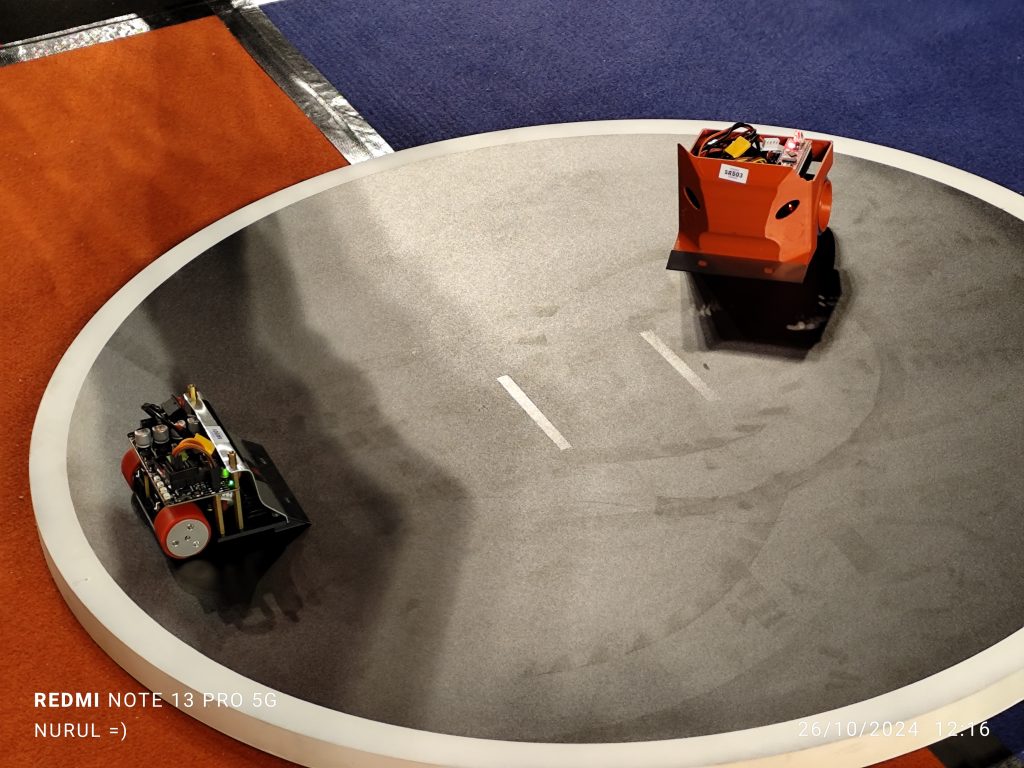
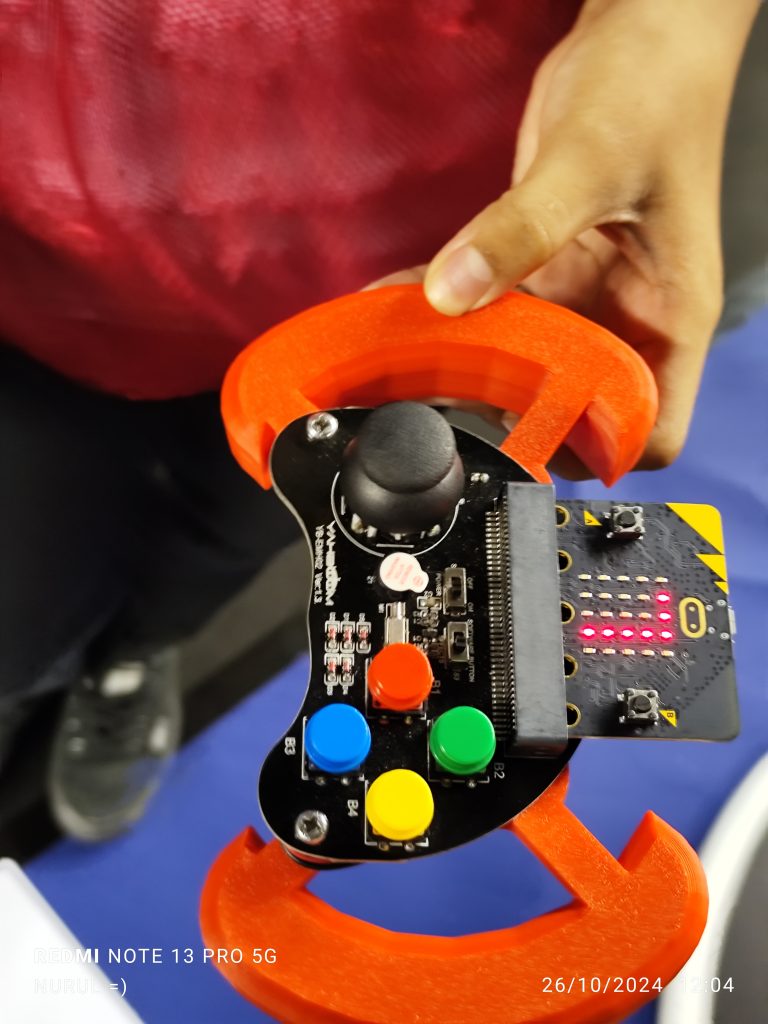
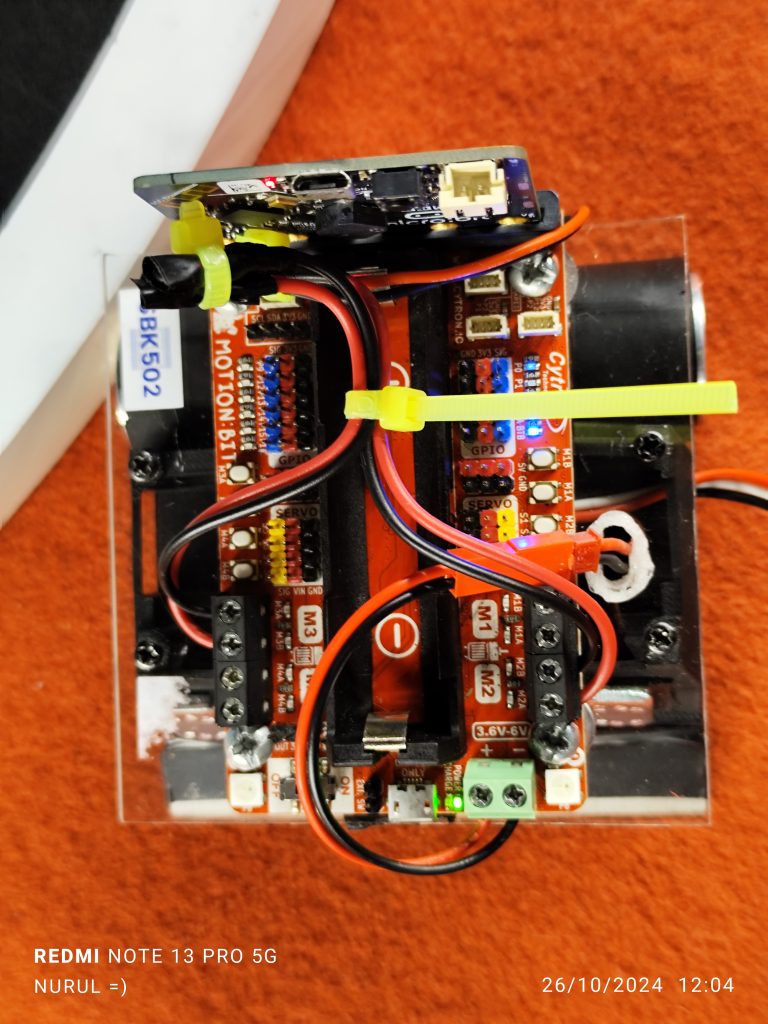
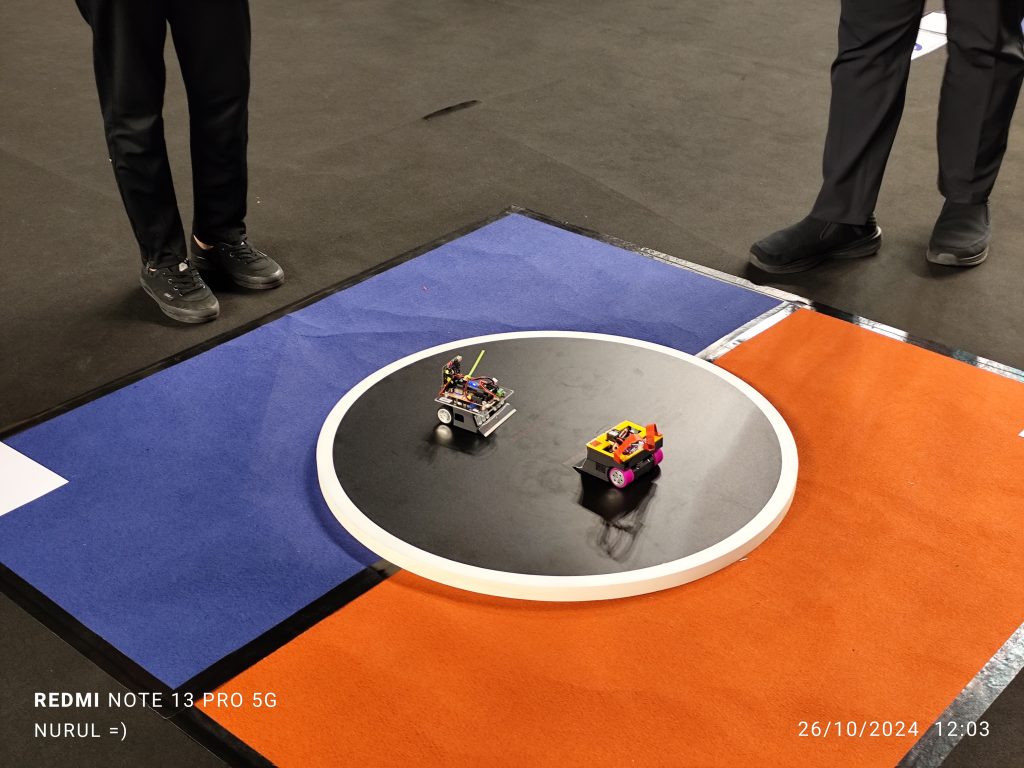
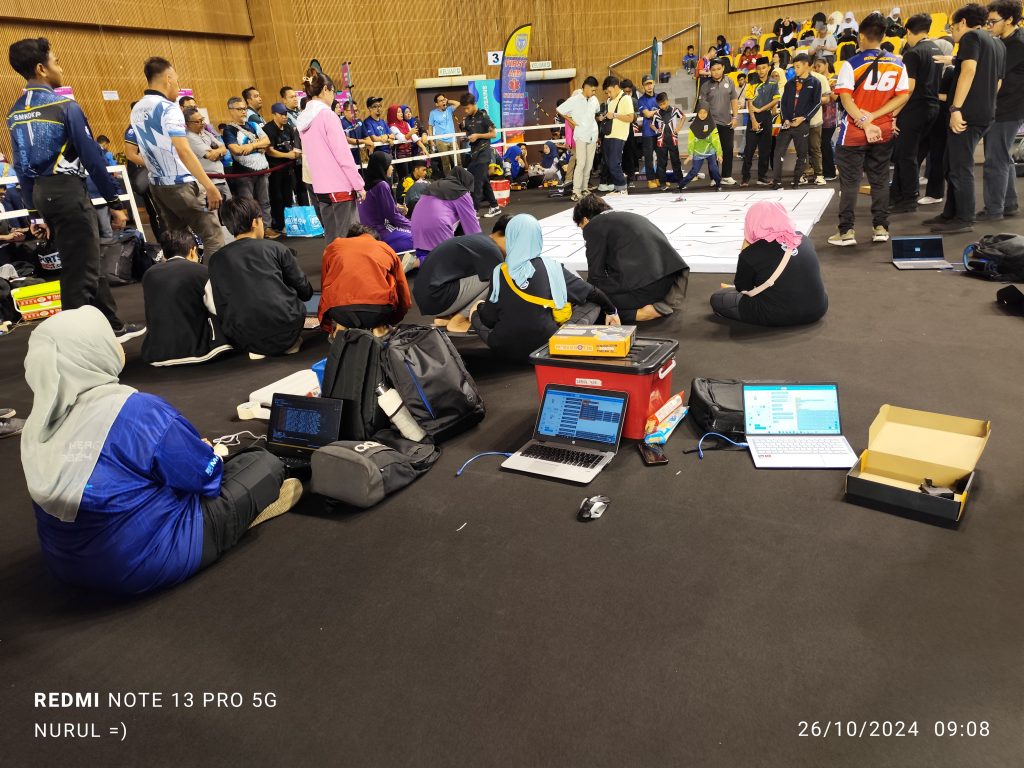
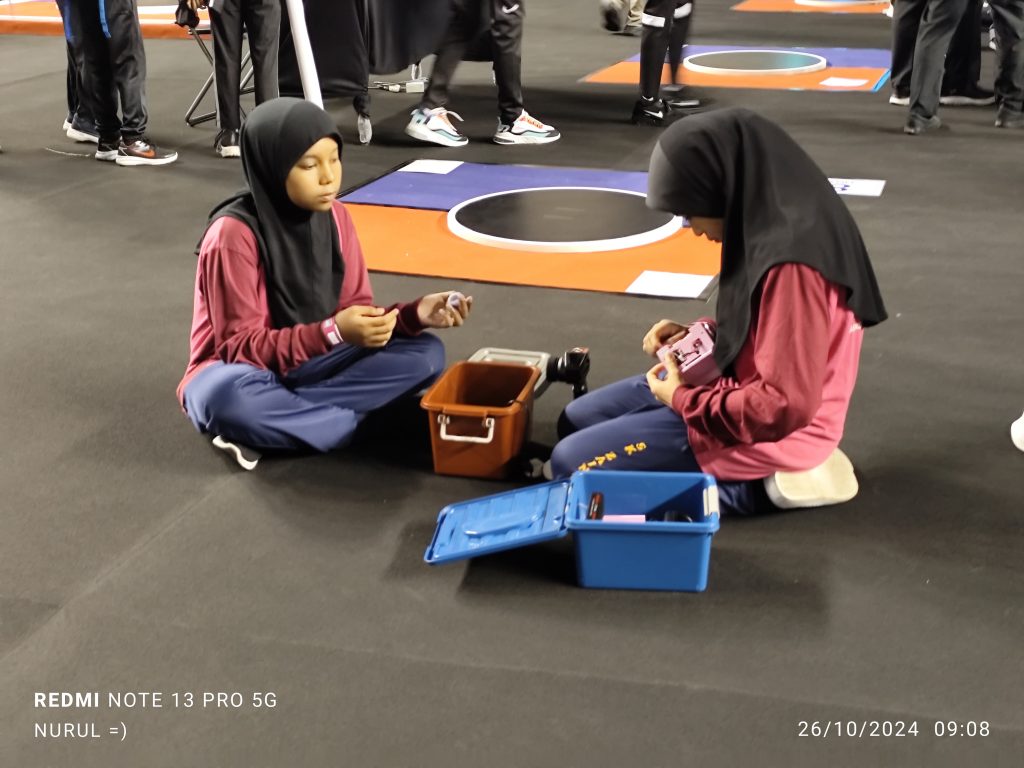
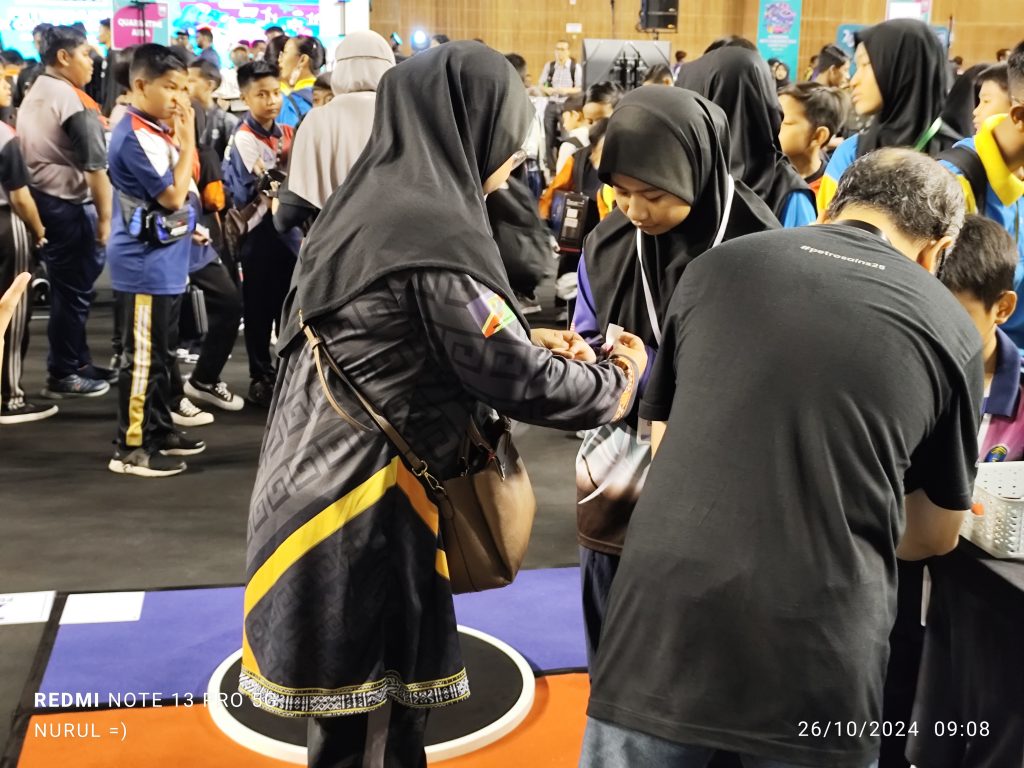
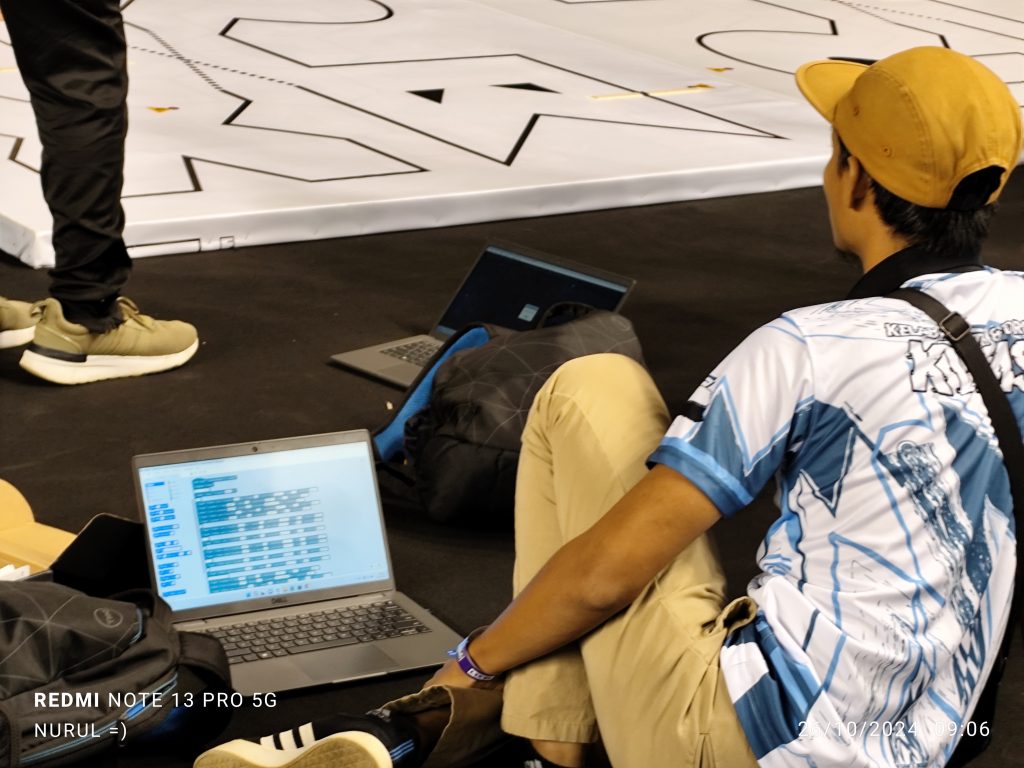
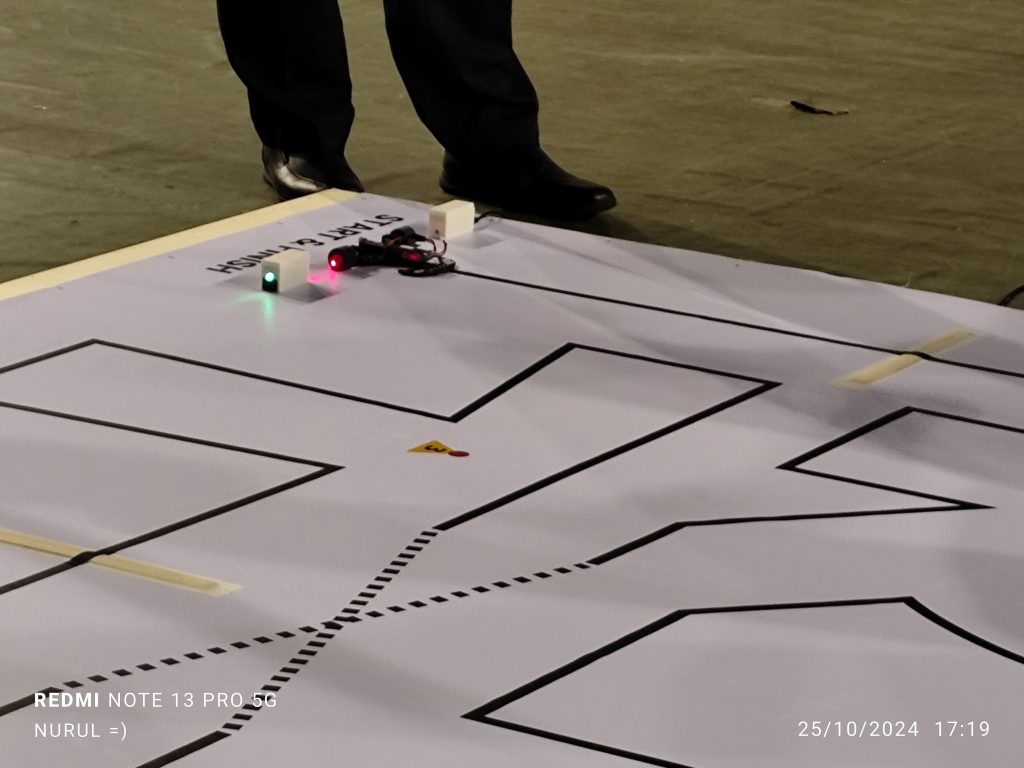
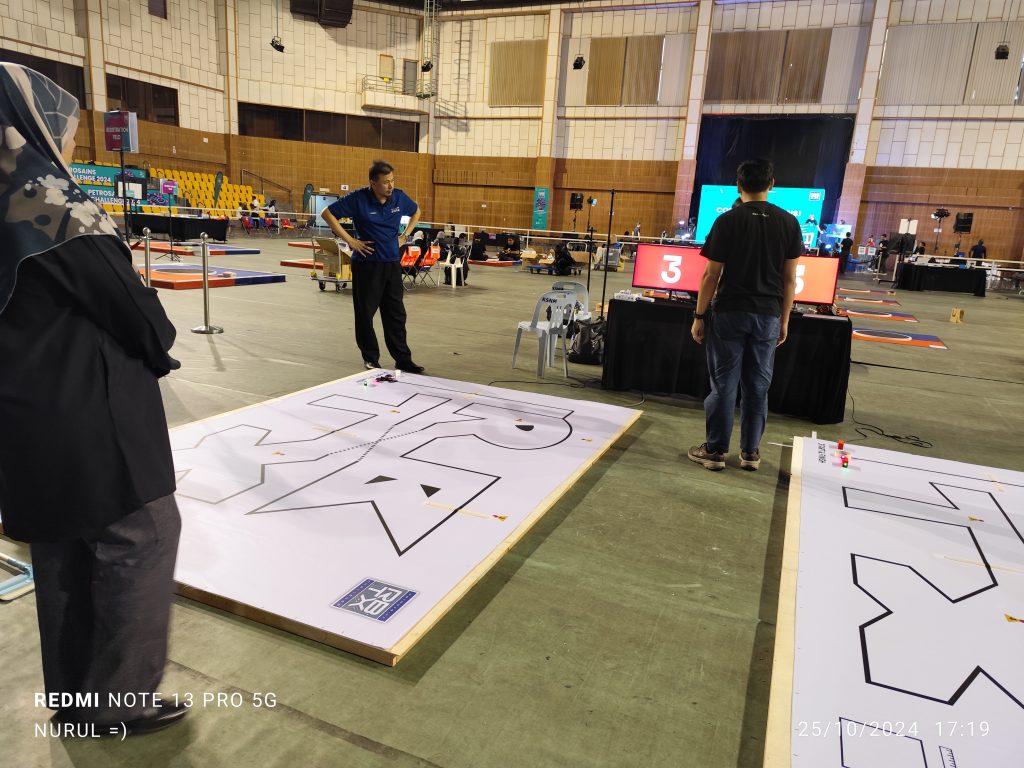
Exploring Pedagogical Approaches in Arduino Robotics Through Hands-On Experience at the 2024 IEEE STEM Summit

The 2024 IEEE STEM Summit brought together educators, researchers, and industry professionals to explore the latest trends and challenges in STEM education. At this event, I had the honour of presenting on “Exploring Pedagogical Approaches in Arduino Robotics Through Hands-On Experience,” where we discussed methods of engaging students in robotics, focusing on building skills through direct, hands-on activities.

The presentation aimed to illustrate the value of blending practical robotics work with foundational theory, especially when working with Arduino robotics, to enhance student learning outcomes.

Key Themes and Teaching Approaches

The main theme of this presentation was how a well-designed hands-on approach can havean impact on learning and make complex topics like robotics and electronics more accessible. Teaching Arduino robotics requires balancing both theory and practice. For students to truly understand the inner workings of a robotic system, theoretical concepts should be taught alongside practical applications, where students directly apply what they’ve learned.

In developing a well-rounded robotics curriculum,  the following approaches are emphasized:-

  1. Incremental Learning through Project Complexity
    Arduino projects were designed to start with simple tasks, such as lighting an LED, and gradually advanced to more complex projects involving sensors, motors, and data communication.

    1. This approach, where complexity is added progressively, allows students to build confidence and competence before tackling more challenging concepts like integration and control.
  2. Black Box to White Box Approach
    1. For beginners, the “black box” method is ideal—they can quickly see results without needing to understand the system’s inner workings. As they progress, students are introduced to the “white box” approach, where they delve deeper into component connections, circuit design, and eventually, creating their own PCBs.
    2. This shift from black box to white box allows students to explore robotics at different levels of complexity based on their skills and confidence.
  3. Balancing Theory with Practical Application
    1. A hands-on robotics curriculum is most effective when balanced with supporting theory. For example, students might first learn about voltage dividers or basic control theory before applying it to Arduino circuit design. Theory complements hands-on tasks by allowing students to validate their project findings and understand the principles driving their robot’s behaviour.
    2. This balance provides a “learn-by-doing” model where the value of theoretical knowledge becomes evident in practical applications.
  4. Scaffolding to Address Cognitive Overload
    1. Robotics can be complex, especially for novices. By scaffolding tasks, we can break down complex projects into manageable activities.
    2. For example, students start by building and testing simple circuits on a breadboard before soldering them onto a PCB. This helps prevent cognitive overload and gives students confidence as they master each stage.

Towards the end of the presentation, participants posed questions, reflecting on the pedagogical aspects in enhancing the Arduino robotics curriculum.

Here’s a recap of some key questions and my responses –

  1. How “deep” is the white box approach? Do students actually solder discrete components?
    • Yes, the white box approach goes deep, guiding students to construct their robot from scratch. They progress from breadboarding to soldering and, eventually, designing their own PCB—after thorough testing on the breadboard to validate their circuit design. Check-out our module on circuits design and simulation on TinkerCAD and Wokwi.
  2. When entering circuit design, do you cover foundational theories like voltage dividers and bridge circuits?
    • Absolutely. We walk students through these essential circuit theories, such as voltage dividers, bridge circuits, and stepping up/down voltages, to ensure they understand the principles they’ll apply in the hands-on tasks. Sensors integration and their building circuits among other activities covered.
  3. How do you recommend balancing hands-on work with theoretical learning in robotics?
    • There’s really no one-size-fits-all answer to balancing theory and hands-on work. Well, theory is essential to support hands-on activities—it serves as a foundation that validates the findings or outcomes of practical tasks. So rather than separating the two, theory should flow naturally alongside hands-on work, helping to clarify and reinforce what students observe in real time.
    • For me, balance means students can connect their hands-on experiences with theoretical understanding—being able to reason out their findings during activities. When they can explain why something works (or doesn’t) based on underlying concepts, that’s when the learning truly resonates.
  4. Are you familiar with any work that takes this approach further to circuit design and behavior? For example introduce test tools like oscilloscopes and logic analyzers to introduce students to communications channel behavior
    • Yes, what we’ve done is, once students are familiar with the robot’s anatomy (like the 2-wheel robot), we move to circuit design. They experiment with integrating IR sensors and motor control, building from off-the-shelf components. They solder the circuits, measure performance, and eventually create their own PCBs. This hands-on approach gives them a deeper understanding of circuit behavior and design.
  5. Have you found this approach more effective for particular age groups or skill levels?
    • Age is secondary =).  Rather than age, it’s more about the student’s skill level. Beginners benefit from a black box approach, while those with a stronger foundation excel with the white box approach. Tailoring the curriculum to a student’s competence level helps build confidence and ensures successful outcomes. Novices engage best with a black box approach to build confidence, then progress to white box as their skills and understanding grow.
  6.  What Arduino project is best for students as they advance?
    • For a beginner aiming to pursue advanced robotics, I’d encourage them to explore whichever path interests them most, as passion often drives deeper learning and persistence. Start with projects that build foundational skills—like simple sensor integration or basic movement programming—and gradually take on more complex tasks, such as multi-sensor fusion or autonomous navigation. Consistently challenging yourself just one level up, and taking time to experiment and troubleshoot, will build both confidence and competence over time.
    • The best projects challenge students just a level above their current ability. For example, if they’ve mastered programming a robot with one sensor, we introduce additional sensors or more complex sensor integration. Also, integrating AI / Image processing / data analytics to its function is interesting as well.
  7. How can we balance hands-on work with theoretical learning in robotics
    • Finding this balance can be challenging, as it depends on the student’s ability to connect theory with hands-on experience. I personally believe theory should validate hands-on findings, with concepts tested through activities, allowing students to reason through their results.
  8. Are you familiar with approaches that introduce circuit testing tools, like oscilloscopes or logic analyzers, to help students understand communication channels?
    • Yes, we do incorporate this in advanced stages. Once students are comfortable with the robot’s basic structure, they move to tasks like integrating sensors with motor control and testing these connections. They build and solder components, measure with test tools, and eventually work up to designing custom PCBs.
  9. Can we use co-design pedagogical techniques’ instead of the pedagogical techniques used in this study?
    • Of-course :). Co-design in education involves teachers and students collaboratively designing the learning process. Instead of students being passive recipients, they actively contribute to shaping the curriculum, setting goals, and choosing projects that are meaningful to them.  By involving students in the creation of the learning experience, co-design fosters a more personalized and relevant educational process, making it especially effective for project-based learning environments like Arduino or robotics.

The presentation highlighted how hands-on learning in Arduino robotics can be transformative for students, whether they are beginners or more advanced learners. Through a scaffolded approach that combines theory and practice, students develop not only technical skills but also critical thinking and problem-solving abilities. The summit was an excellent platform to share these insights and learn from other educators in the field who are equally passionate about making STEM accessible and engaging.

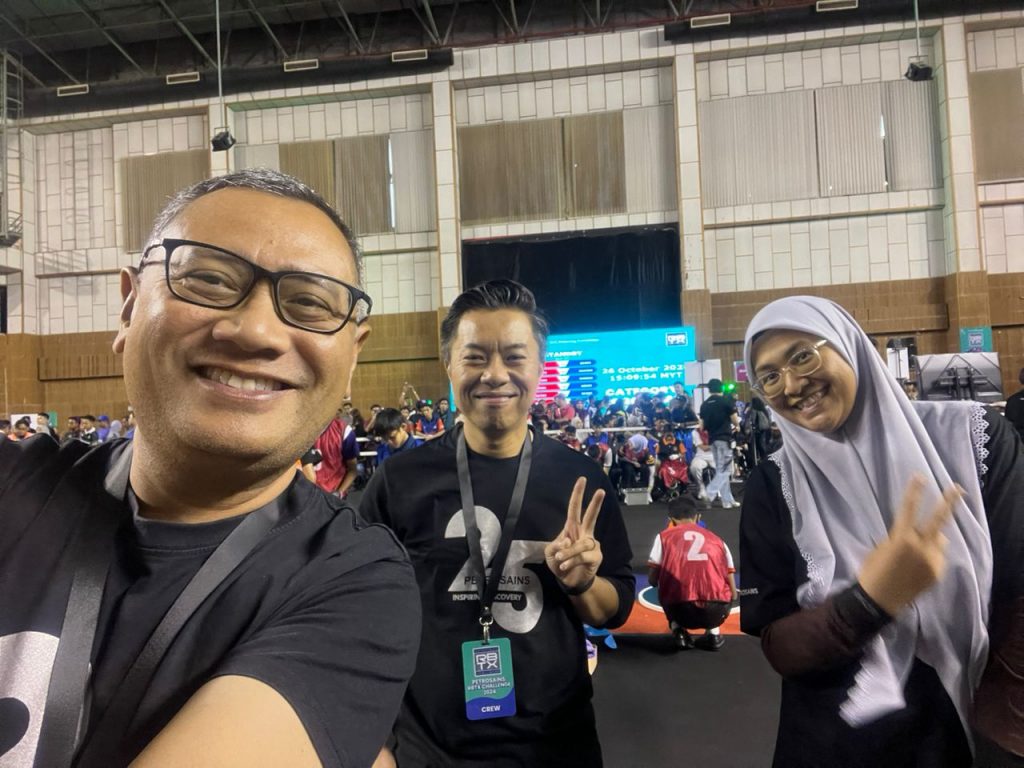
Again, thank you IEEE TryEngineering for the opportunity to present at the 2024 STEM Summit! It was an honor to share insights on hands-on learning in Arduino robotics and to explore the impact of the right pedagogical approach in helping students connect with engineering concepts meaningfully =). I look forward to continued collaboration and applying these techniques to create even more engaging learning experiences. Kudos to all the speakers for their inspiring talks and fantastic!


BTE1522 DRE2213 – Week 3 – Control Statements and Functions

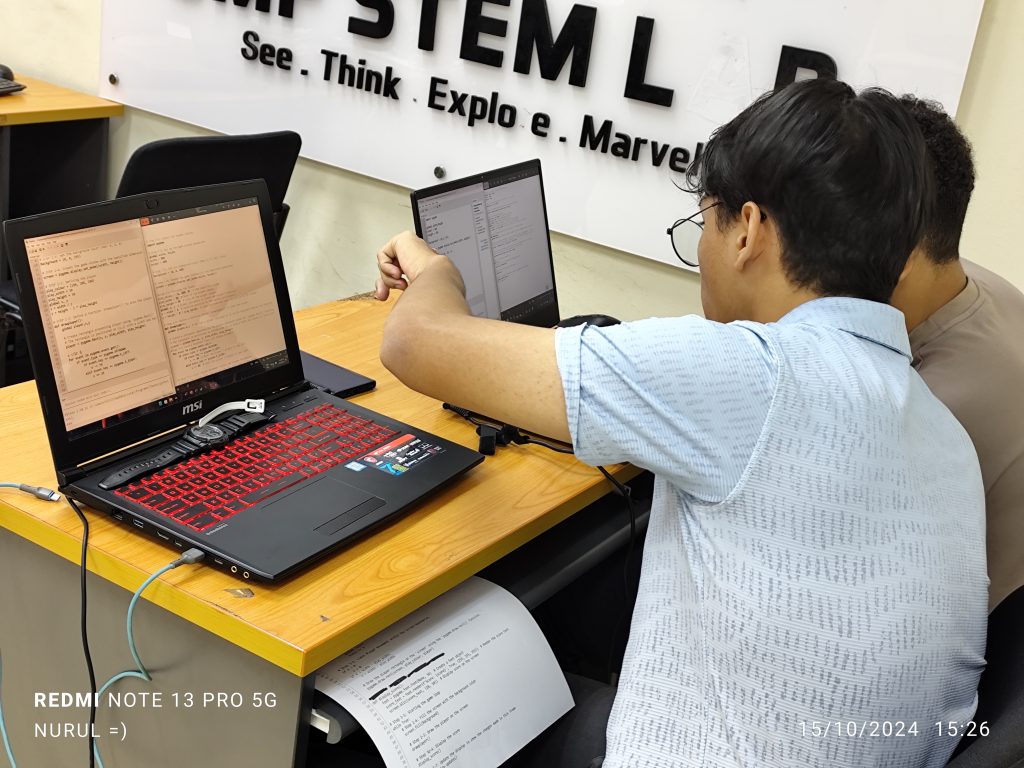
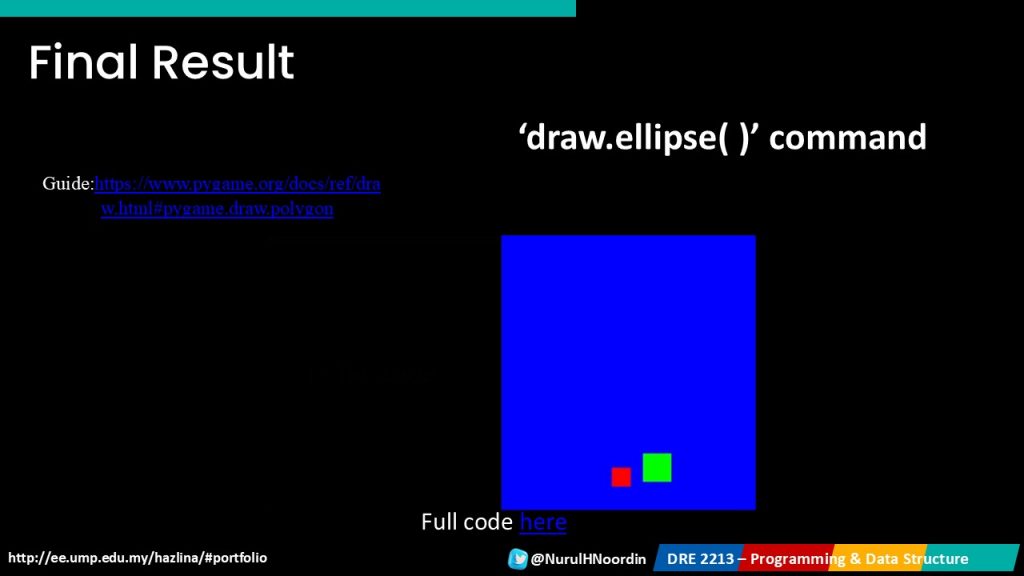
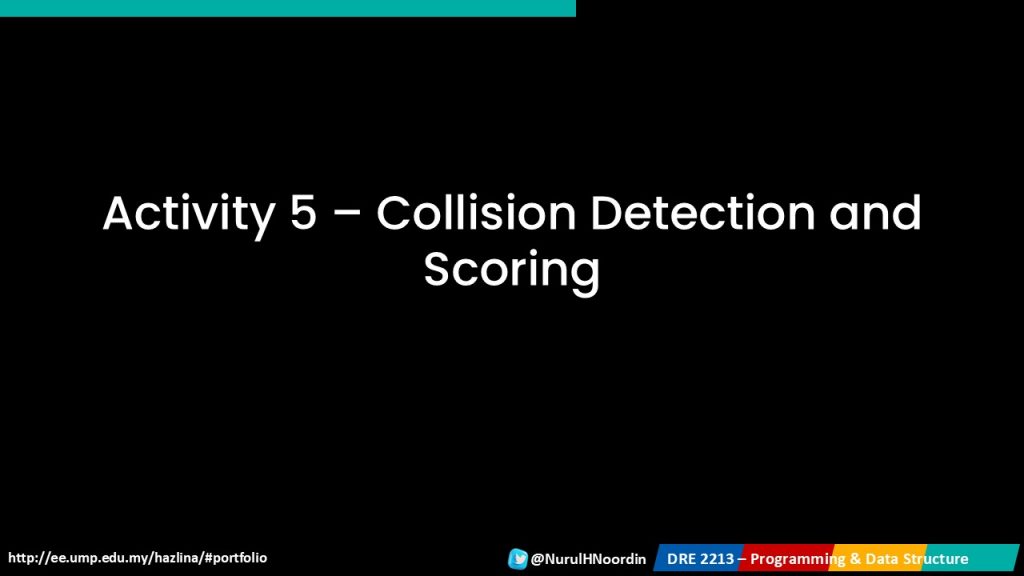
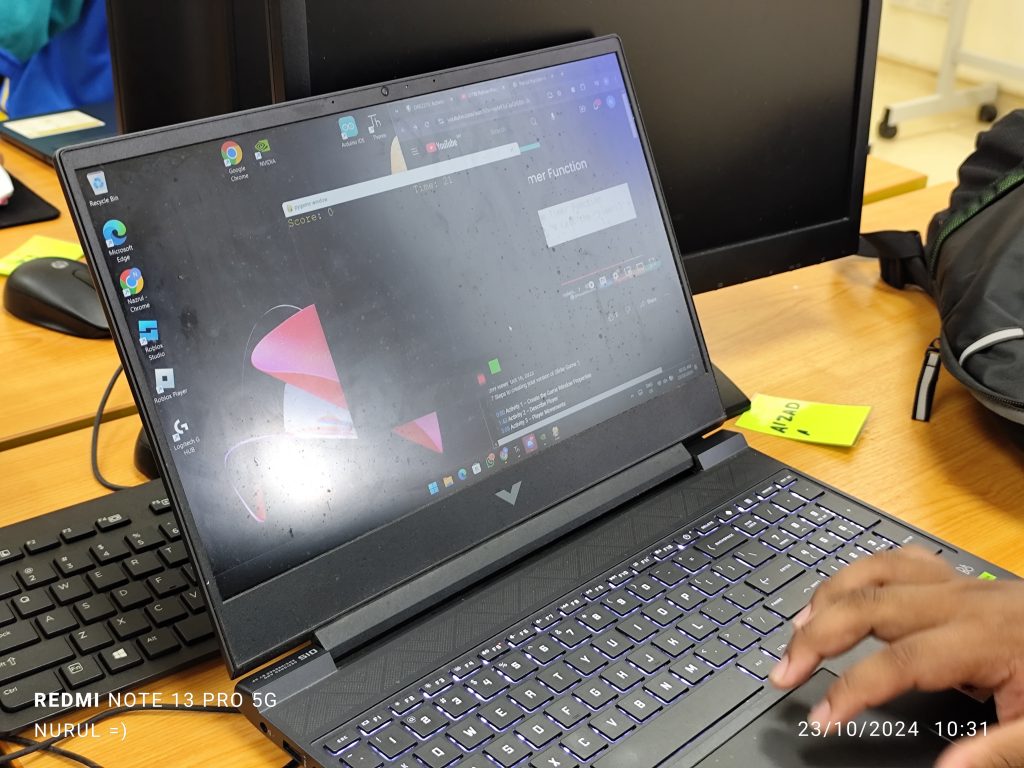
Let’s explore learning programming by troubleshooting Codes   😀  – Flags and Scoring Systems in Python

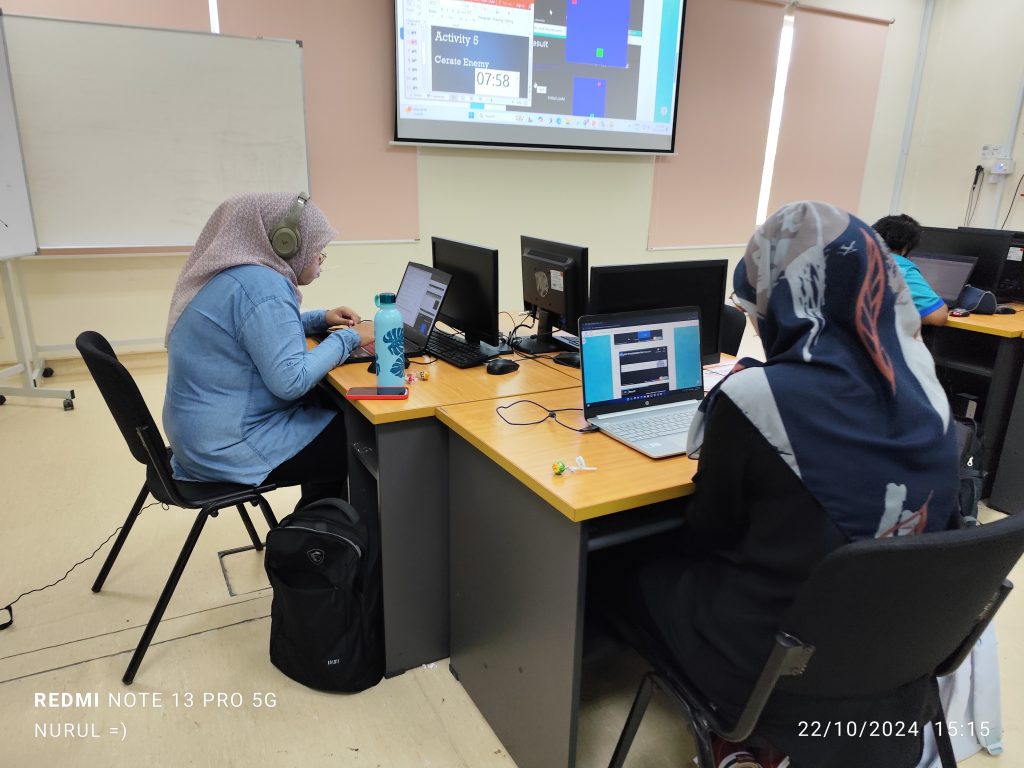
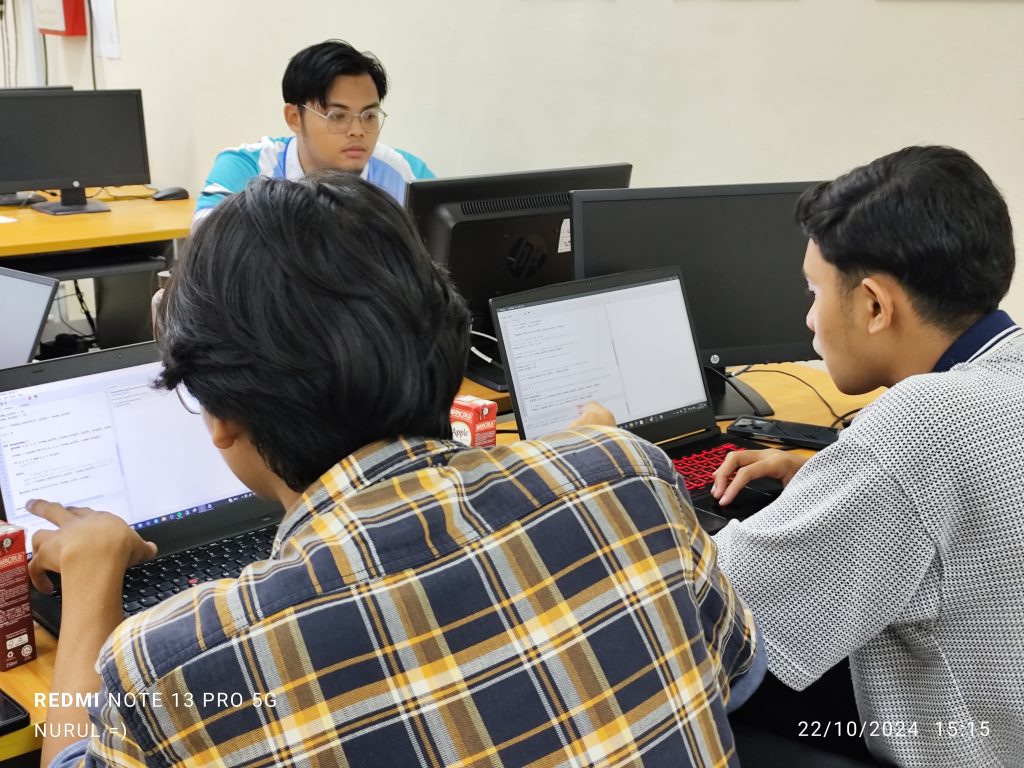
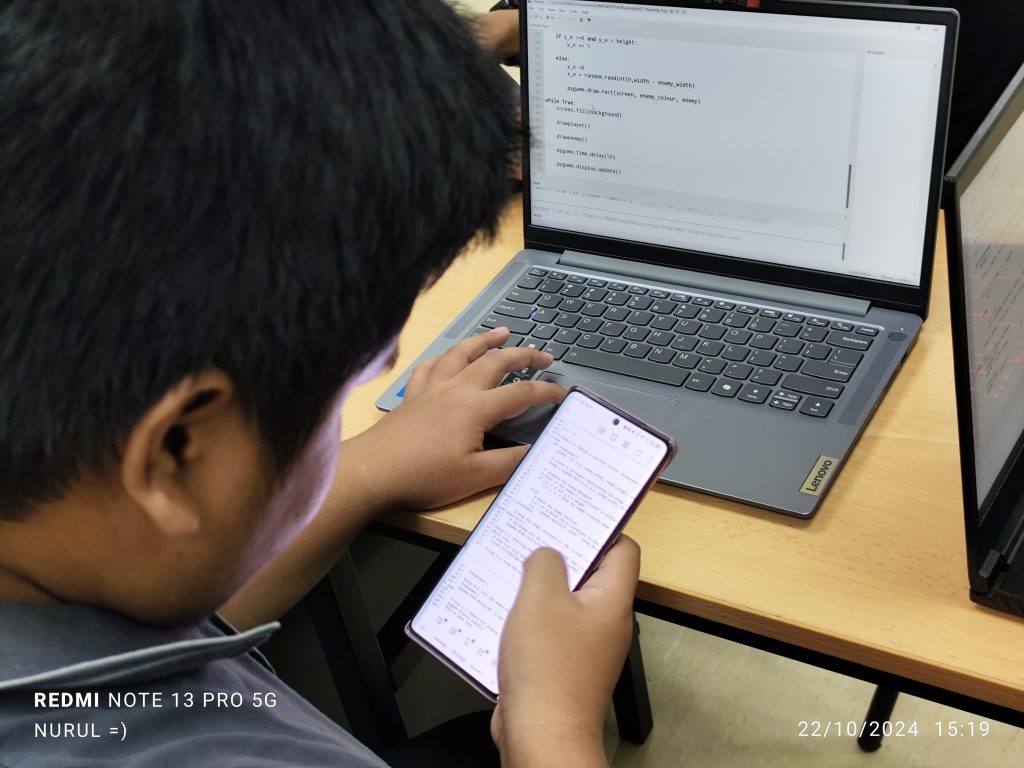
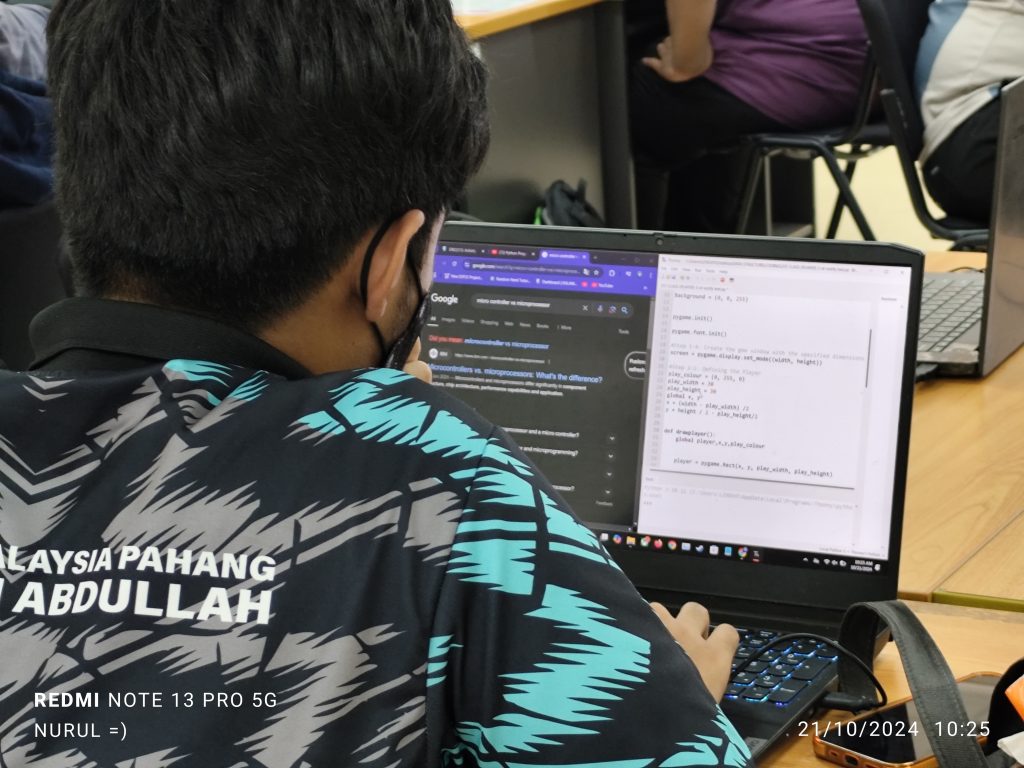
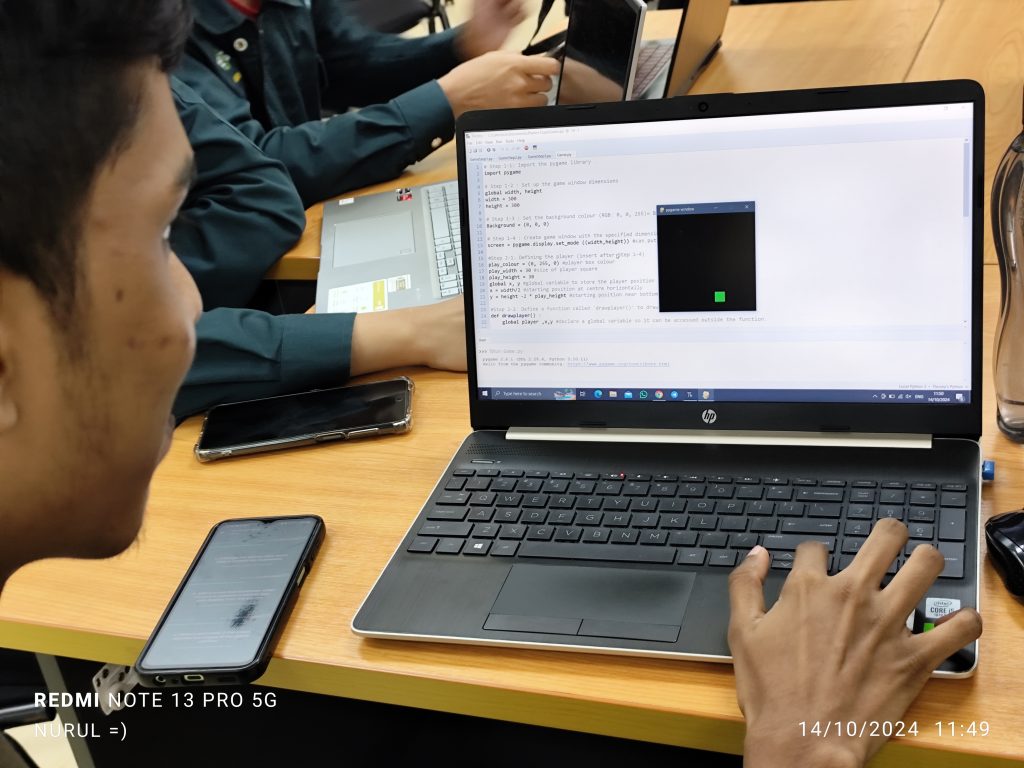
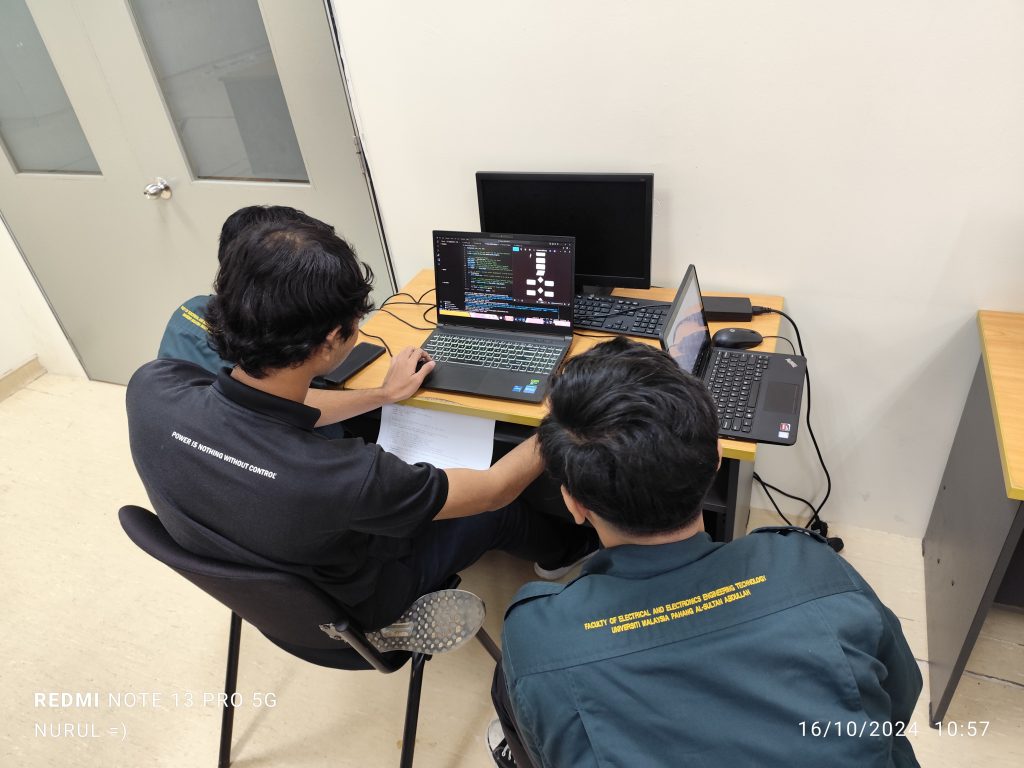
Today’s coding session was all about debugging and enhancing a game we’ve been developing step by step. We dove into Act 4, 5, 6 and 7, focusing on how to fix some key issues in the game logic—specifically how to properly handle scoring during collisions between the player and enemies.

PBL – ‘The Problem’

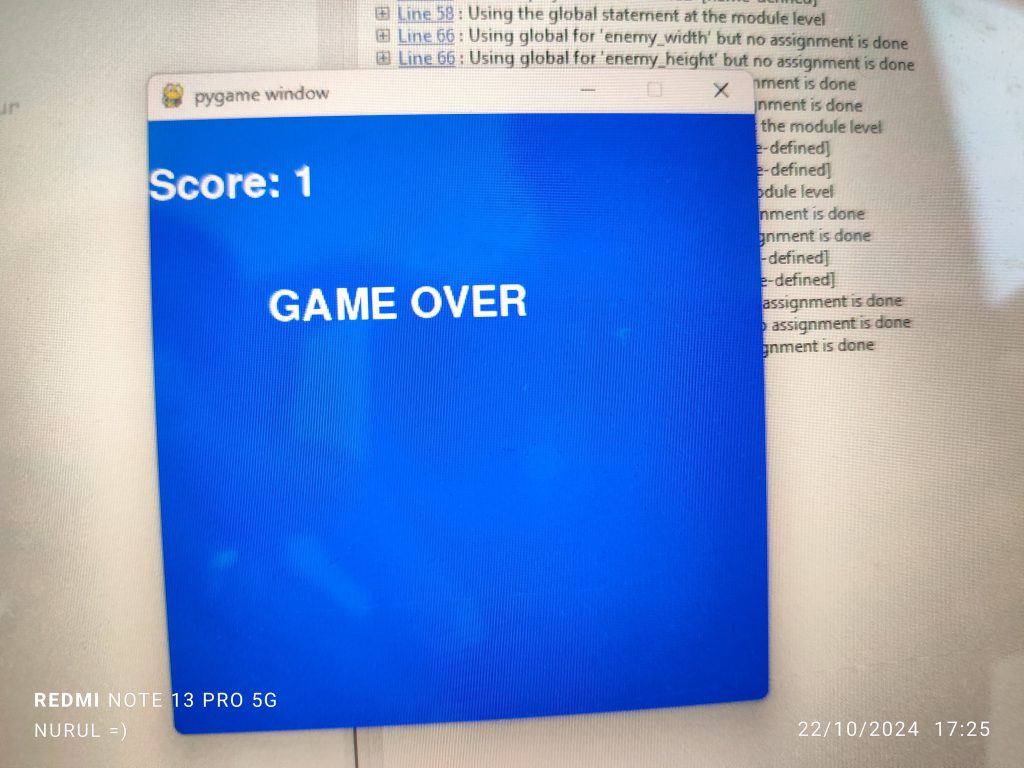
We already had a working player and enemy system in the game. The player can move left and right, while an enemy drops down from the top of the screen. The challenge was ensuring the player’s score only increased by one upon a collision with the enemy. Instead, the score was skyrocketing with every game frame where the player touched the enemy, adding several points instead of just one.

This type of issue is common when developing games, where collisions can occur over multiple frames. But we only want the score to increment once per collision event. To fix this, we introduced an important concept: the flag.

Introducing Flags in Python

In programming, a flag is a boolean variable (True/False) used to indicate whether a certain condition has been met. For our game, we needed a flag to signal whether a collision between the player and enemy had already occurred. This would prevent the score from increasing continuously while the player and enemy rectangles overlap.

Using a Flag to Control Scoring

Here’s how we used the flag –

  1. Define the flag – We introduced a variable collision_occurred, which is initially set to False. This flag keeps track of whether the collision has already happened.
  2. Check the flag during collision – Every time the game checks for a collision between the player and the enemy, it also checks whether collision_occurred is True or False.
    1. If it’s False and a collision happens, the score increments by 1, and the flag is set to True. This prevents further increments until the enemy resets.
    2. If the flag is True, no further points are added, even if the player remains in contact with the enemy.
  3. Reset the flag – Once the enemy moves off-screen and reappears at the top, the flag is reset to False, allowing for another score increment during the next collision.

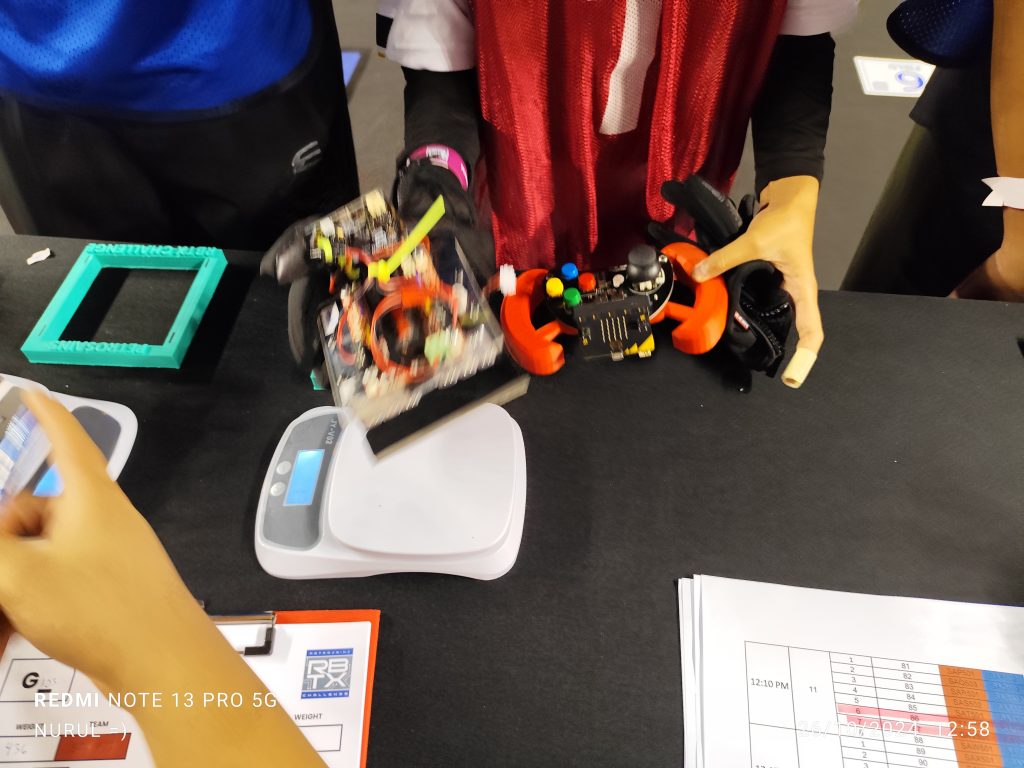
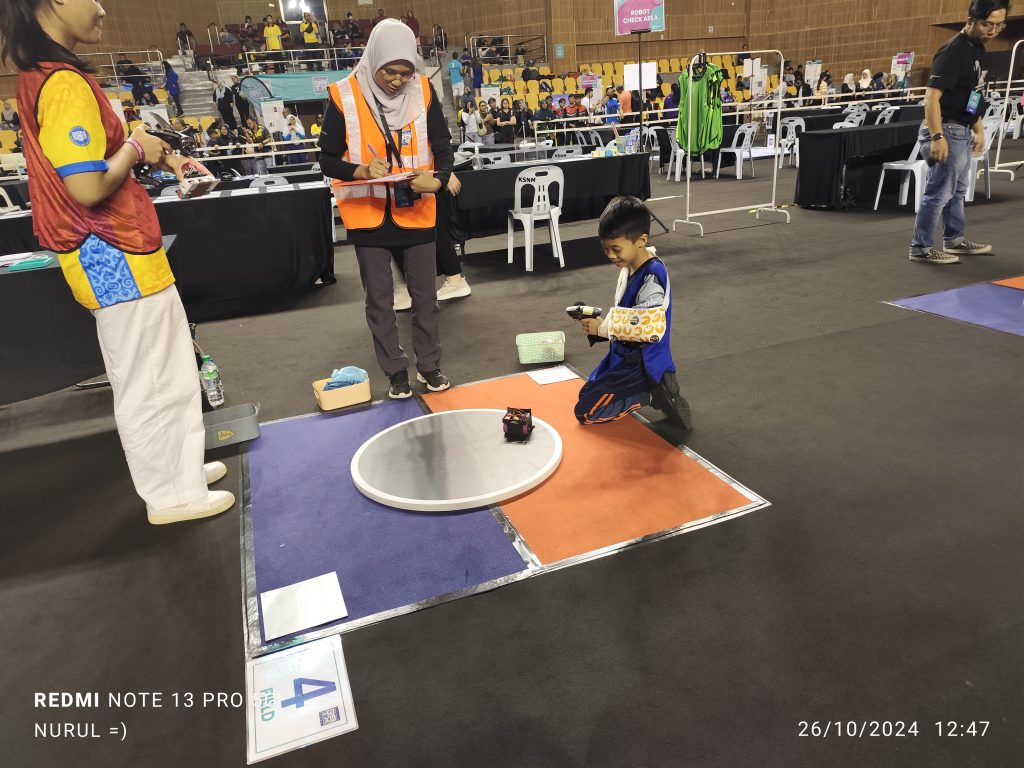
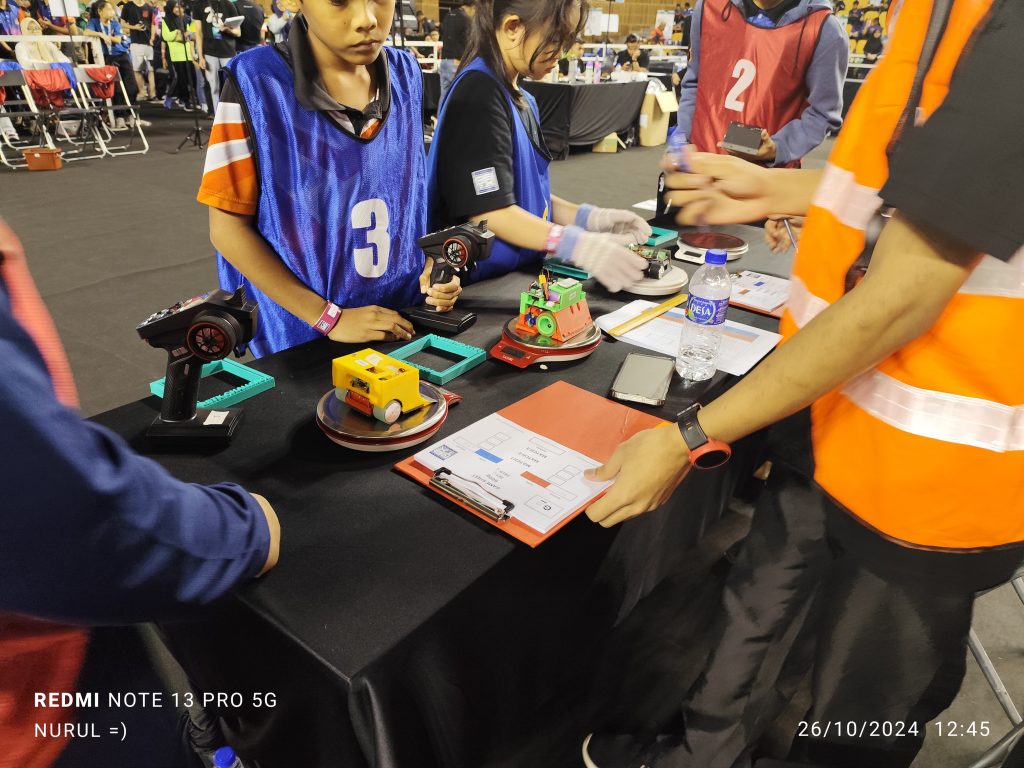
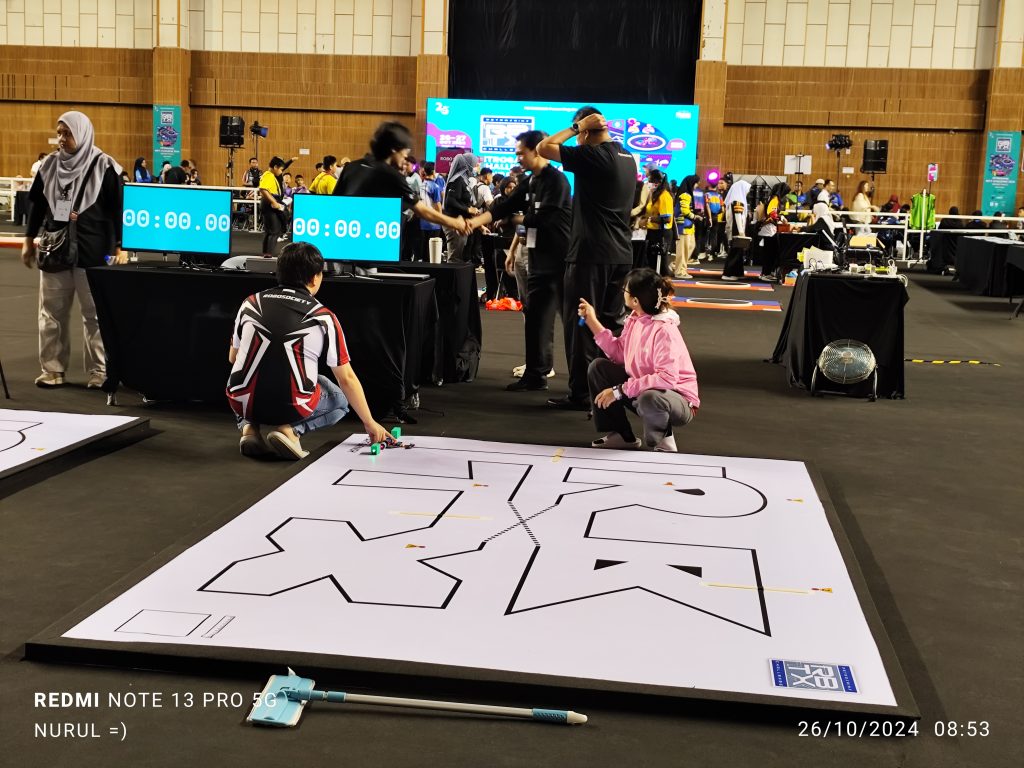
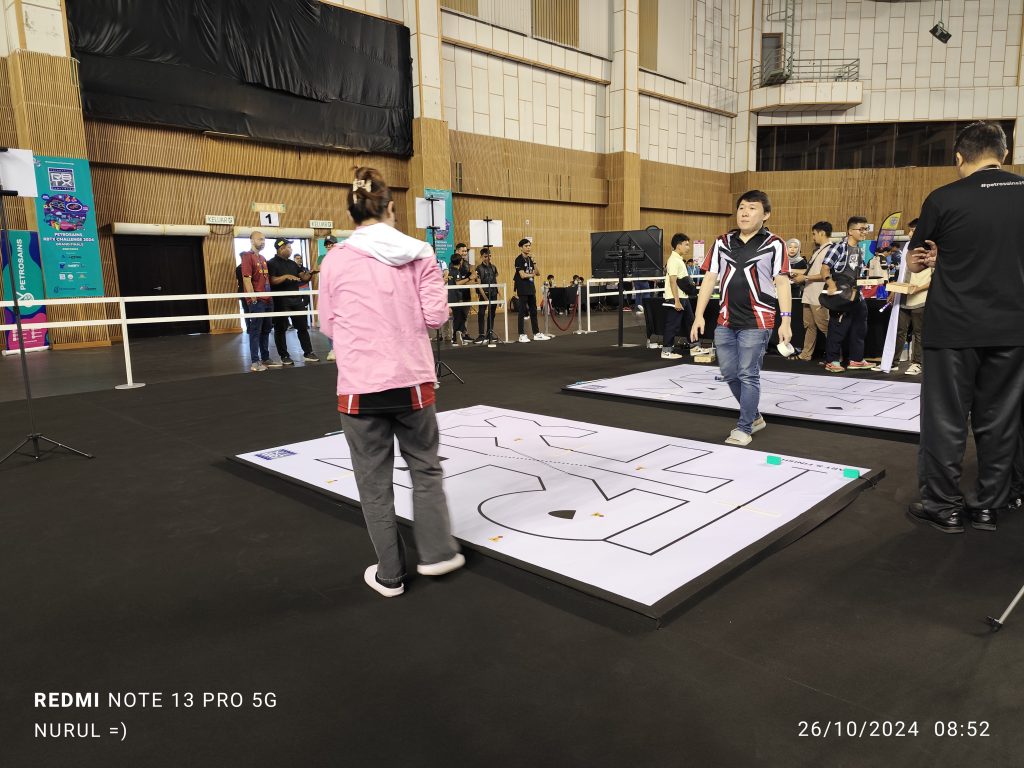
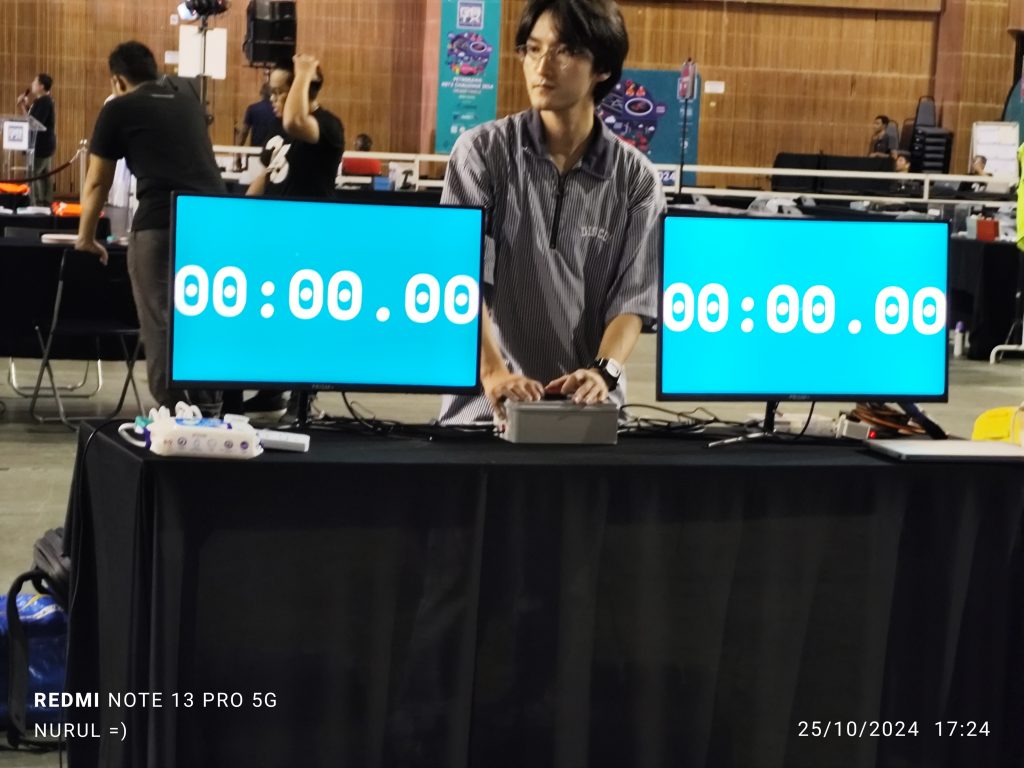
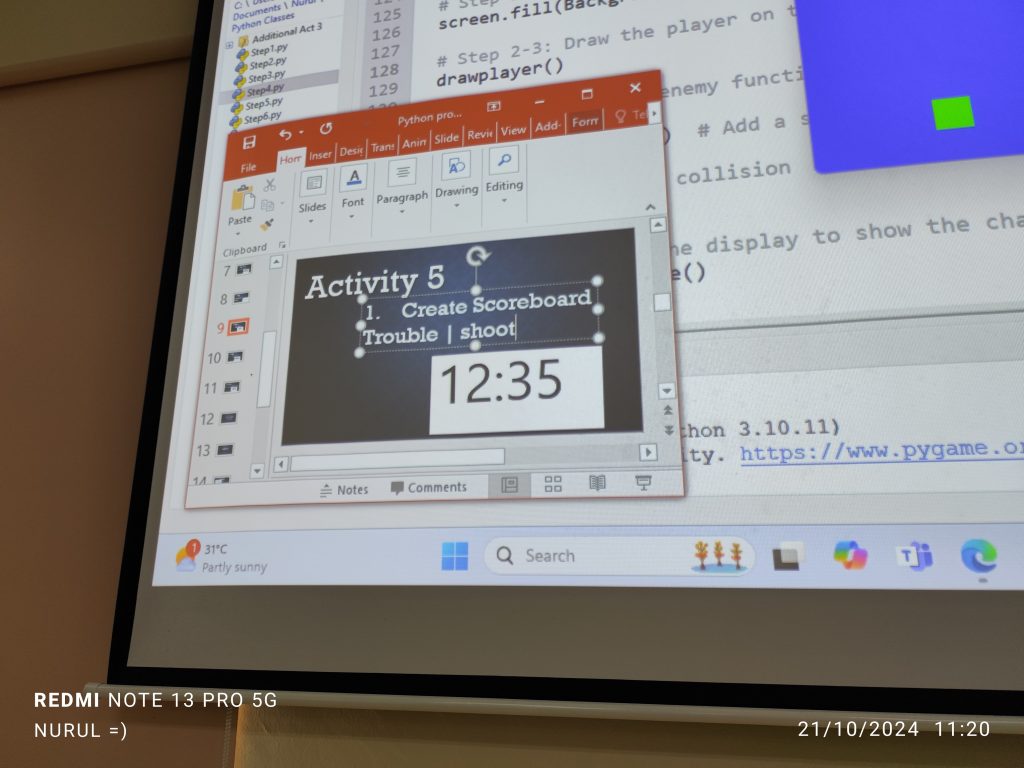
p/s Score Board is being implemented this year. One of the ways to monitor students progress in class

BTE1522

DRE2213

BTE1522 DRE2213 – Week 2 – Data Types and Control Statements

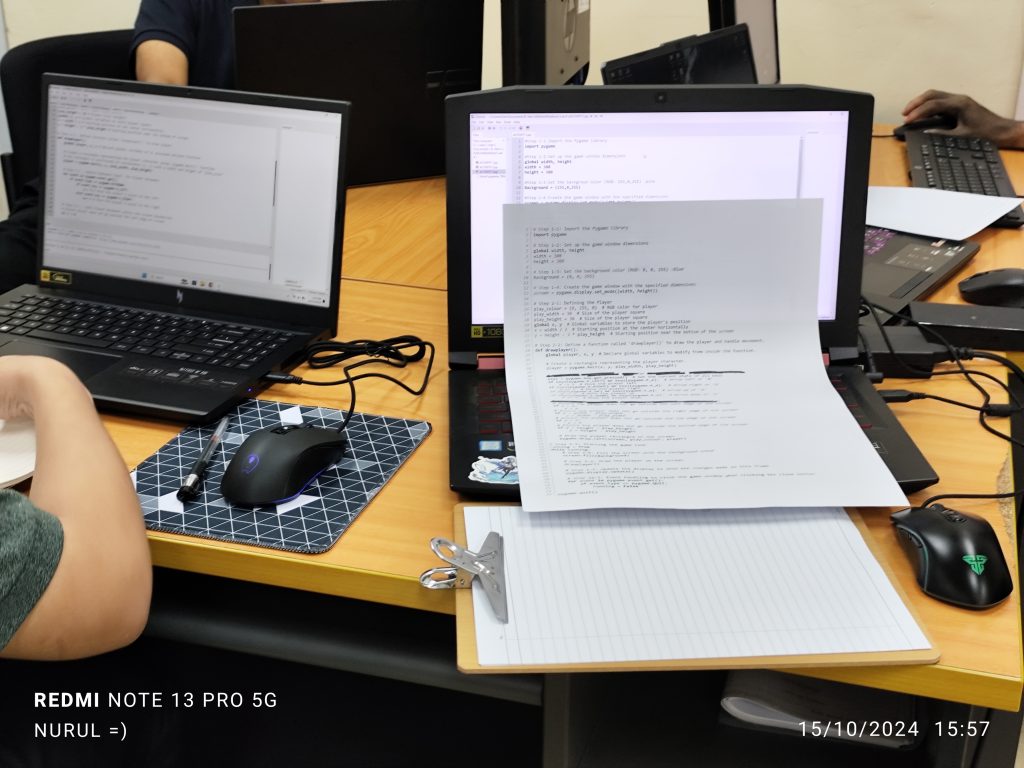
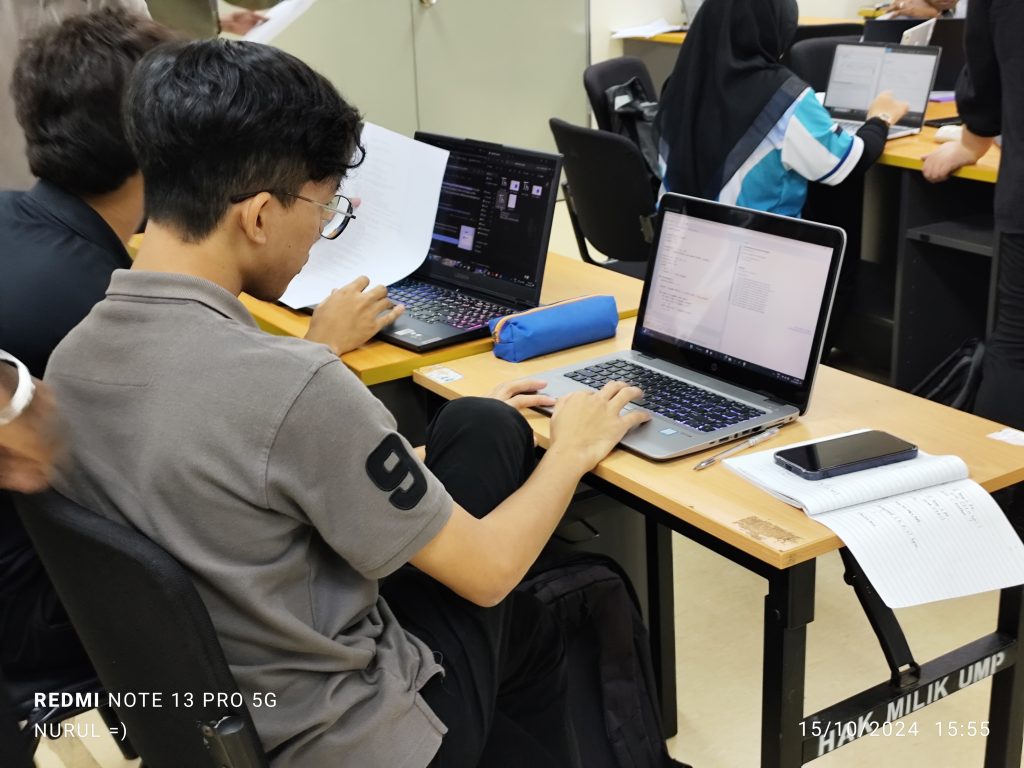
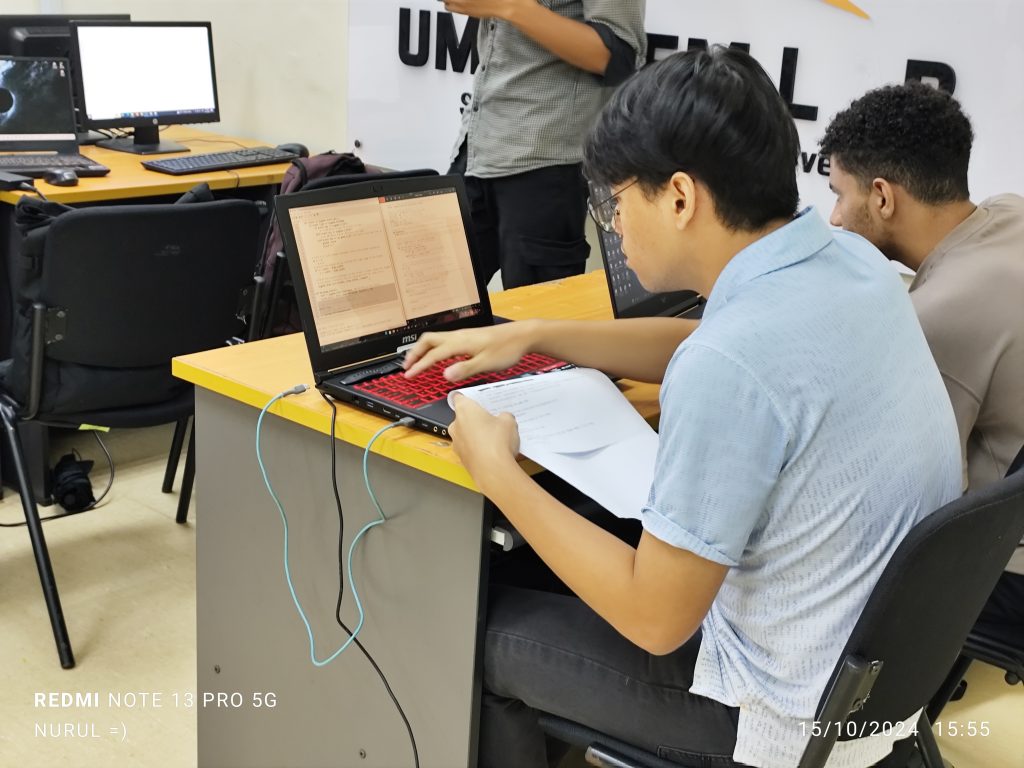
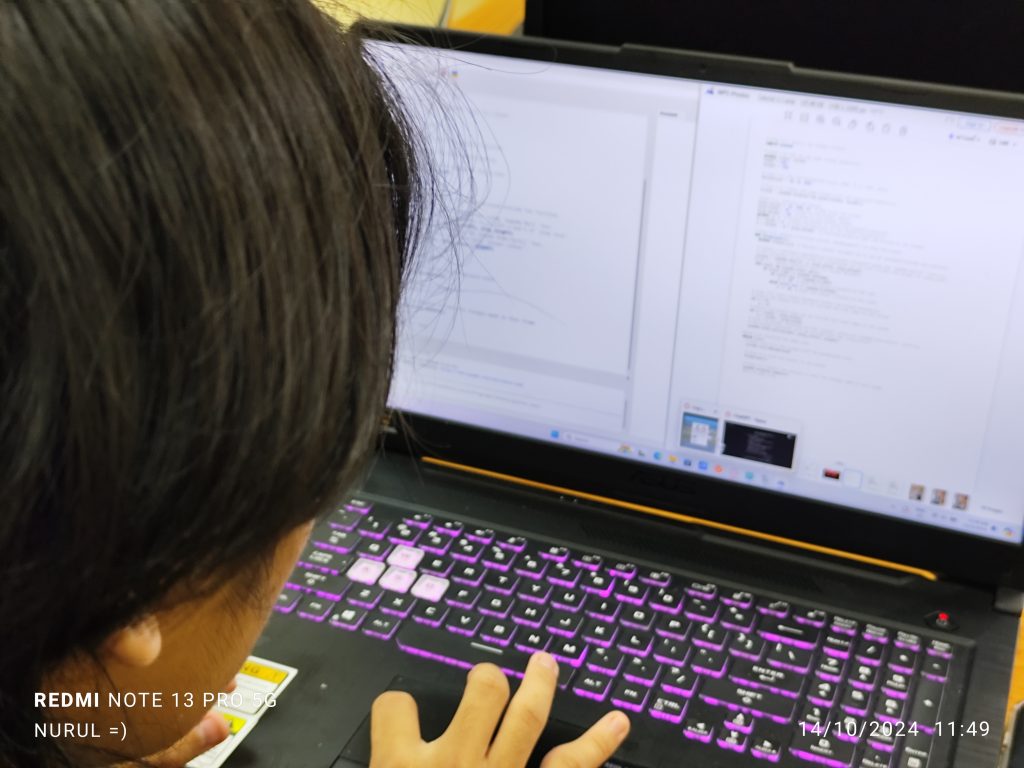
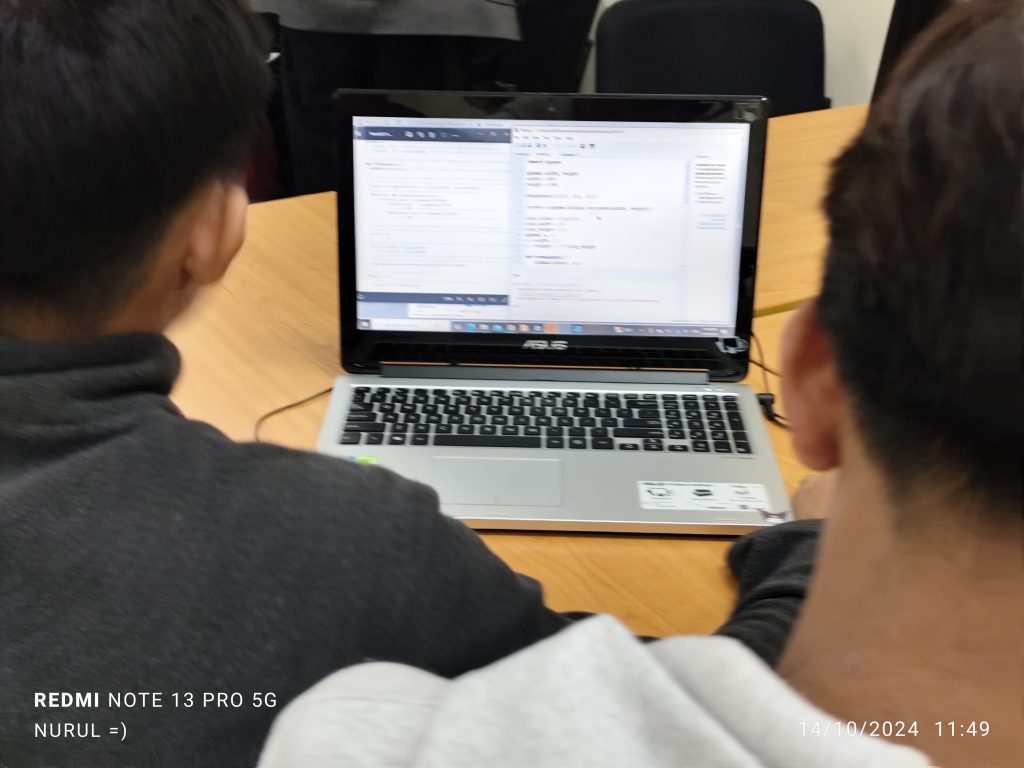
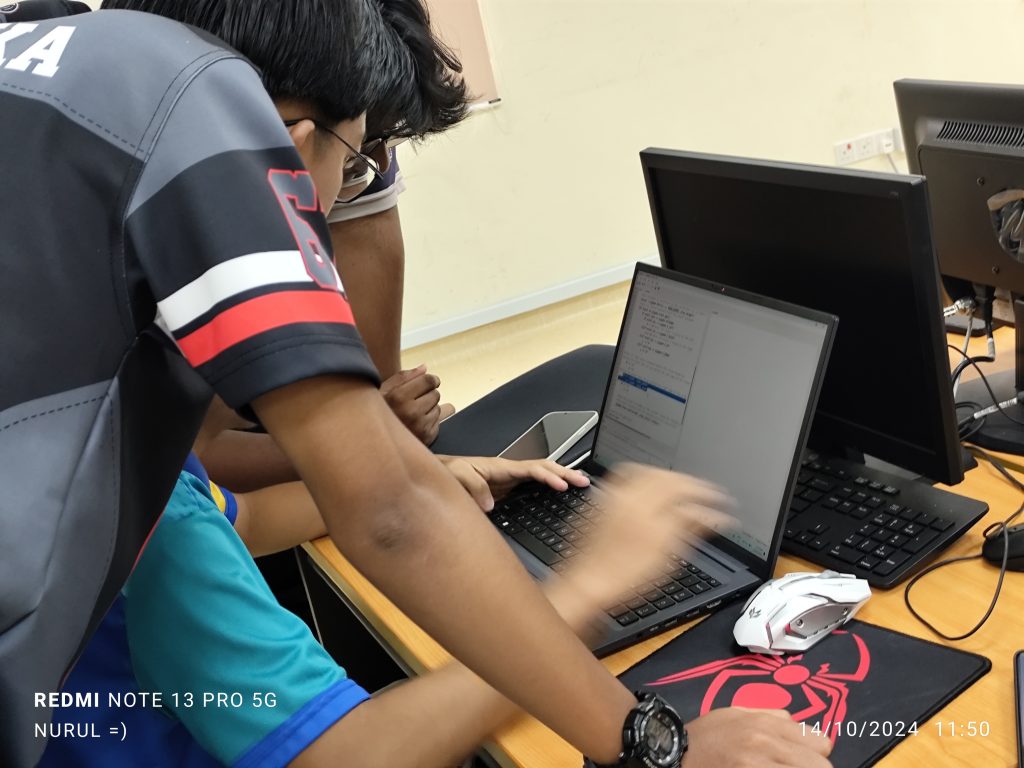
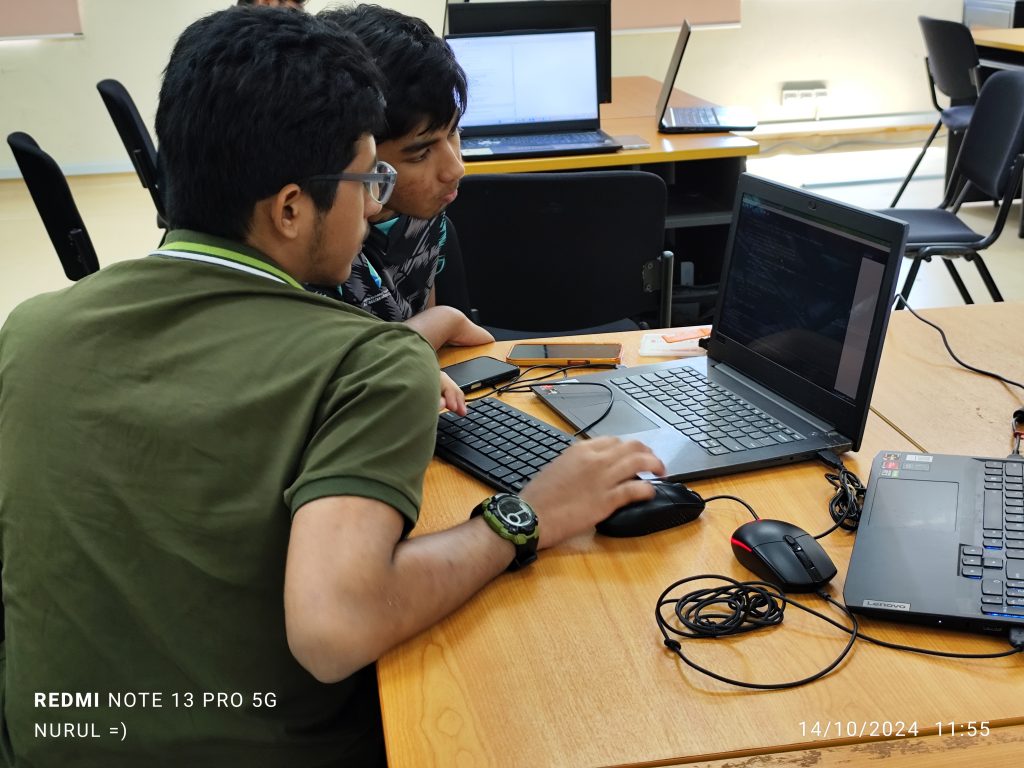
In Week 2 of the BTE1522 DRE2213 course, the focus was on fundamental programming concepts, specifically data types and control statements in Python. These are critical building blocks for developing logical structures within any programming language and are key to enabling students to design functional applications.
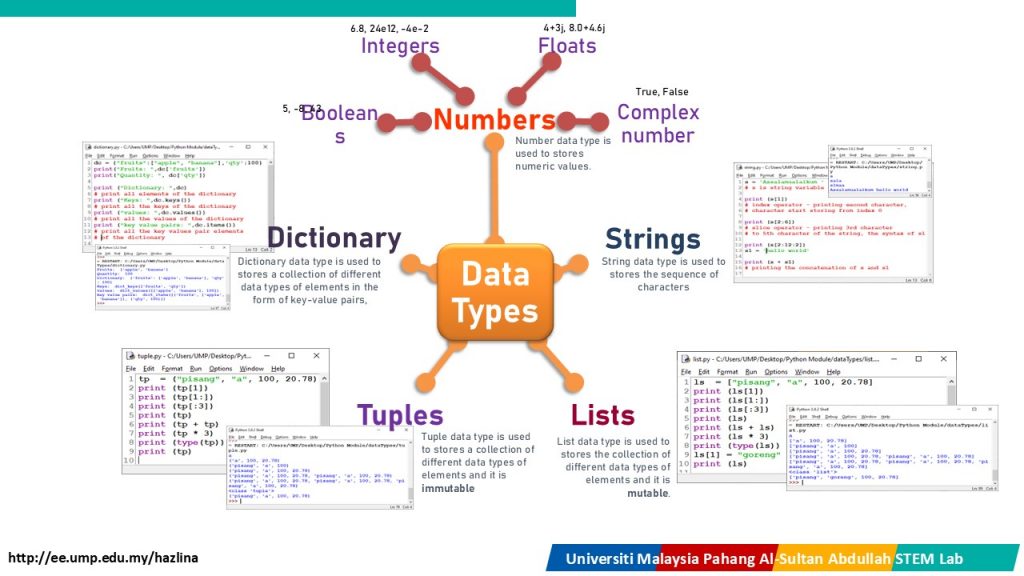
  1. Data Types in Python
    Understanding the various data types is essential in programming. Python offers several data types that students learned to apply during the class –

    • Integers (int): Whole numbers, like 1, 2, or 100.
    • Floating-point numbers (float): Numbers with decimal points, like 3.14 or 5.0.
    • Strings (str): Text data, enclosed in quotes, like “Hello, World!”.
    • Booleans (bool): True or False values, used for conditional logic.
    • Lists and Tuples: Students were introduced to lists, which are mutable sequences, and tuples, which are immutable sequences, to store multiple values.
  2. Control Statements in Python
    Control flow structures help in decision-making and looping through tasks. The students explored:

    • If, Elif, and Else Statements: Conditional statements that allow the program to execute specific blocks of code based on certain conditions.
    • While and For Loops: Used to repeat a block of code while a condition holds true.

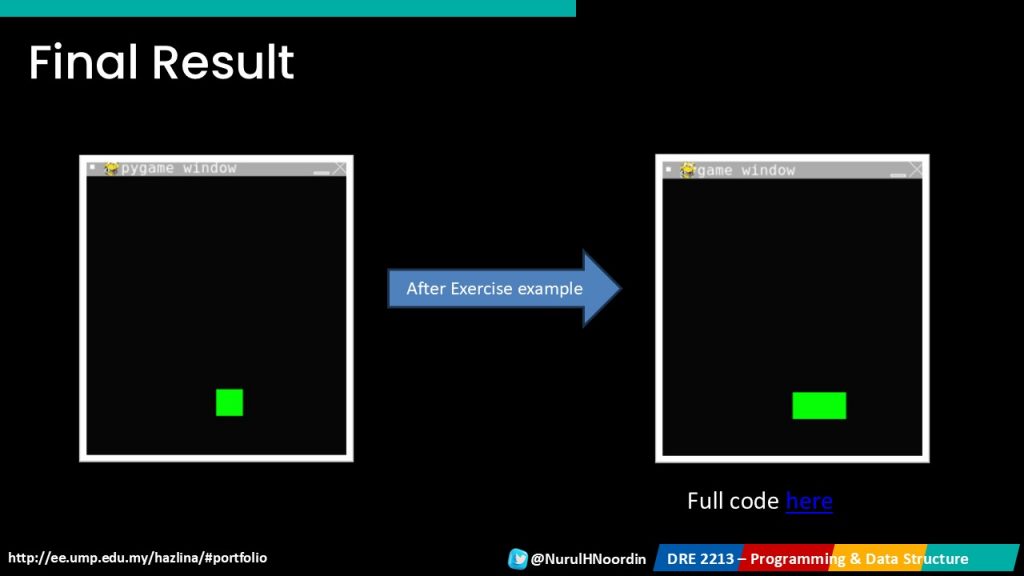
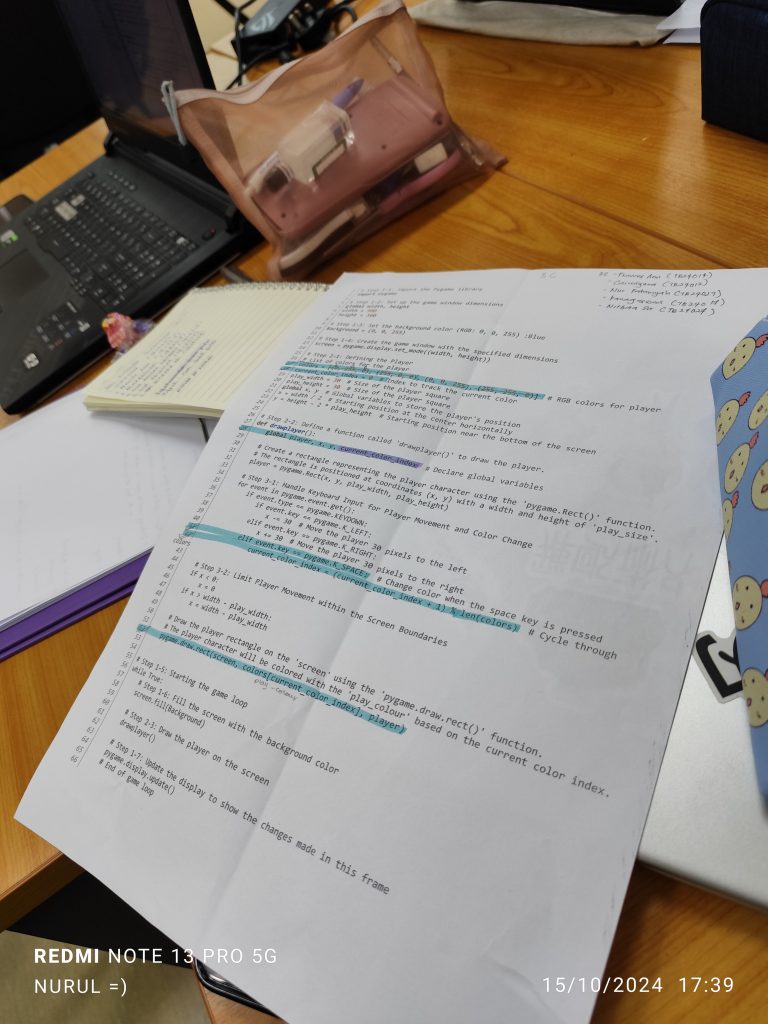
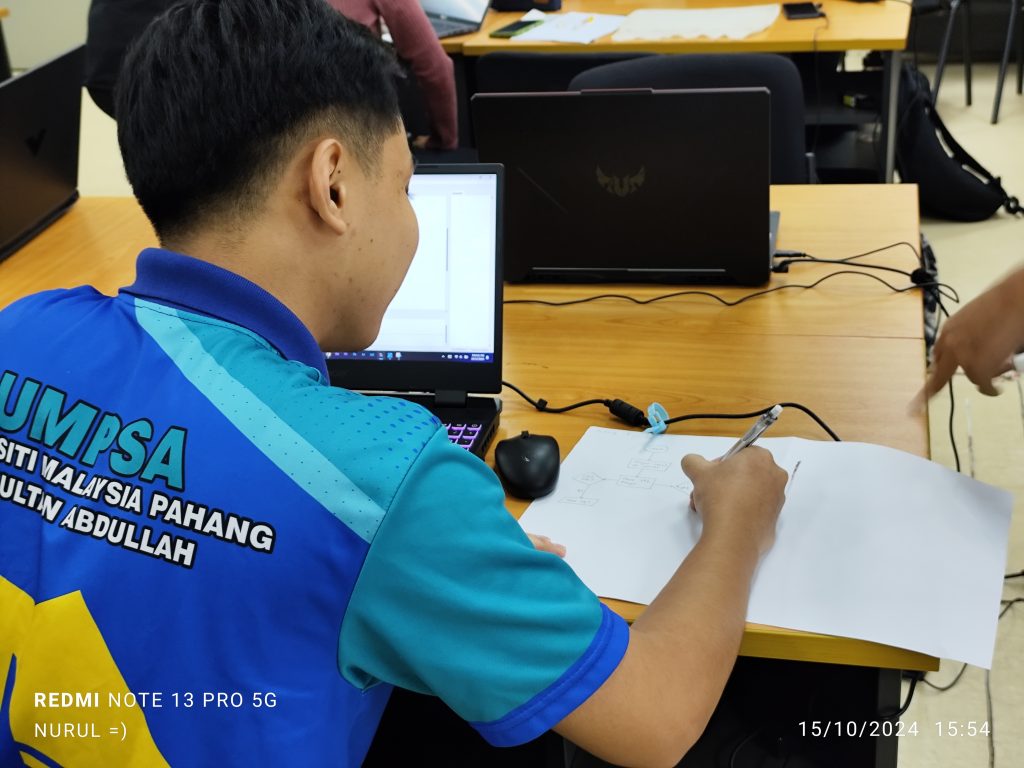
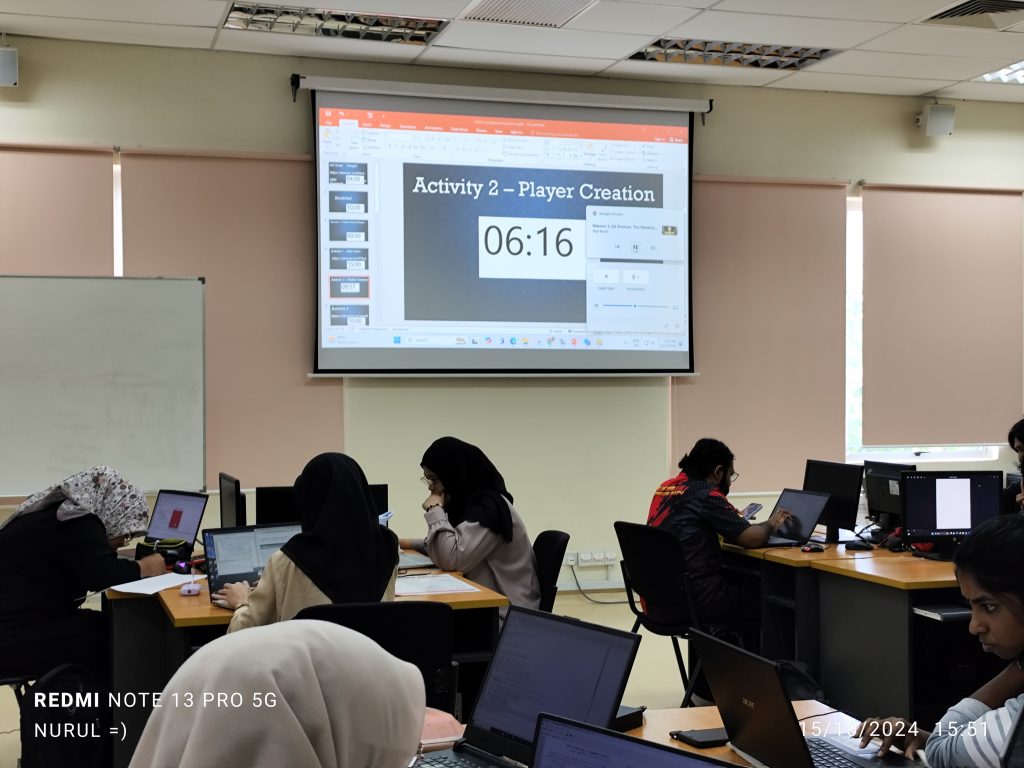
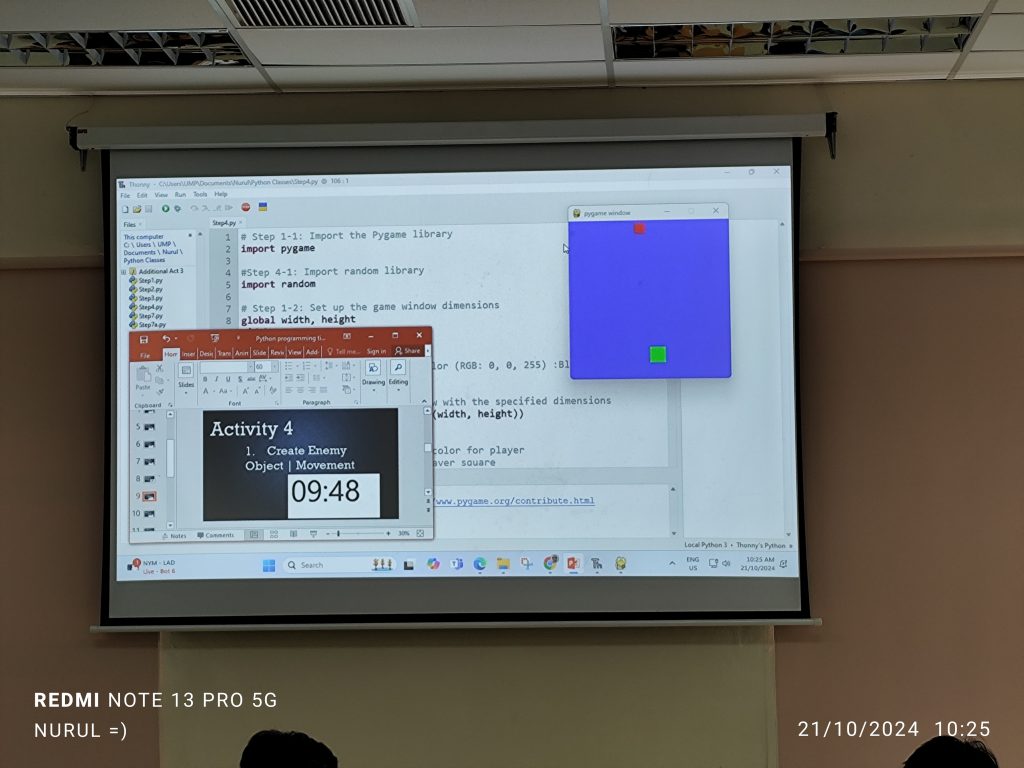
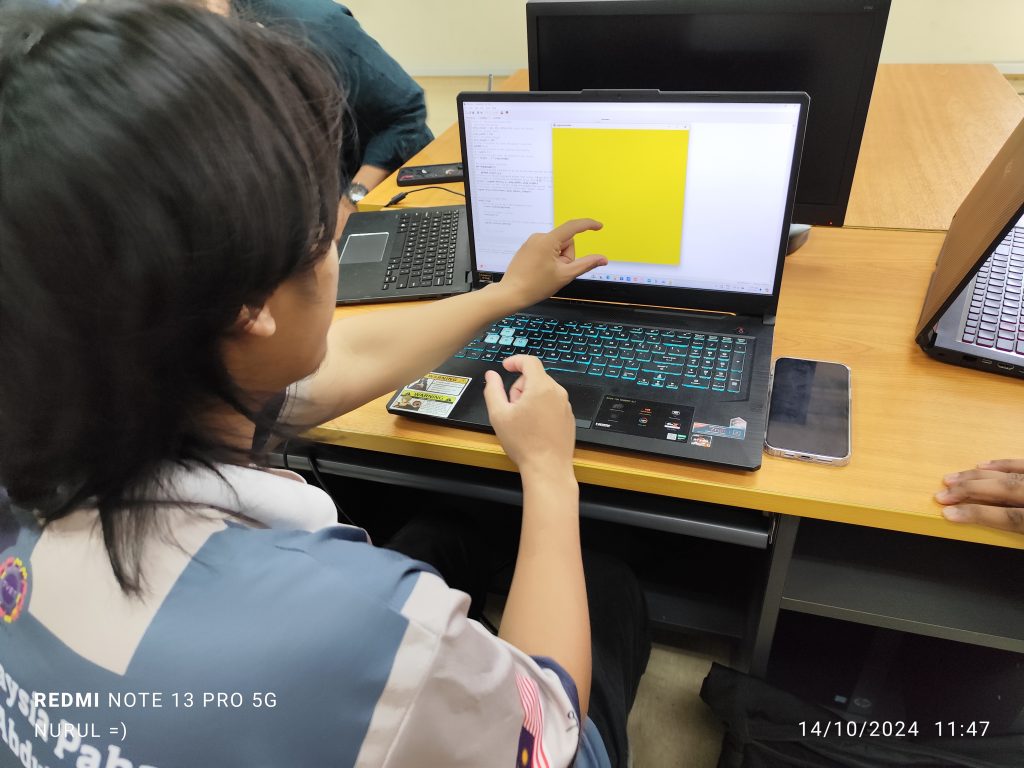
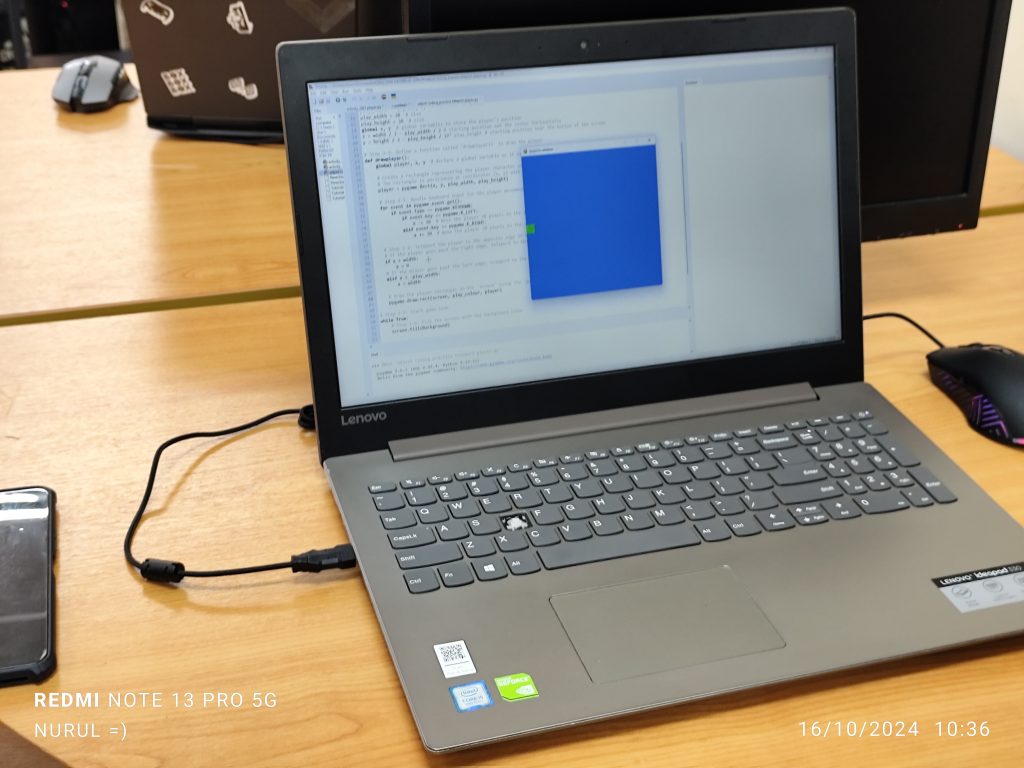
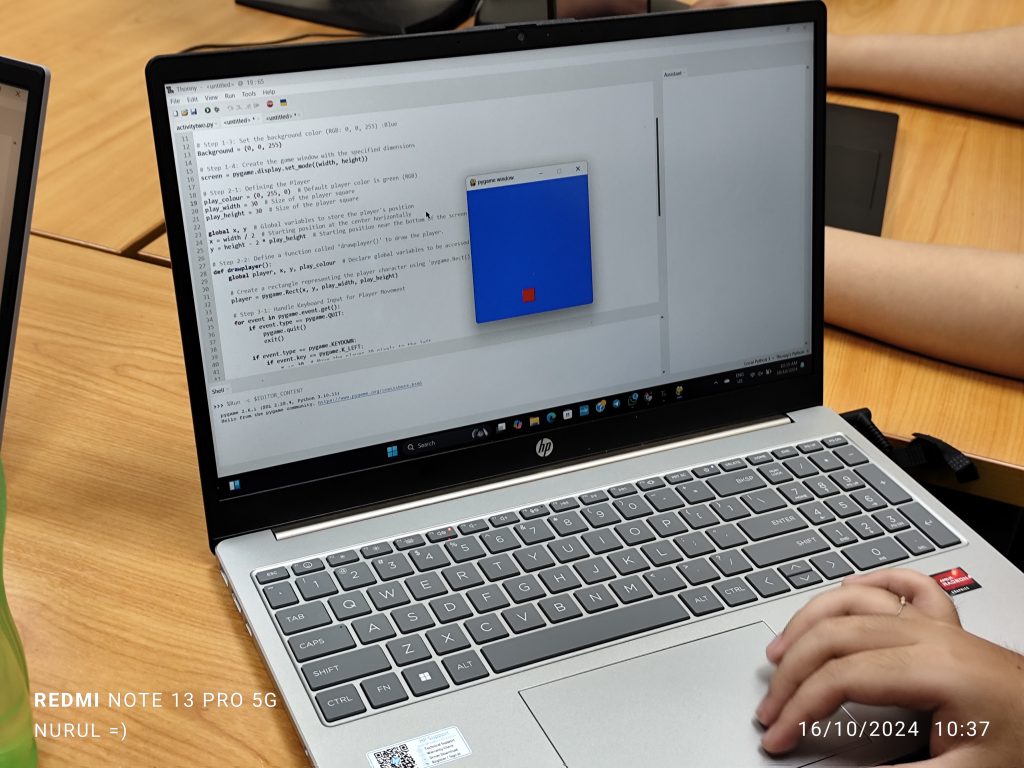
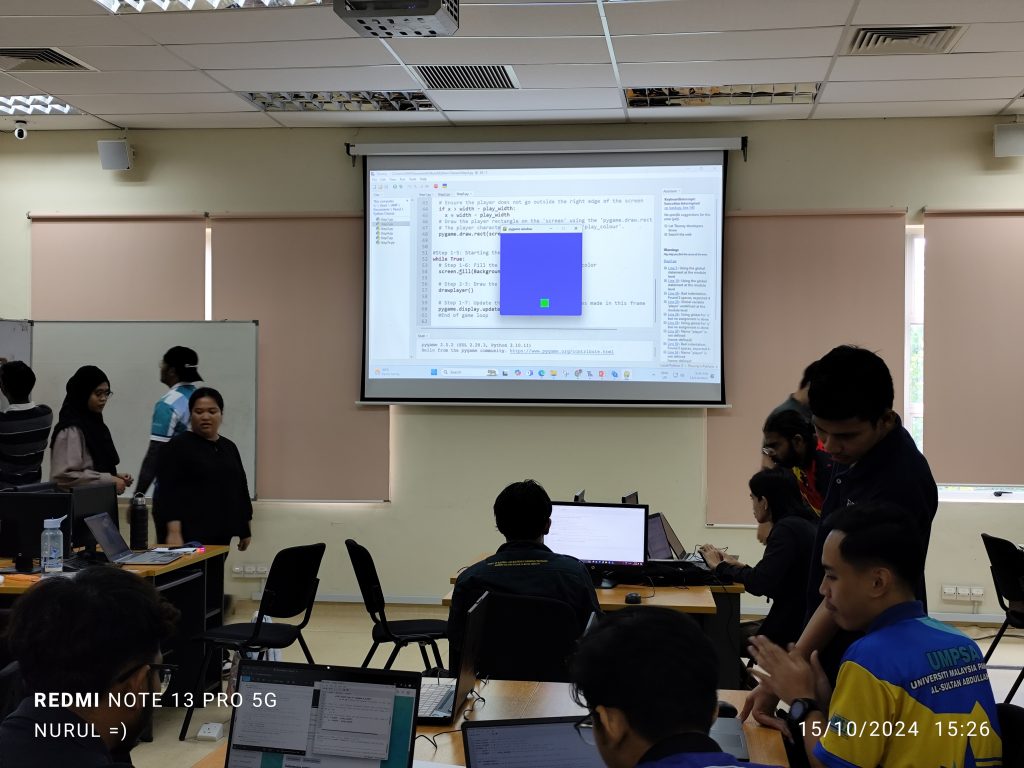
Activity 1-3: Player Creation and Movement

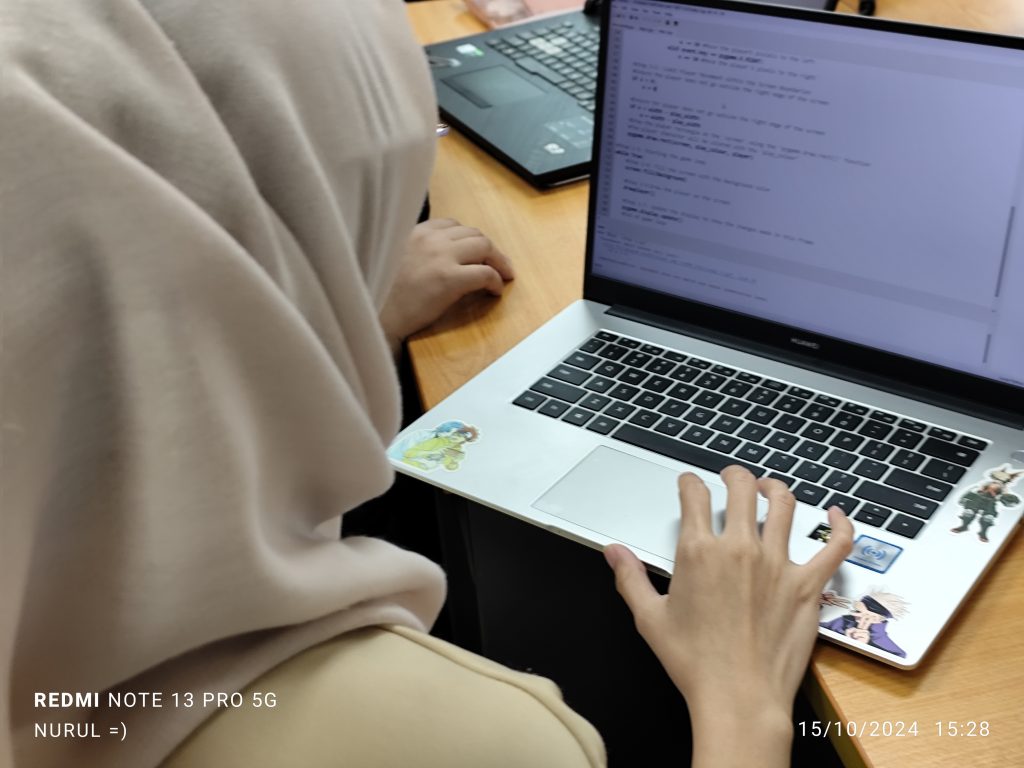
Students applied their understanding of data types and control statements through practical coding exercises. In Activities 1-3, they created a basic player character and programmed its movement across the game window.

The coding exercise allowed students to implement:

  • Variables to define the player’s position, size, and color.
  • Control statements like if-elif-else to determine how the player moves in response to keyboard input.
  • Basic boundary control to prevent the player from moving off-screen.

Moving to the Second Phase – Five Challenges

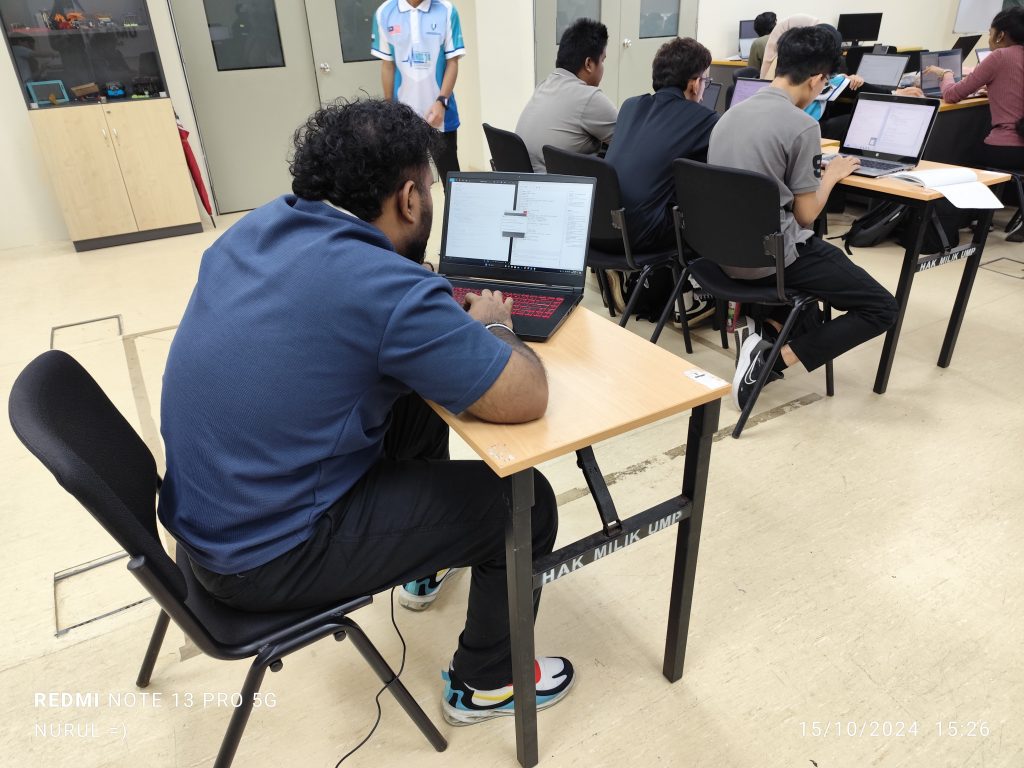
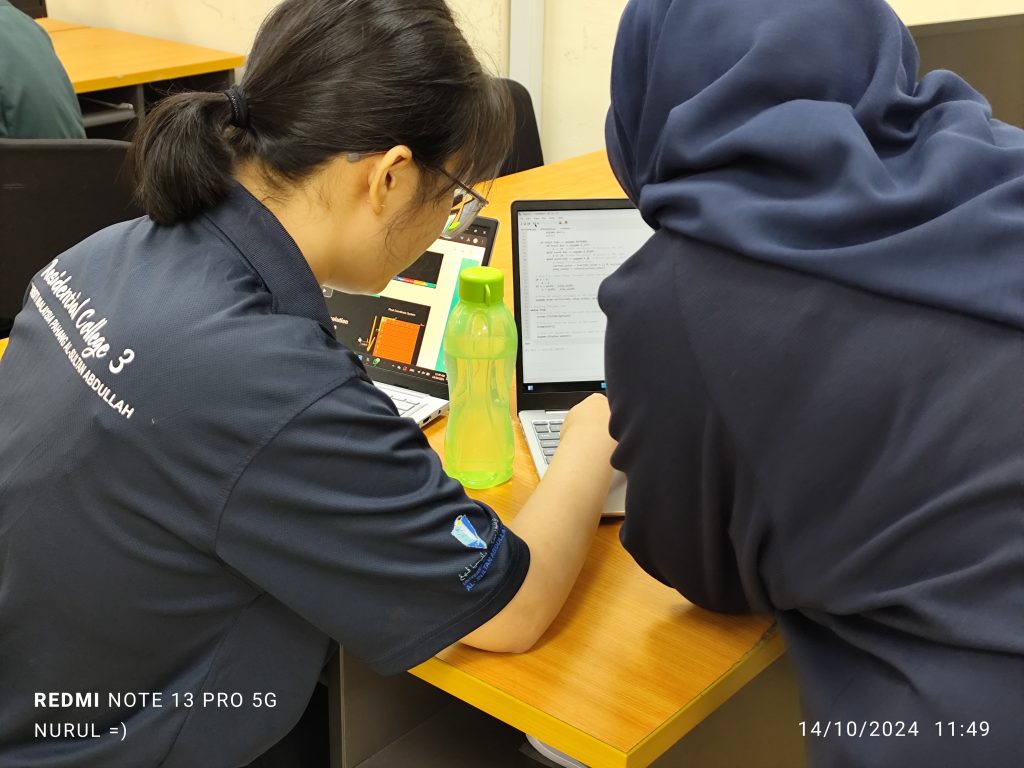
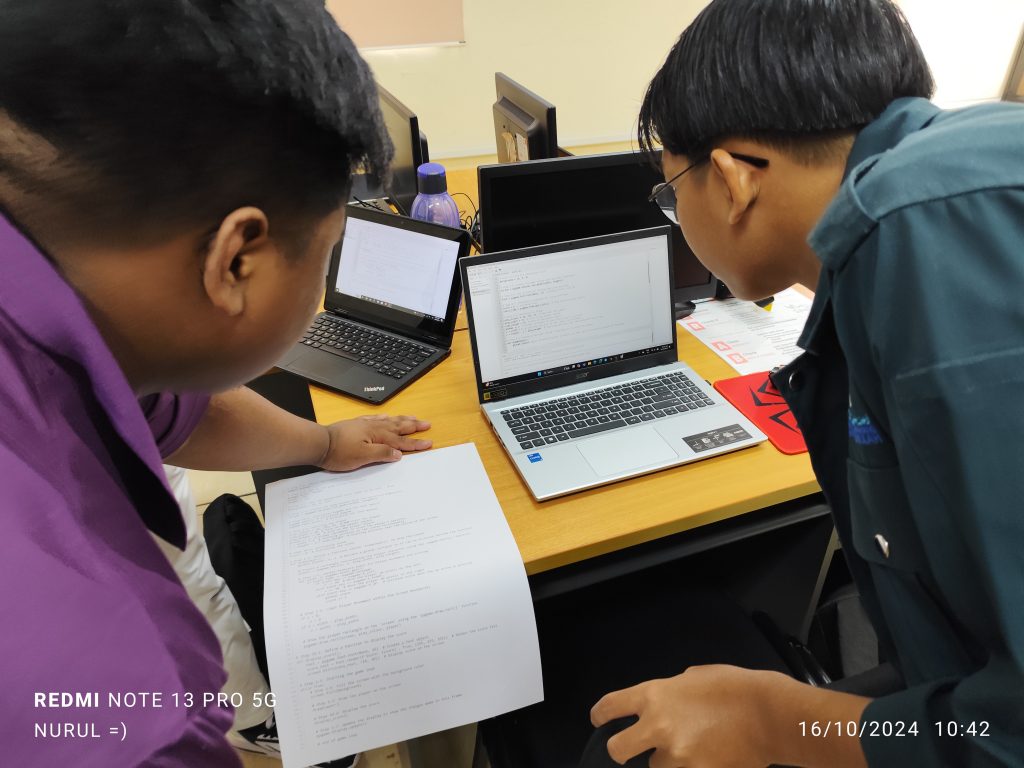
After completing the initial activities, students moved to a more challenging phase involving code modifications and analysis. They were tasked with modifying and analyzing code to address five distinct challenges, each designed to deepen their understanding of data types and control statements.

Challenge 1: Modify Movement with Control Statements

Objective – Students were introduced to control statements such as if, elif, and else. They modified the code to allow the player to move based on specific conditions, such as different key presses resulting in different player actions.

Challenge 2: Boundary Control with Conditional Statements

Objective – In this challenge, students explored boundary detection using if and else statements. The goal was to prevent the player from moving outside the game window. This reinforced their understanding of how conditions can control flow in a program.

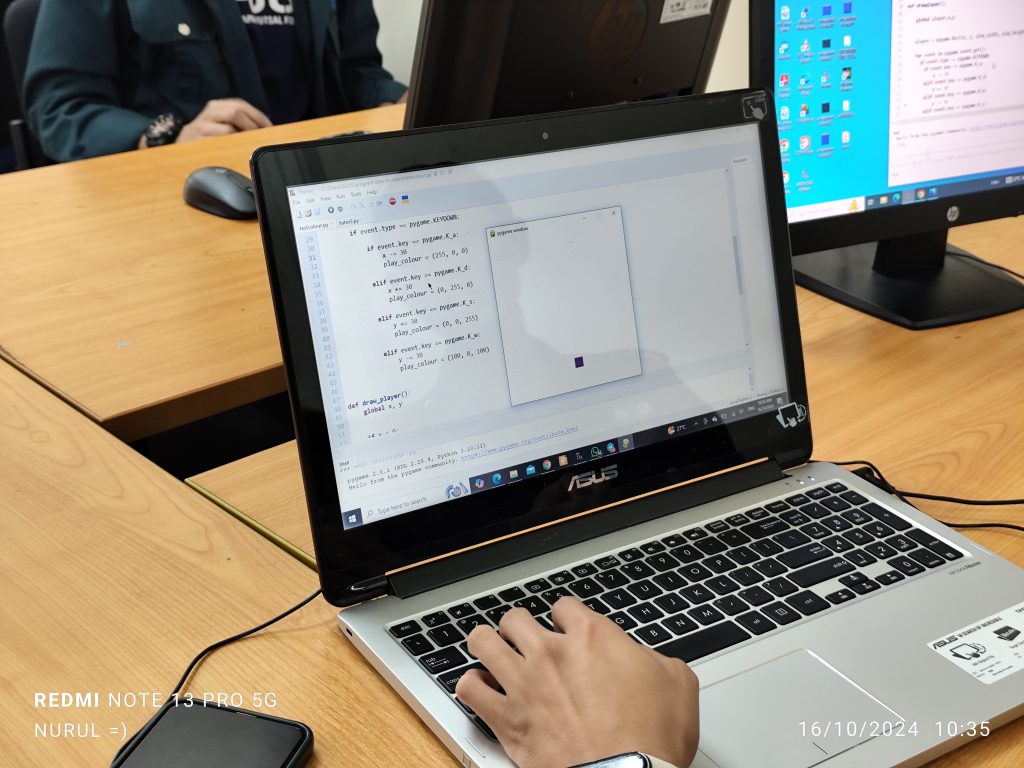
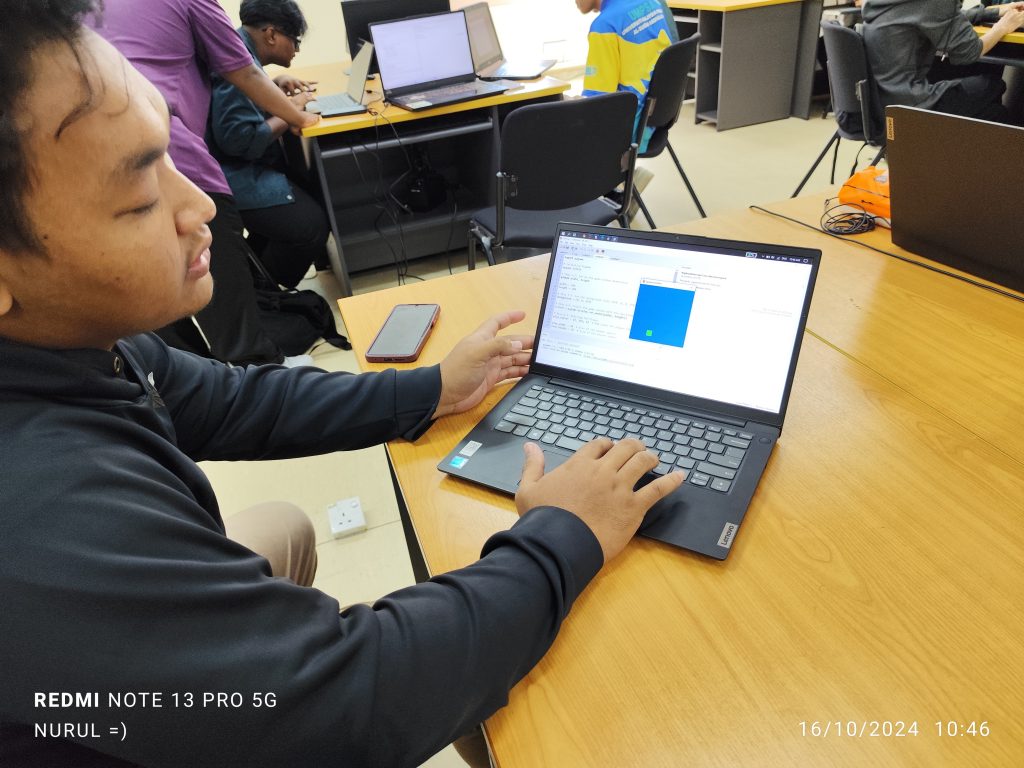
Challenge 3: Change Player’s Color with Data Types

Objective – Students were introduced to the concept of variables and data types such as lists and tuples. The challenge was to change the player’s color based on certain conditions, like the player reaching specific coordinates.

Challenge 4: Score and Time Tracking with Variables

Objective – Students explored the use of variables and loops to add a scoring system and time limit. They learned how to create a variable that increments when the player performs specific actions and how to manage game time using a while loop.

Challenge 5: Advanced Activity: Collision Detection

Objective – The final challenge involved practicing control structures and Boolean data types to detect when the player collided with the screen edges. This challenge required students to think critically about game dynamics and how to implement collision logic.

Pedagogical Approaches in the Exercise

To ensure a thorough understanding, two pedagogical approaches were used throughout the five challenges:

  1. Code Modification/Generation
    Students in DRE2213 were required to actively modify their existing code based on the challenge descriptions. This hands-on approach allowed them to understand the logic behind each task and improve their problem-solving skills by directly interacting with the code.
  2. Code Analysis
    In BTE1522, students were provided with completed code and asked to map it to the challenge objectives. This method allowed them to break down complex code structures, understand how different components work together, and link theoretical concepts to real-world applications.

Week 2 was an essential part of the course as it introduced fundamental programming concepts like data types and control statements in Python. Through interactive activities and challenges, students not only learned to implement these concepts but also developed problem-solving skills by engaging in code modification and analysis. These exercises laid a strong foundation for the more advanced topics to come in the course.

Nurul Oct 15th

DRE2213   


BTE1522