BTE1522 DRE2213 – Week 2 – Data Types and Control Statements

In Week 2 of the BTE1522 DRE2213 course, the focus was on fundamental programming concepts, specifically data types and control statements in Python. These are critical building blocks for developing logical structures within any programming language and are key to enabling students to design functional applications.
  1. Data Types in Python
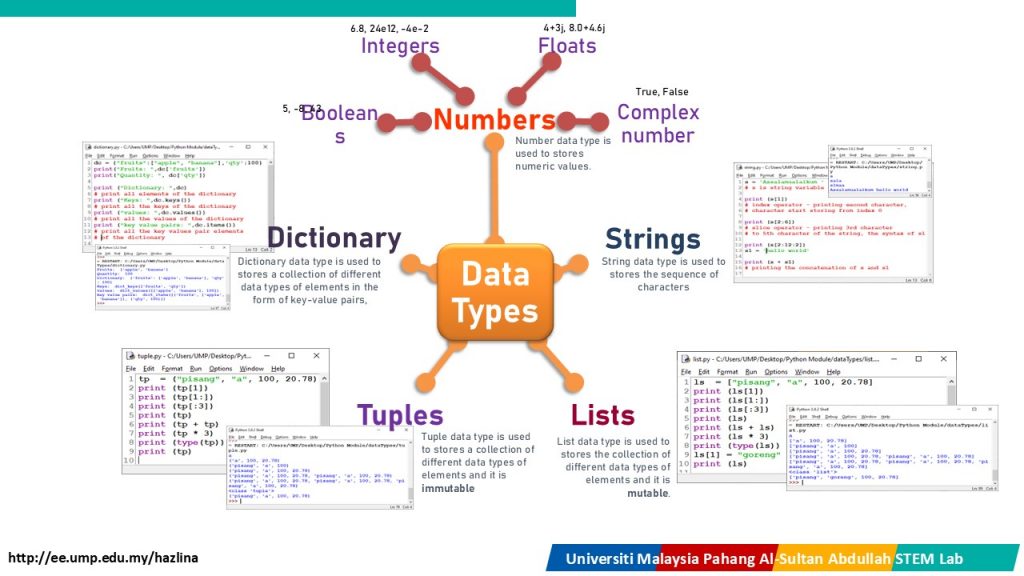
    Understanding the various data types is essential in programming. Python offers several data types that students learned to apply during the class –

    • Integers (int): Whole numbers, like 1, 2, or 100.
    • Floating-point numbers (float): Numbers with decimal points, like 3.14 or 5.0.
    • Strings (str): Text data, enclosed in quotes, like “Hello, World!”.
    • Booleans (bool): True or False values, used for conditional logic.
    • Lists and Tuples: Students were introduced to lists, which are mutable sequences, and tuples, which are immutable sequences, to store multiple values.
  2. Control Statements in Python
    Control flow structures help in decision-making and looping through tasks. The students explored:

    • If, Elif, and Else Statements: Conditional statements that allow the program to execute specific blocks of code based on certain conditions.
    • While and For Loops: Used to repeat a block of code while a condition holds true.
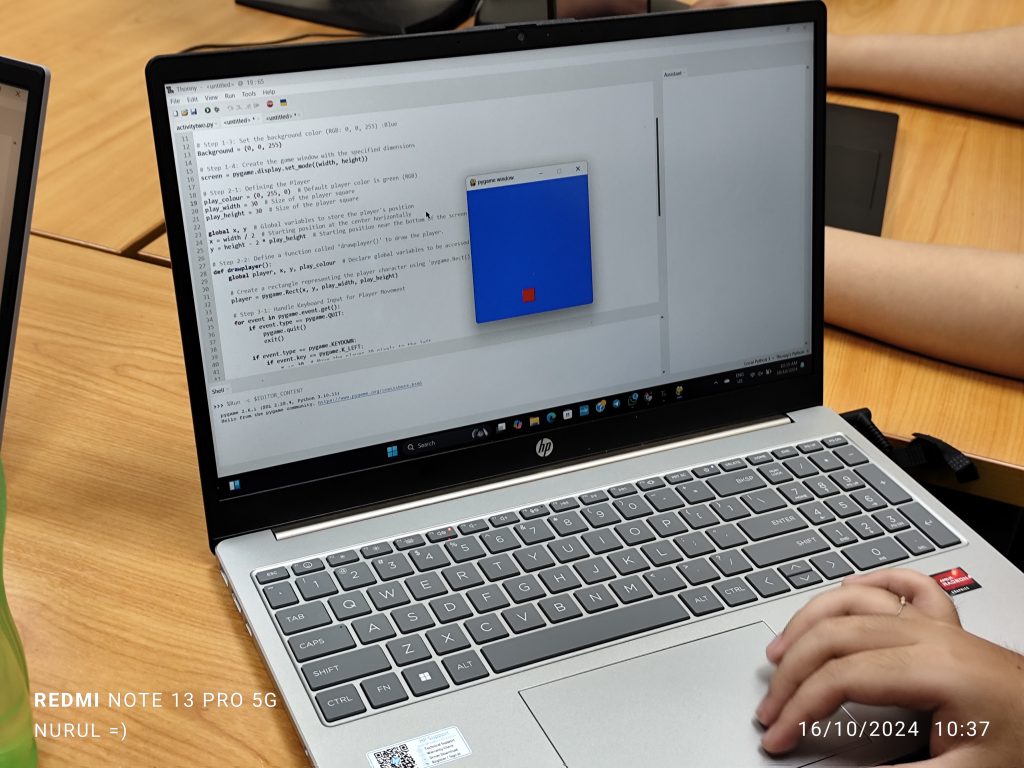
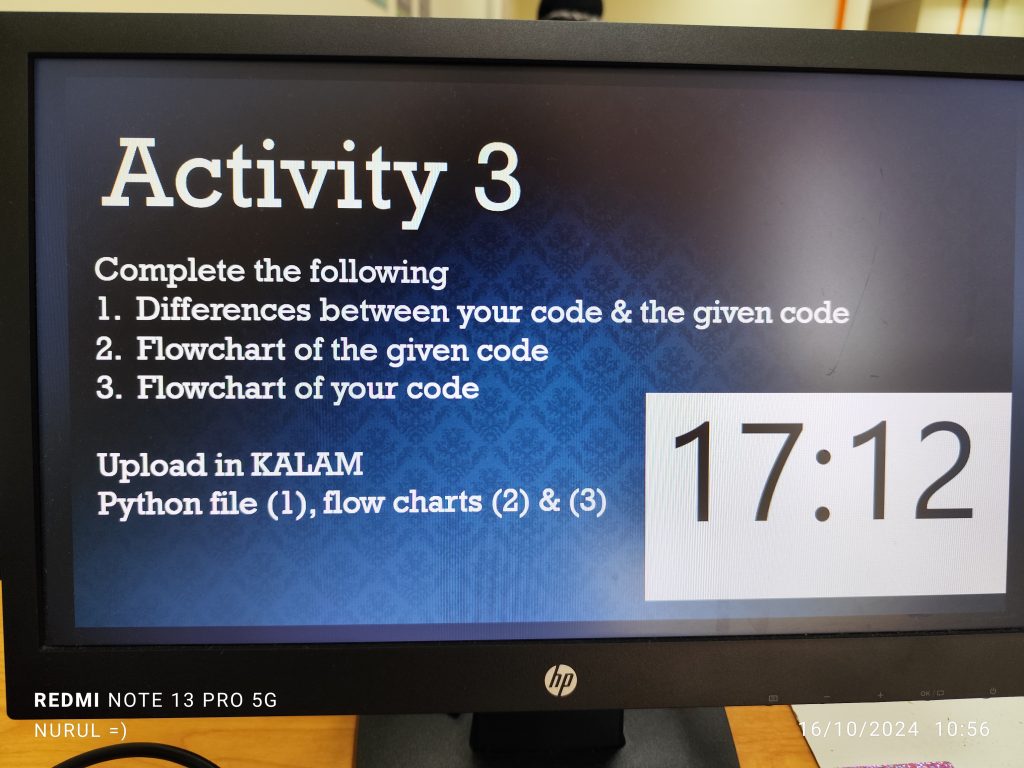
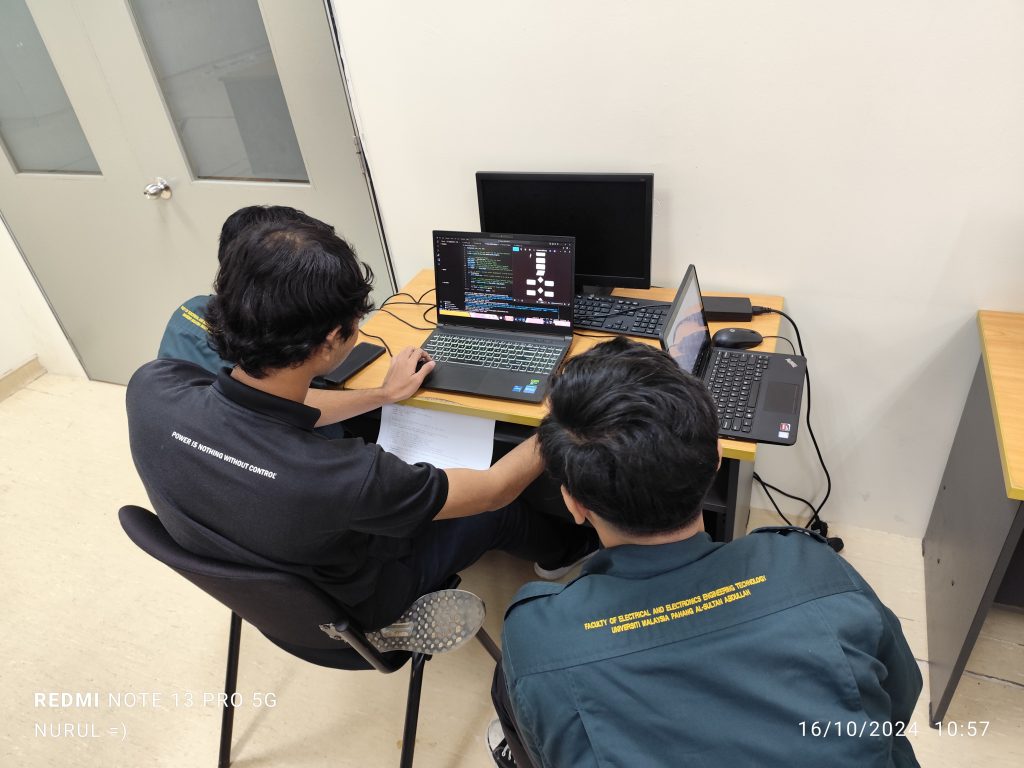
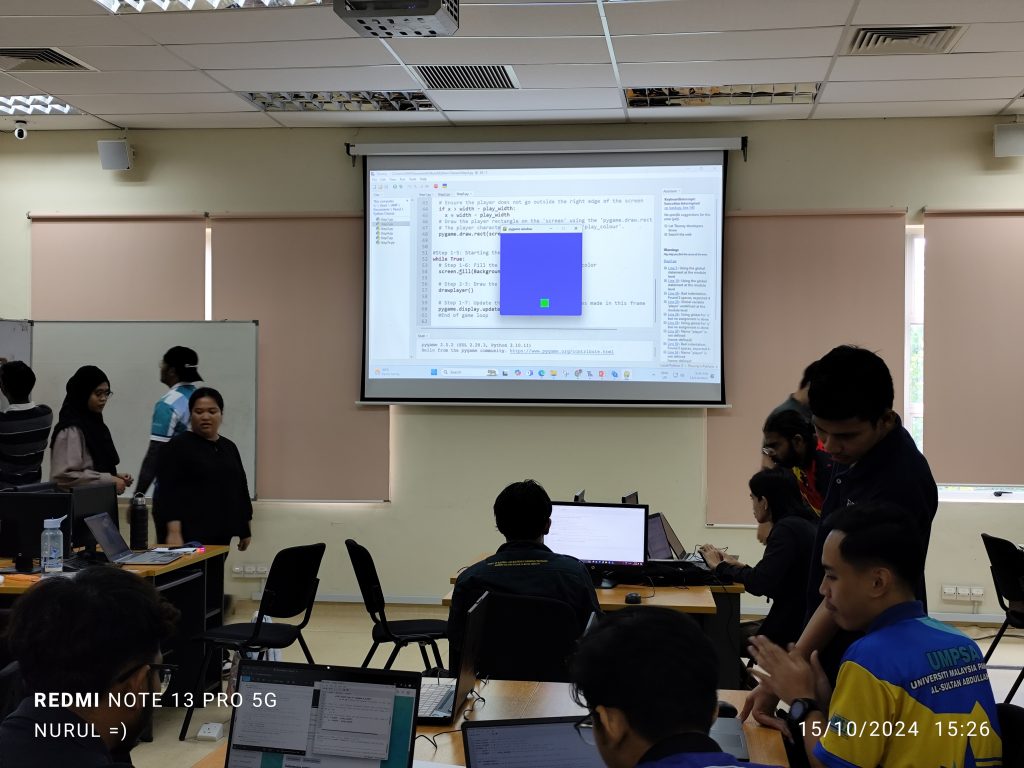
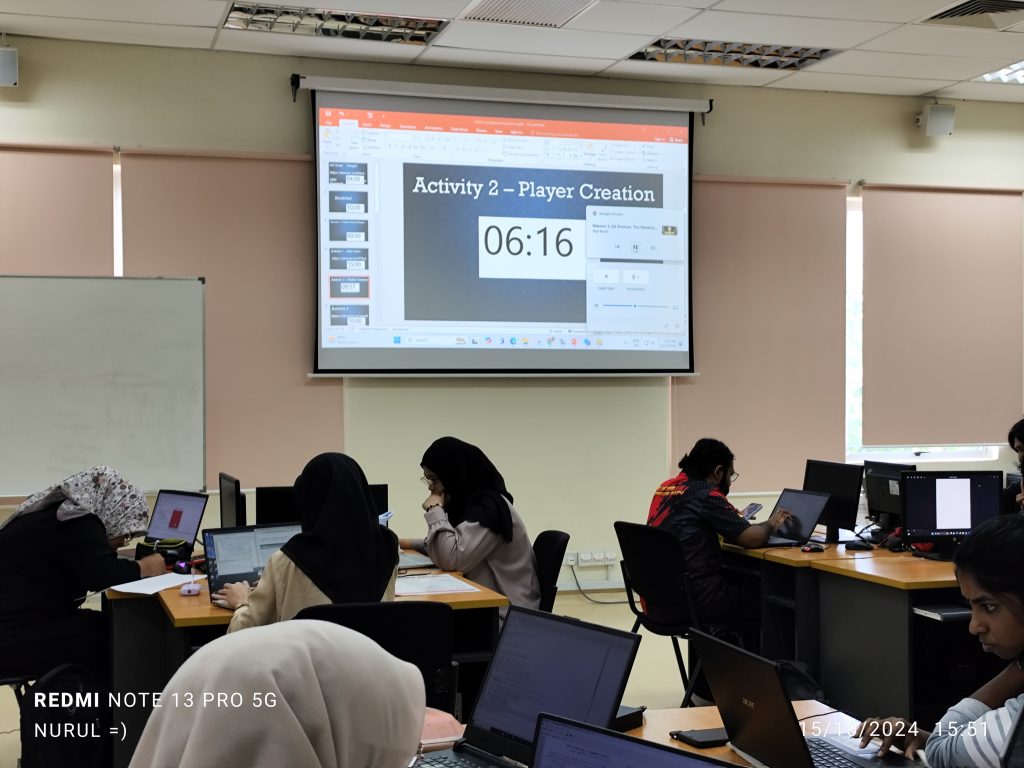
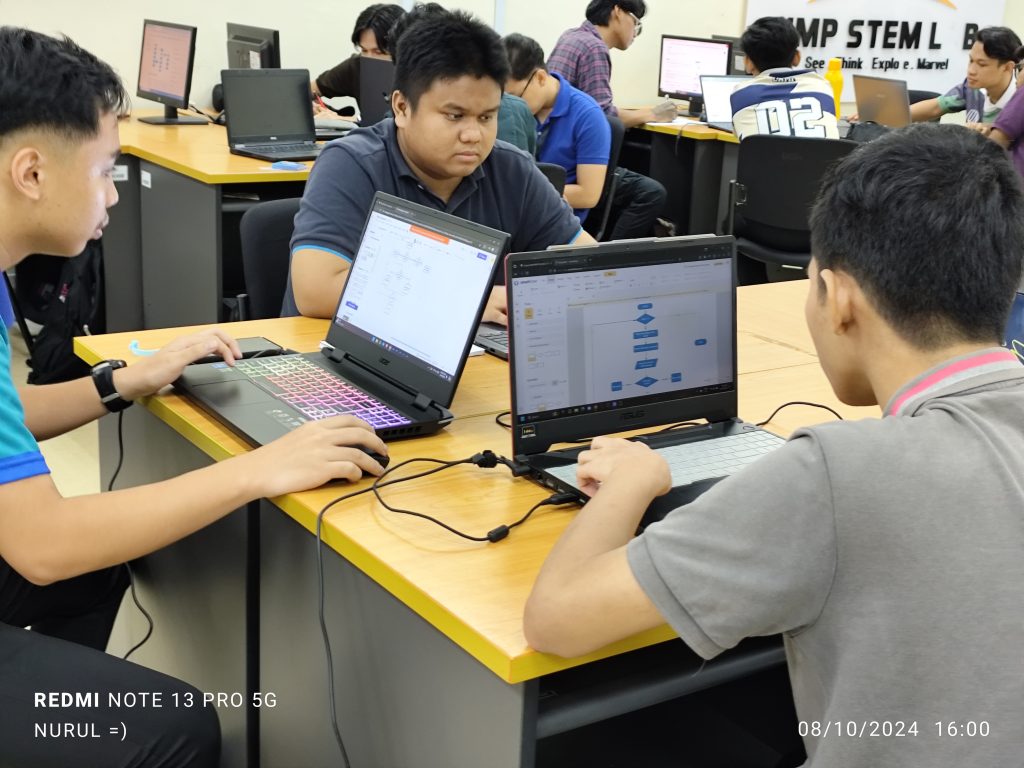
Activity 1-3: Player Creation and Movement

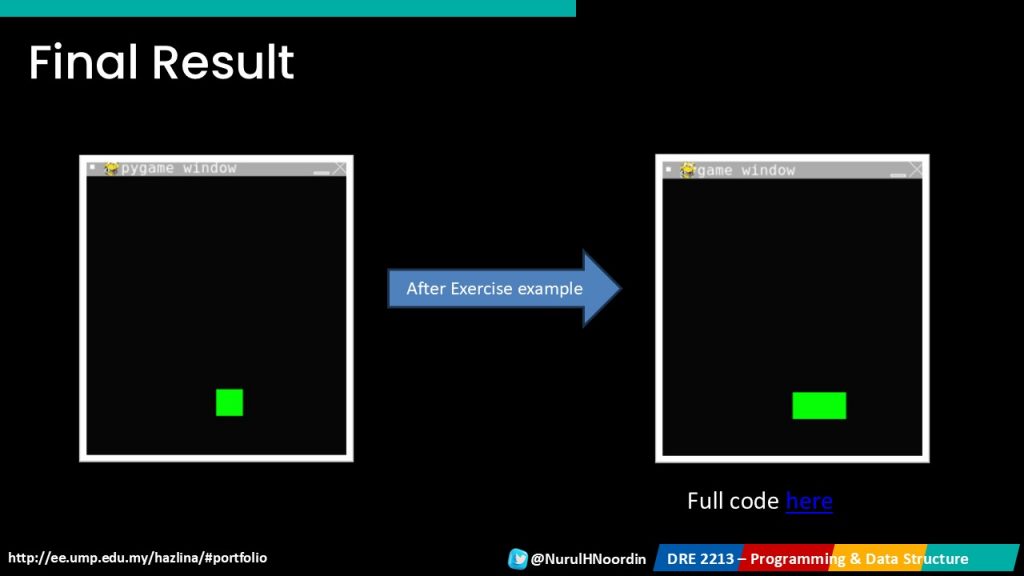
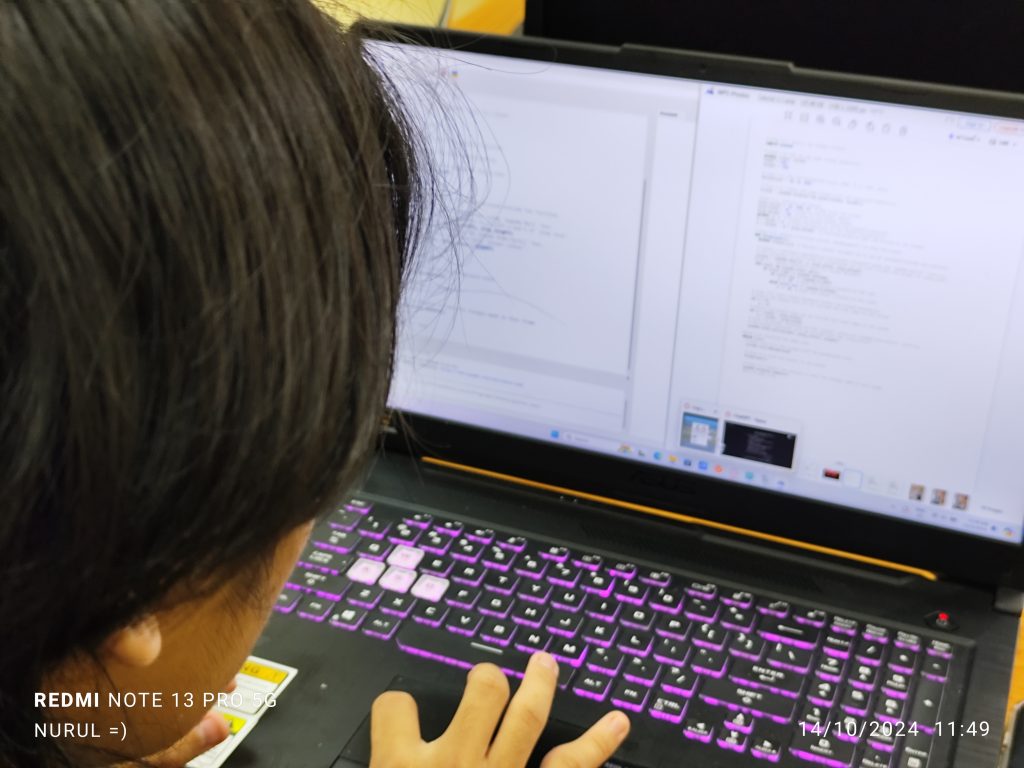
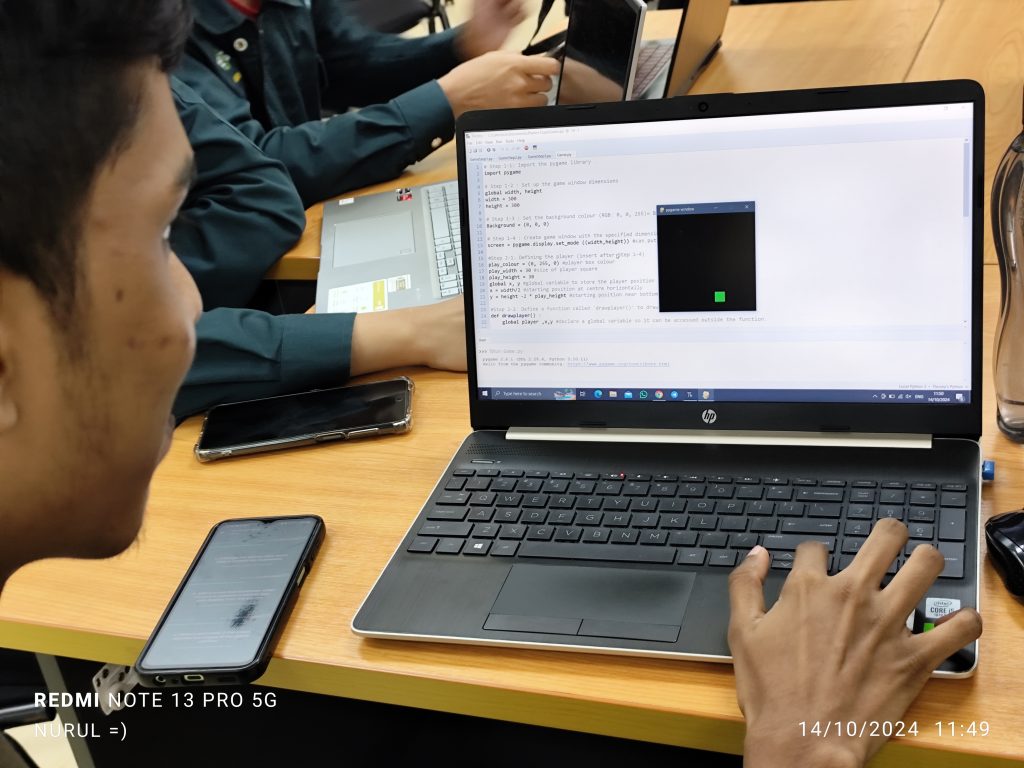
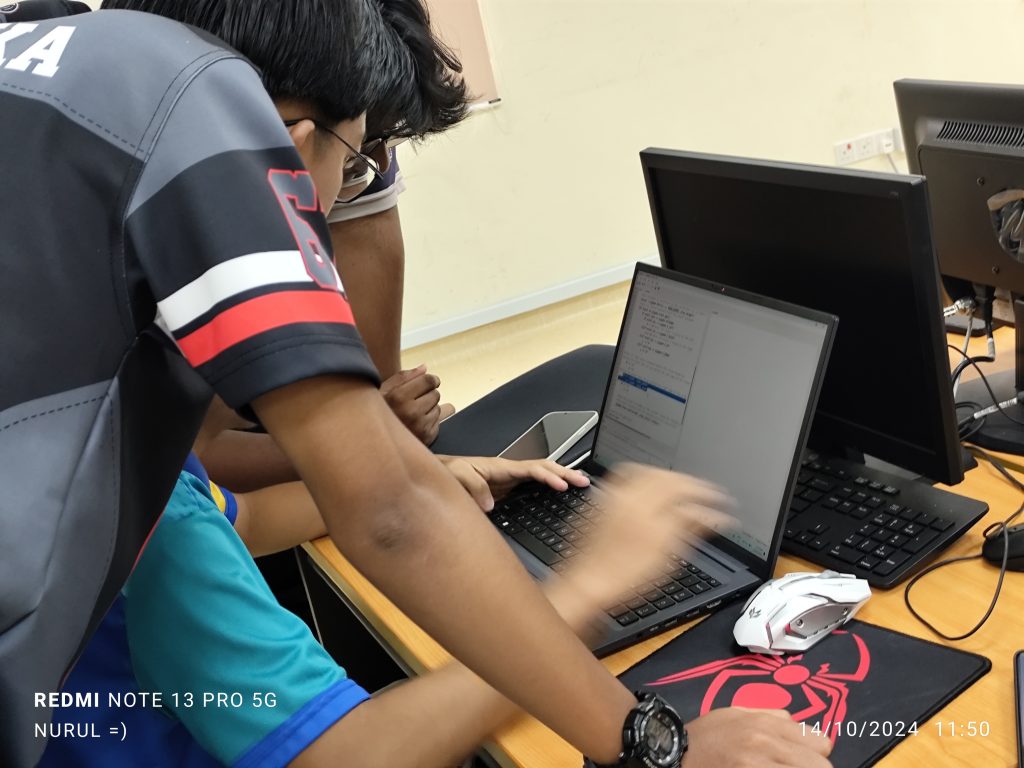
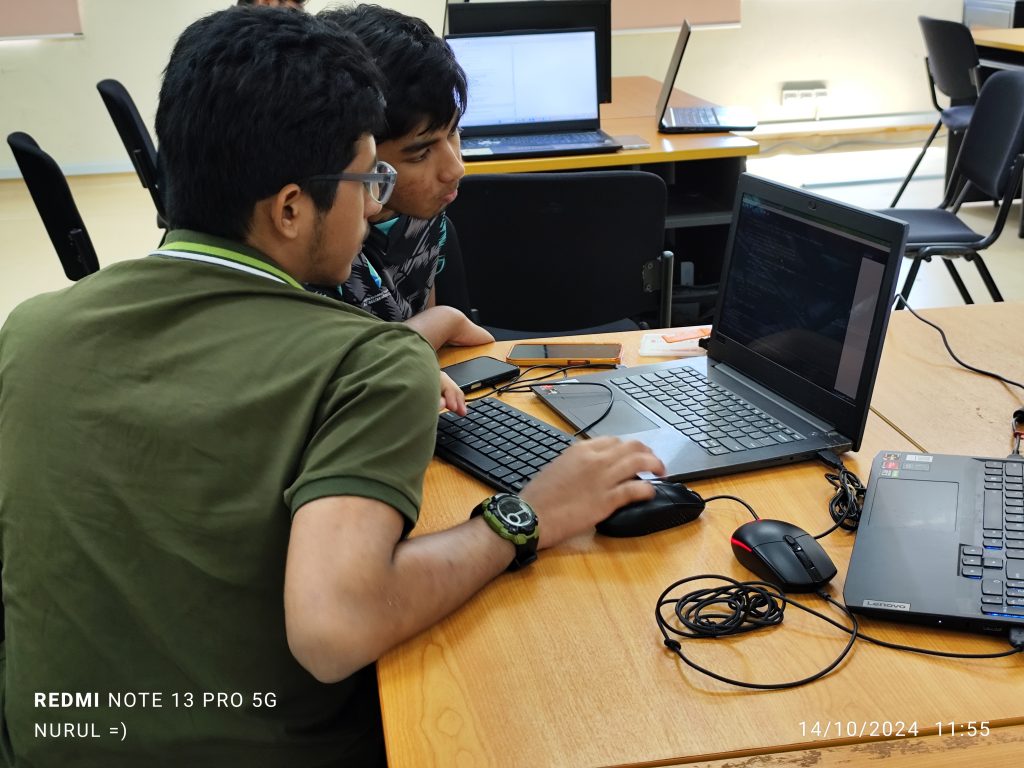
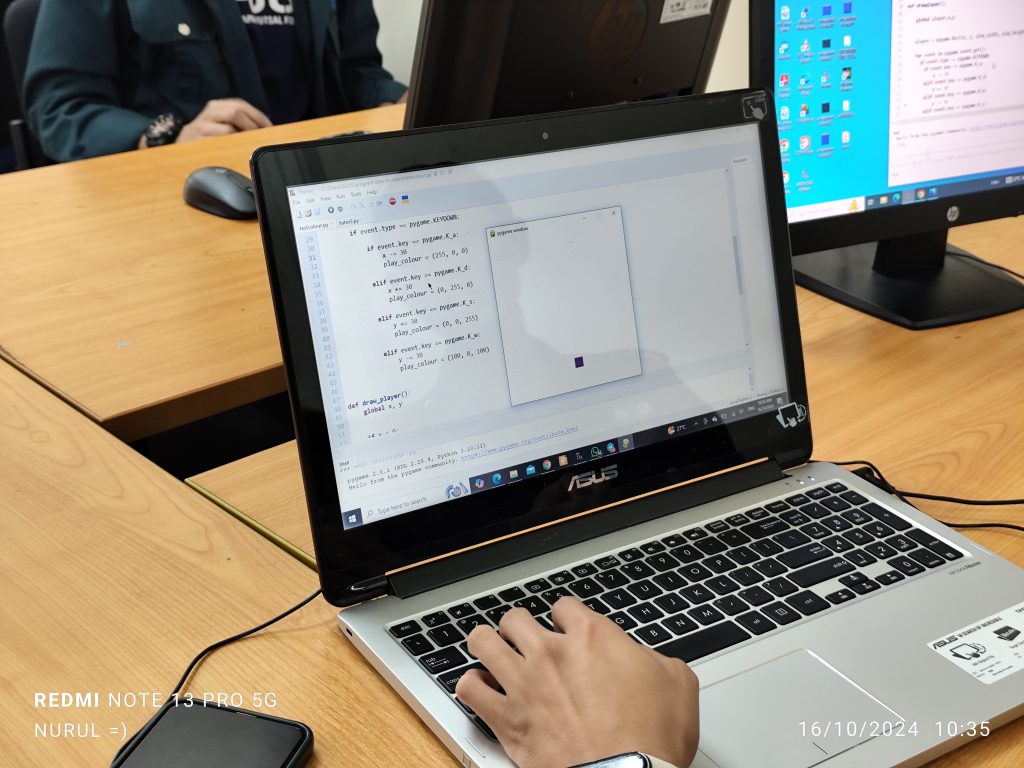
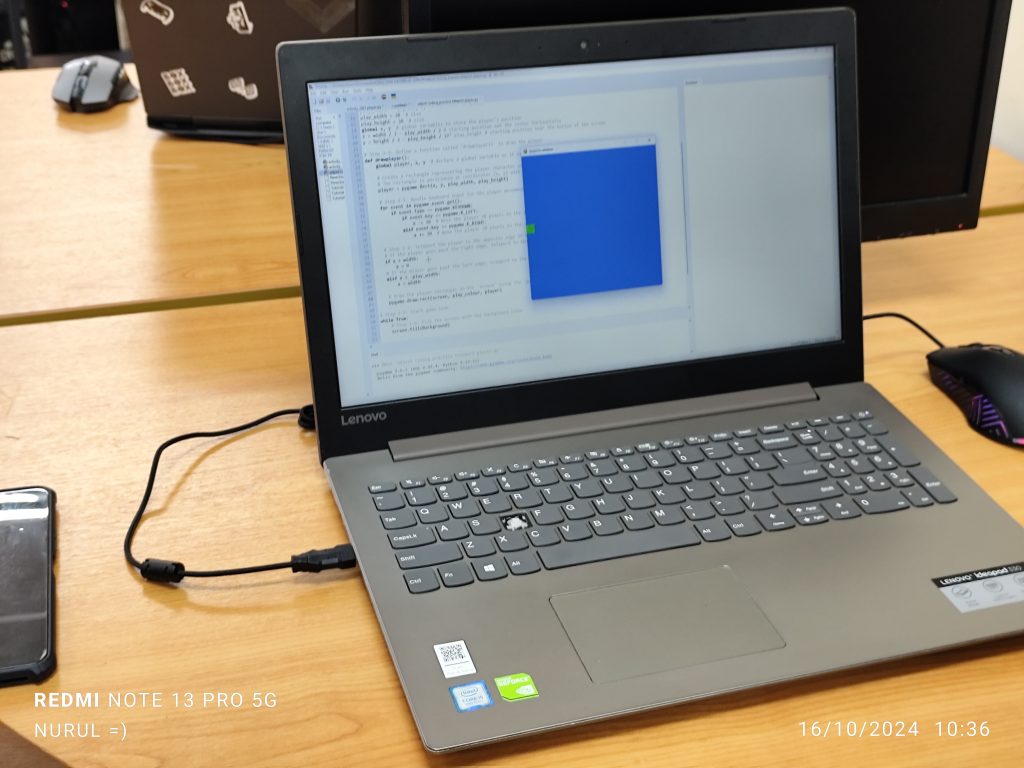
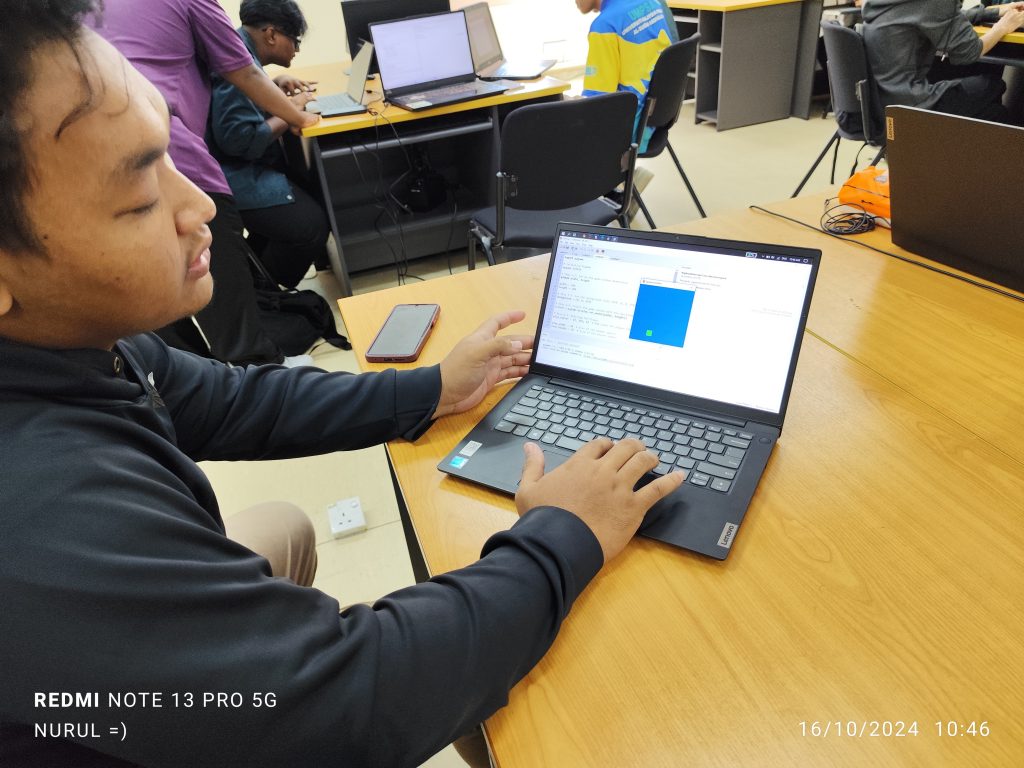
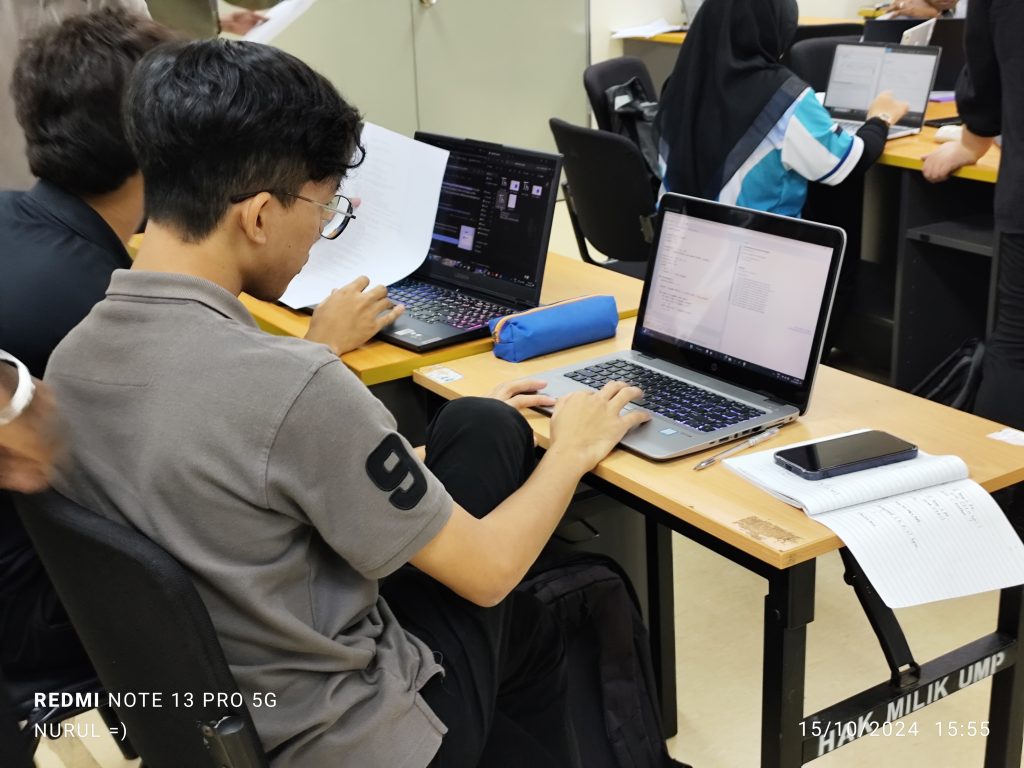
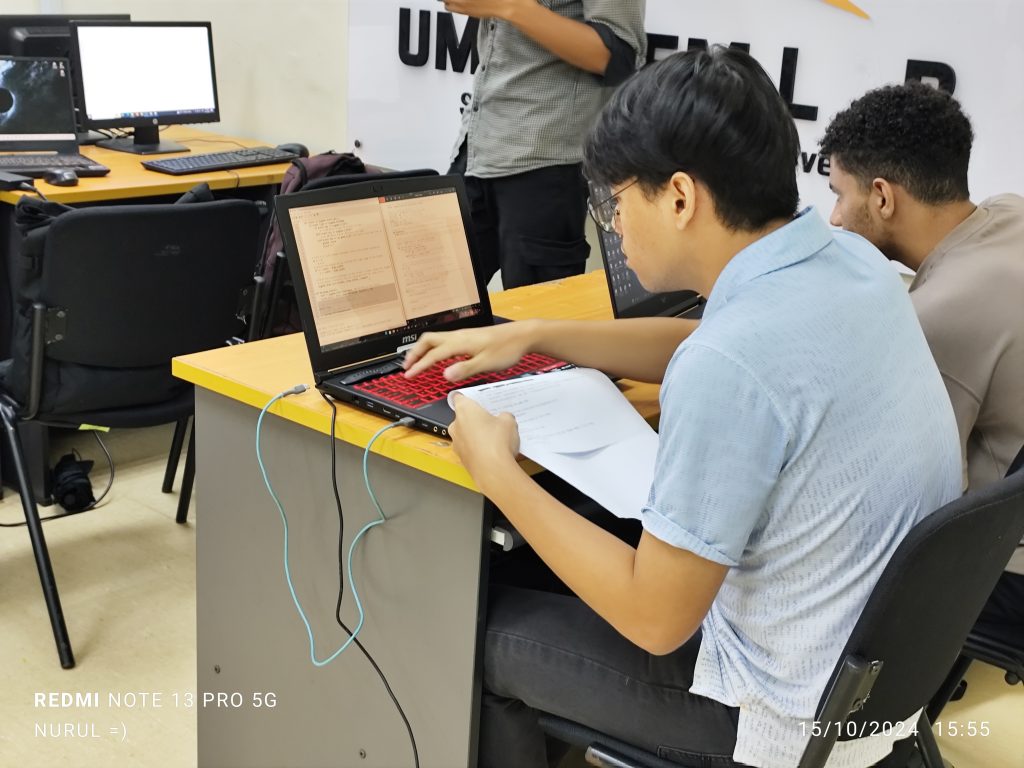
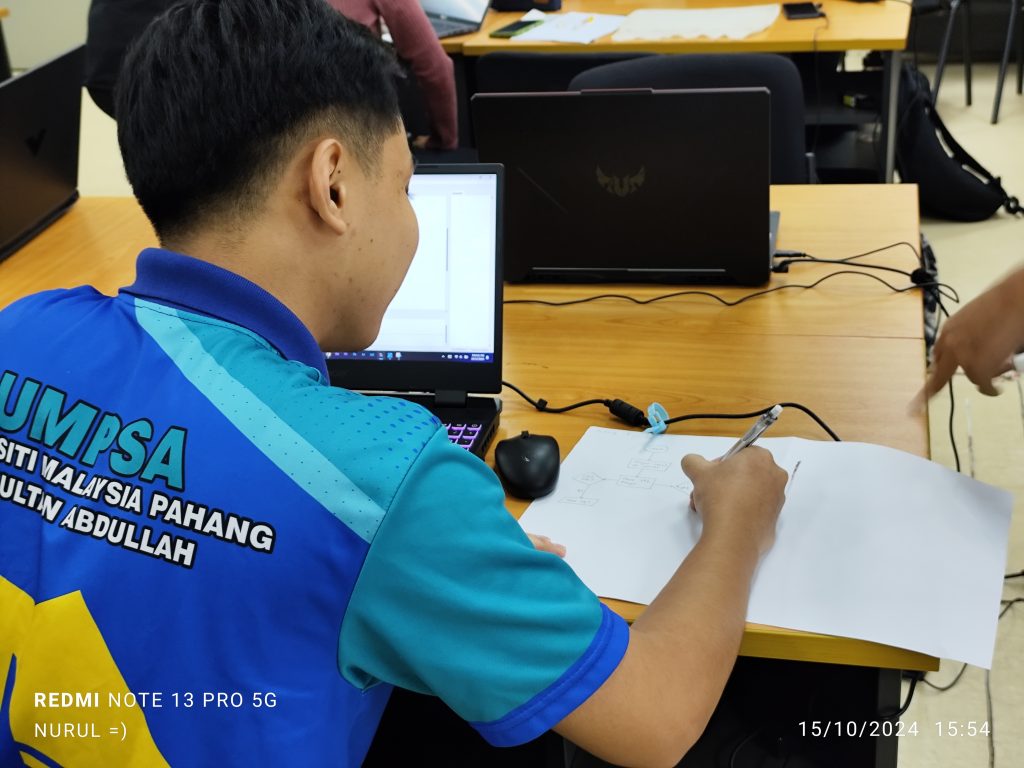
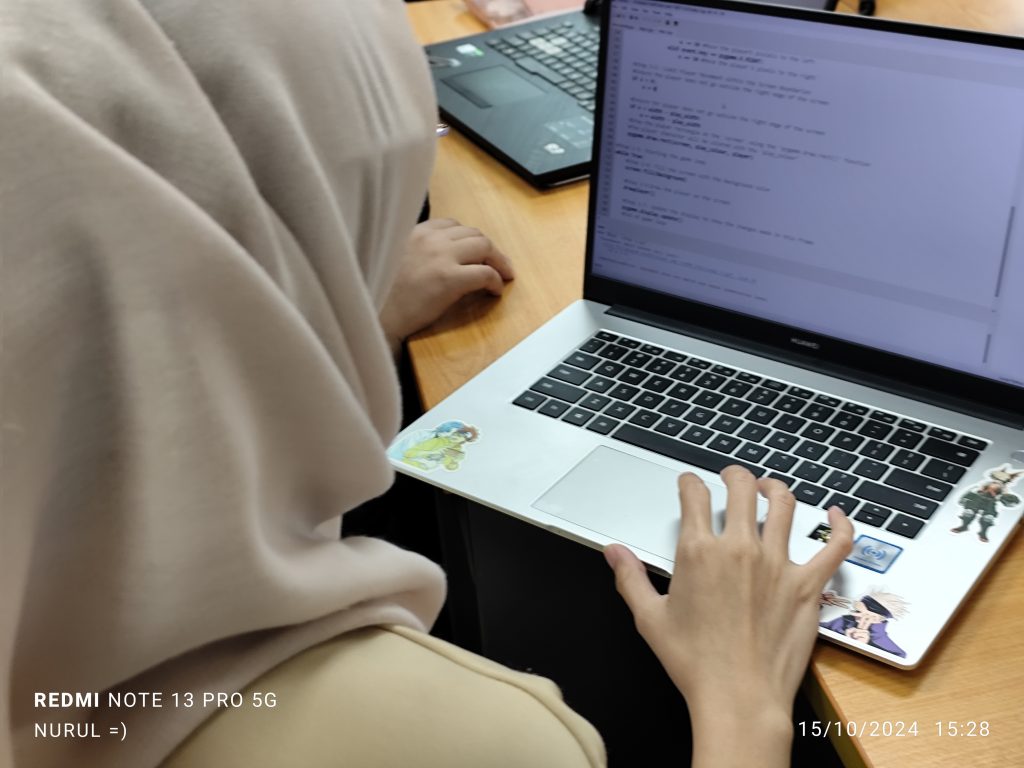
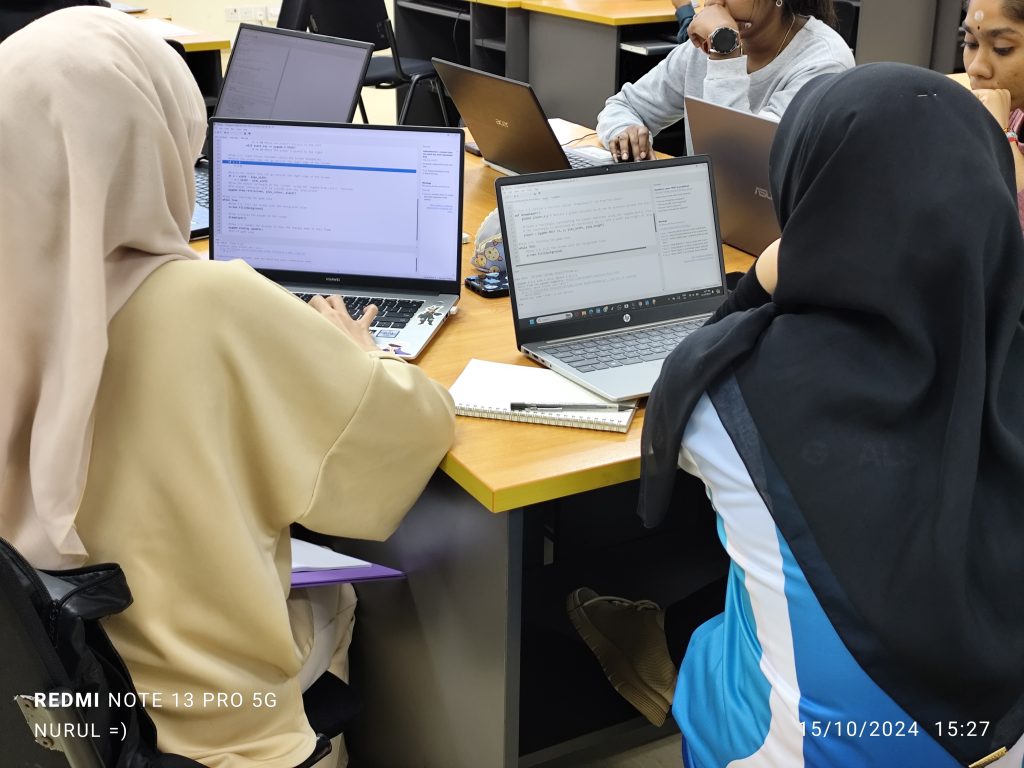
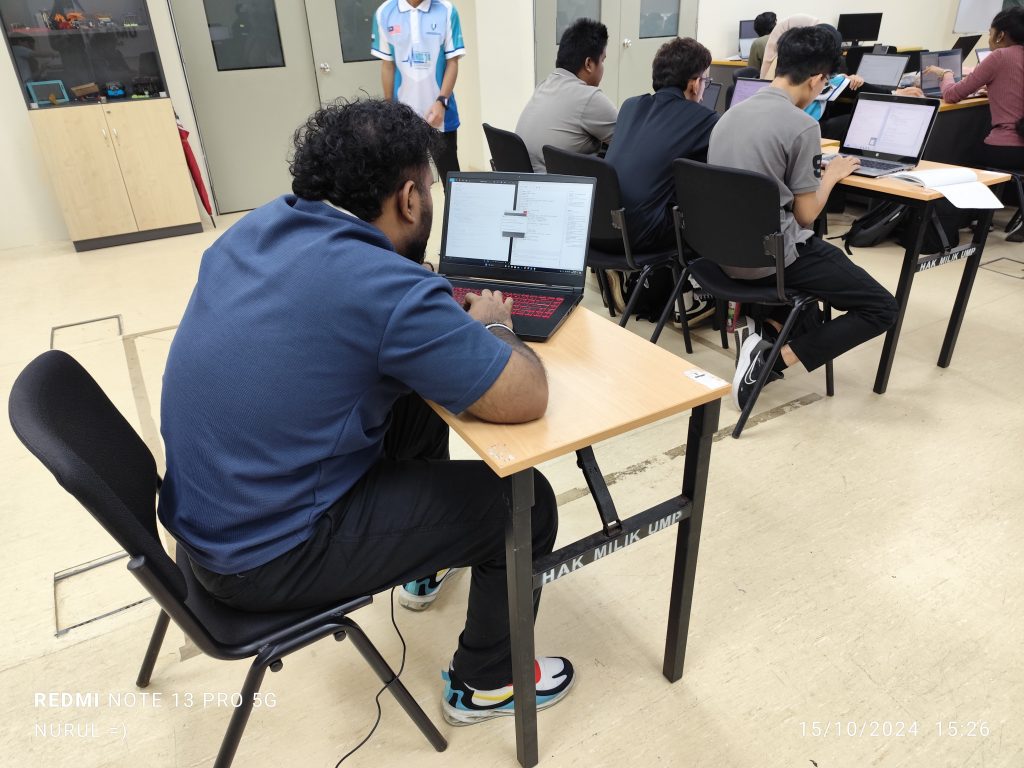
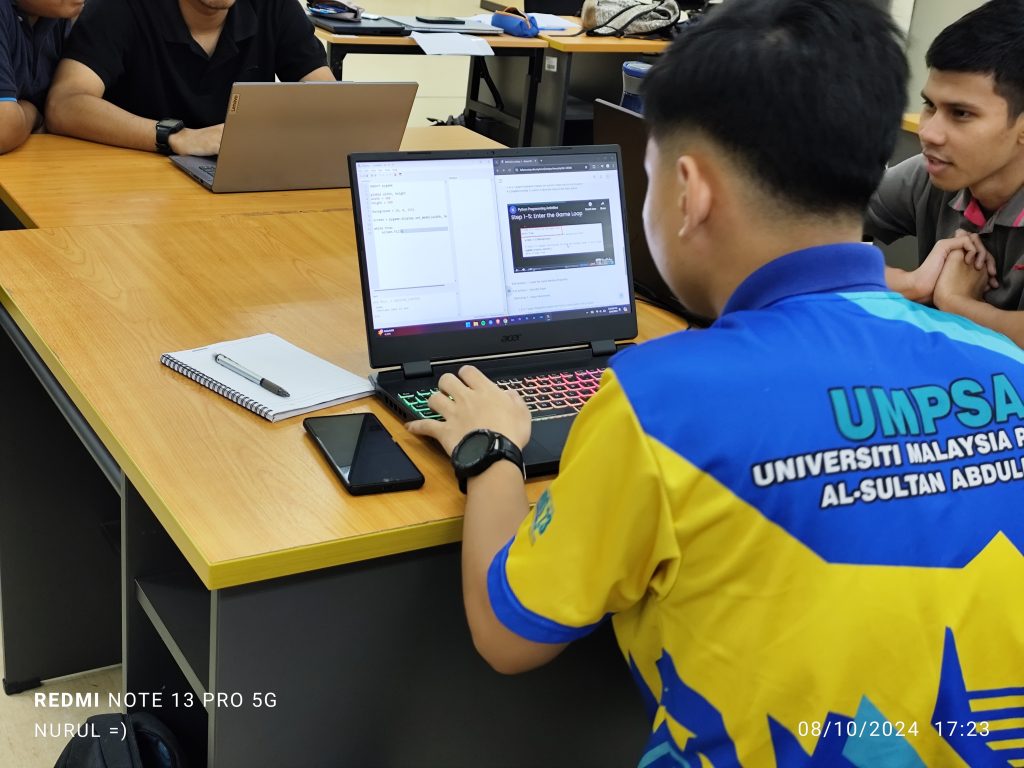
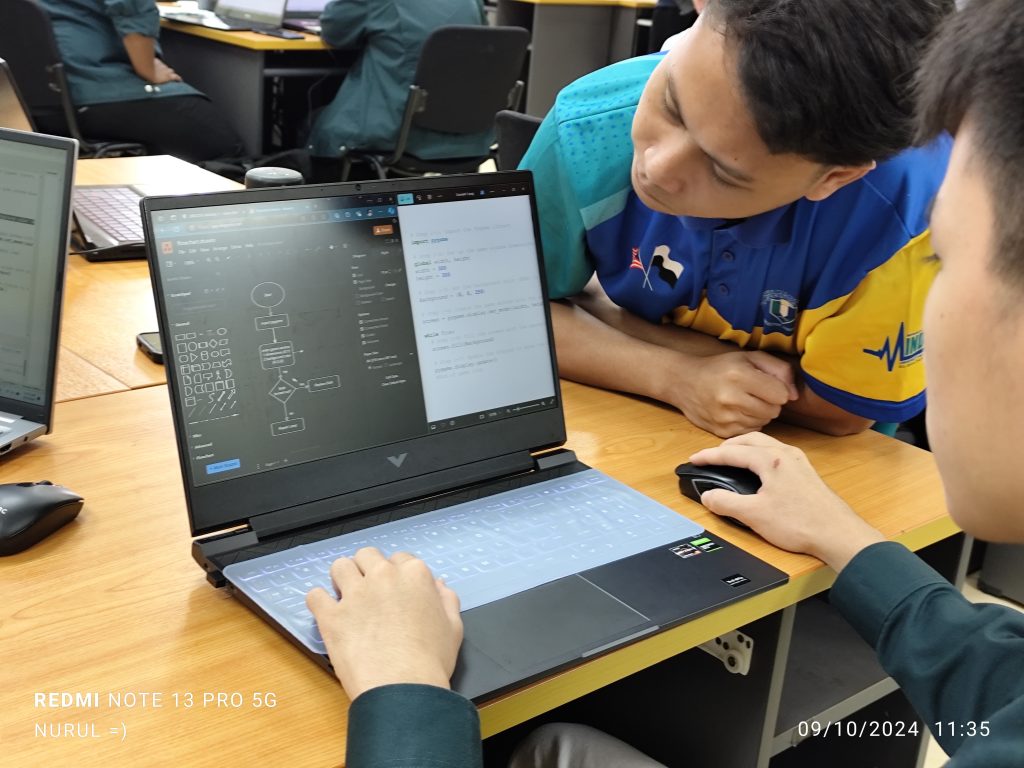
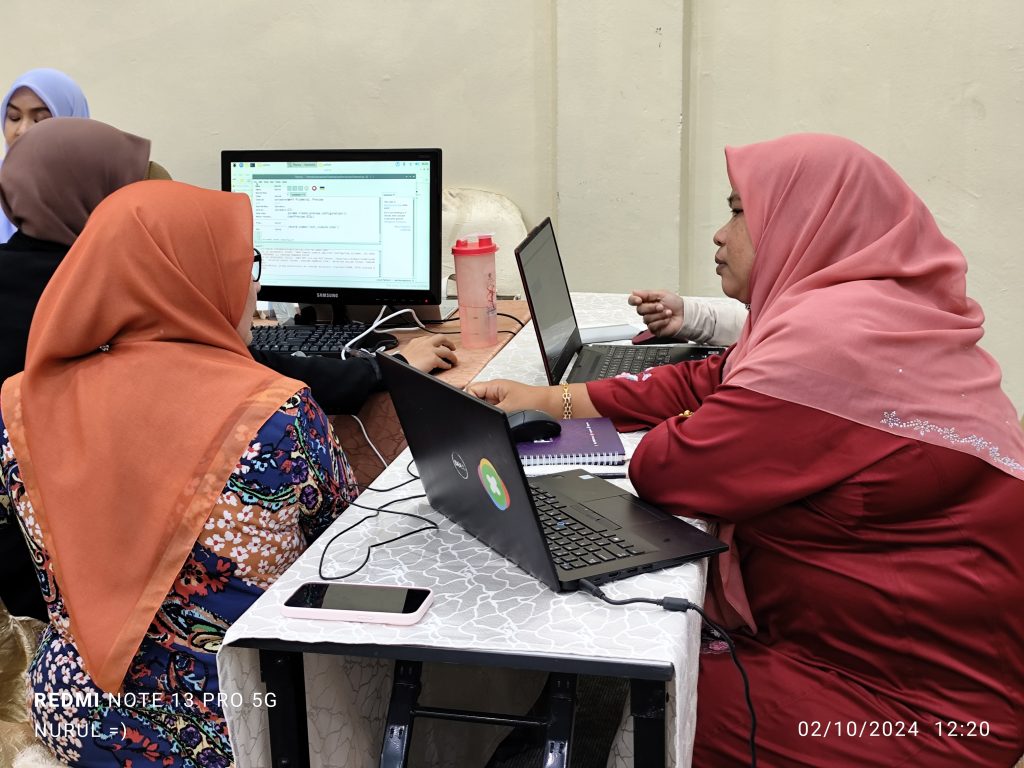
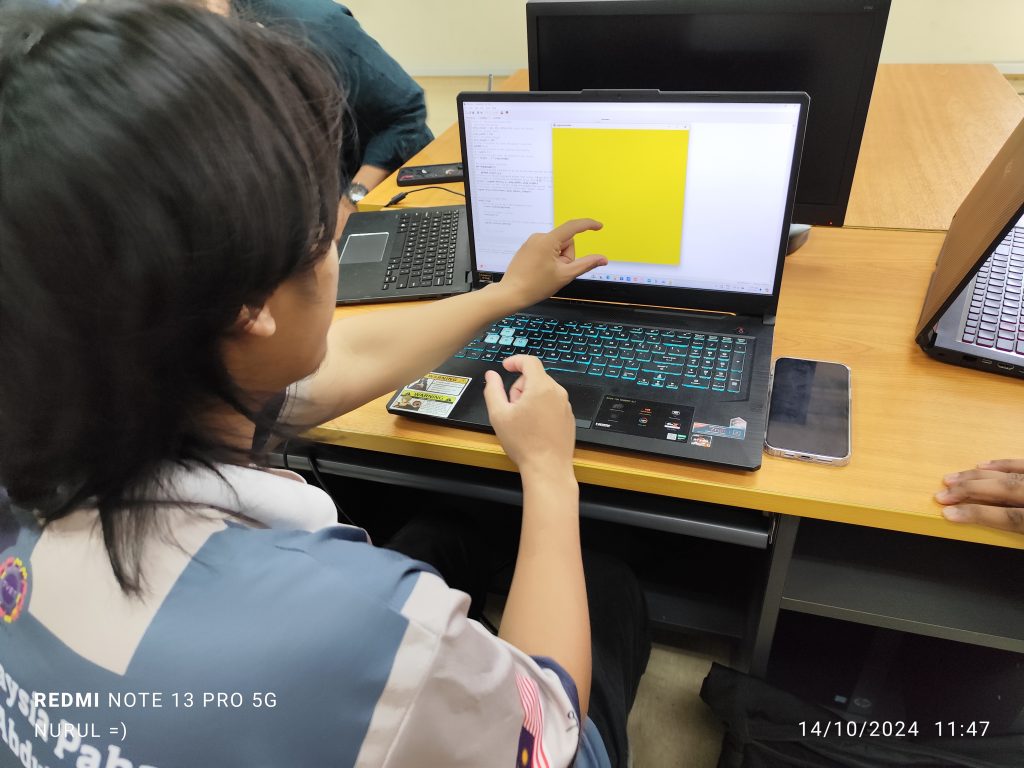
Students applied their understanding of data types and control statements through practical coding exercises. In Activities 1-3, they created a basic player character and programmed its movement across the game window.

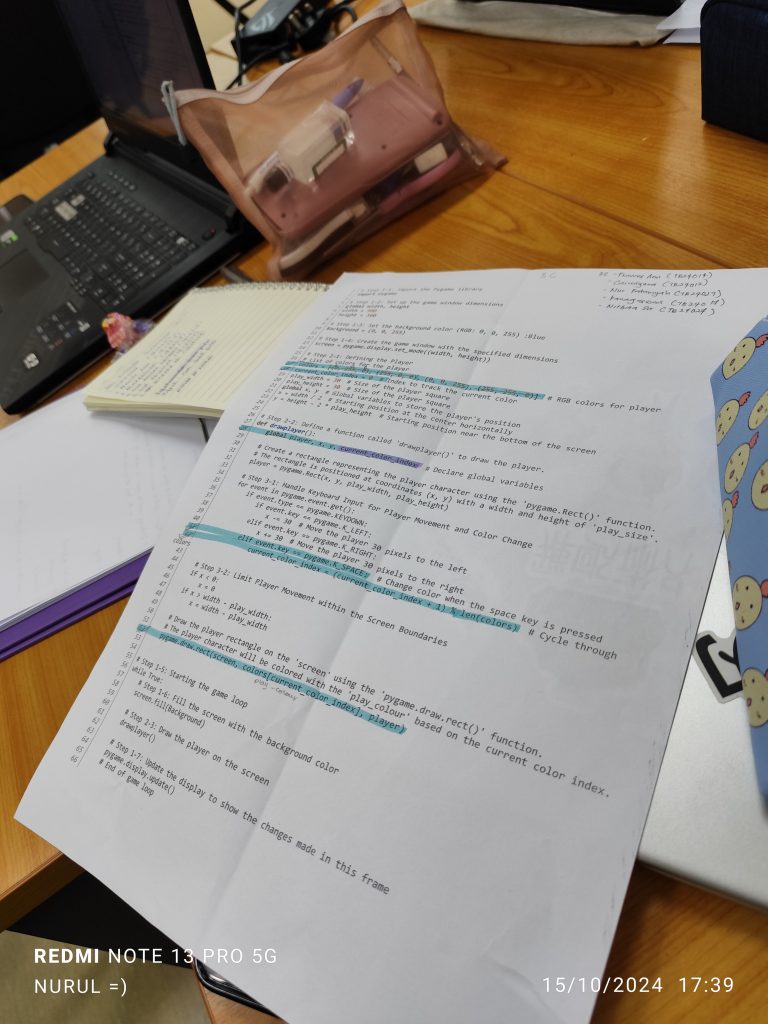
The coding exercise allowed students to implement:

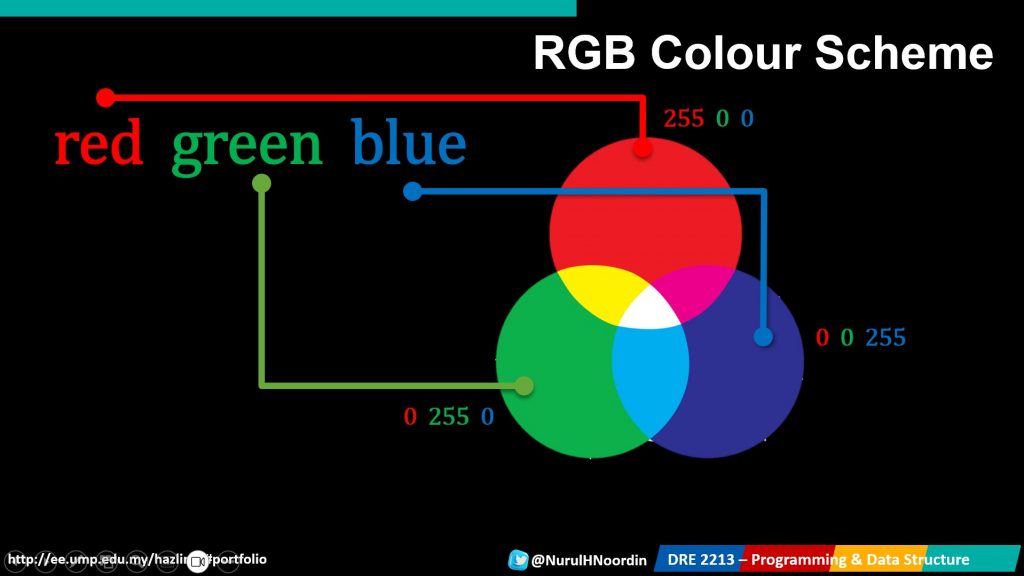
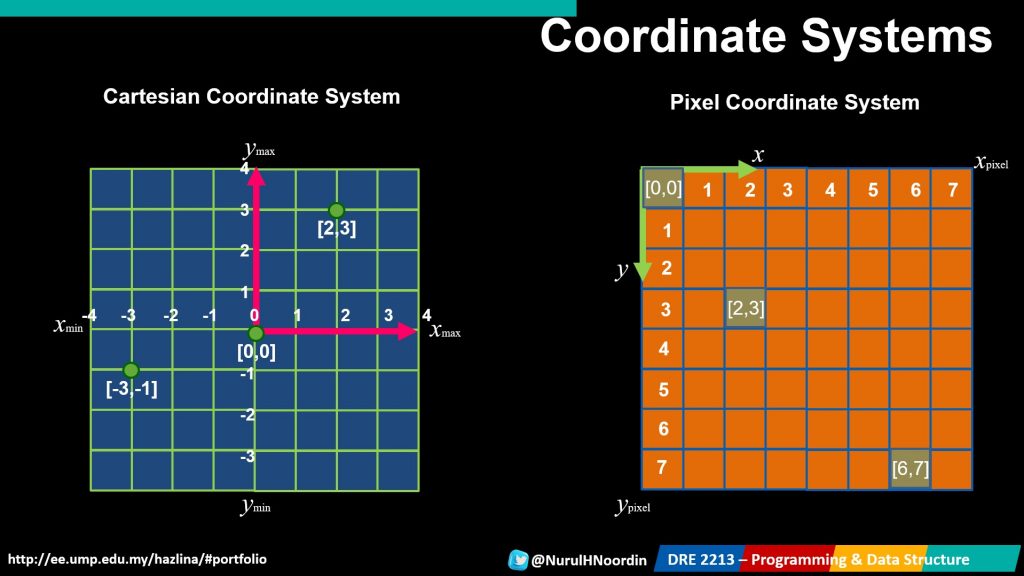
  • Variables to define the player’s position, size, and color.
  • Control statements like if-elif-else to determine how the player moves in response to keyboard input.
  • Basic boundary control to prevent the player from moving off-screen.

Moving to the Second Phase – Five Challenges

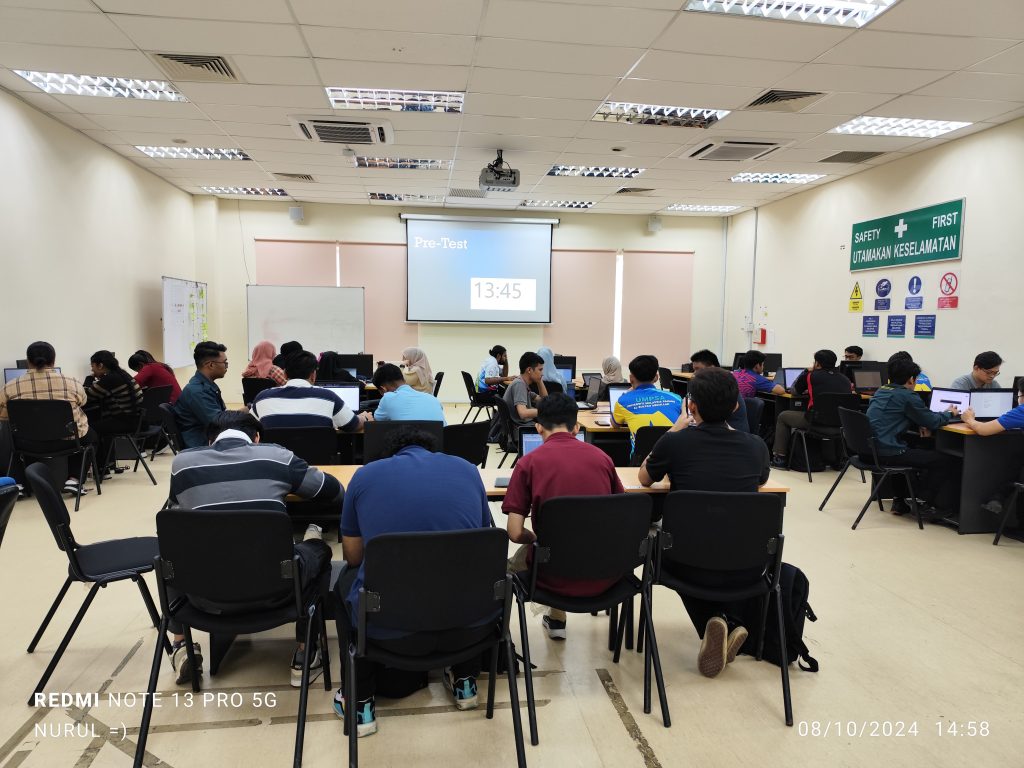
After completing the initial activities, students moved to a more challenging phase involving code modifications and analysis. They were tasked with modifying and analyzing code to address five distinct challenges, each designed to deepen their understanding of data types and control statements.

Challenge 1: Modify Movement with Control Statements

Objective – Students were introduced to control statements such as if, elif, and else. They modified the code to allow the player to move based on specific conditions, such as different key presses resulting in different player actions.

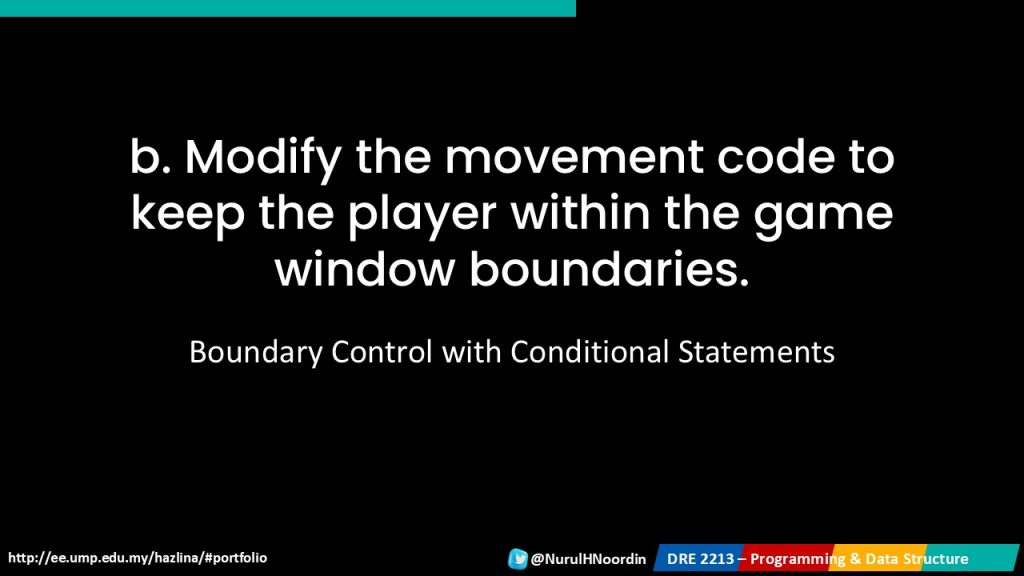
Challenge 2: Boundary Control with Conditional Statements

Objective – In this challenge, students explored boundary detection using if and else statements. The goal was to prevent the player from moving outside the game window. This reinforced their understanding of how conditions can control flow in a program.

Challenge 3: Change Player’s Color with Data Types

Objective – Students were introduced to the concept of variables and data types such as lists and tuples. The challenge was to change the player’s color based on certain conditions, like the player reaching specific coordinates.

Challenge 4: Score and Time Tracking with Variables

Objective – Students explored the use of variables and loops to add a scoring system and time limit. They learned how to create a variable that increments when the player performs specific actions and how to manage game time using a while loop.

Challenge 5: Advanced Activity: Collision Detection

Objective – The final challenge involved practicing control structures and Boolean data types to detect when the player collided with the screen edges. This challenge required students to think critically about game dynamics and how to implement collision logic.
Pedagogical Approaches in the Exercise

To ensure a thorough understanding, two pedagogical approaches were used throughout the five challenges:

  1. Code Modification/Generation
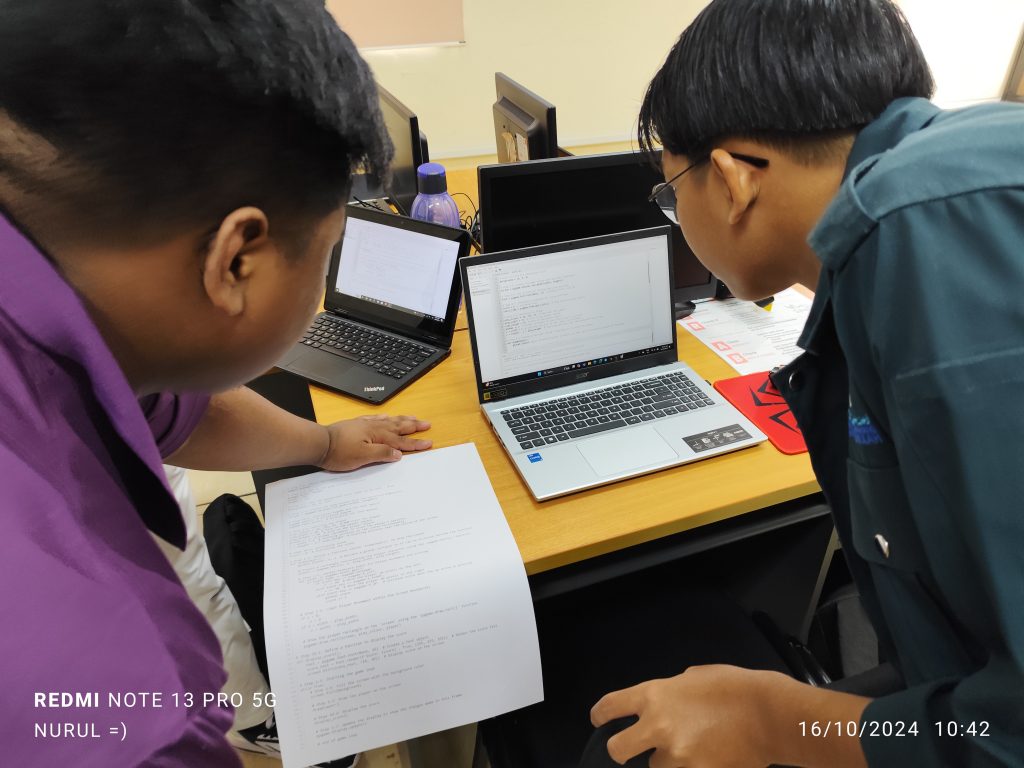
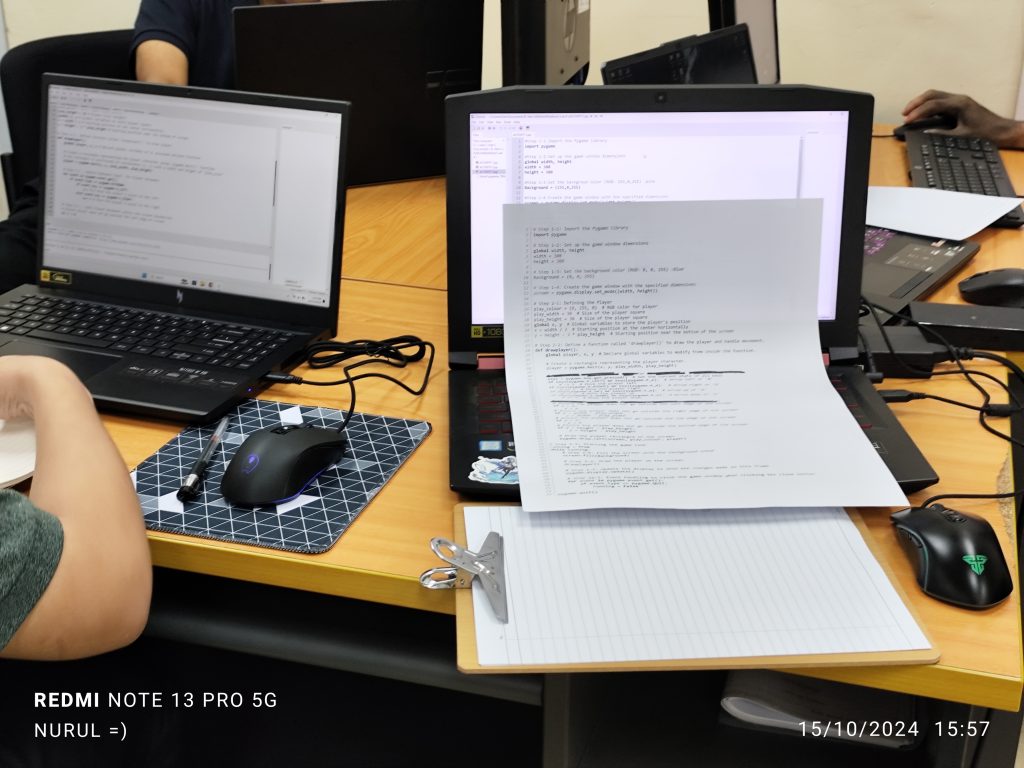
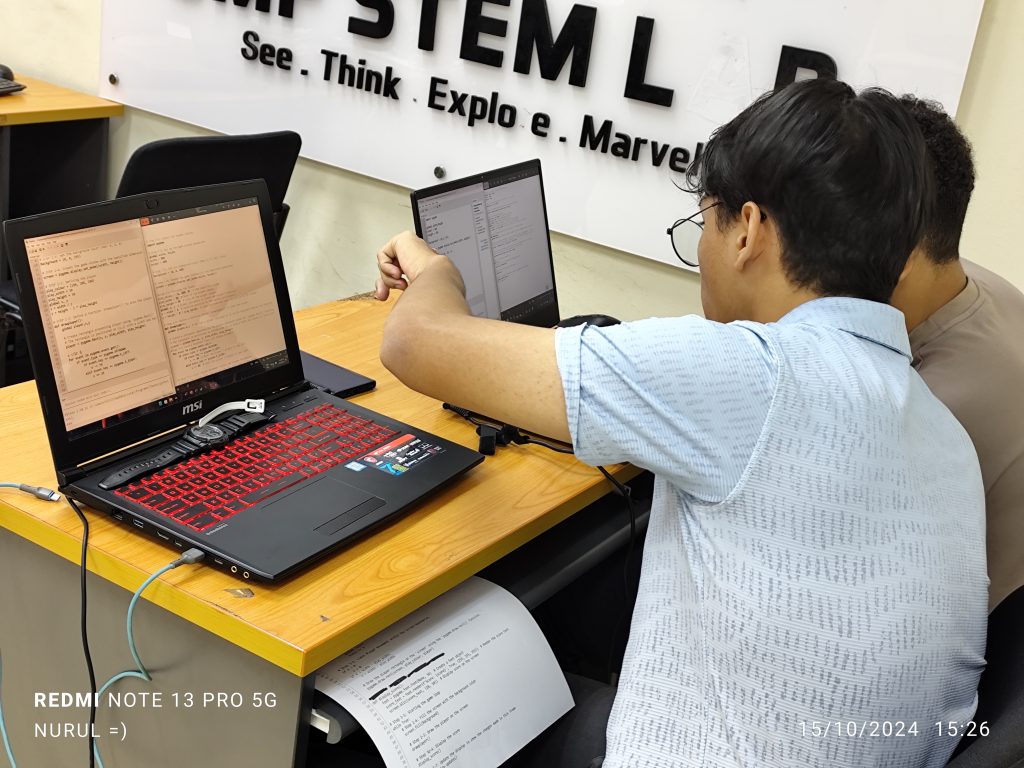
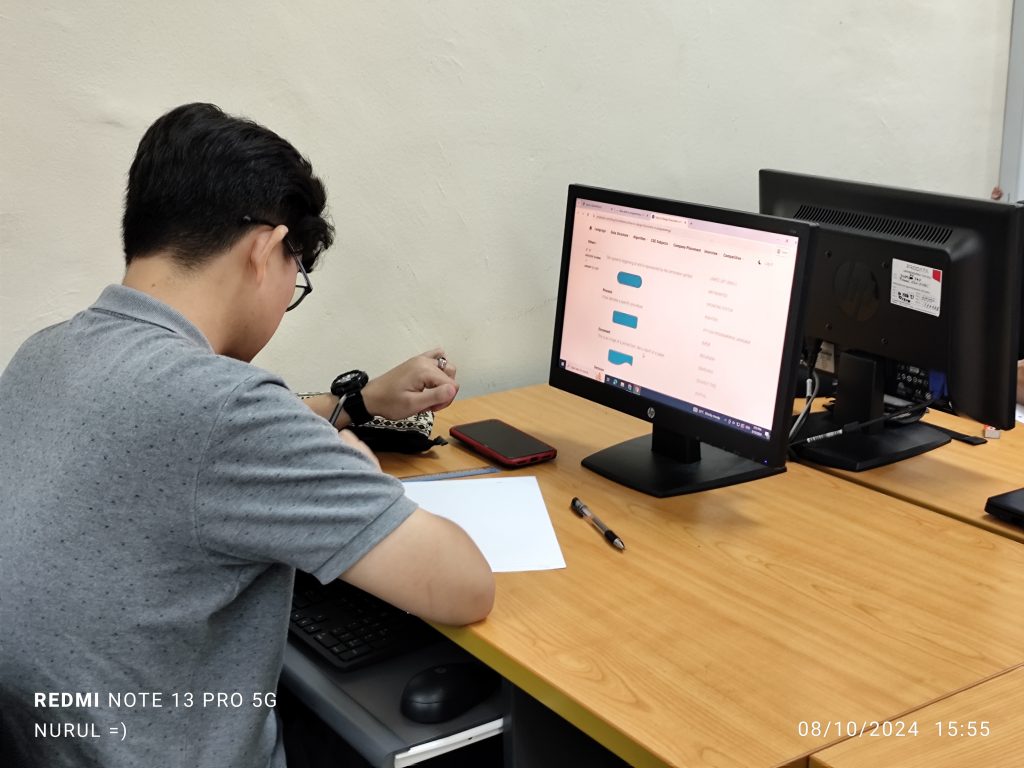
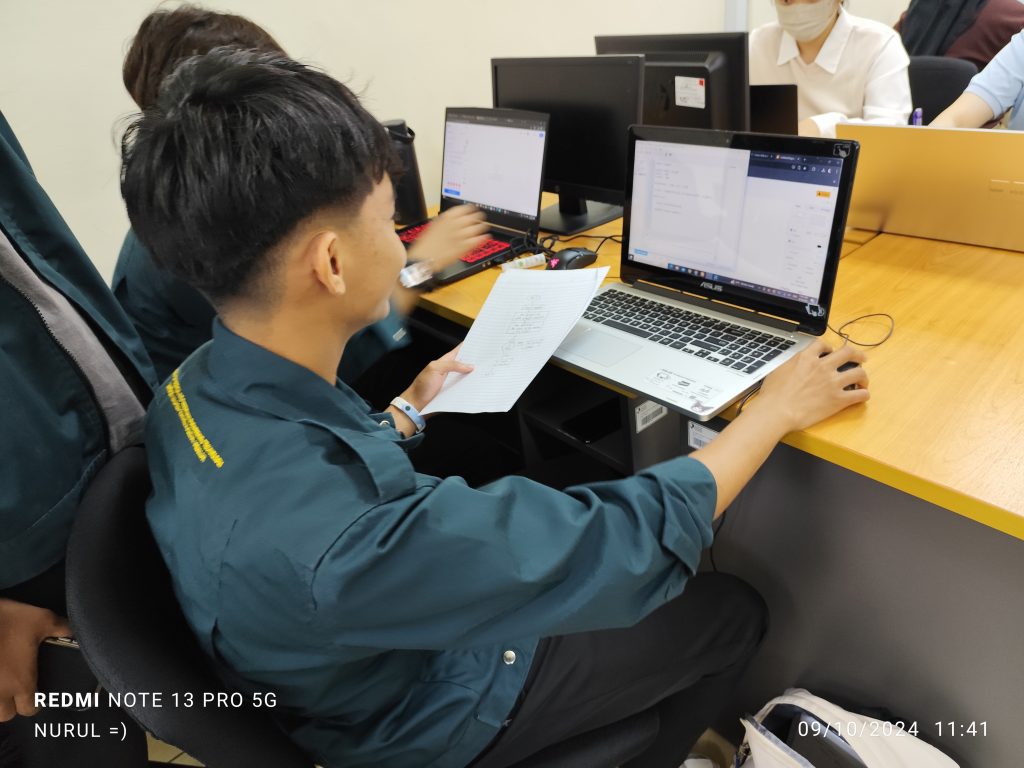
    Students in DRE2213 were required to actively modify their existing code based on the challenge descriptions. This hands-on approach allowed them to understand the logic behind each task and improve their problem-solving skills by directly interacting with the code.
  2. Code Analysis
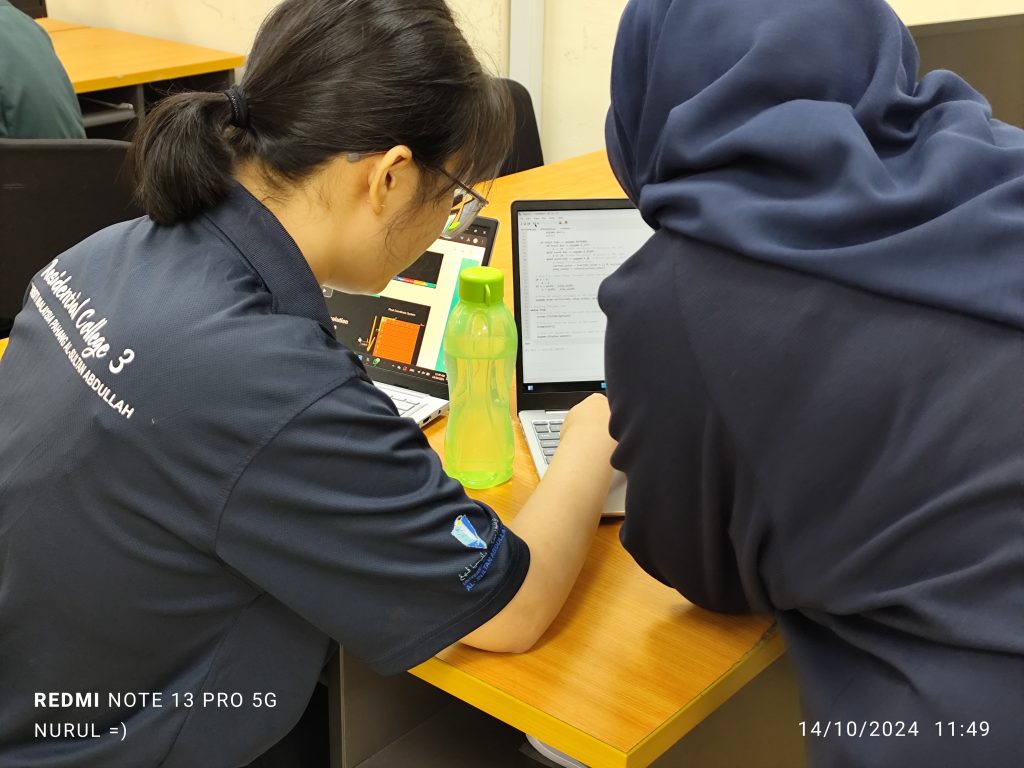
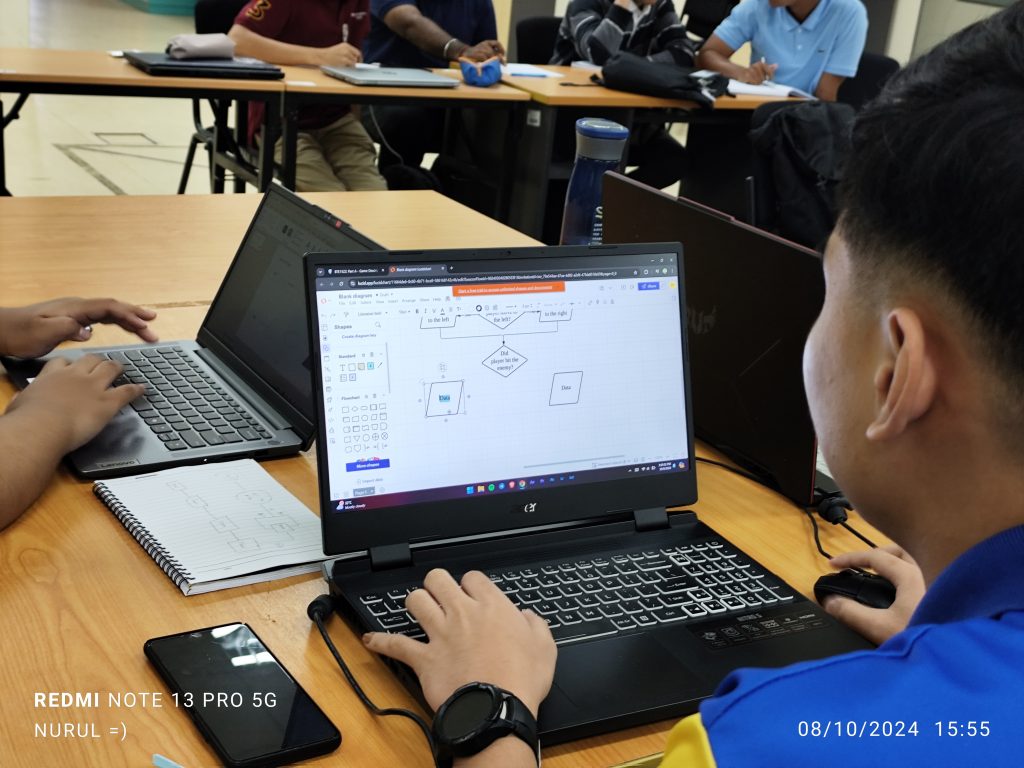
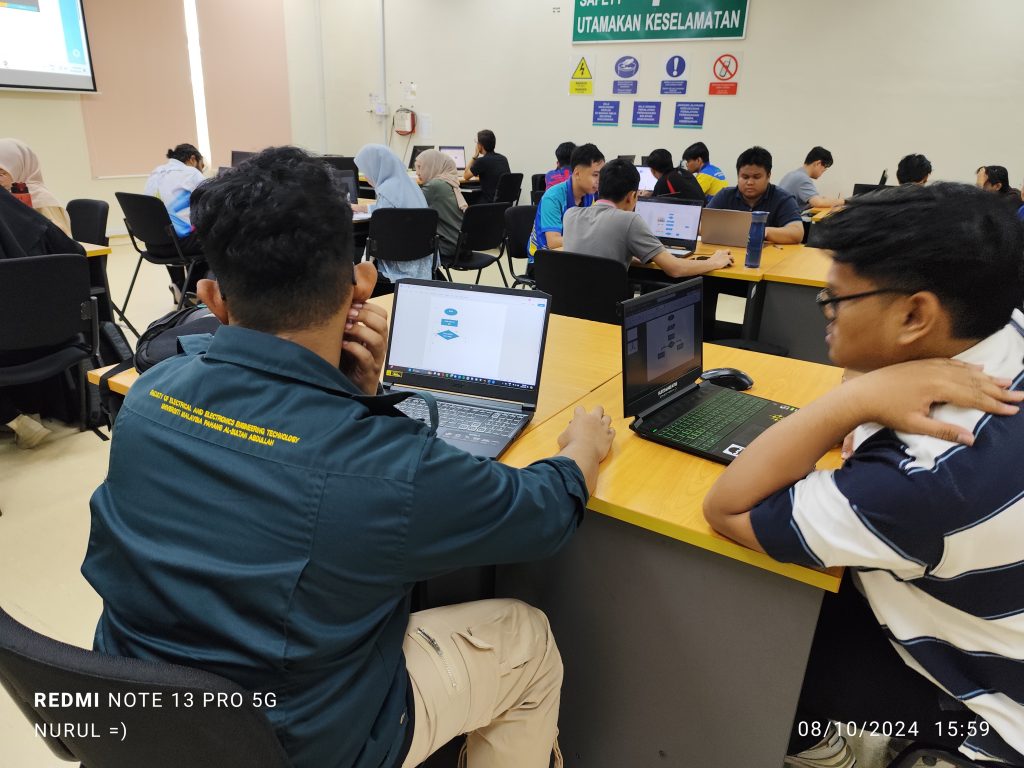
    In BTE1522, students were provided with completed code and asked to map it to the challenge objectives. This method allowed them to break down complex code structures, understand how different components work together, and link theoretical concepts to real-world applications.

Week 2 was an essential part of the course as it introduced fundamental programming concepts like data types and control statements in Python. Through interactive activities and challenges, students not only learned to implement these concepts but also developed problem-solving skills by engaging in code modification and analysis. These exercises laid a strong foundation for the more advanced topics to come in the course.

Nurul Oct 15th

DRE2213   
 

BTE1522

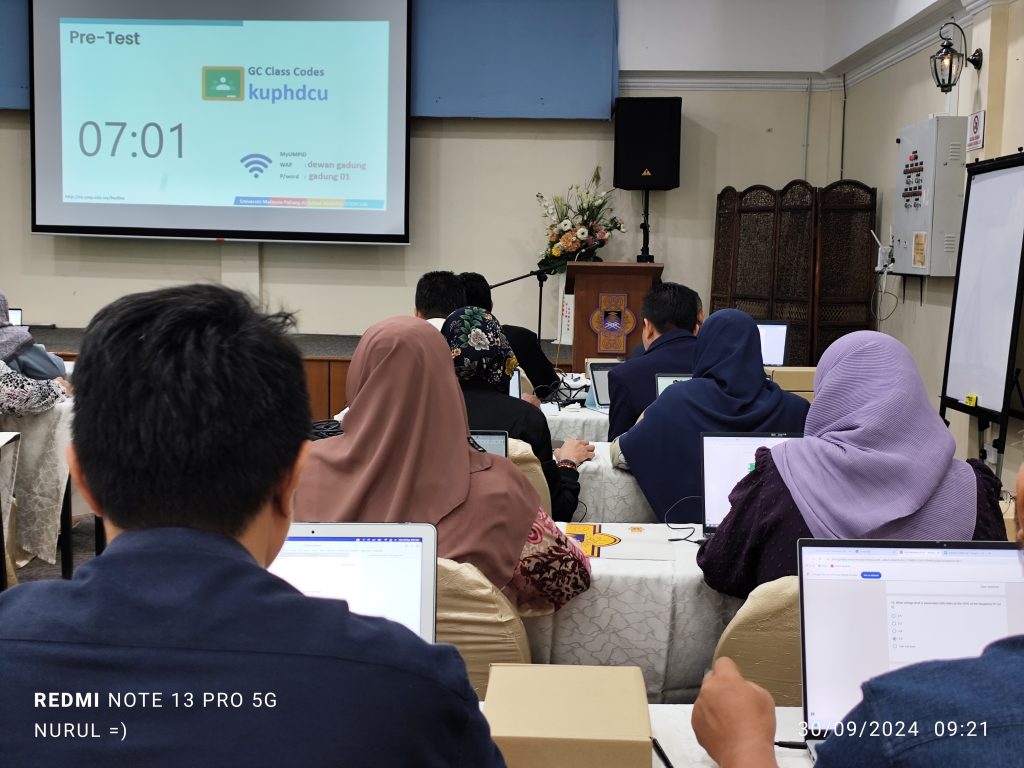
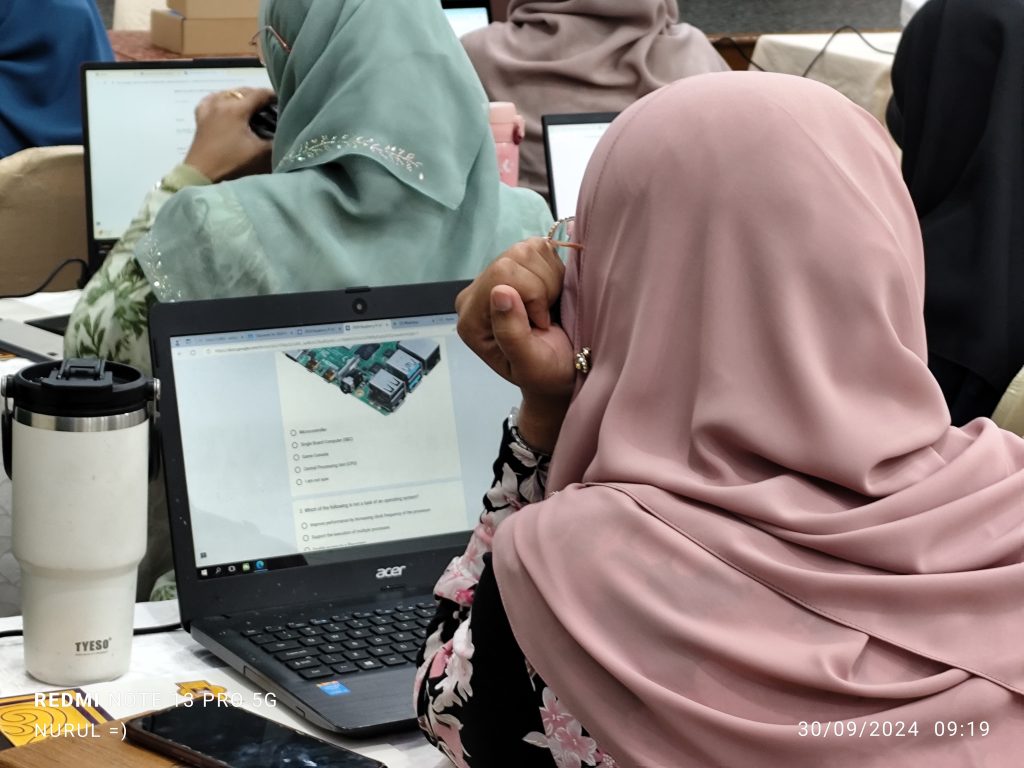
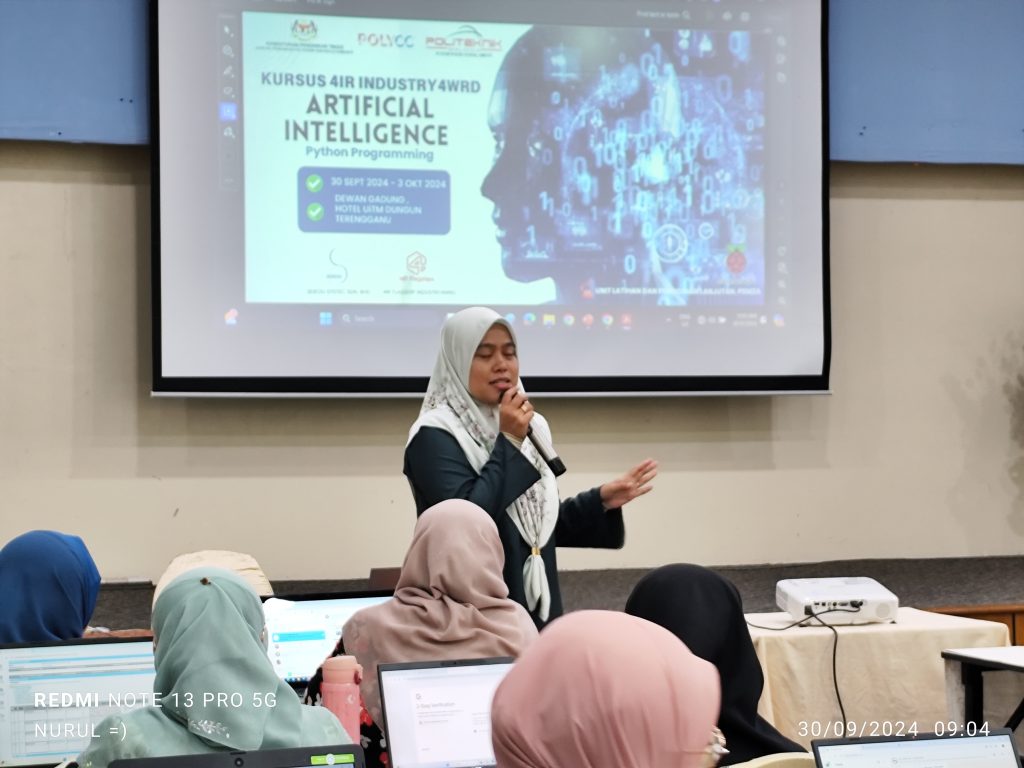
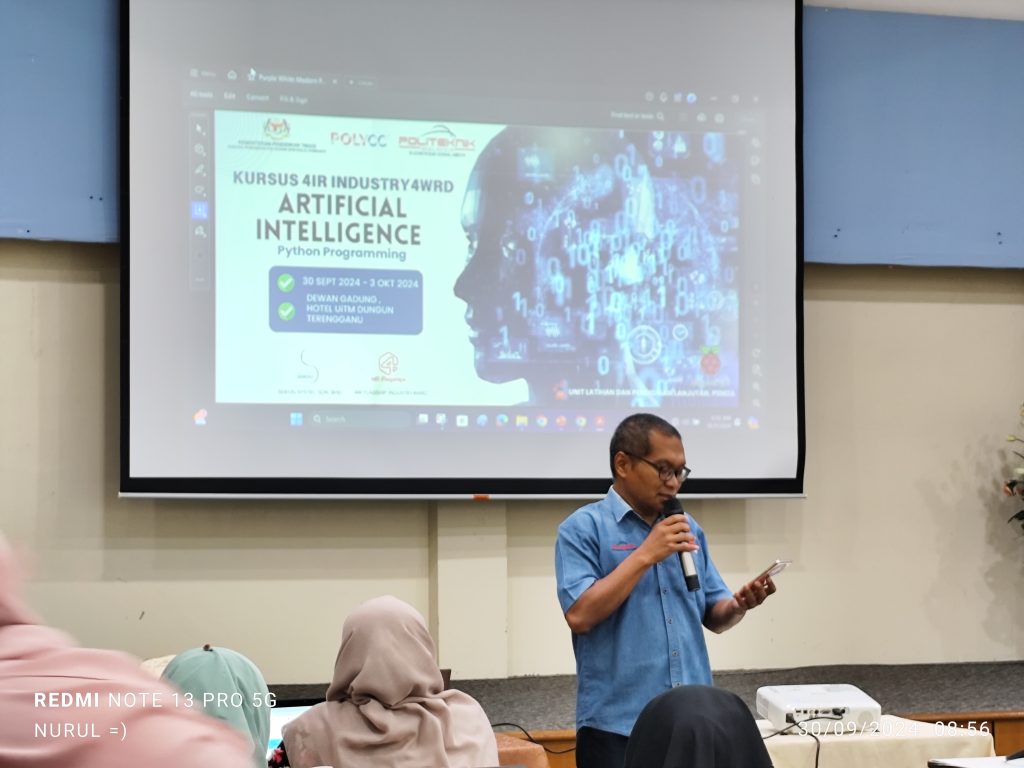
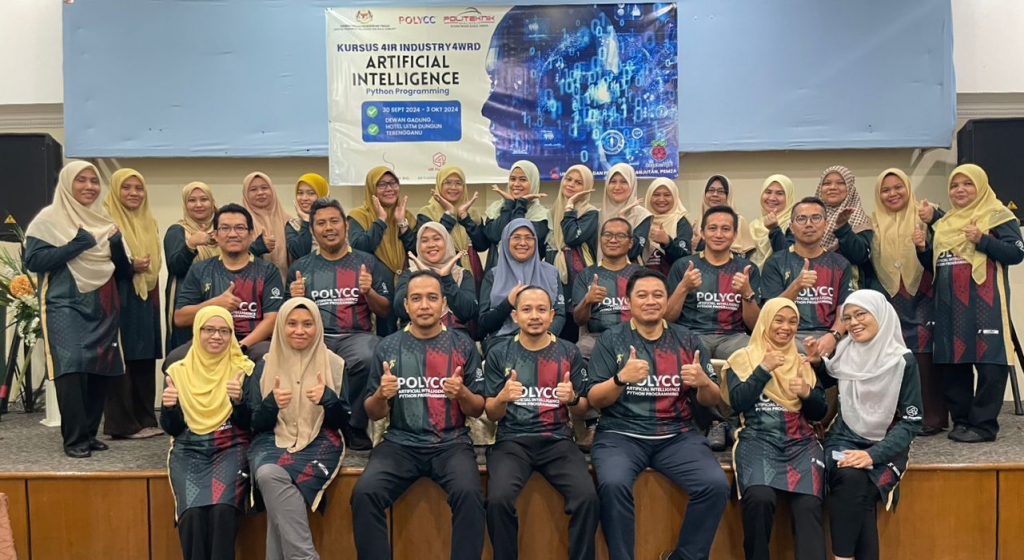
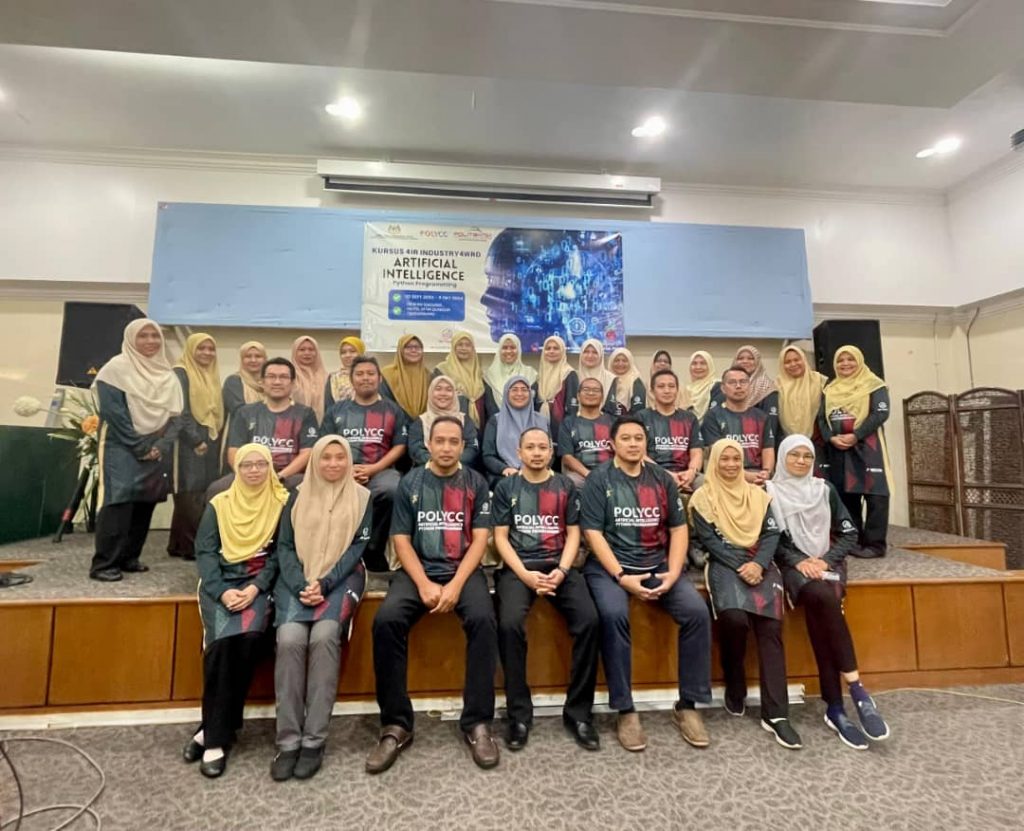
Artificial Intelligence – Python Programming – Train the Trainers Workshop

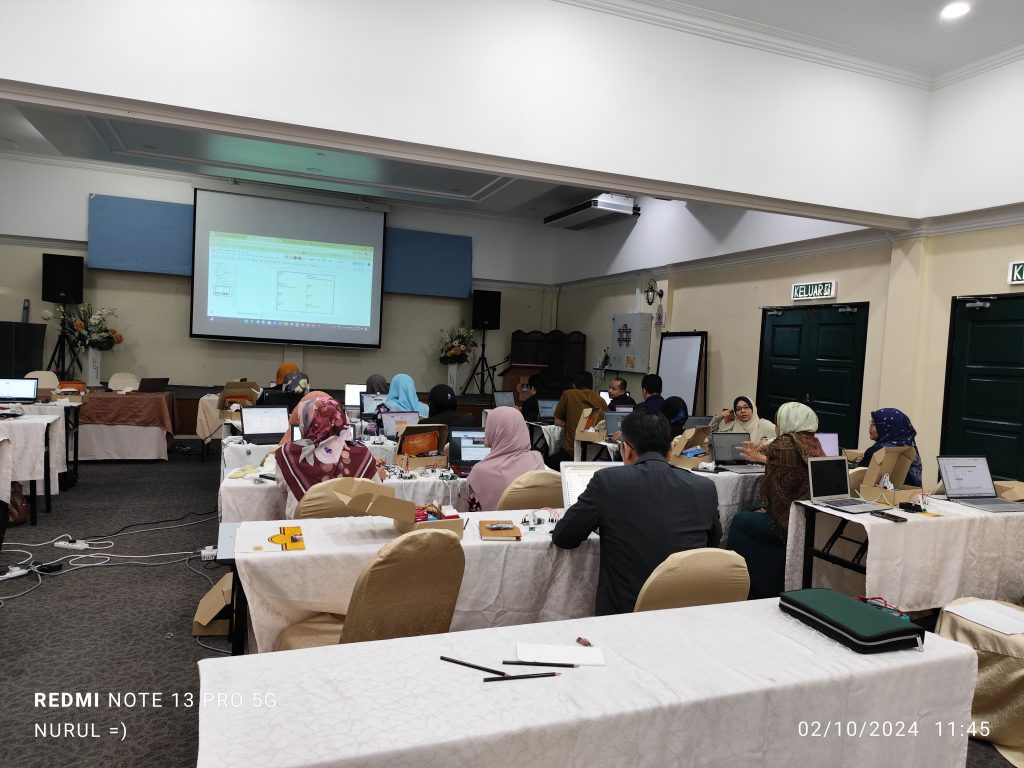
A 4-days workshop crafted for academicians from Polytechnics Malaysia.

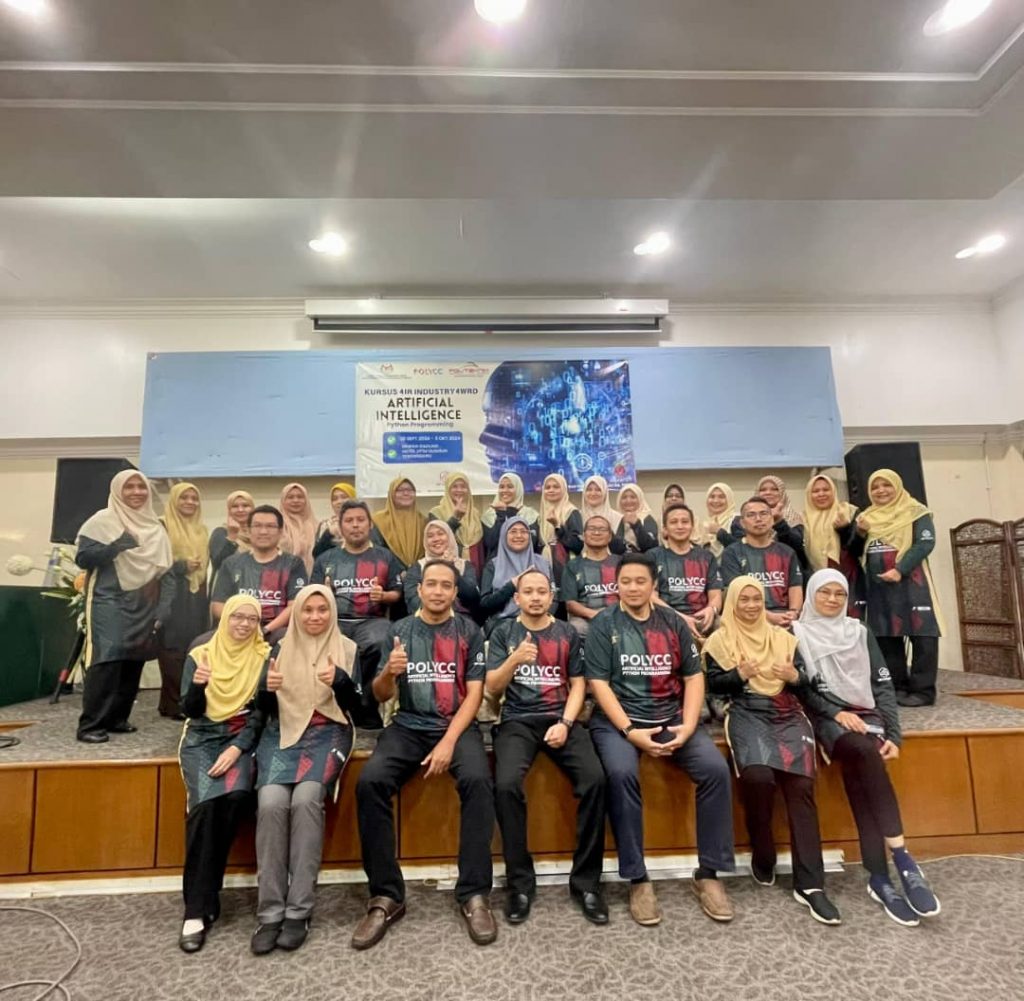
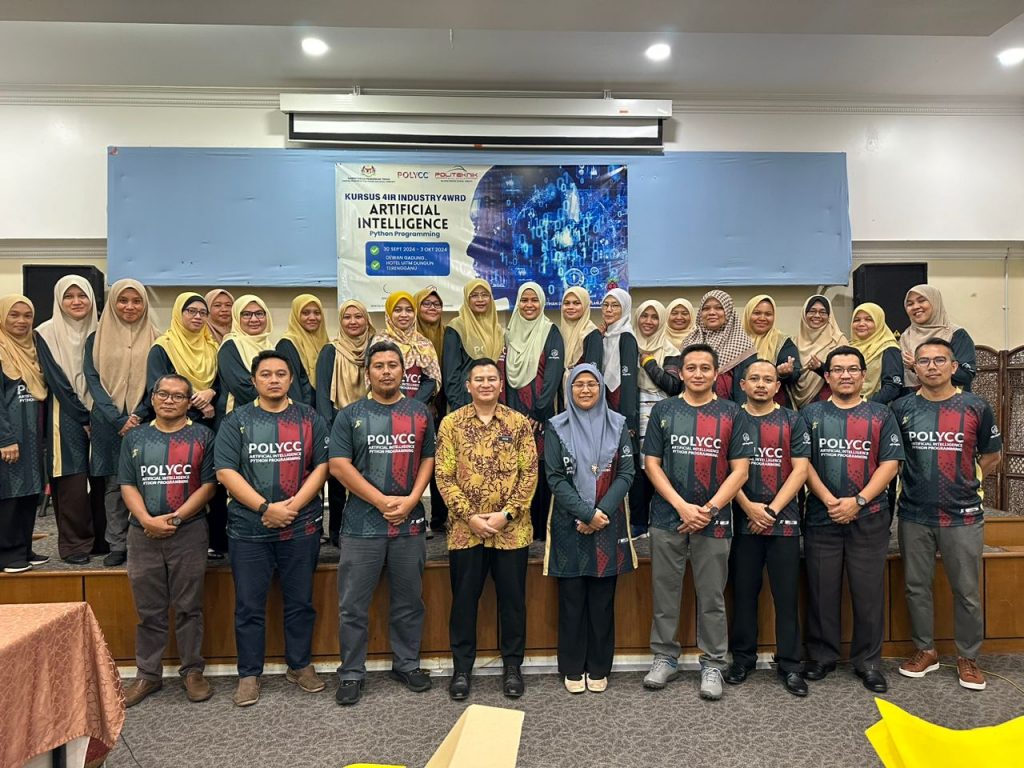
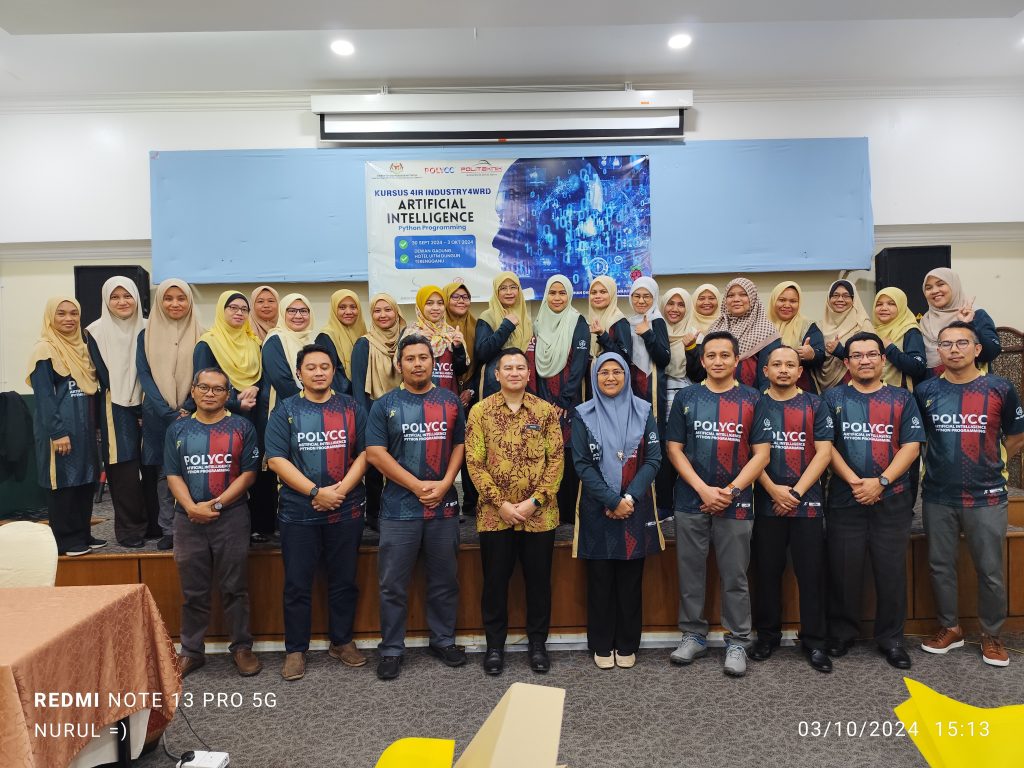
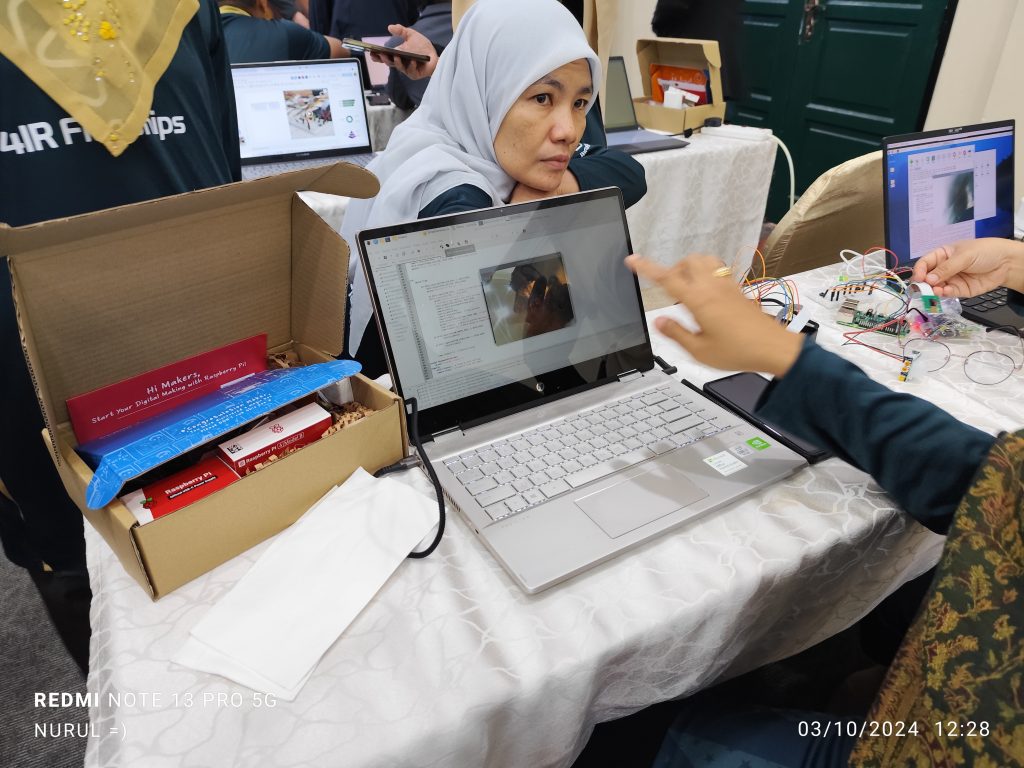
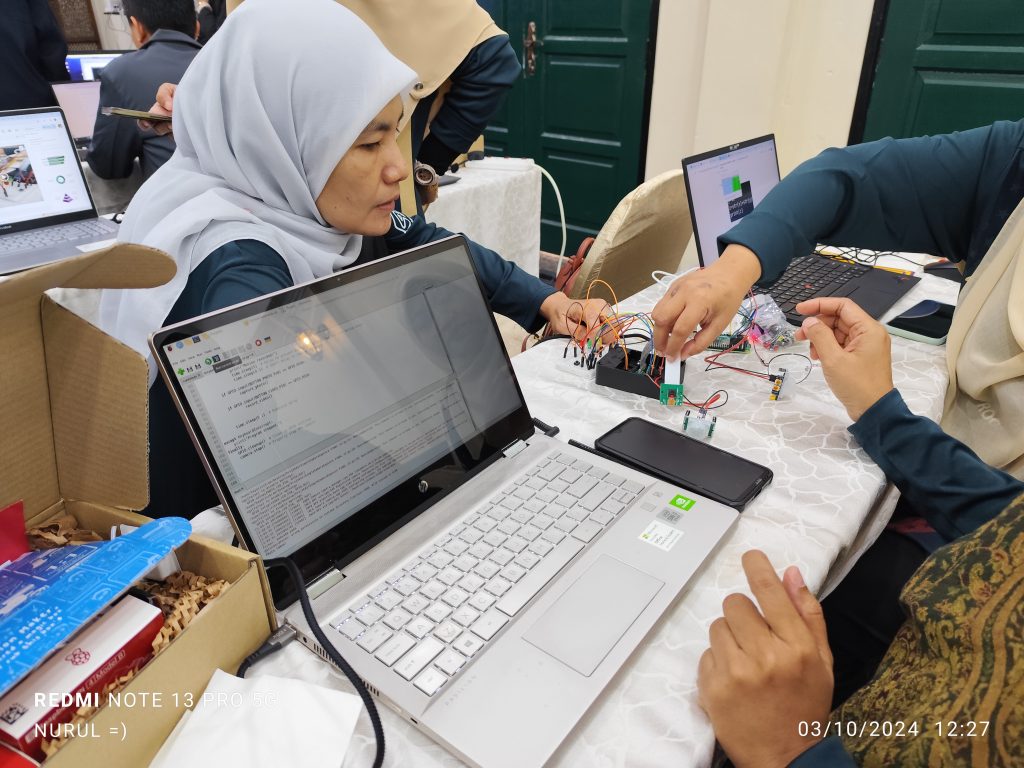
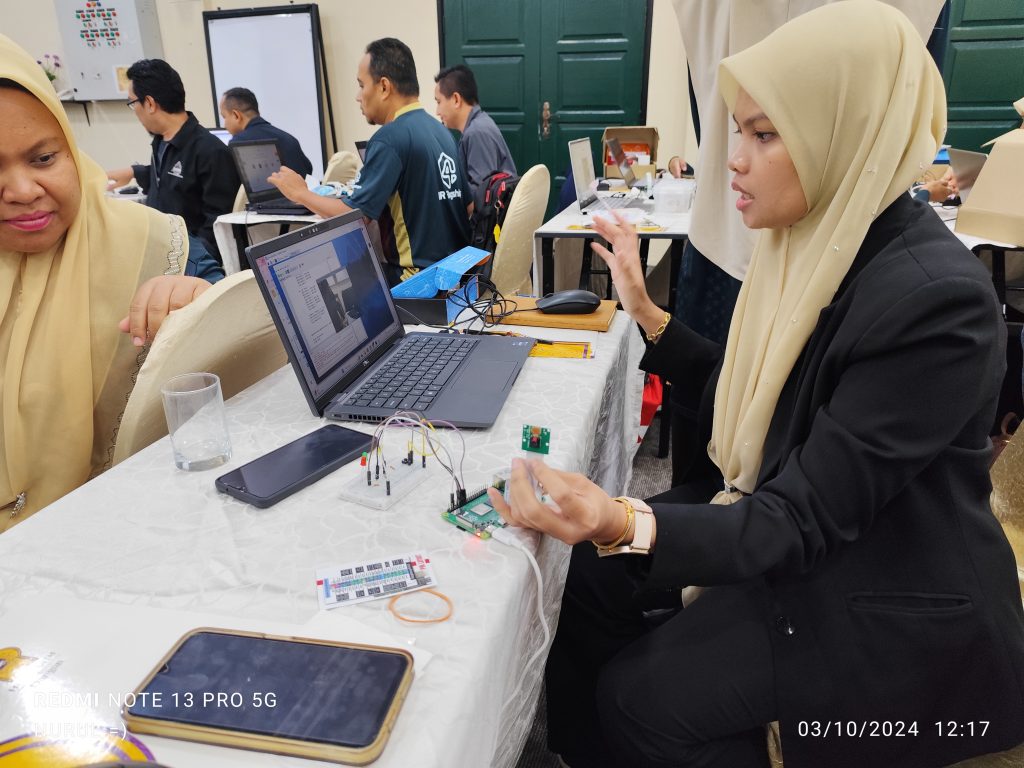
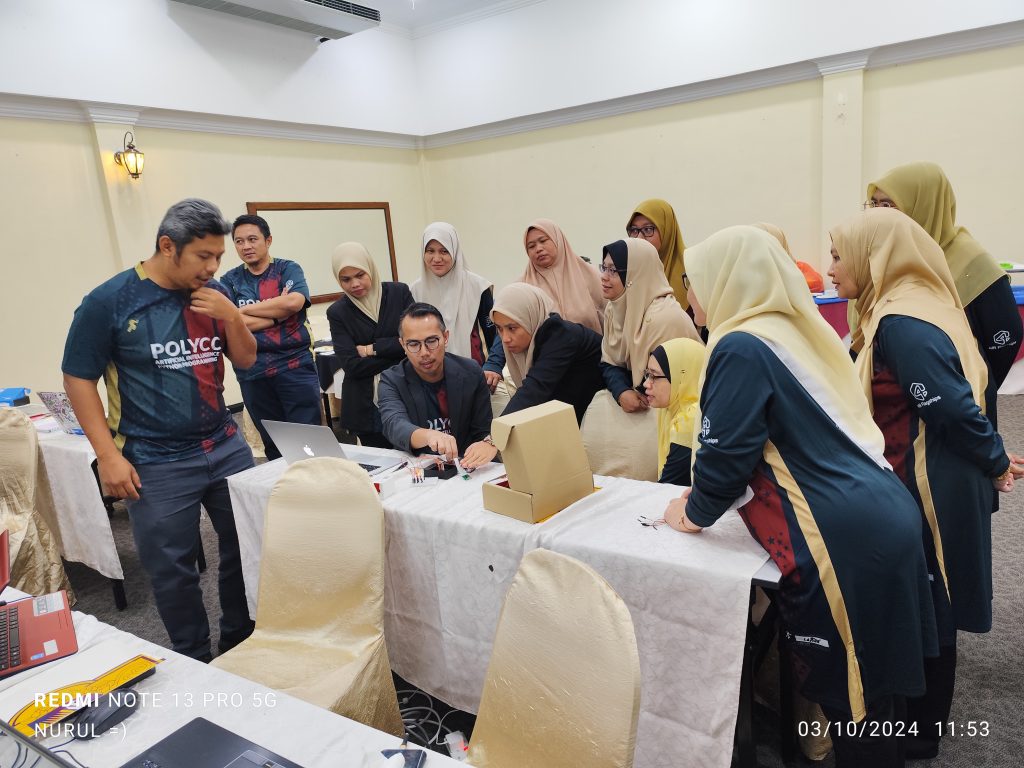
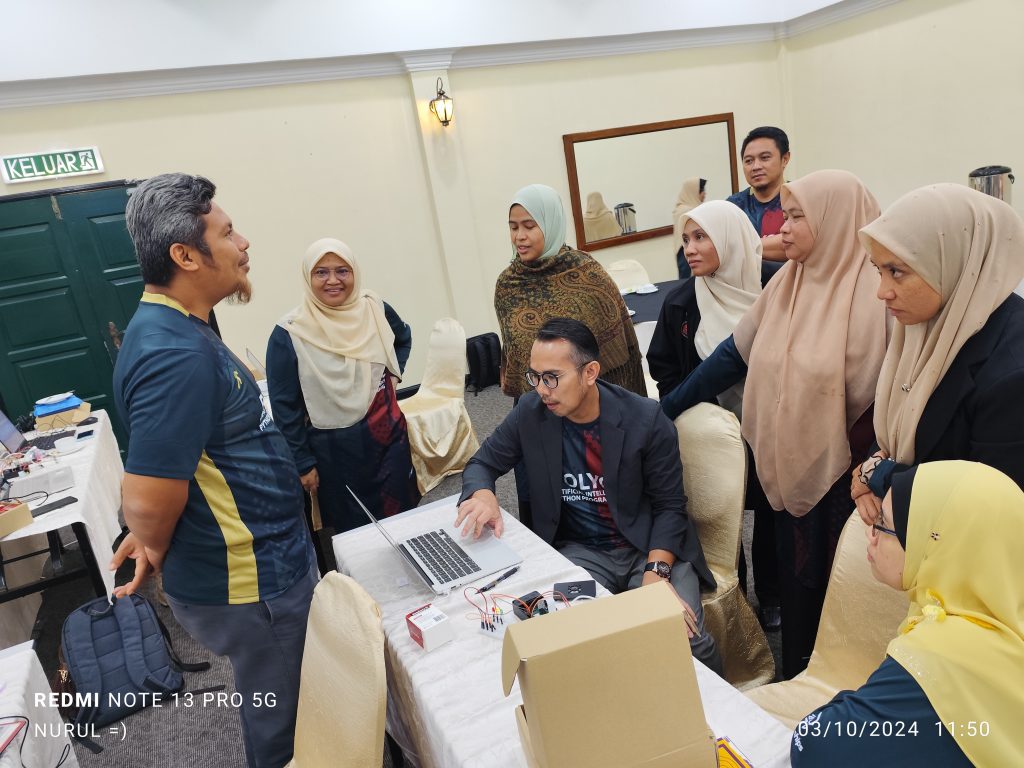
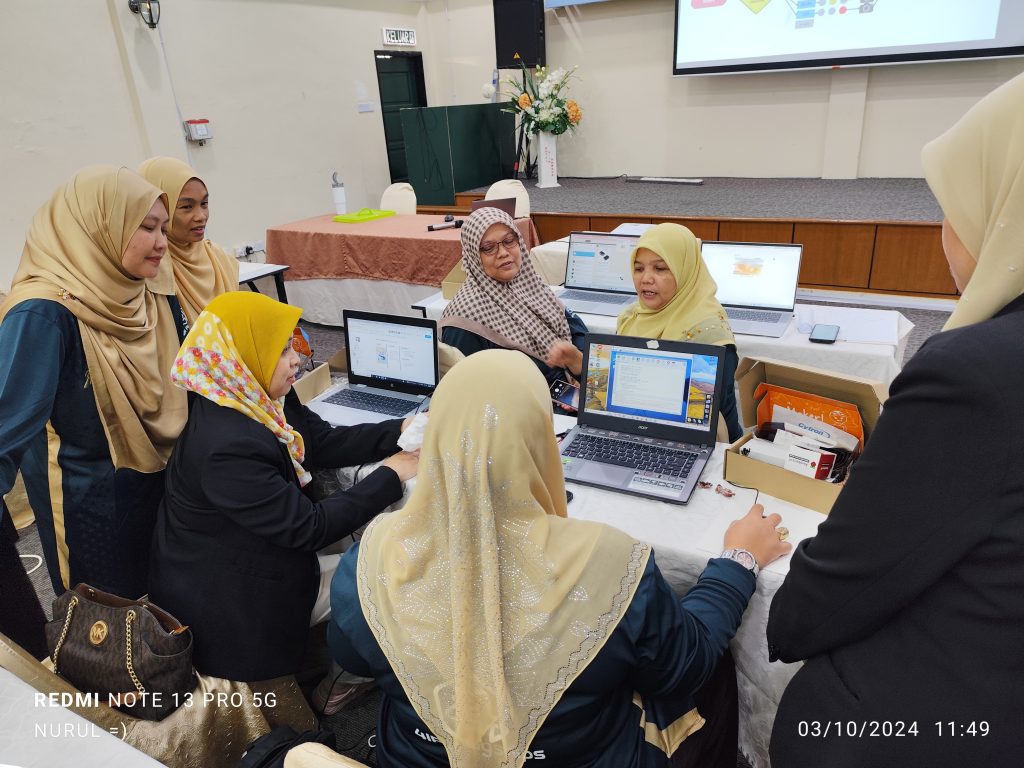
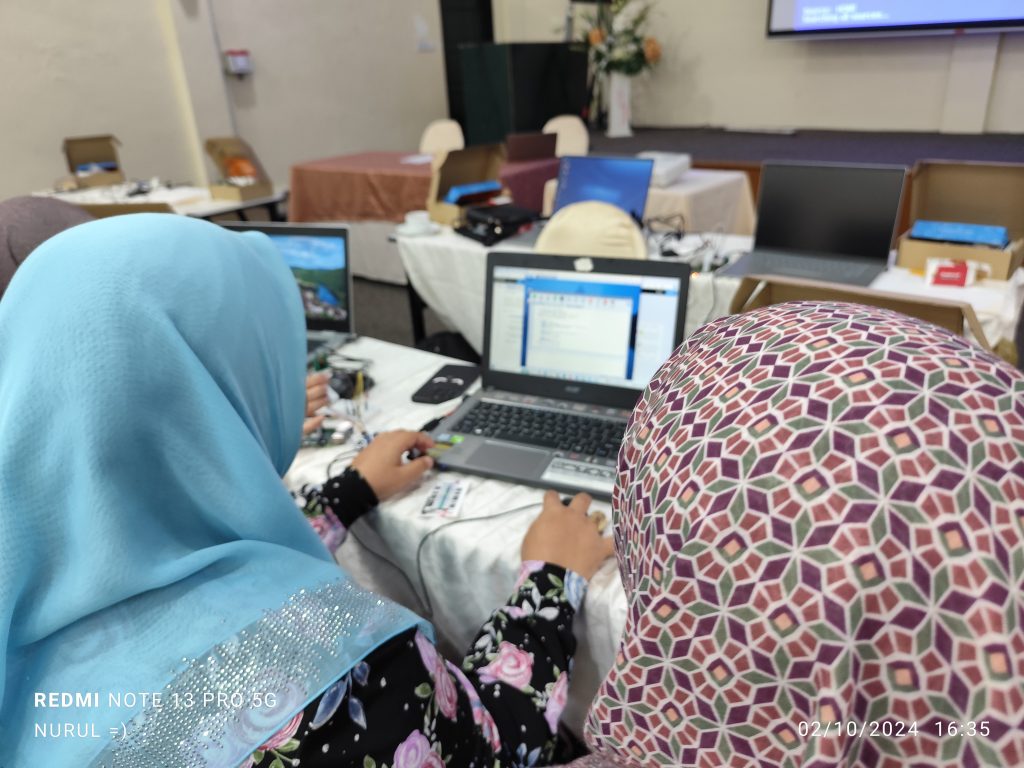
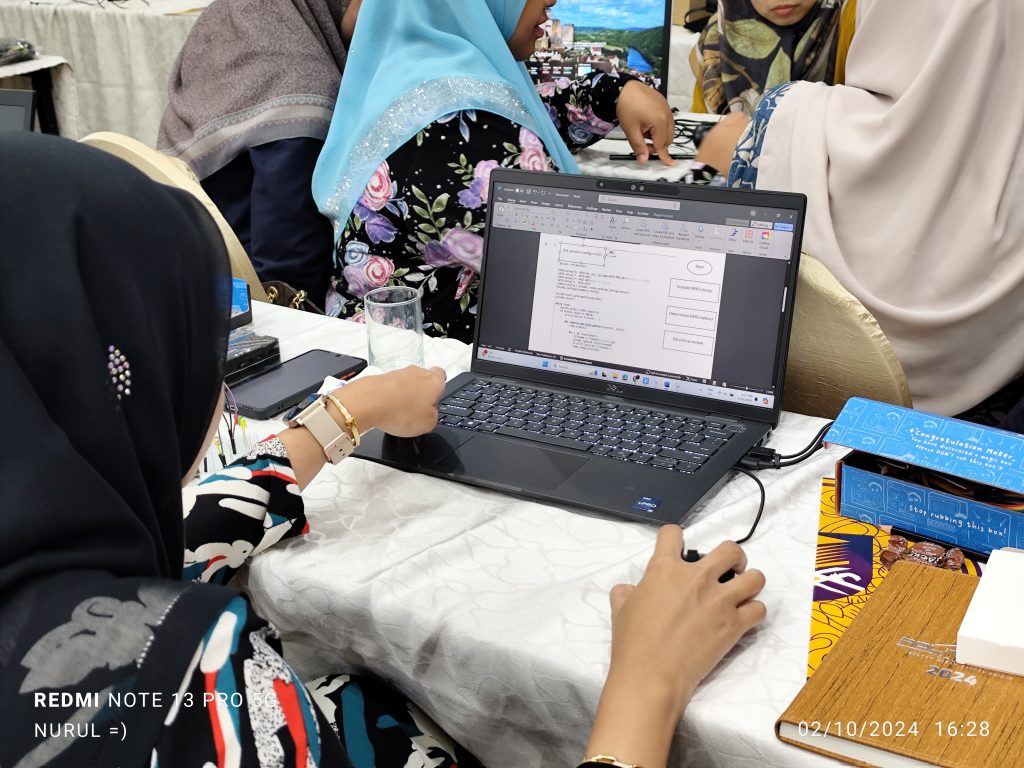
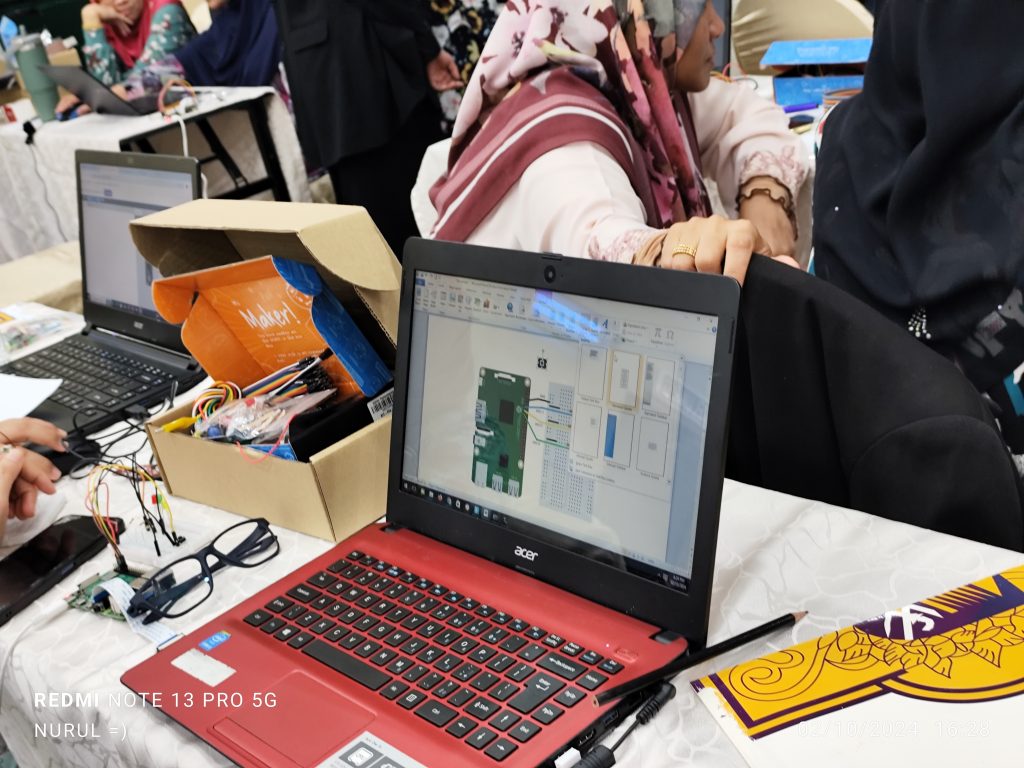
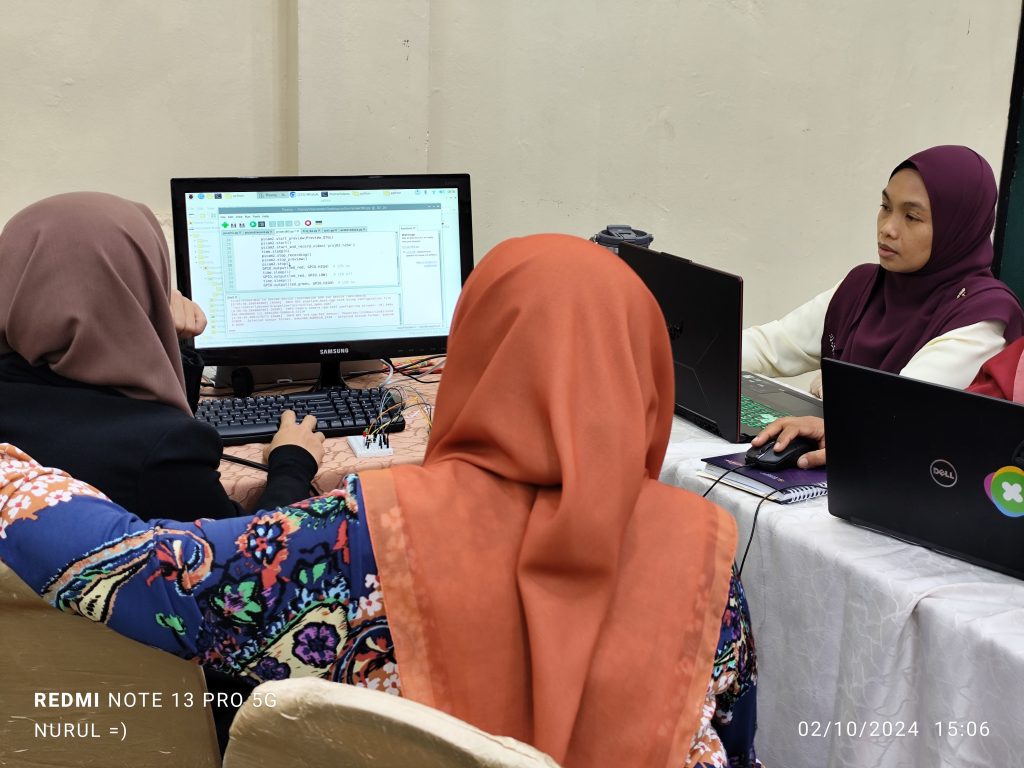
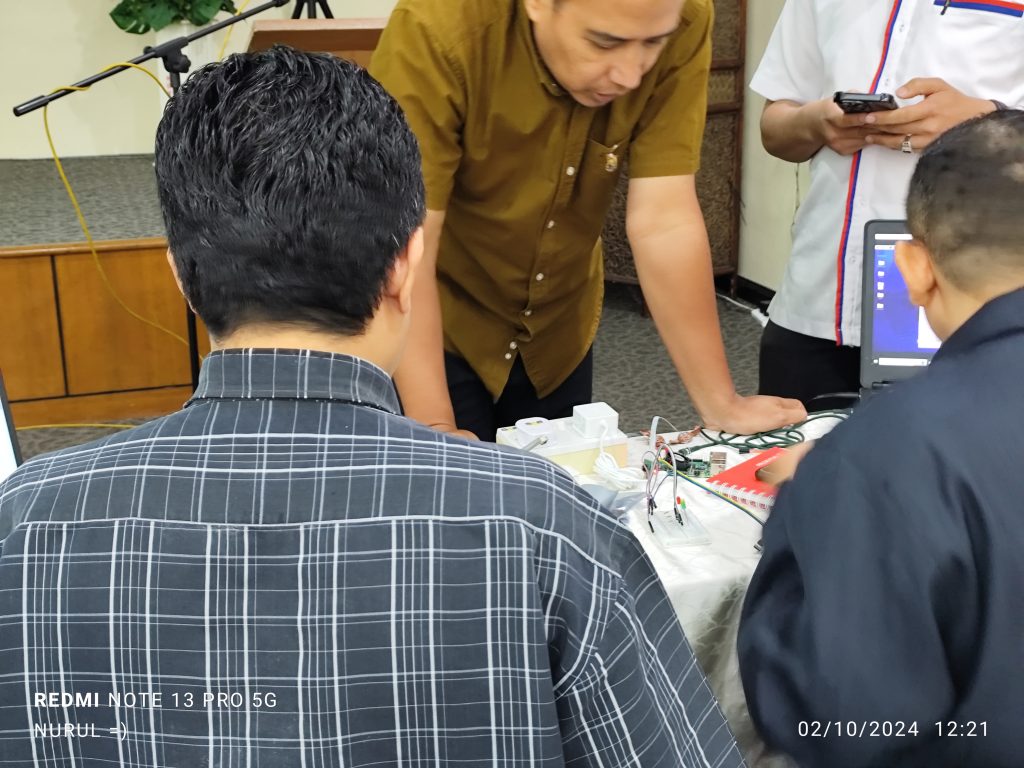
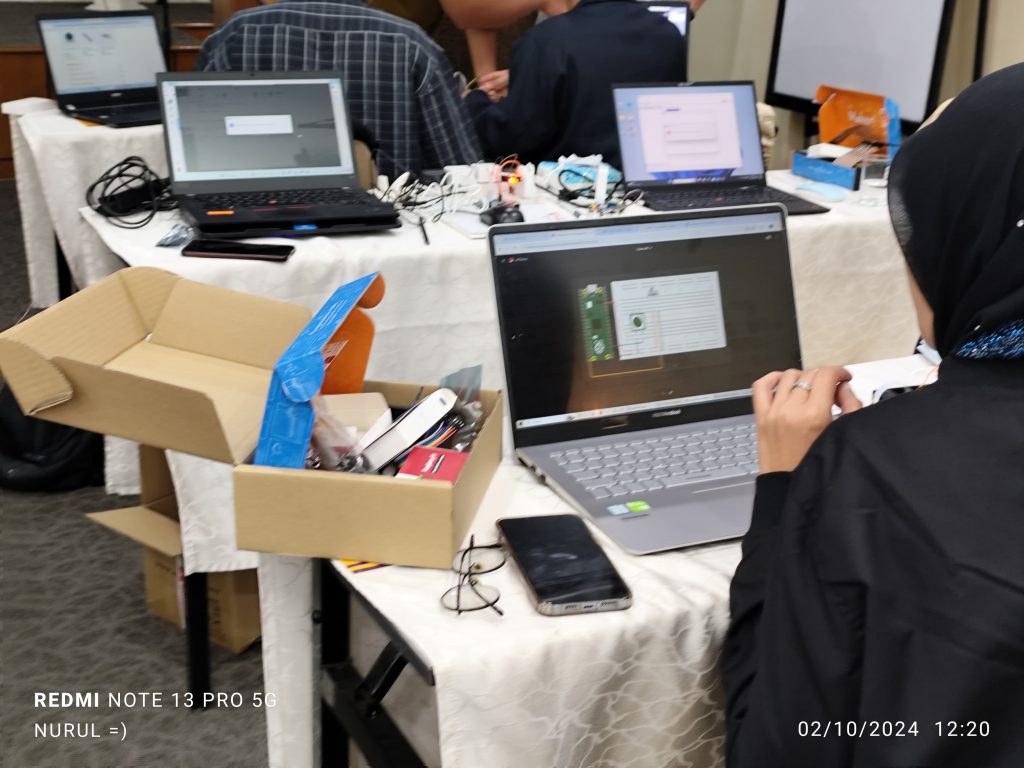
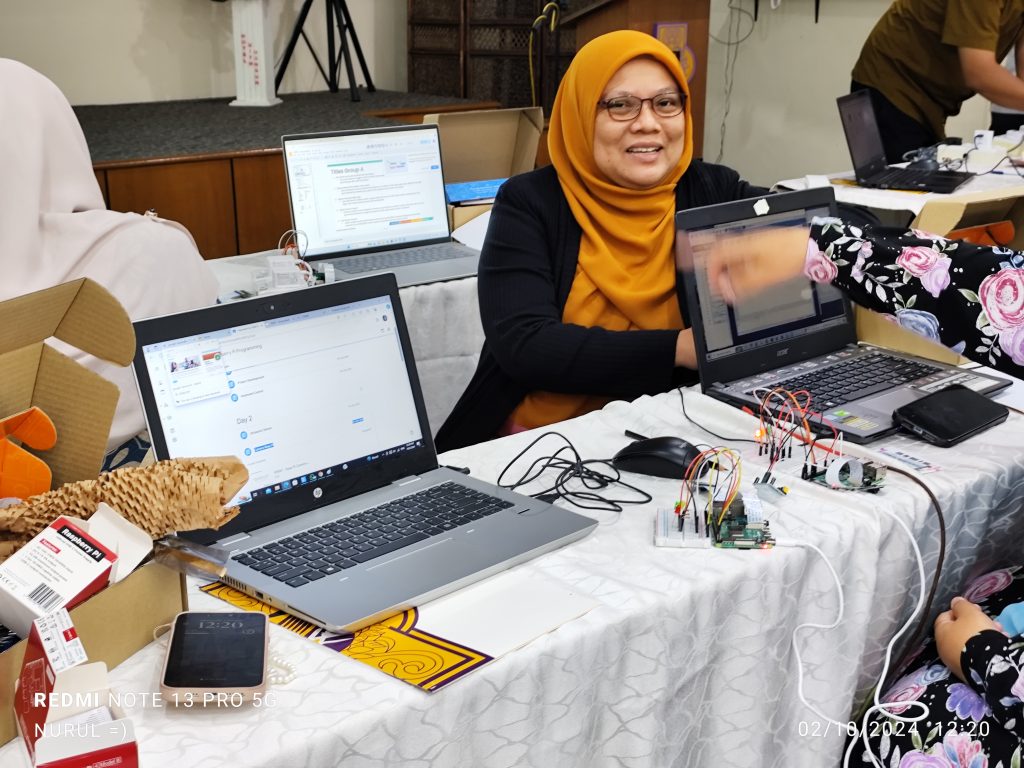
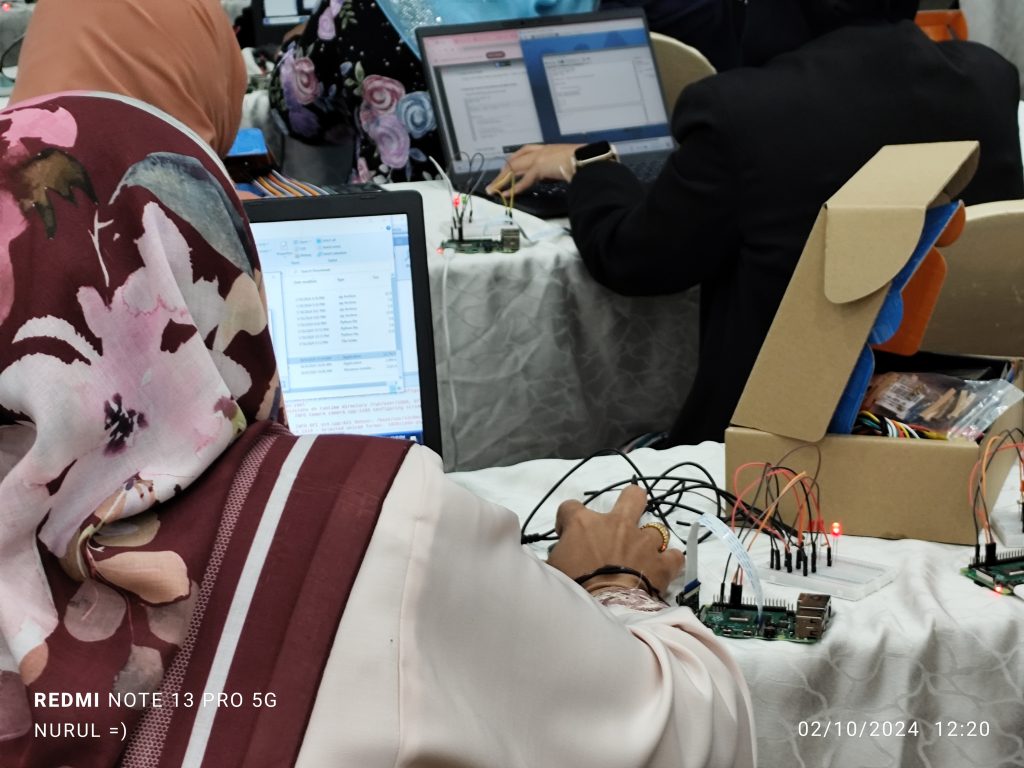
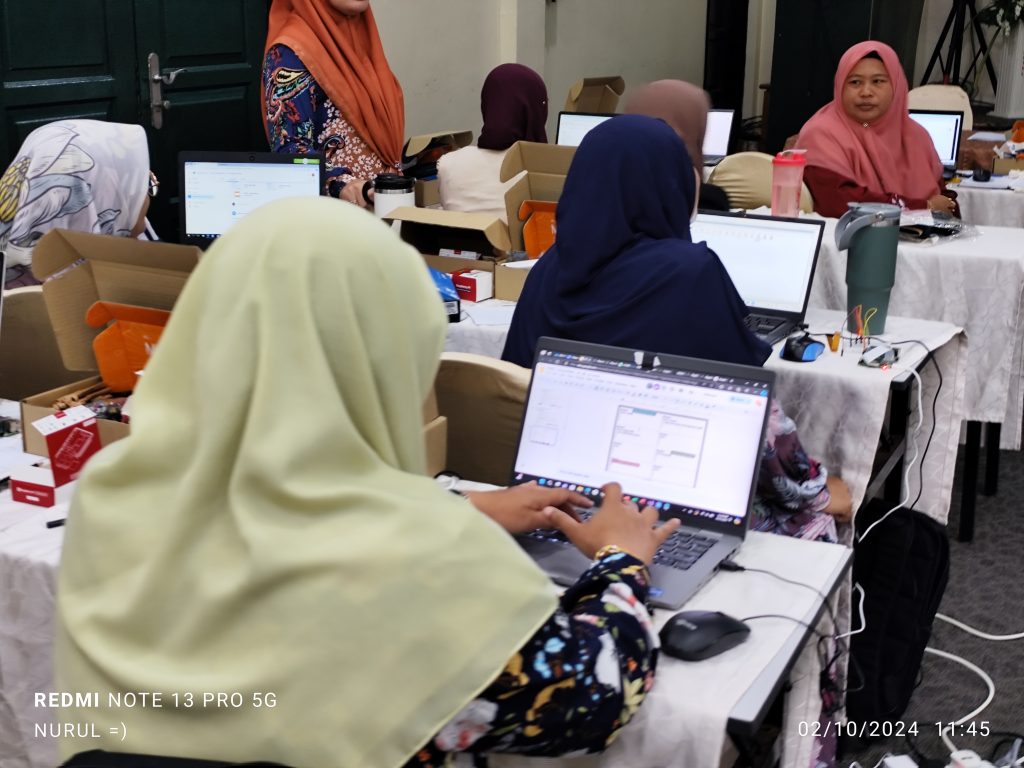
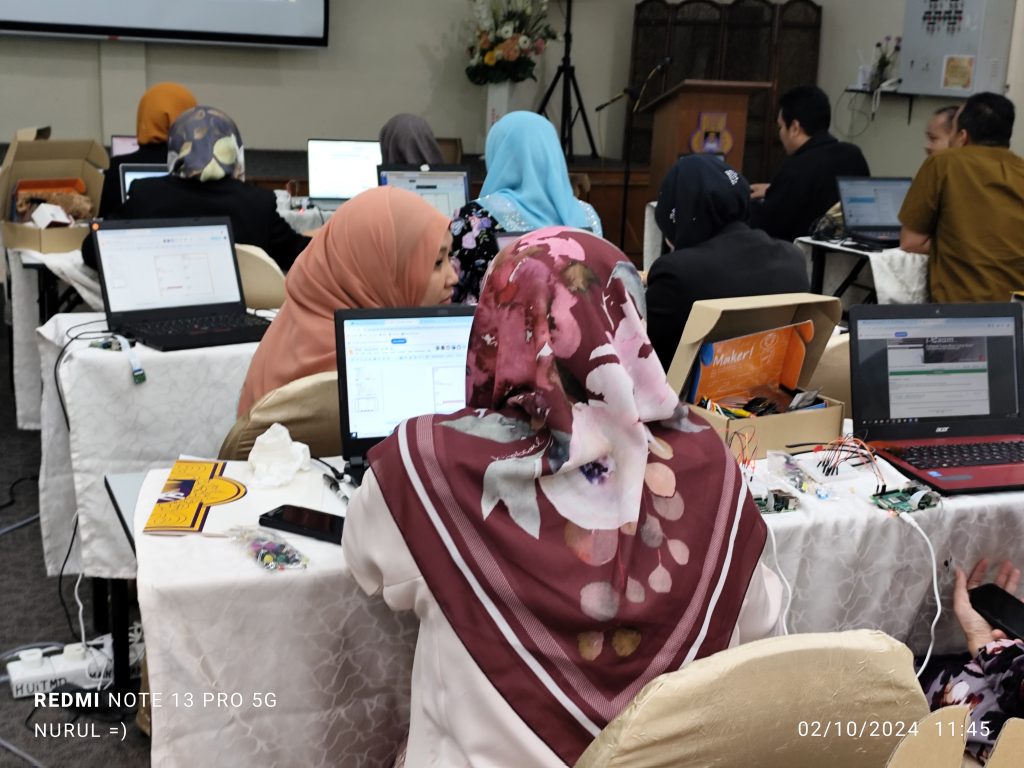
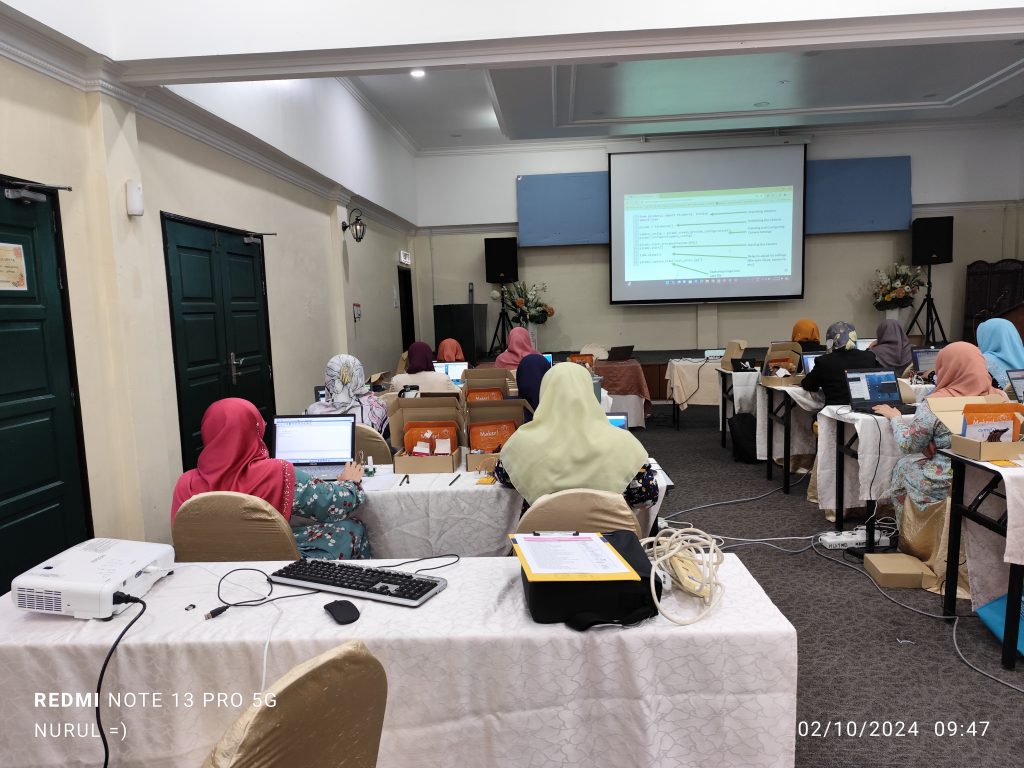
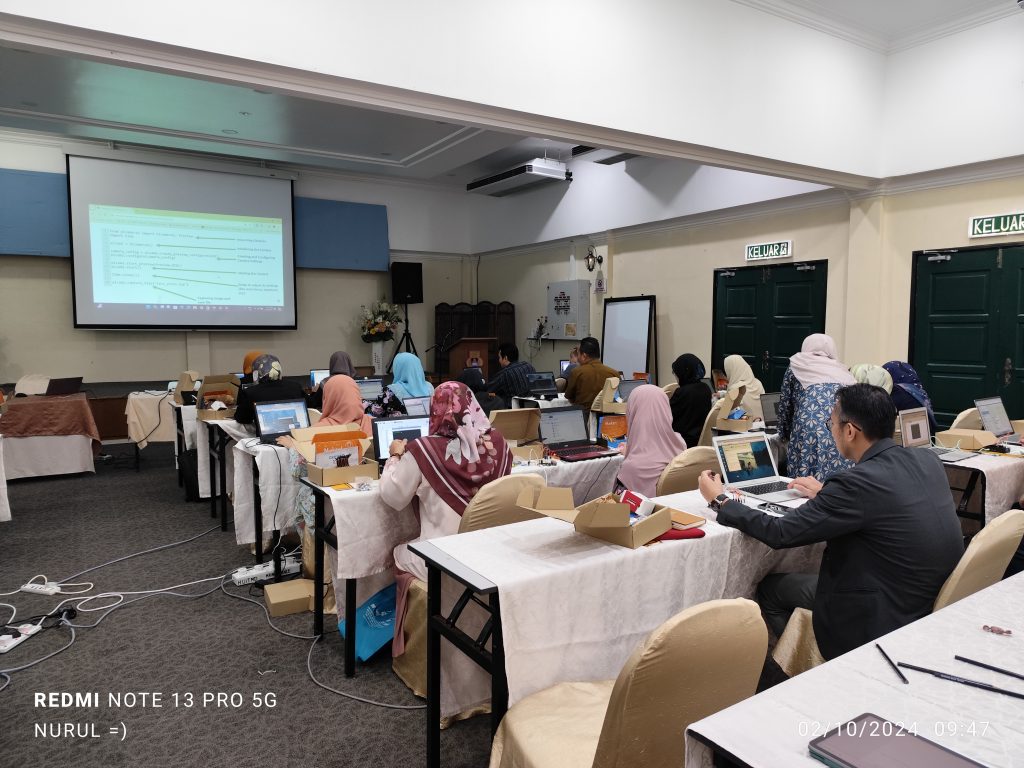
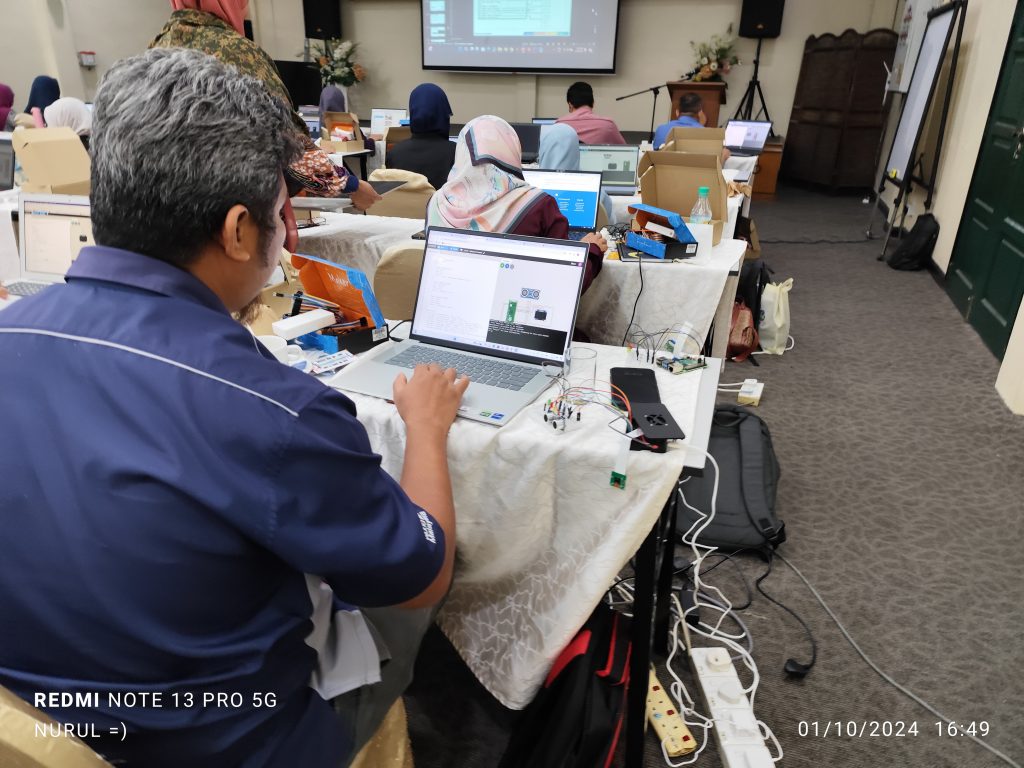
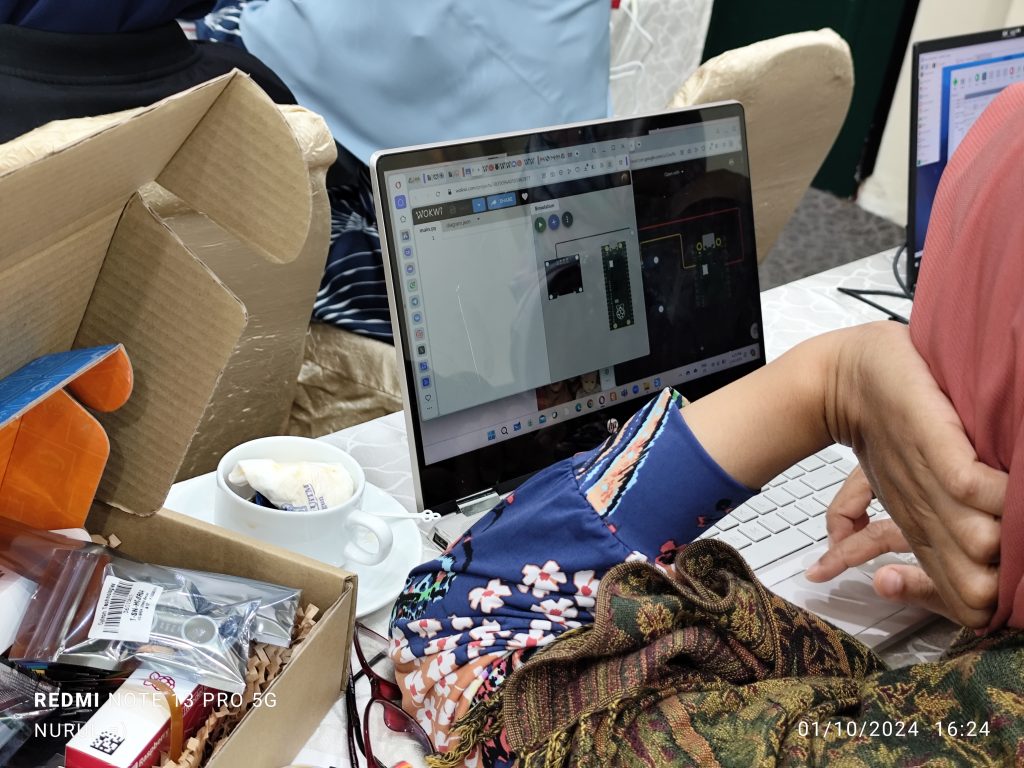
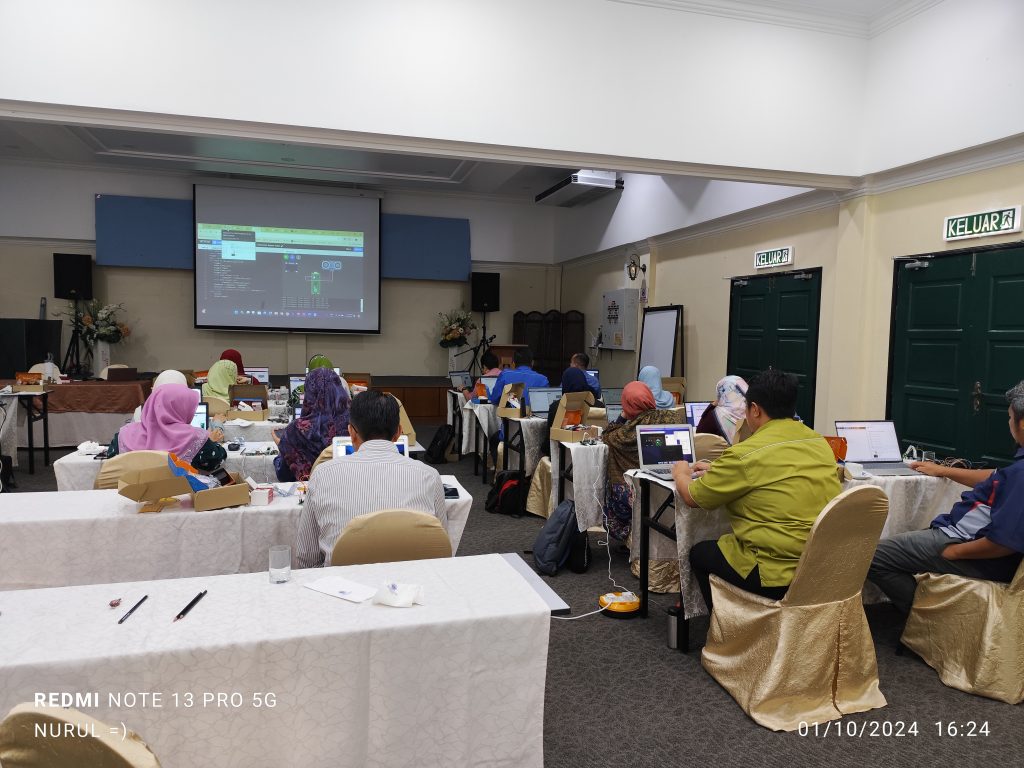
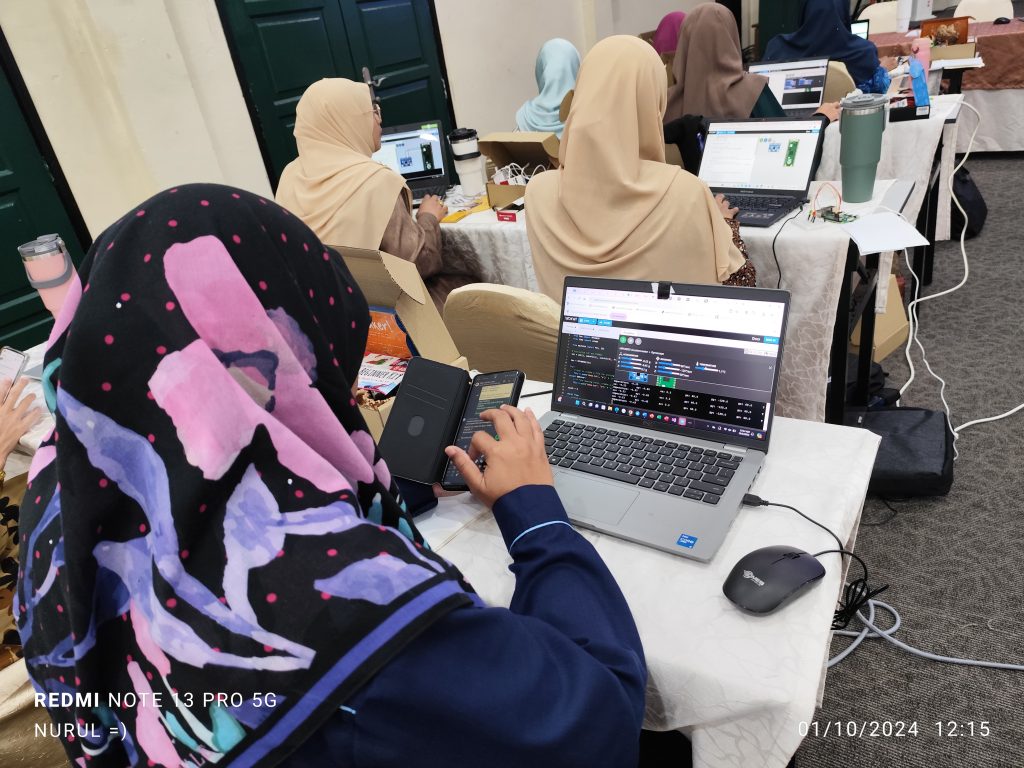
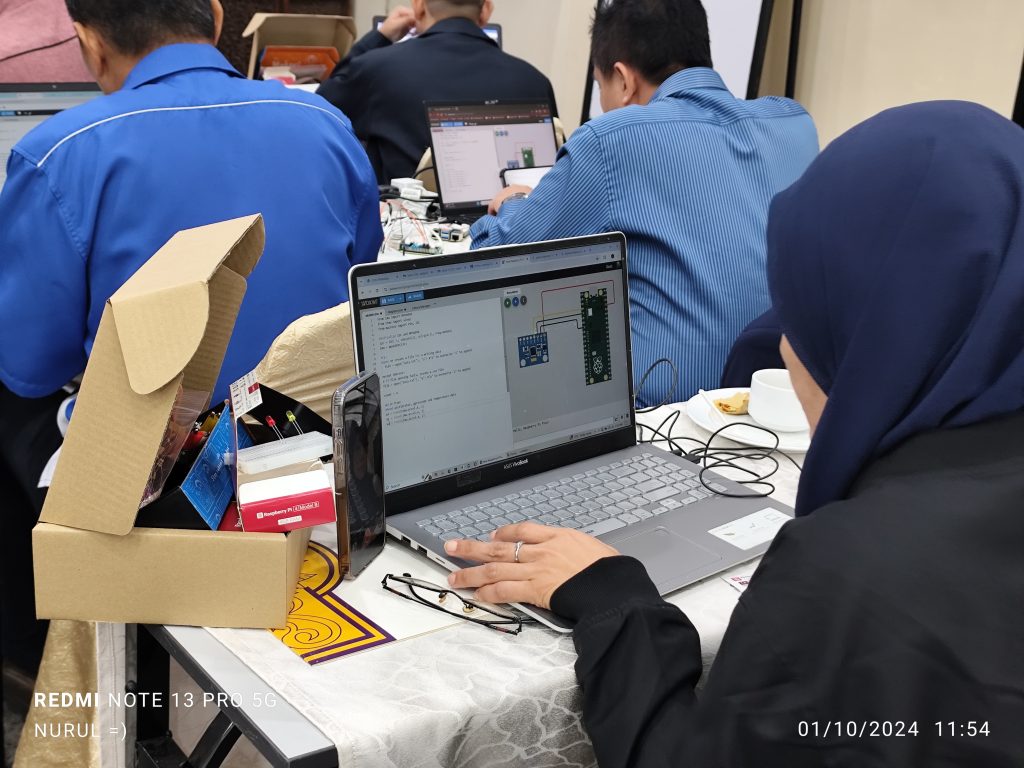
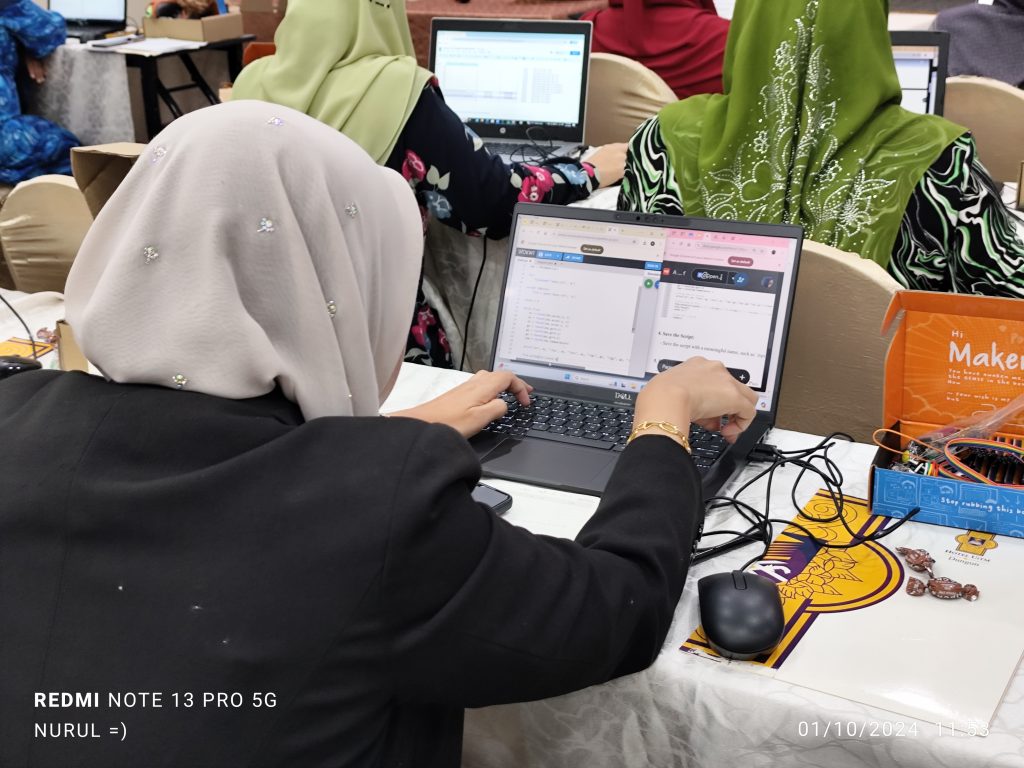
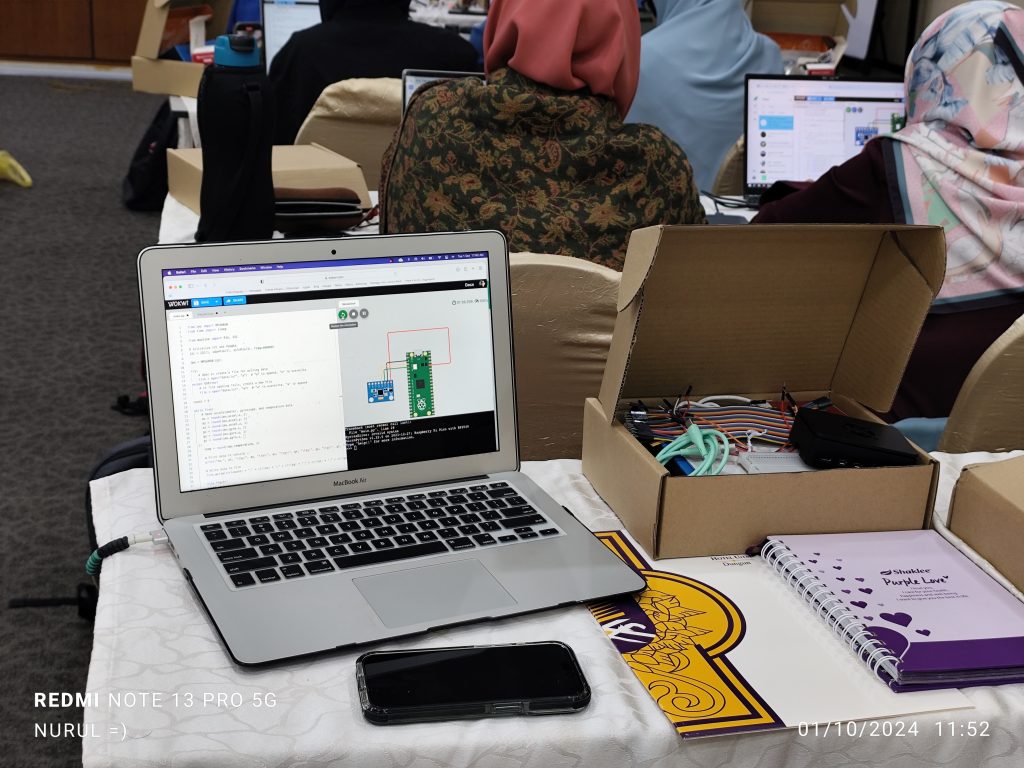
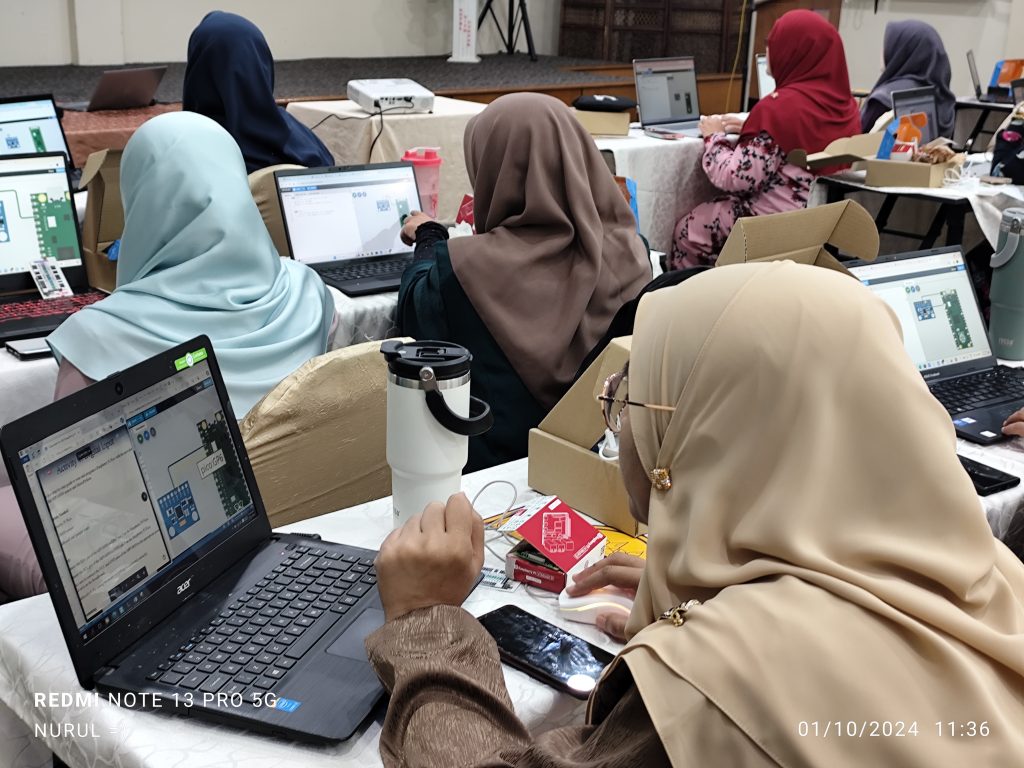
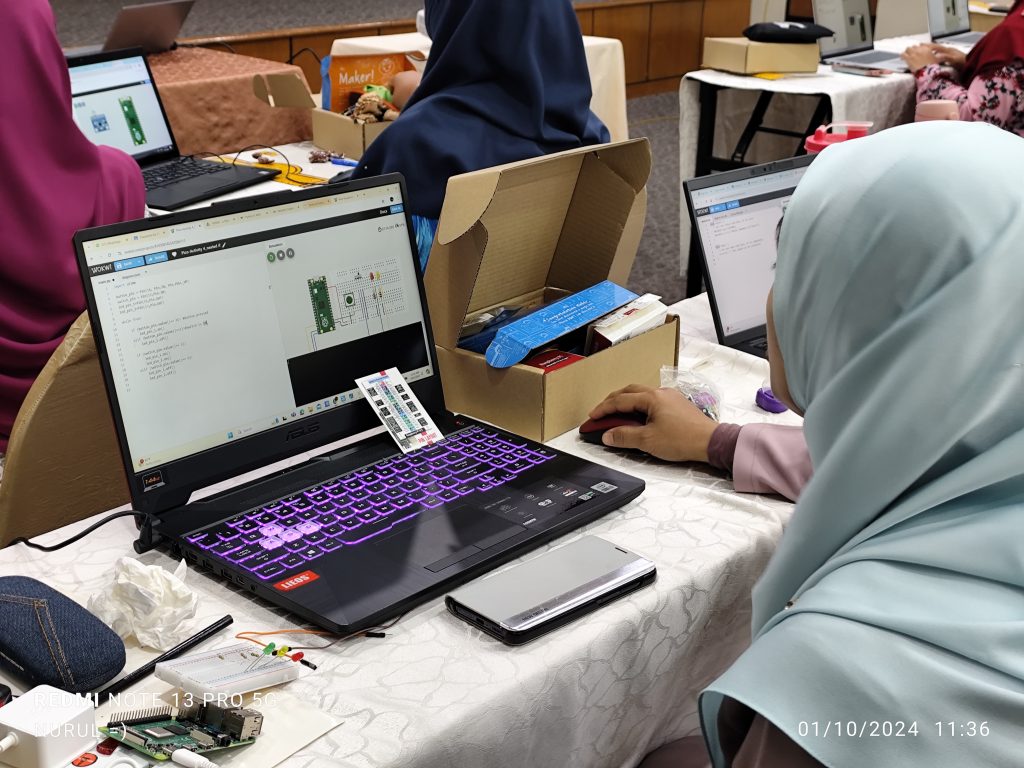
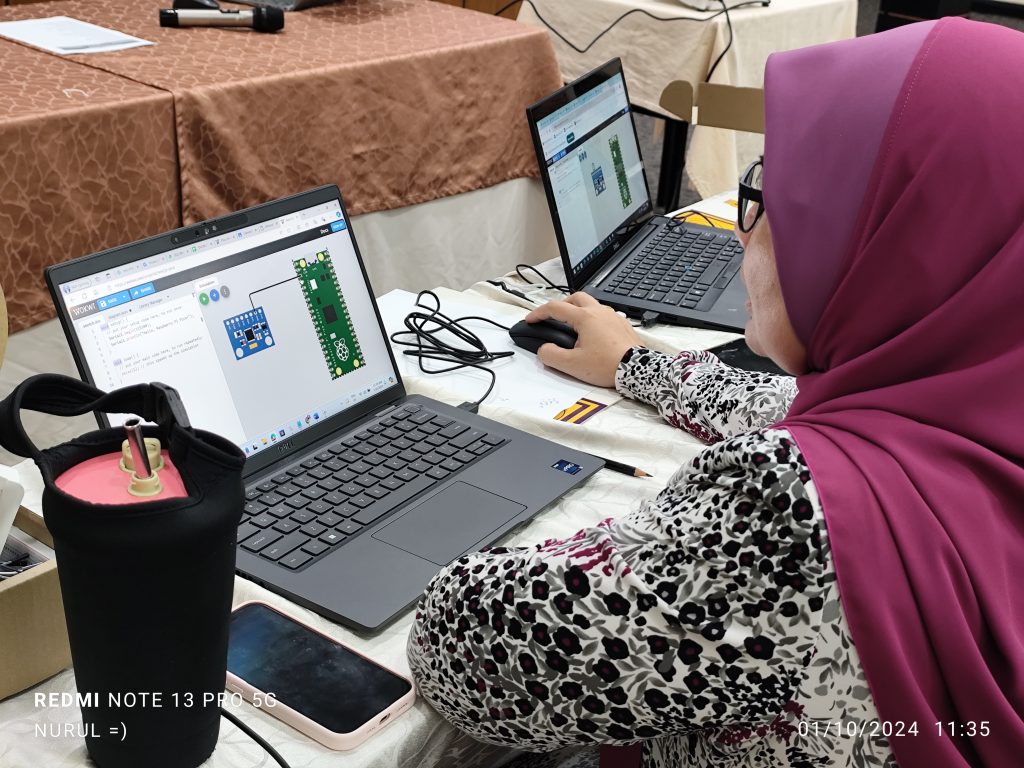
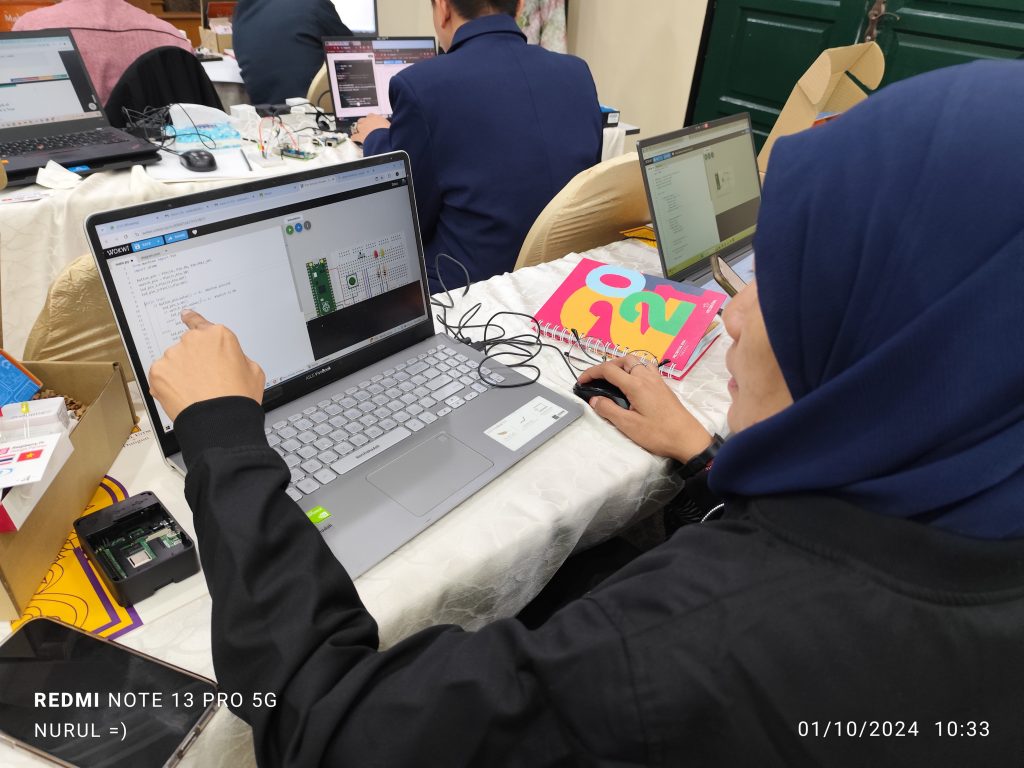
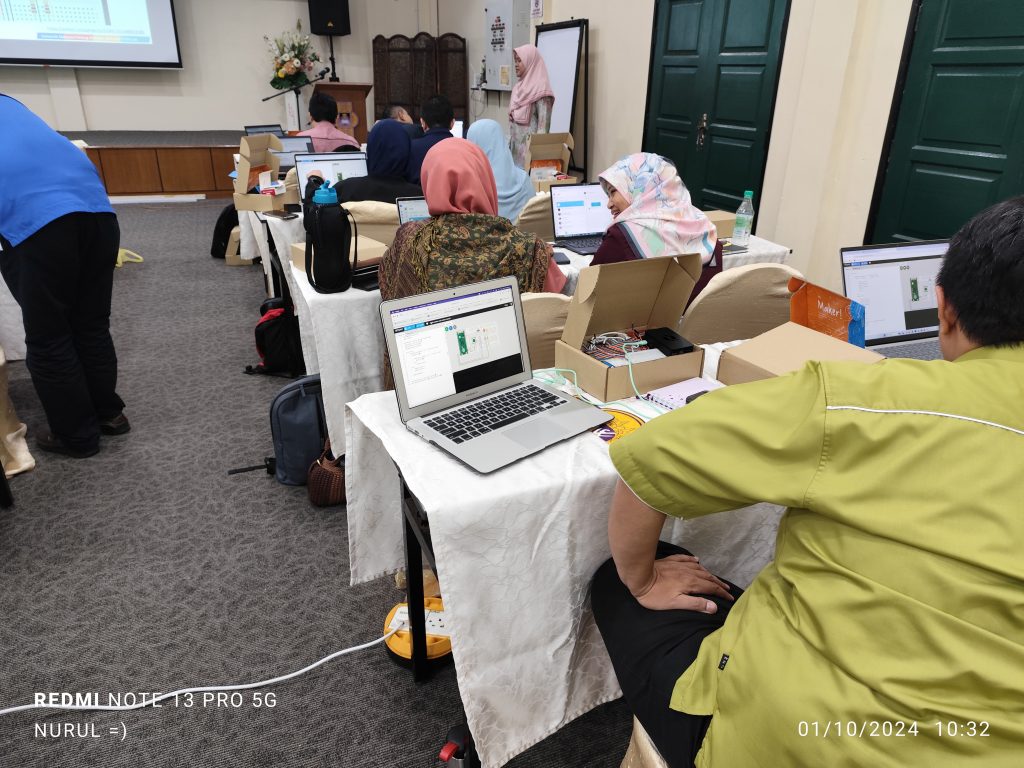
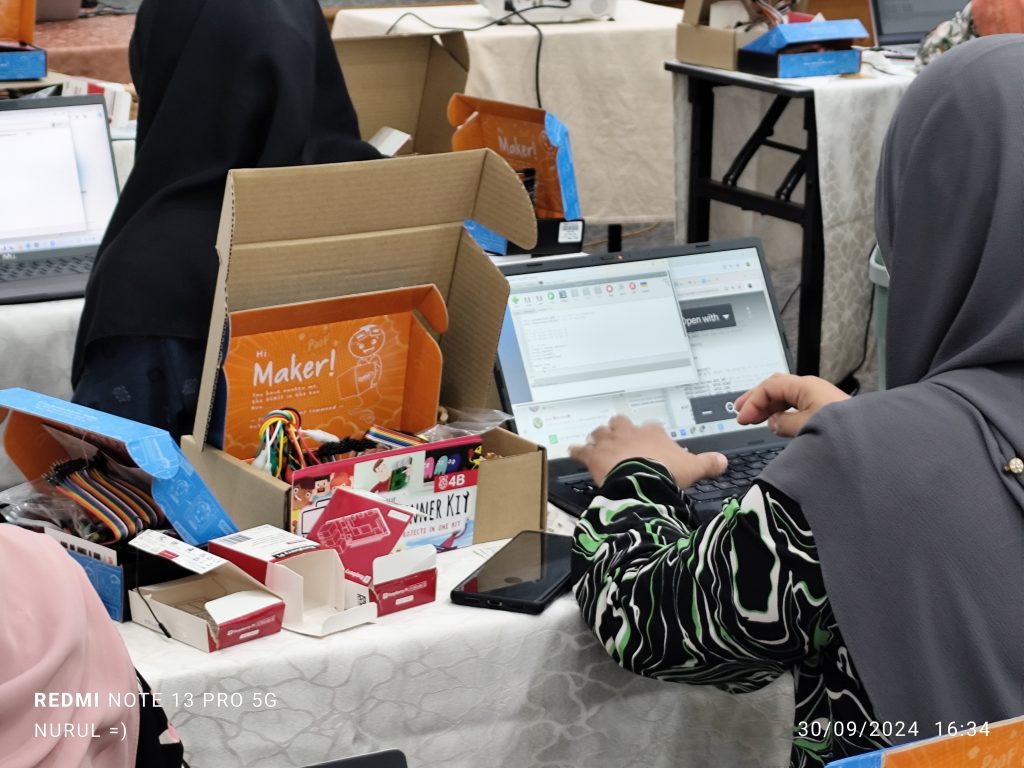
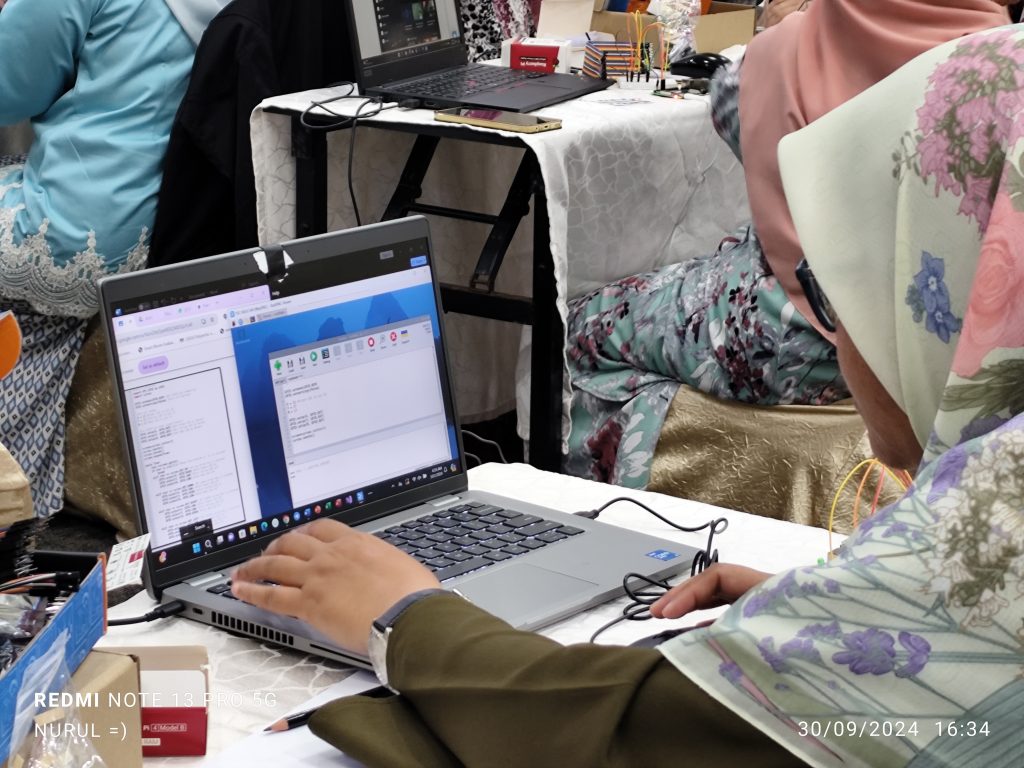
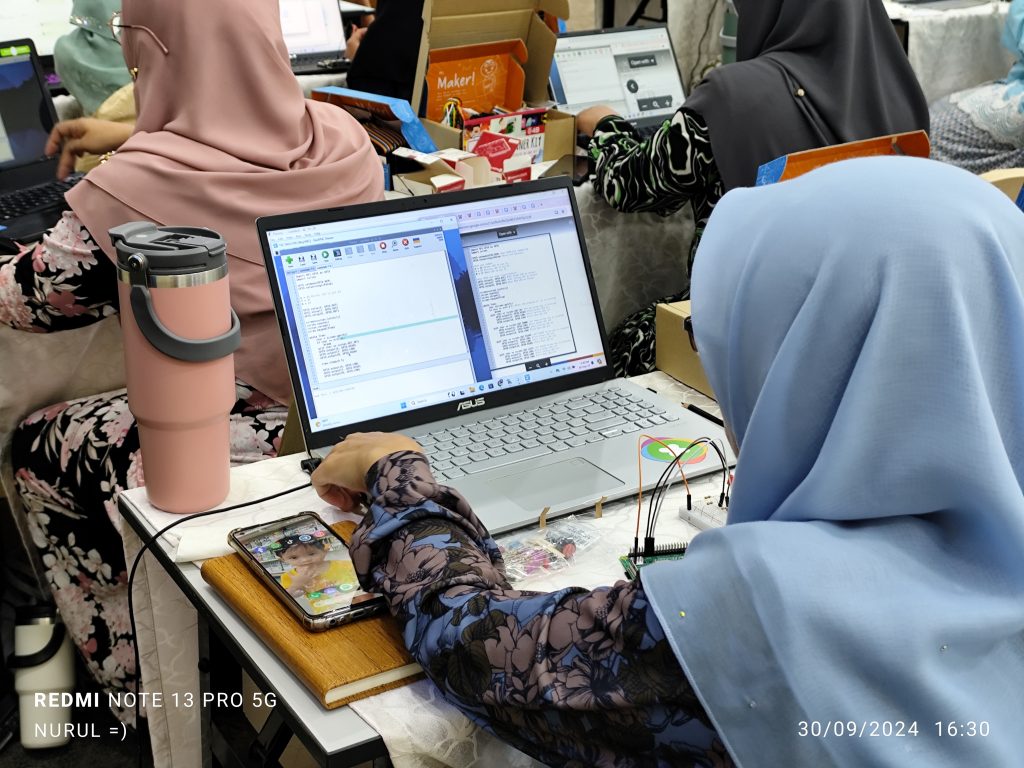
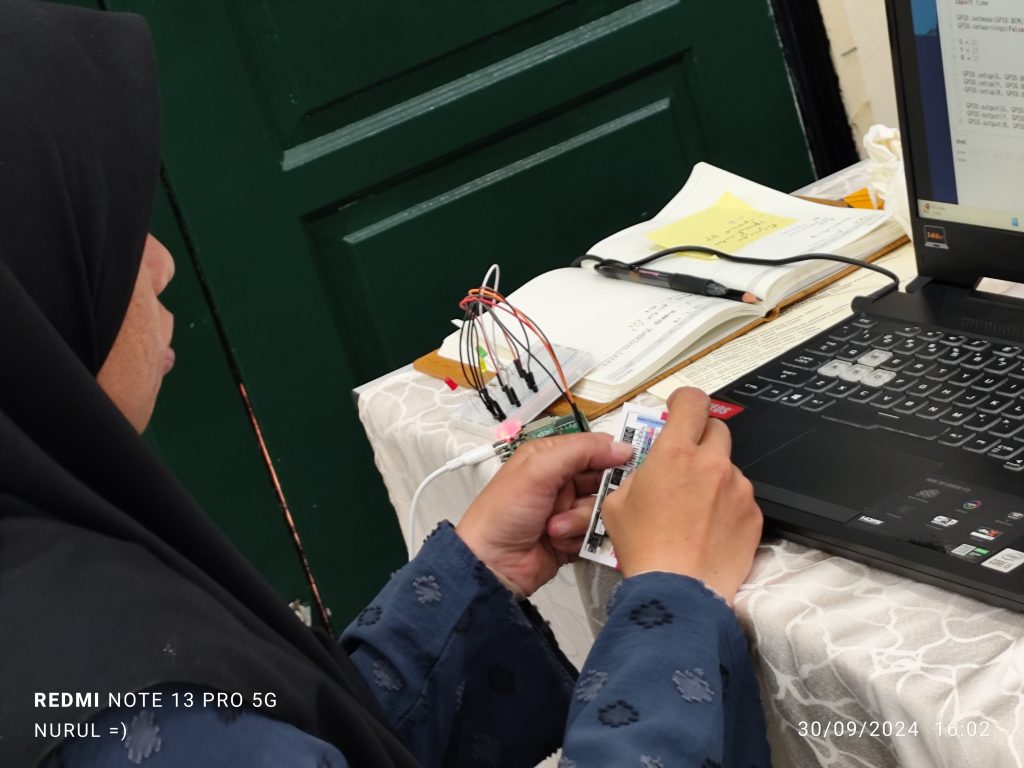
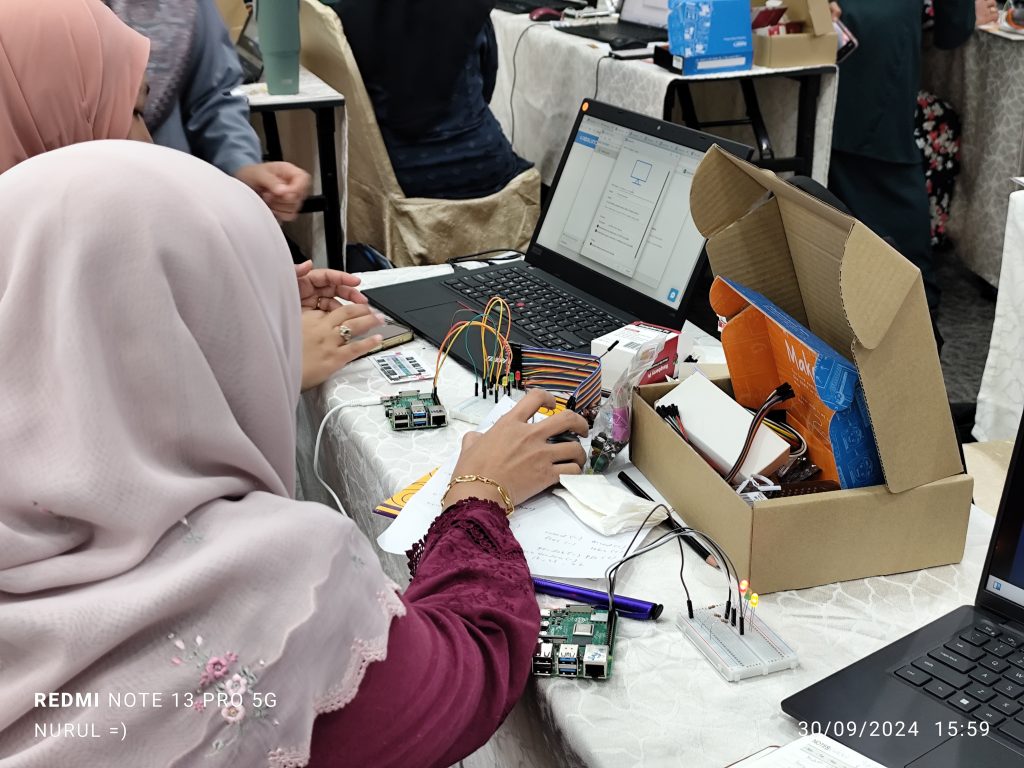
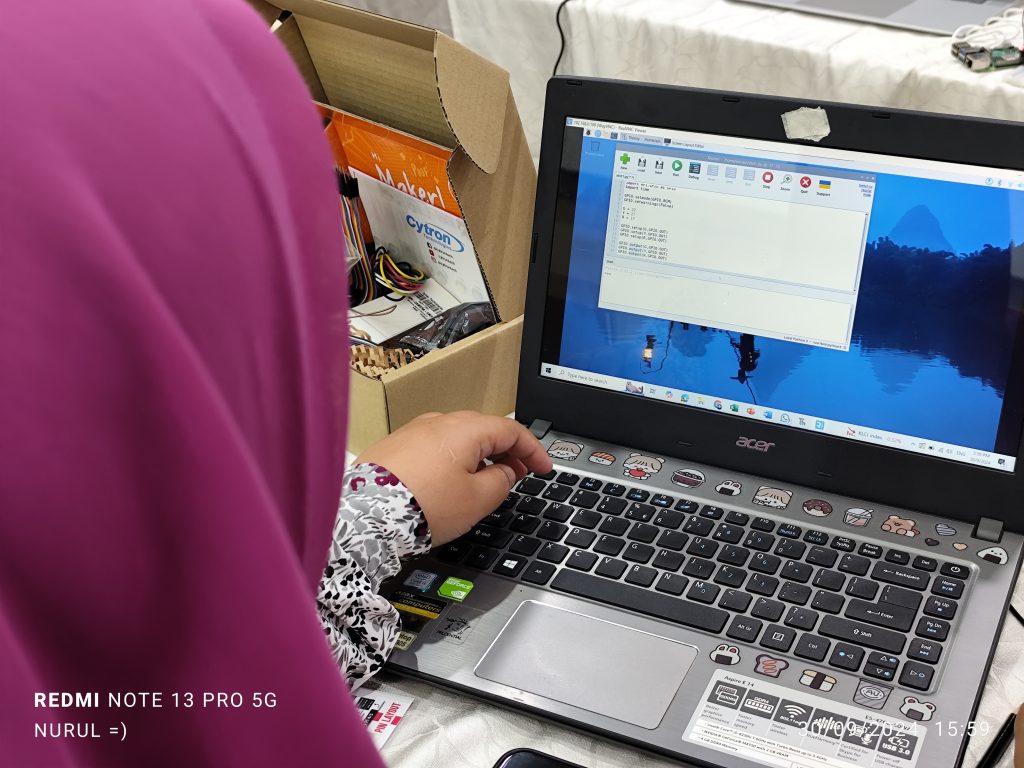
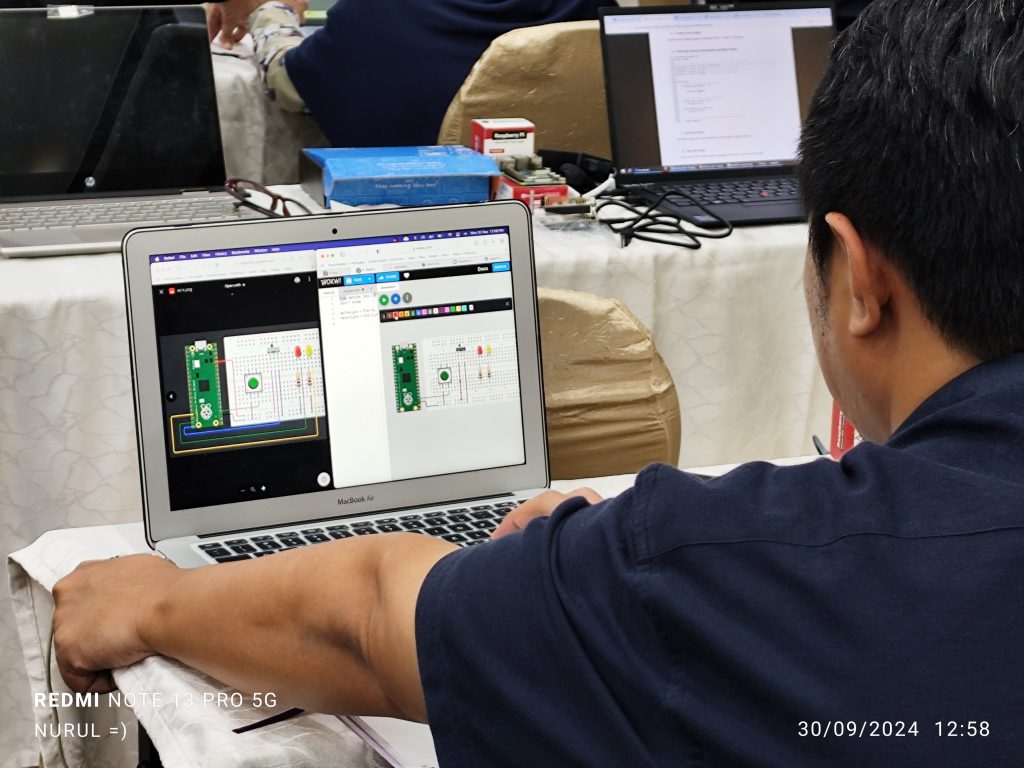
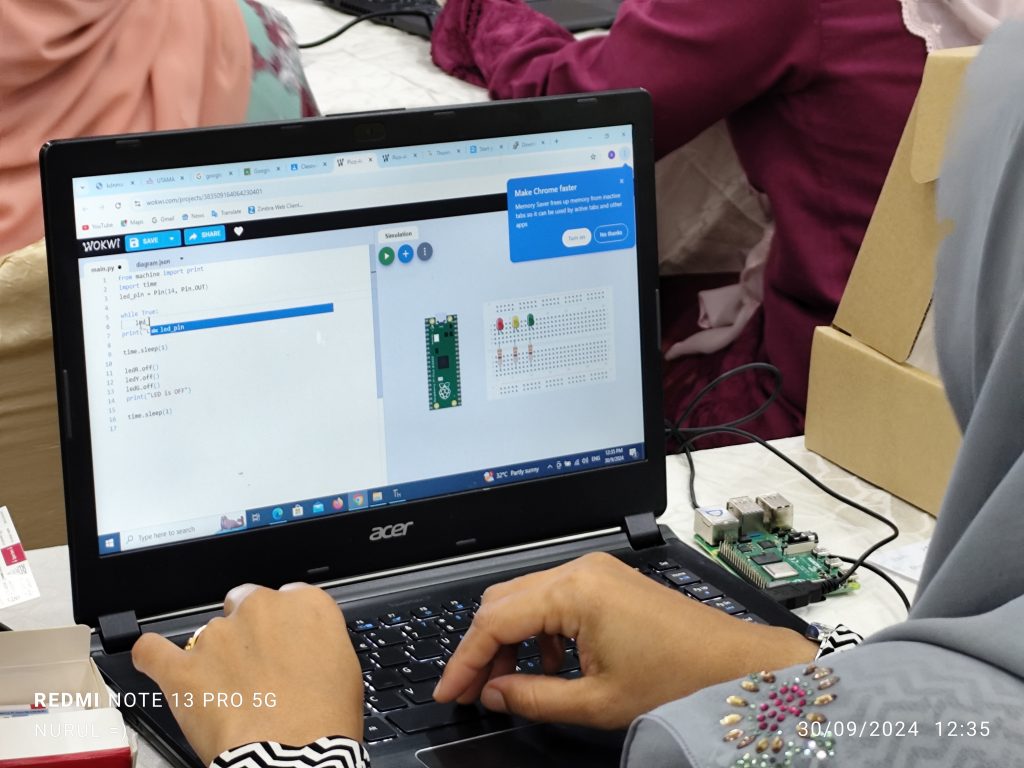
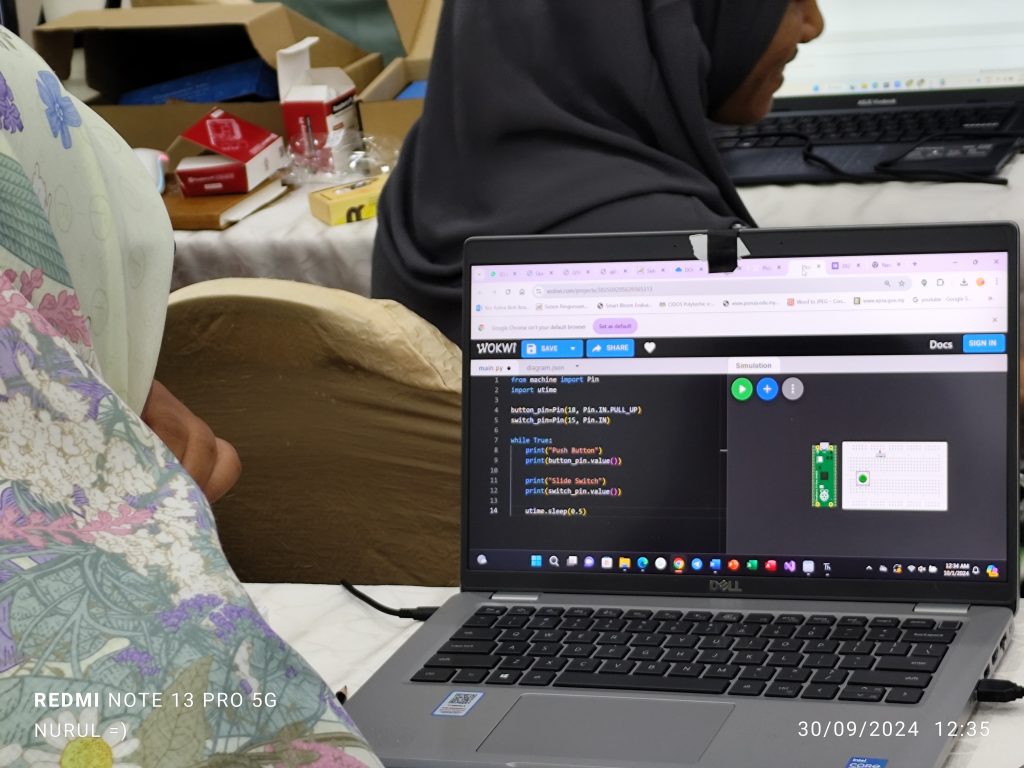
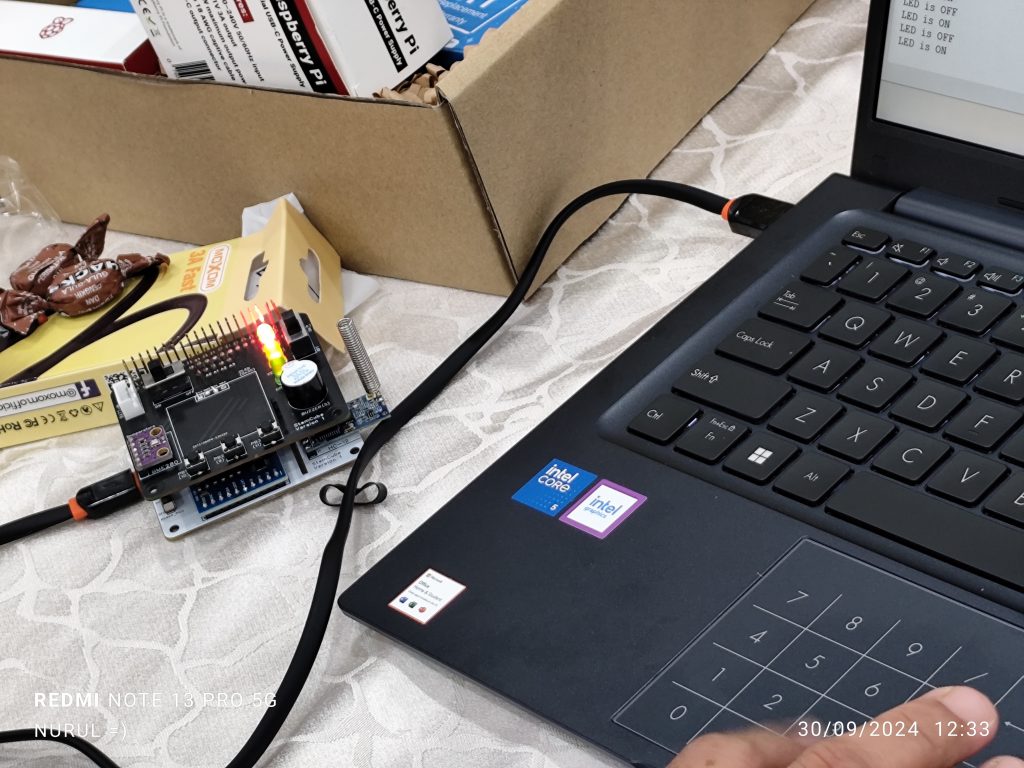
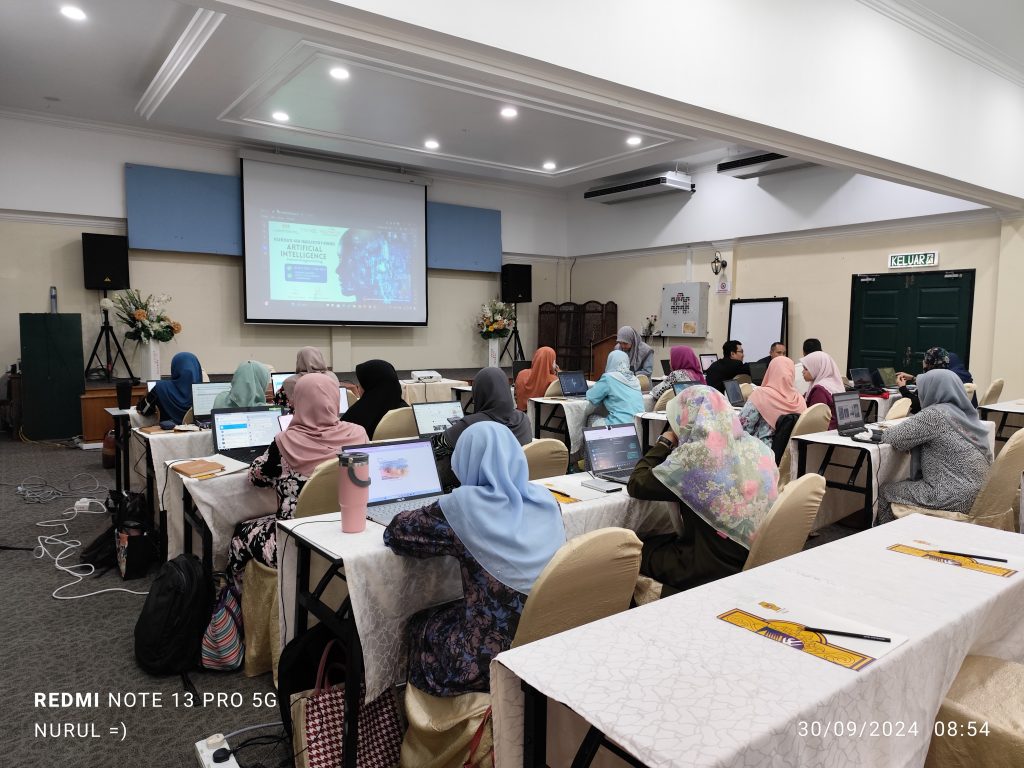
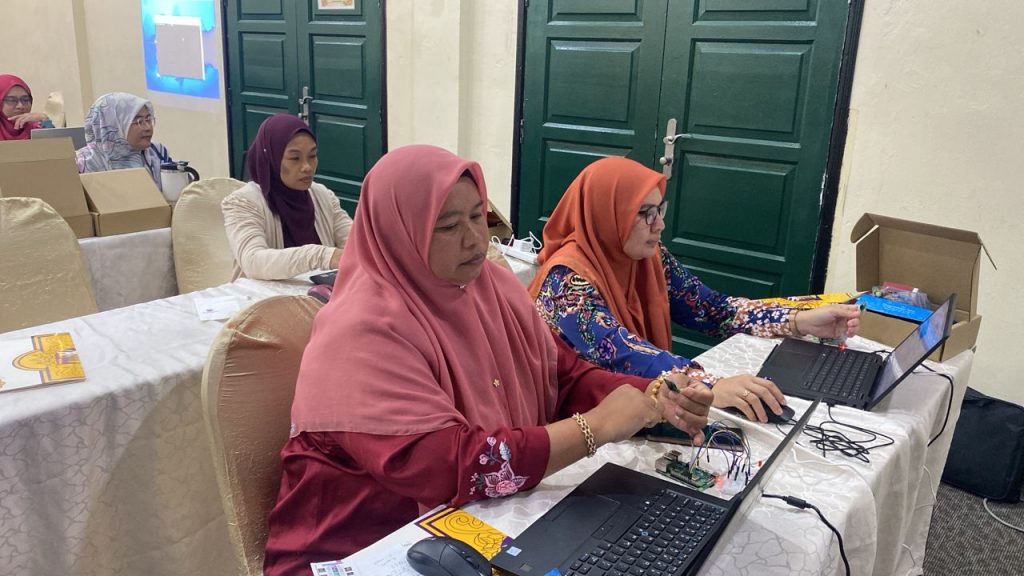
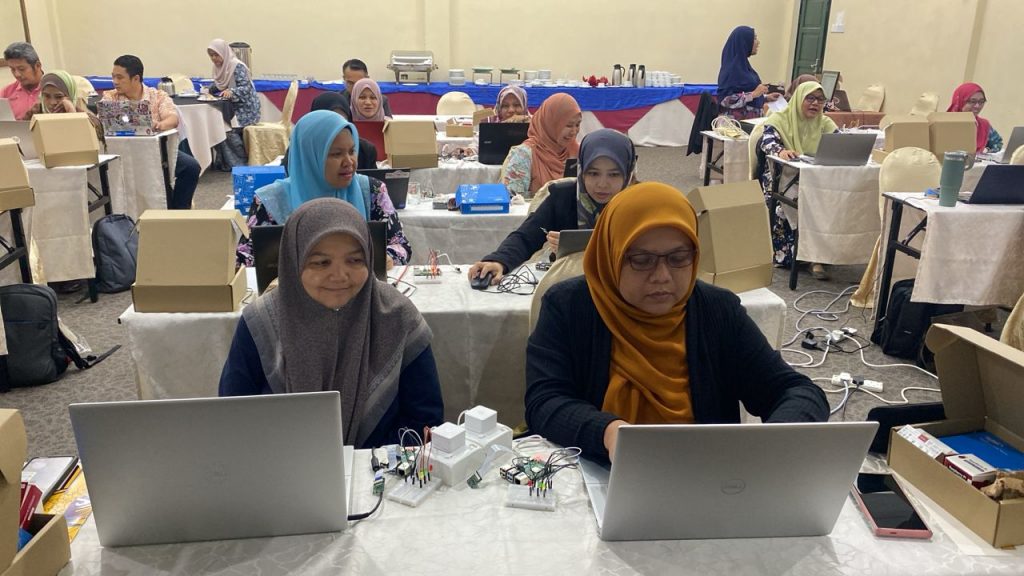
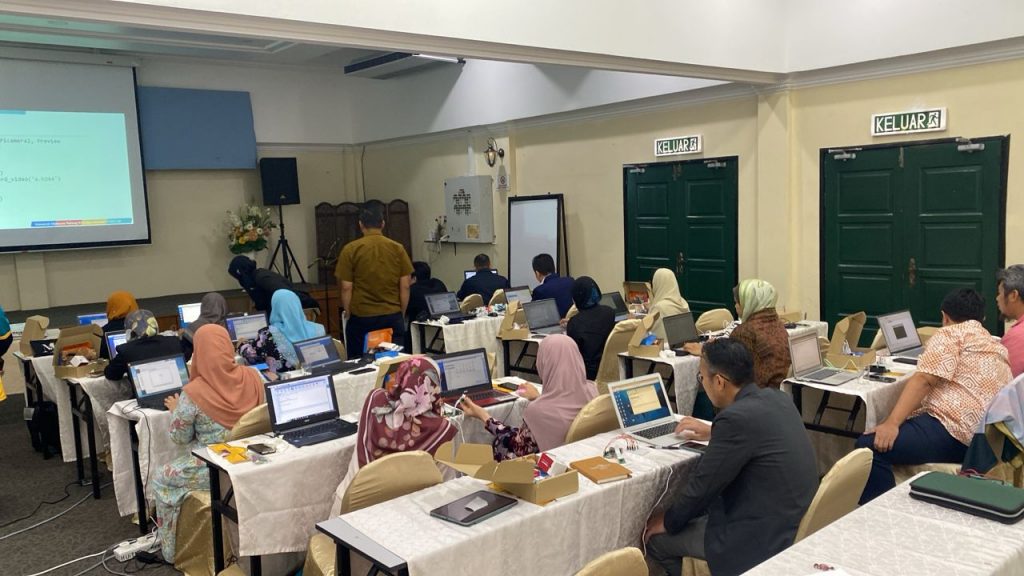
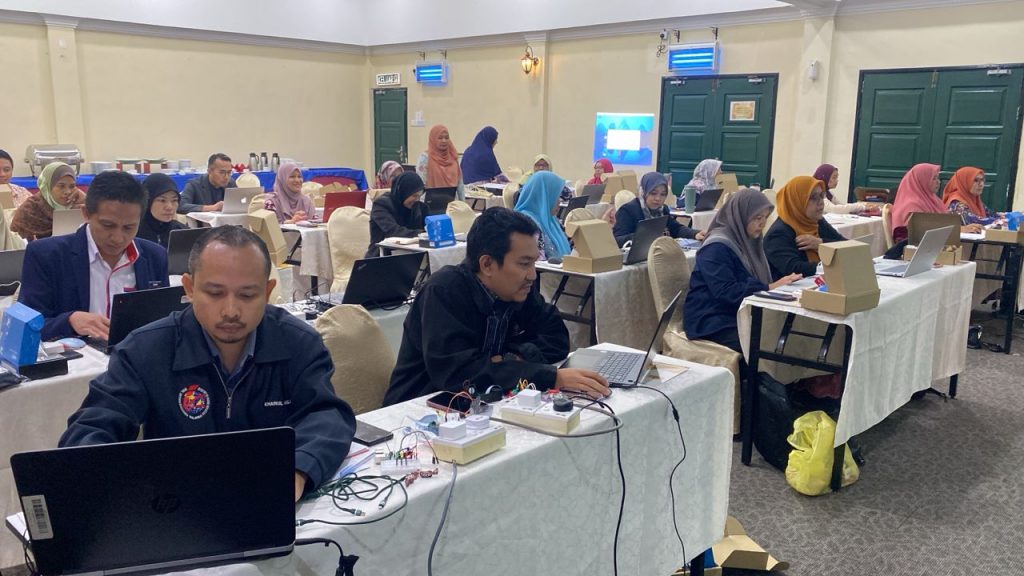
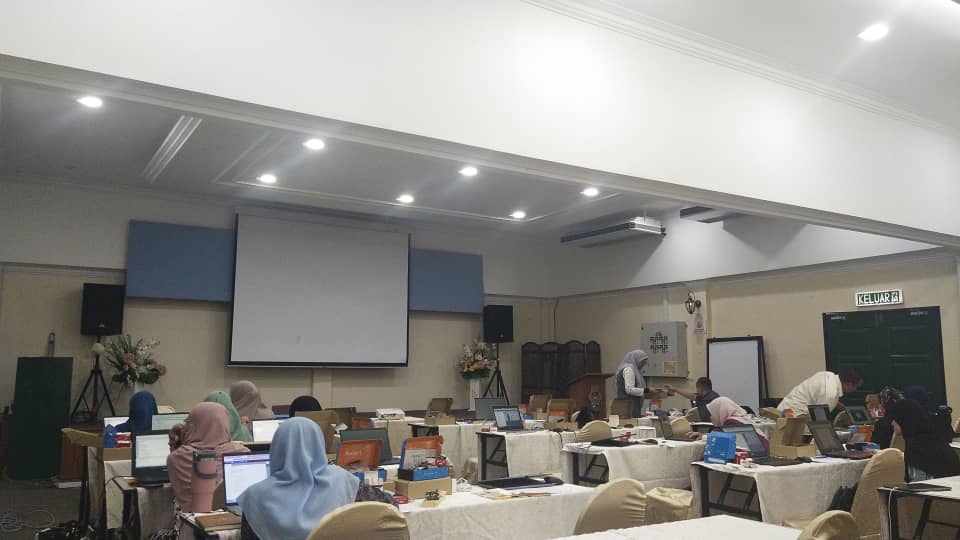
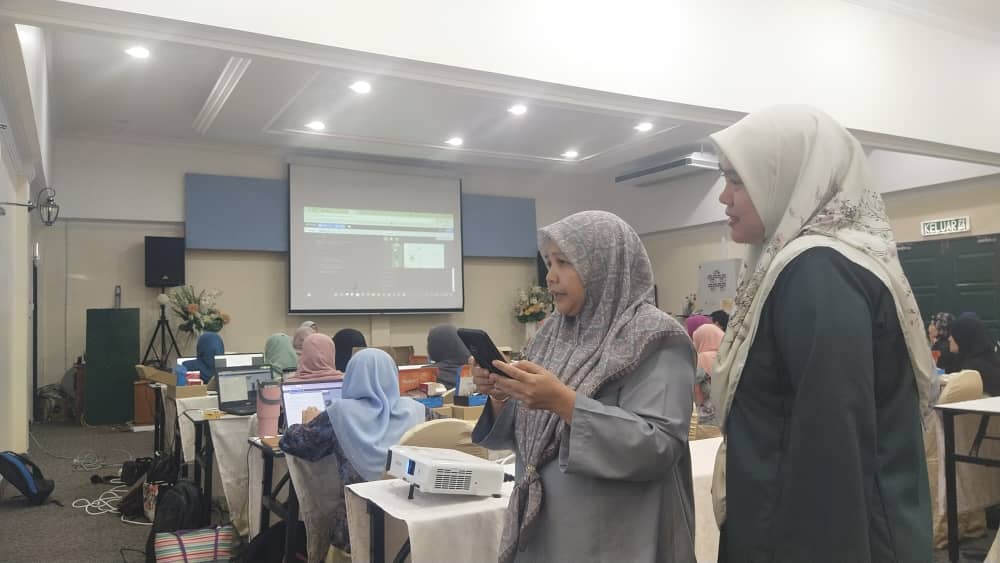
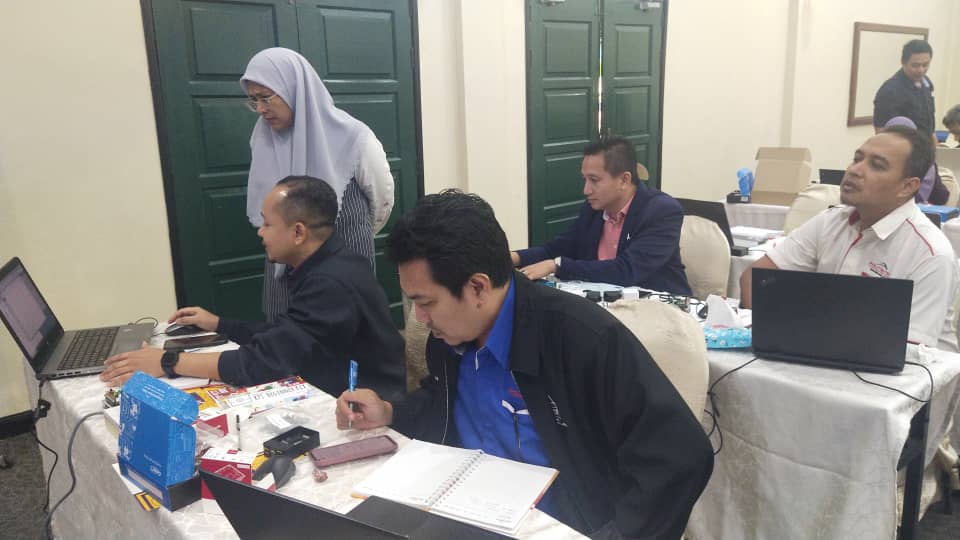
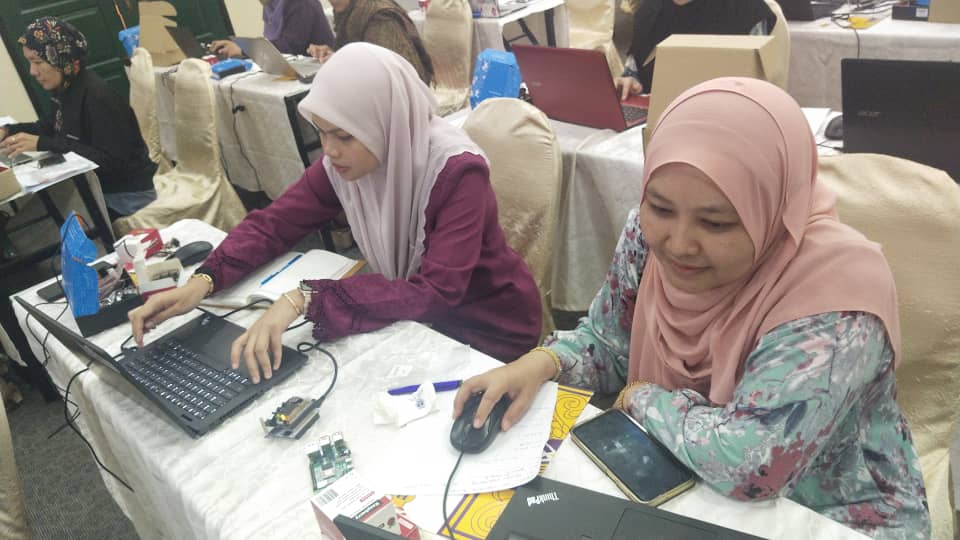
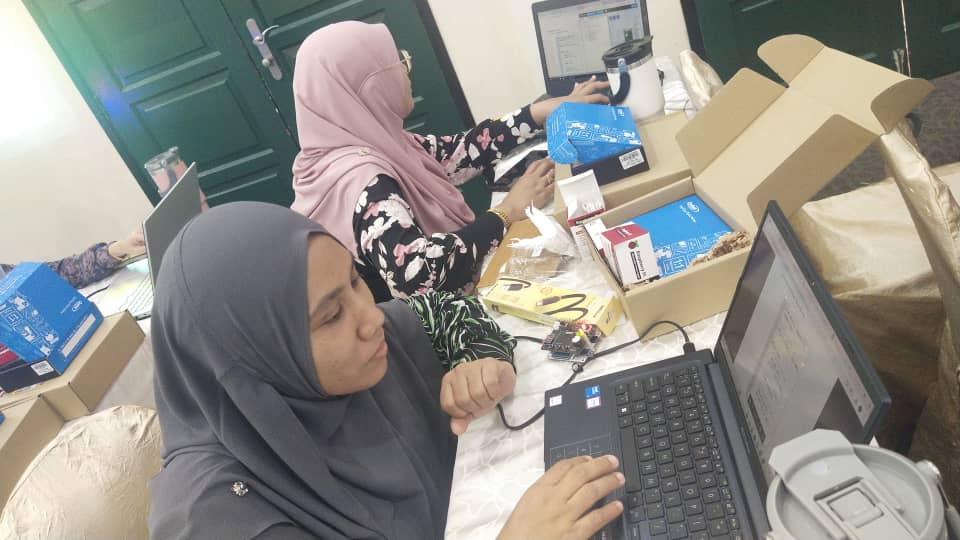
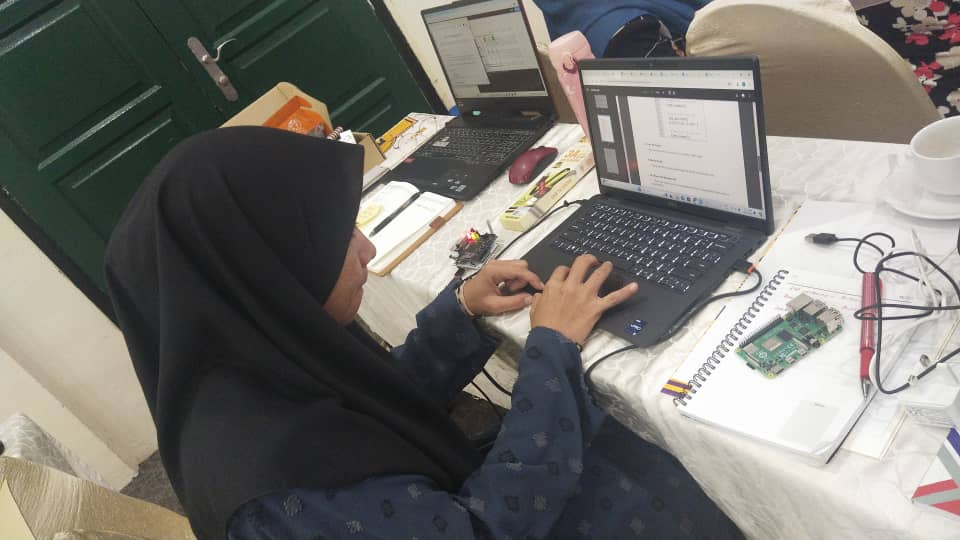
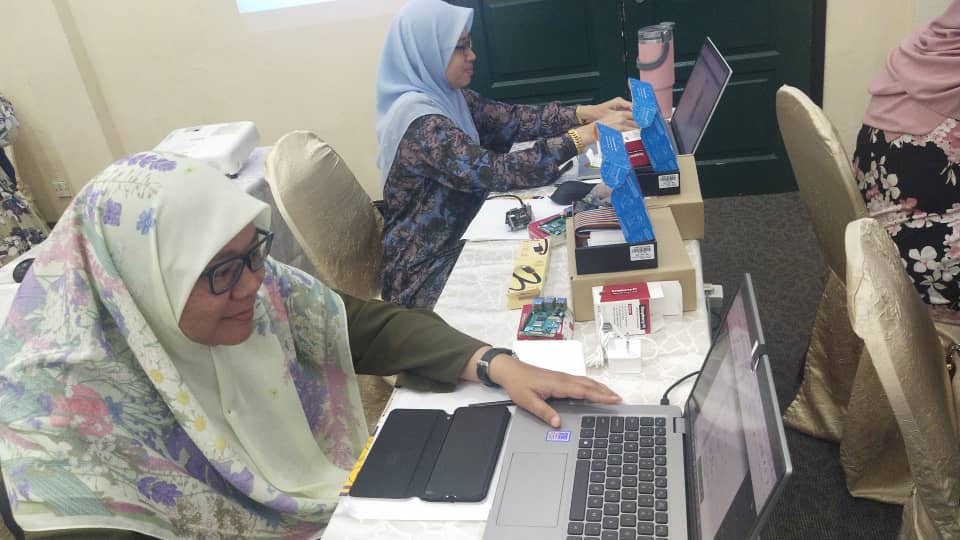
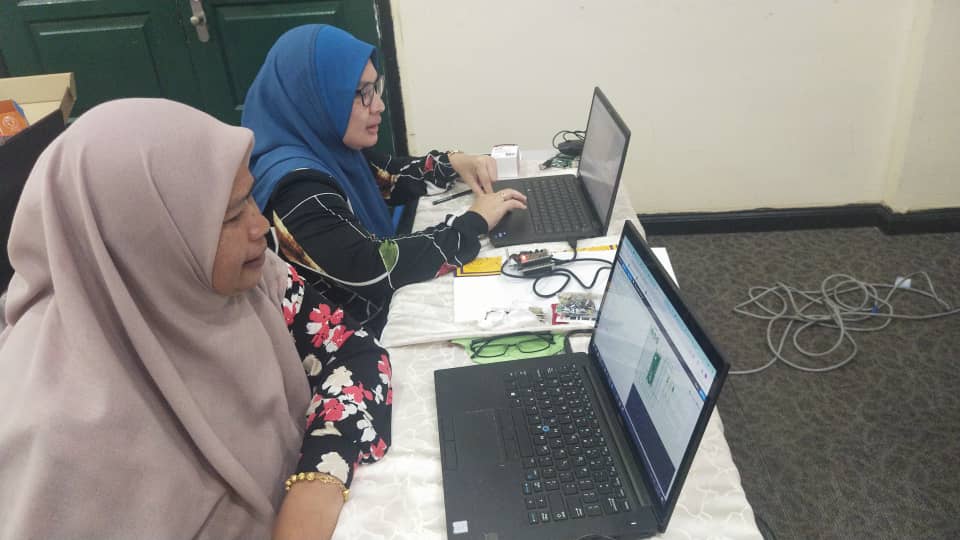
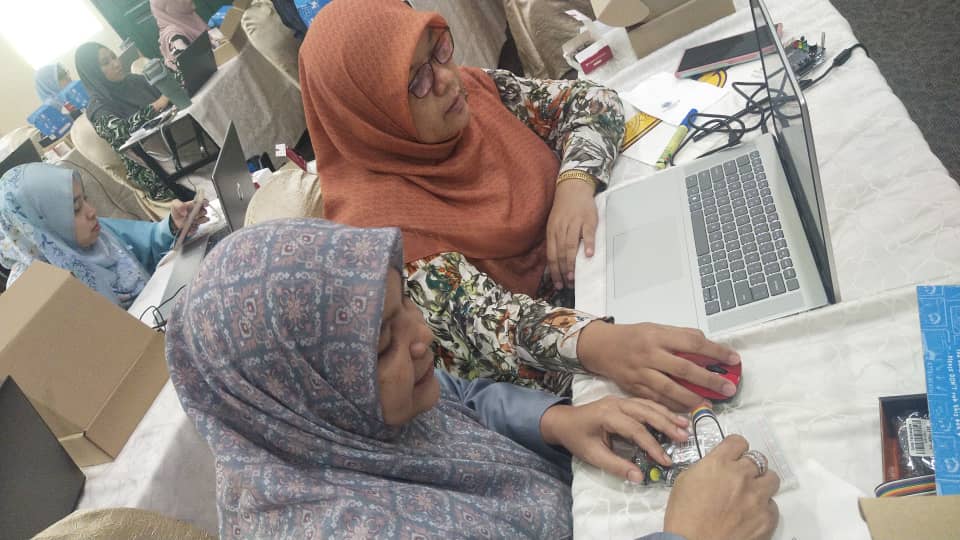
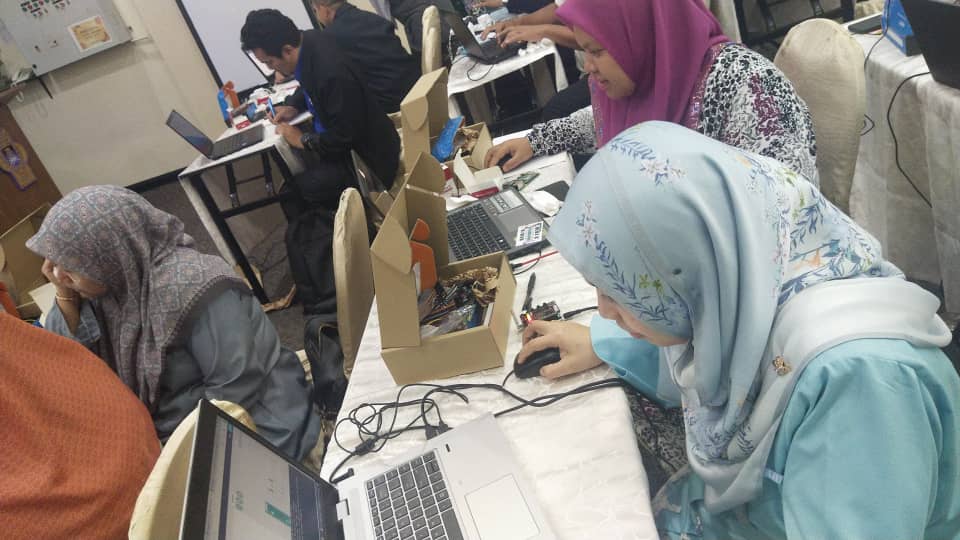
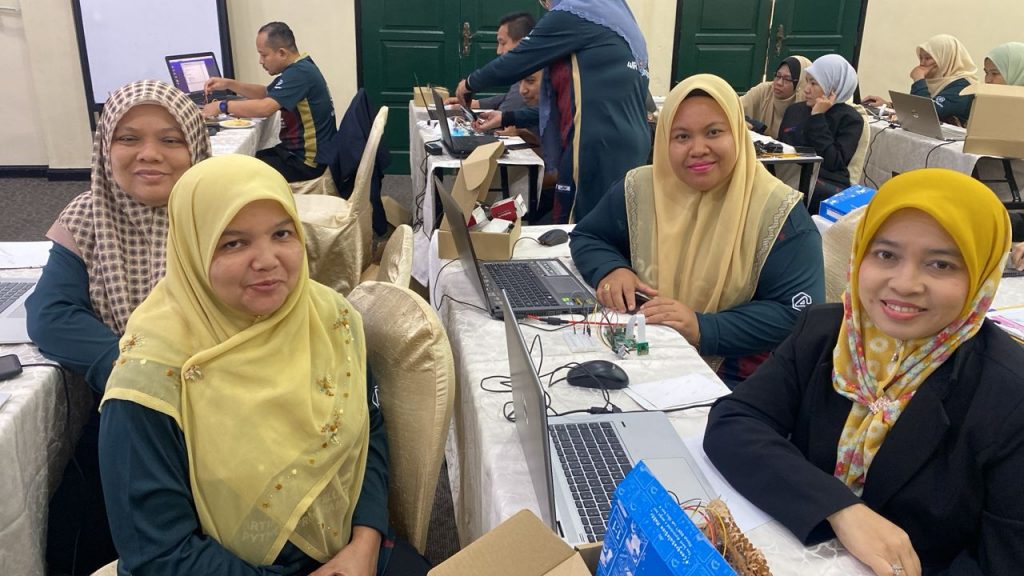
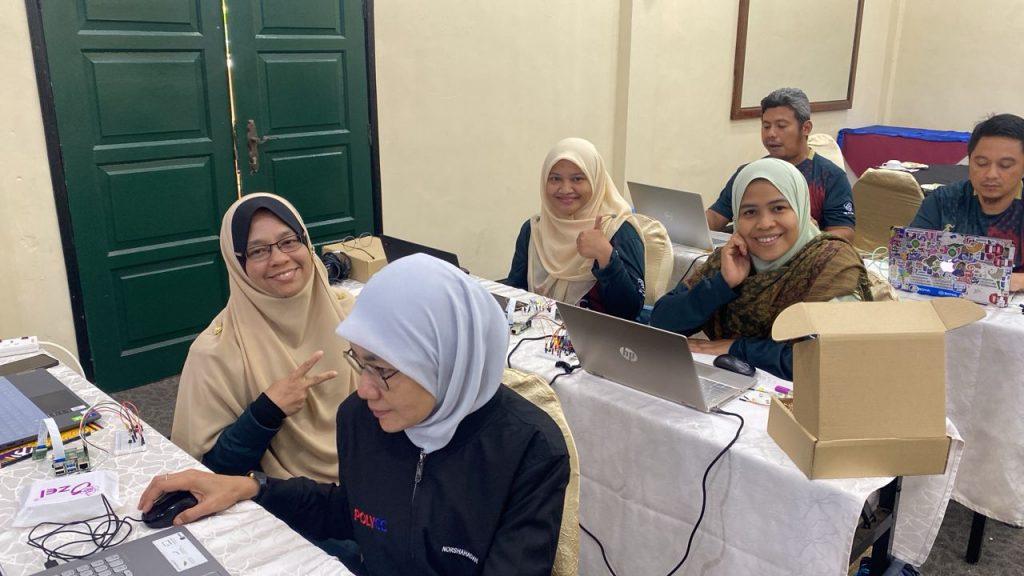
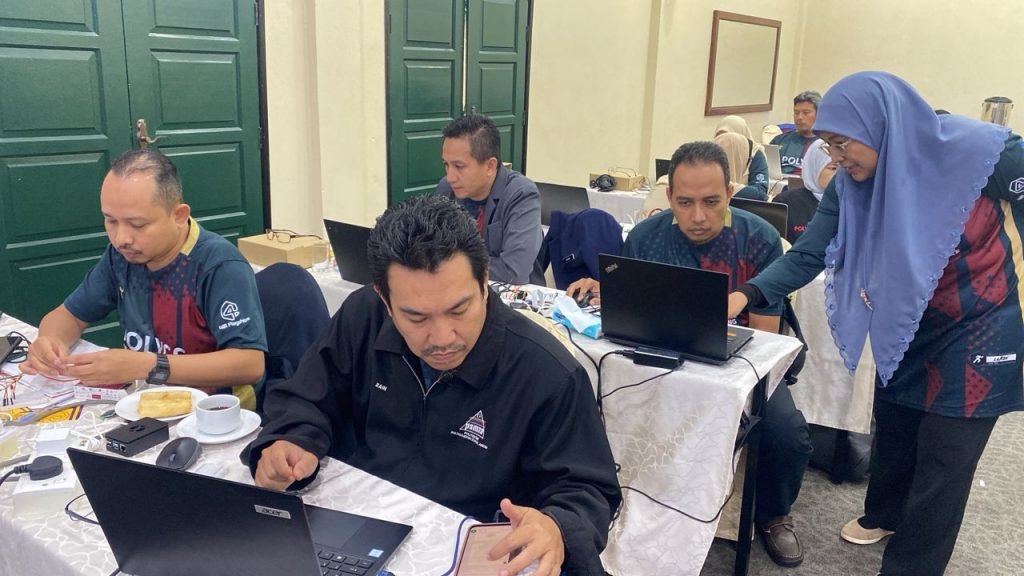
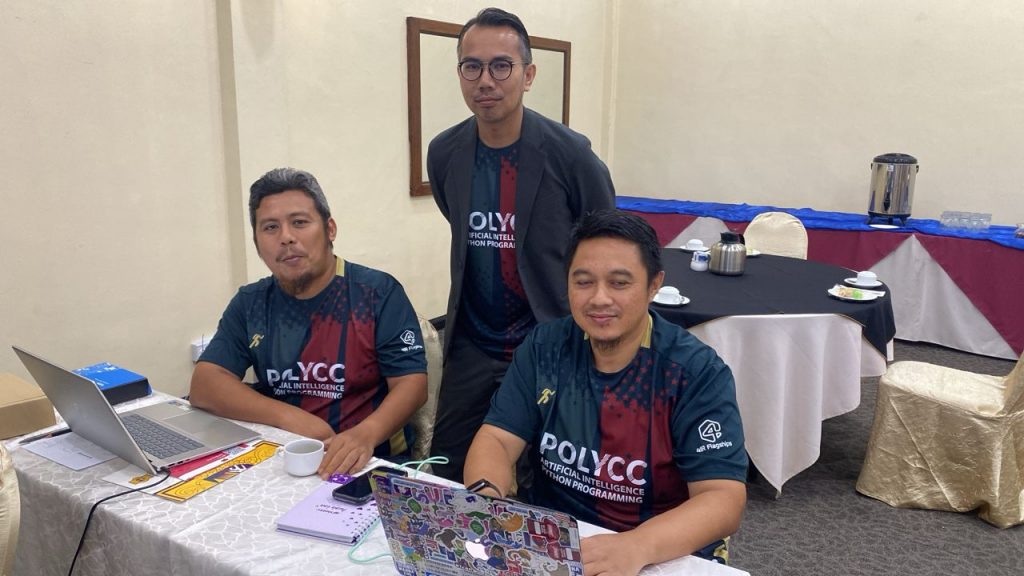
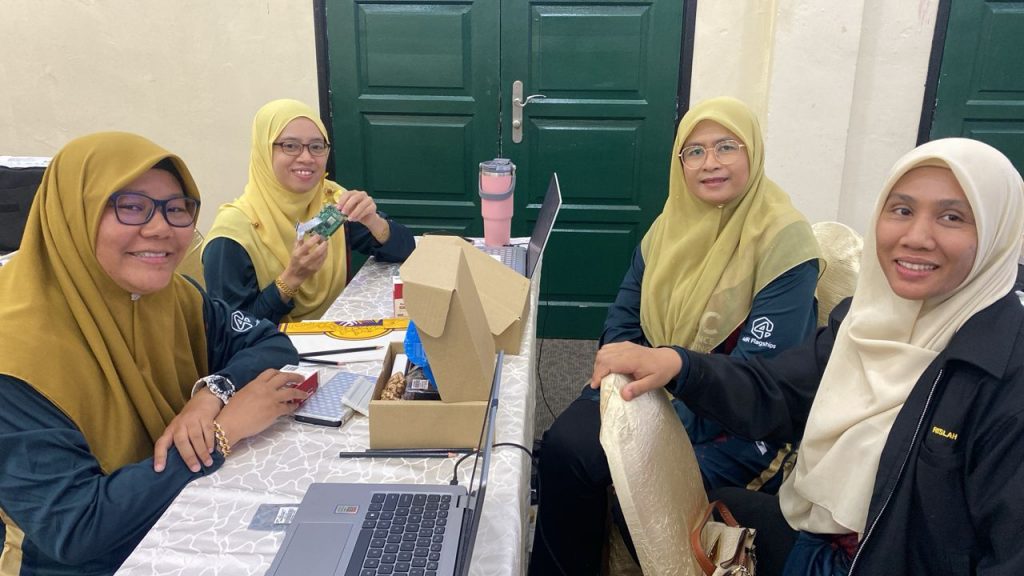
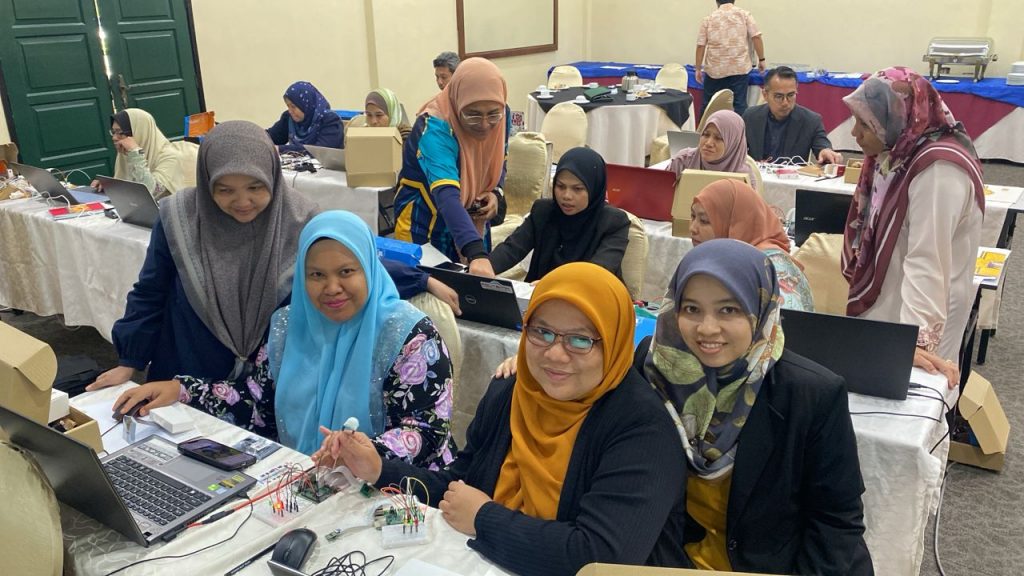
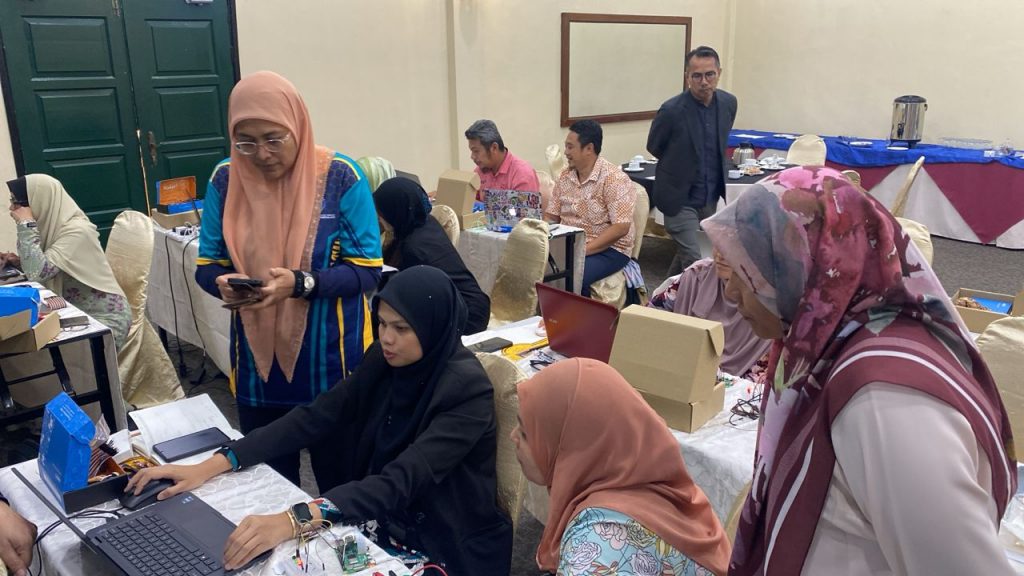
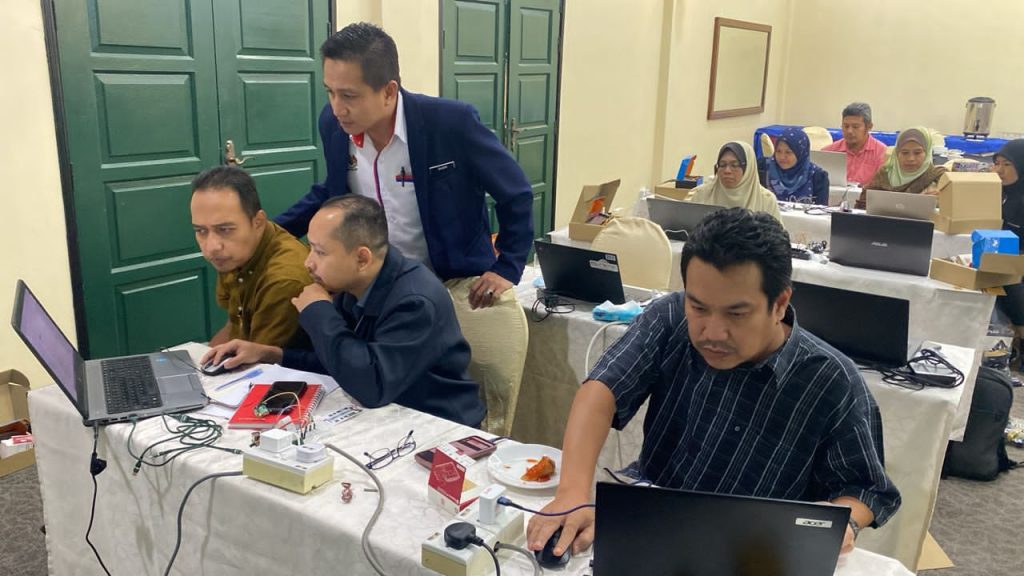
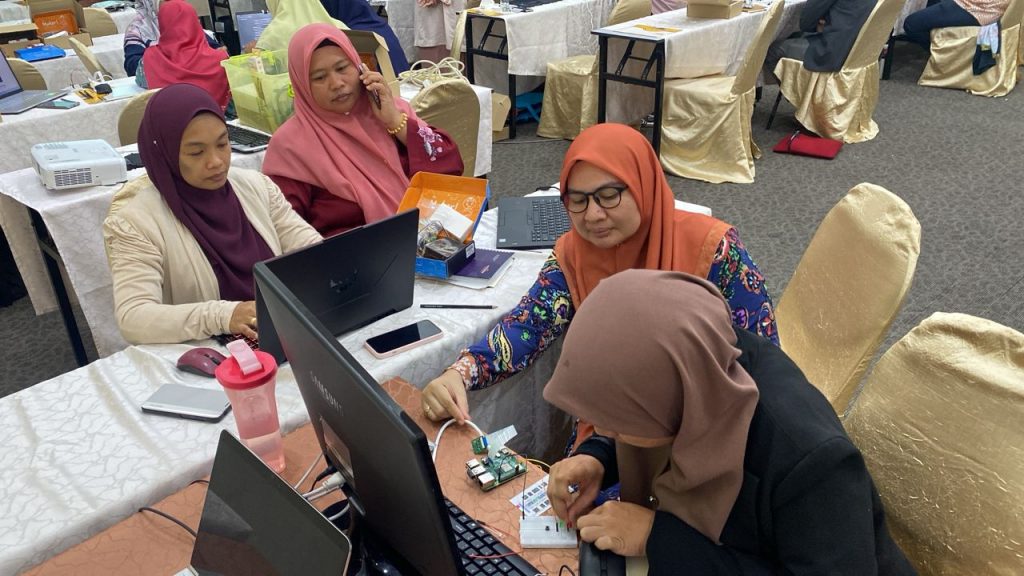
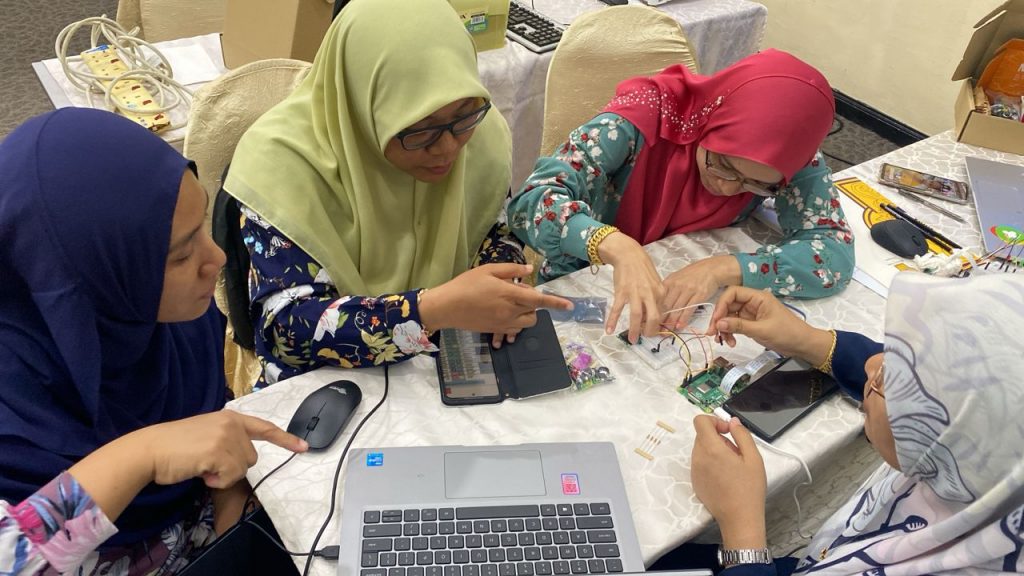
I recently conducted a comprehensive 4-day workshop to introduce participants (among academicians from Polytechnics in Malaysia) to both fundamental and advanced topics, offering hands-on activities that showcased the powerful applications of AI, electronics, and programming.

Thank you Pn Azlyn for coordinating the communication and facilitating the process :).

Below is a summary of the activities we conducted over the course of this workshop.

Day 1  Foundations of AI, Python, and Raspberry Pi
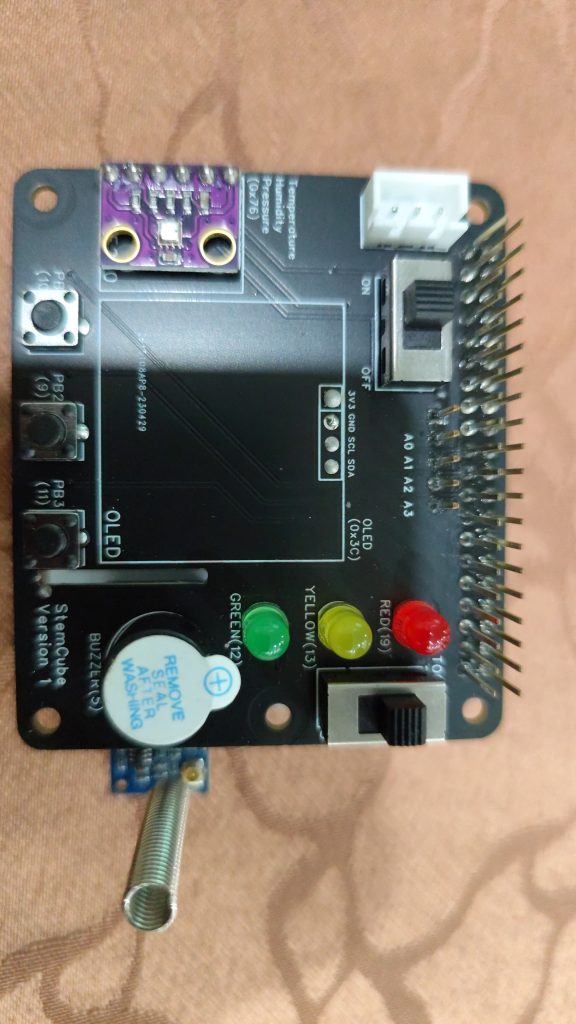
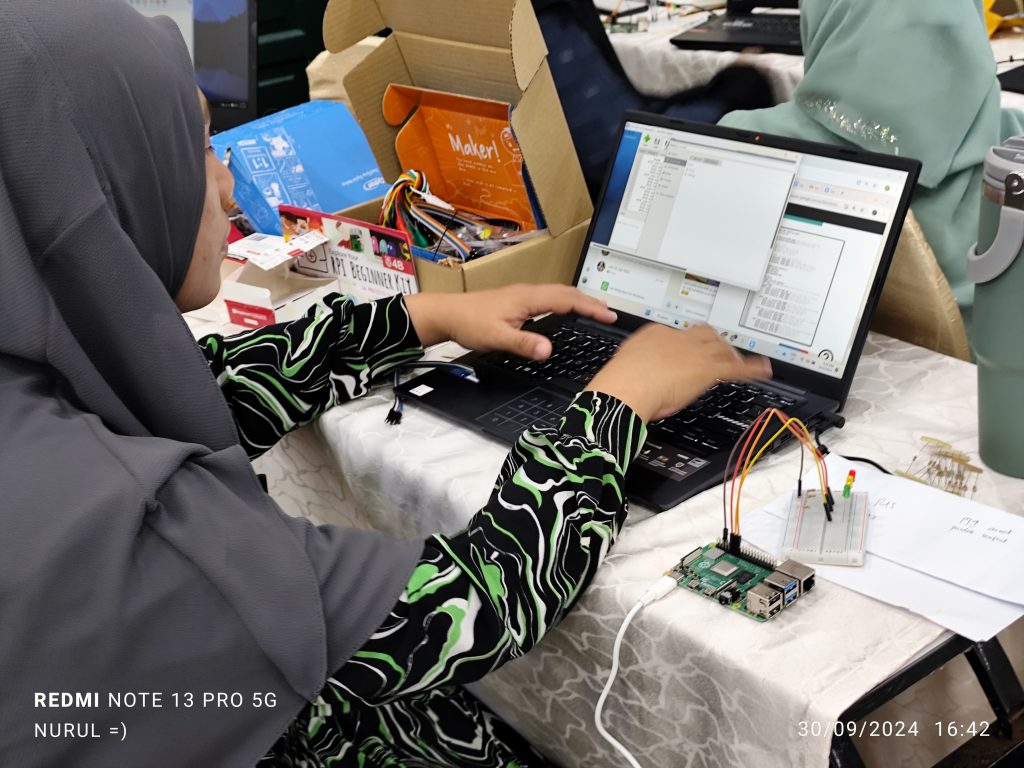
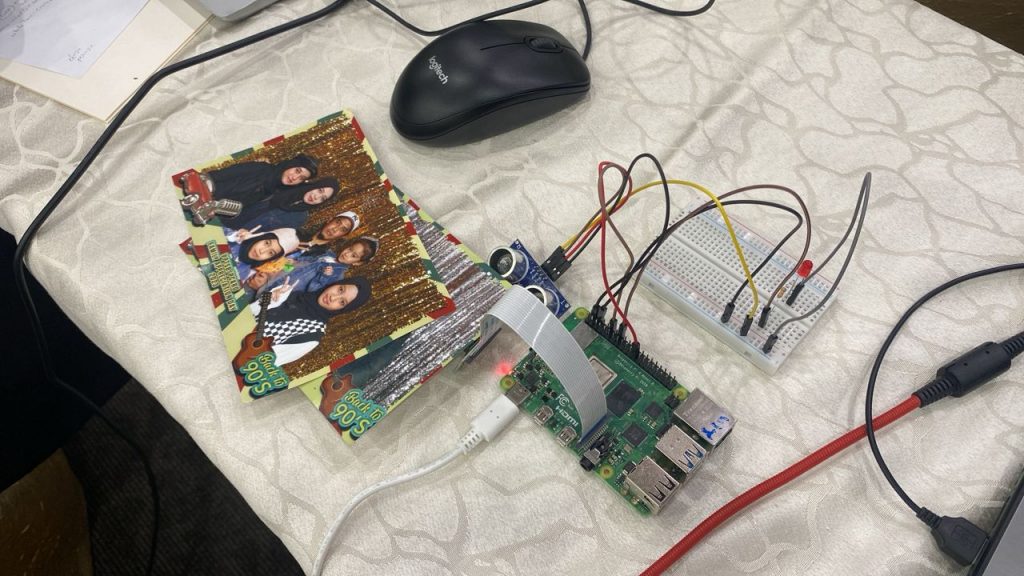
The workshop kicked off with an introduction to AI and the Raspberry Pi microprocessor. We started with a fun ice-breaker activity, Introduction BINGO, where participants got to know each other. Afterward, we delved into the fundamental concepts of hardware and electronic components, ensuring everyone was comfortable with the physical aspects of working with a Raspberry Pi.

Key Topics Covered –

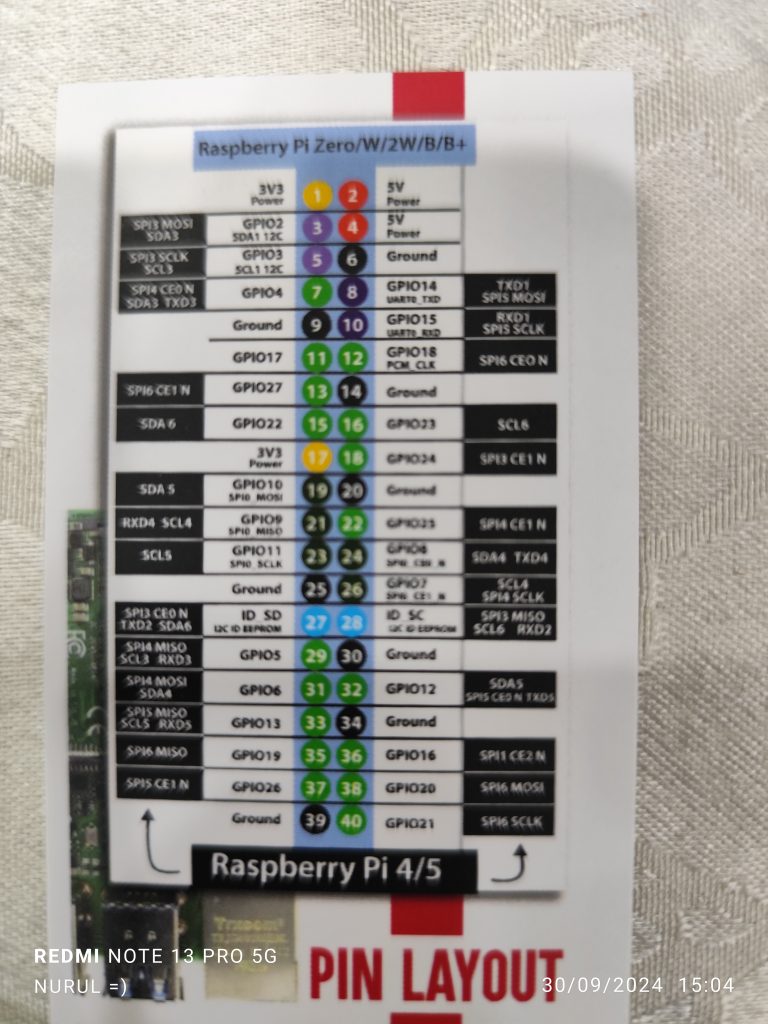
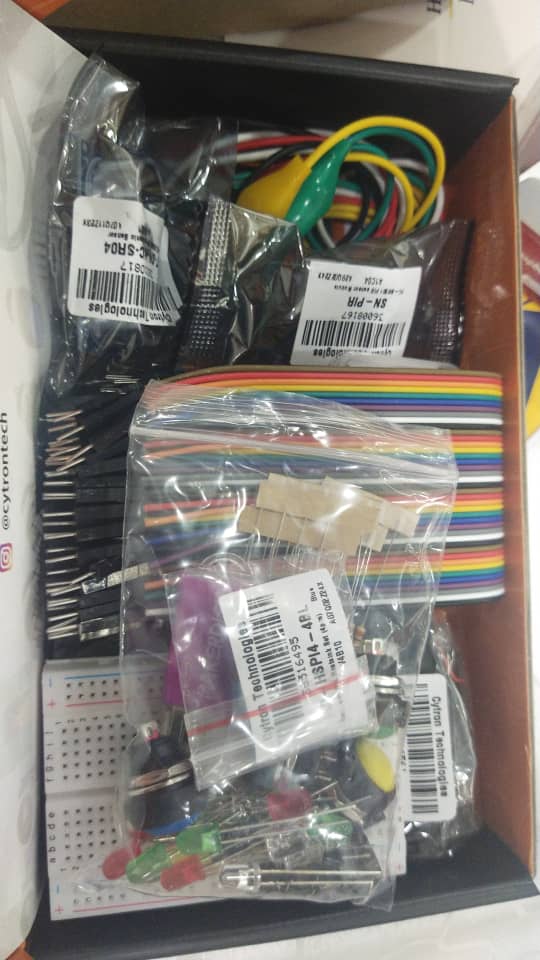
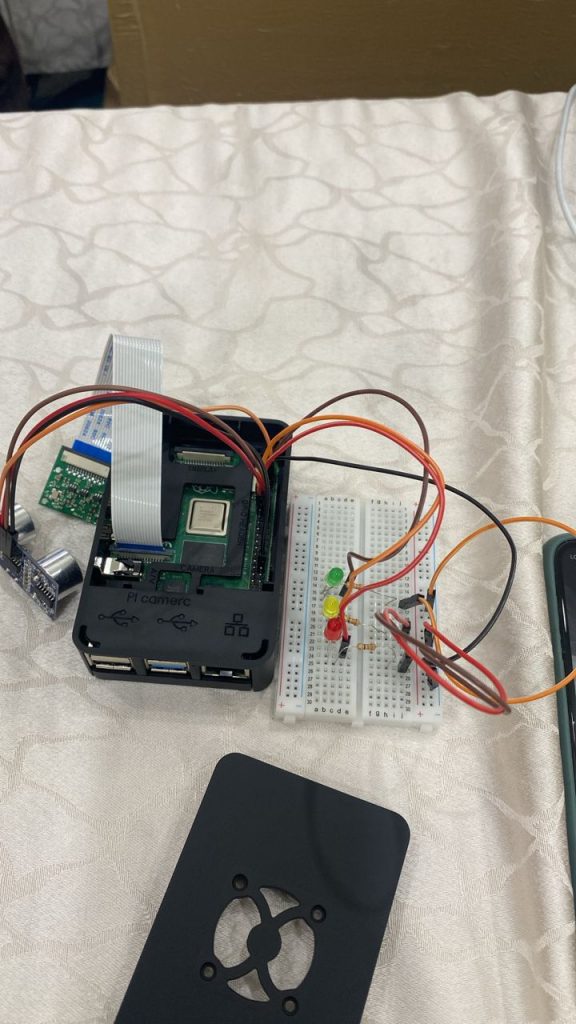
  1. Hardware & Electronic Components – Understanding the basics of the Raspberry Pi, GPIO pins, and essential sensors.
  2. Raspberry Pi Microprocessor – Overview of how Raspberry Pi works and its applications in AI.
    This foundational day set the stage for the deeper dives into programming and hardware control that were to follow.

Day 2 Control Statements, Communication, and Sensors

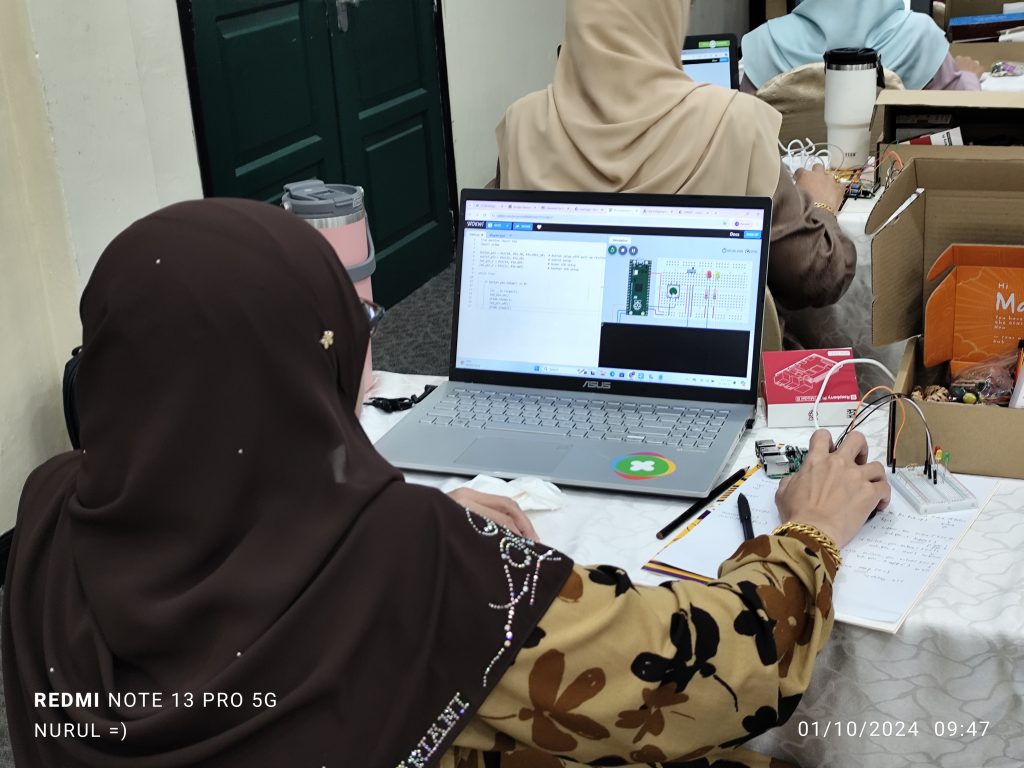
We began Day 2 by introducing participants to Python control statements, providing the backbone for controlling the hardware components with Python scripts. This session included practical activities focused on various communication protocols like I2C and SPI, commonly used for sensor integration.
Key Activities and Topics –

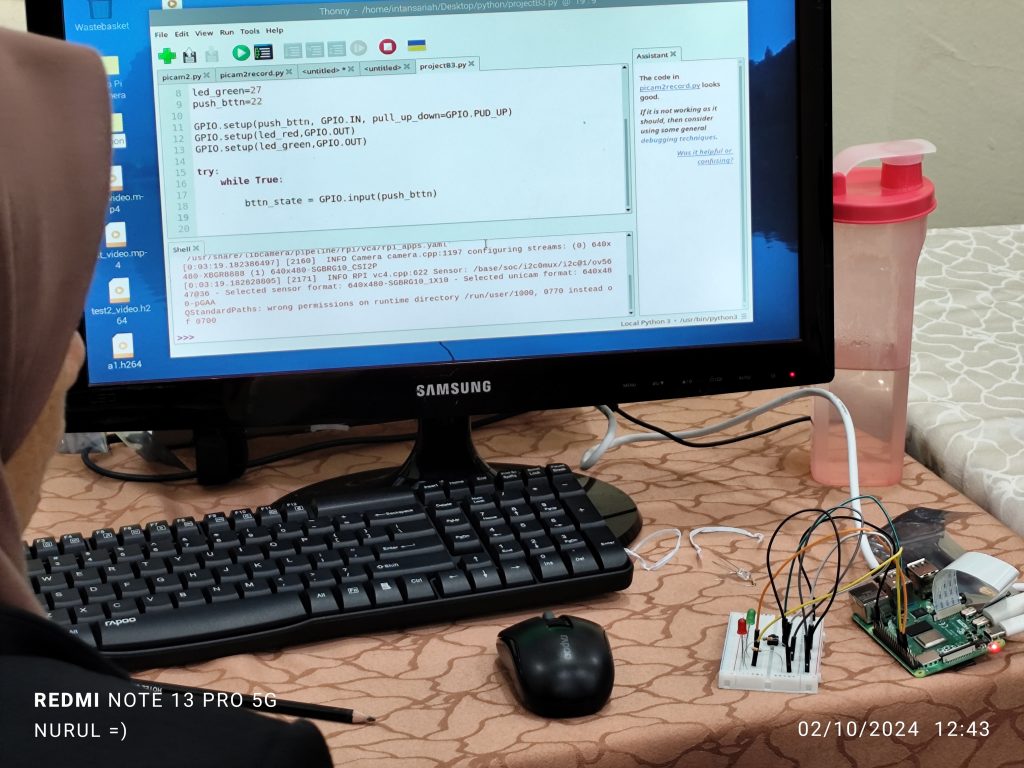
  1. Python Control Statement – Introducing loops, conditions, and their use in hardware control.
  2. Communication Protocols – Learning how Raspberry Pi communicates with sensors using I2C and SPI.

Hands-on Activities –

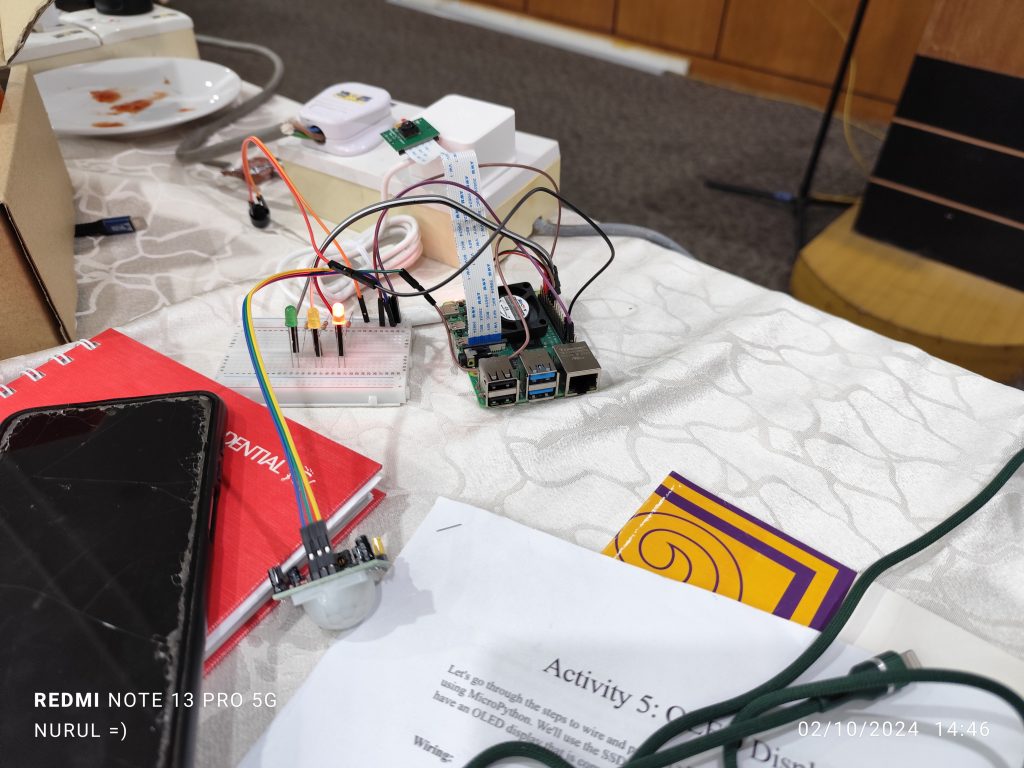
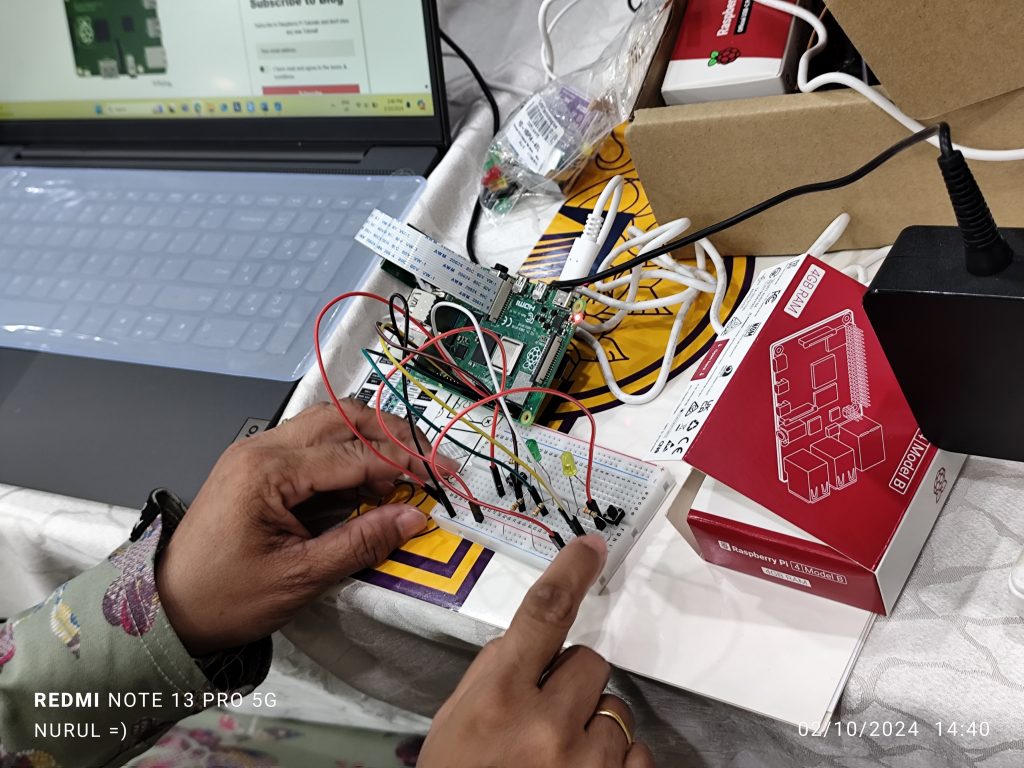
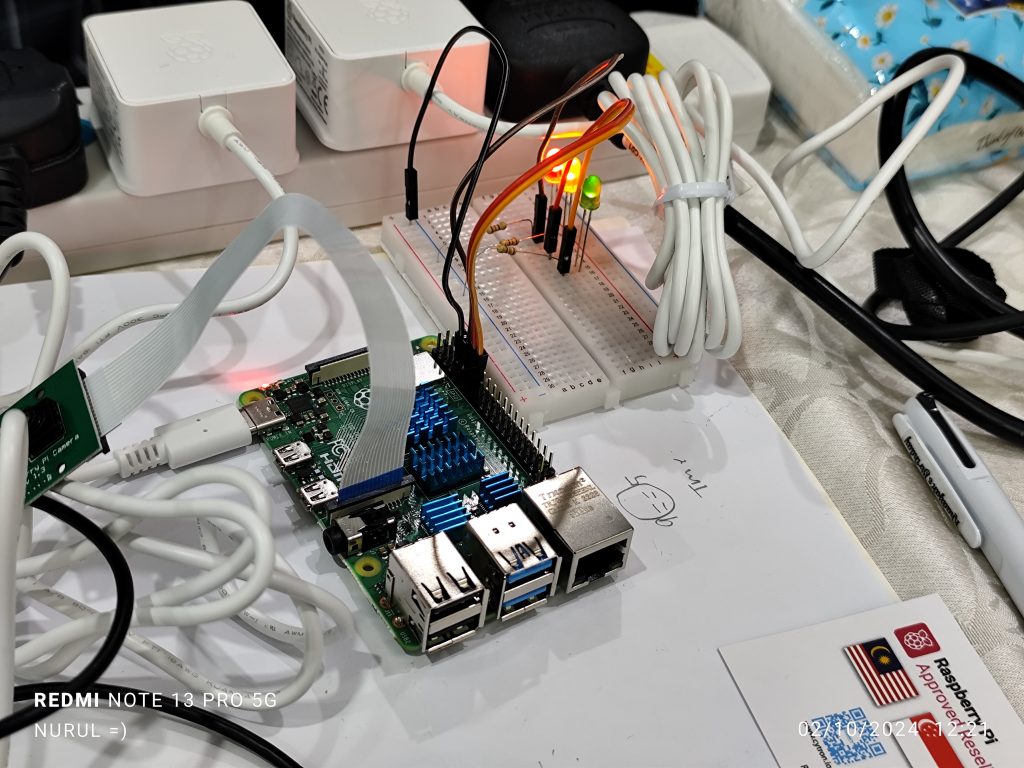
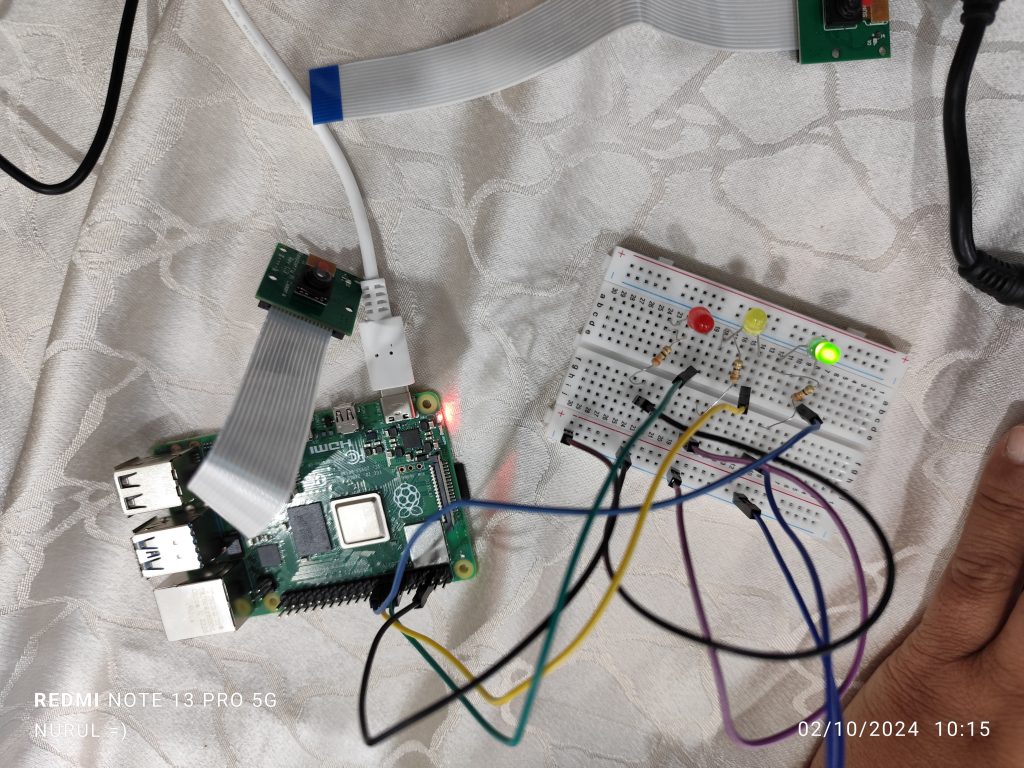
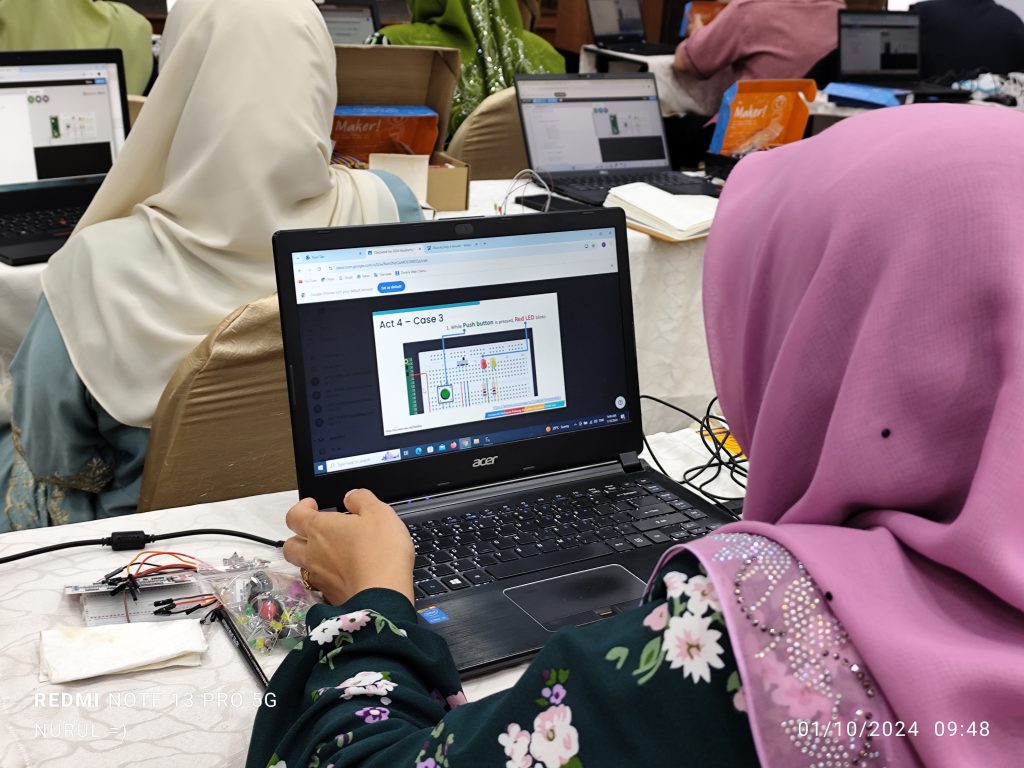
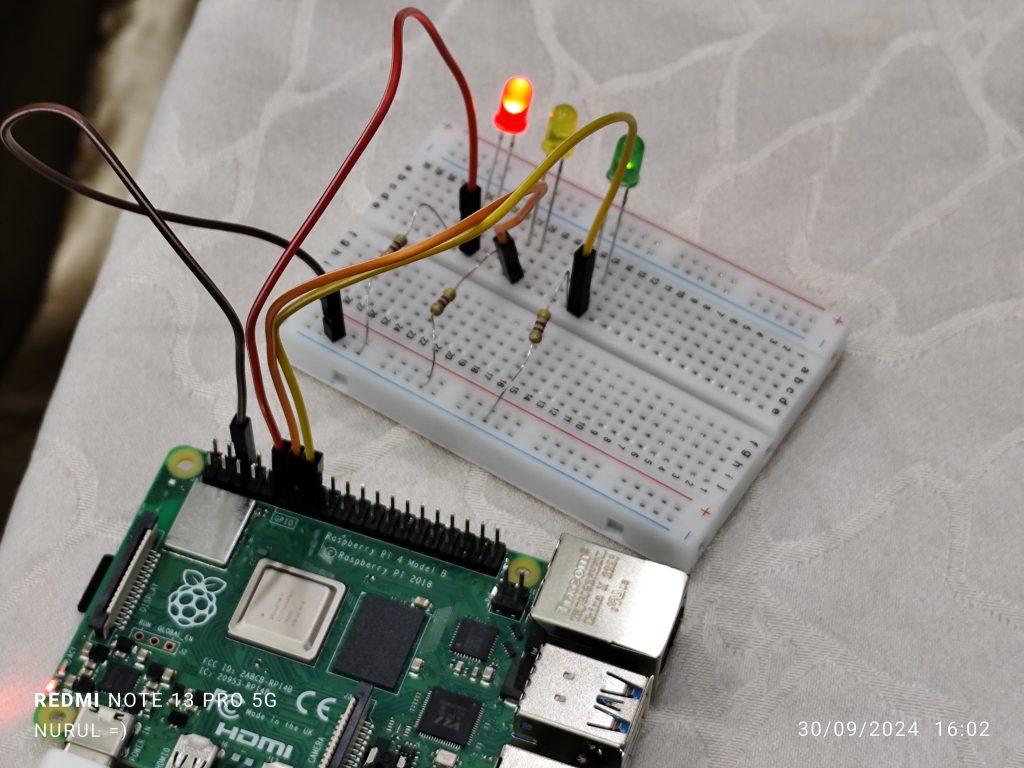
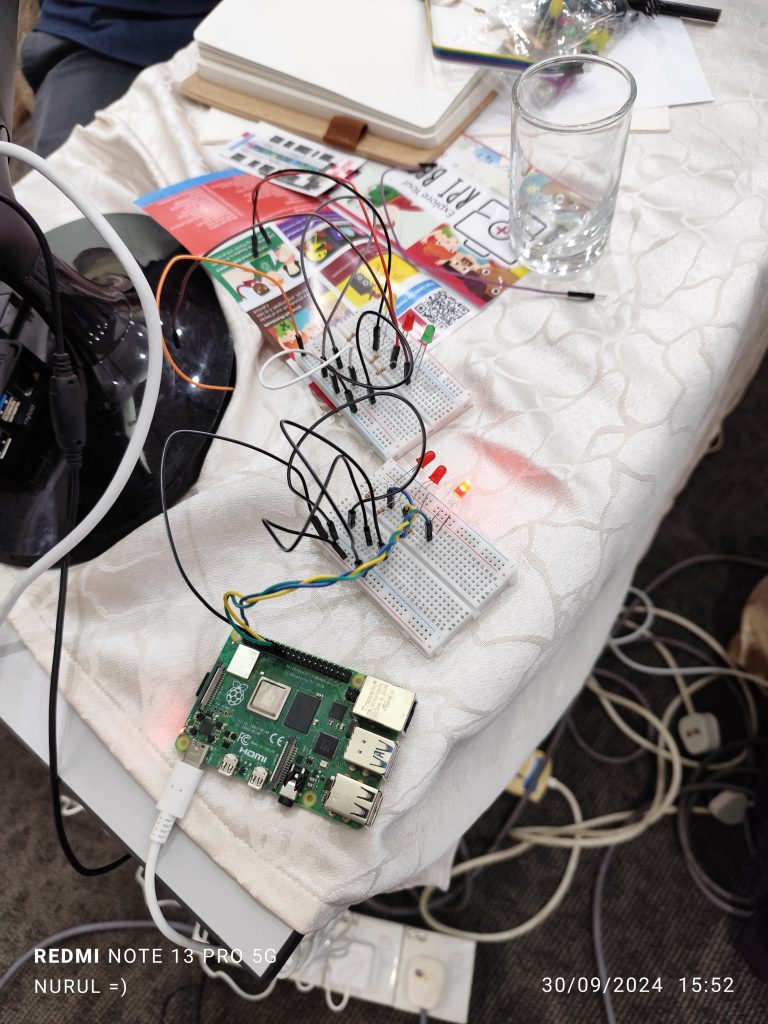
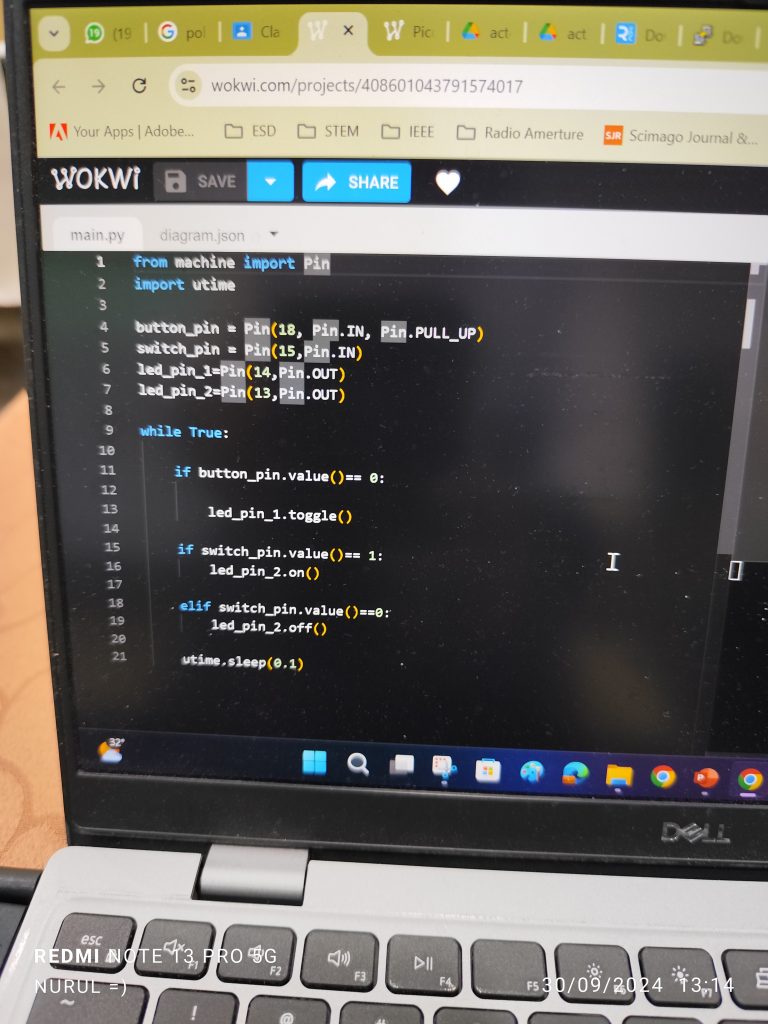
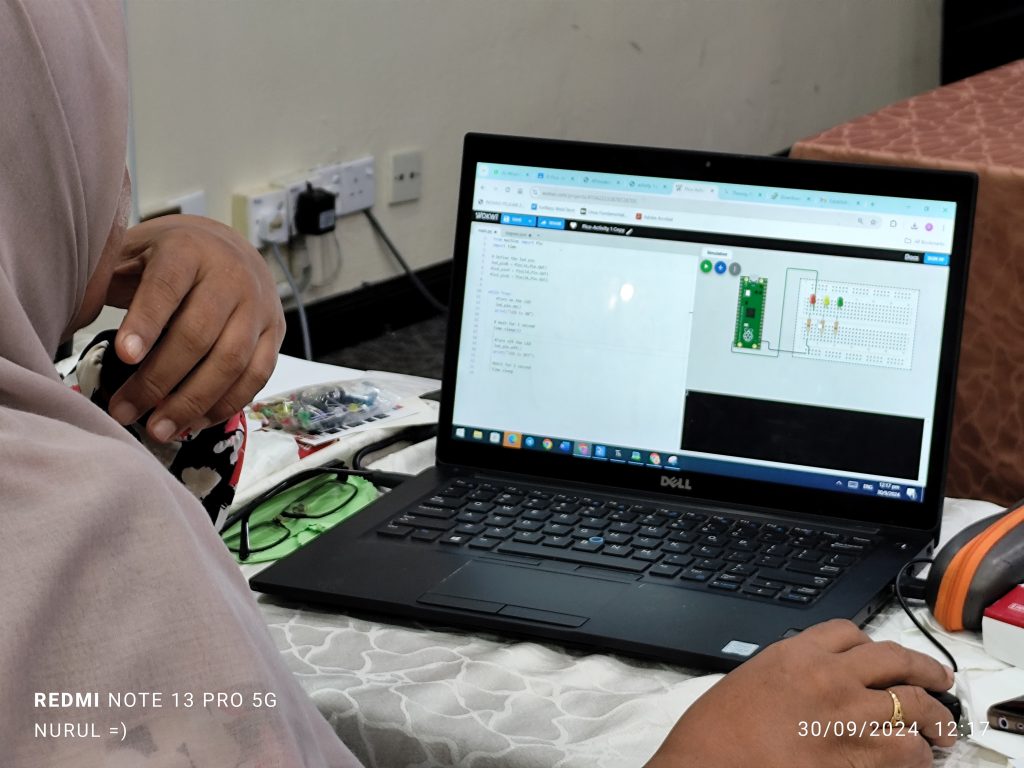
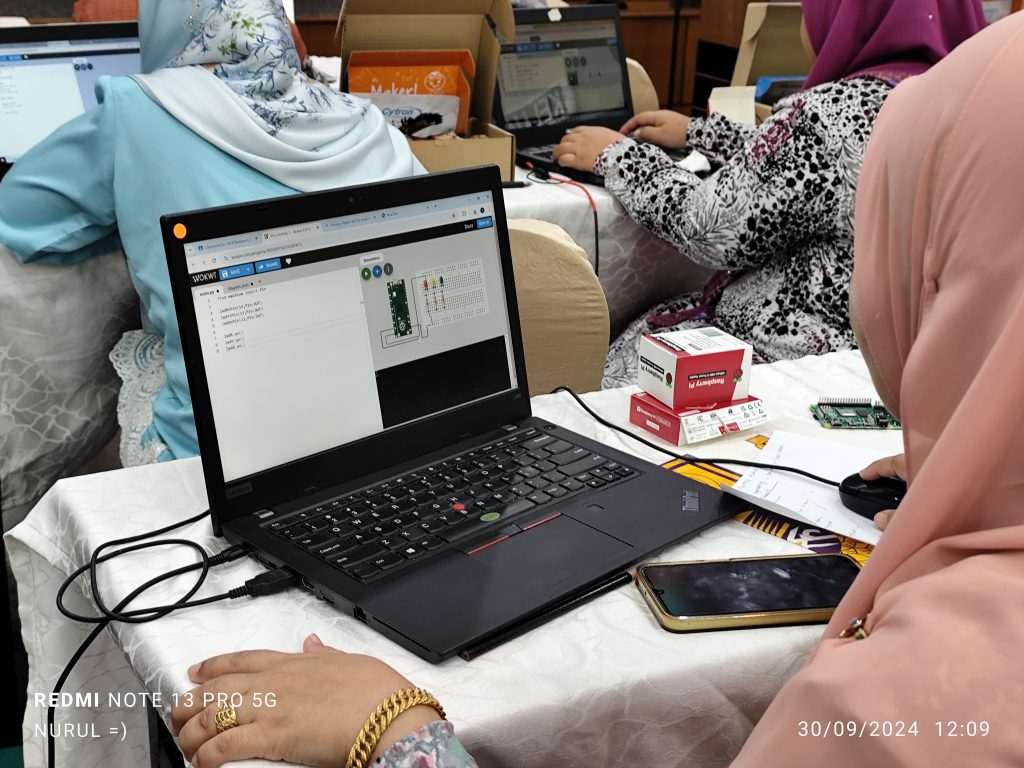
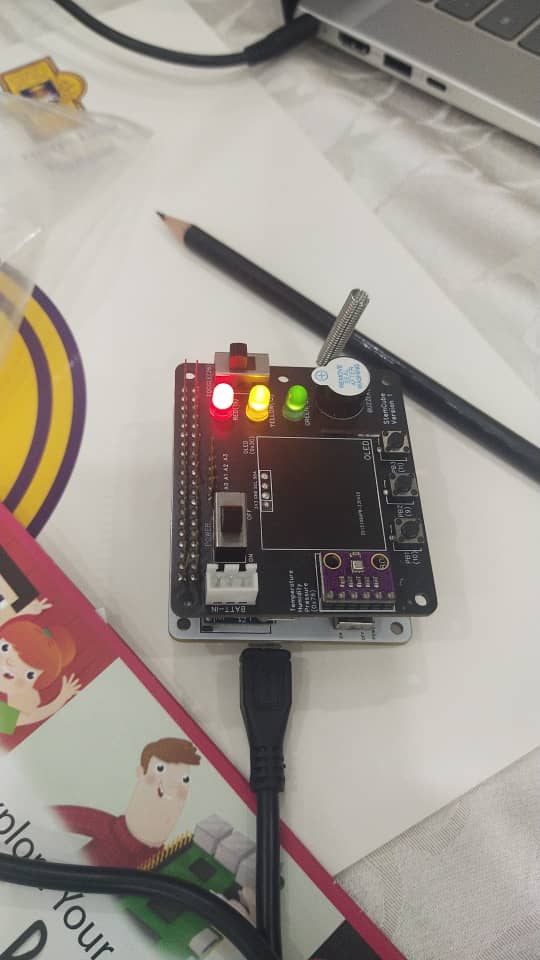
  1. Act 1, 2 – LED ON and OFF Control – Participants learned to turn LEDs on and off using Python.
  2. Act 3 – LED Blinking – Adding logic to make LEDs blink at intervals.
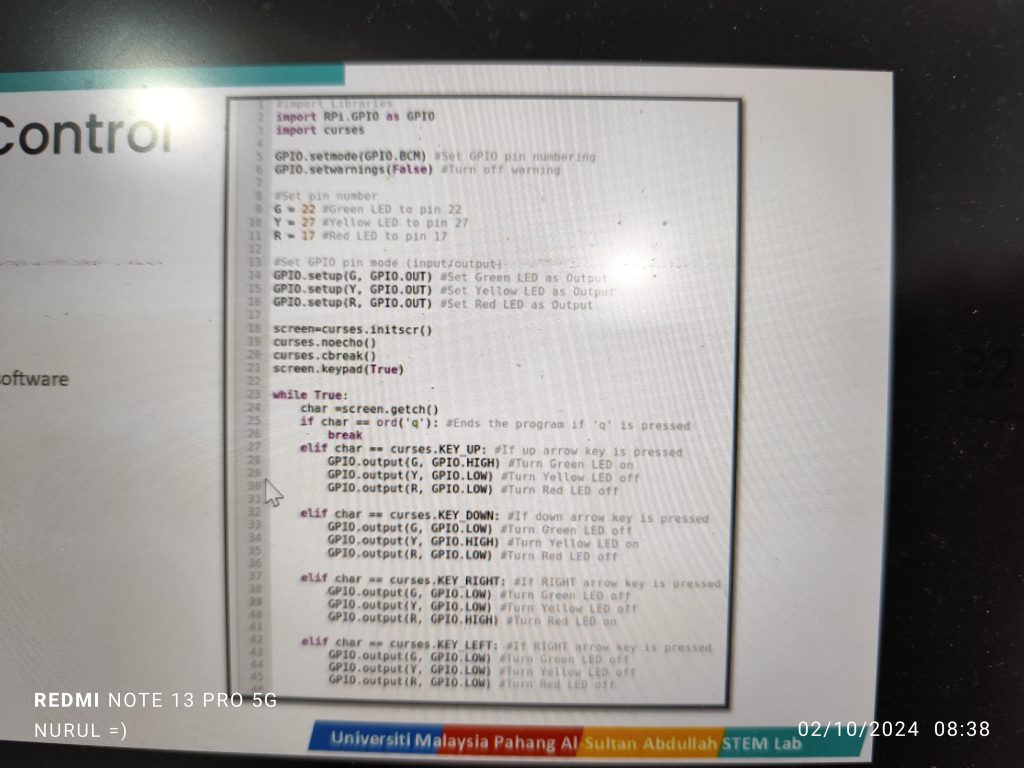
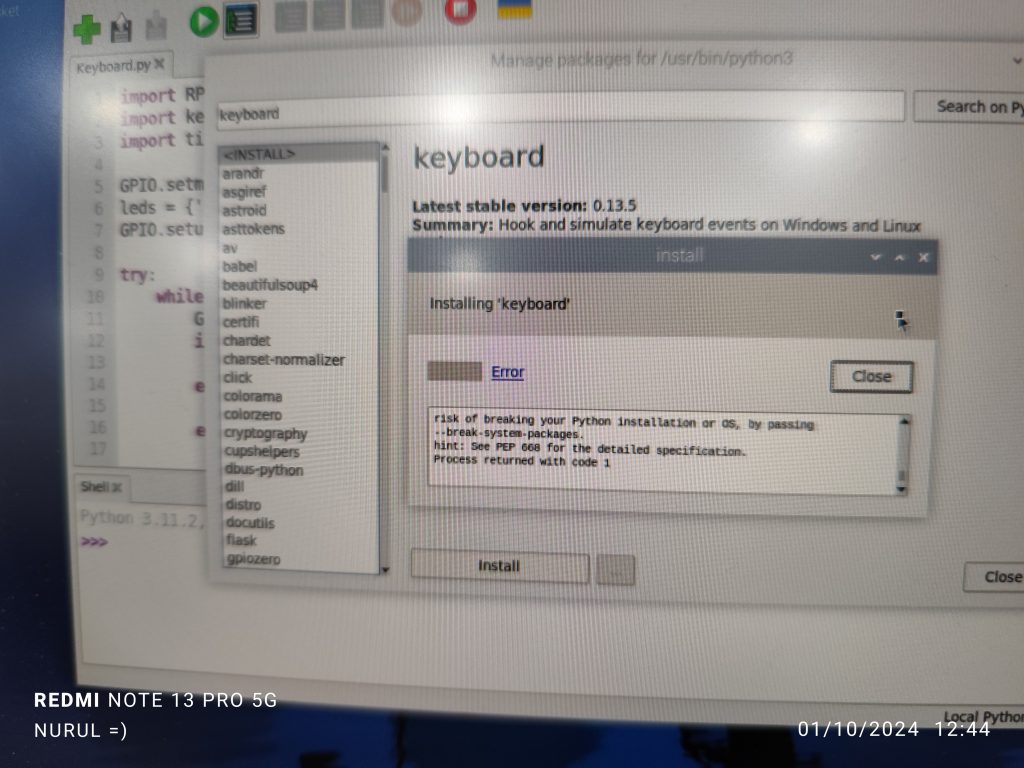
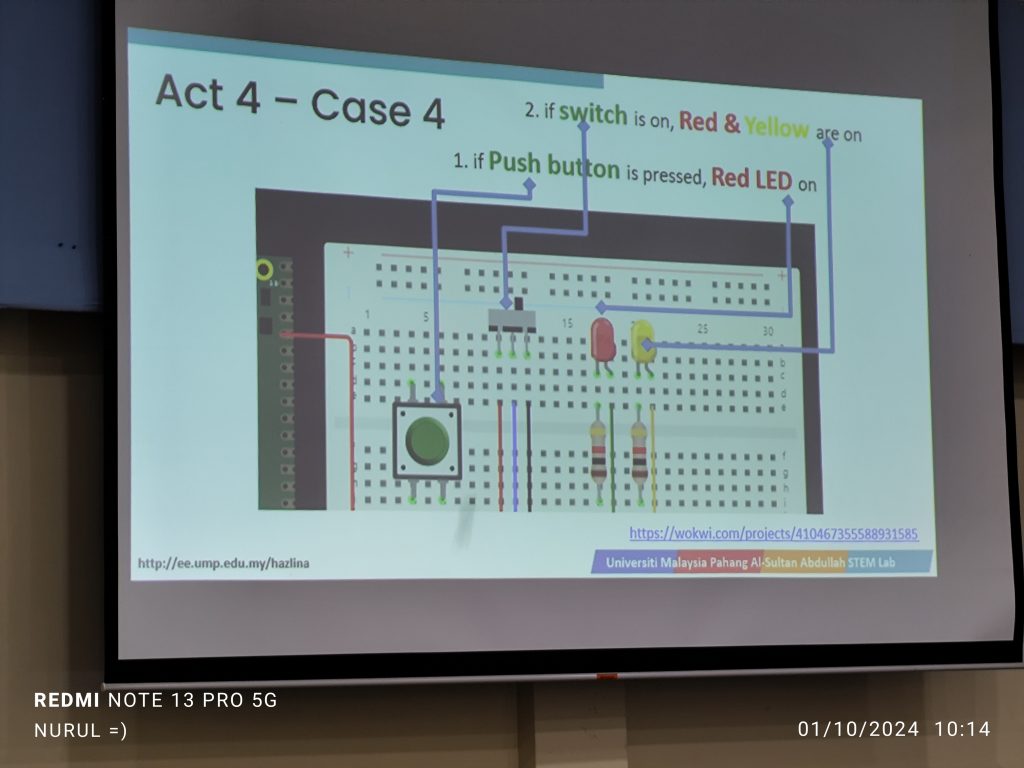
  3. Act 4 – Keyboard Control – Using the keyboard to interact with hardware components like LEDs.
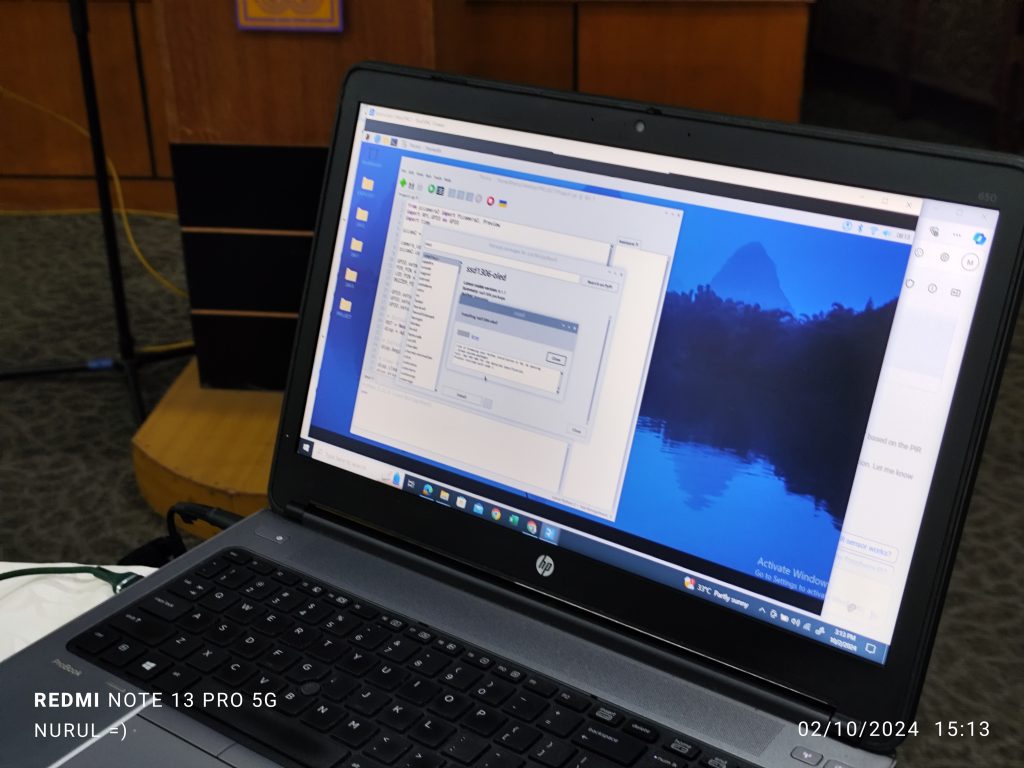
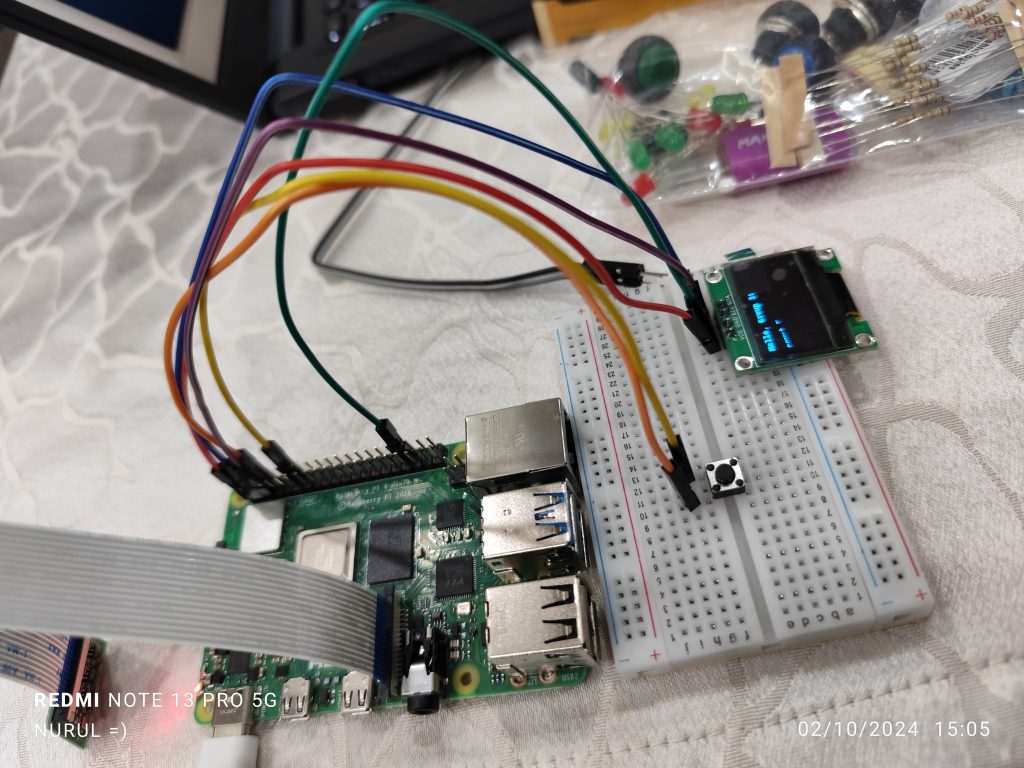
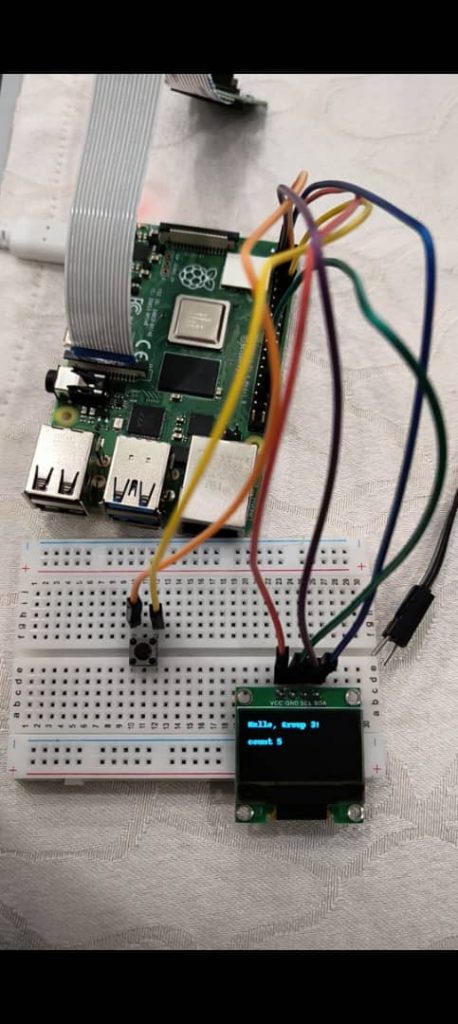
  4. Act 5 – OLED Display -We explored controlling an OLED display using Python libraries and the I2C protocol. This included displaying text and graphics, which captivated participants, demonstrating the versatility of the Raspberry Pi as an interface device.

Day 3 Exploring Sensors and Camera Controls

On Day 3, we moved into more complex sensor and camera integration. Participants worked hands-on with various sensors to collect and process real-world data.

Key Sensors Covered –

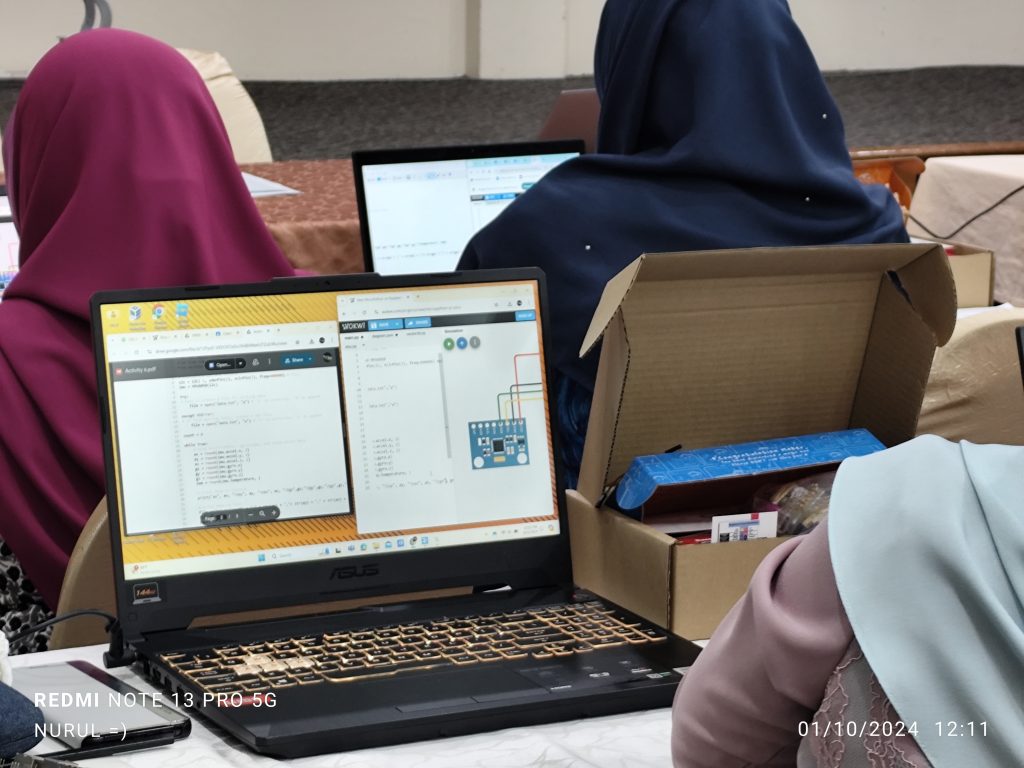
  1. Act 6 – I2C Accelerometer: Using accelerometers to measure movement and tilt.
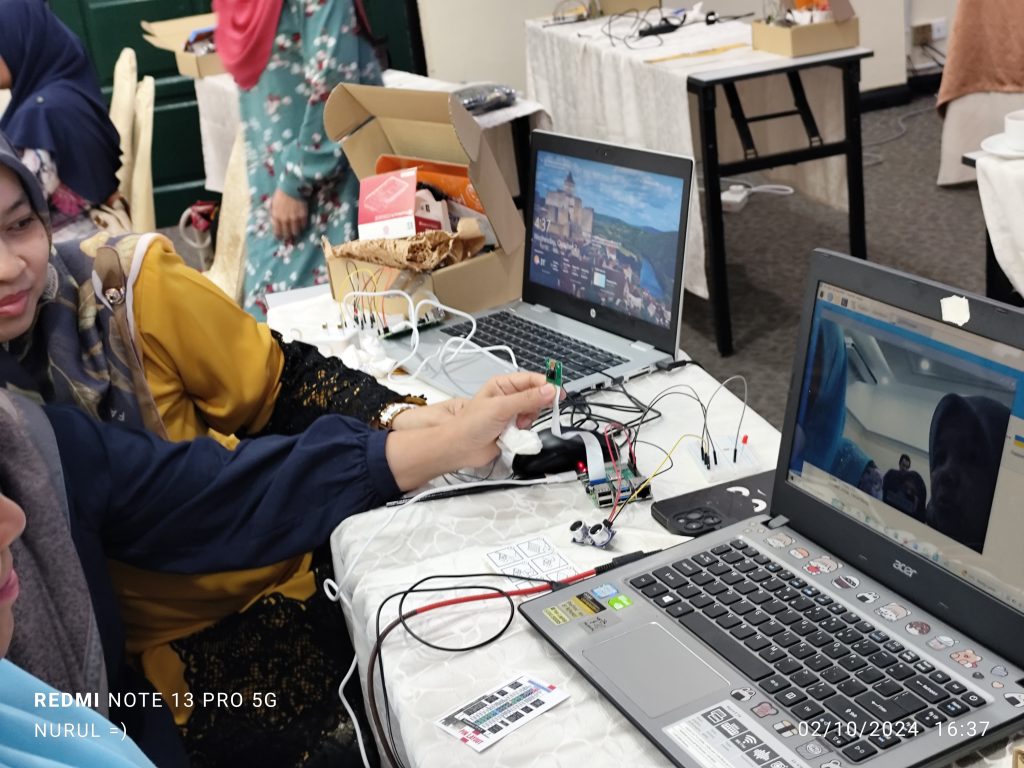
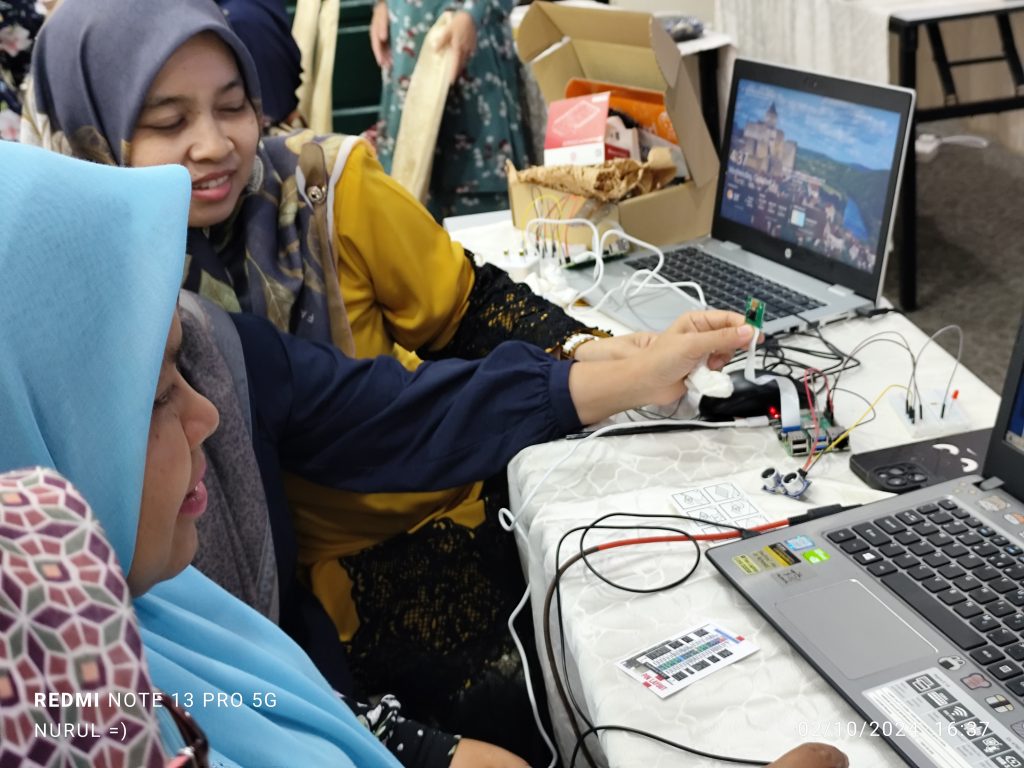
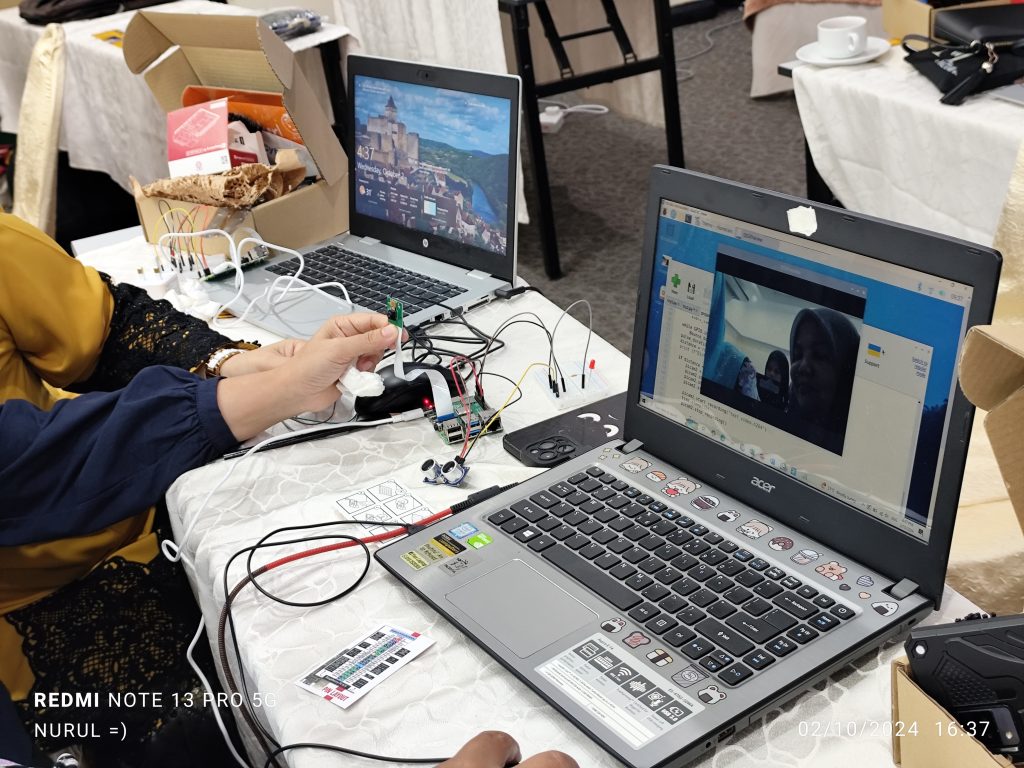
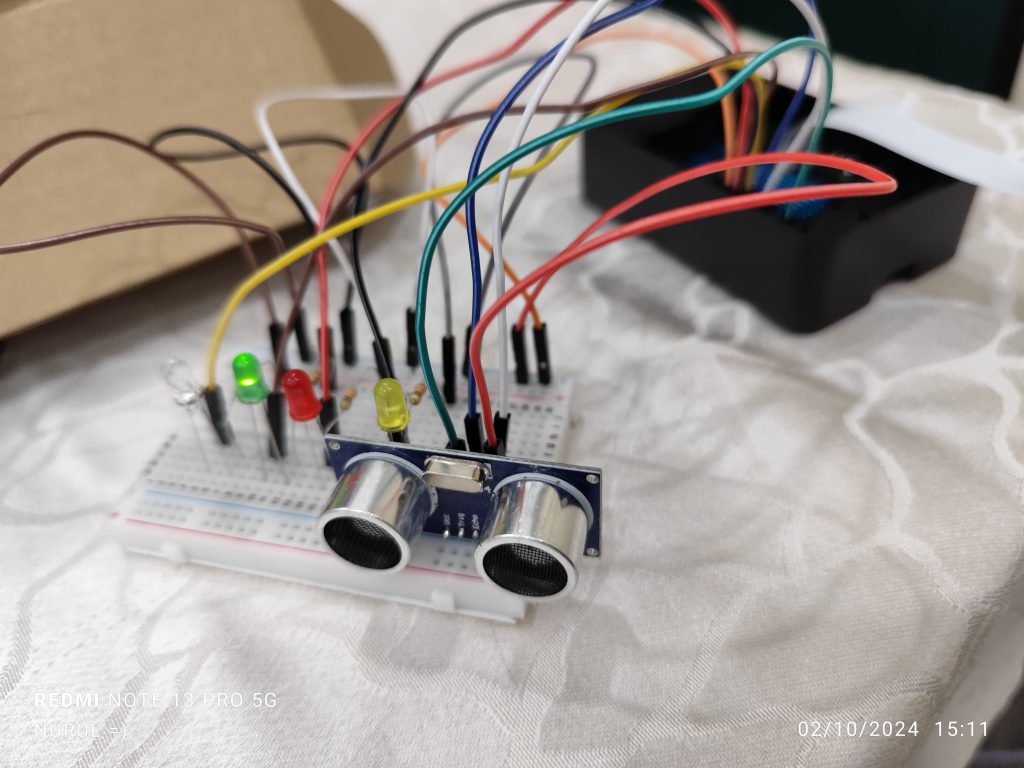
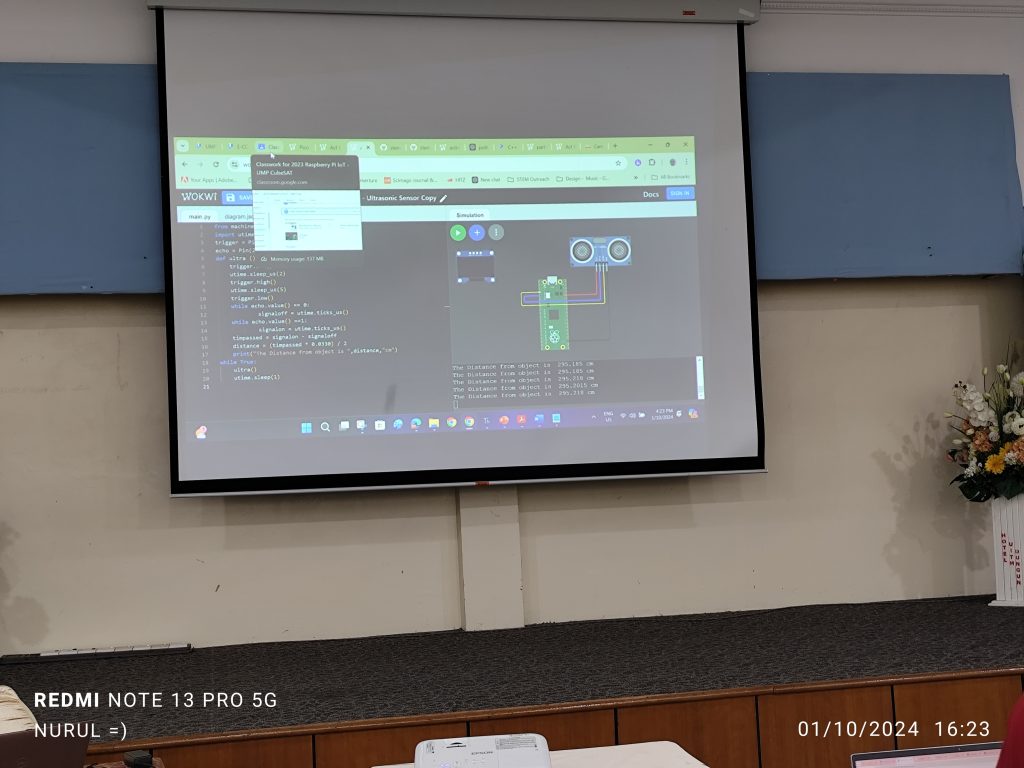
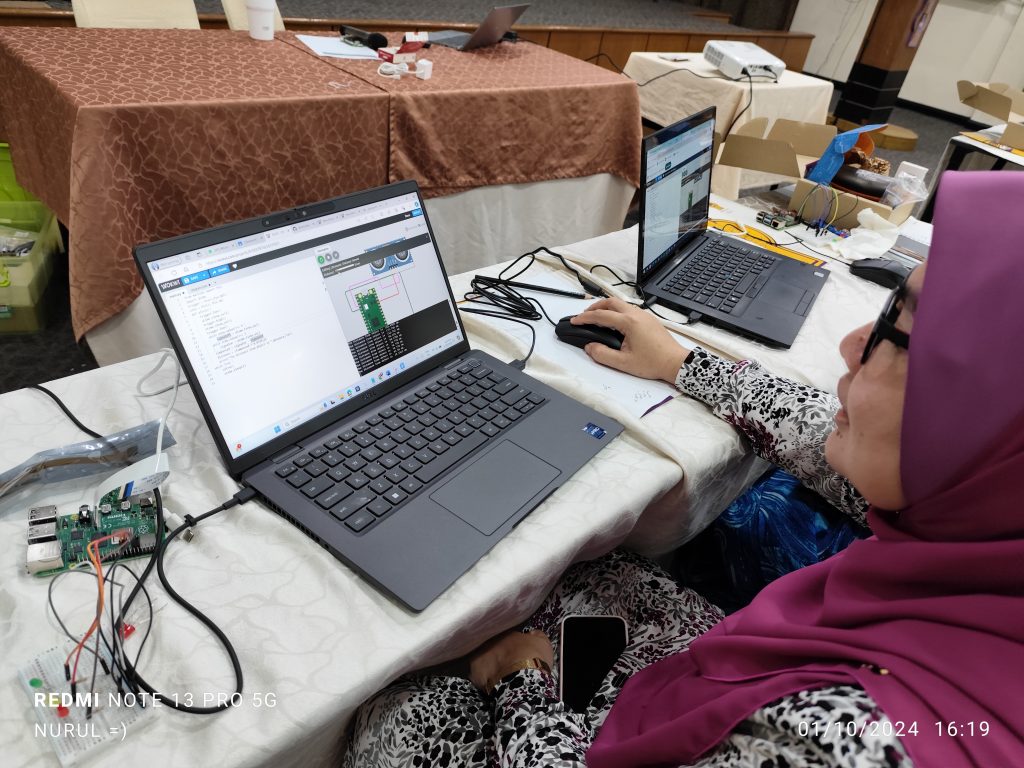
  2. Act 7 – Ultrasonic Sensor: Measuring distances using ultrasonic waves.
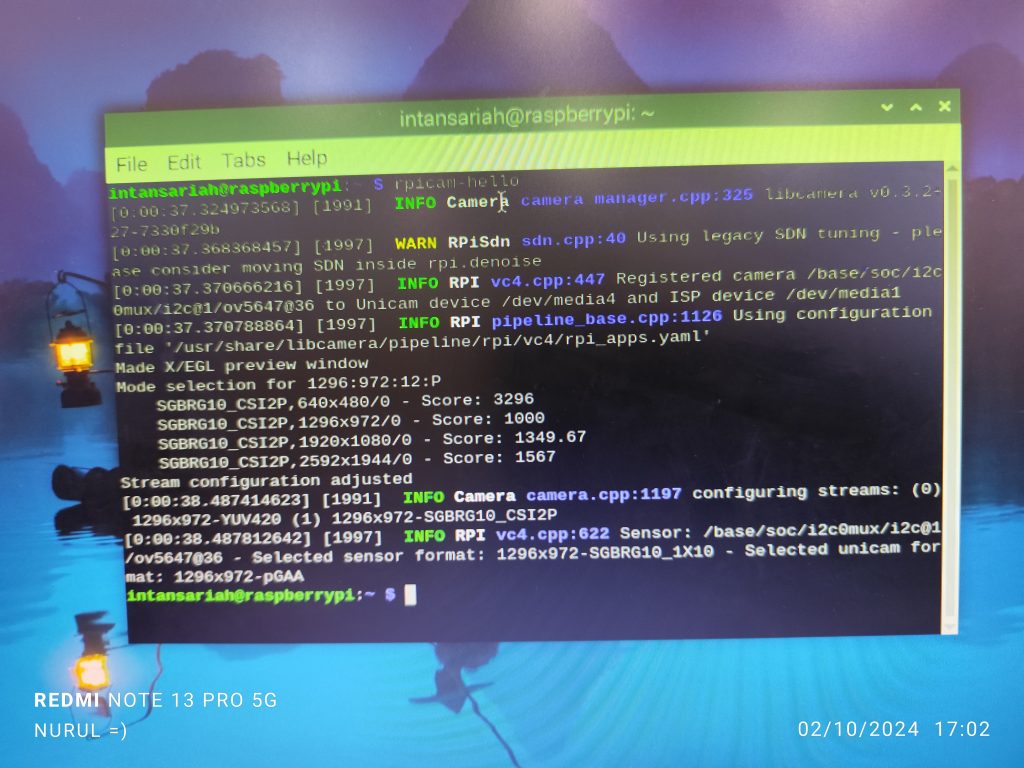
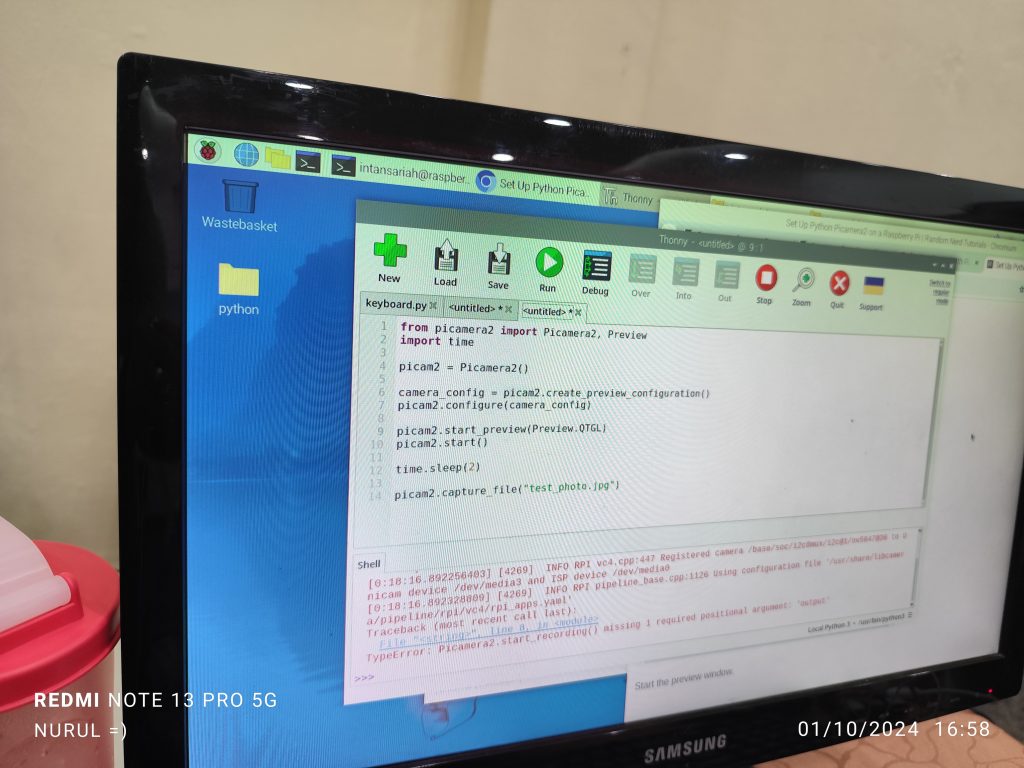
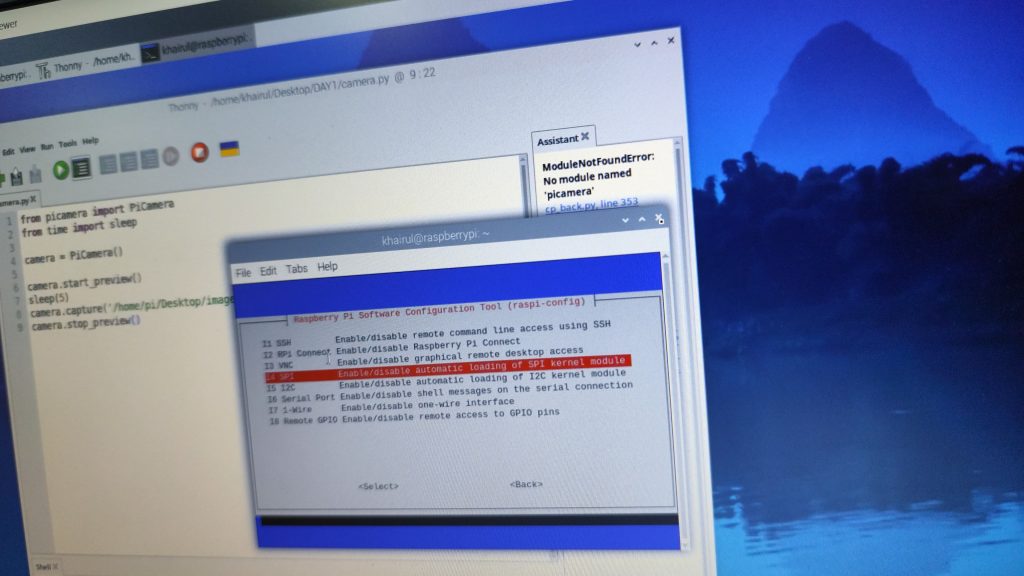
    We also explored using the camera with the Raspberry Pi
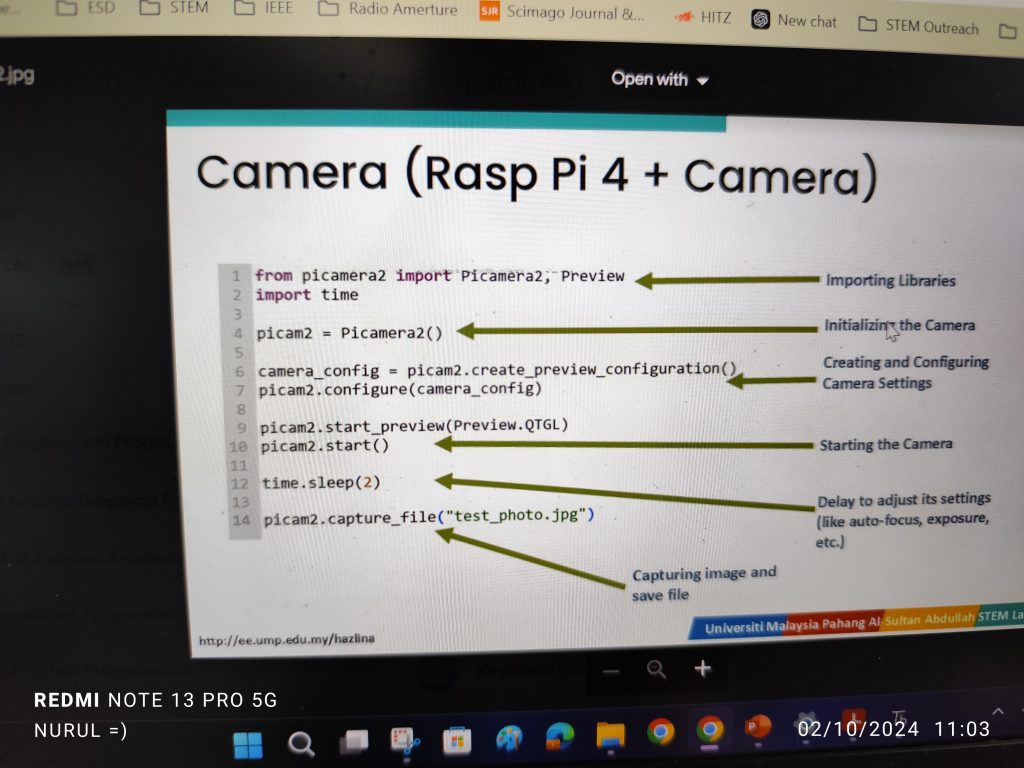
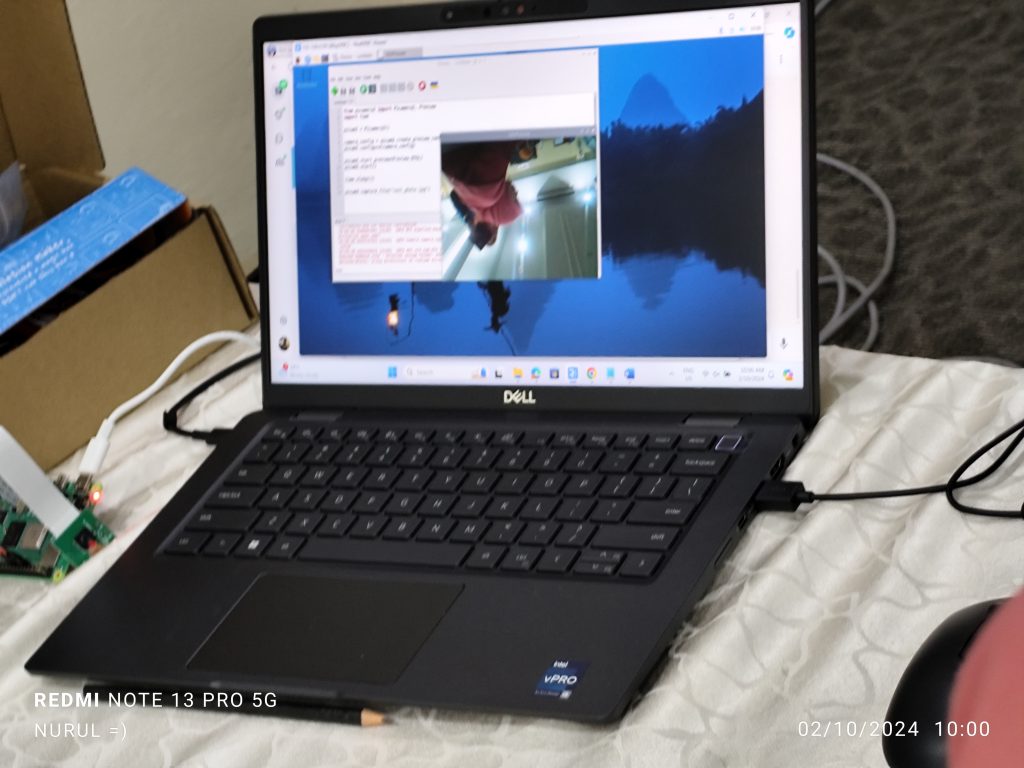
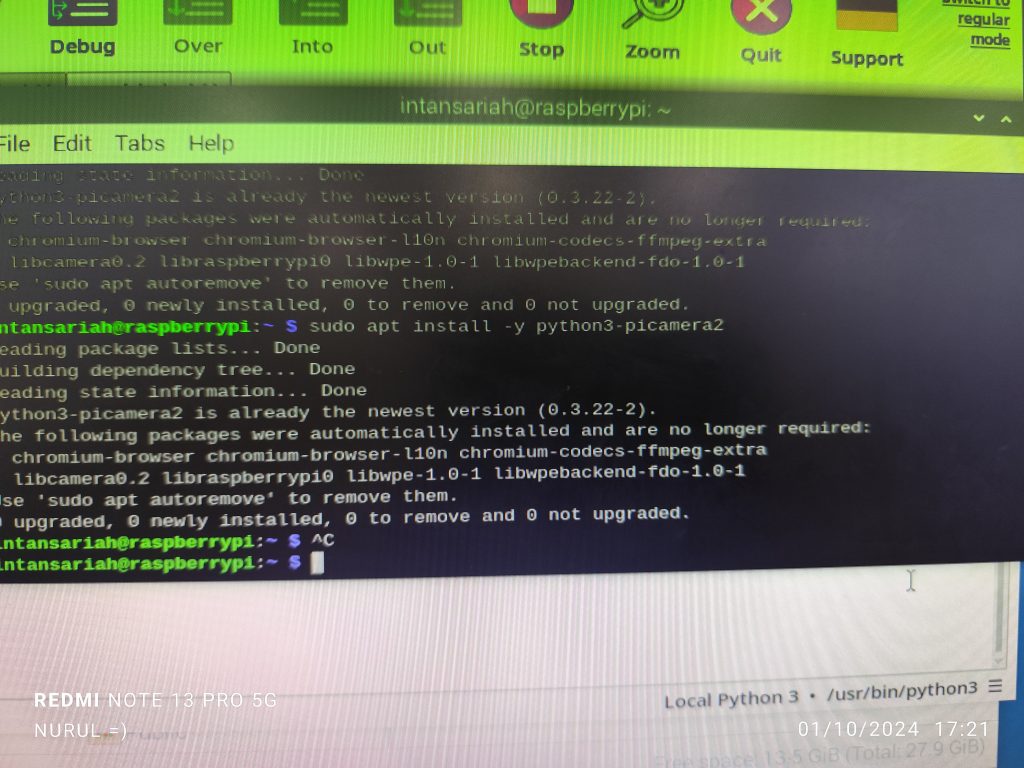
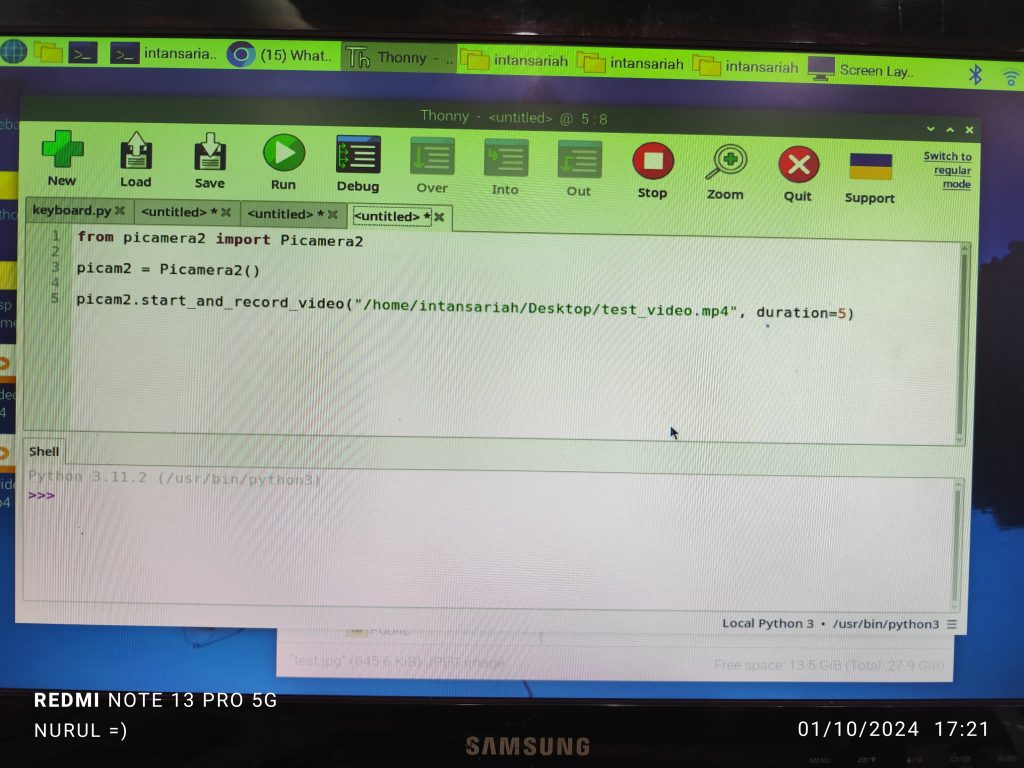
  3. Act 8 – Camera / Image: Capturing still images and processing them.
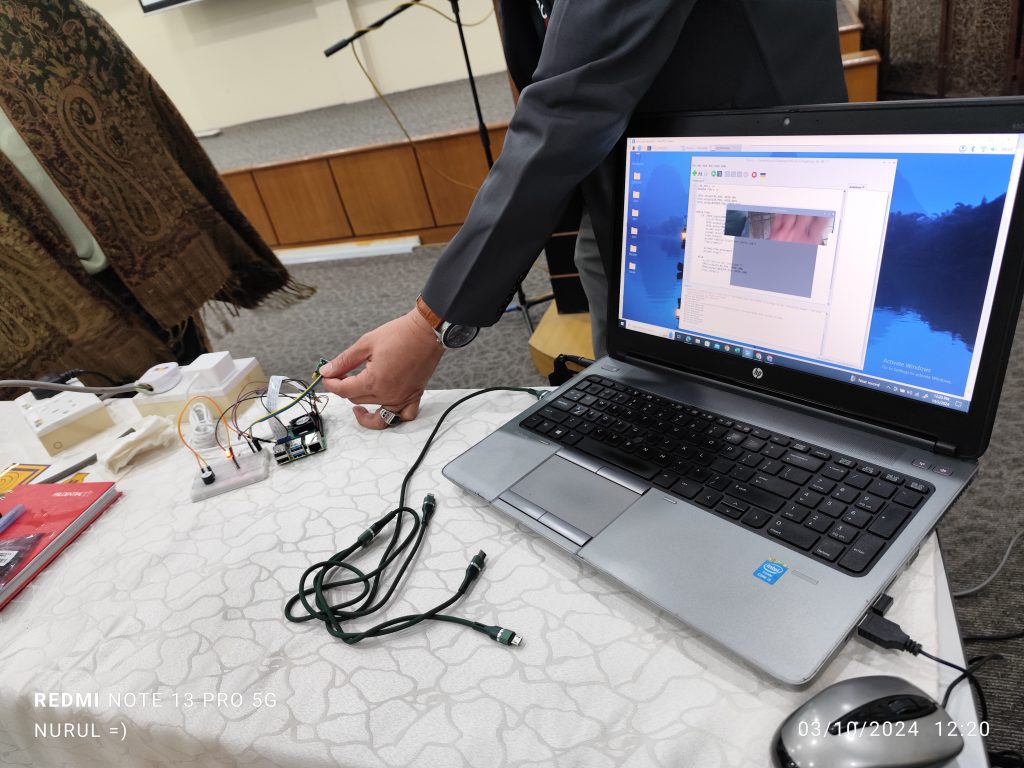
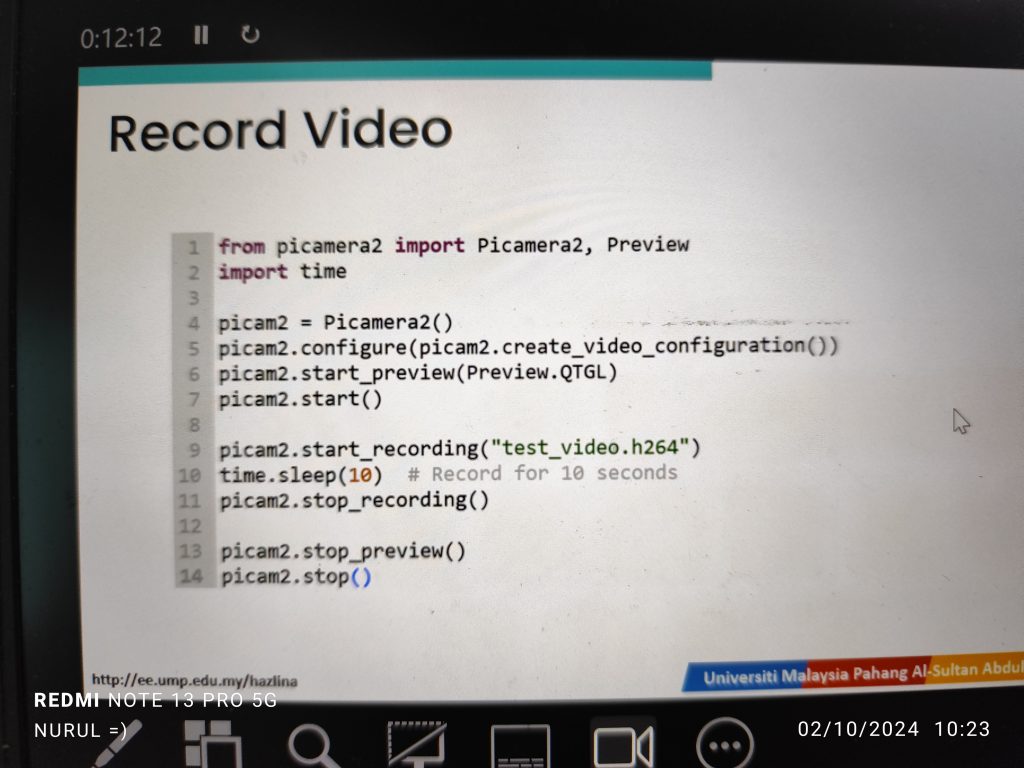
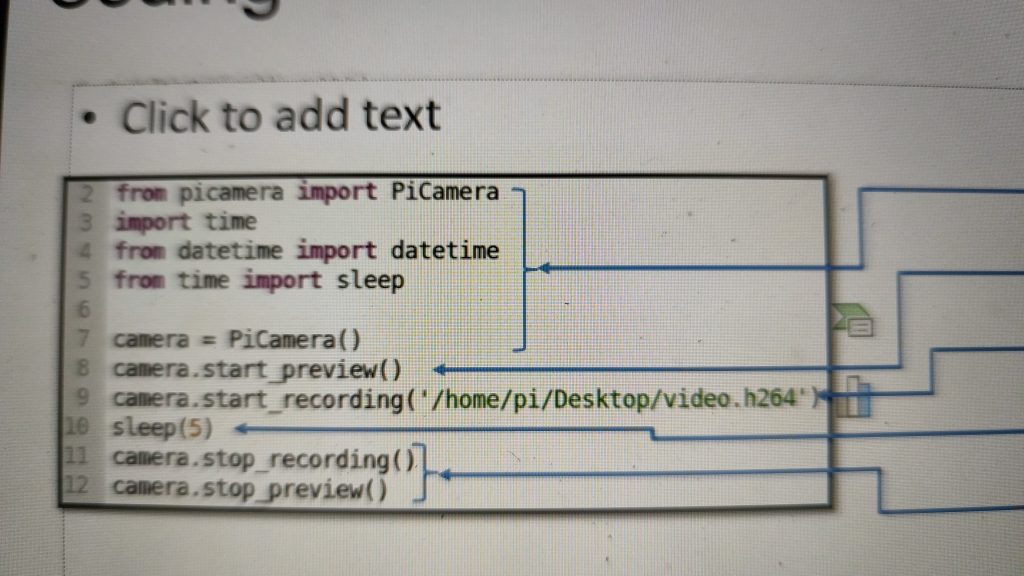
  4. Act 9 – Video Streaming: Streaming live video using the Raspberry Pi camera, giving participants a look at real-time image processing.
    We ended the day by learning how to remotely control the Raspberry Pi using SSH Scripting for headless setups.
    Day 4: Advanced Camera Control and Project Development
    The final day was packed with creative development. Participants were introduced to more advanced concepts of camera control using Python and integrating this control into group projects.

Key Highlights

  1. Camera Control & Geany – Using Geany, a lightweight integrated development environment (IDE), to control cameras with custom scripts.
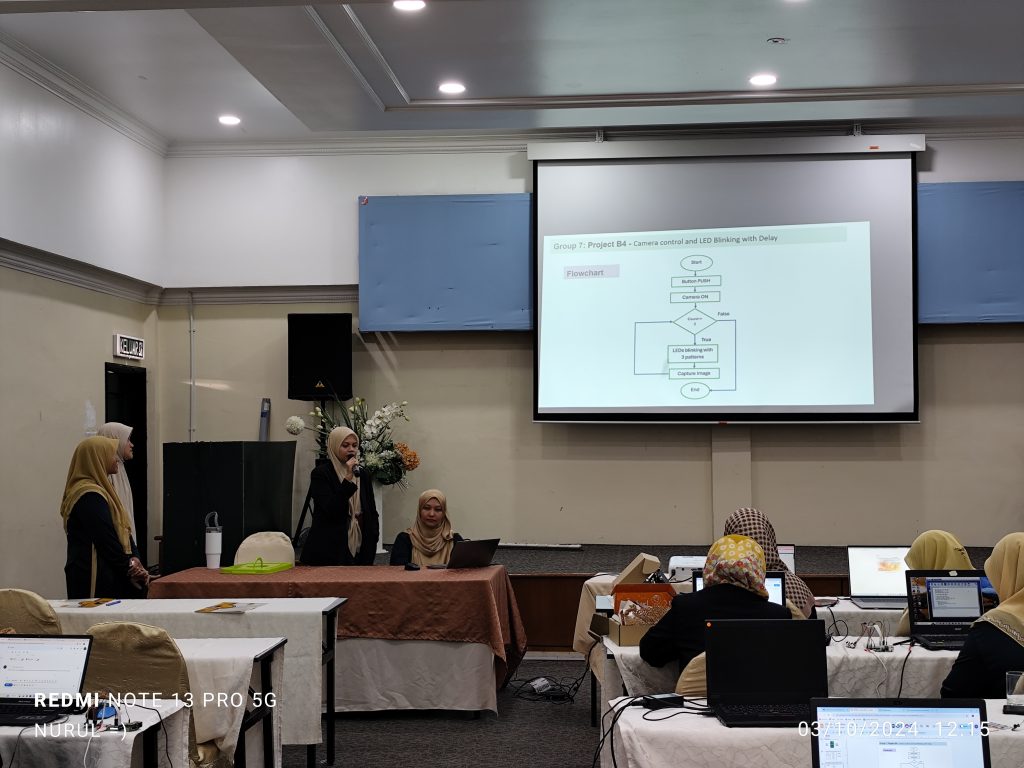
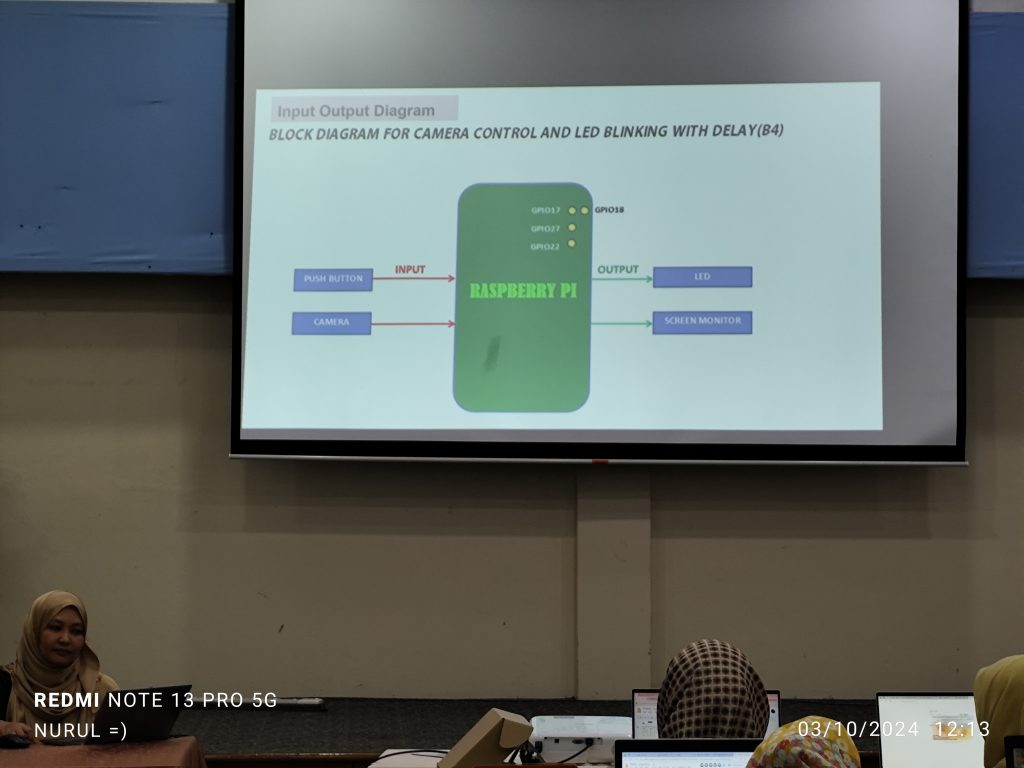
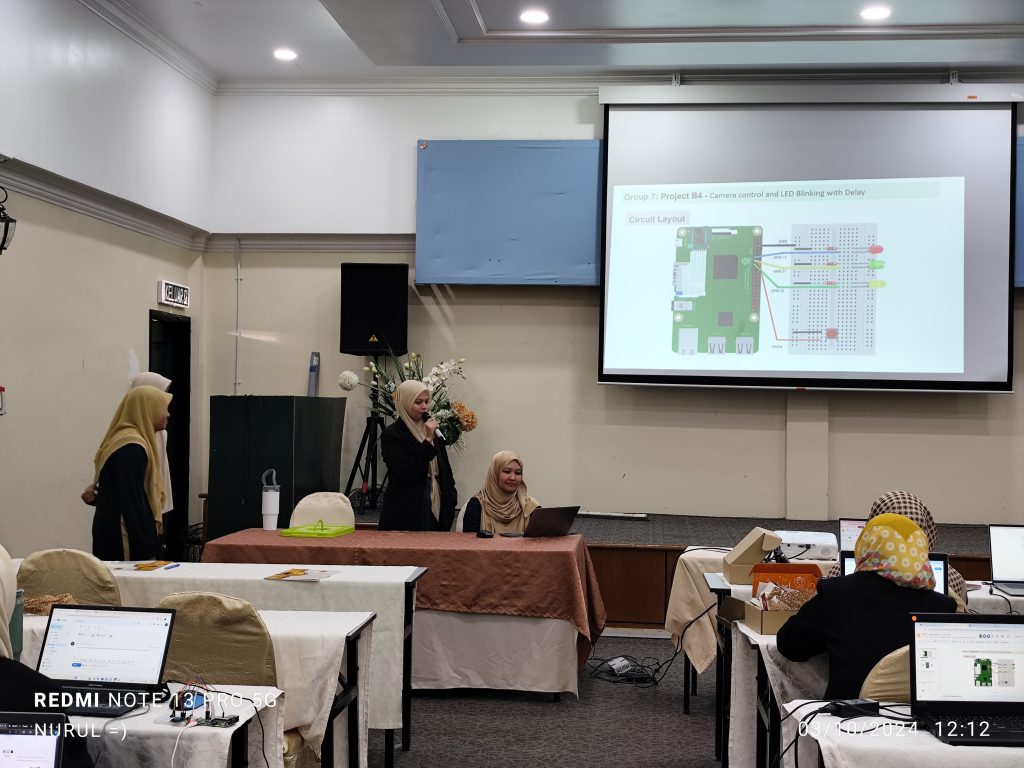
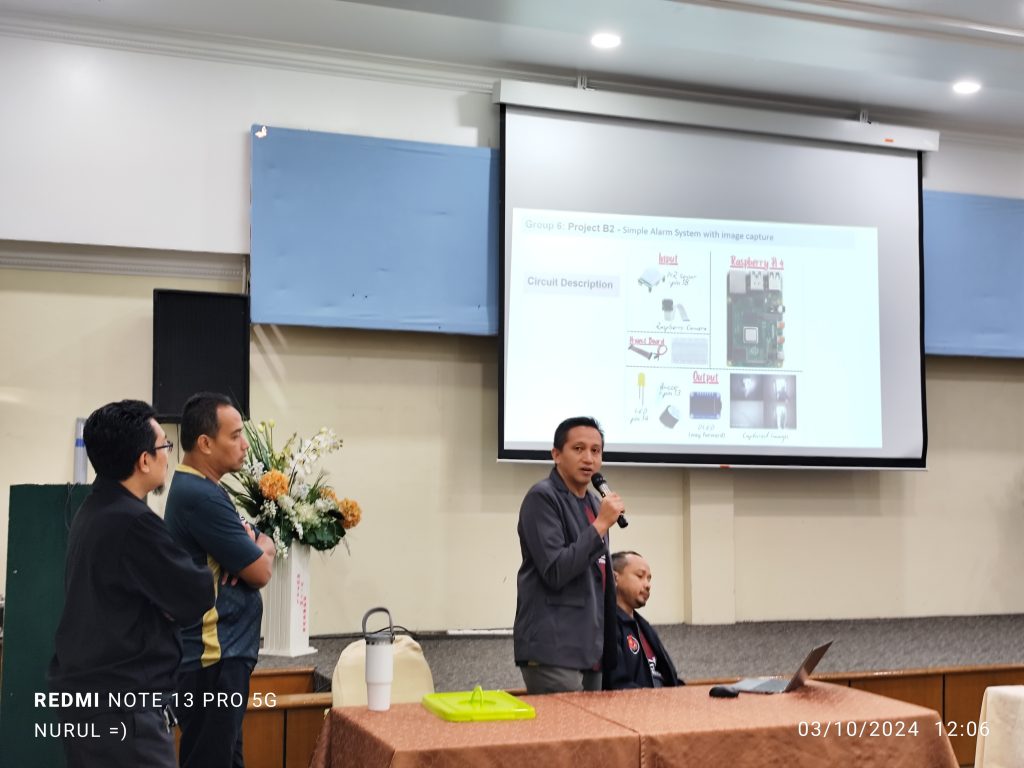
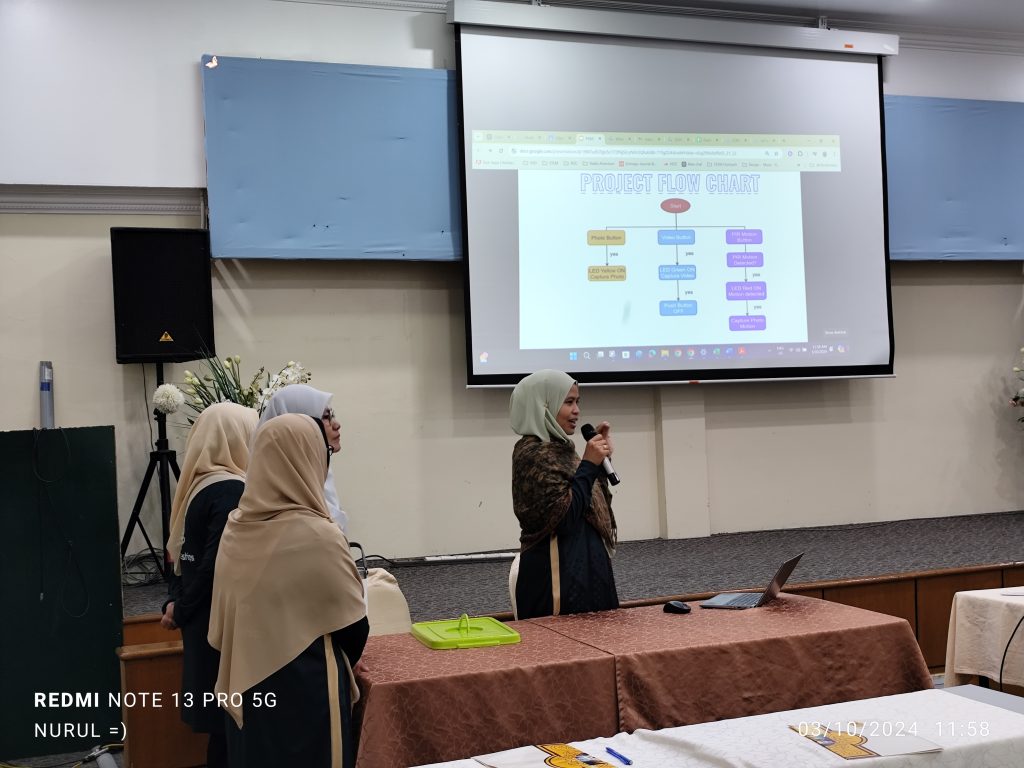
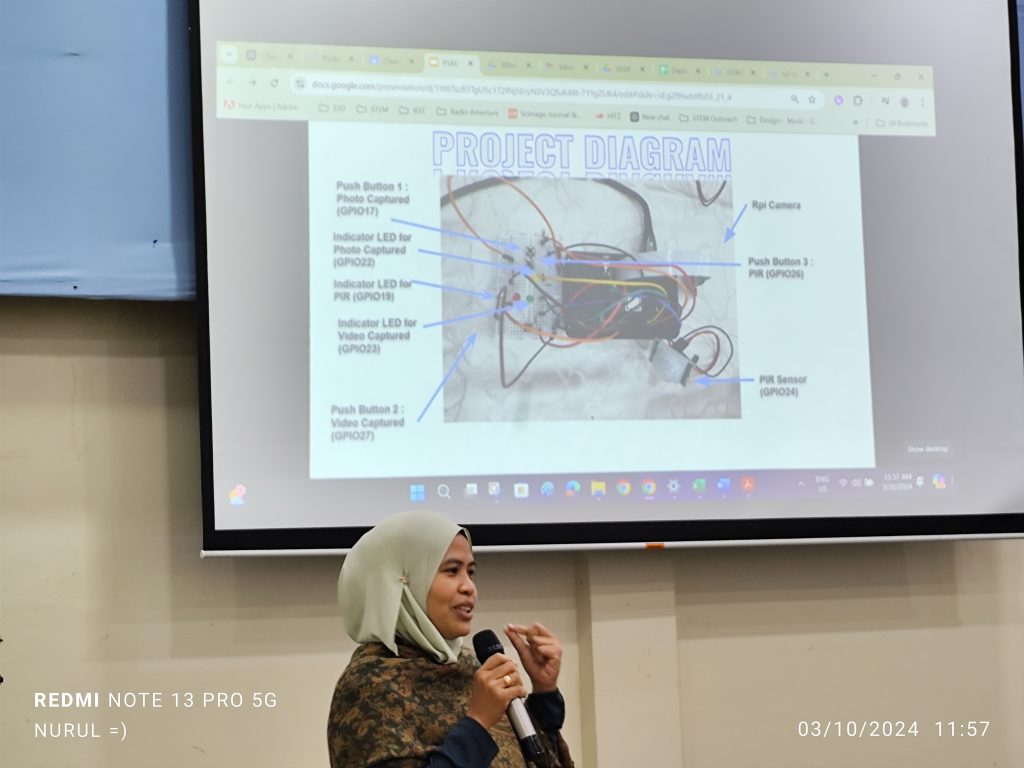
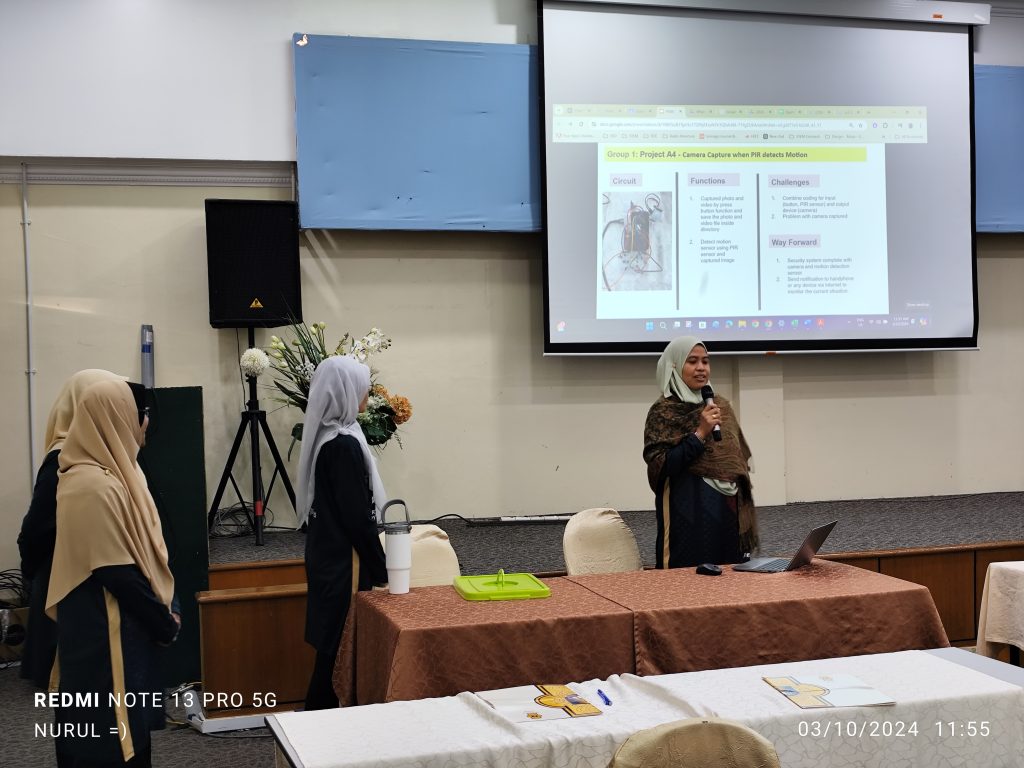
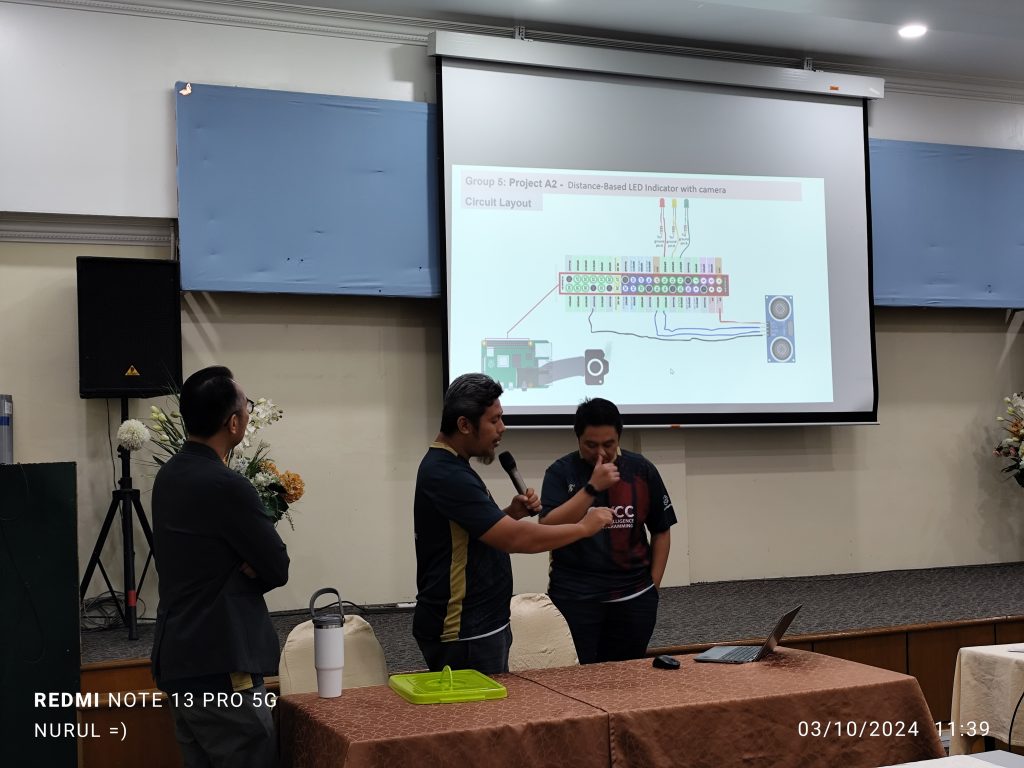
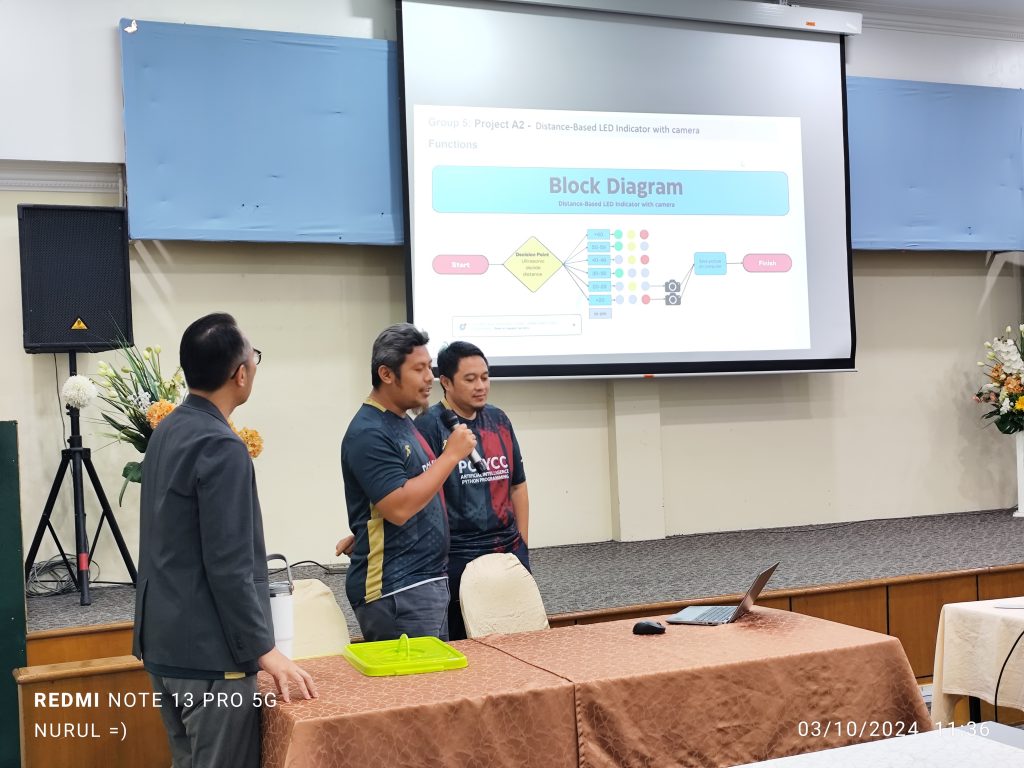
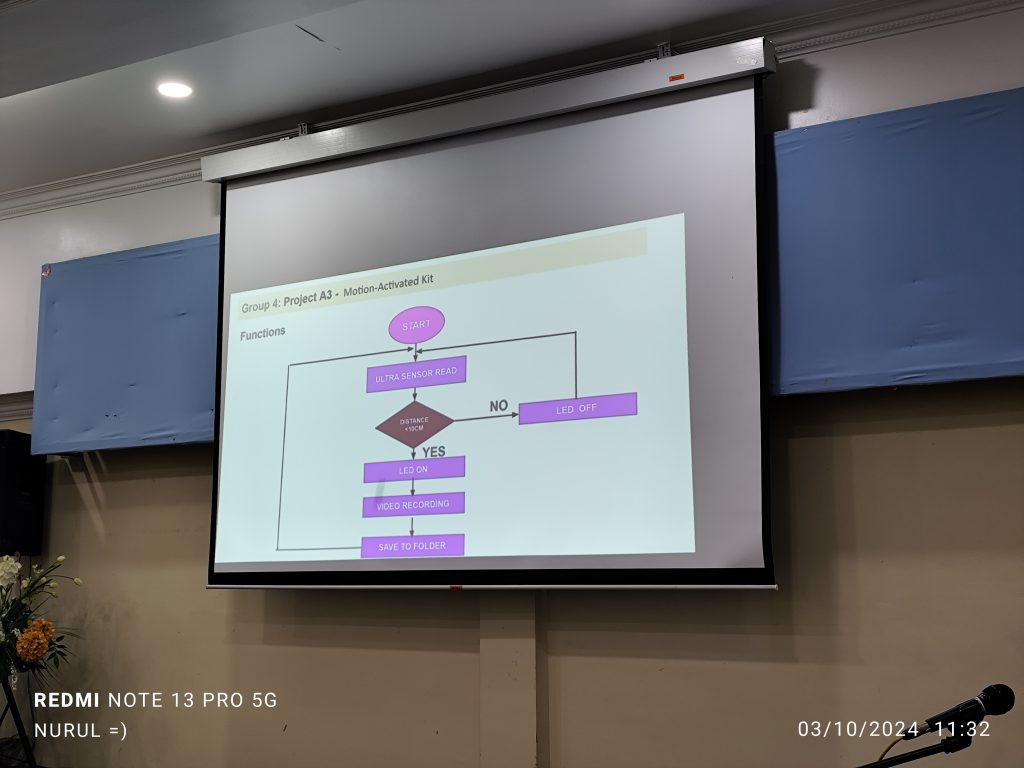
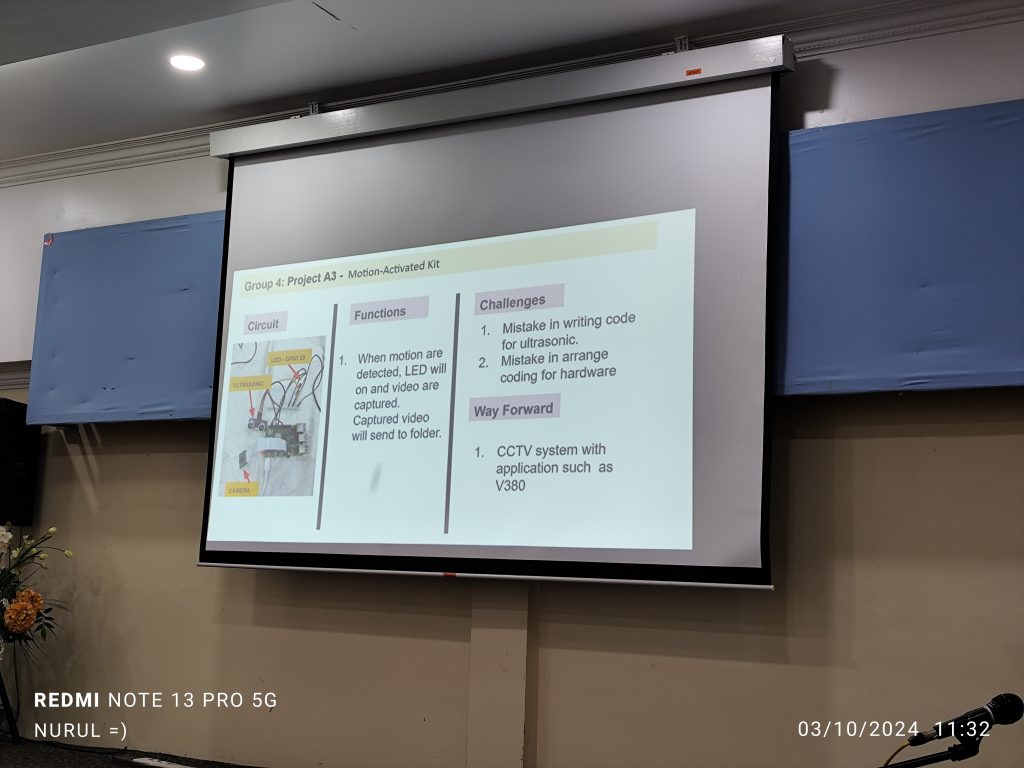
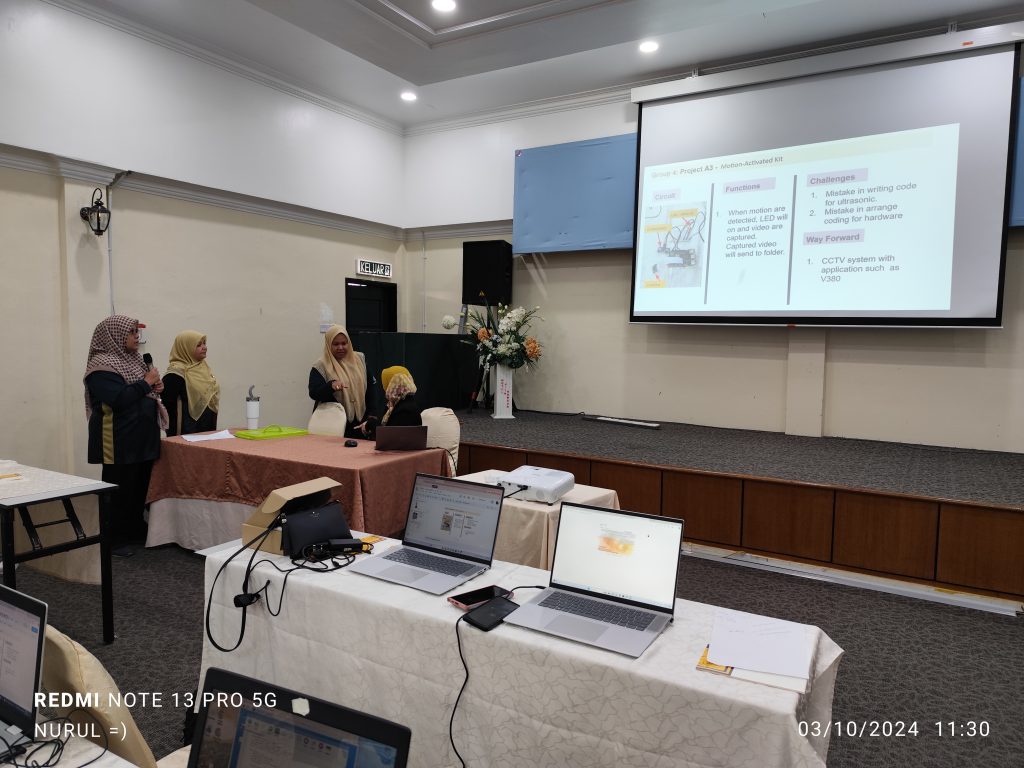
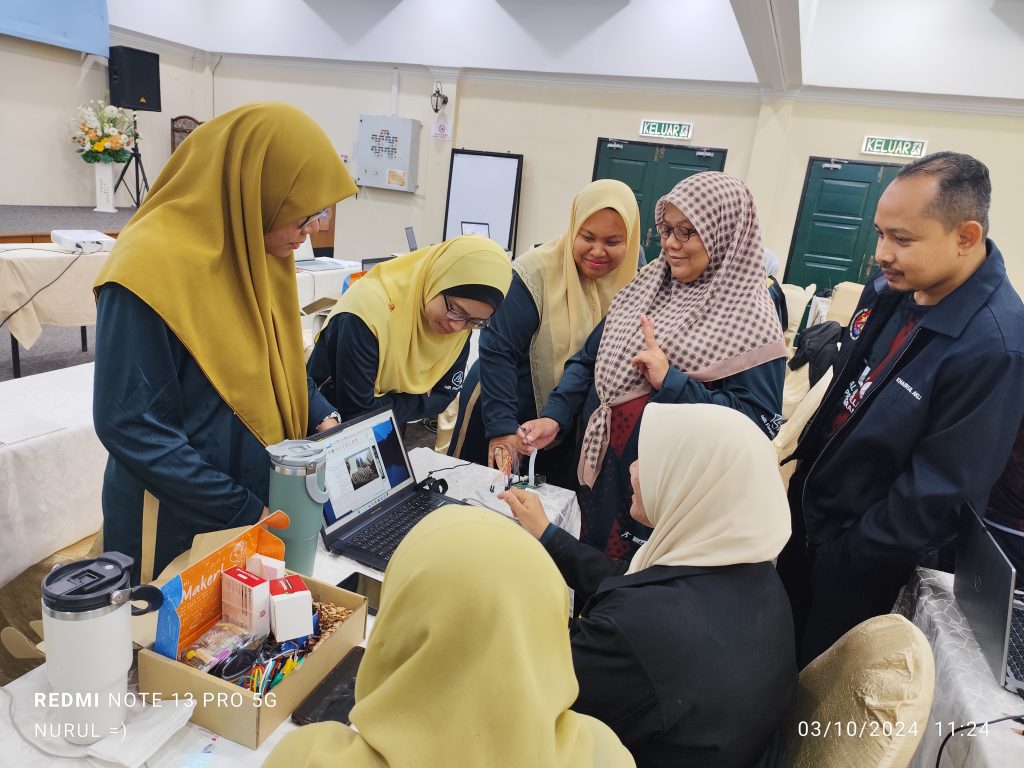
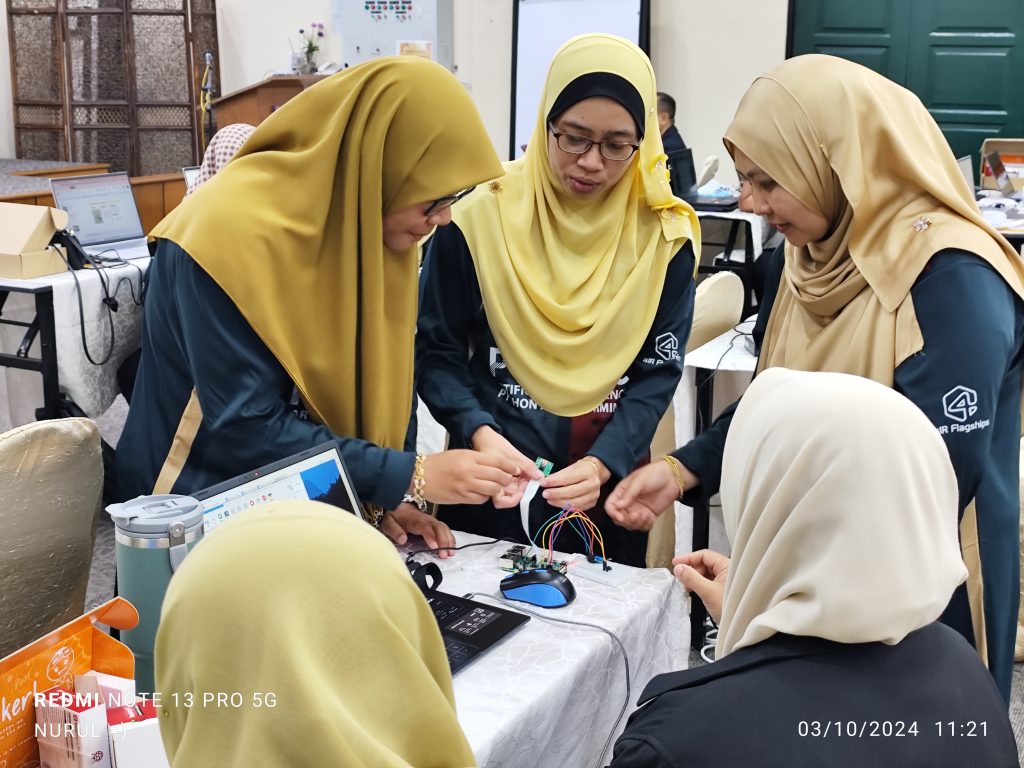
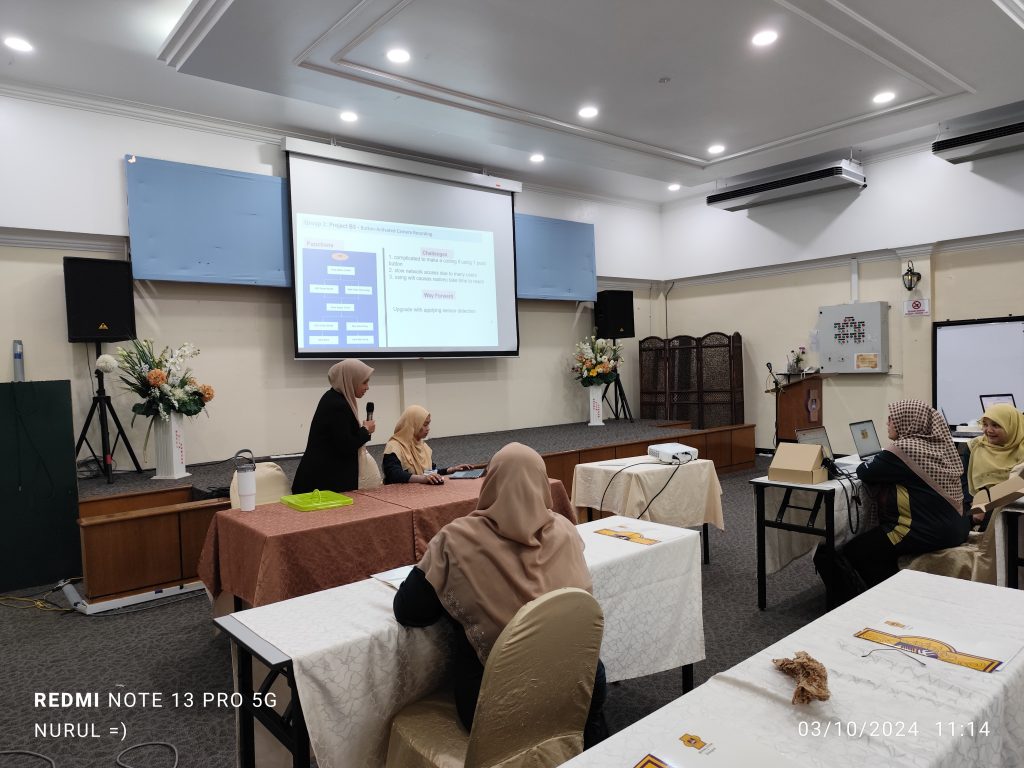
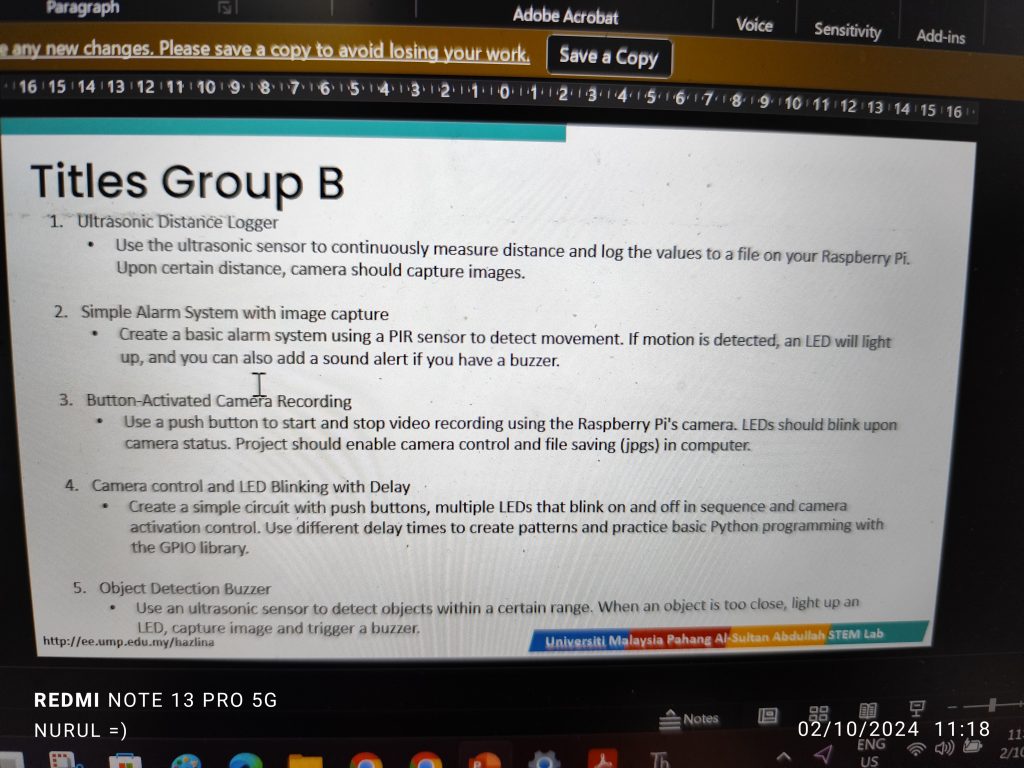
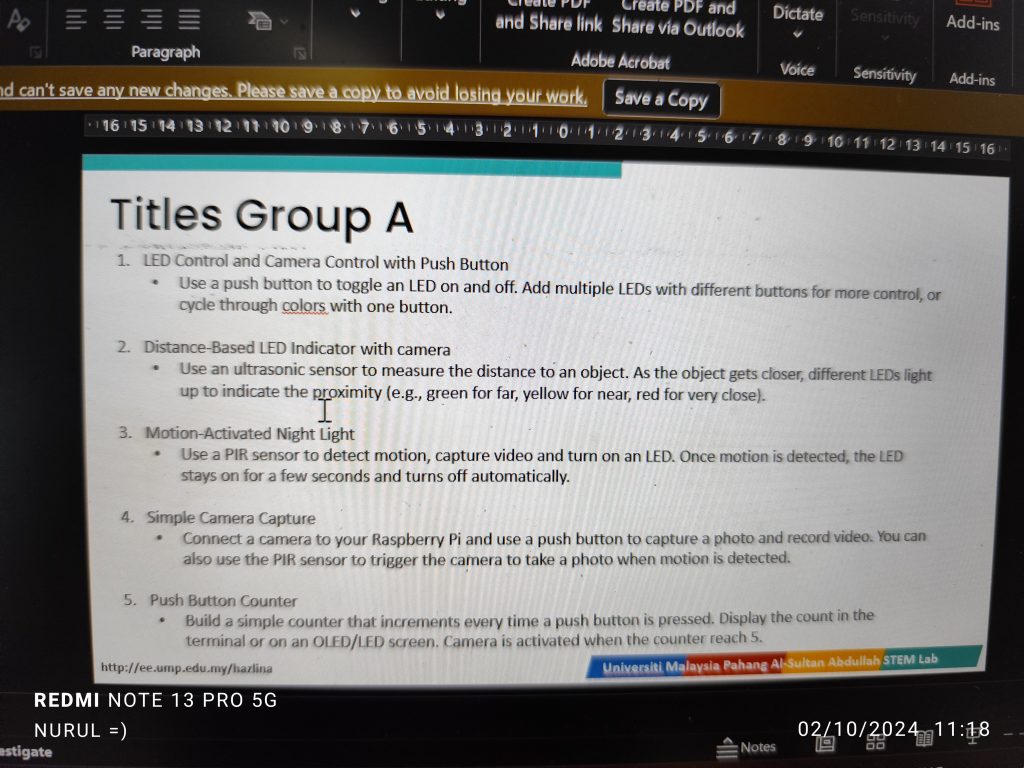
  2. Project Development – Each group was tasked with designing and developing a project, incorporating the skills learned over the past three days. The projects ranged from simple security systems to advanced sensor networks.
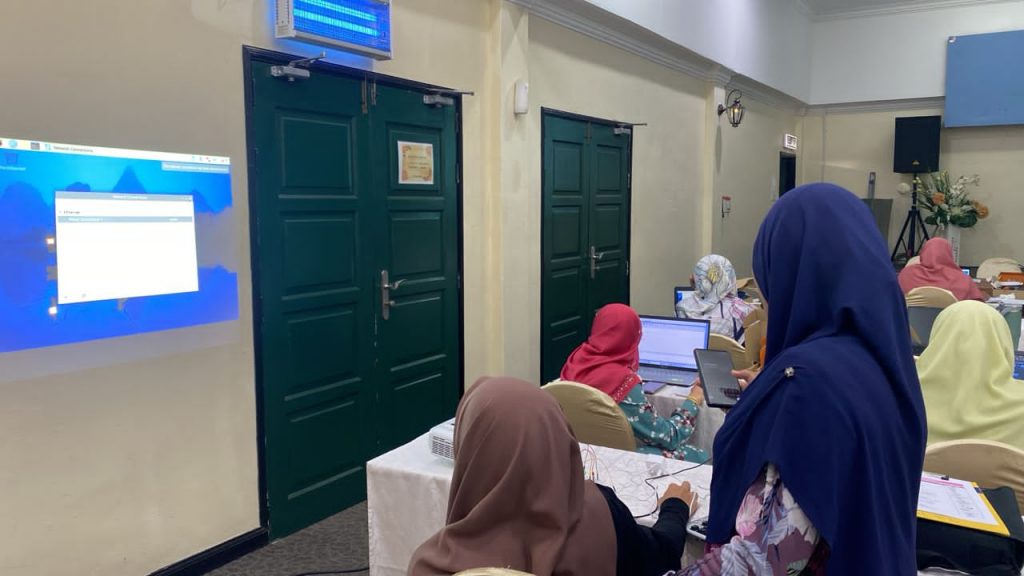
    1. Participants also learned how to set up their Raspberry Pi in Headless Mode, using SSH to control it without a dedicated monitor or keyboard.
    2. Project Presentation and Way Forward
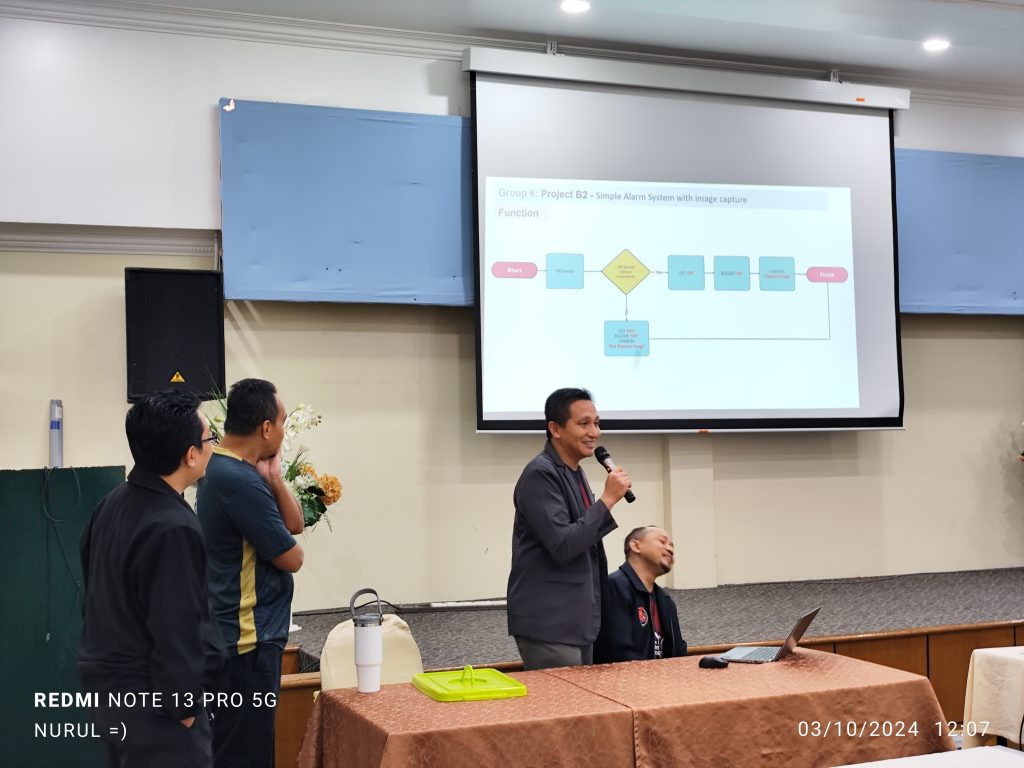
    3. After completing their group projects, participants presented their creations, showcasing the applications of Python programming, sensors, and AI-based hardware control. The final session was a recap of the key concepts, where participants were encouraged to continue exploring AI and Raspberry Pi on their own. They also completed a Post-Test to measure their progress throughout the course.

Looking Forward
This workshop is just the beginning. The potential of Raspberry Pi combined with Python programming offers limitless possibilities, from creating AI-powered projects to building real-world applications. Participants left equipped with the skills and confidence to continue their journey in AI and embedded systems development.

Conclusion
In just four days, participants transitioned from having no experience with Raspberry Pi or Python to developing their own AI-based projects. This course laid a strong foundation for understanding hardware, software, and AI in a hands-on, engaging way. The combination of sensors, control statements, and camera-based projects showcased the immense power of integrating AI and Python with Raspberry Pi.

Stay tuned for more workshops that push the boundaries of AI and embedded programming!

I hope everyone had enjoyed the course as much as I did in facilitating it.

Nurul (Oct 3rd, 2024)

Day 4

Day 3


Day 2

Day 1

Misc


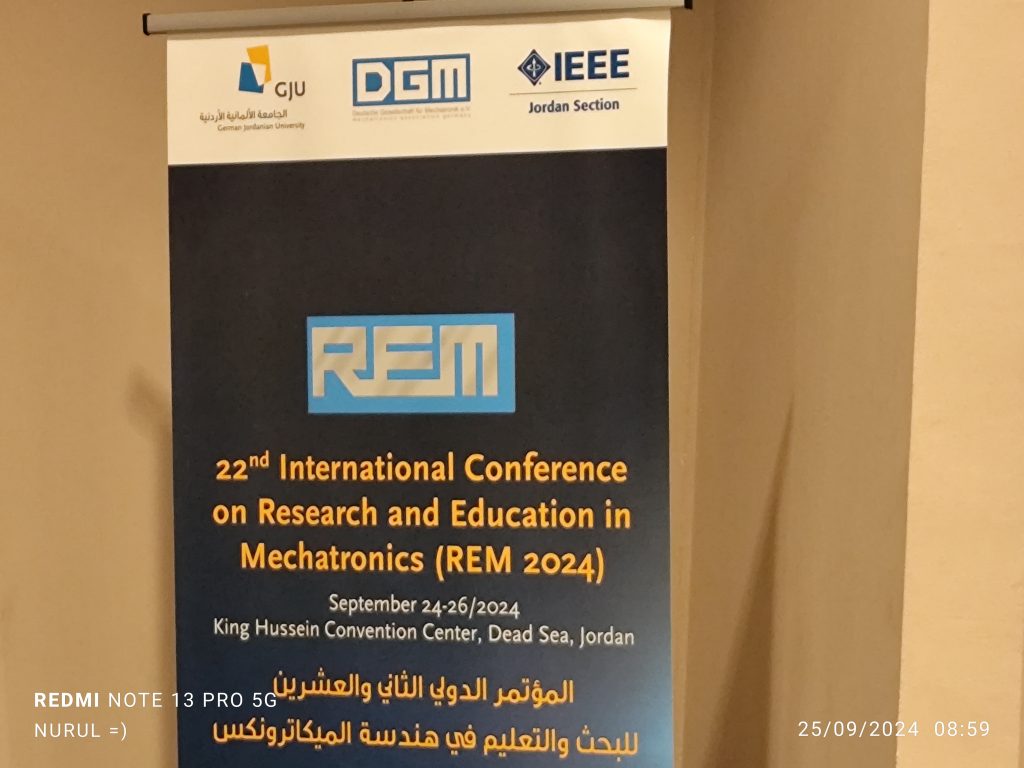
Research and Education in Mechatronics Engineering (REM 2024) – Day 2

I presented a paper titled “The Design and Implementation of UMP STEM Cube for Environmental Monitoring” on Day 2 of the 2024 Research and Education in Mechatronics (REM) Conference.

This paper showcases the development of the UMP STEM Cube (LilEx 3), a 1U pico-satellite designed to monitor environmental conditions, specifically focusing on air quality. Developed at the UMPSA STEM Lab in 2021, the LilEx (short for Little Explorer) represents the lab’s aspiration to create small but powerful tools for environmental monitoring. The version showcased in the paper is the third iteration, LilEx 3, which utilizes the Raspberry Pi Pico as its main processor, providing a compact yet efficient platform for onboard data handling and transmission.

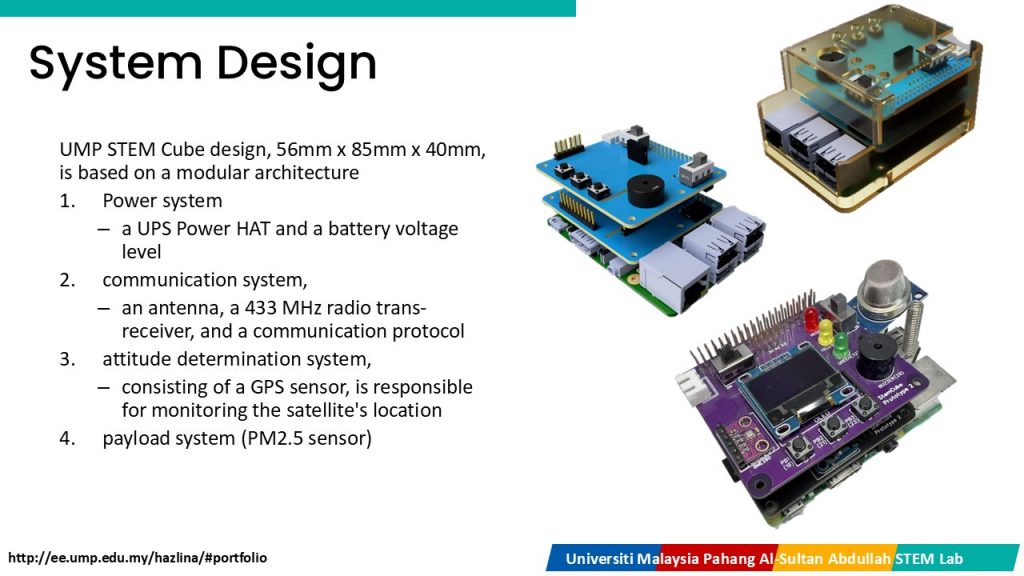
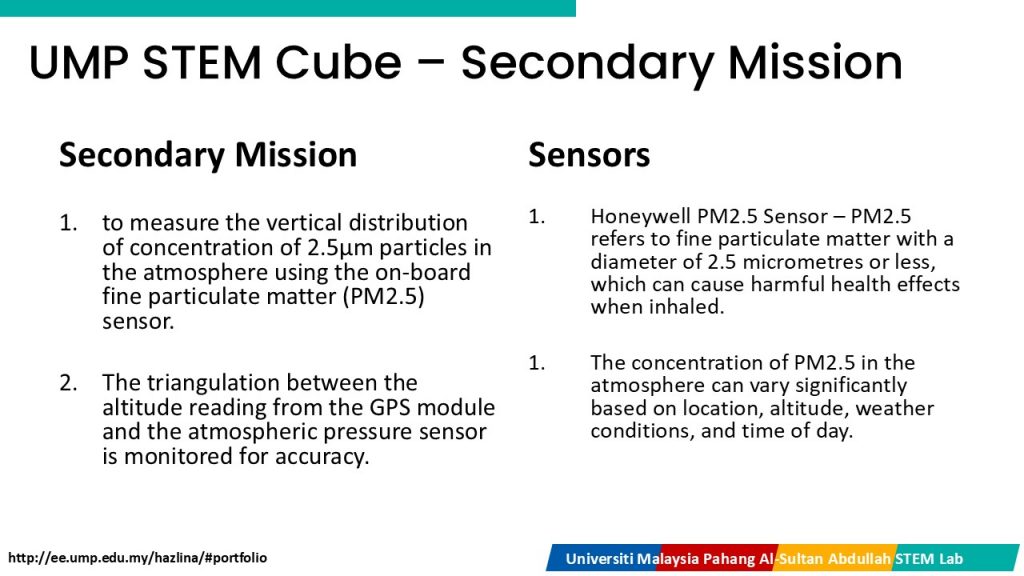
The UMP STEM Cube is a prototype pico-satellite, measuring just 56mm x 85mm x 40mm, with a mission to monitor air quality and atmospheric data from space. Its primary mission focuses on recording and transmitting temperature, humidity, altitude, and atmospheric pressure data in real-time. The secondary mission involves measuring the vertical distribution of PM2.5—fine particulate matter—with the goal of identifying pollution hotspots and analysing air quality at different altitudes.

CubeSats like the LilEx 3 offer a cost-effective solution to environmental monitoring by providing data from a broader spatial perspective compared to traditional ground-based sensors. Unlike ground-based systems, CubeSats can monitor remote or inaccessible areas, making them invaluable tools for comprehensive environmental surveillance.

Key Features of LilEx3 include its’ modular architecture, primary sensors and an onboard HPM2.5 sensor to measures fine particulate matter.

LilEx 3 Design

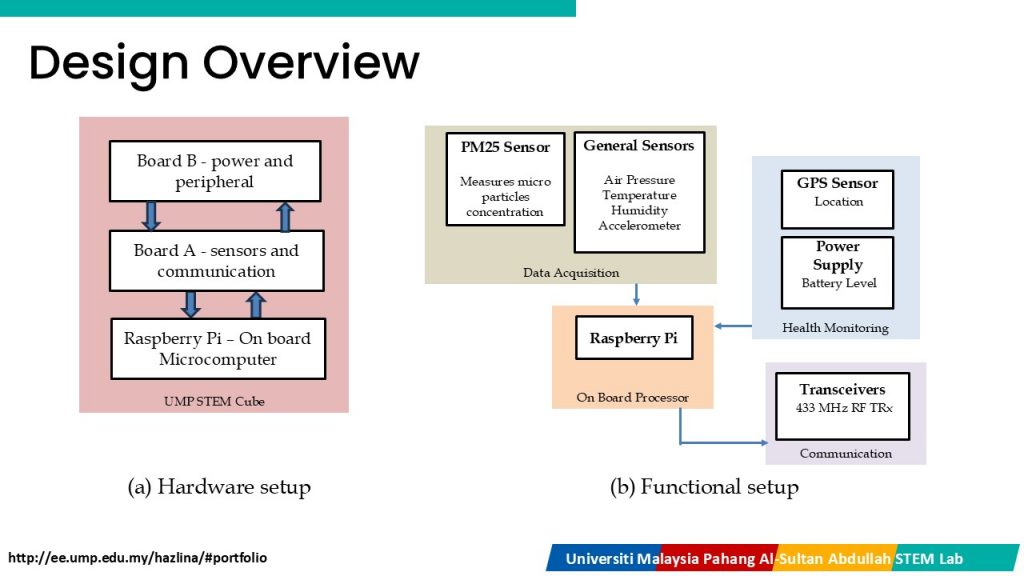
The LilEx 3 houses the following key subsystems –

  1. A UPS Power HAT with a 1000mAh battery provides the necessary energy for the entire system. It includes overcharge and discharge protection, ensuring the system’s longevity and safety in space.
  2. The Raspberry Pi Pico serves as the primary processing unit. It manages data acquisition from the sensors, handles communication with the ground station, and runs flight software that controls the satellite’s mission objectives.
  3. The satellite communicates with a ground station using a 433 MHz RF transceiver, allowing for real-time data transmission and telemetry monitoring.
  4. LilEx 3 carries a PM2.5 sensor for fine particulate matter detection, which is key for air quality monitoring. Other sensors include those for measuring temperature, humidity, atmospheric pressure, and altitude.


Flight Simulators

To ensure successful deployment and mission execution, LilEx 3 underwent rigorous flight simulations. These simulations were critical in testing the satellite’s ability to withstand launch conditions, deploy successfully in space, and maintain functional communication with the ground station.

Primary and Secondary Missions

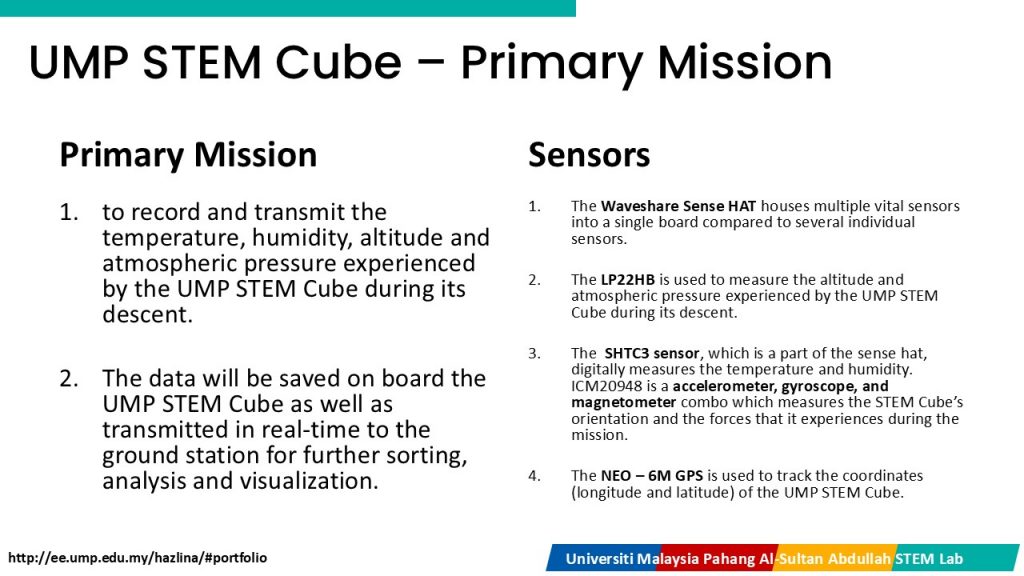
The primary mission of the LilEx 3 is to monitor and transmit real-time environmental data during its descent and orbit, specifically focusing on atmospheric parameters. The main objectives include:

  1. Recording and transmitting data on temperature, humidity, atmospheric pressure, and altitude in real time.
  2. Providing live telemetry data to the ground station for sorting, analysis, and visualization.

The secondary mission is more focused and aims to track PM2.5 levels, particularly the vertical distribution of fine particulate matter in the atmosphere. This secondary mission enables:

  1. Monitoring of air pollution at various altitudes, providing critical data for understanding how pollutants are distributed vertically in the atmosphere.
  2. Forecasting pollution patterns, with data used for tracking the movement of pollution plumes and identifying pollution hotspots.

System Architecture

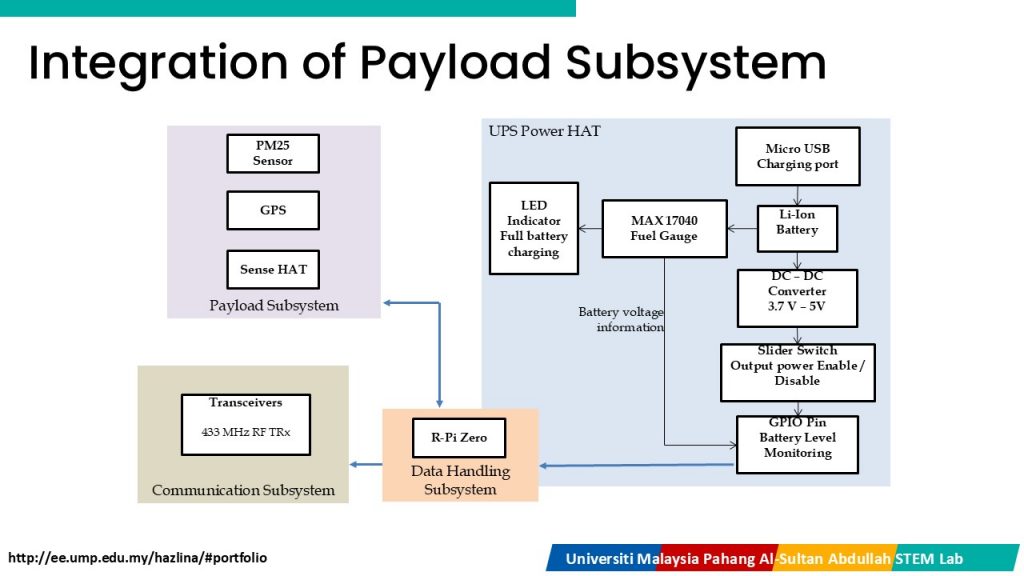
The architecture of LilEx 3 is designed for simplicity, modularity, and efficiency-

  1. A UPS Power HAT provides 5V 1.3A to the Raspberry Pi Pico and other subsystems. The power subsystem includes a battery monitoring system using the MAX17040 fuel gauge, allowing the ground station to monitor battery levels and ensure the satellite’s energy efficiency.
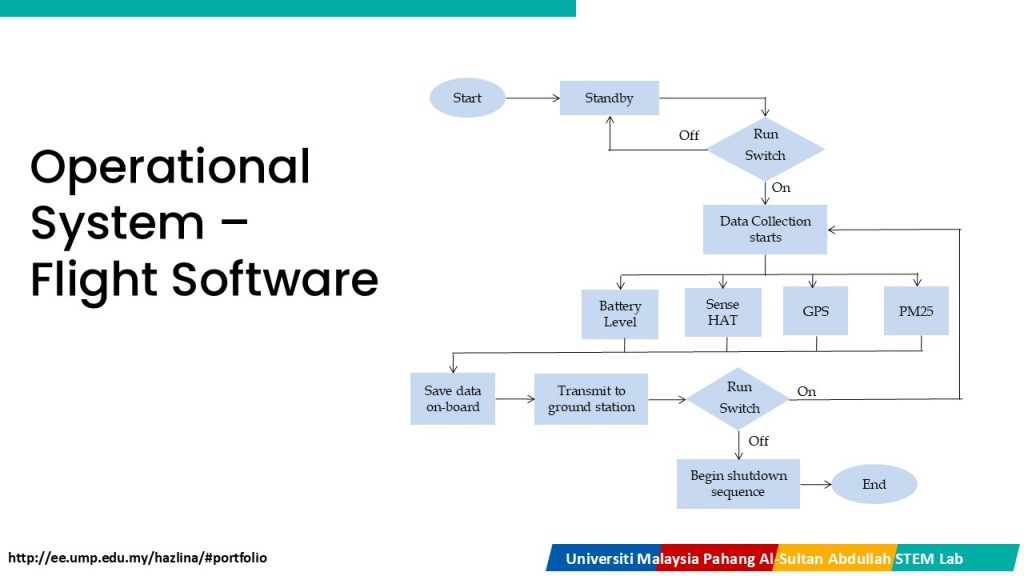
  2. The Raspberry Pi Pico is responsible for managing the sensors and logging data in real time. It processes data from the Waveshare Sense HAT (for atmospheric pressure, temperature, and humidity) and the GPS module (for location tracking). The data is tagged with mission time for accurate analysis.
  3. The satellite’s communication system uses the 433 MHz RF transceiver to send real-time telemetry data back to the ground station. The communication system is responsible for transmitting sensor data, satellite health status, and live telemetry.
  4. The PM2.5 sensor plays a critical role in measuring the concentration of fine particulate matter in the atmosphere. Data collected by the sensor is cross-referenced with altitude measurements from the GPS module to provide insights into the vertical distribution of air pollution.

Challenges in Building CubeSats – Lessons from the UMP STEM Cube

While the LilEx 3 has proven to be a successful platform for environmental monitoring, developing pico-satellites comes with significant challenges, with a better Power Management, Miniaturization of Components, better Communication, Data Handling, Structural Integrity and Durability.

Our next CubeSat mission, which will incorporate FPGA technology, aims to push the boundaries of what is possible with small satellites, InSyaAllah, enabling us to tackle even more complex environmental challenges while enhancing data processing and communication capabilities.

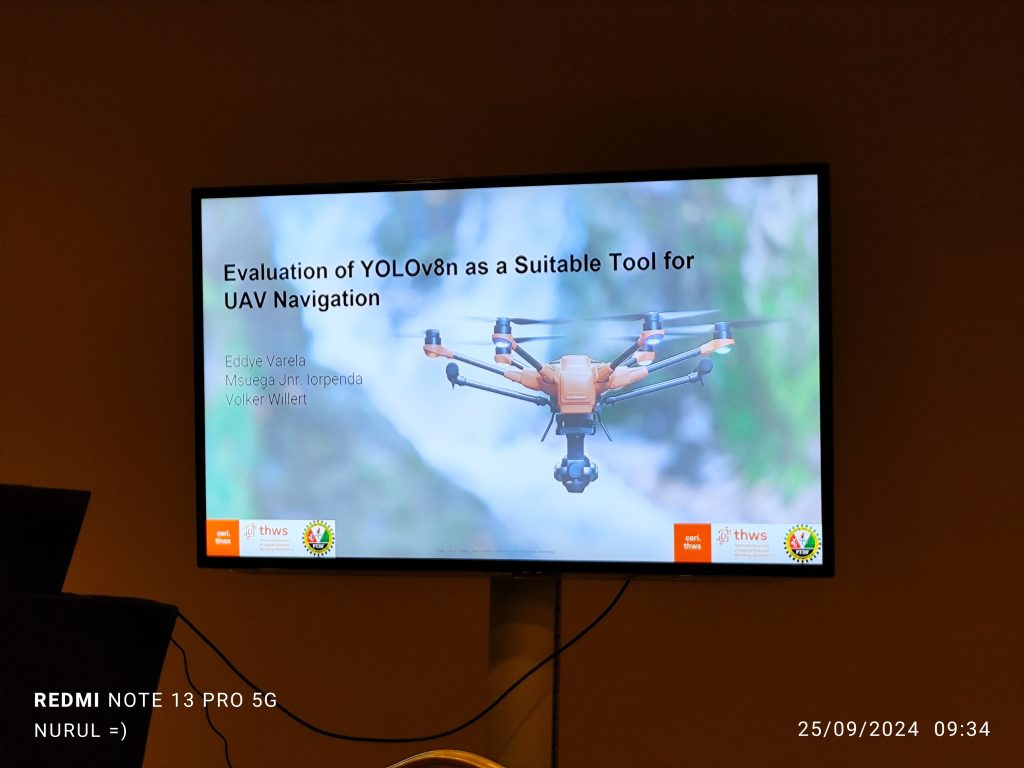
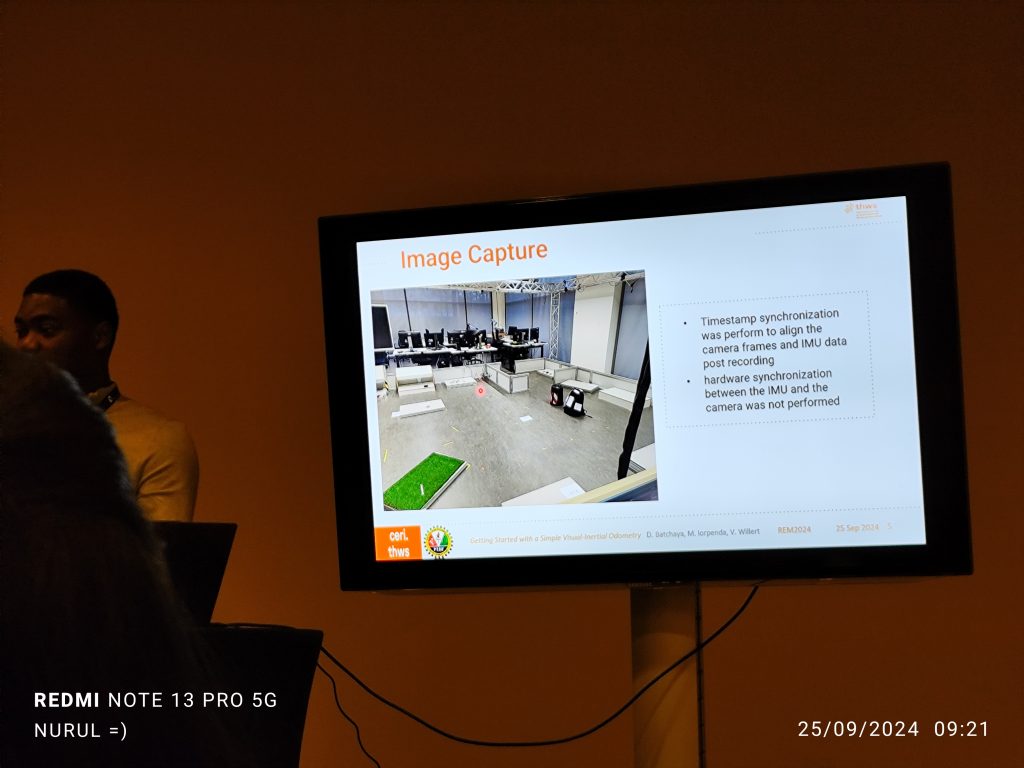
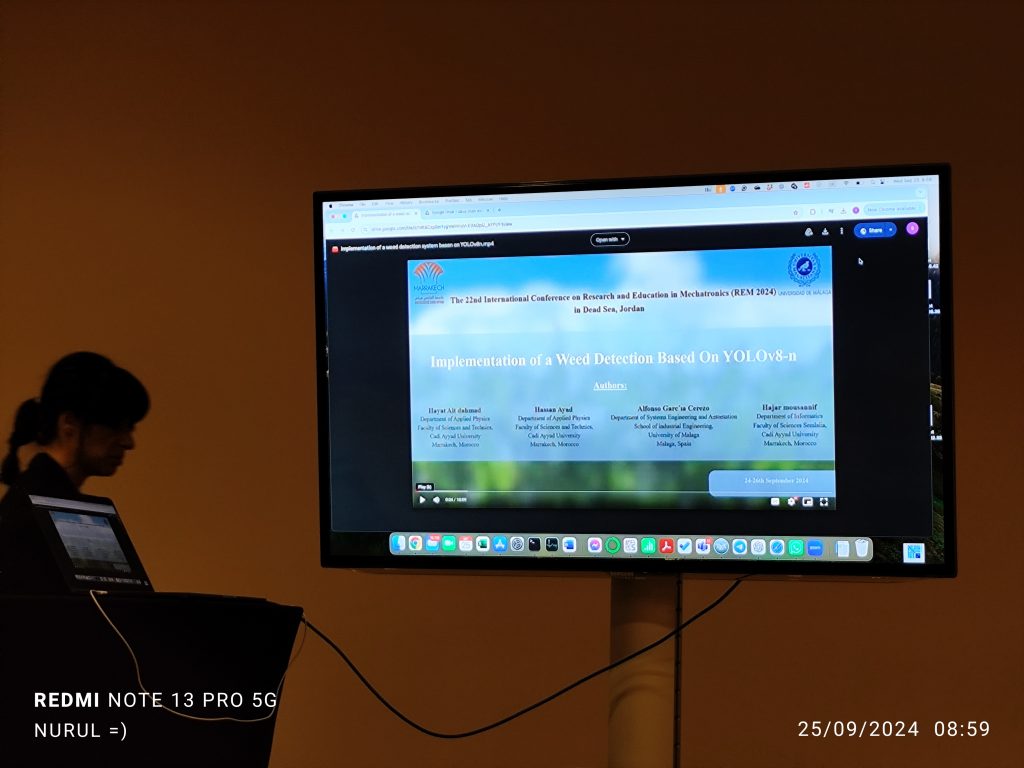
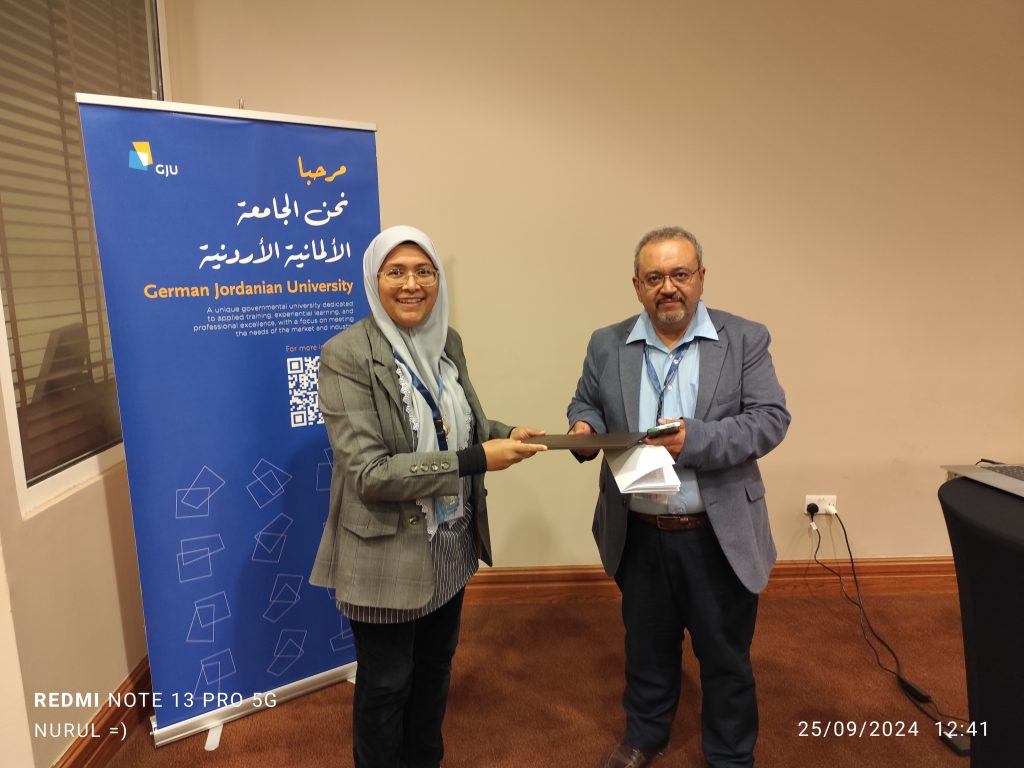
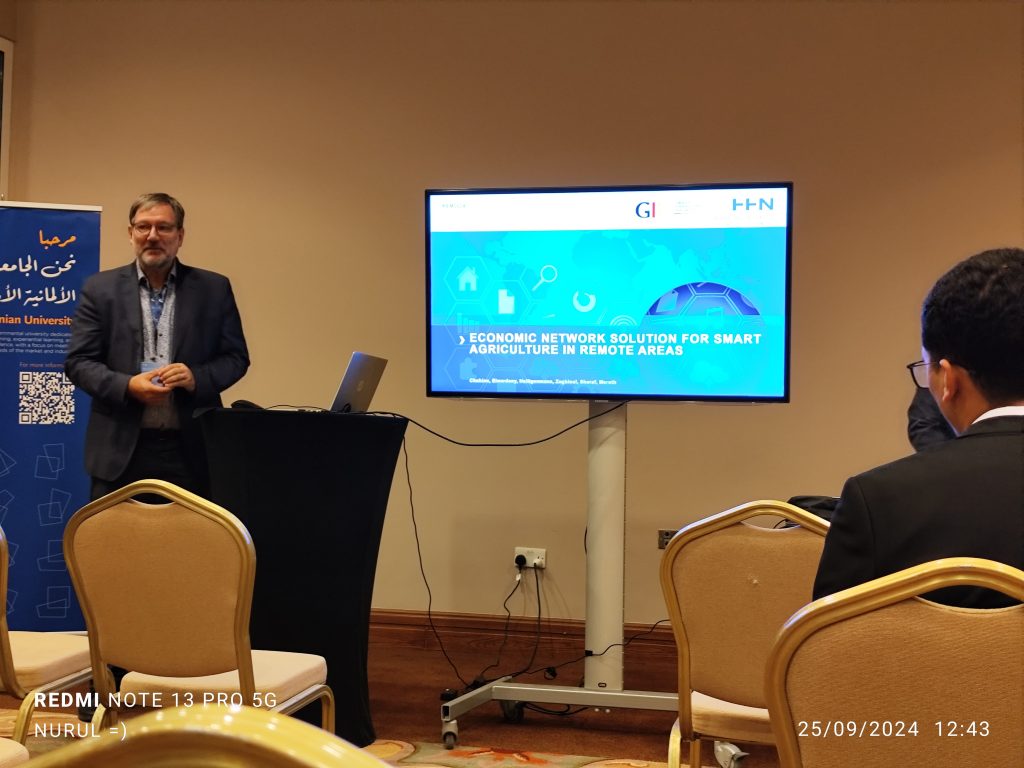
Some of the presenters on Day 2