*UMPSA STEM Lab Raspberry Pi Programming Synopsis can be found here.
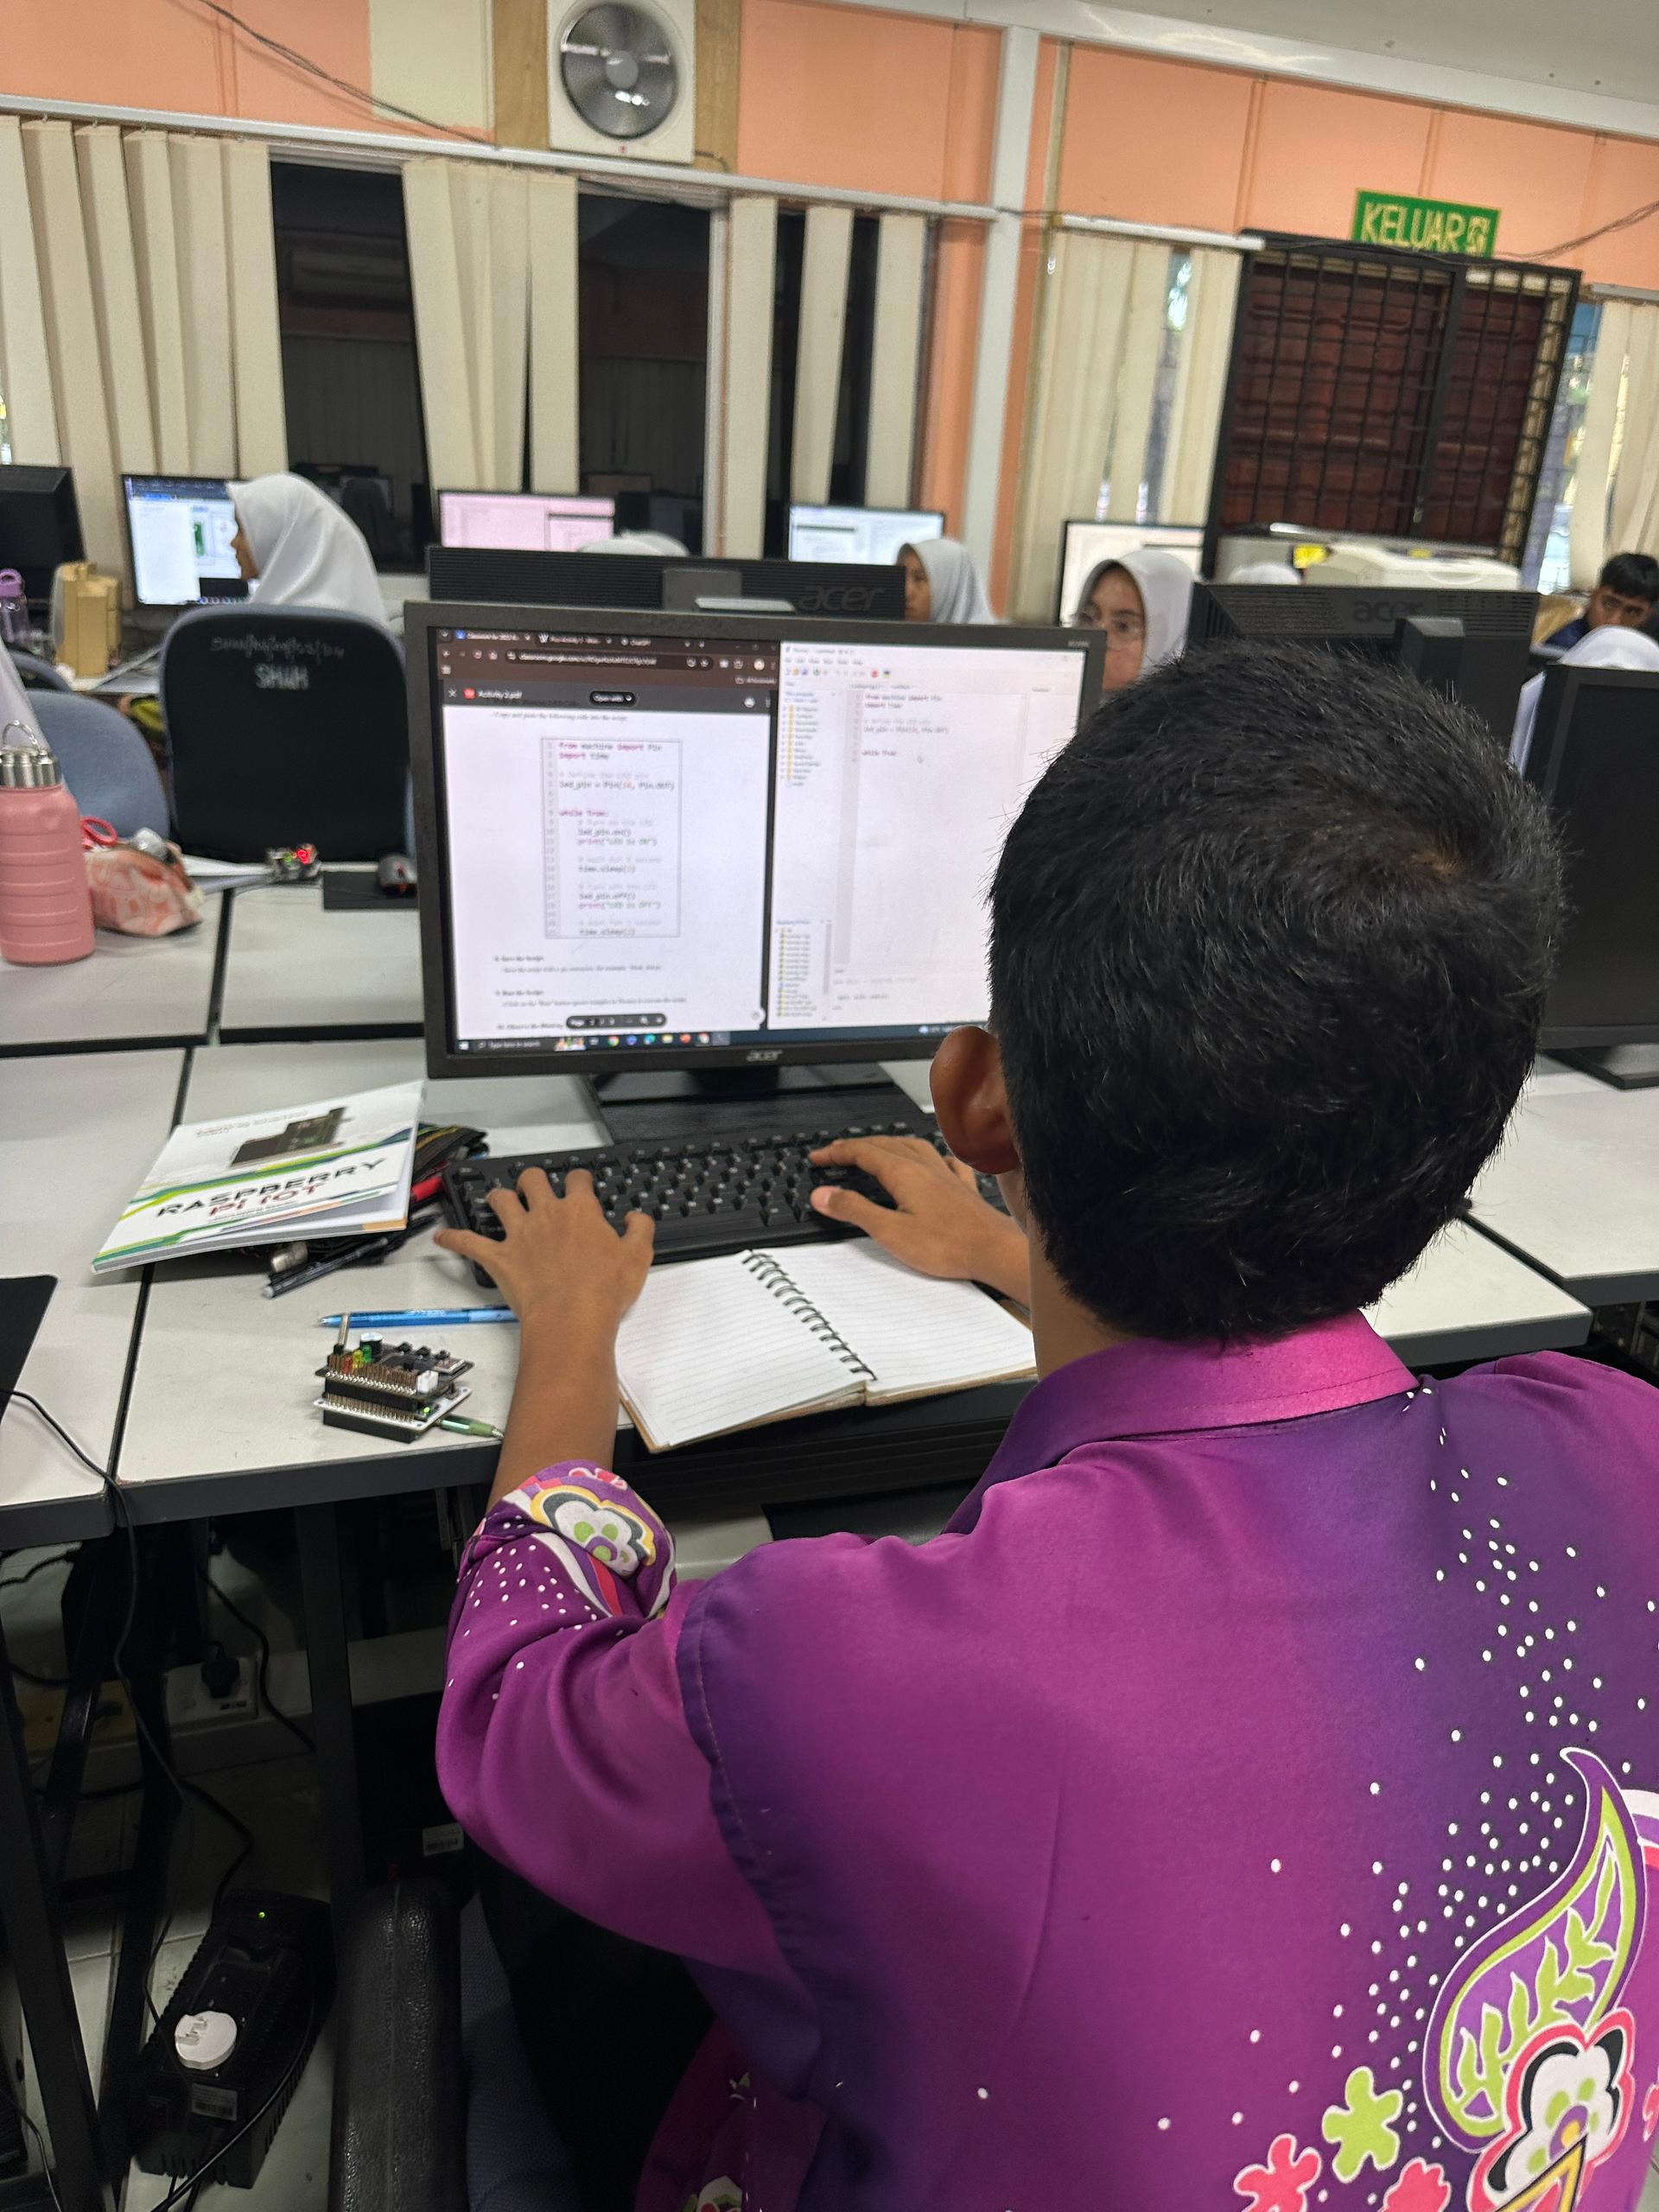
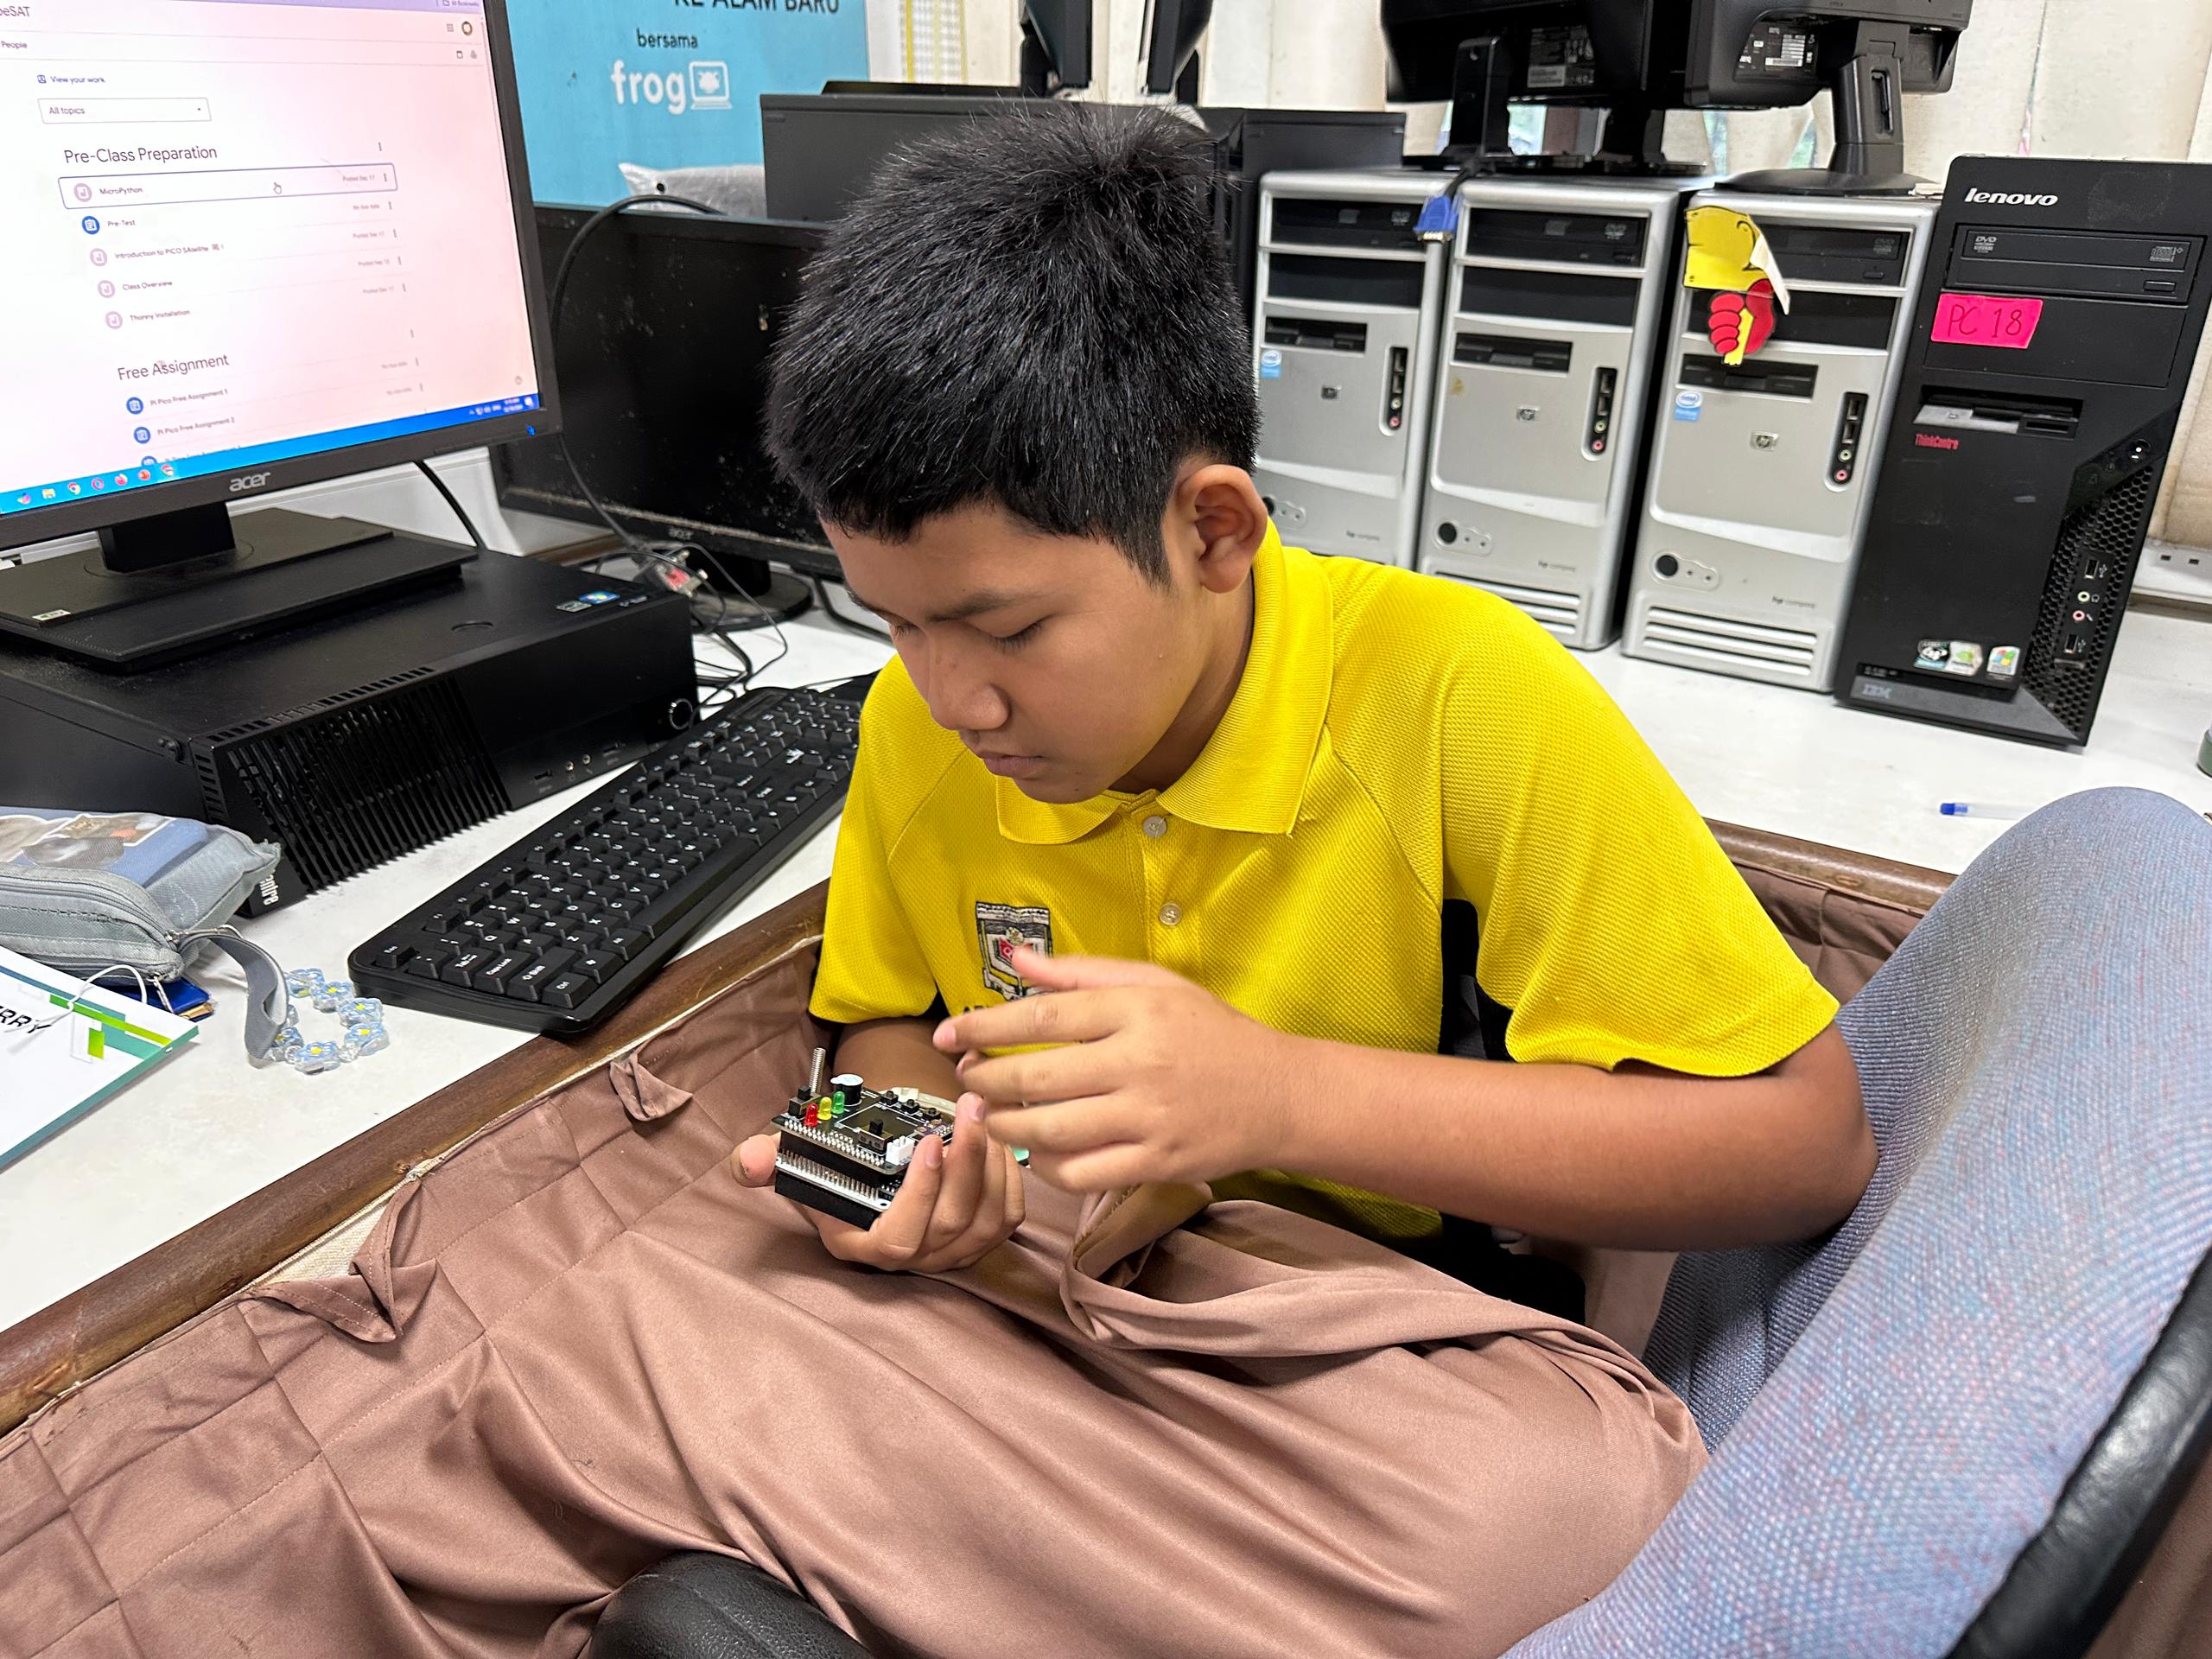
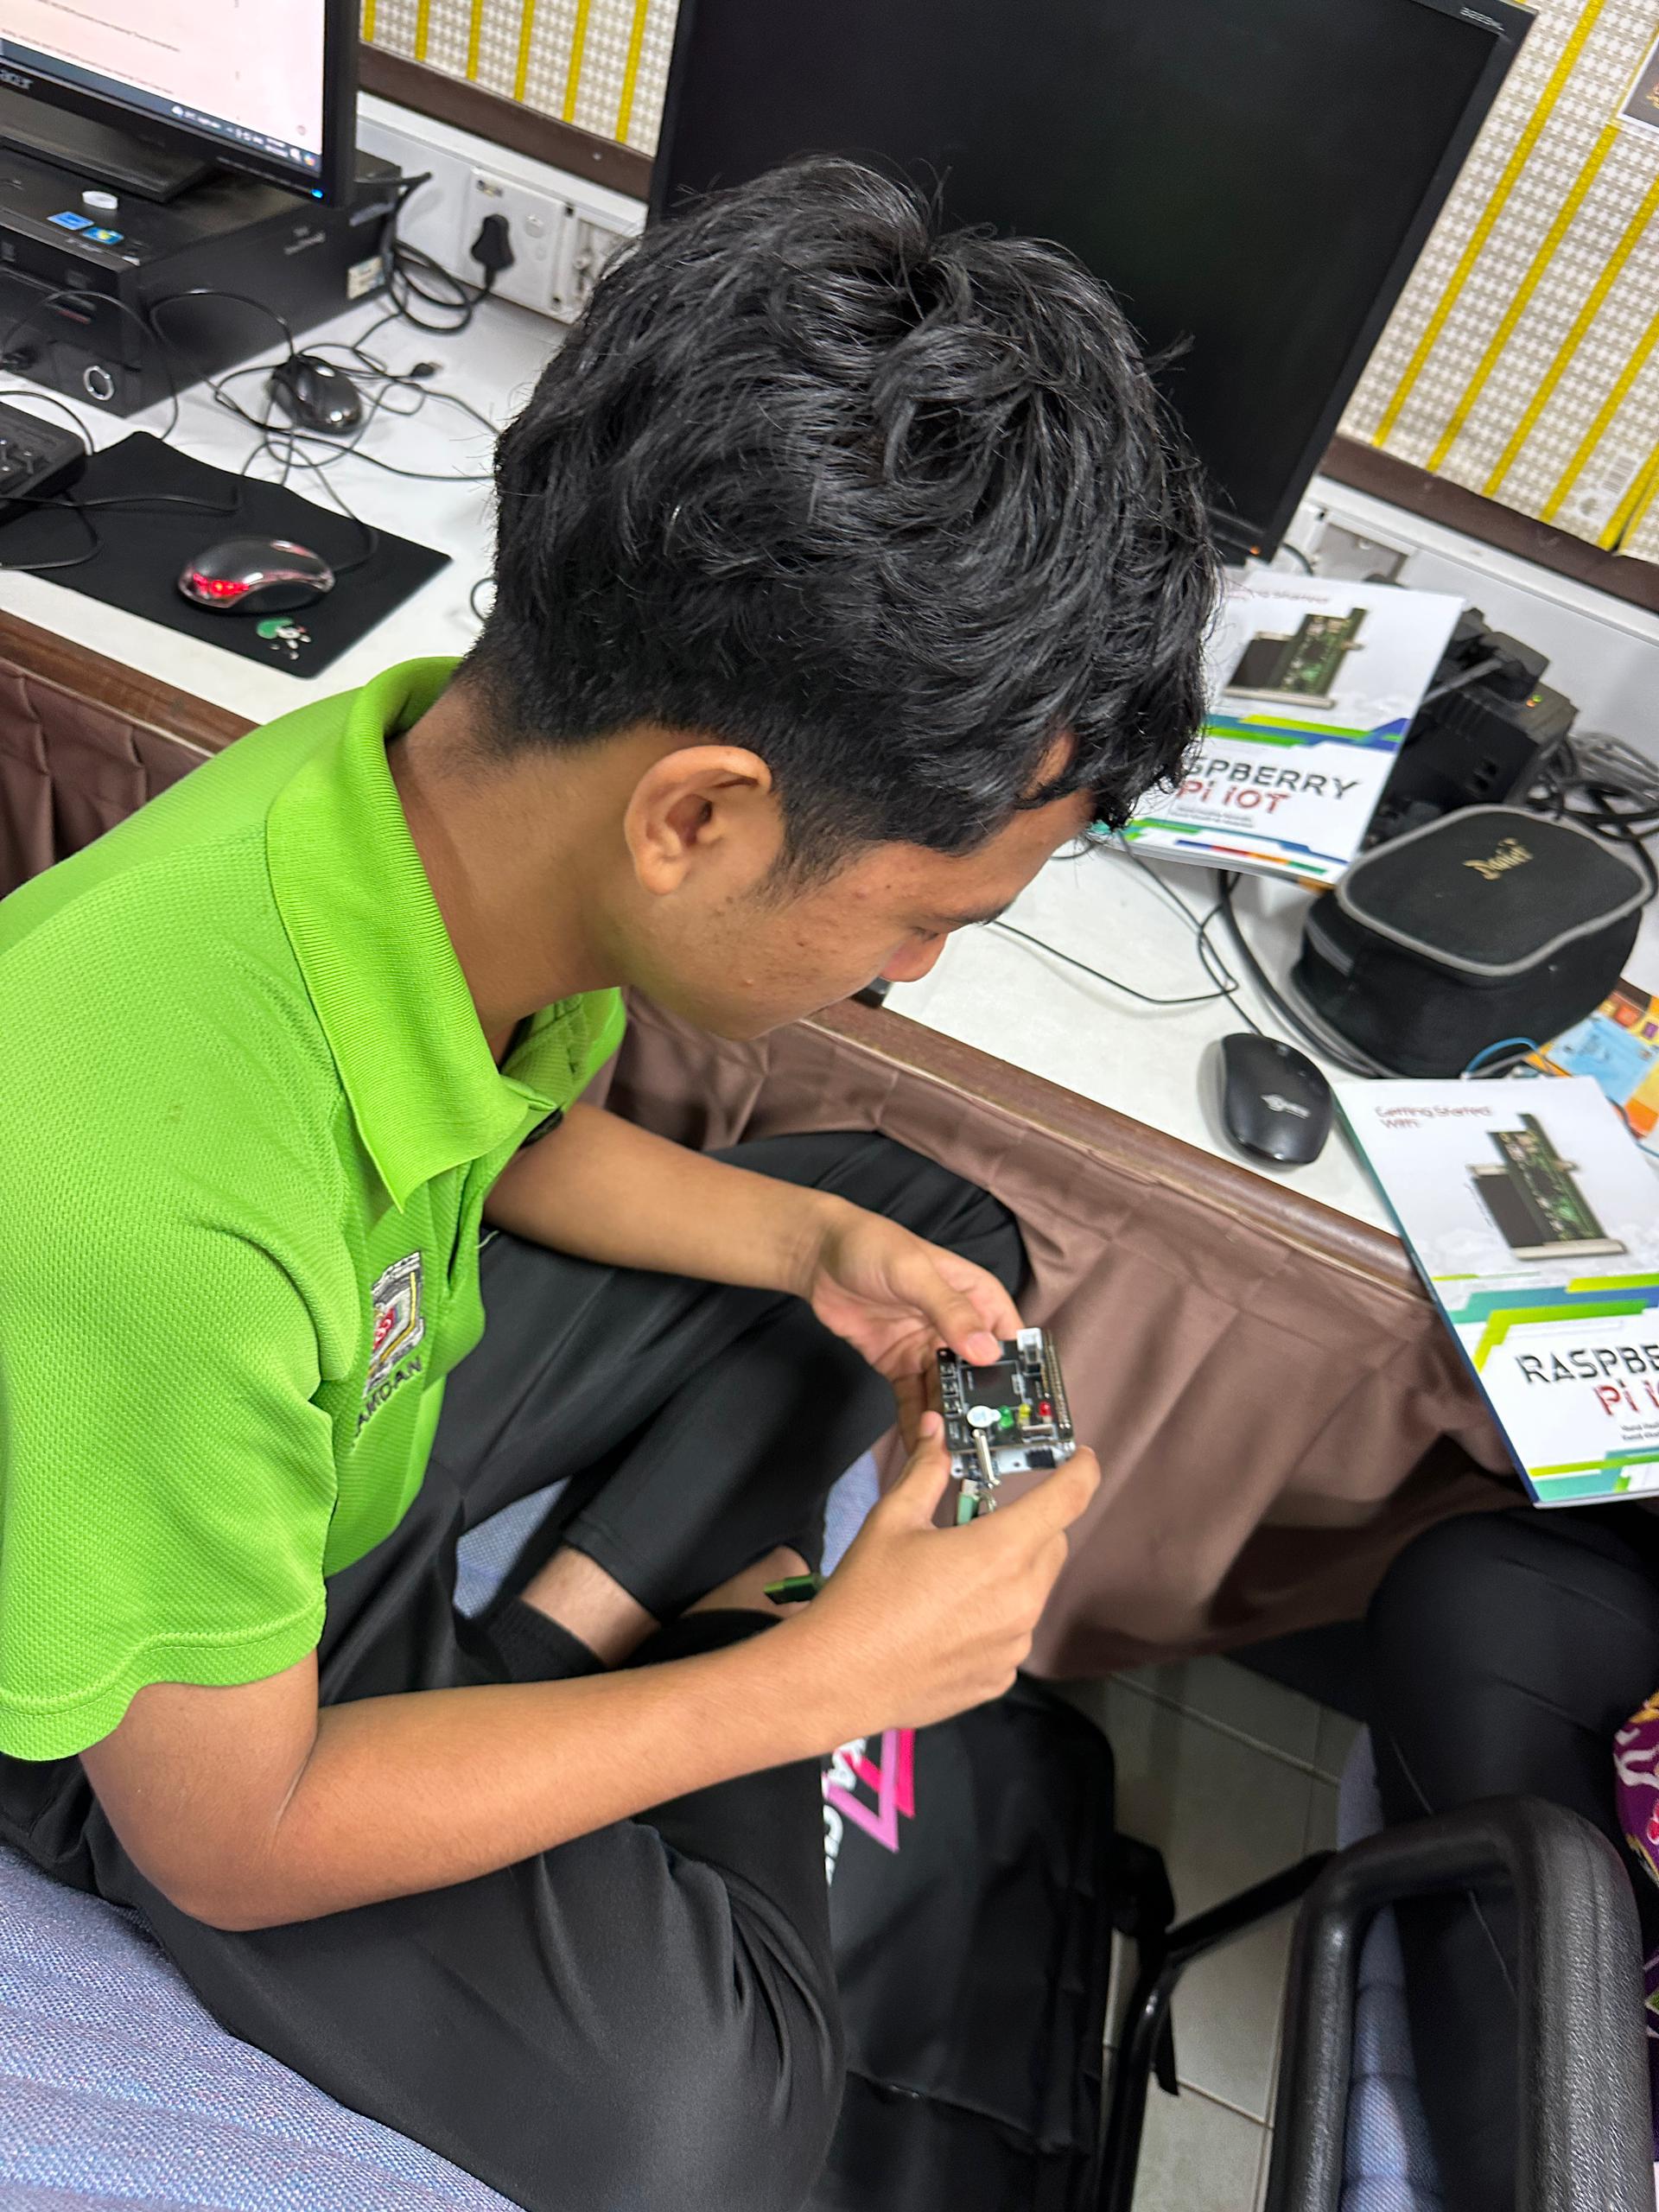
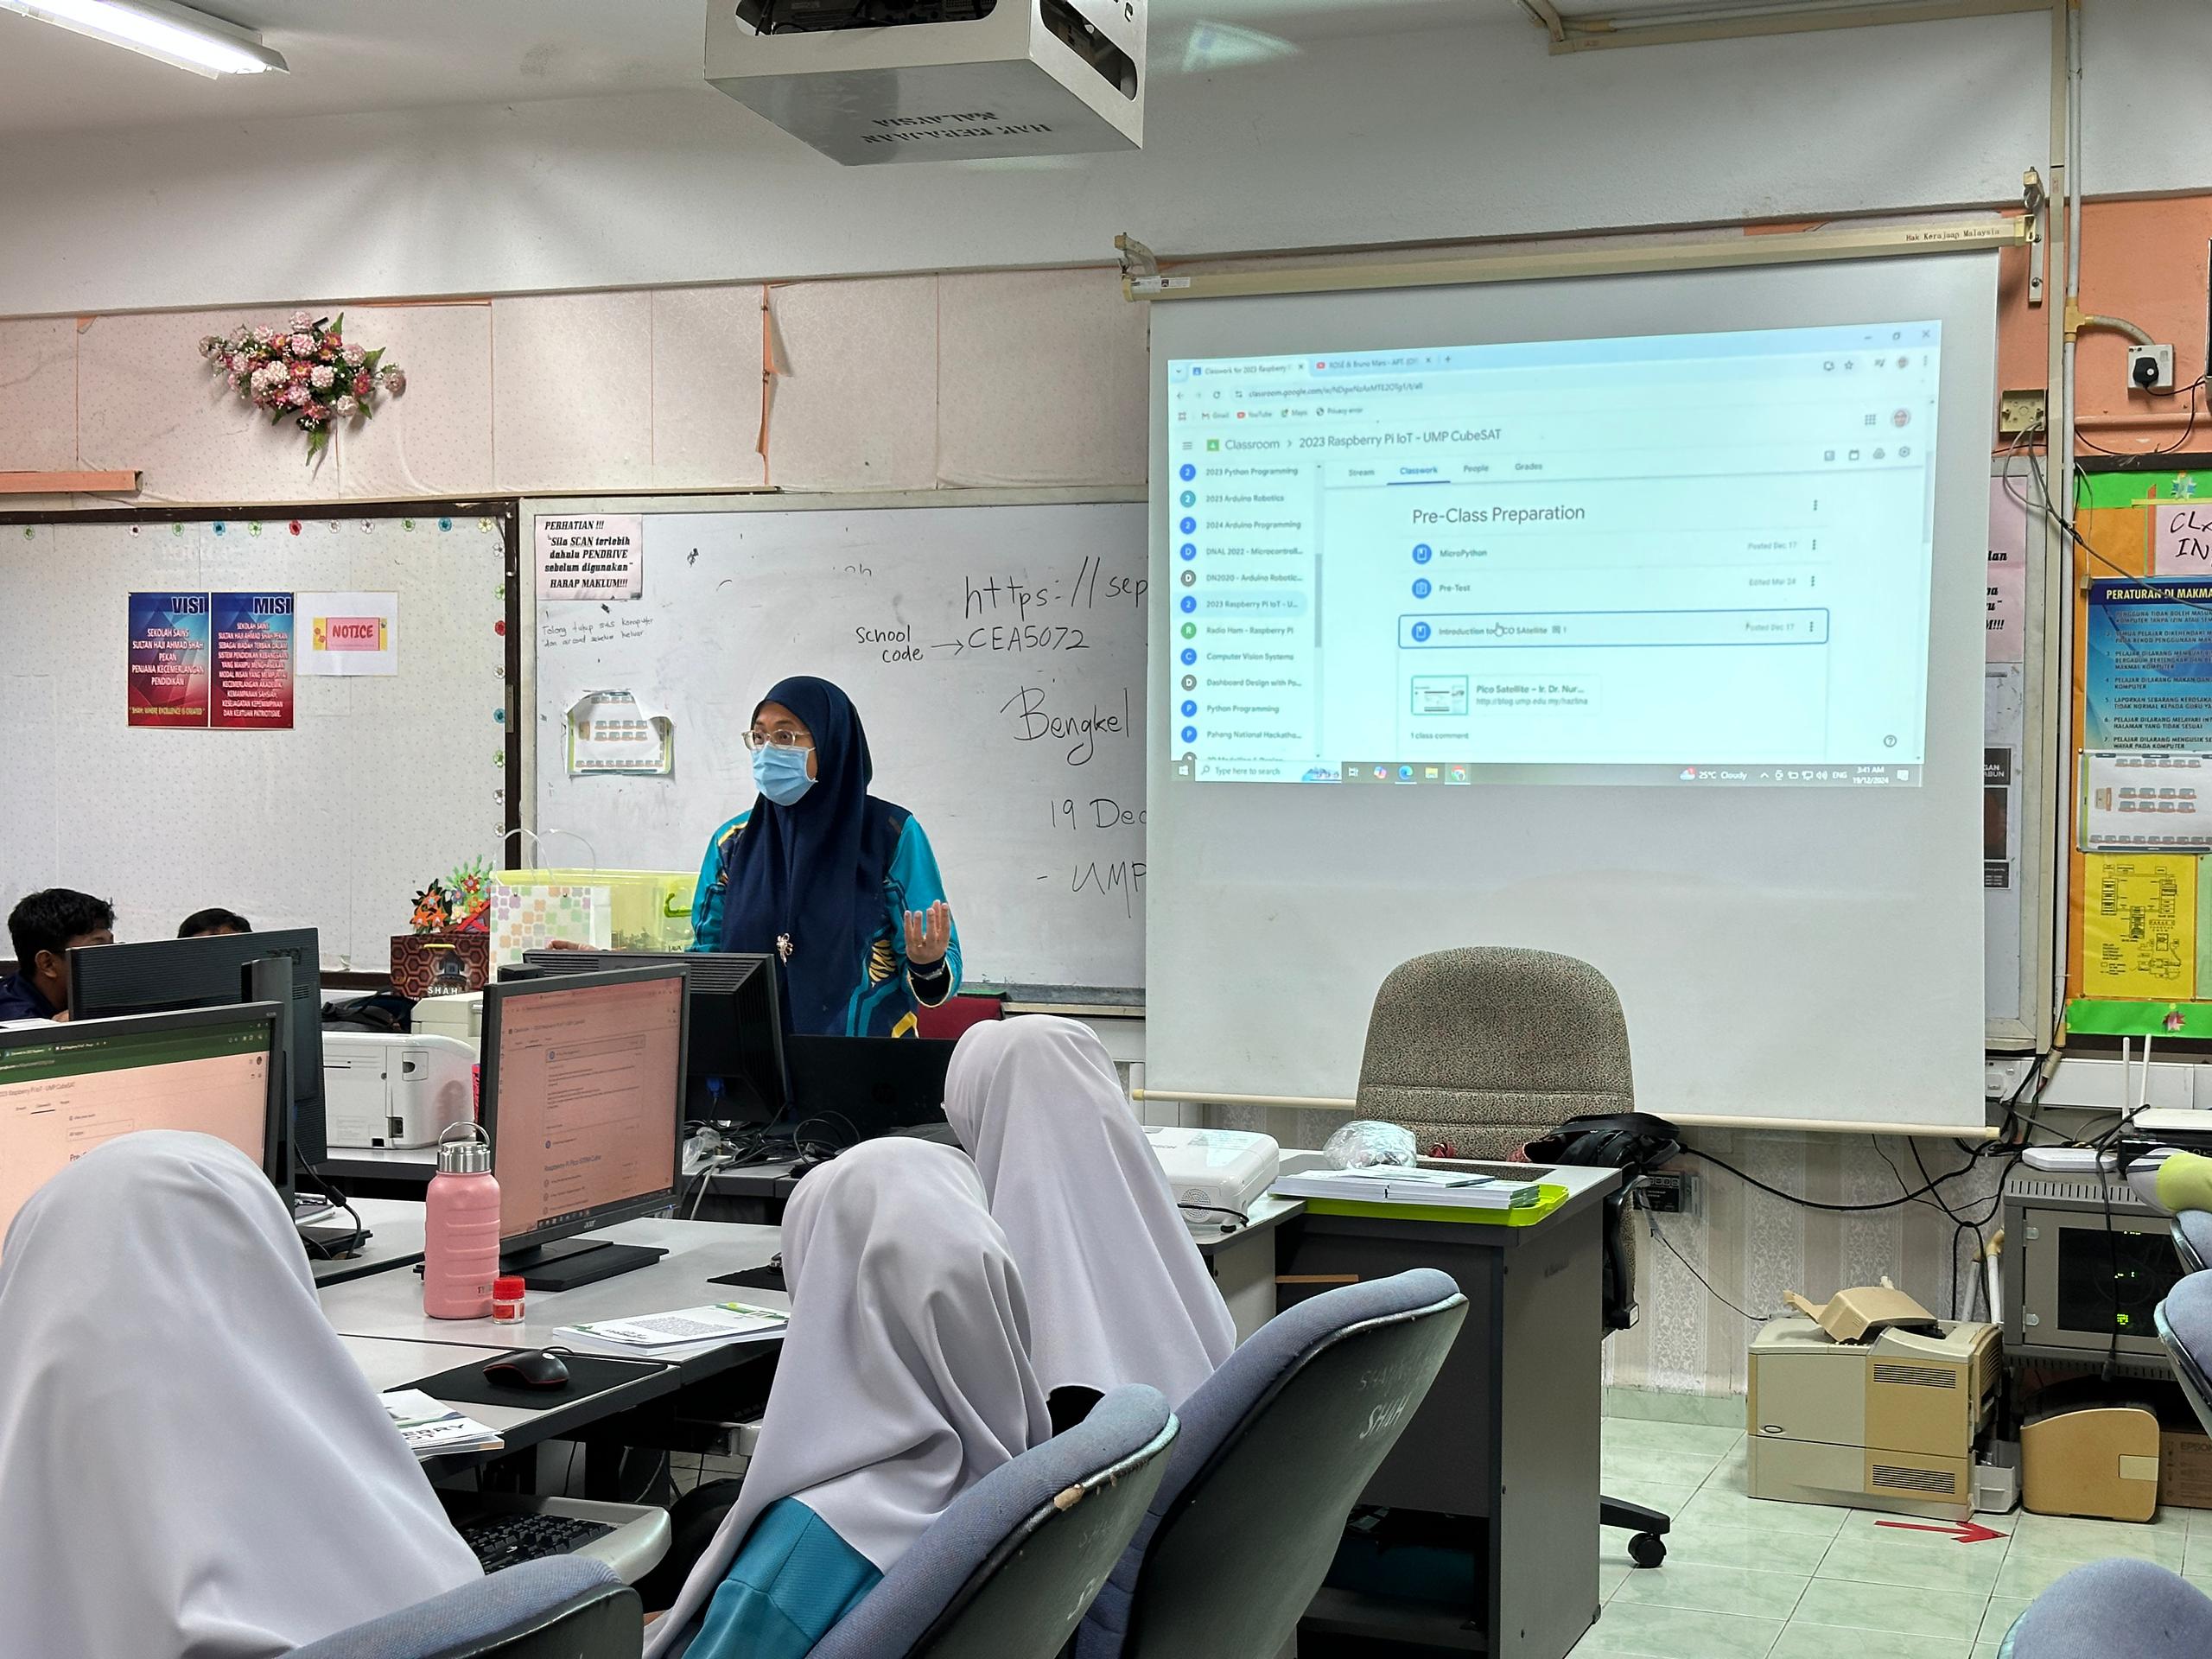
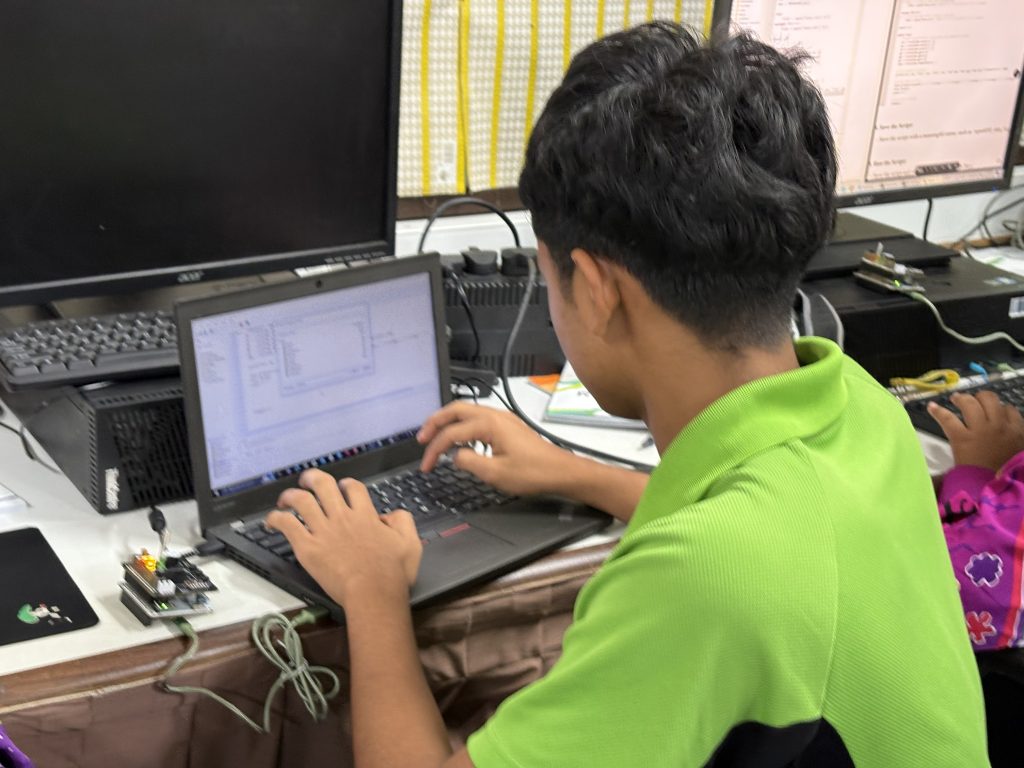
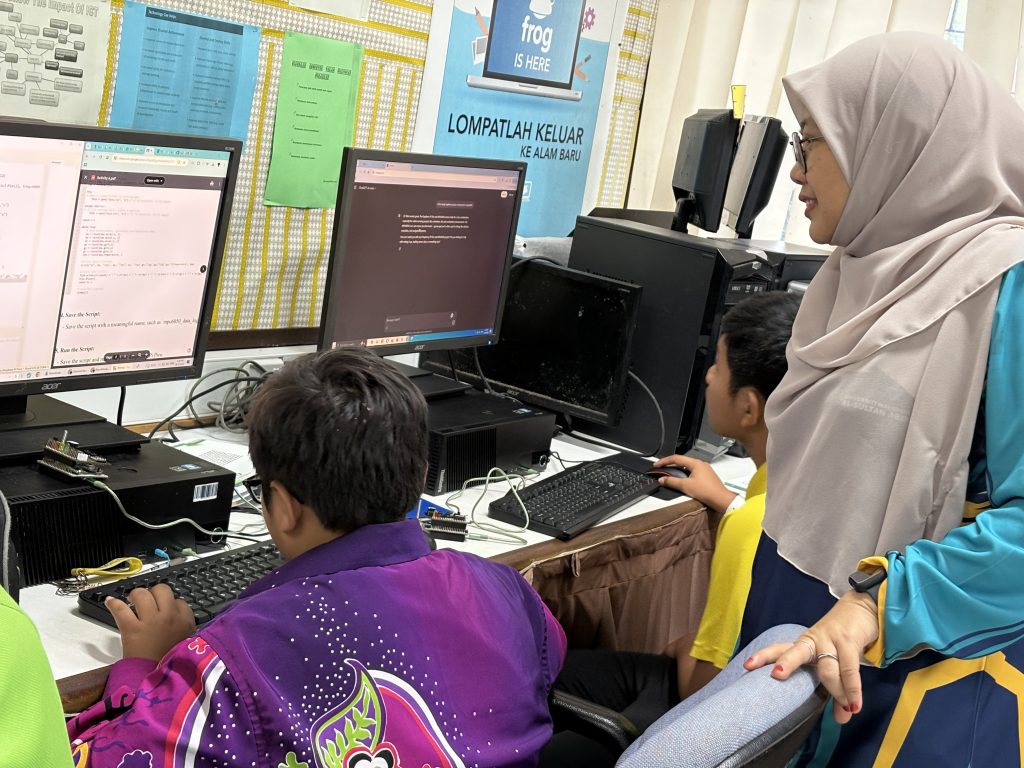
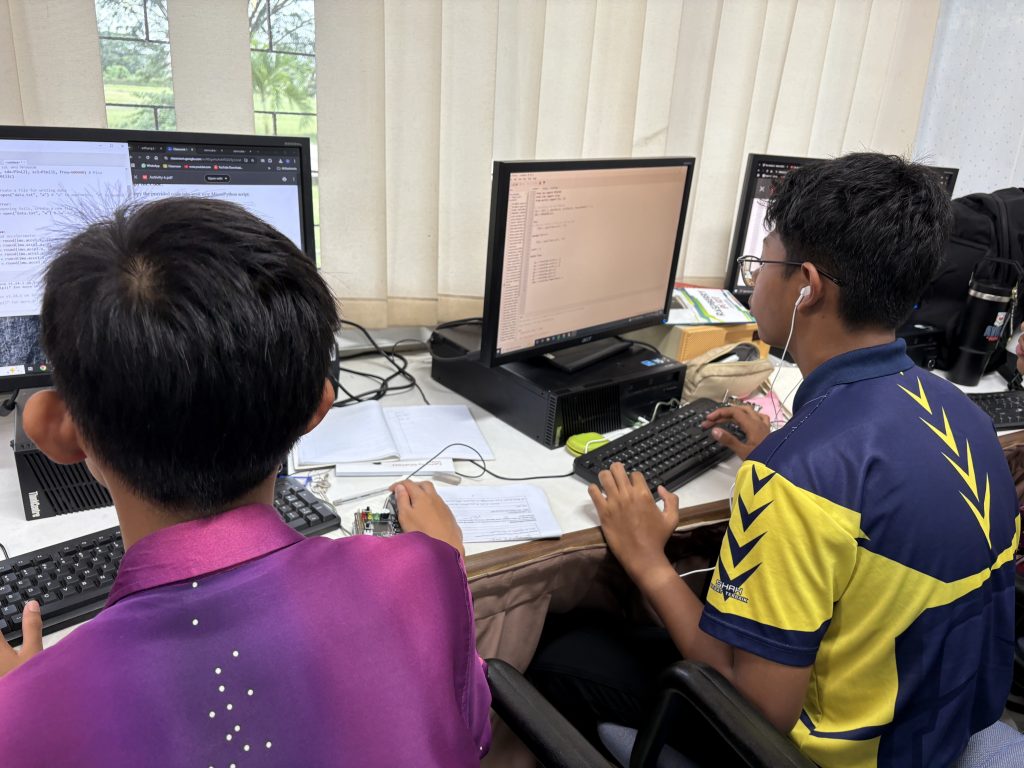
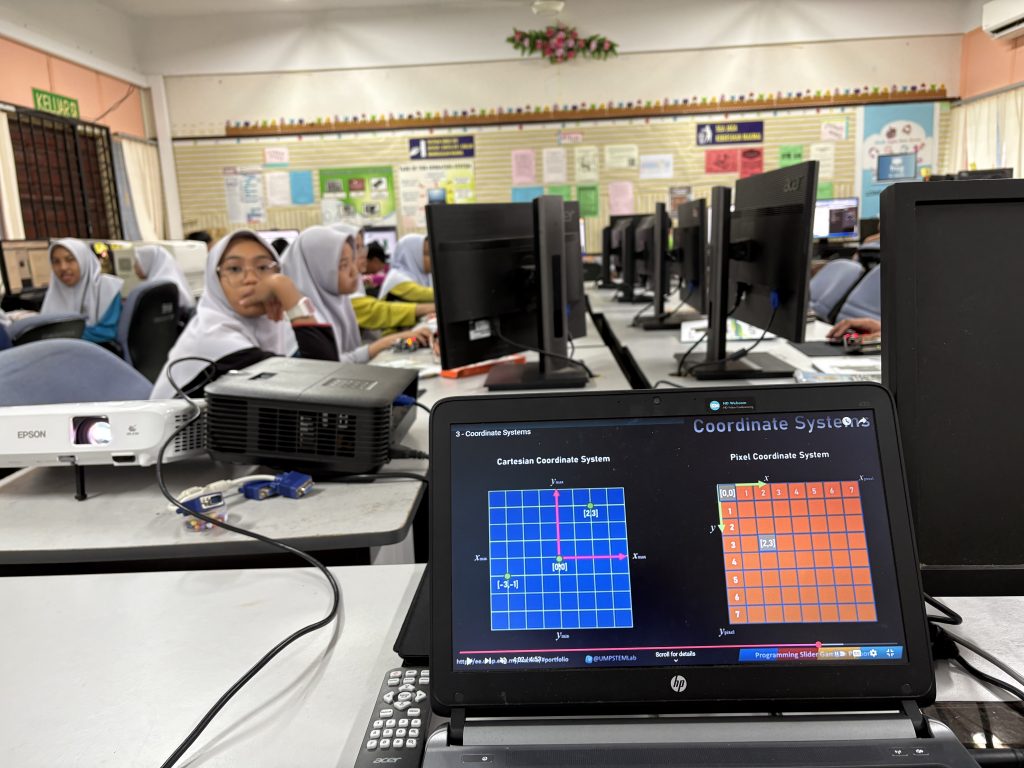
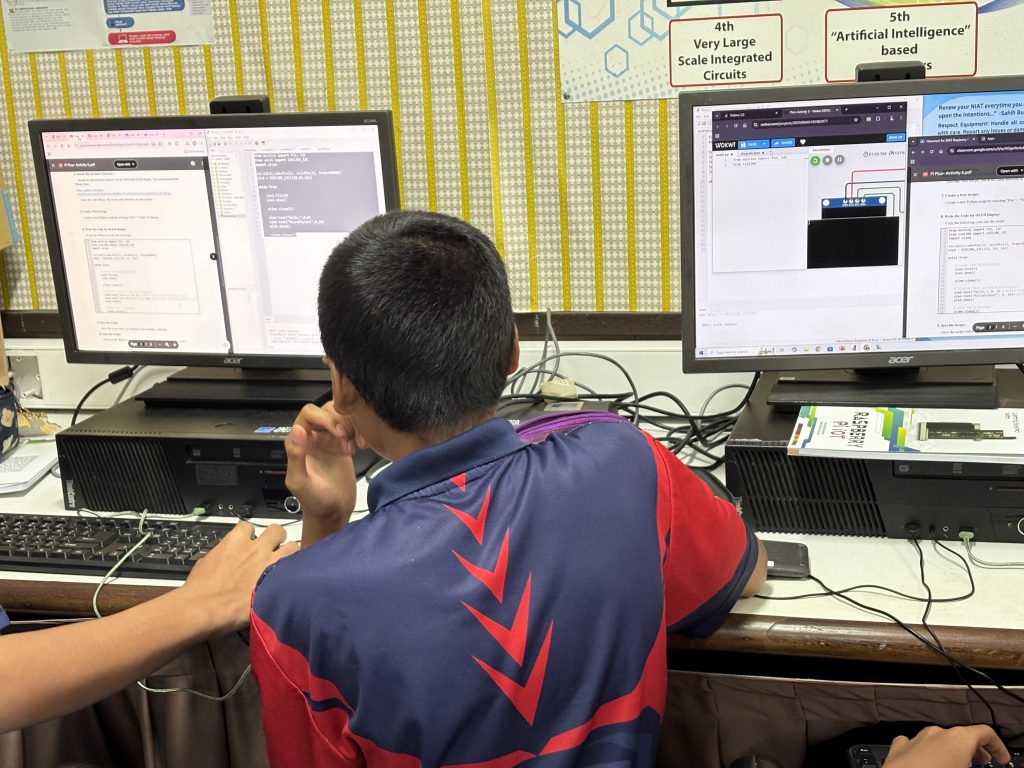
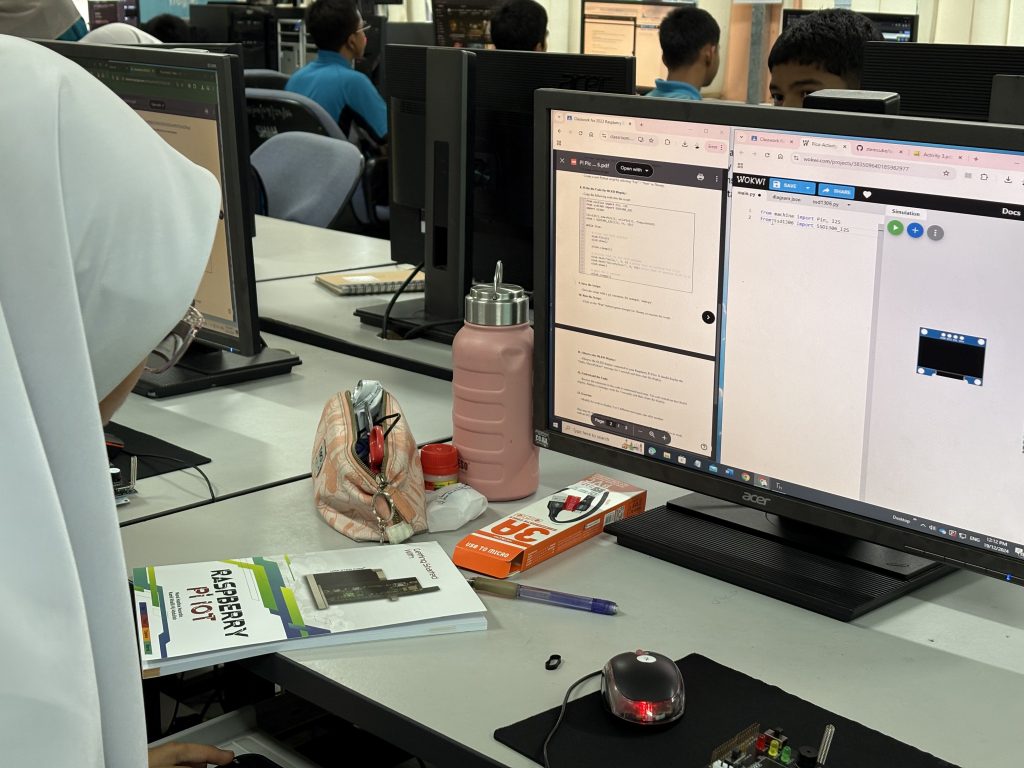
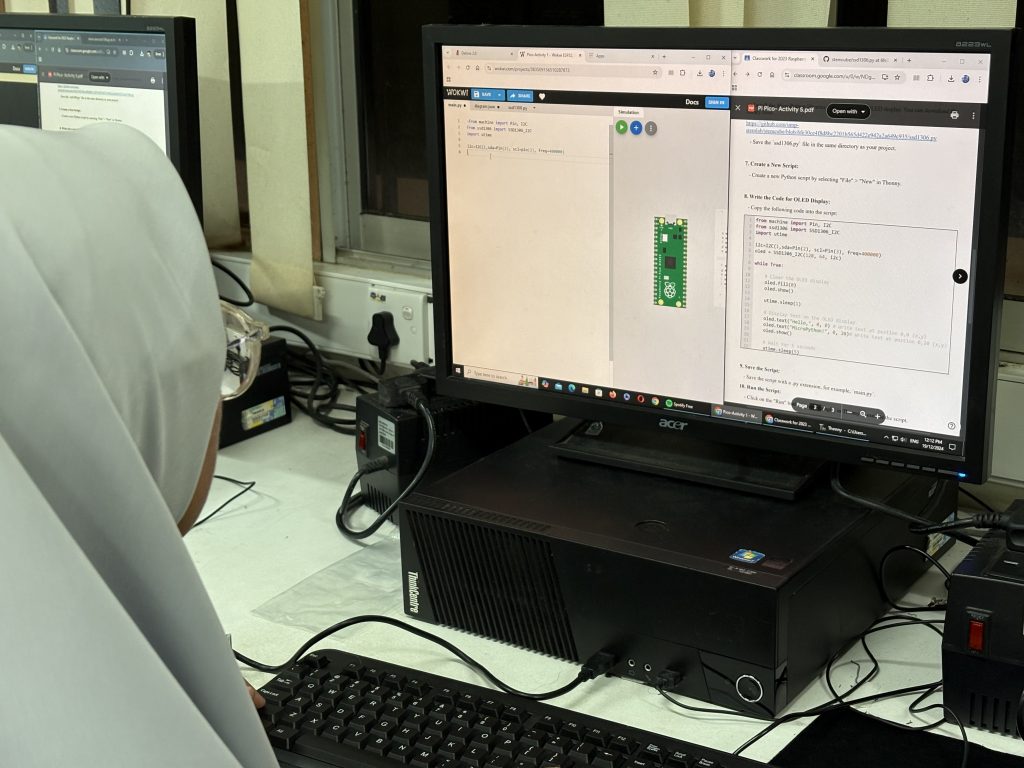
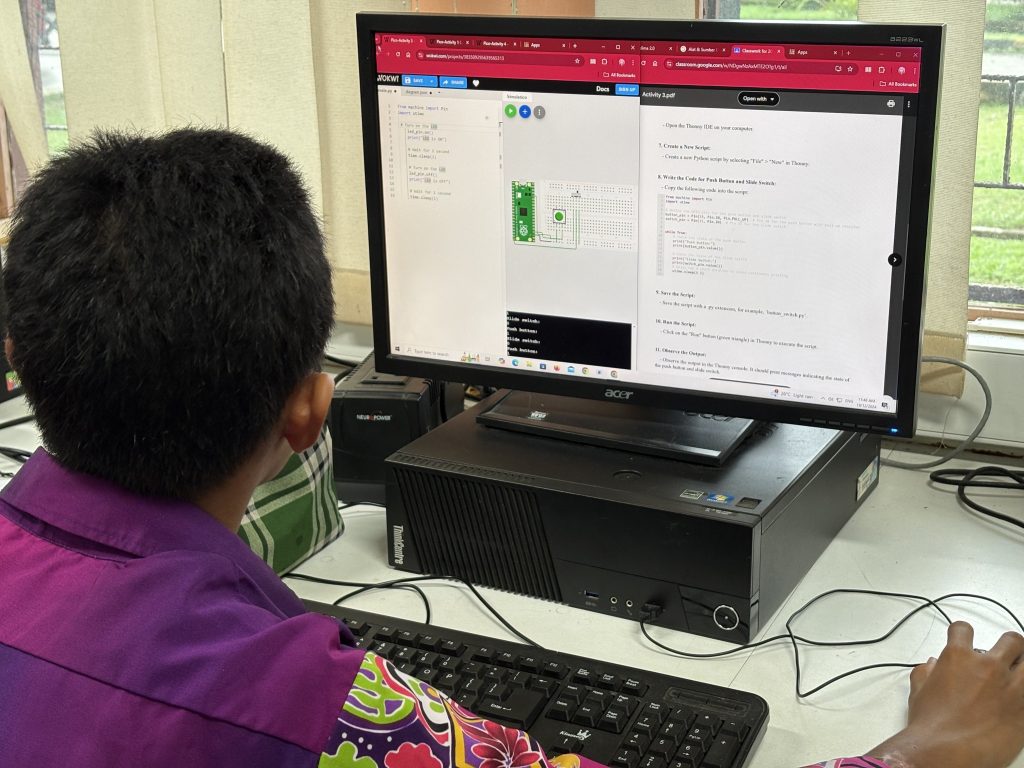
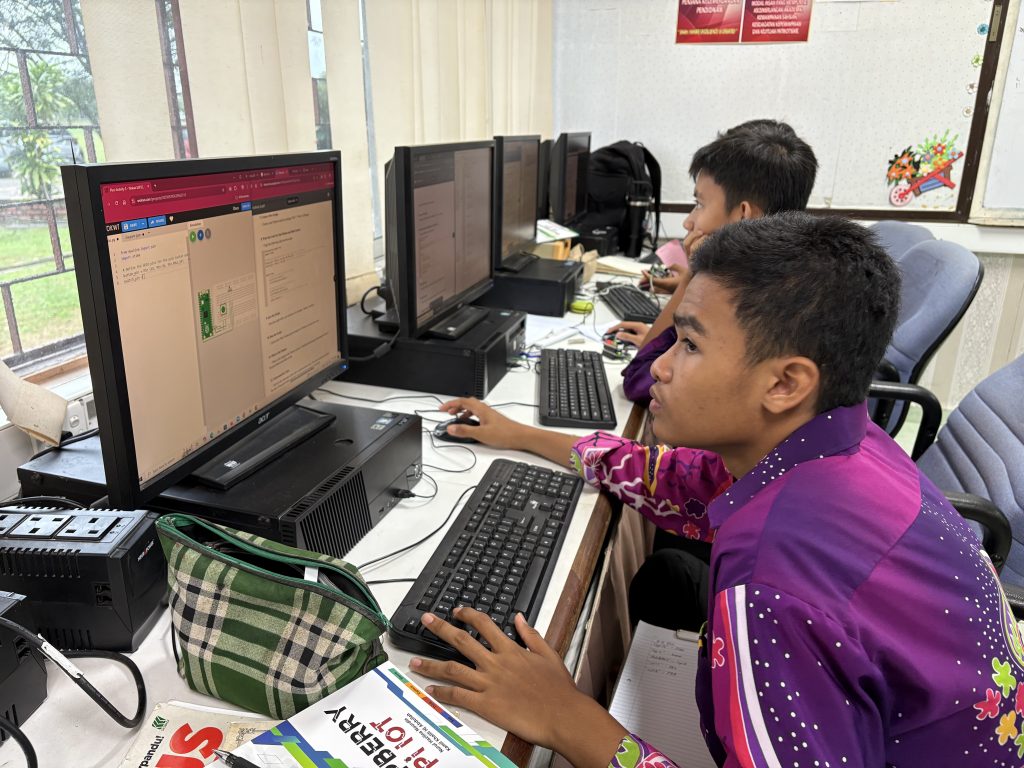
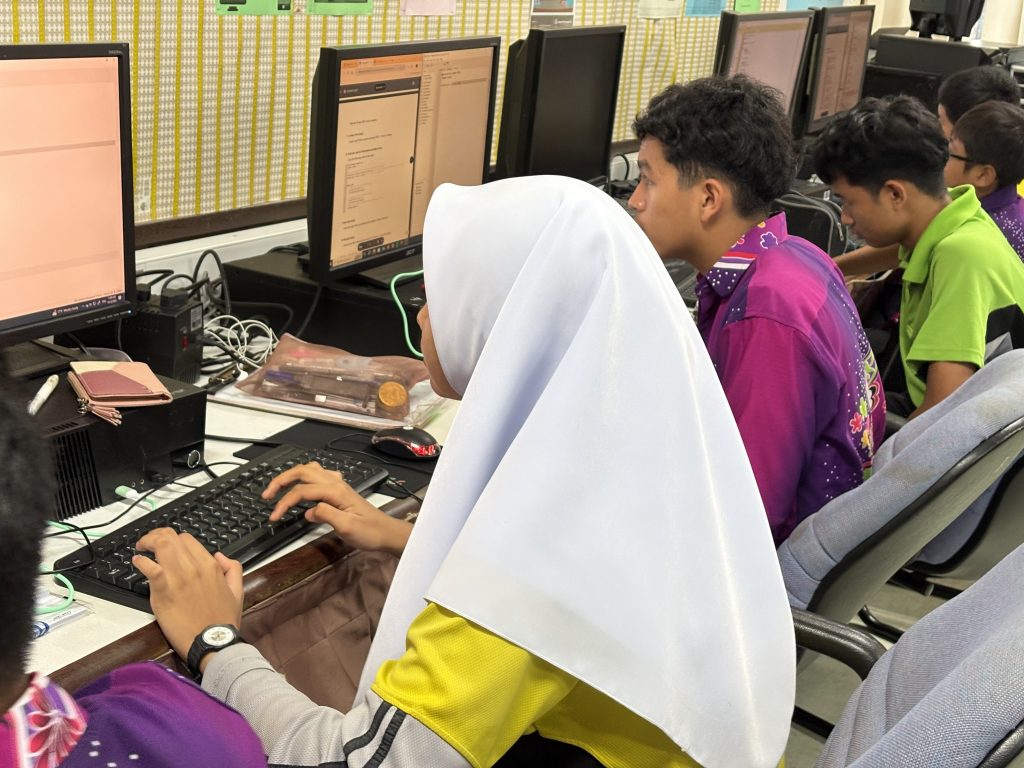
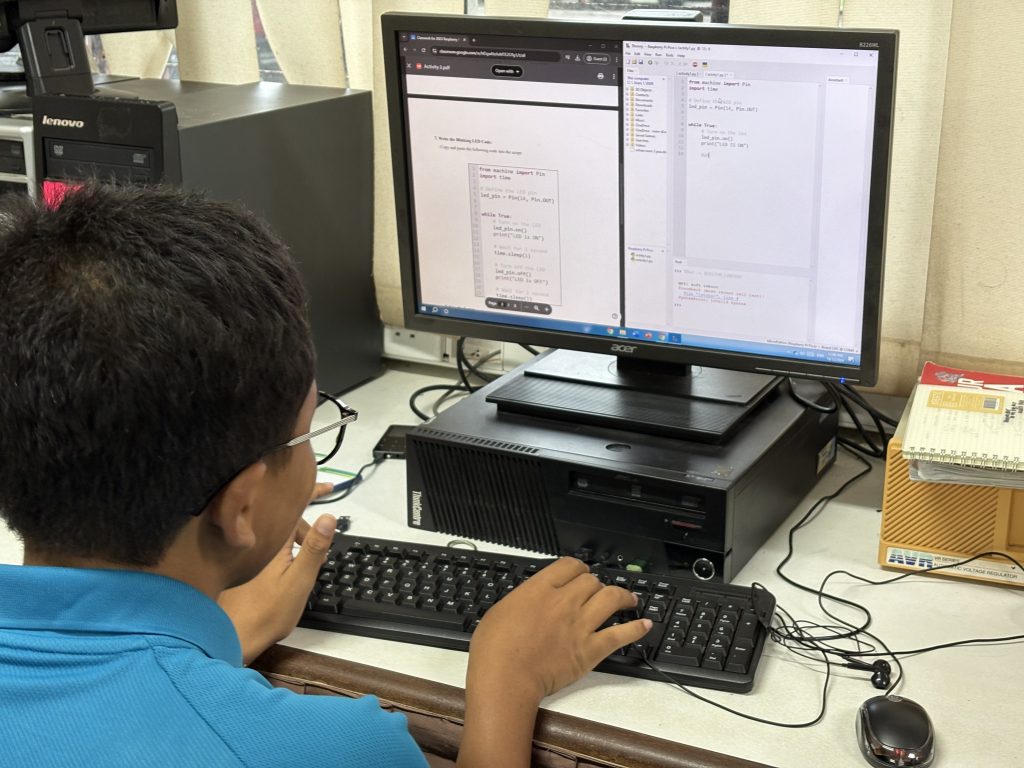
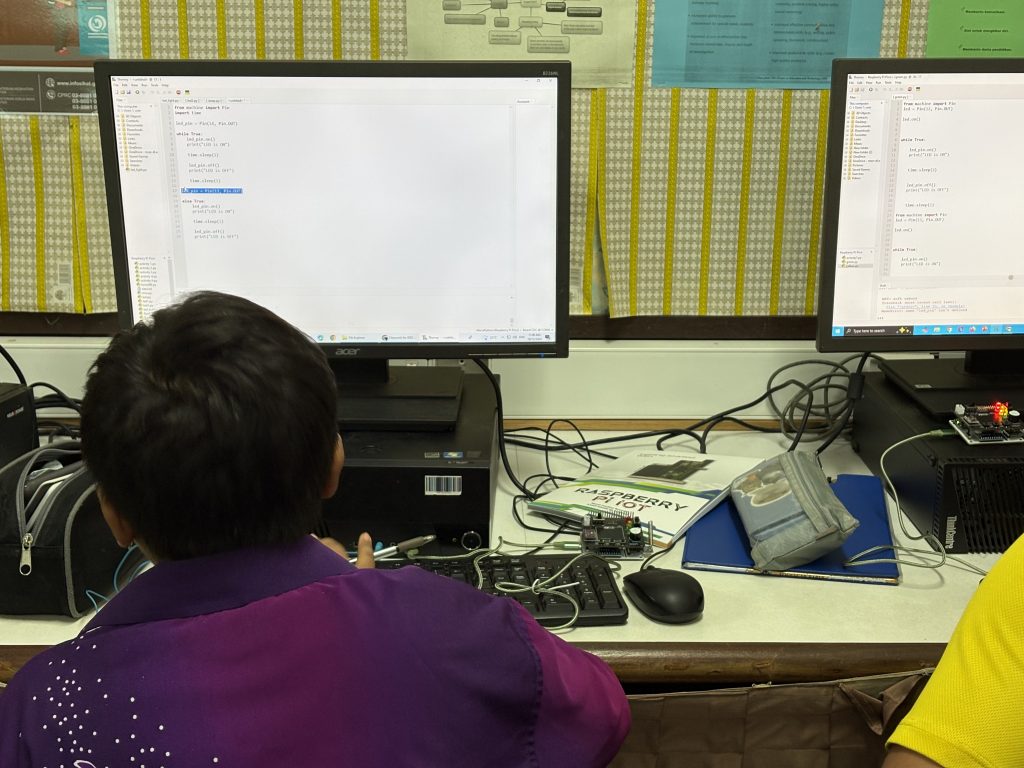
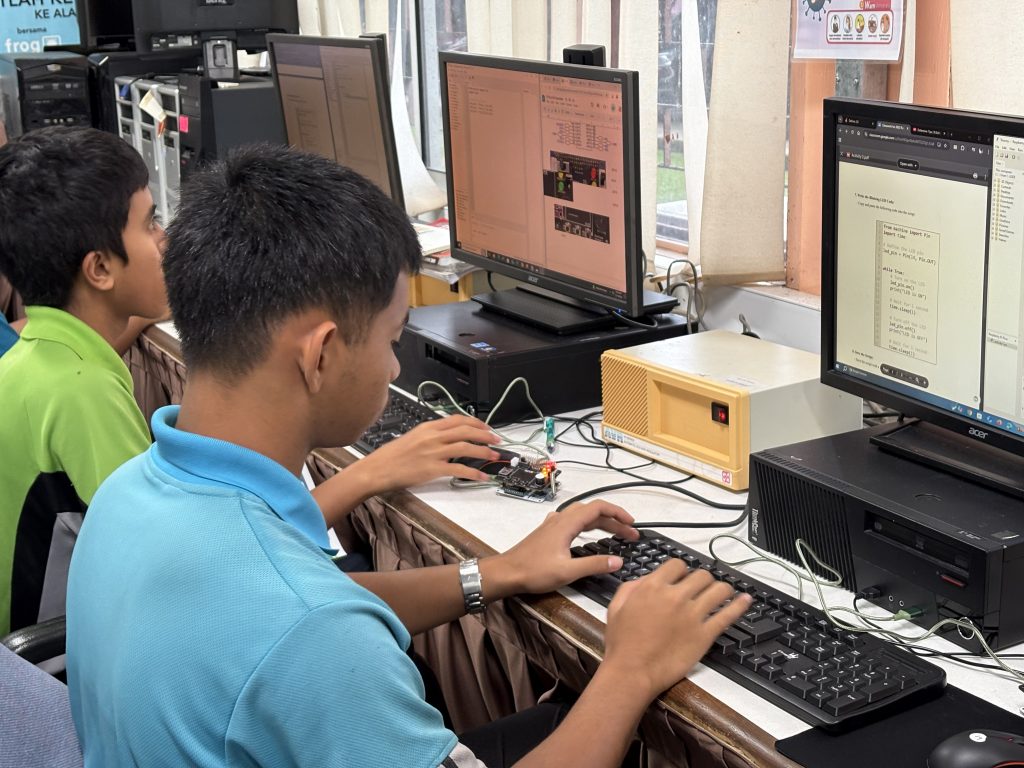
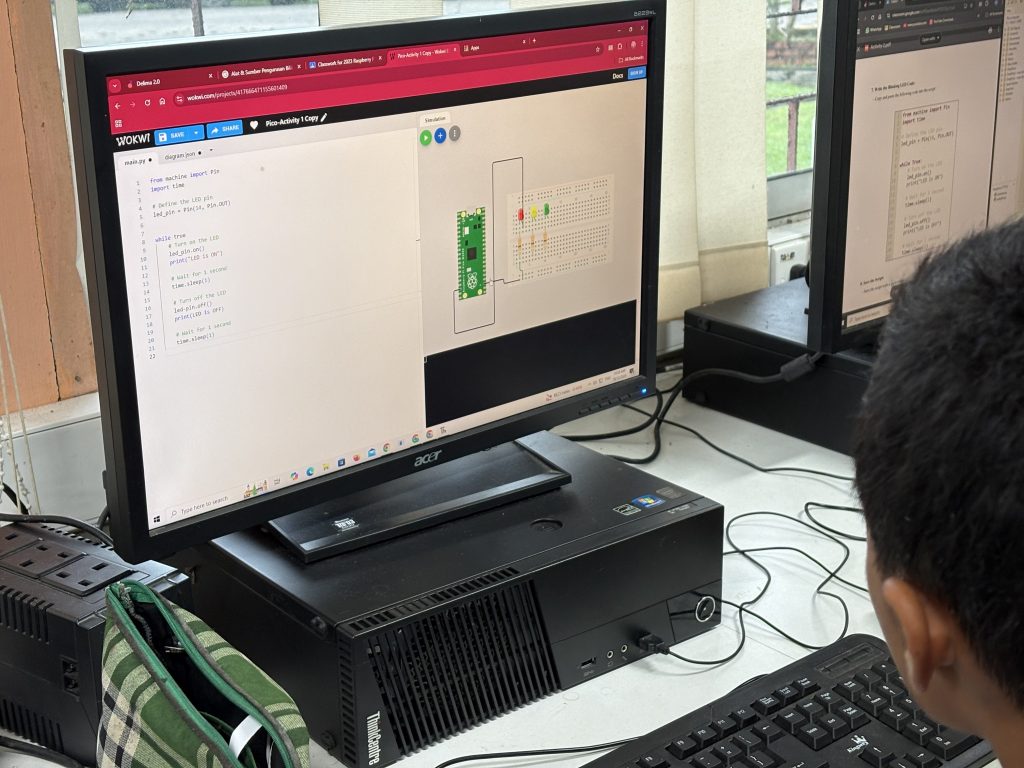
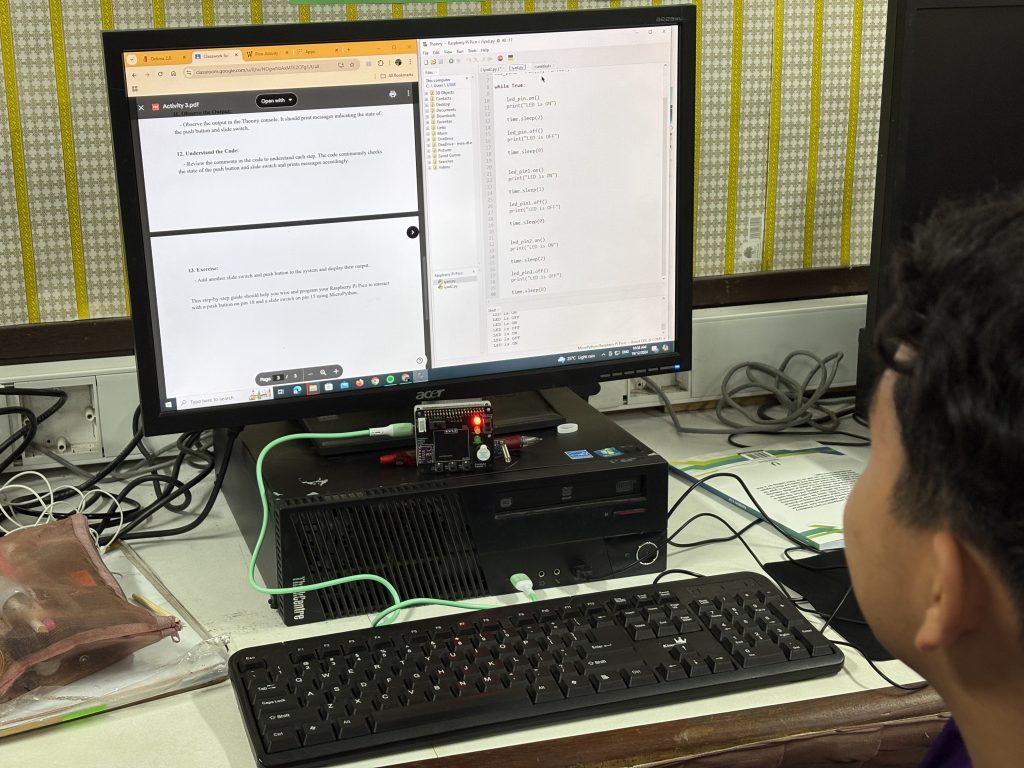
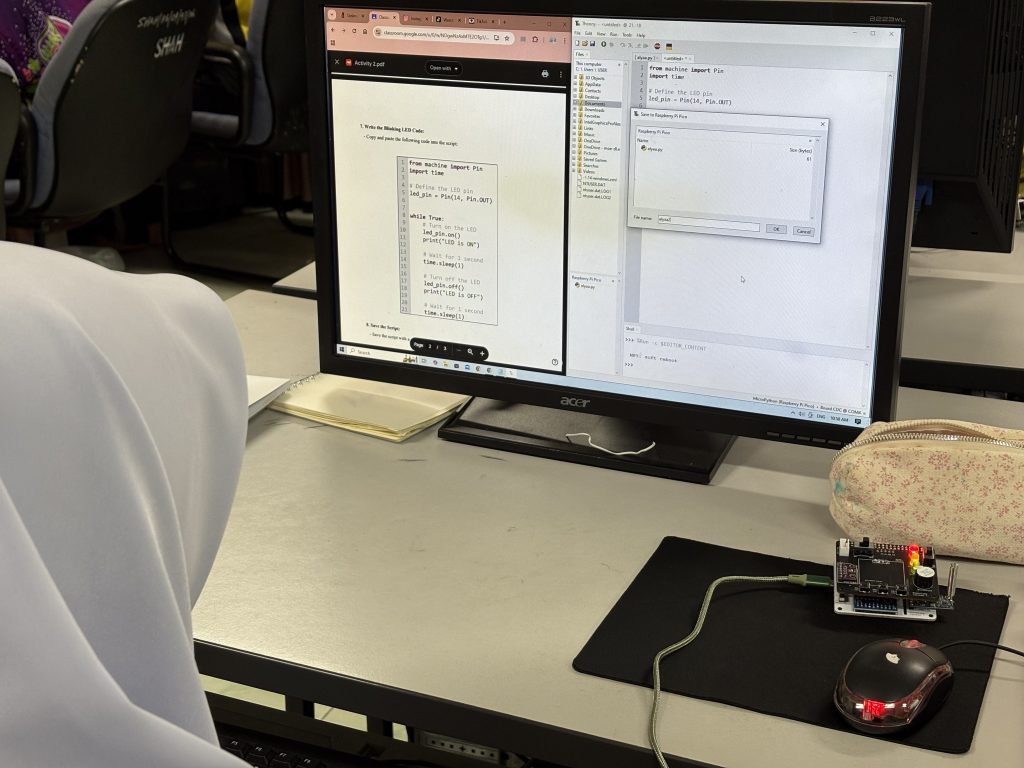
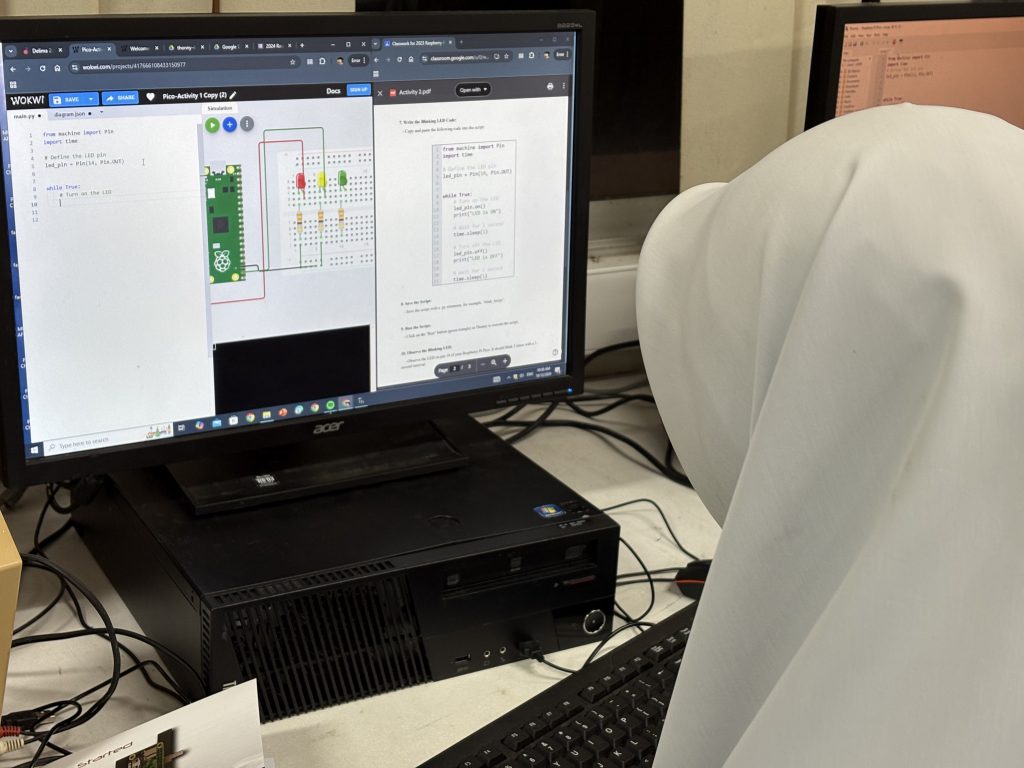
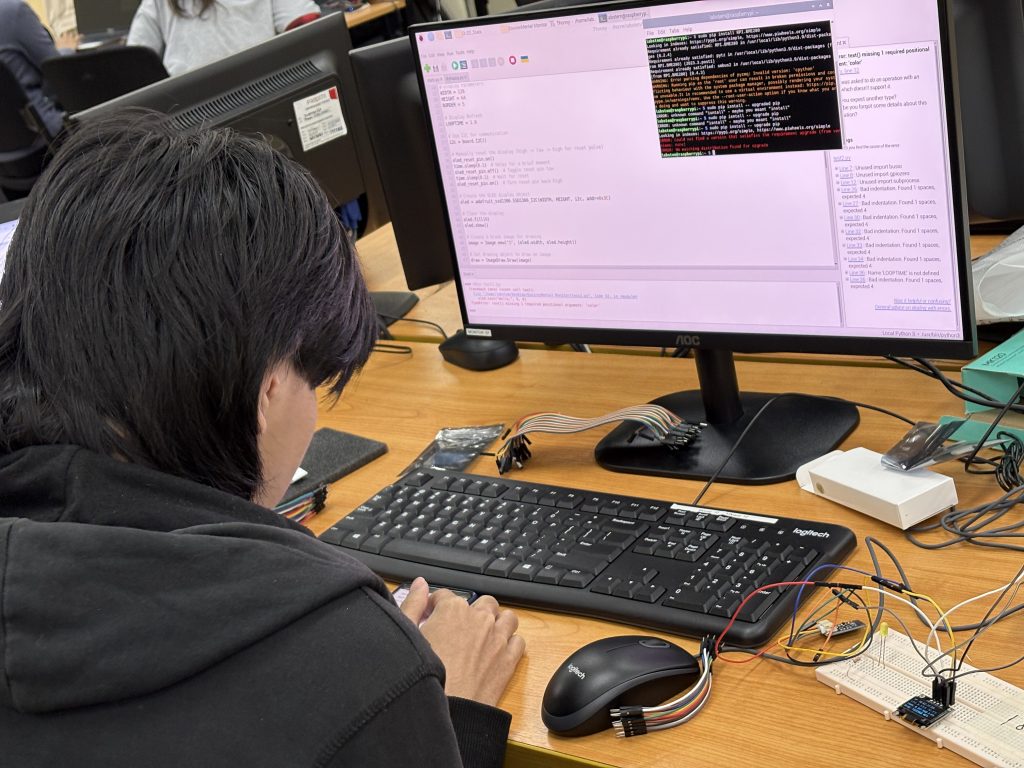
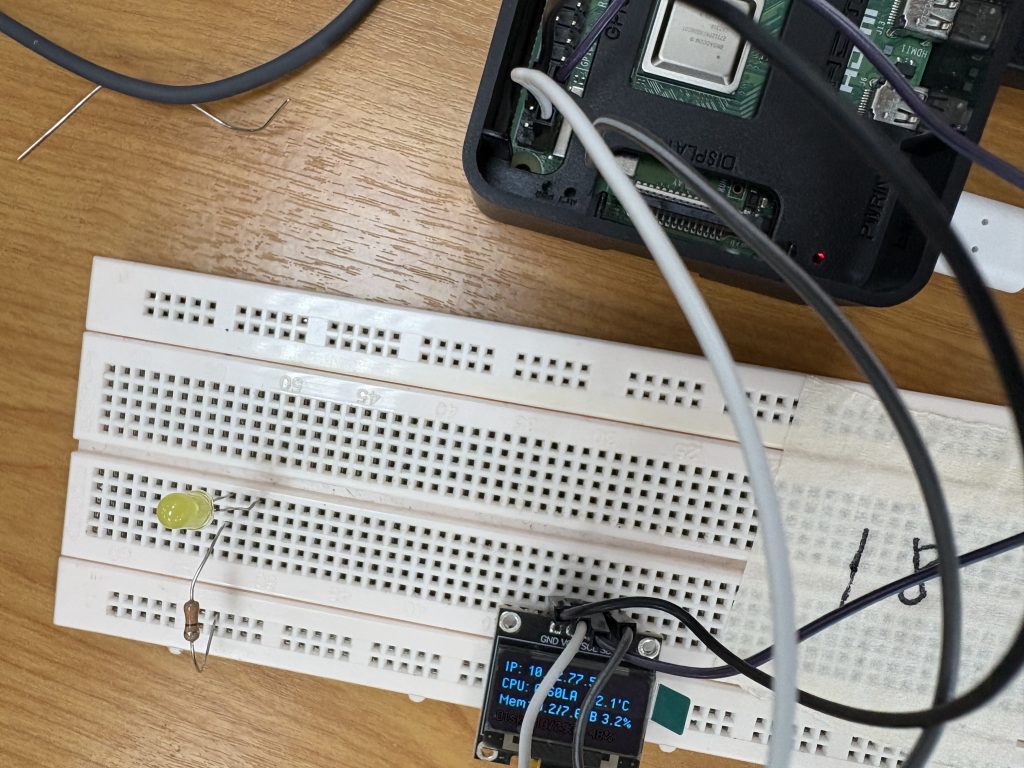
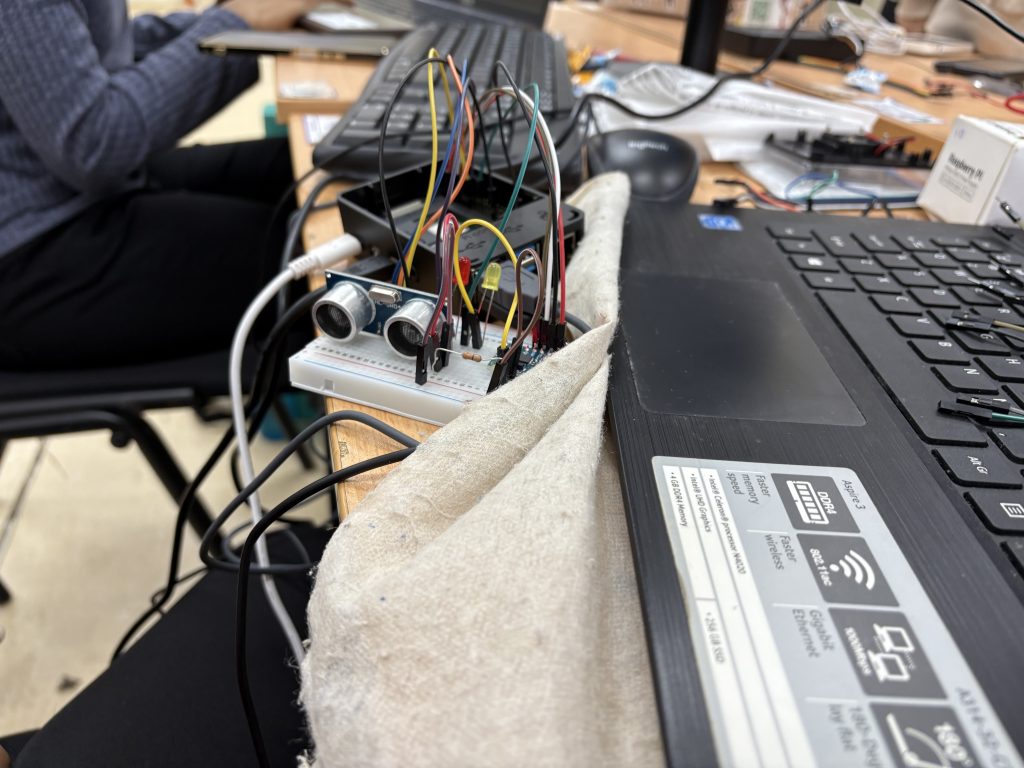
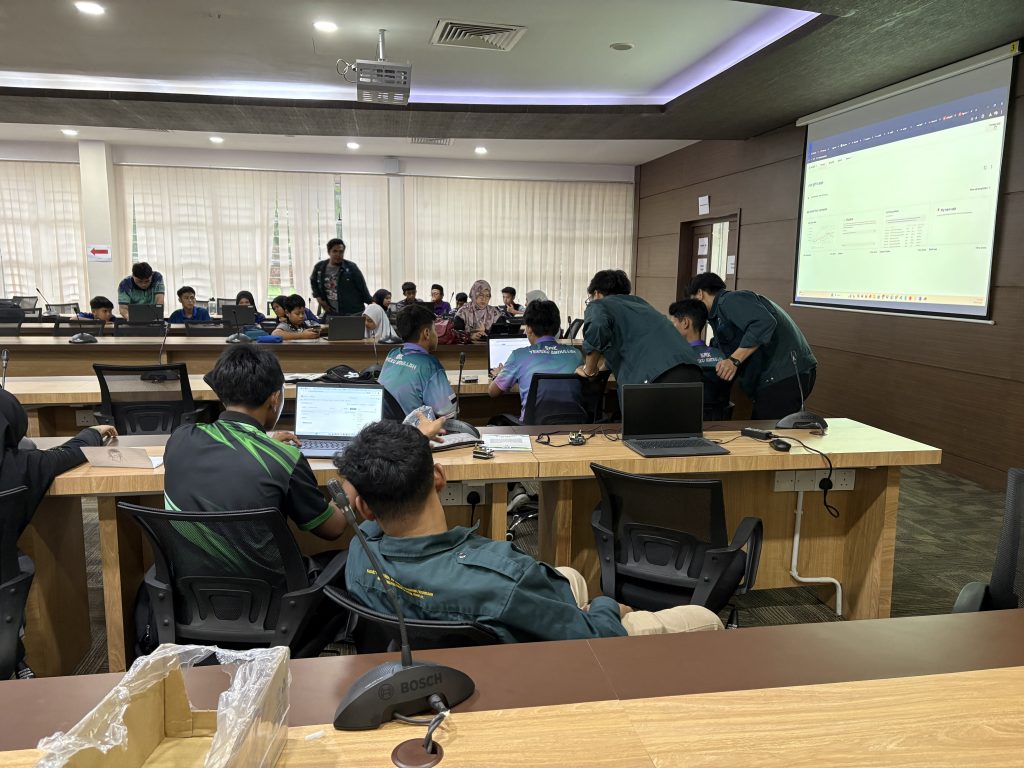
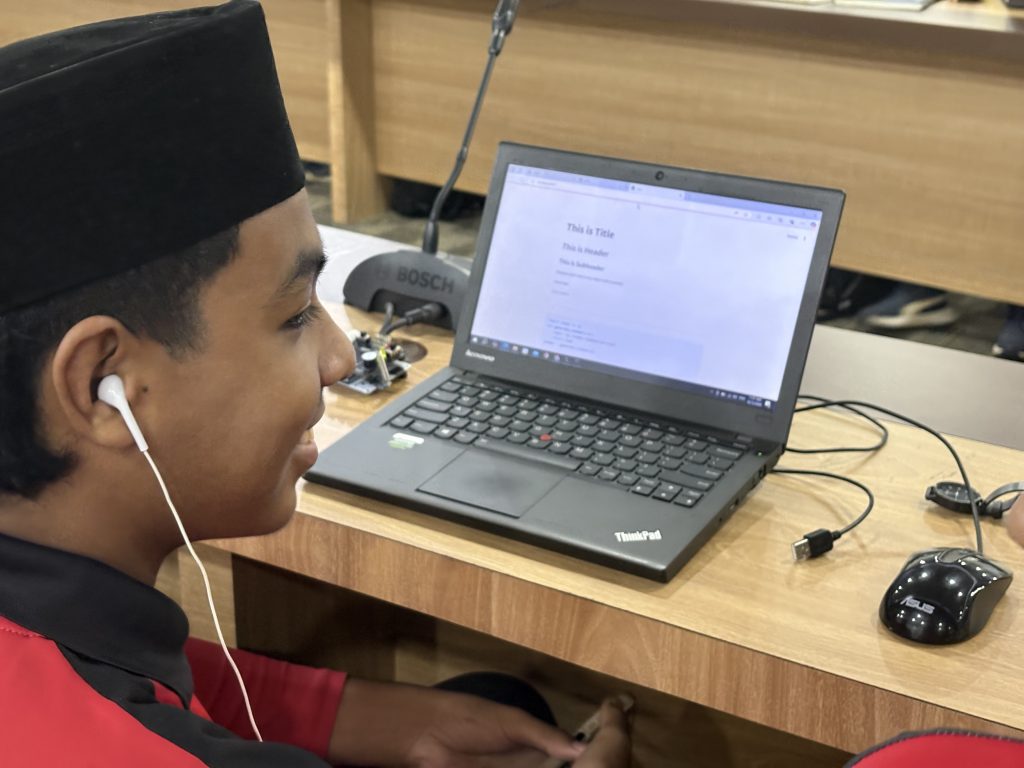
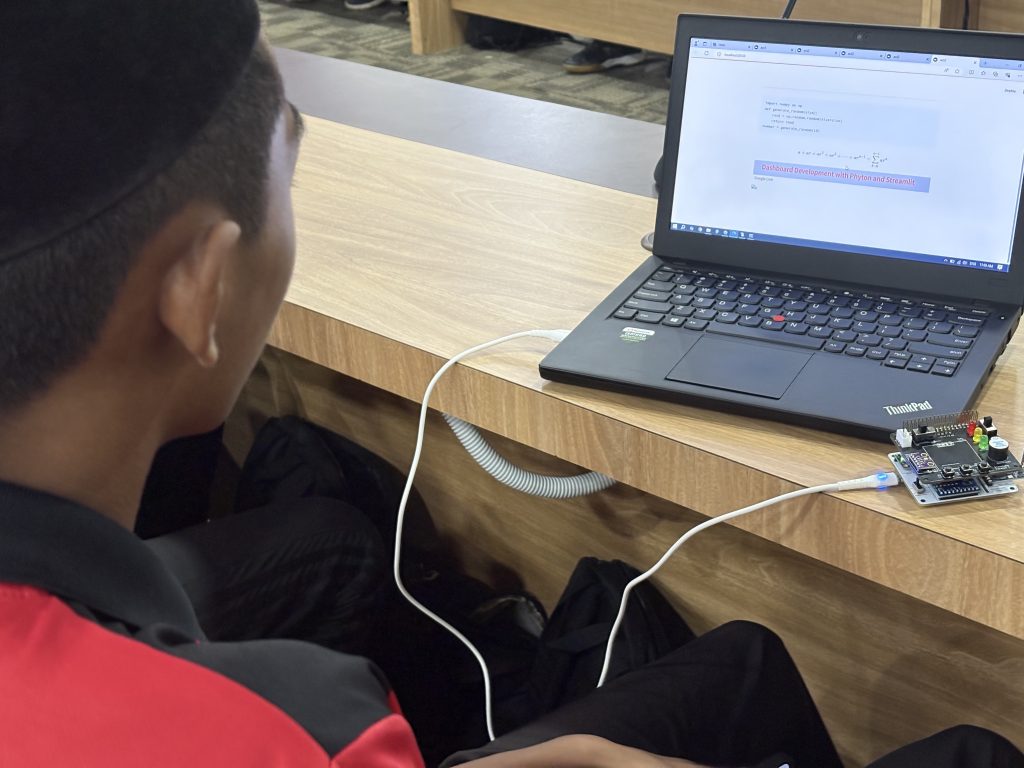
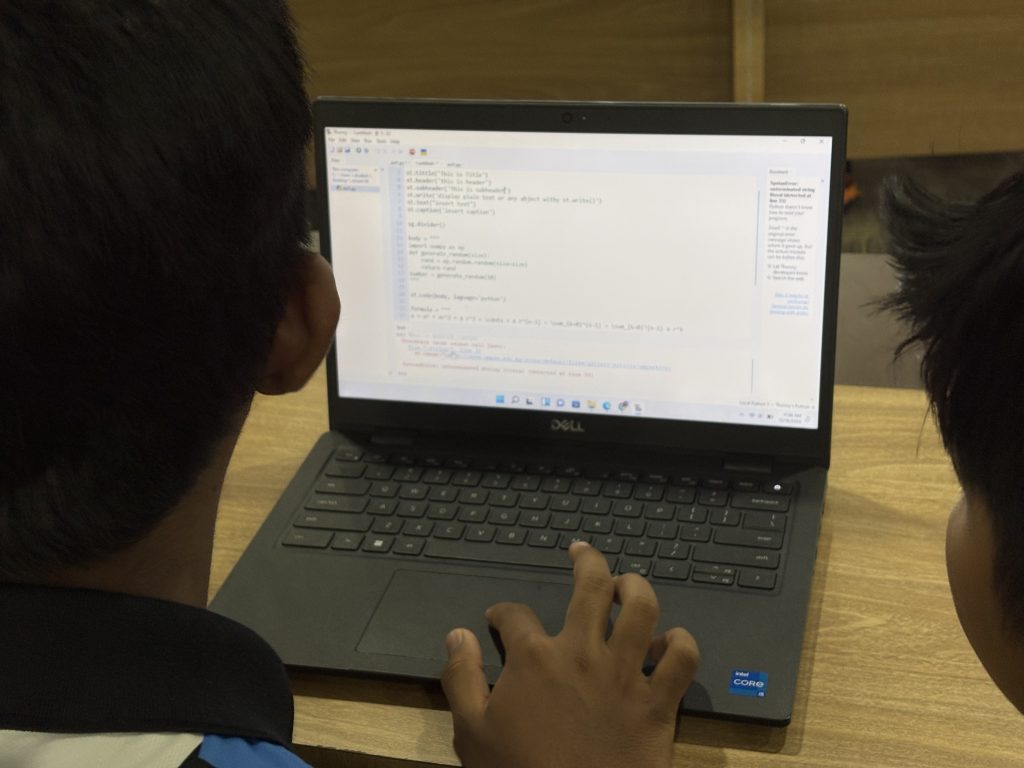
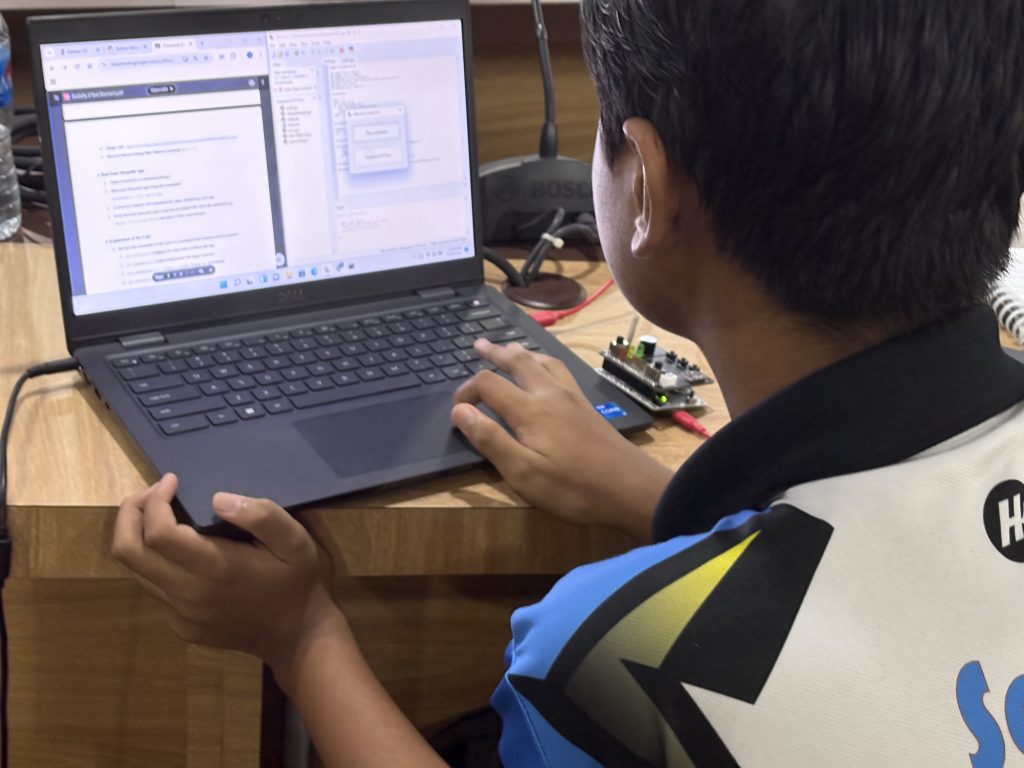
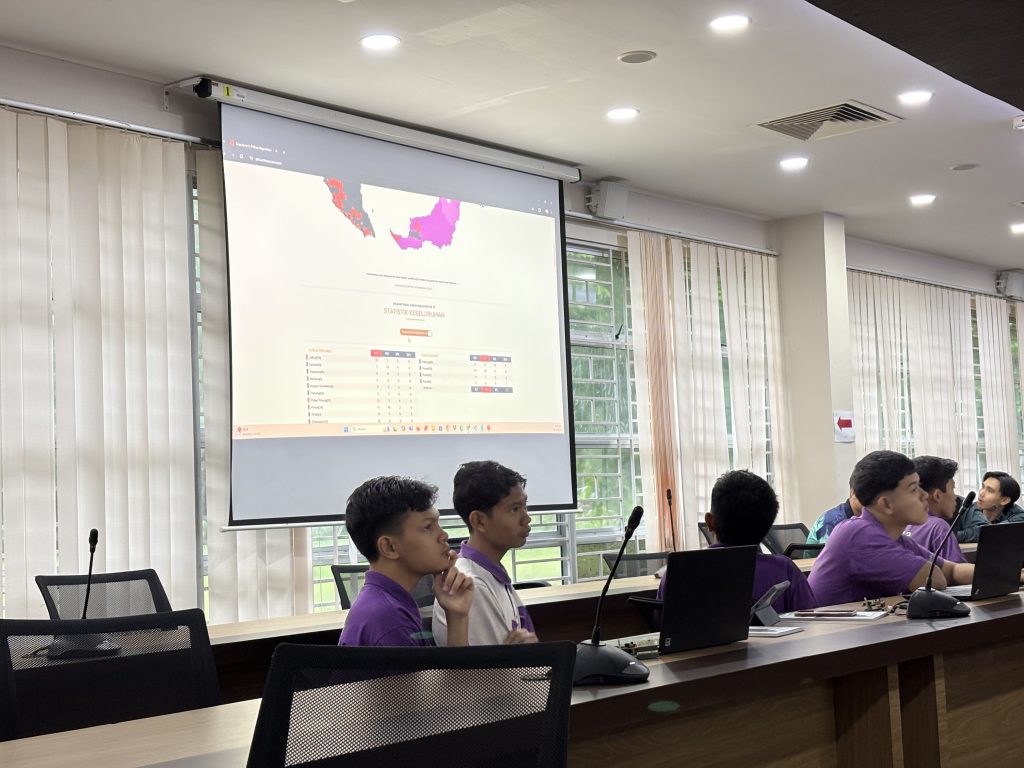
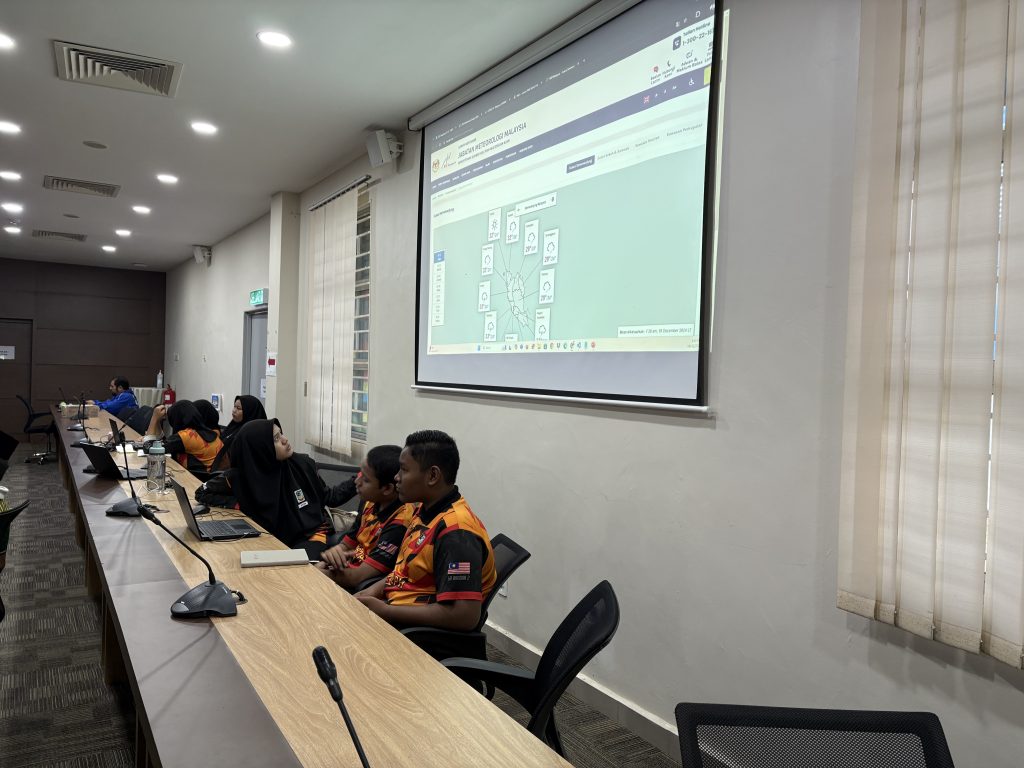
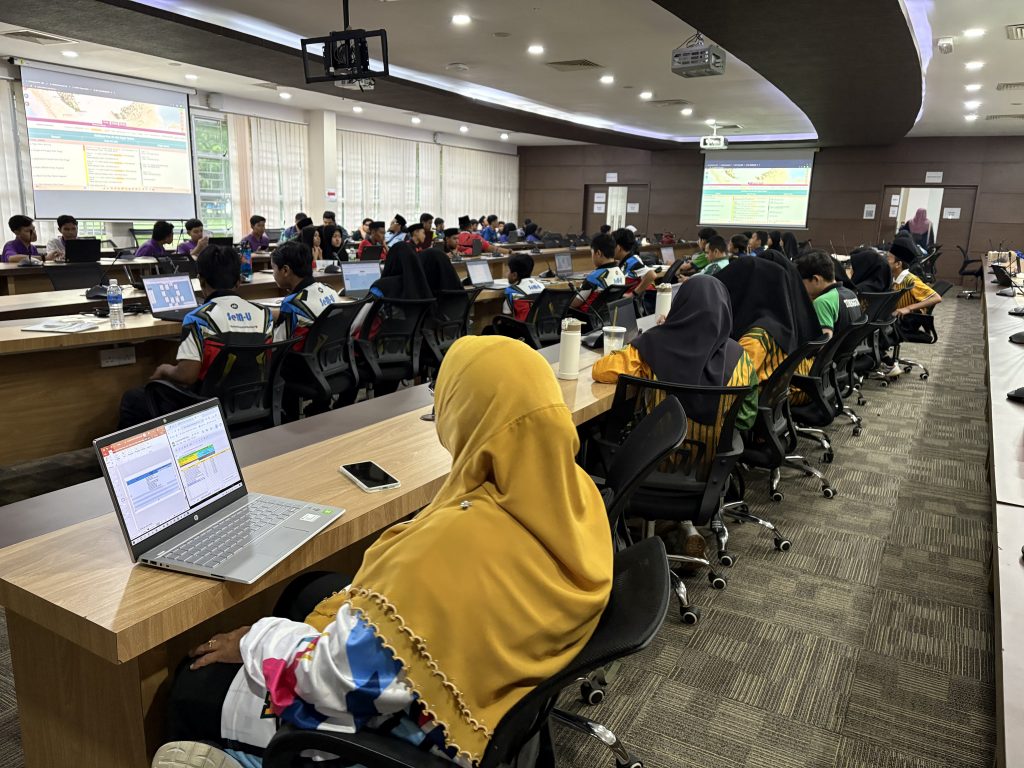
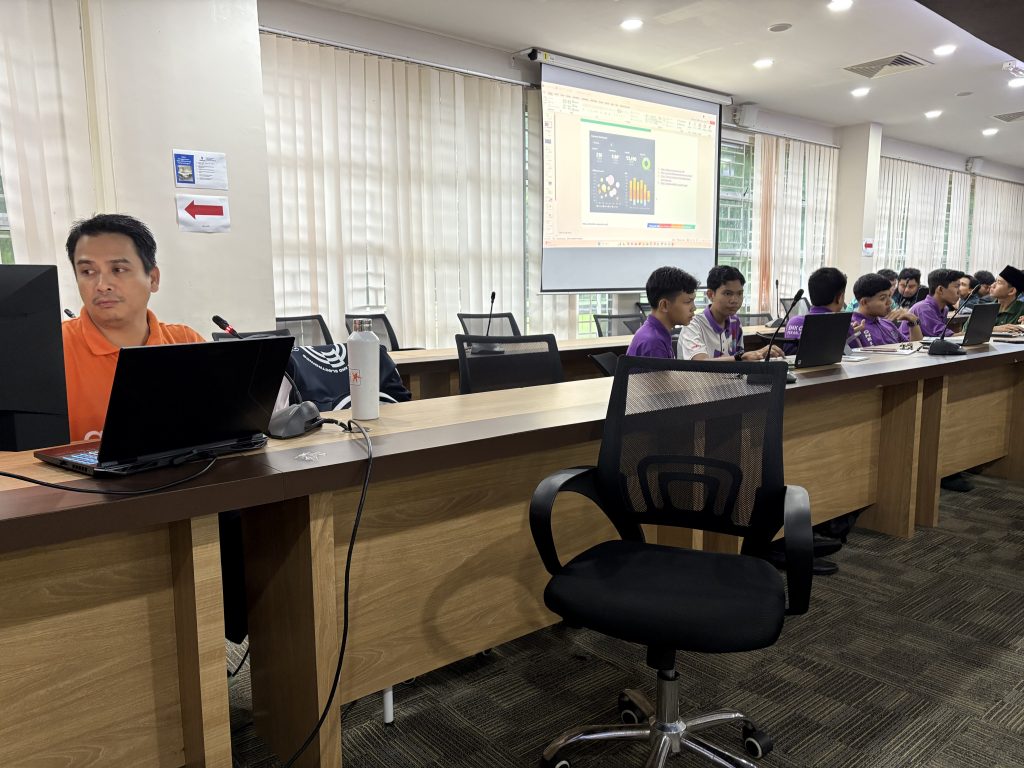
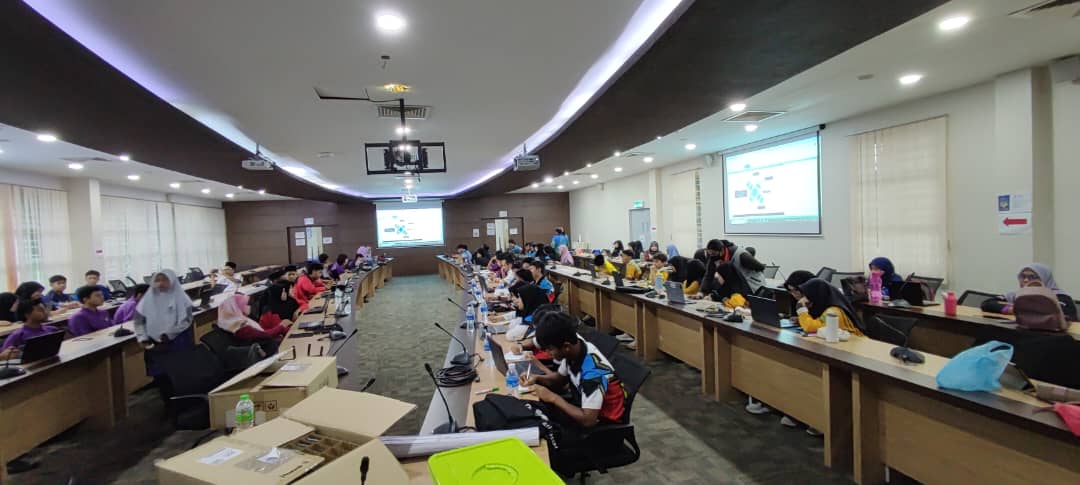
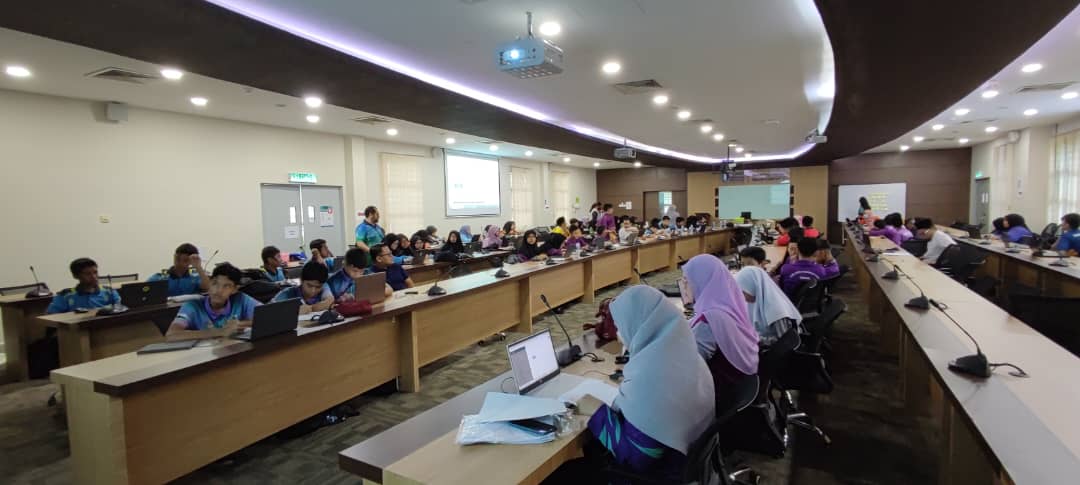
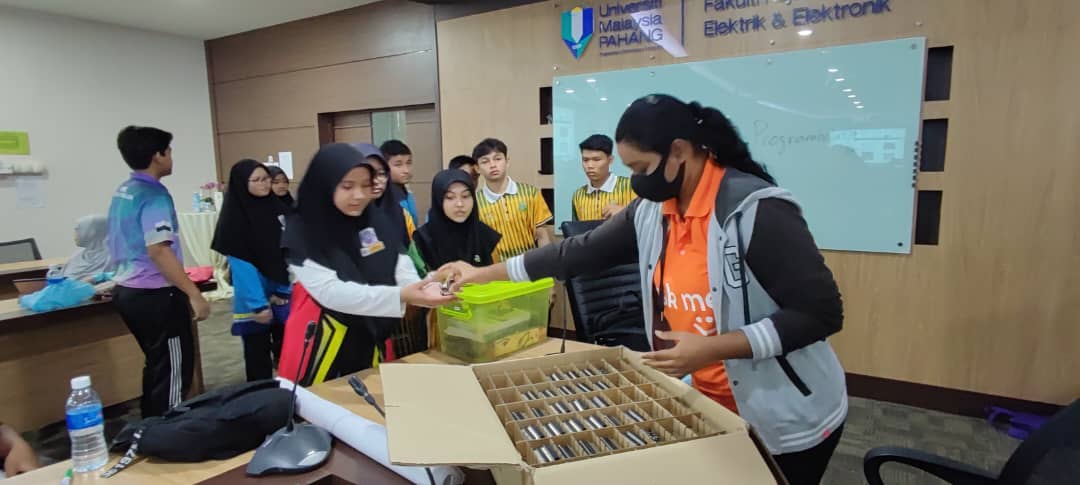
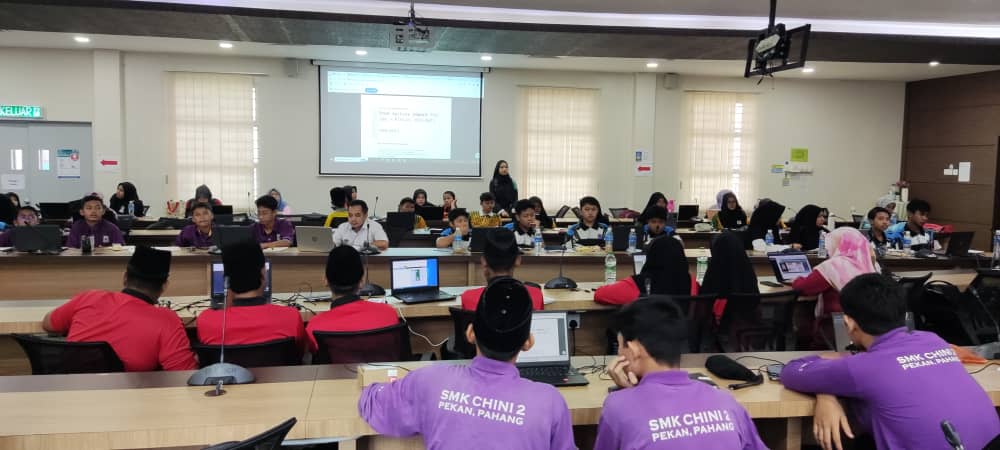
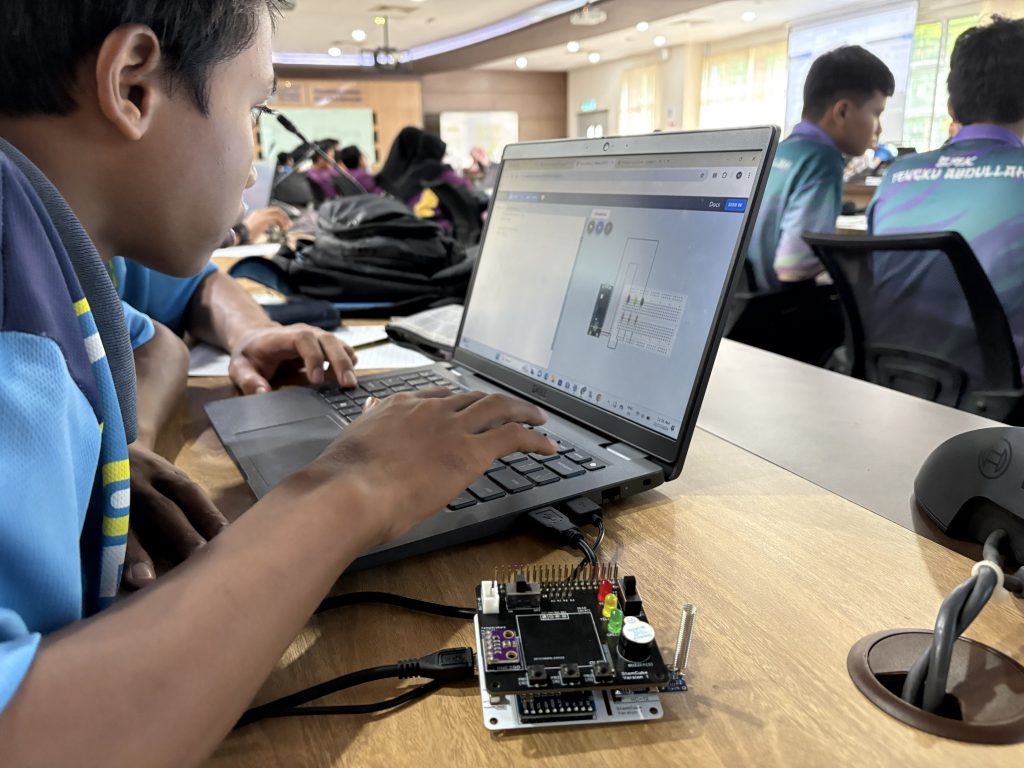
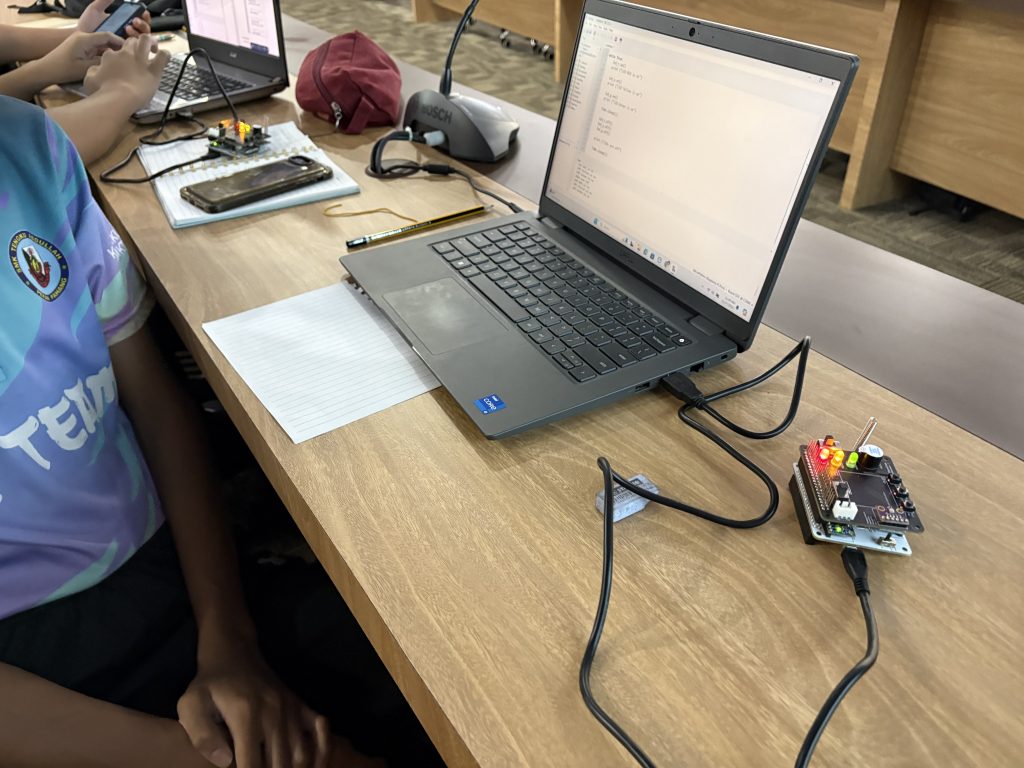
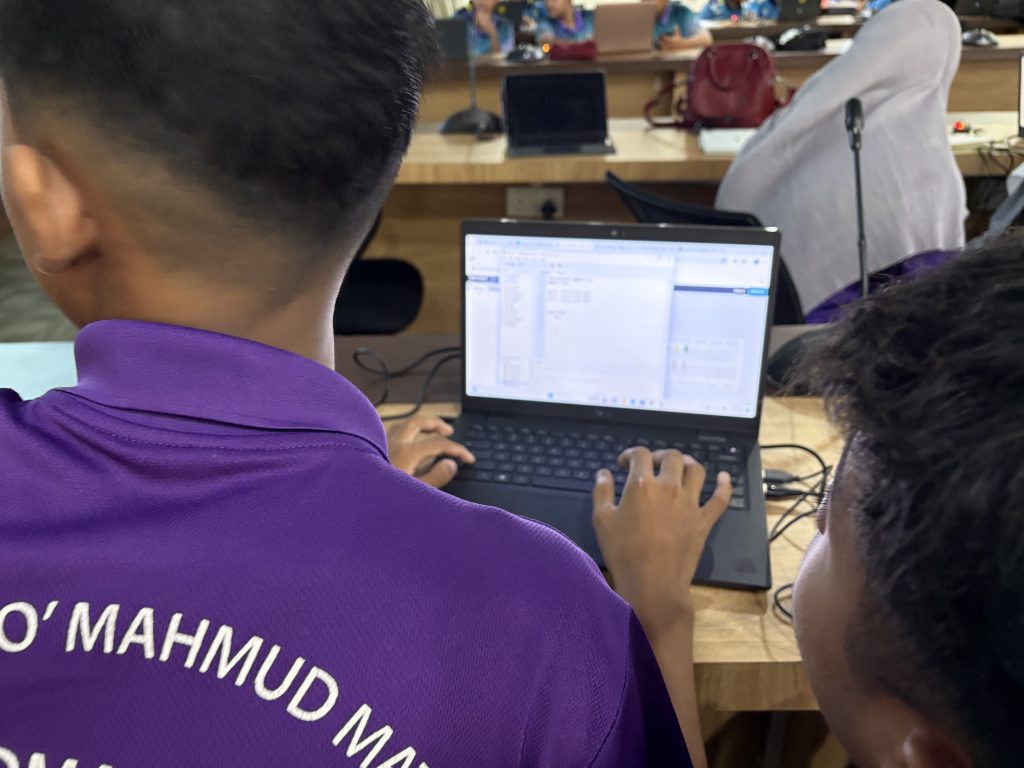
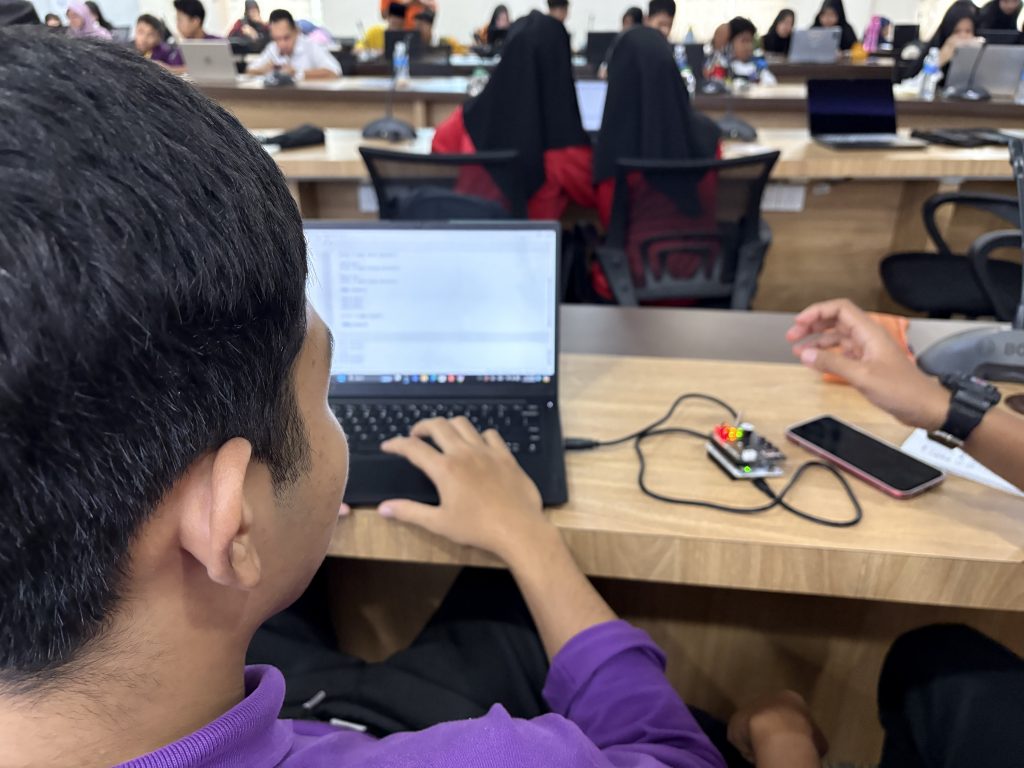
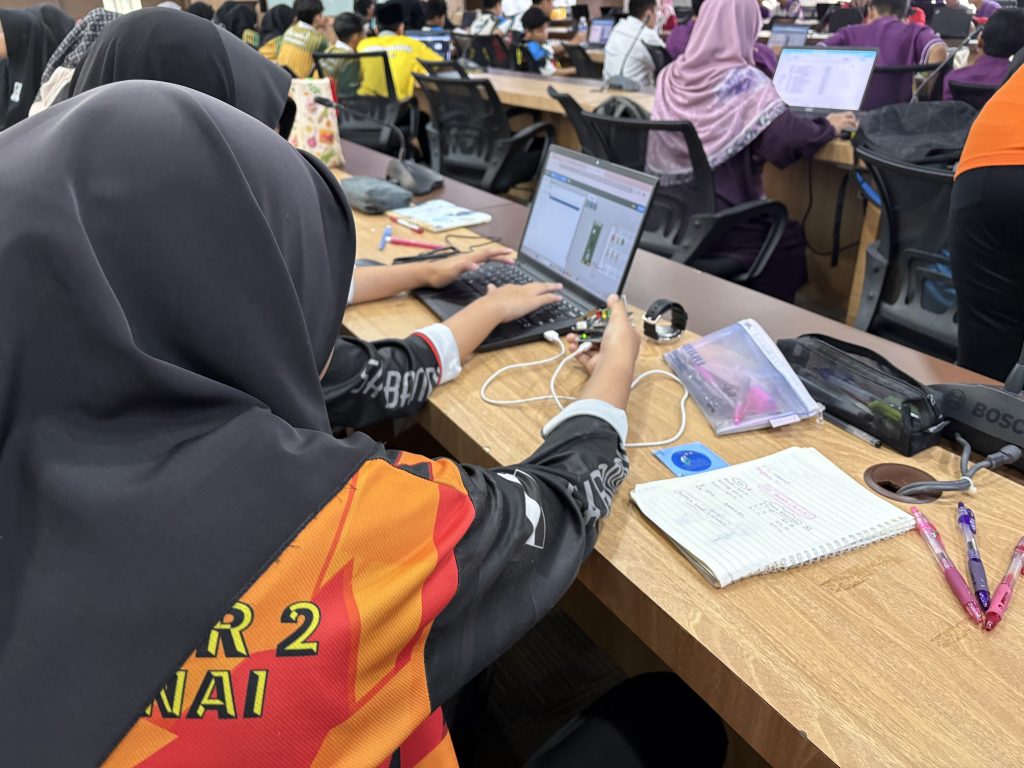
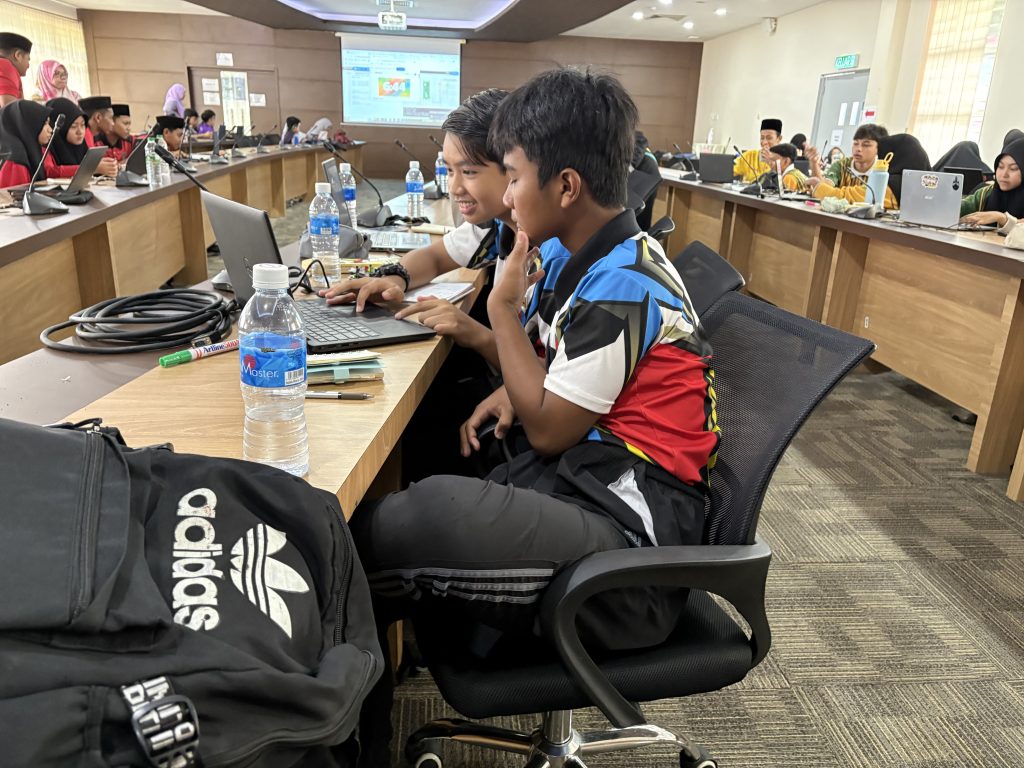
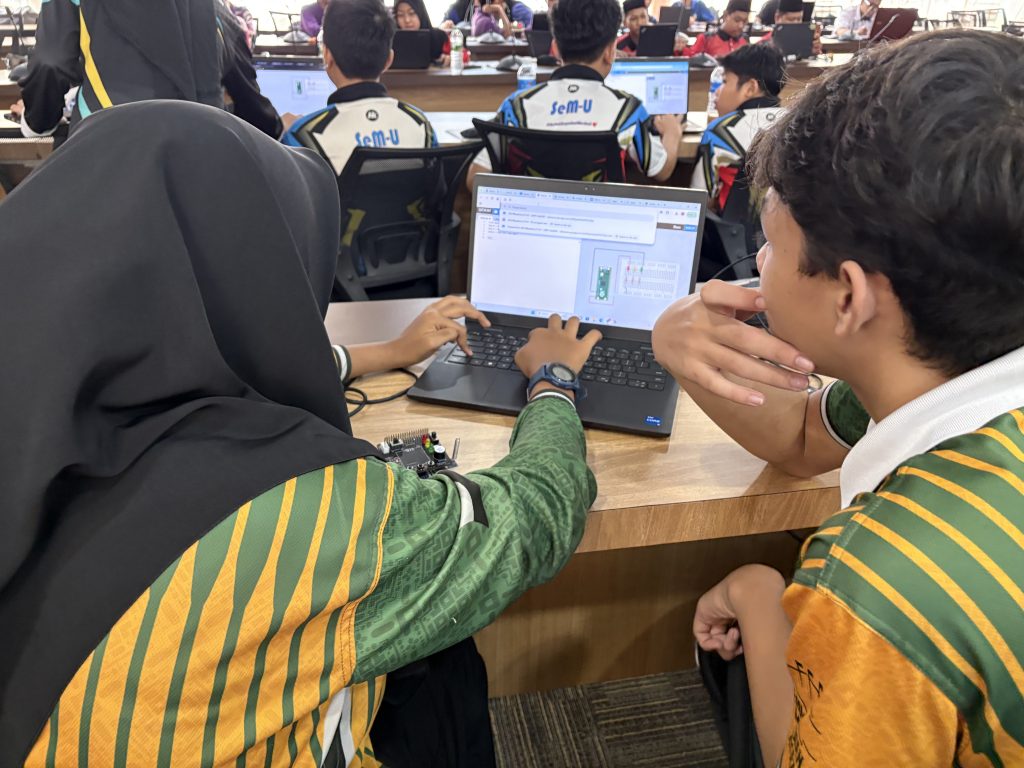
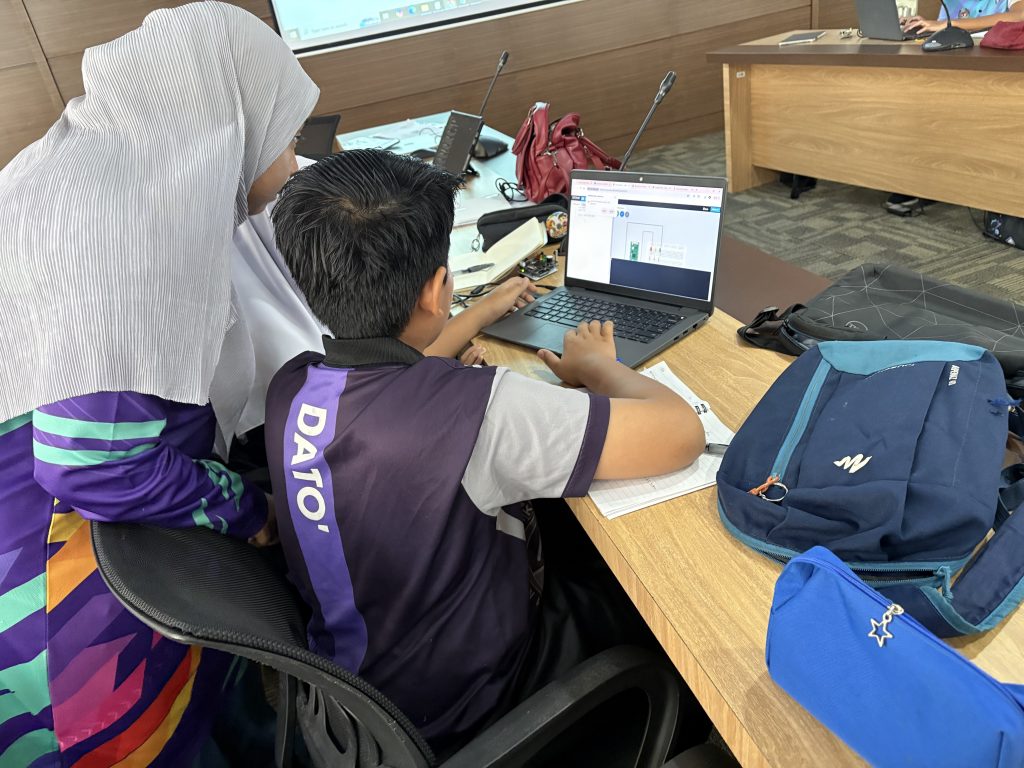
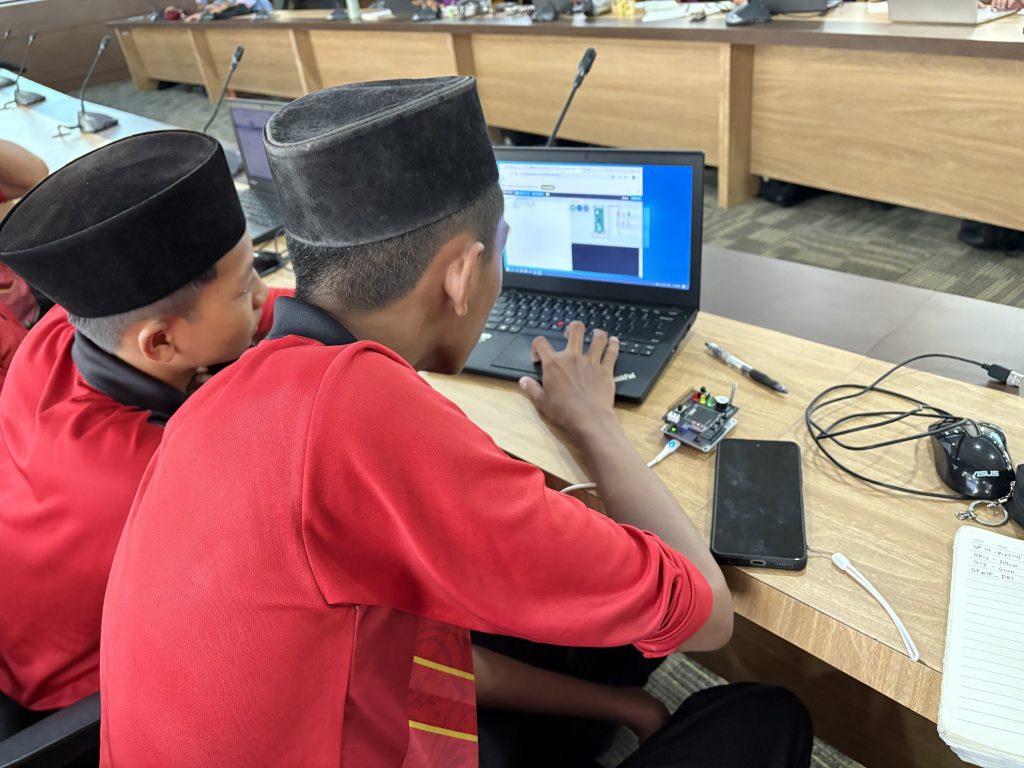
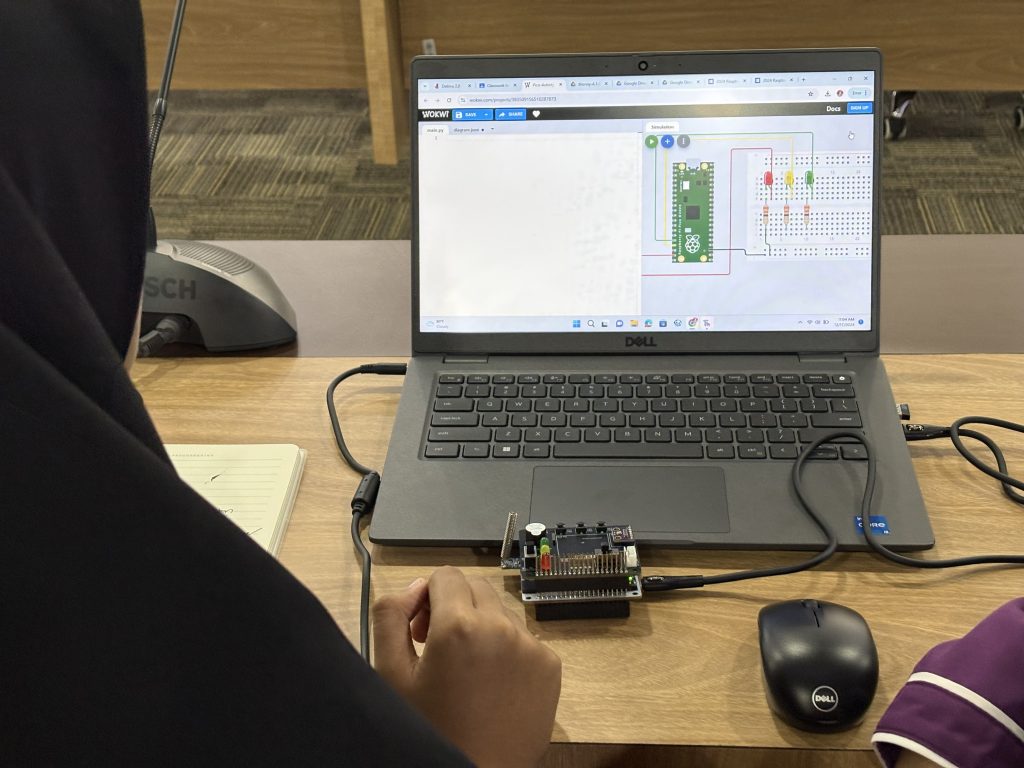
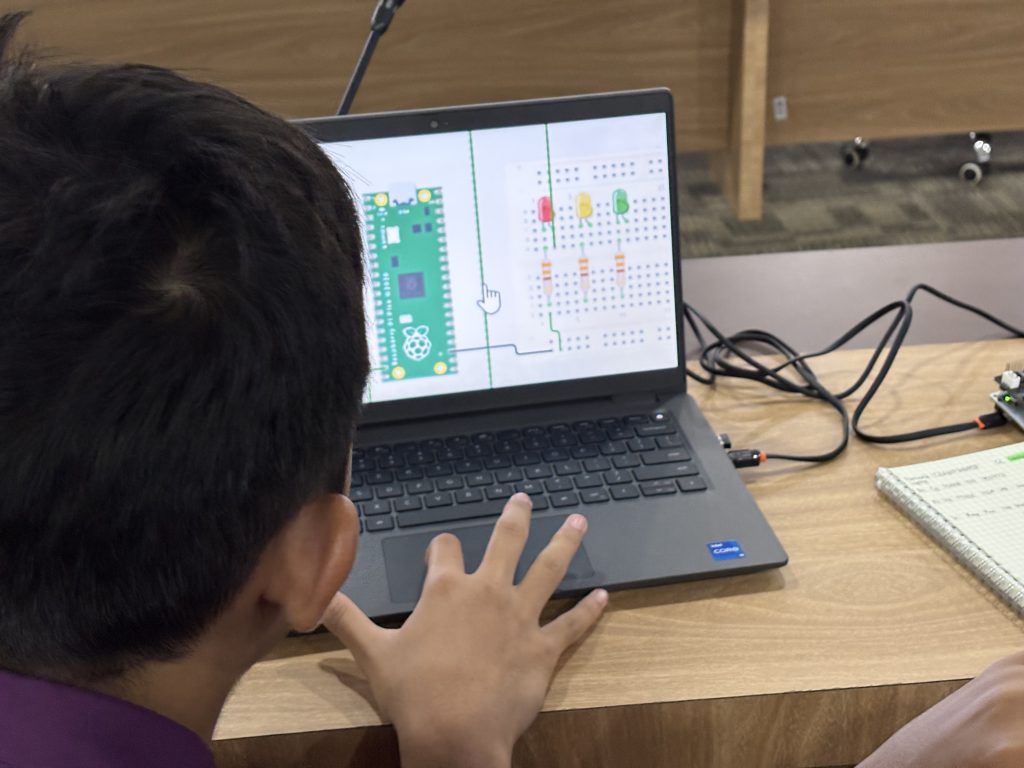
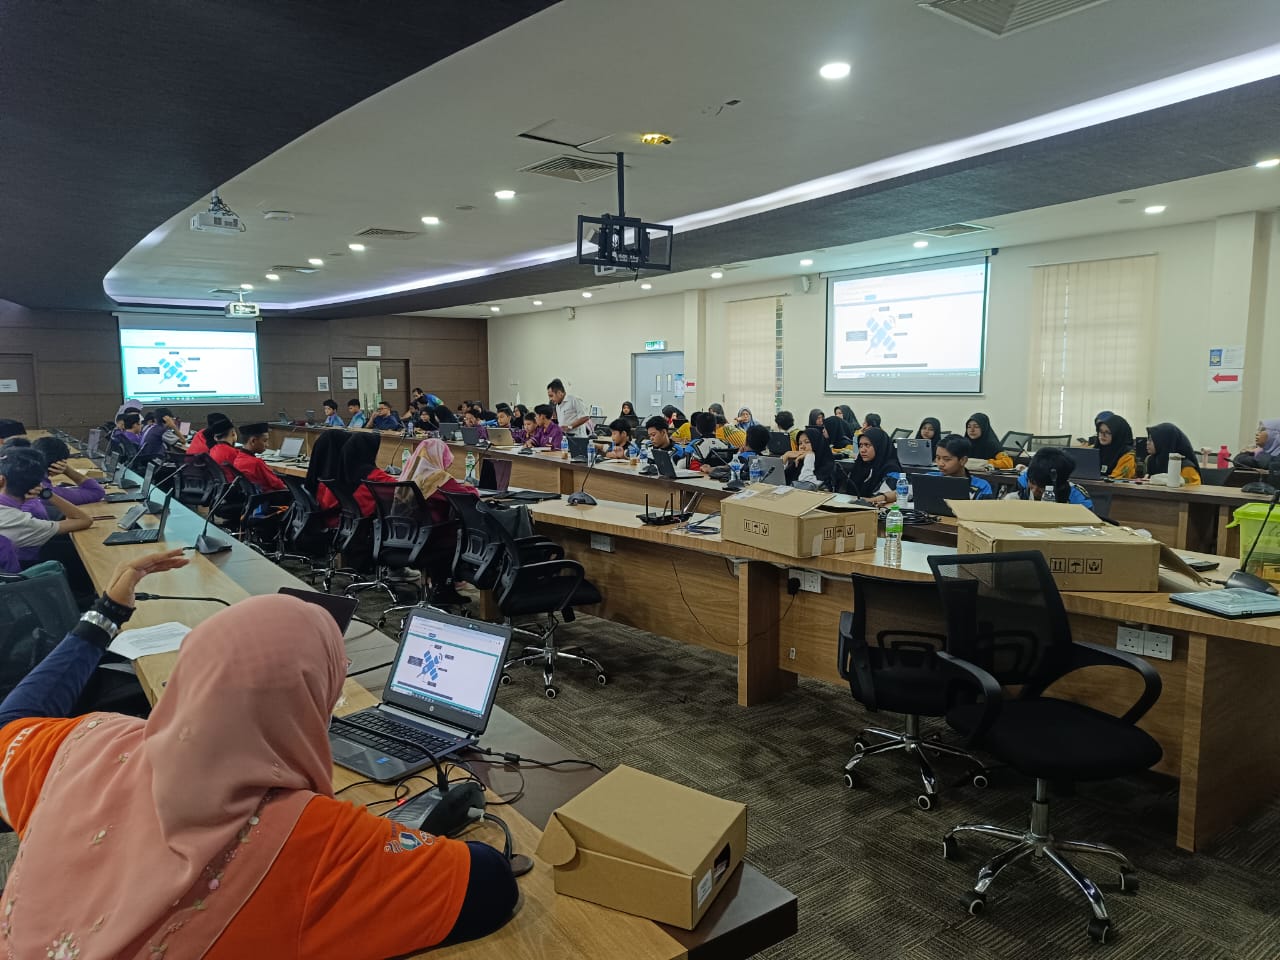
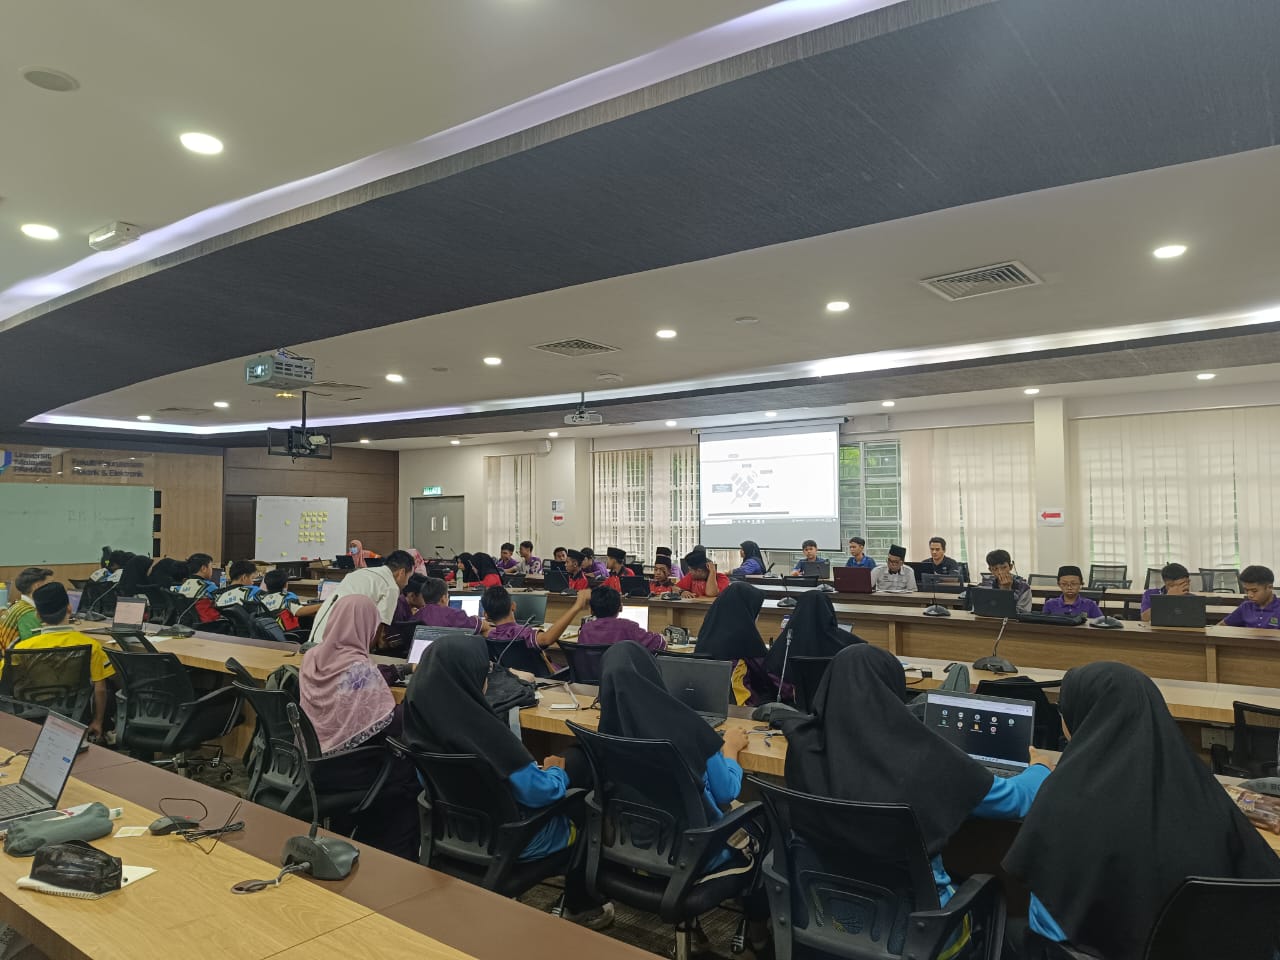
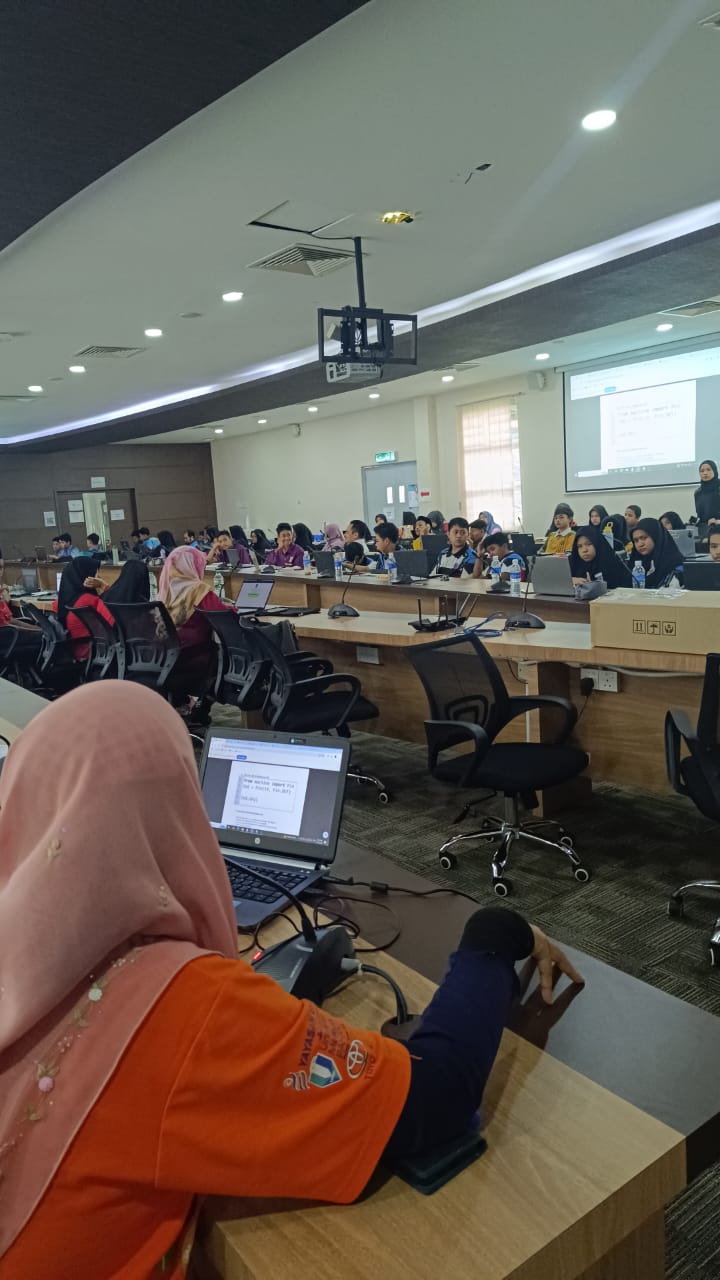
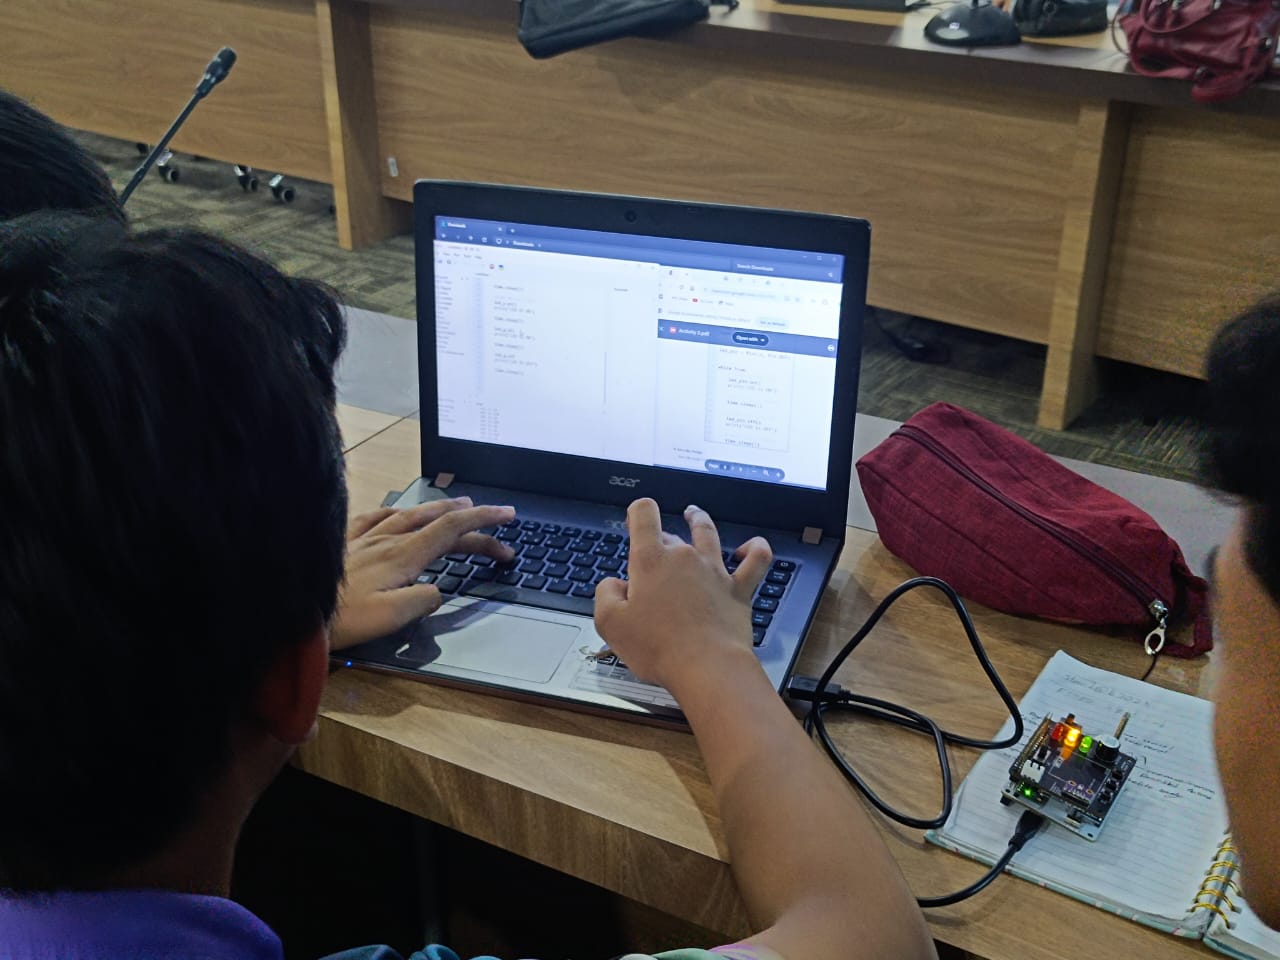
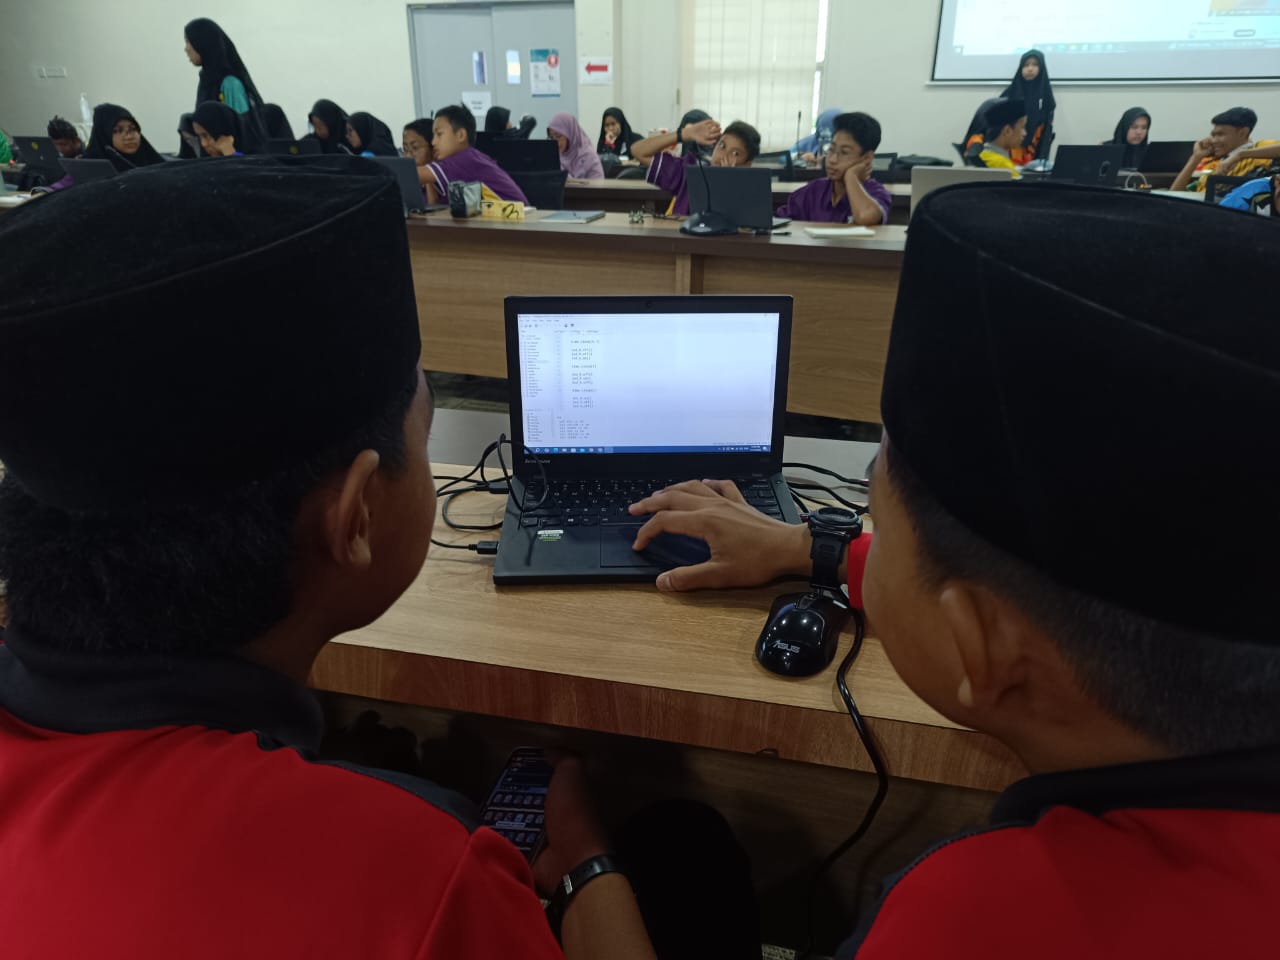
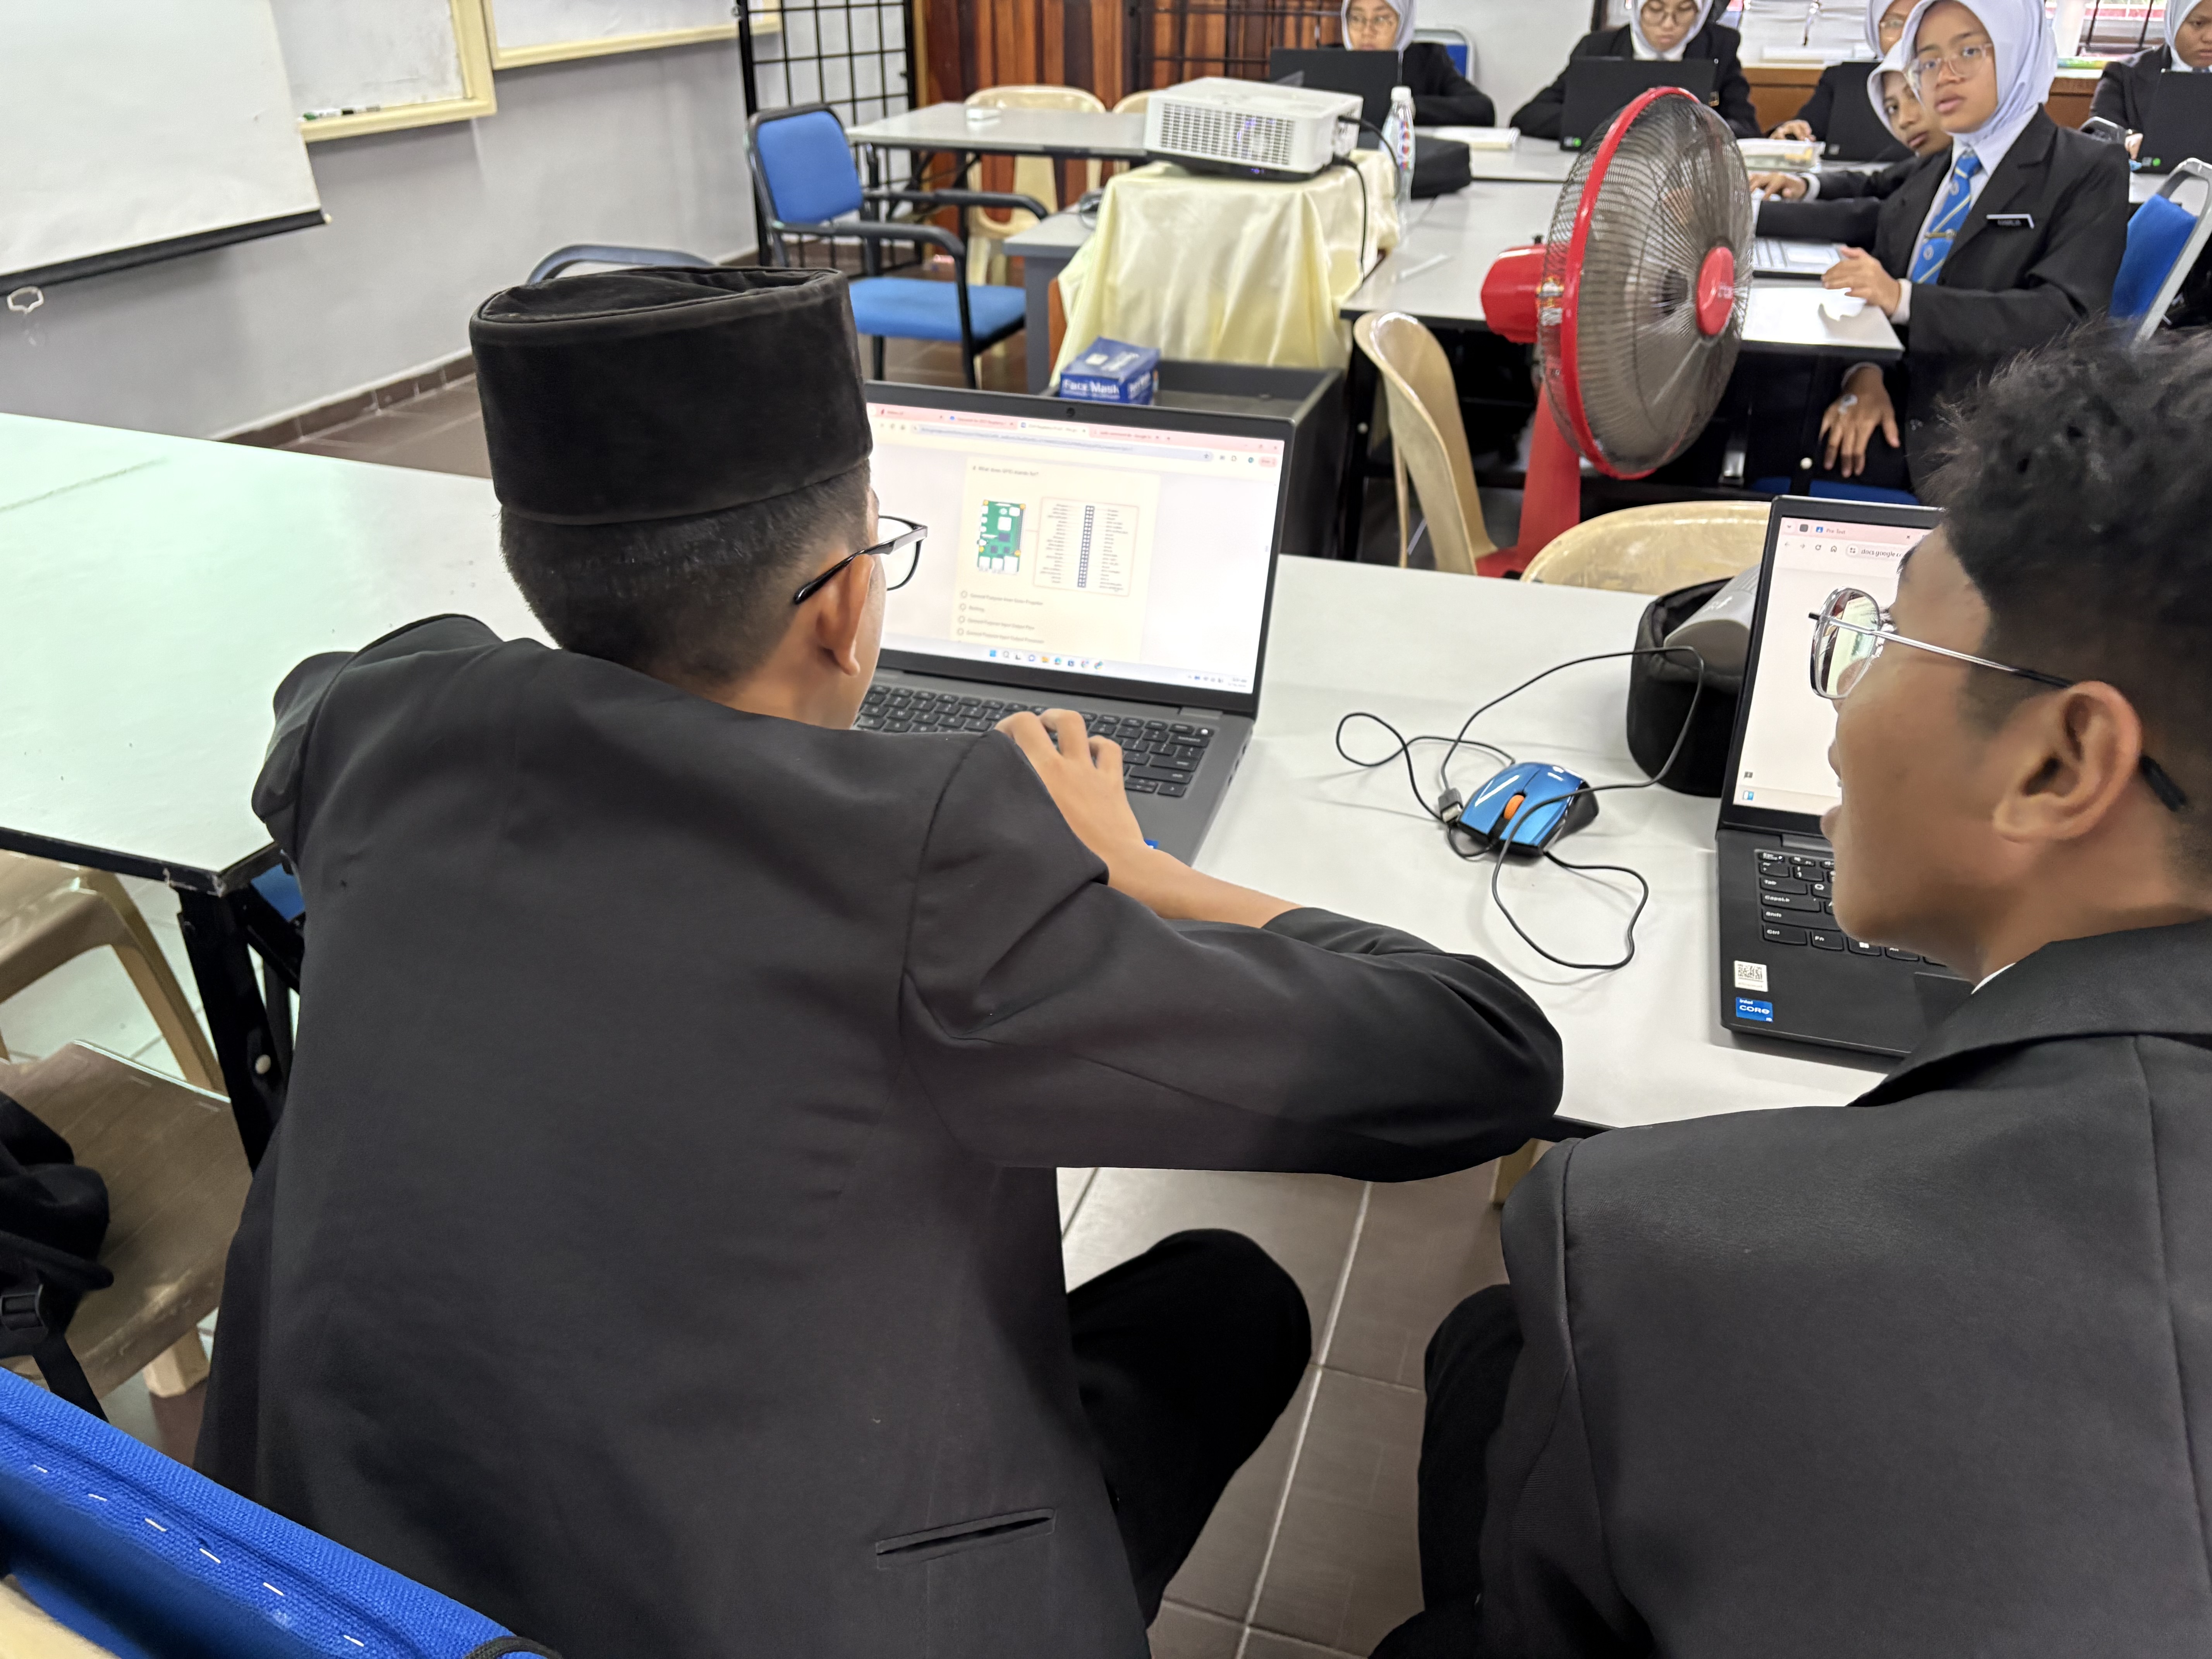
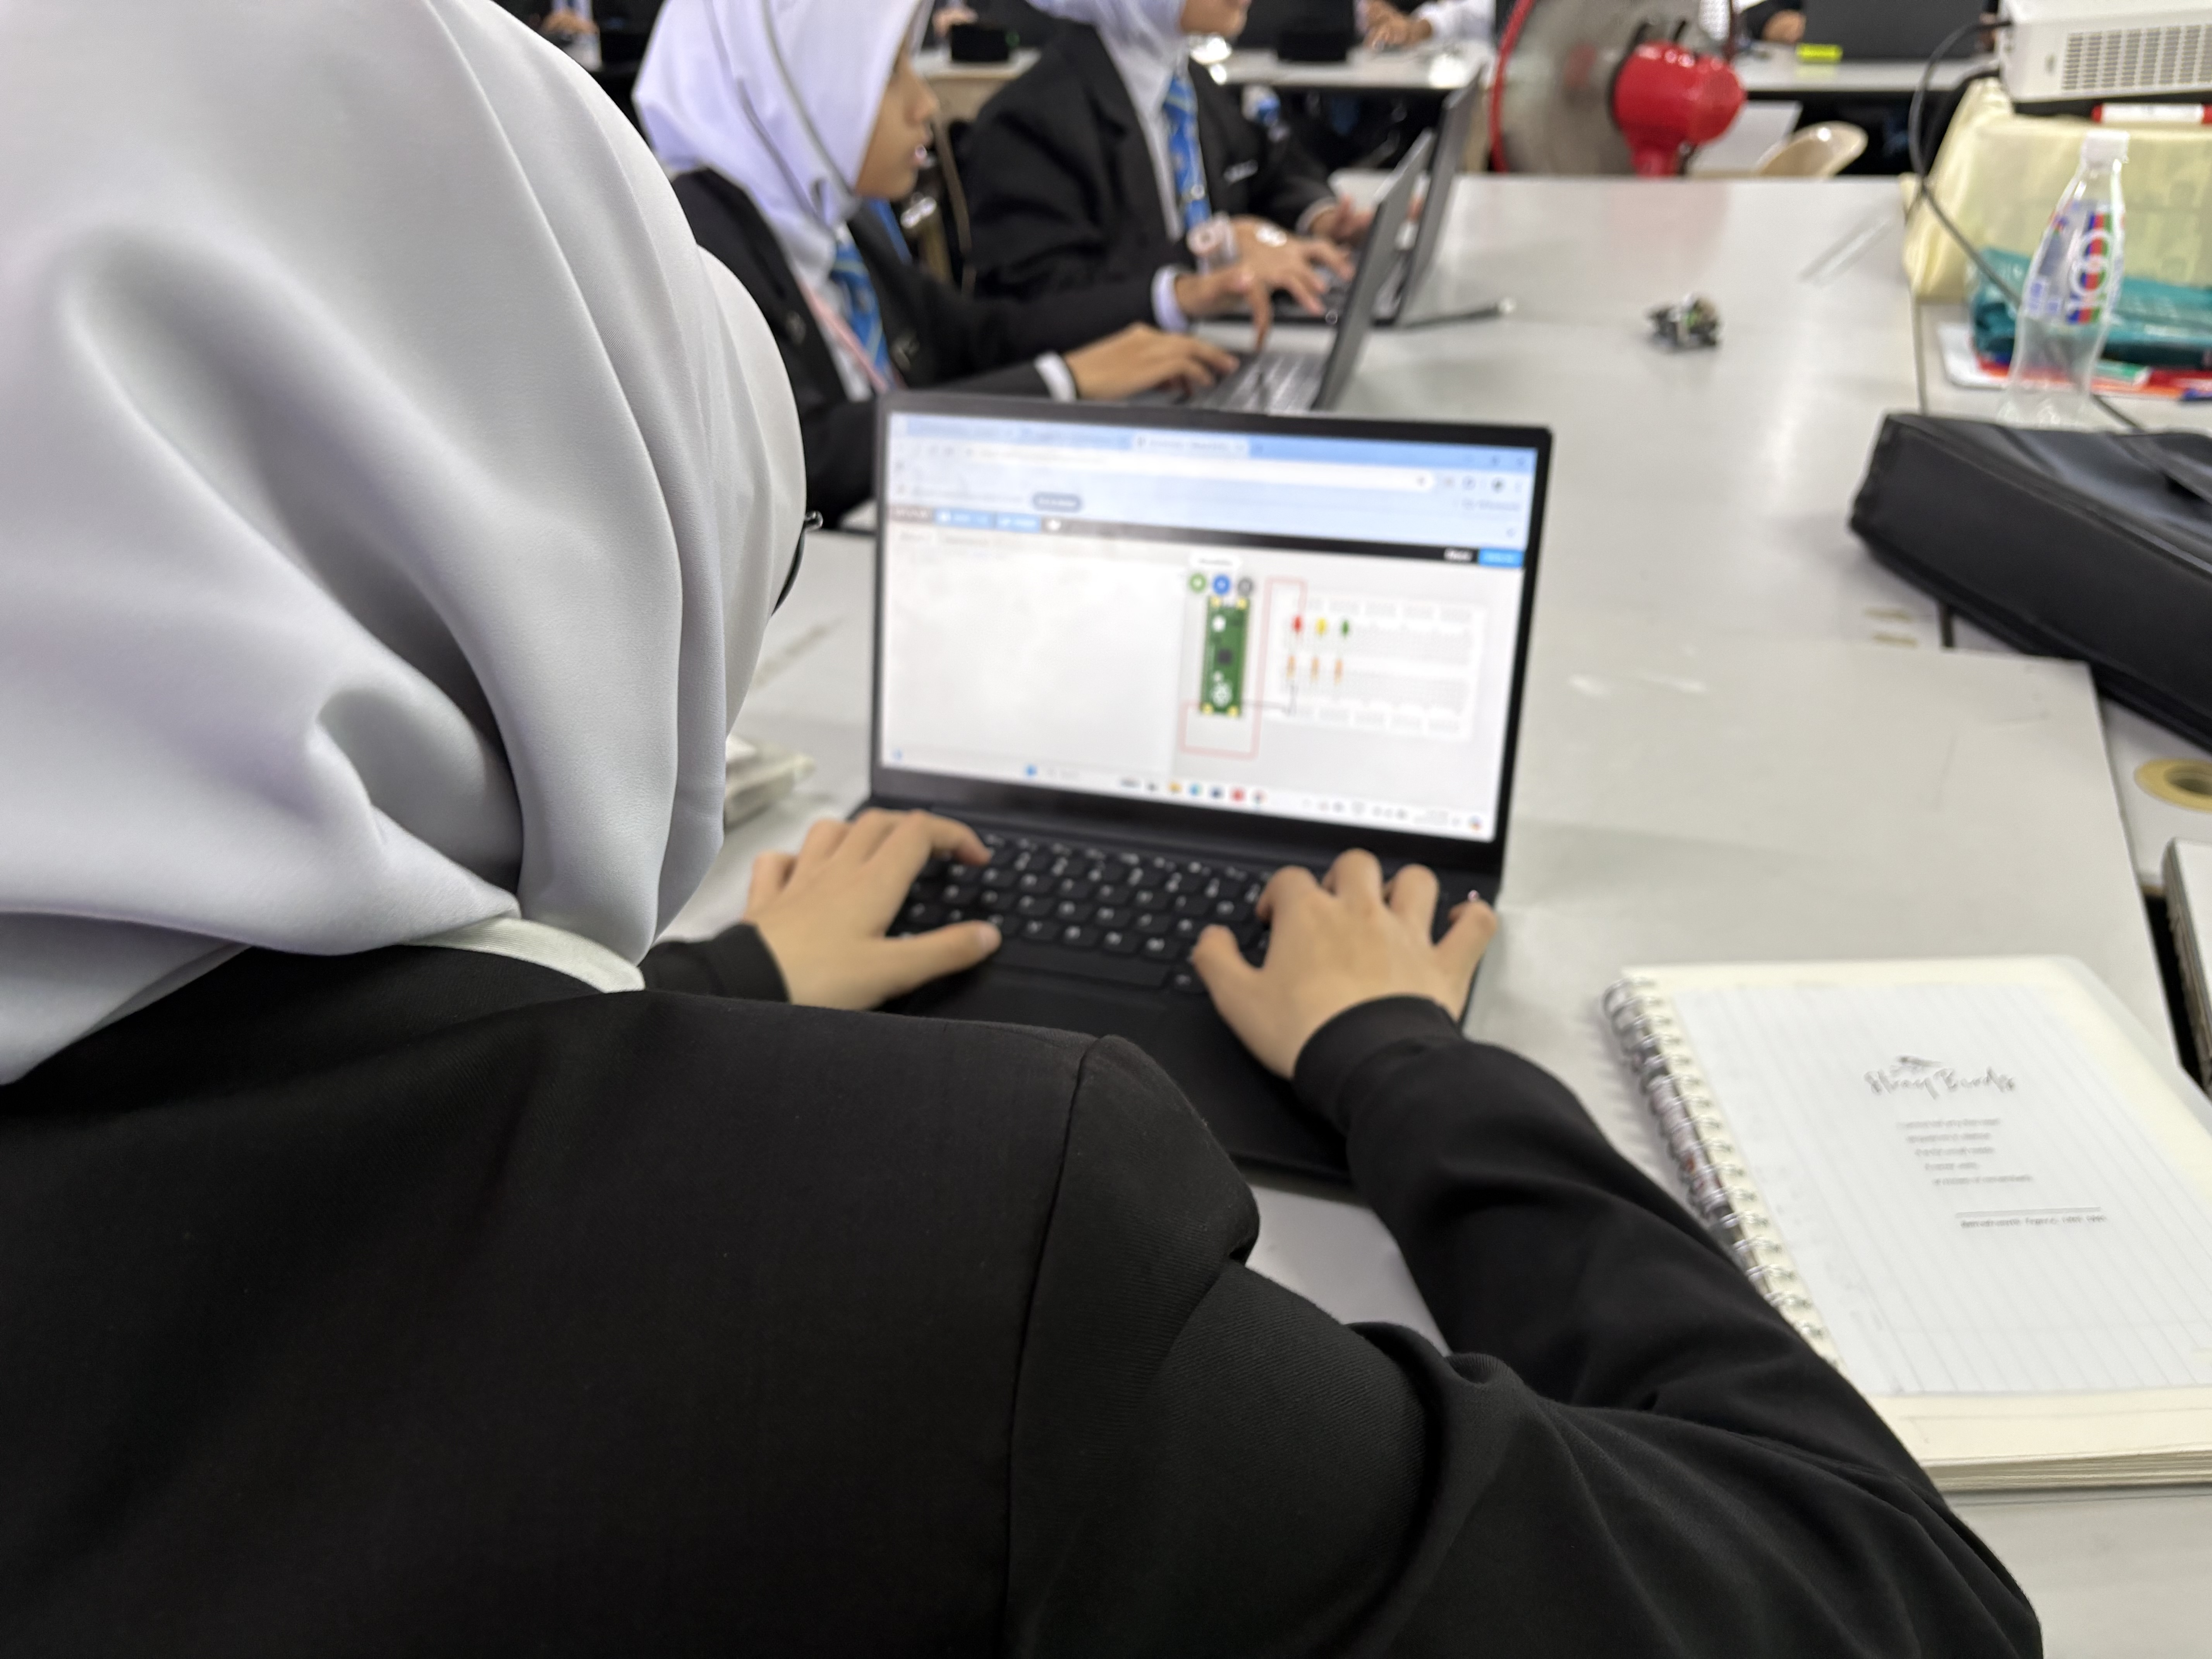
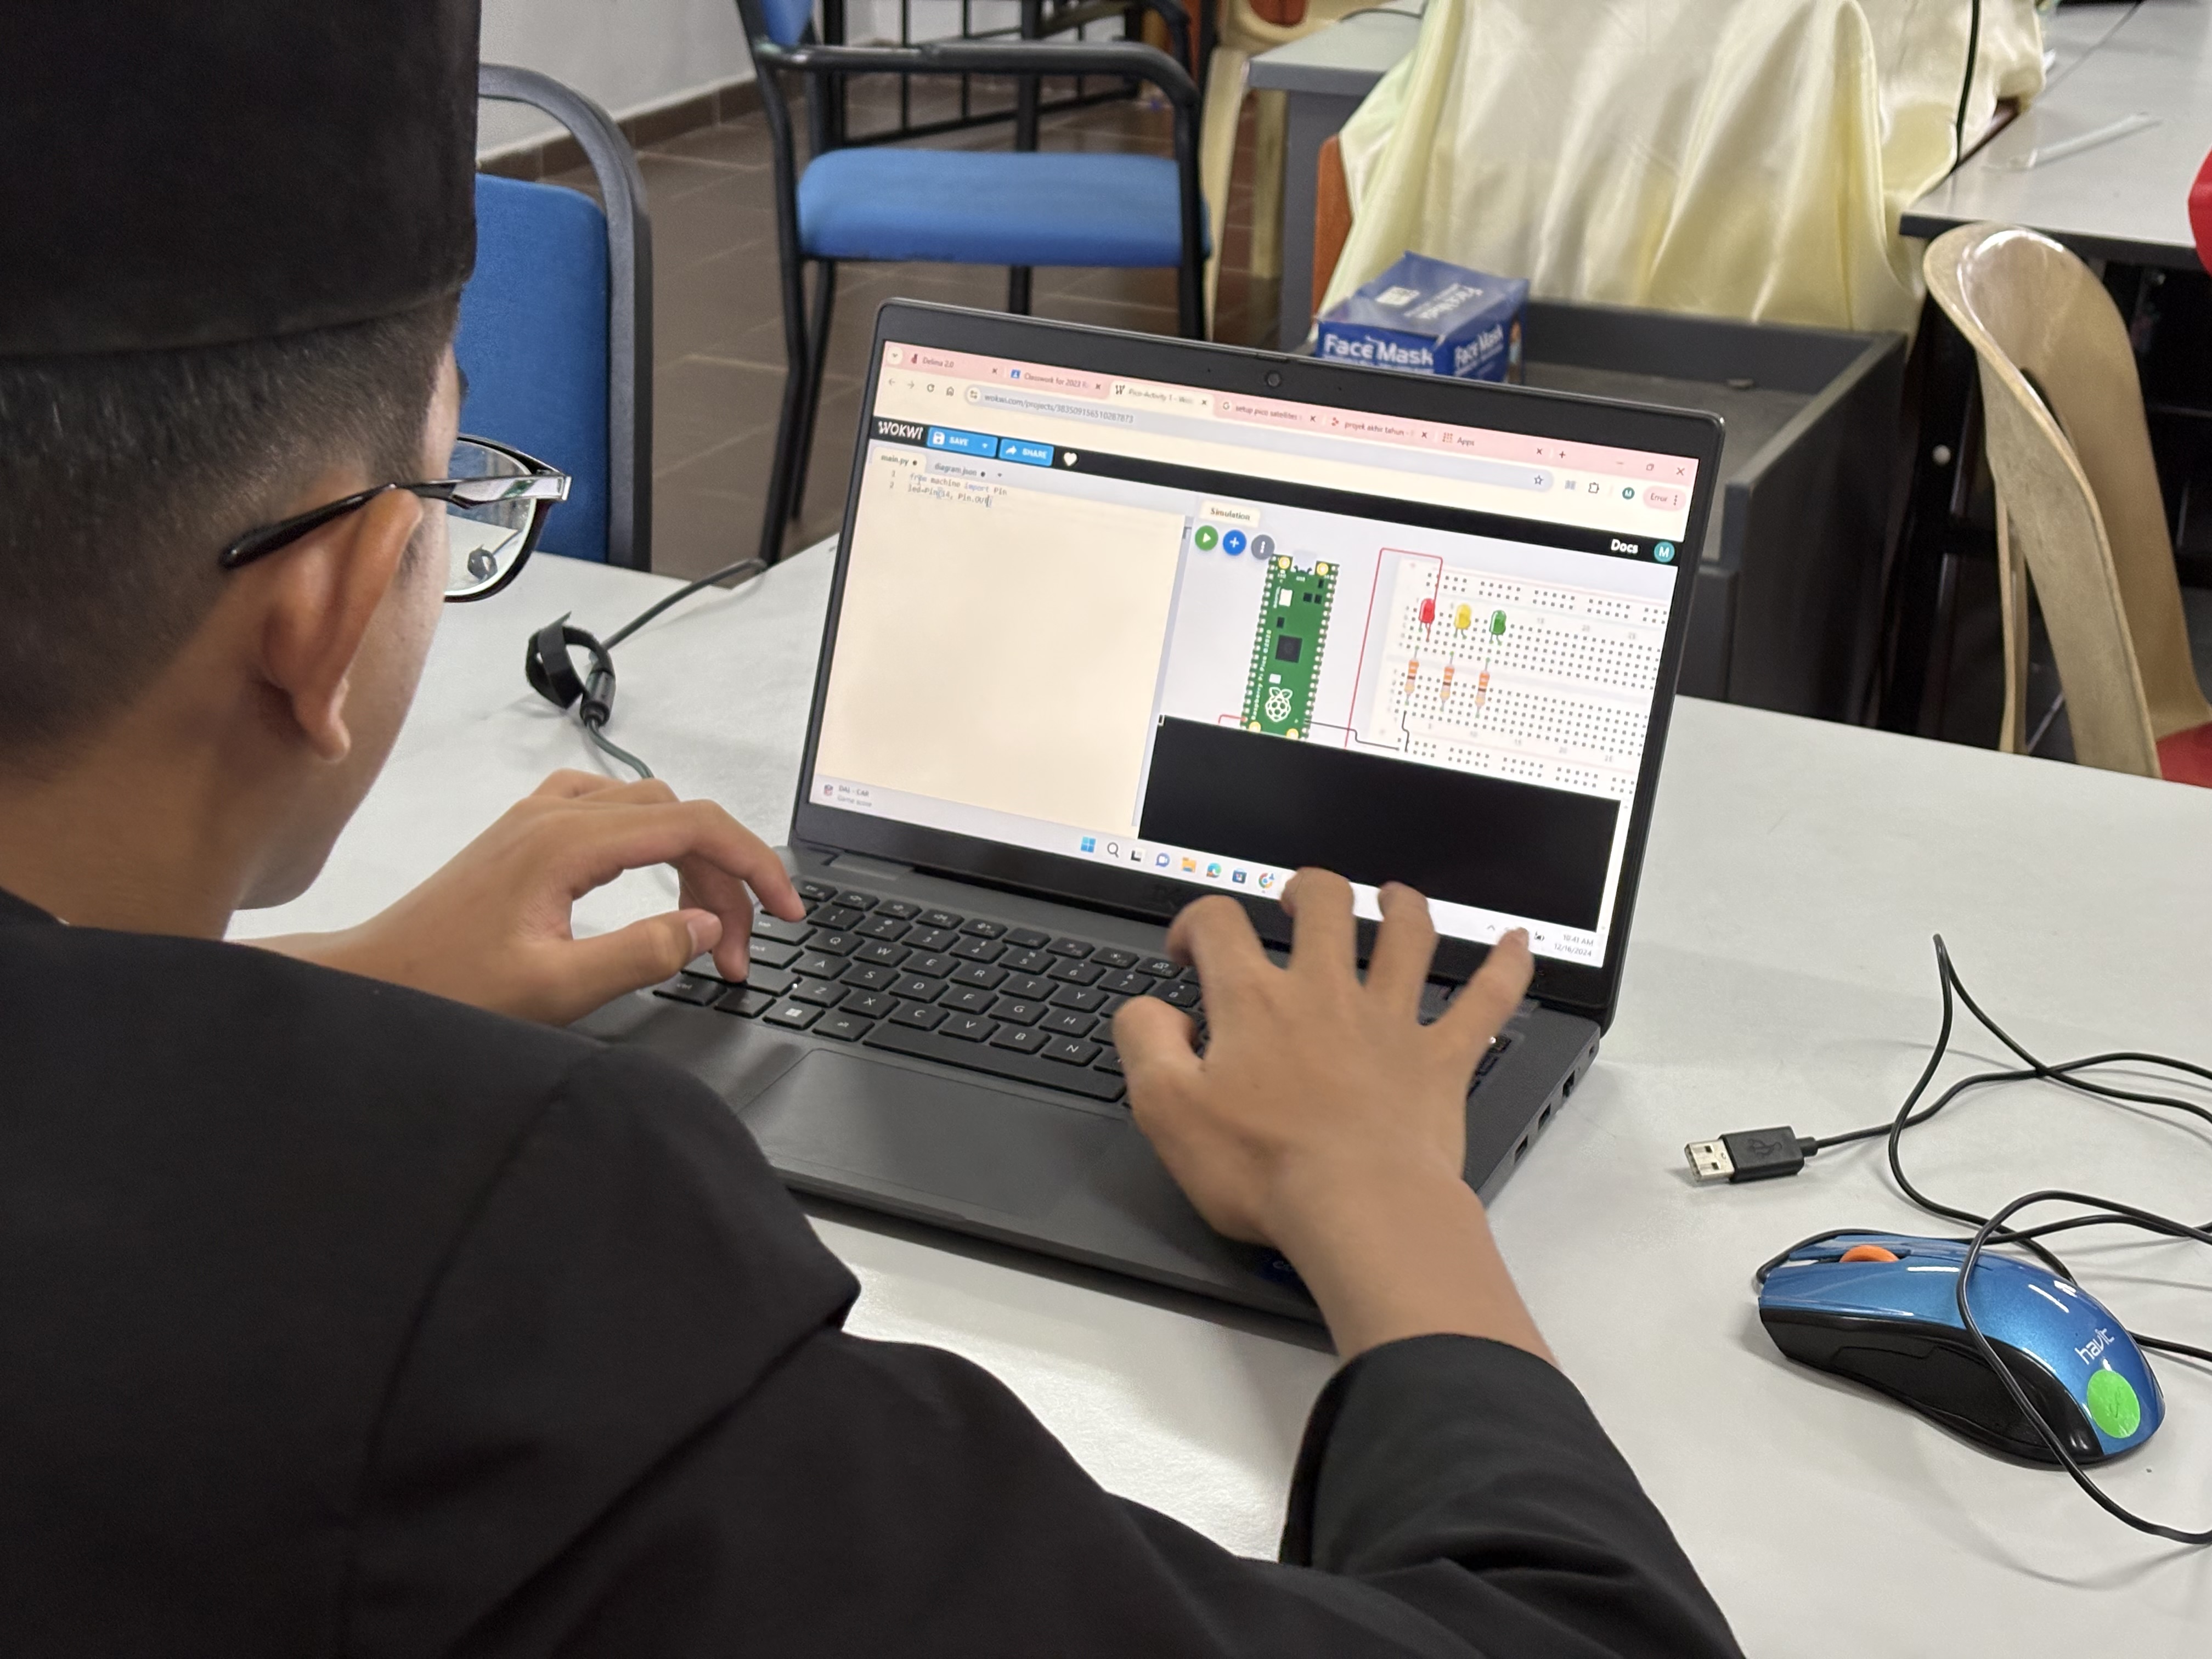
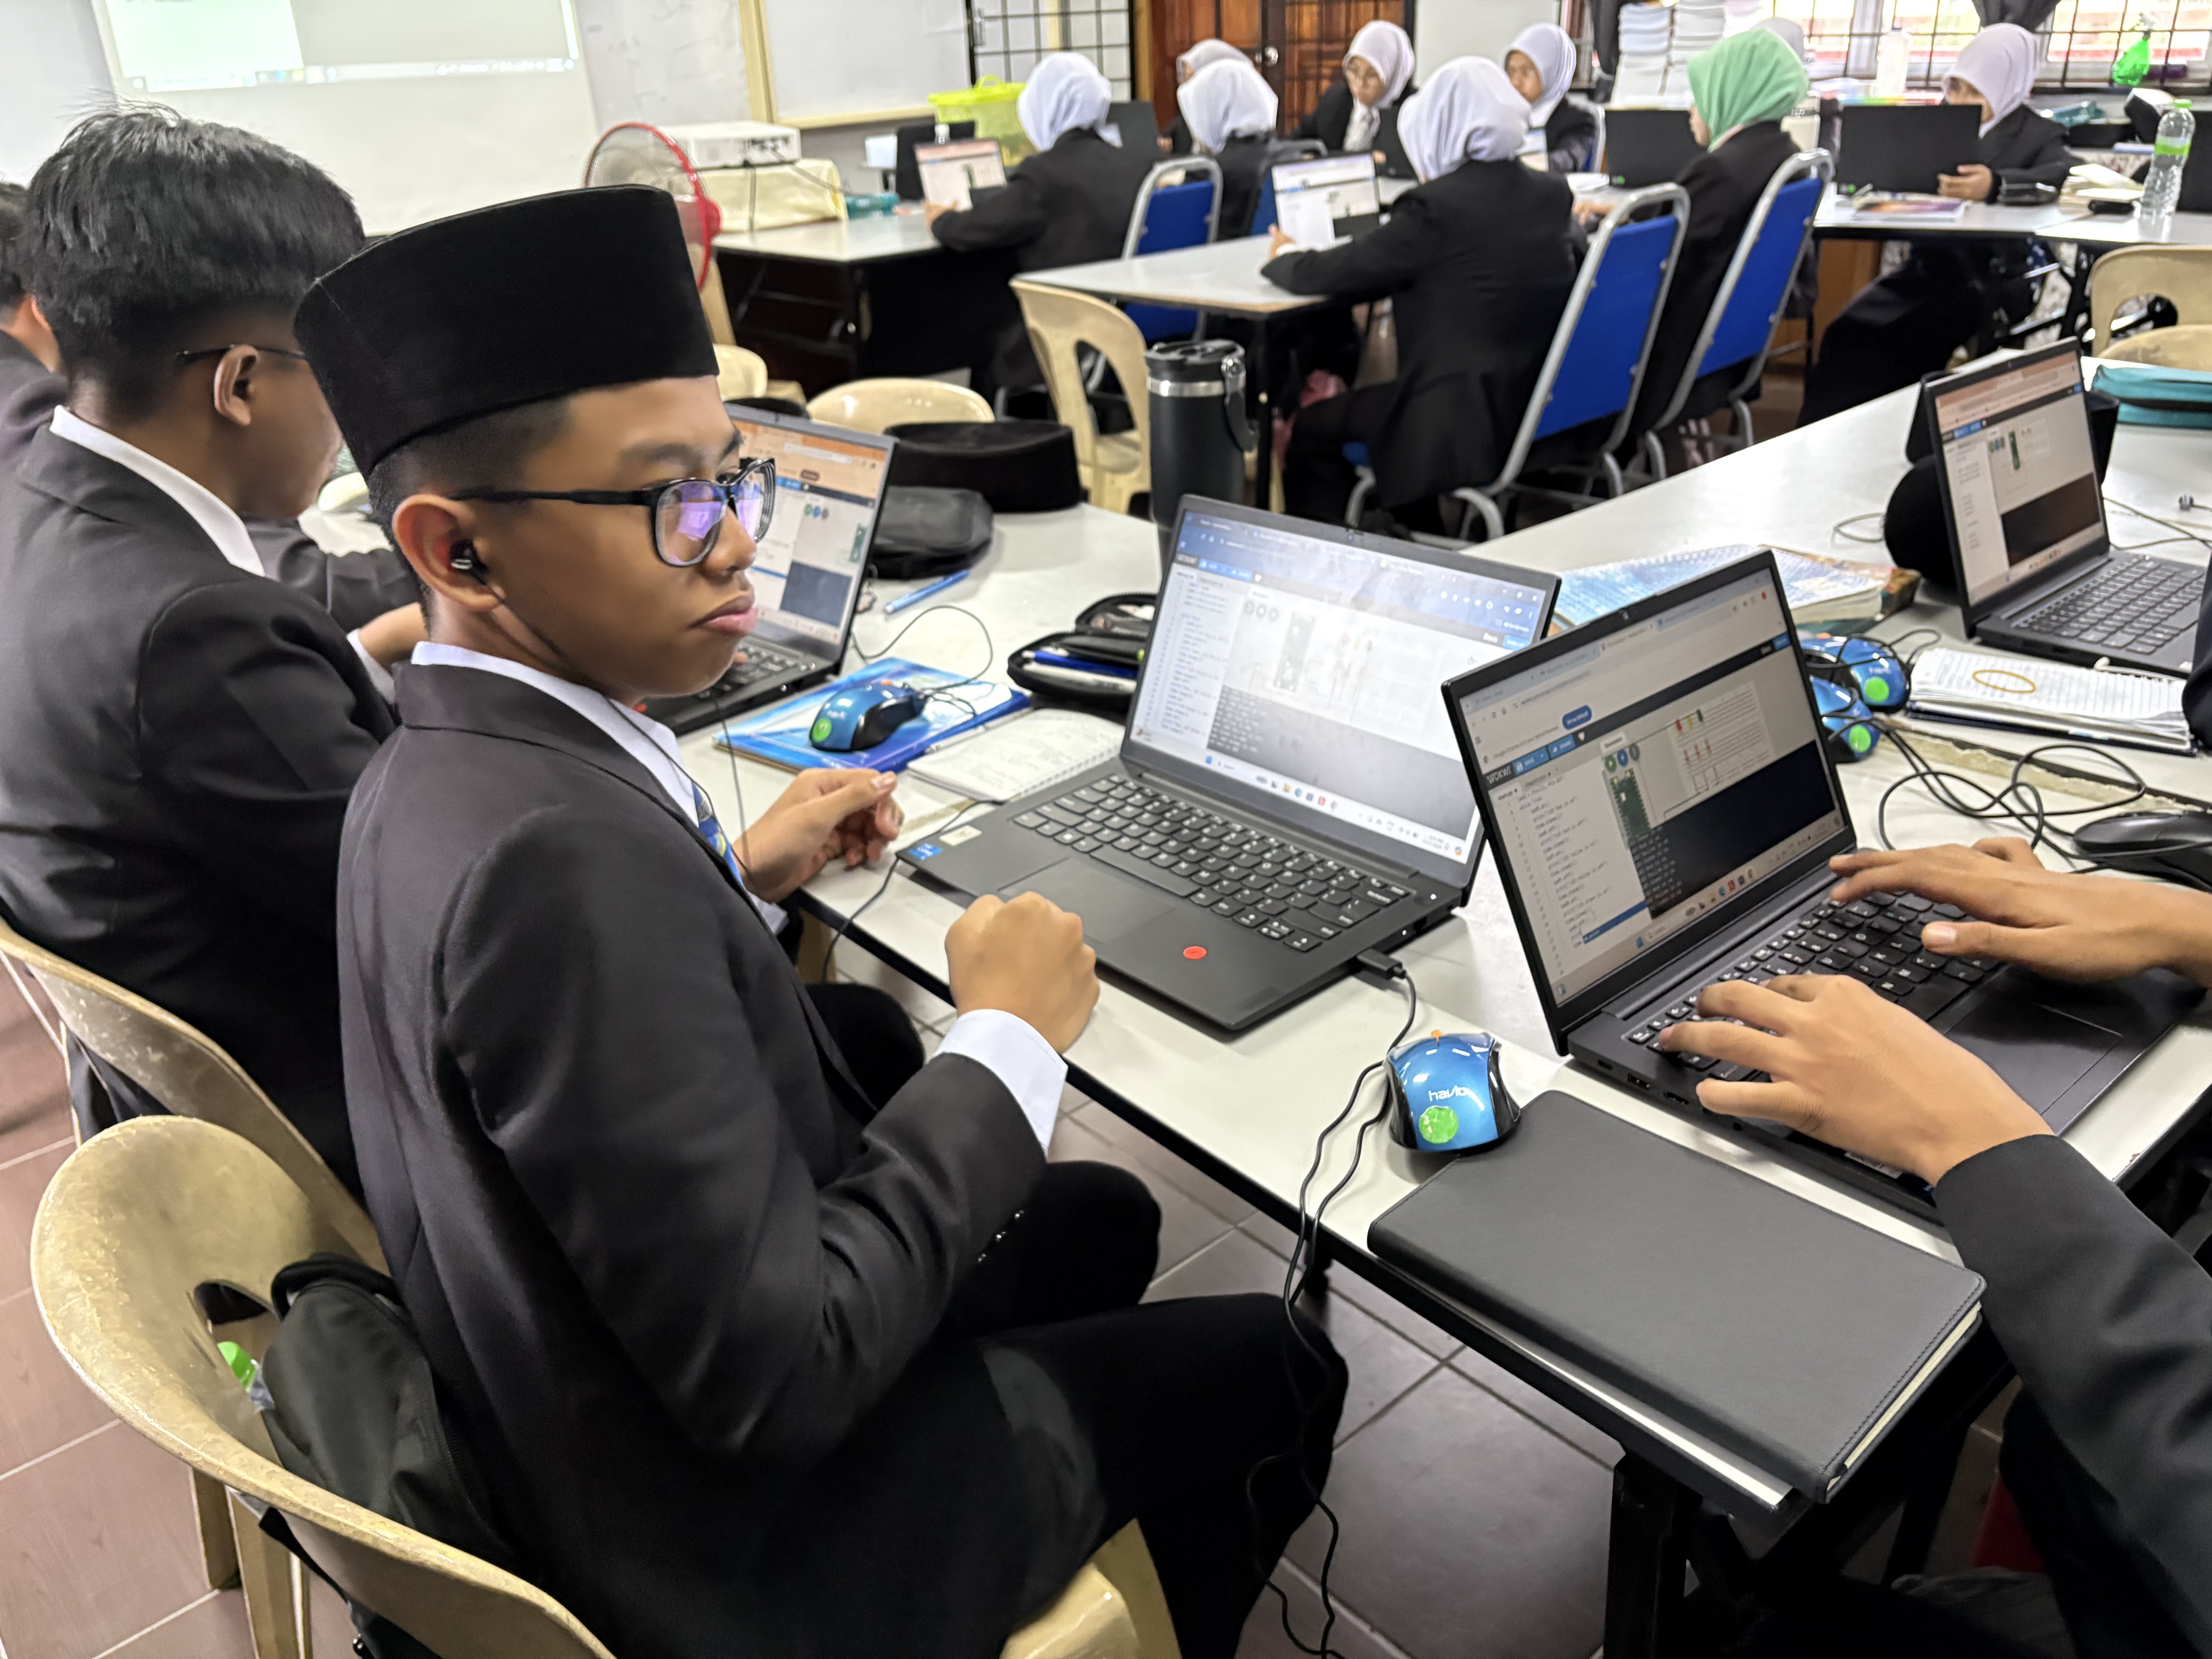
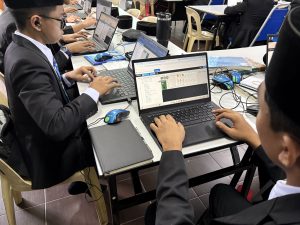
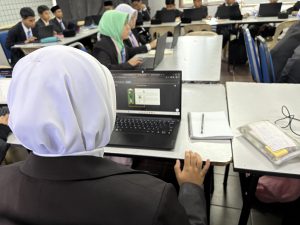
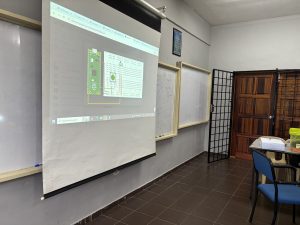
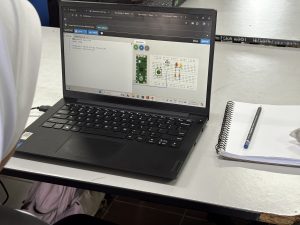
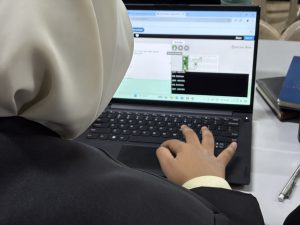
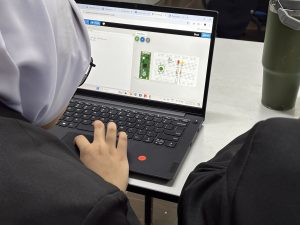
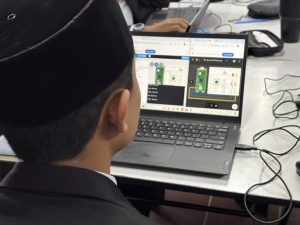
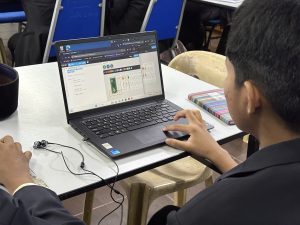
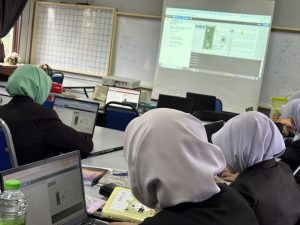
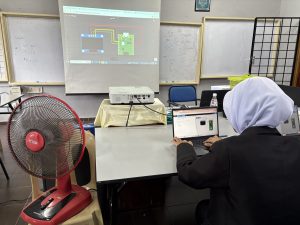
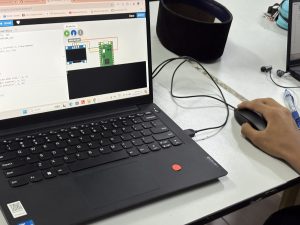
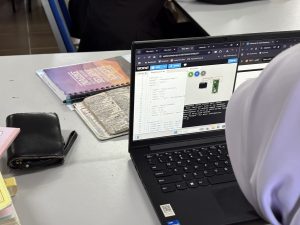
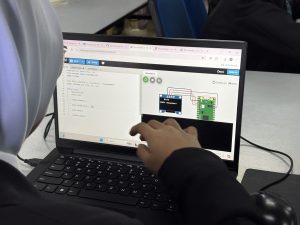
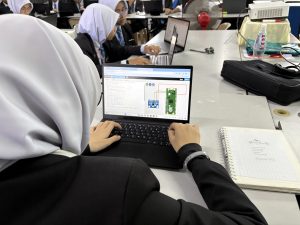
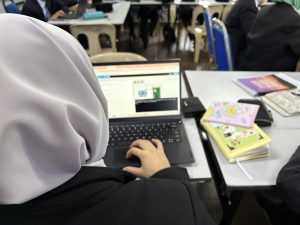
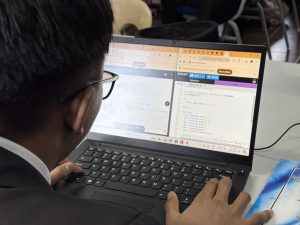
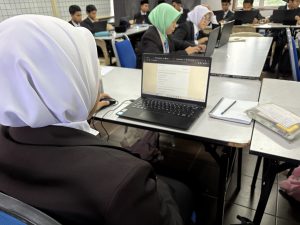
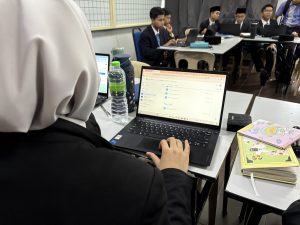
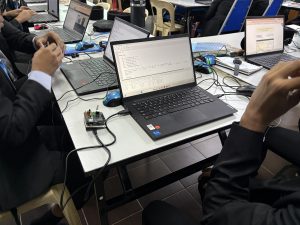
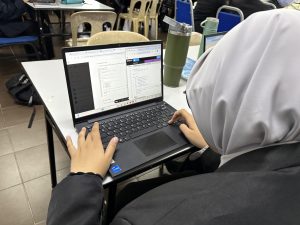
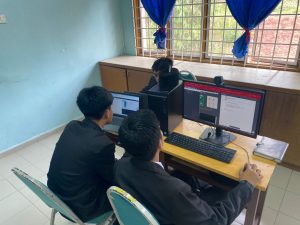
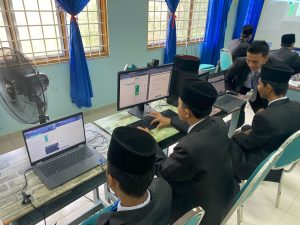
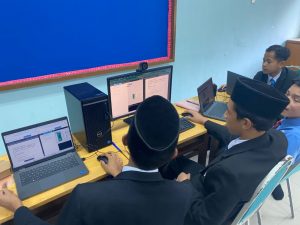
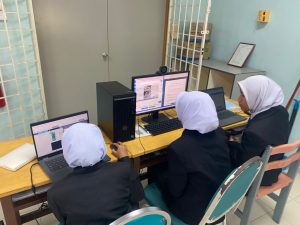
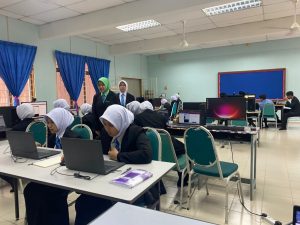
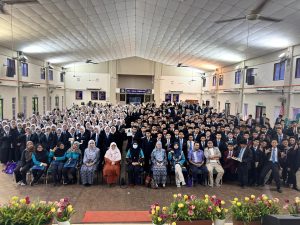
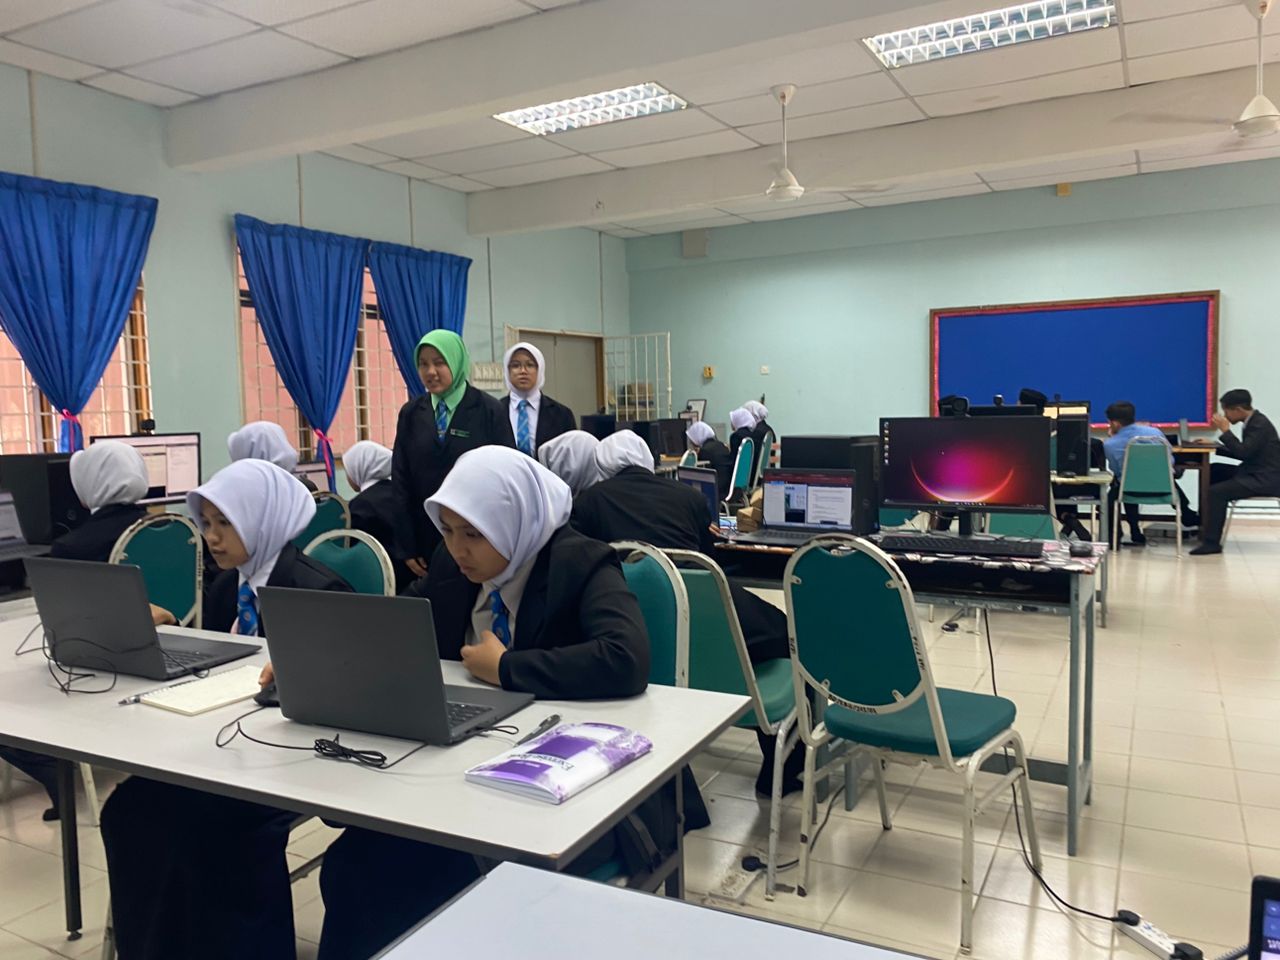
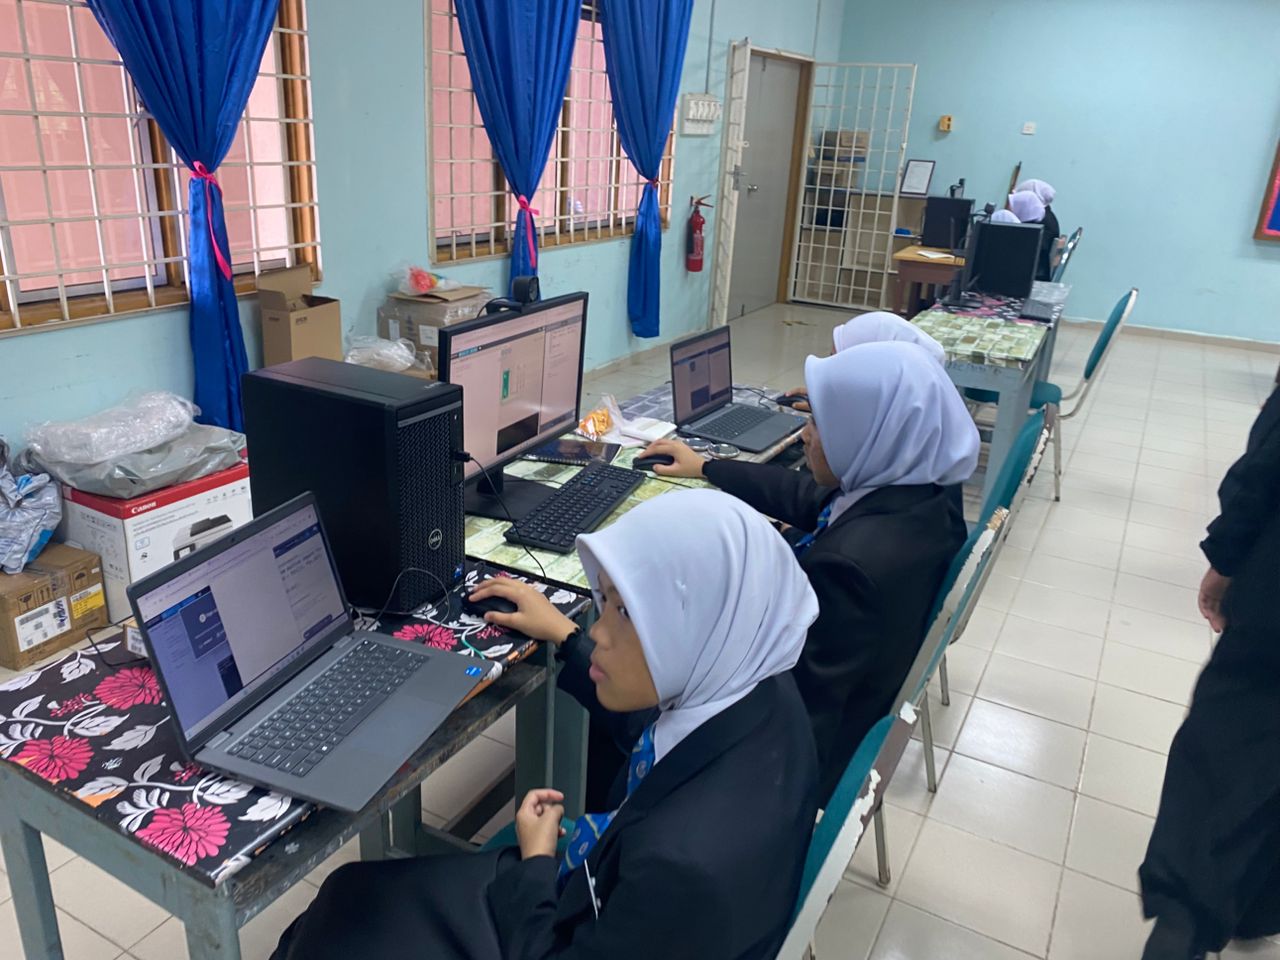
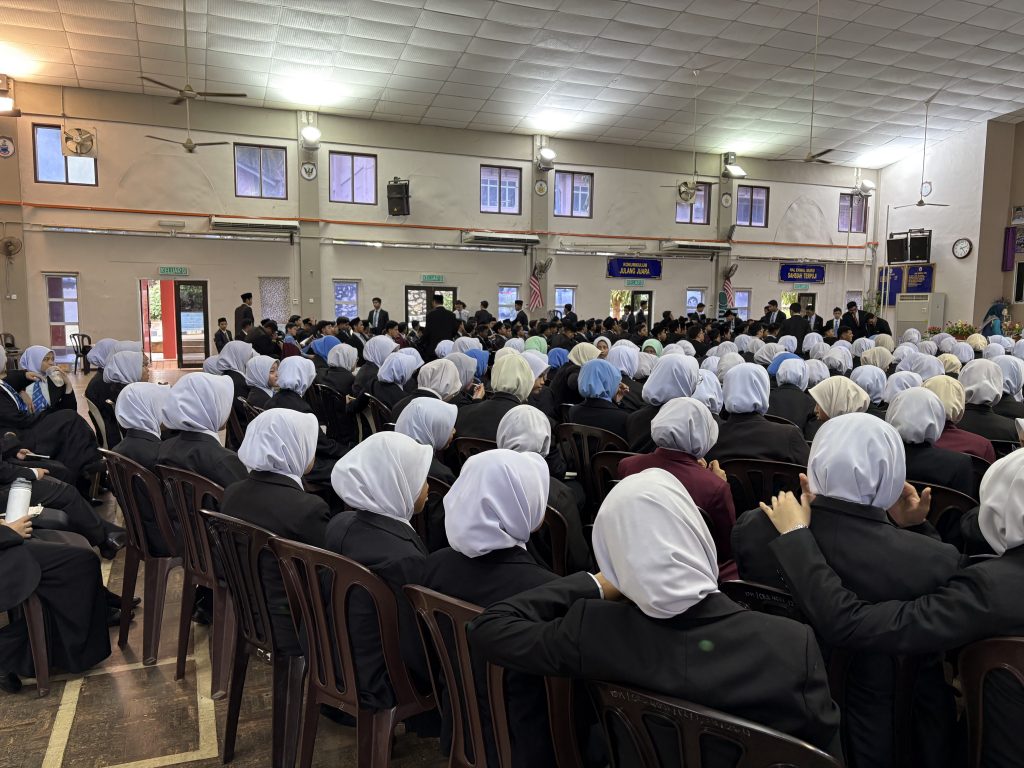
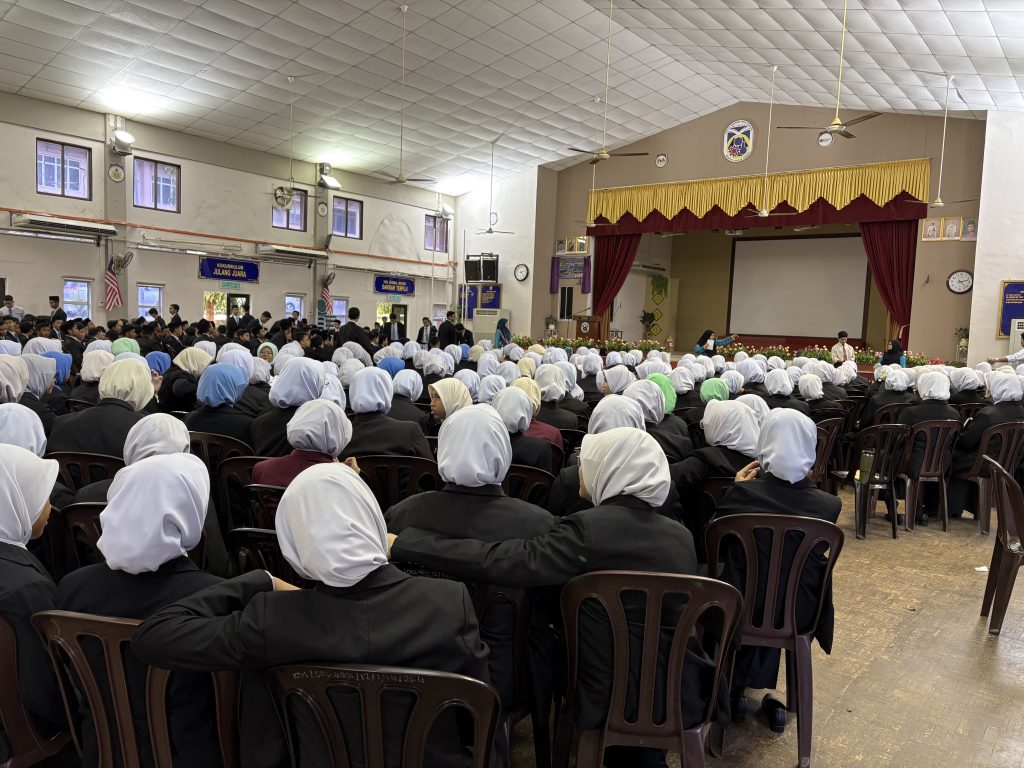
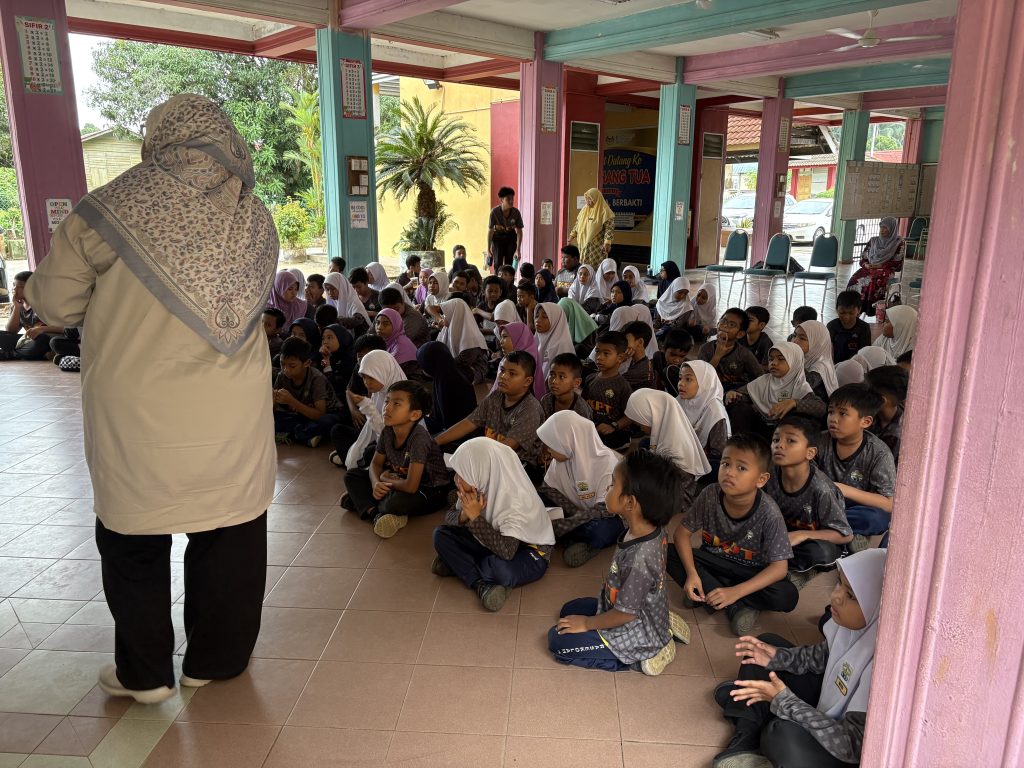
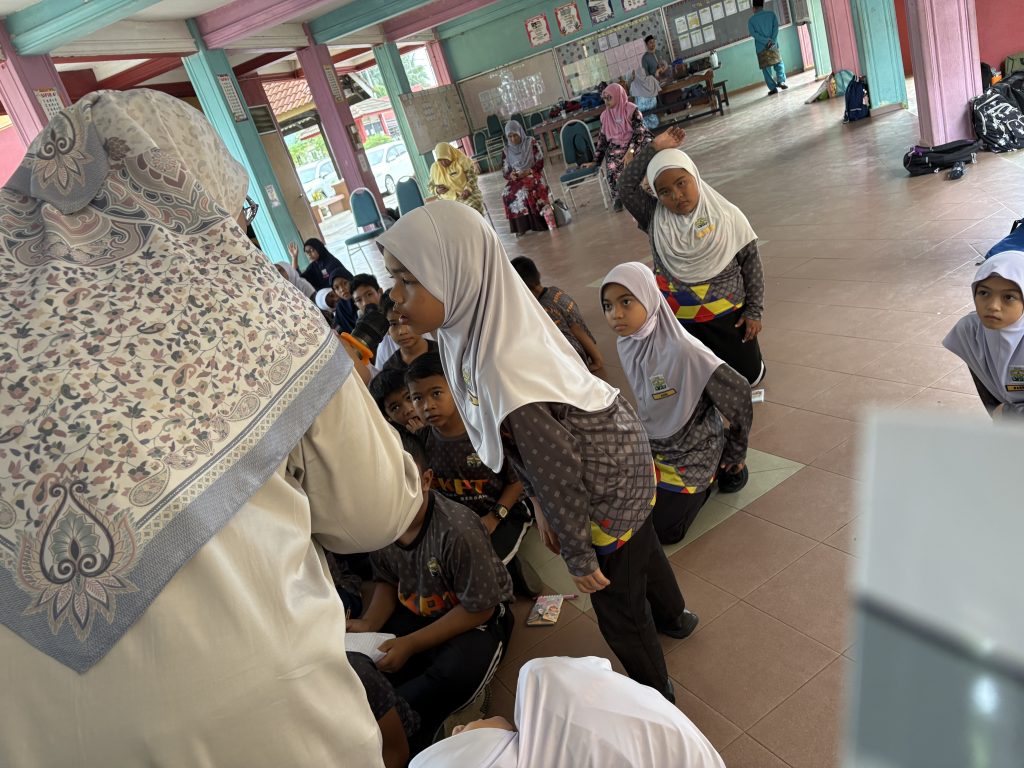
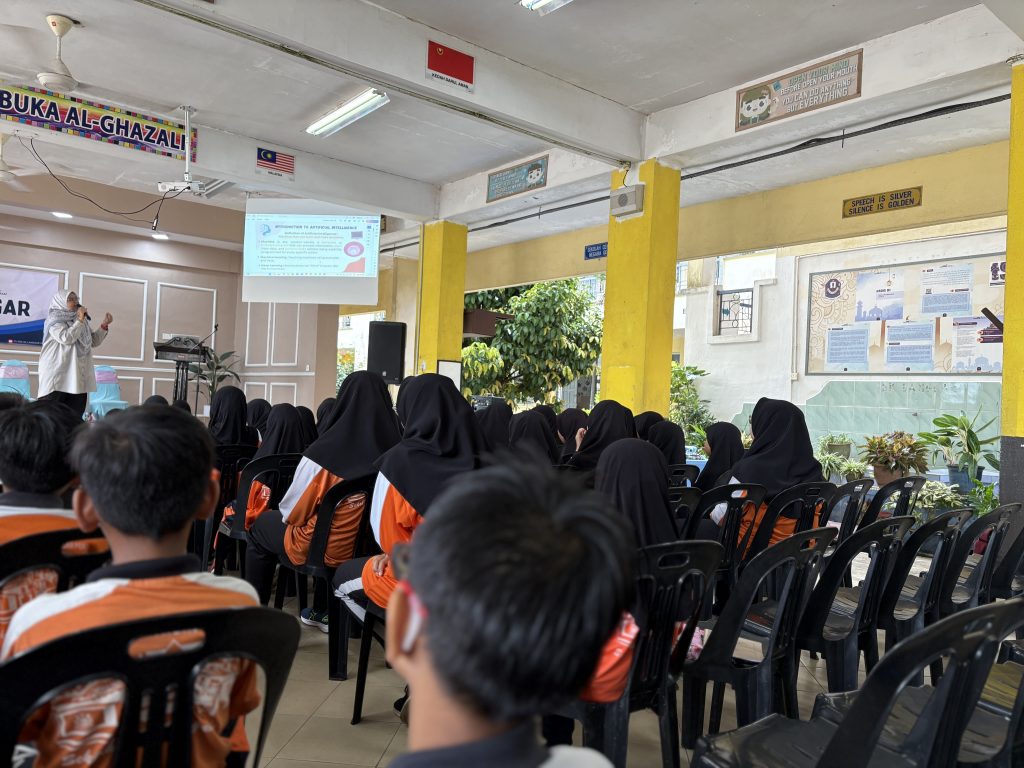
In the Raspberry Pi IoT session, 30 students from SHAH Pekan were introduced to the concept of the Internet of Things (IoT) using Raspberry Pi on the UMP STEM Cube, a pico-satellite learning kit specifically designed to facilitate engineering learning.
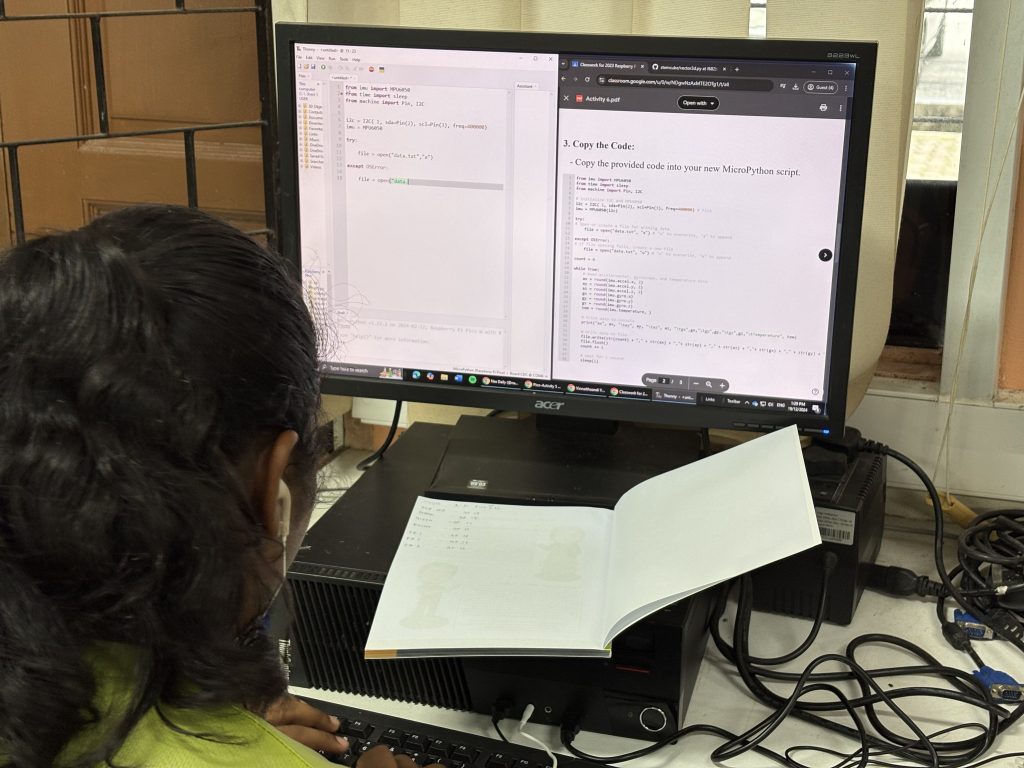
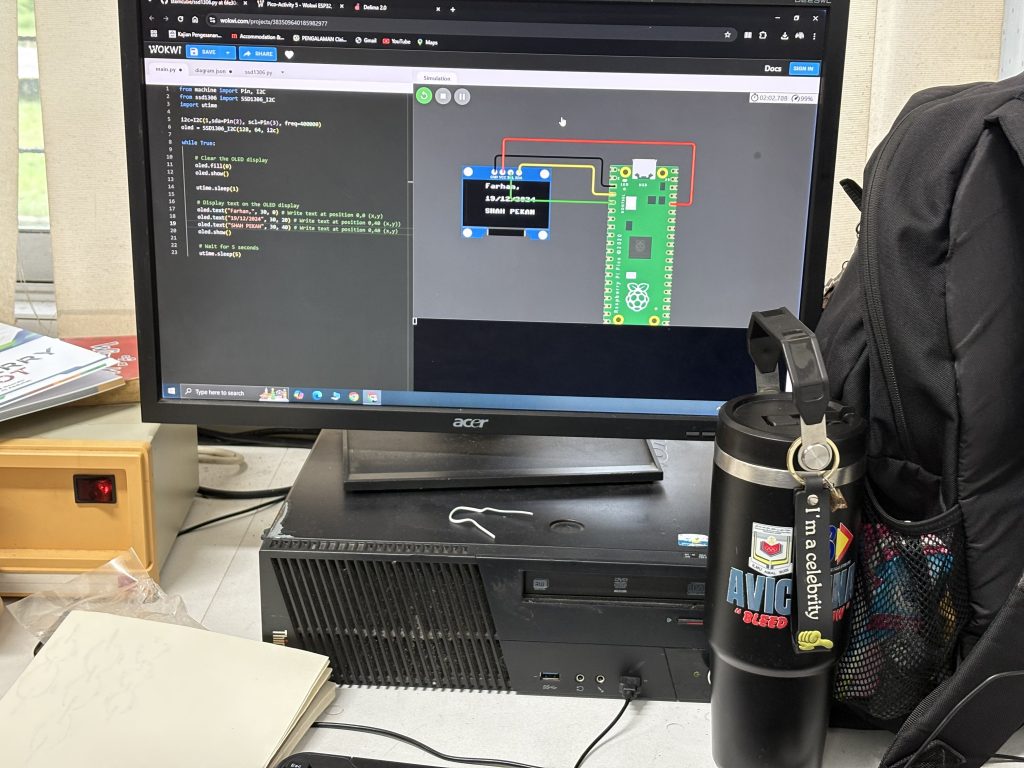
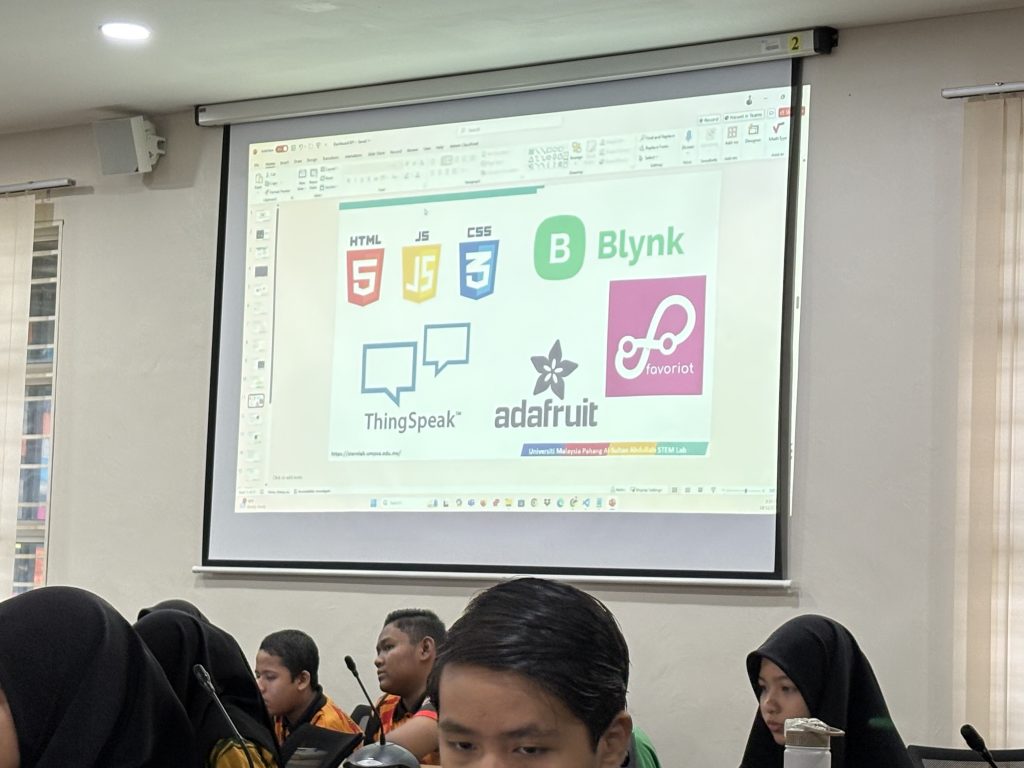
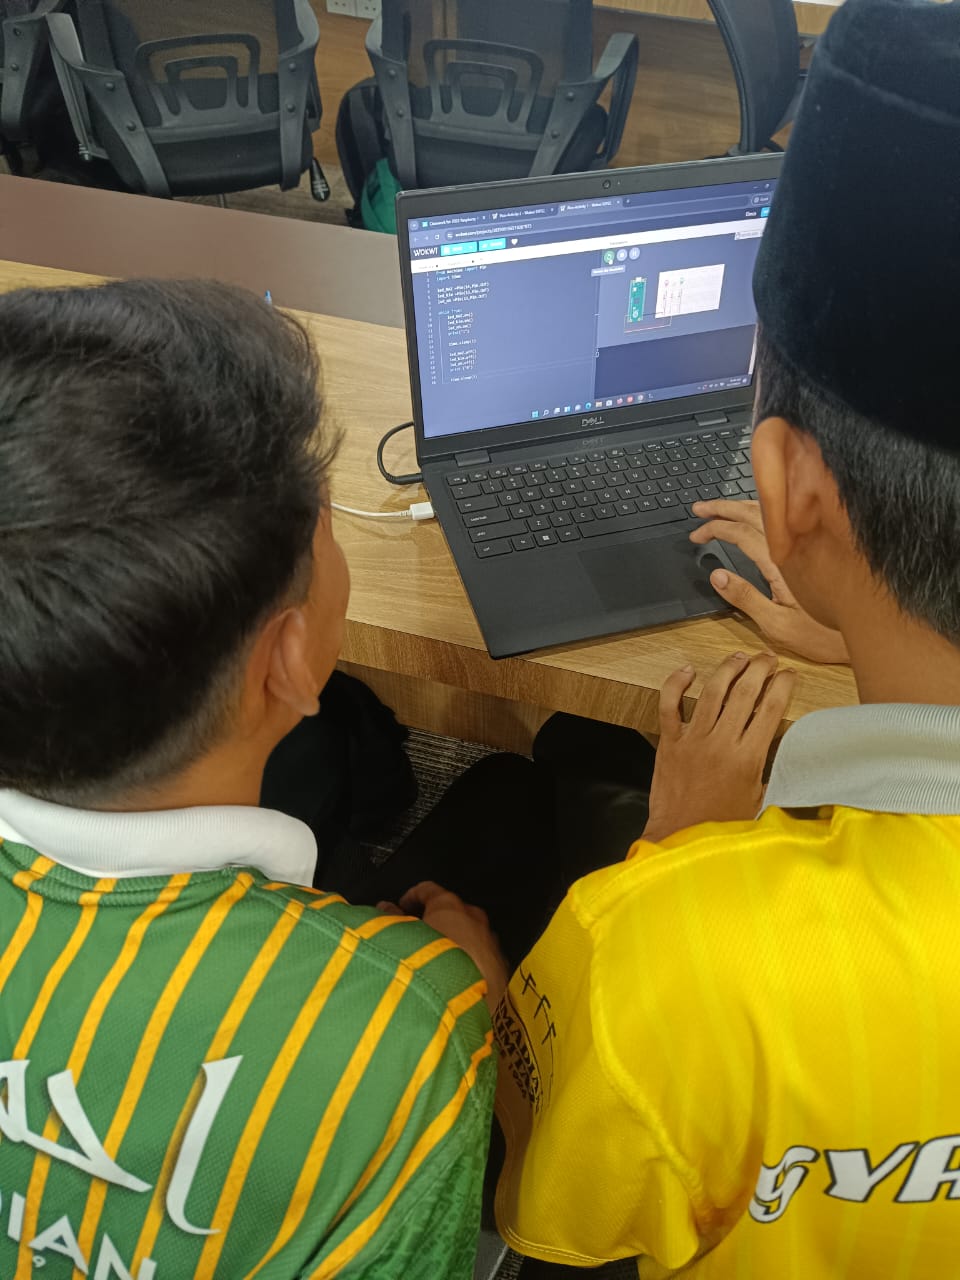
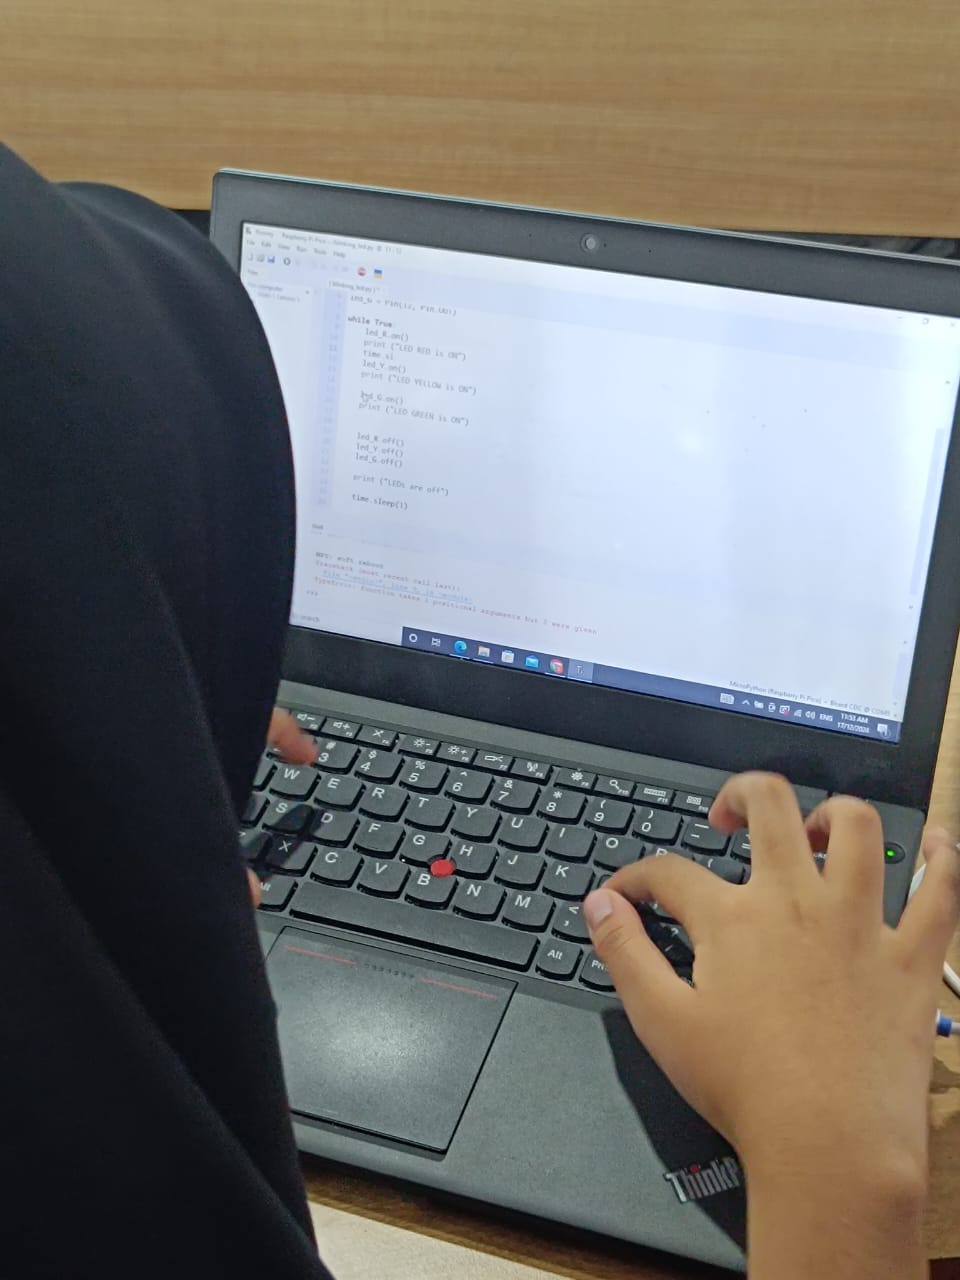
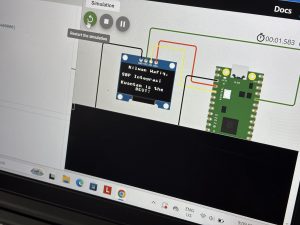
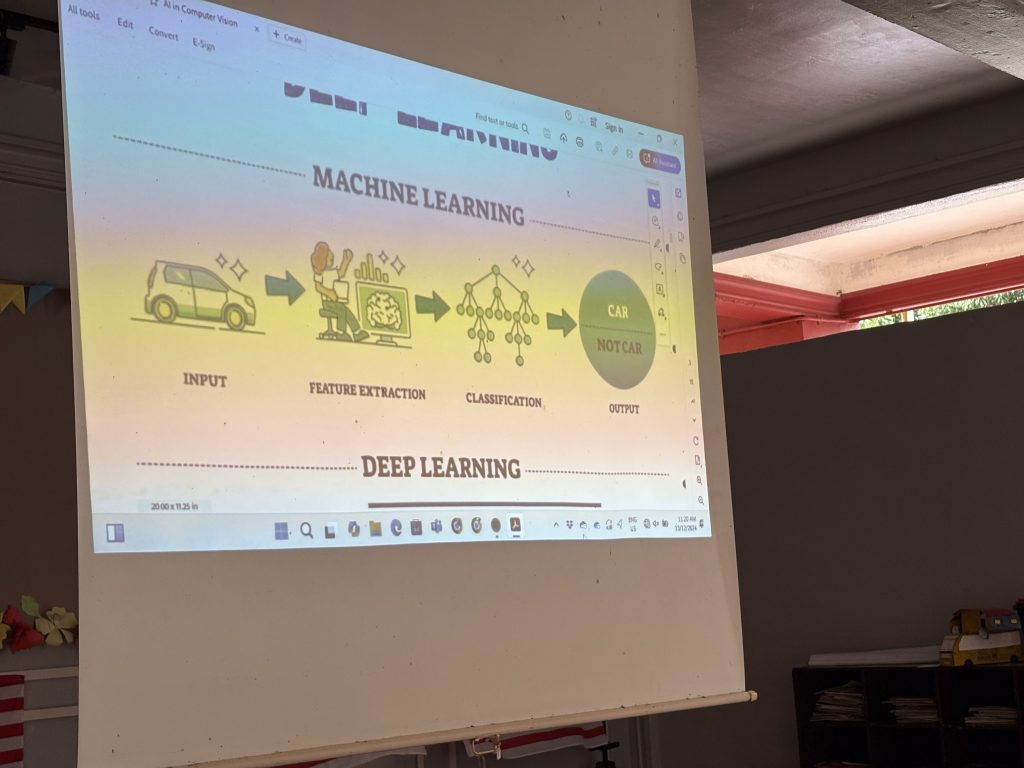
The content covered basic digital input/output operations on onboard LEDs, as well as topics such as dashboard design using gyro meter and BMU280 sensor data, including collecting and storing data in a cloud database. Participants learned to interface sensors with Raspberry Pi boards and develop IoT applications for real-world scenarios. The session provided students with valuable insights into IoT technology and its applications in various domains.
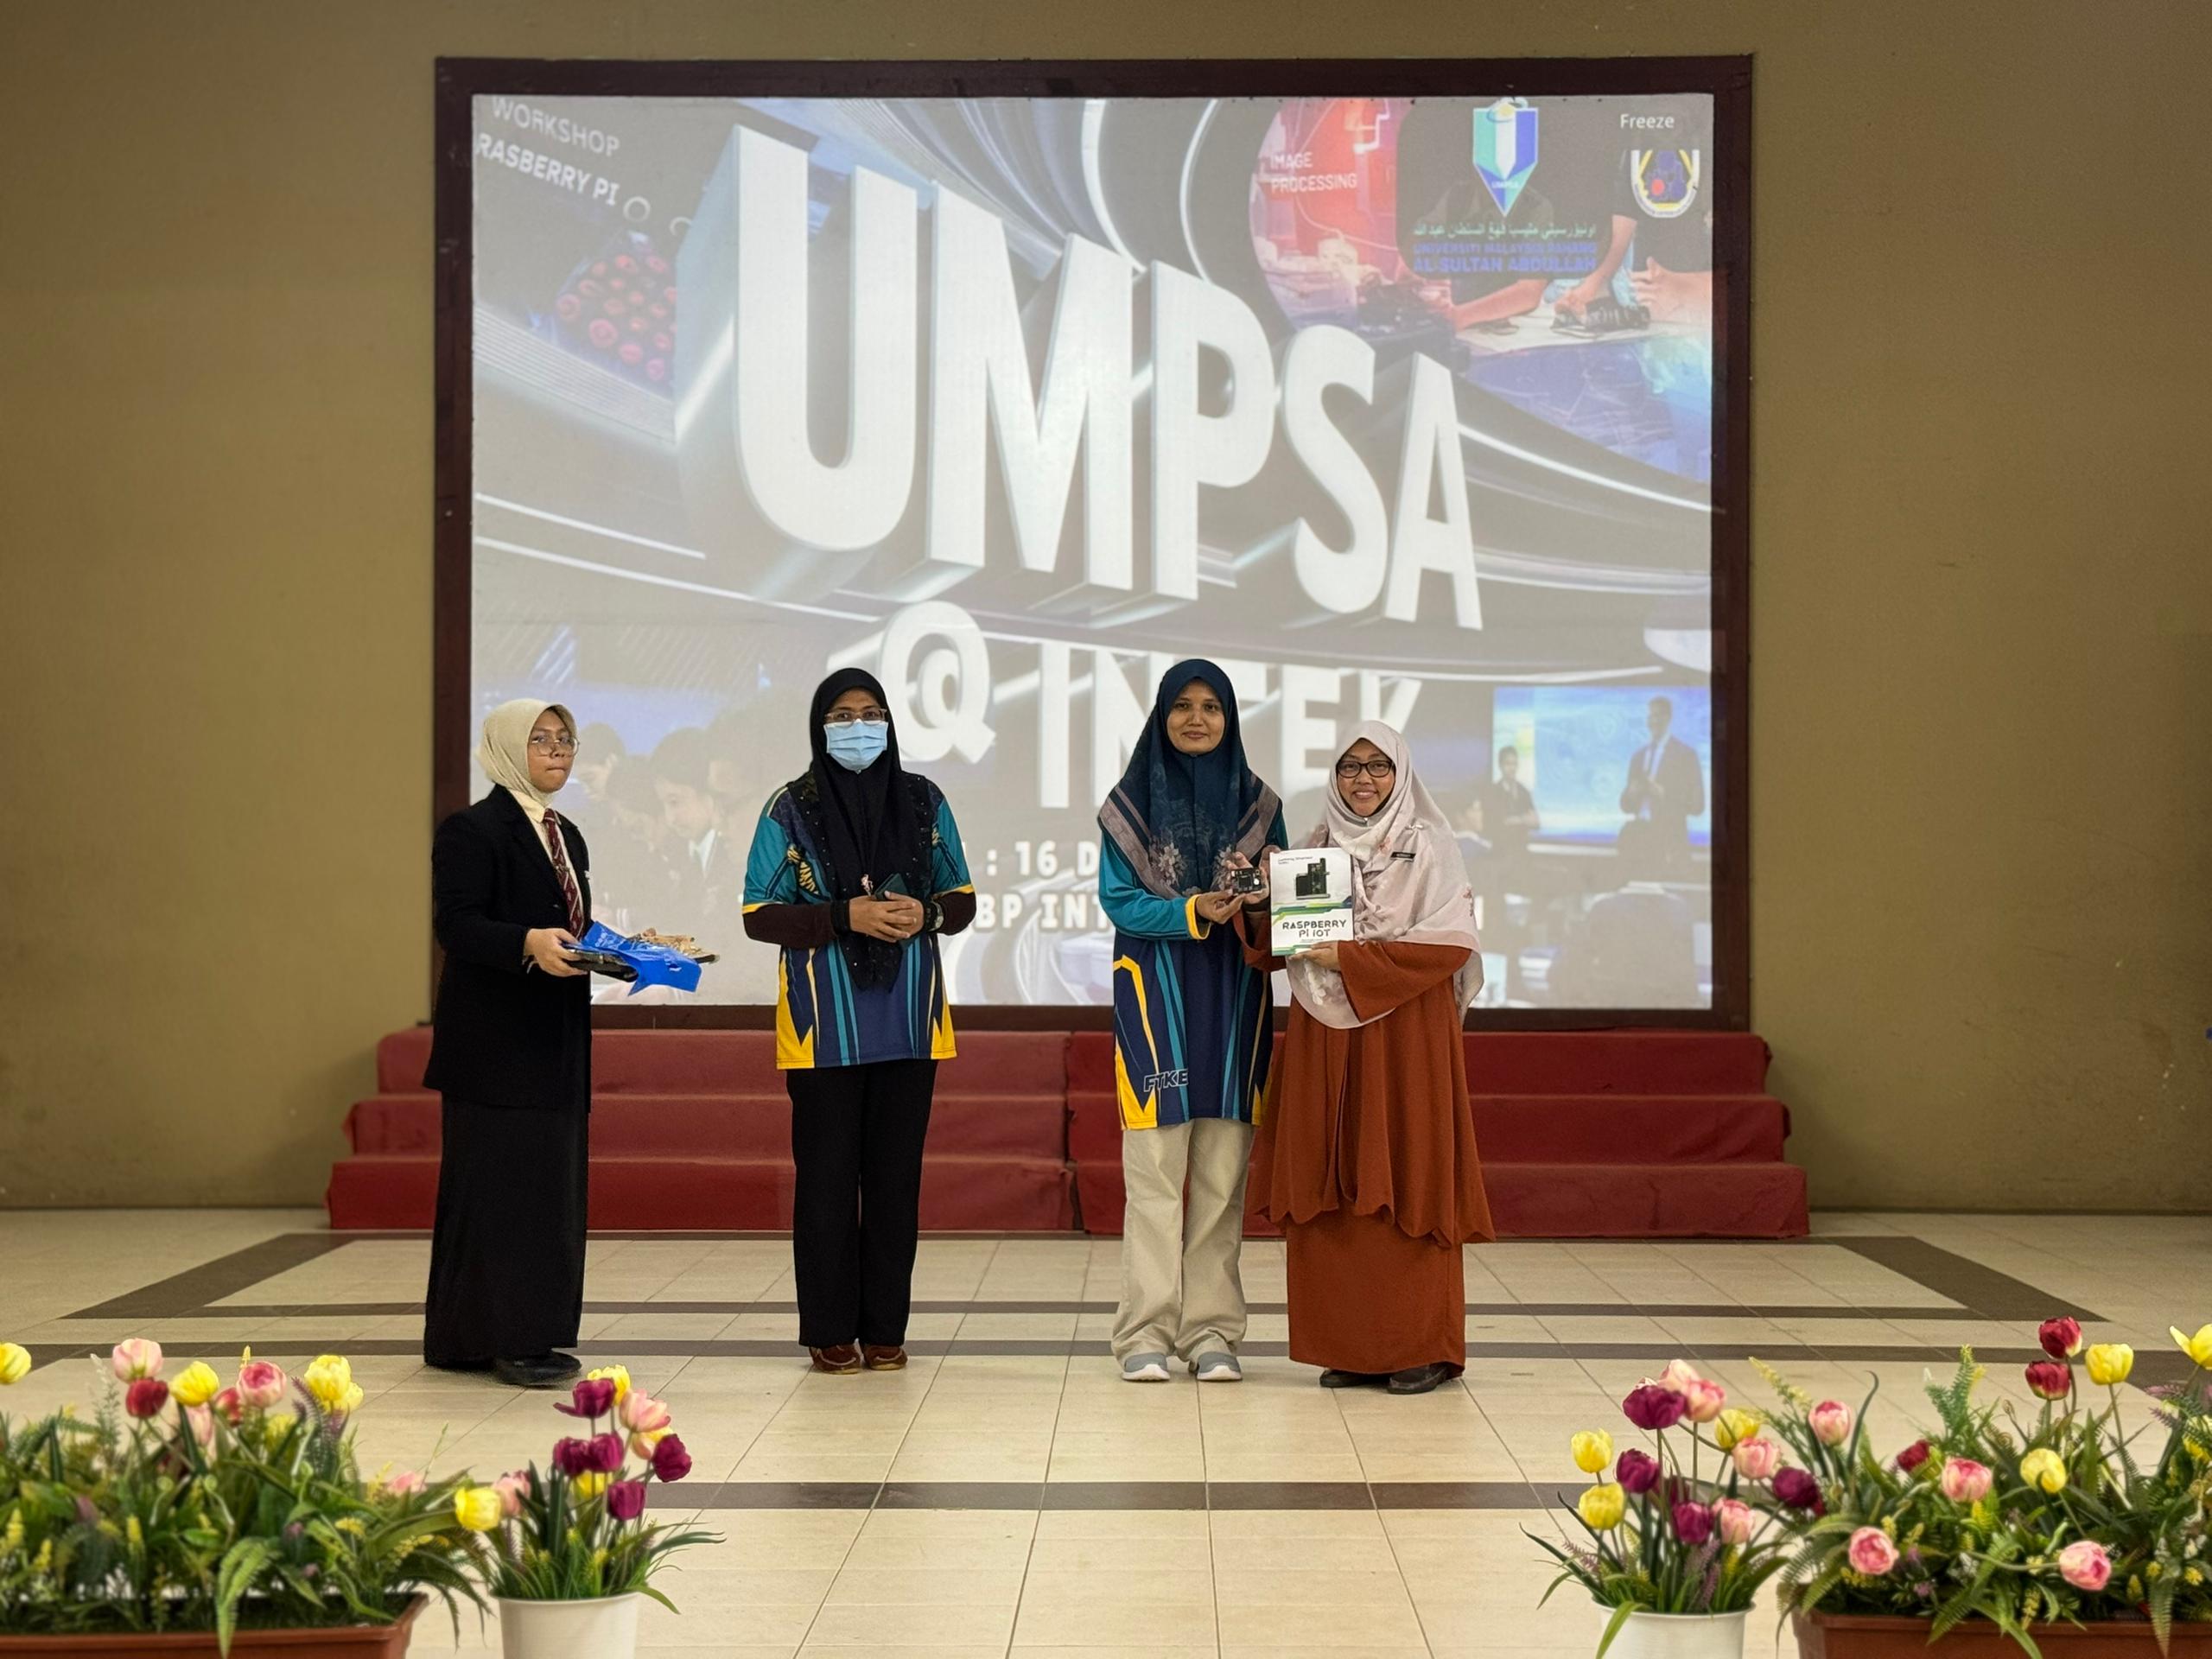
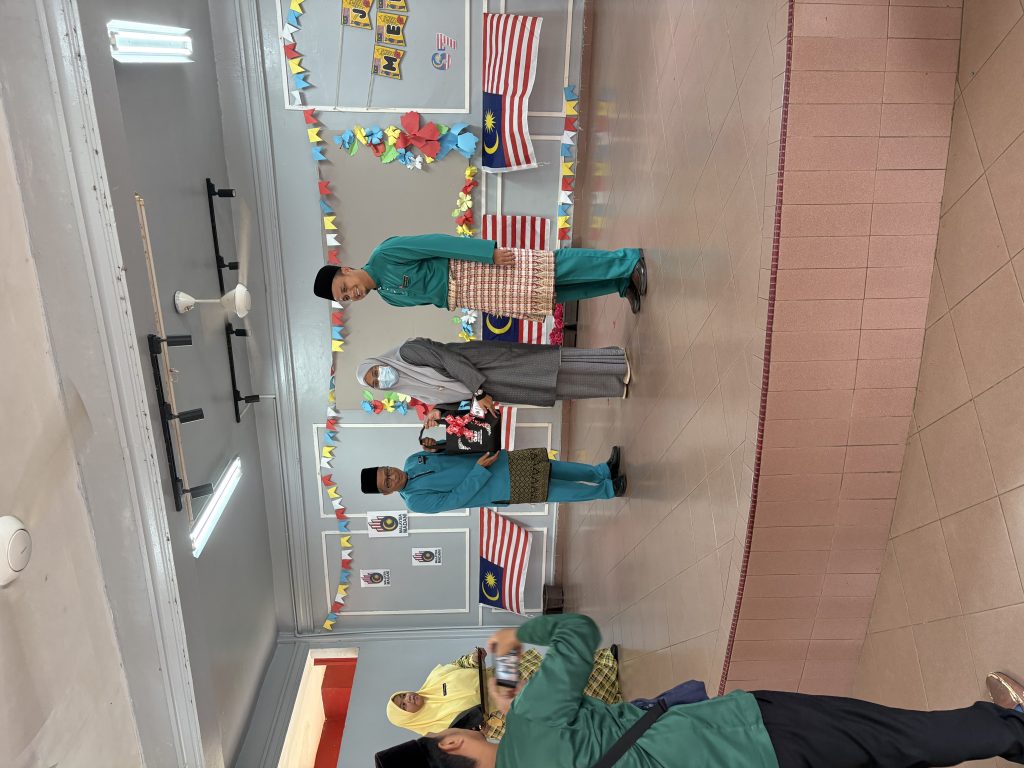
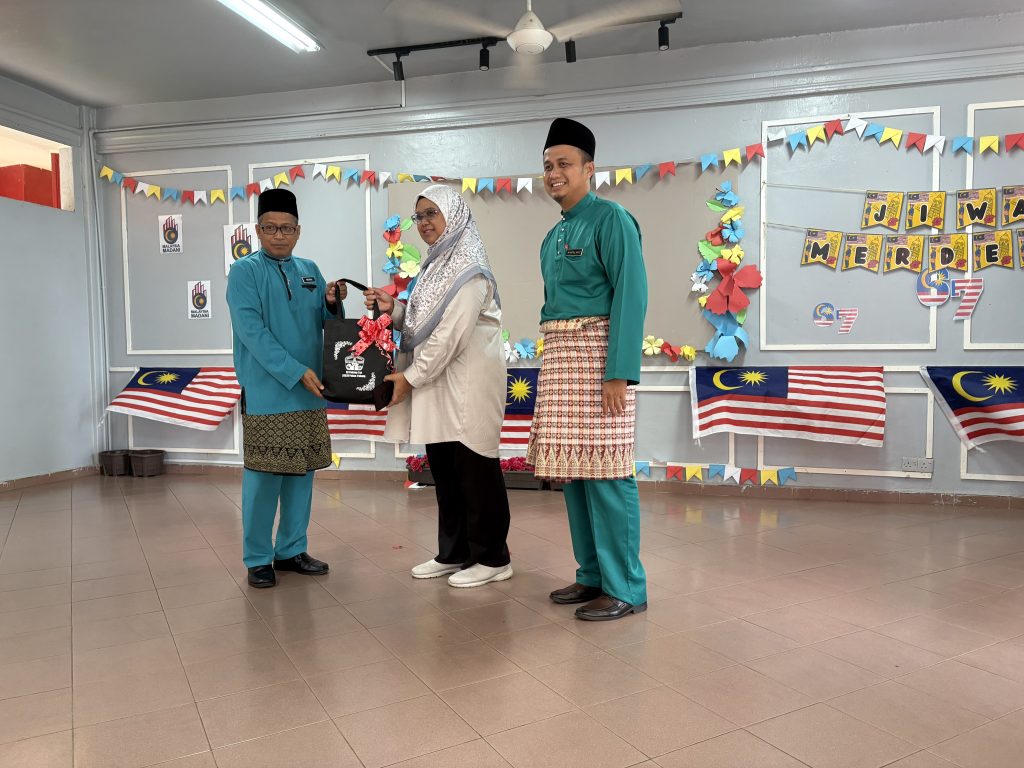
A special appreciation is extended to Cikgu Syakir and Cikgu Rita from SHAH Pekan for coordination in facilitating communication between the participants and the UMPSA STEM Lab :).
Dec 19th