


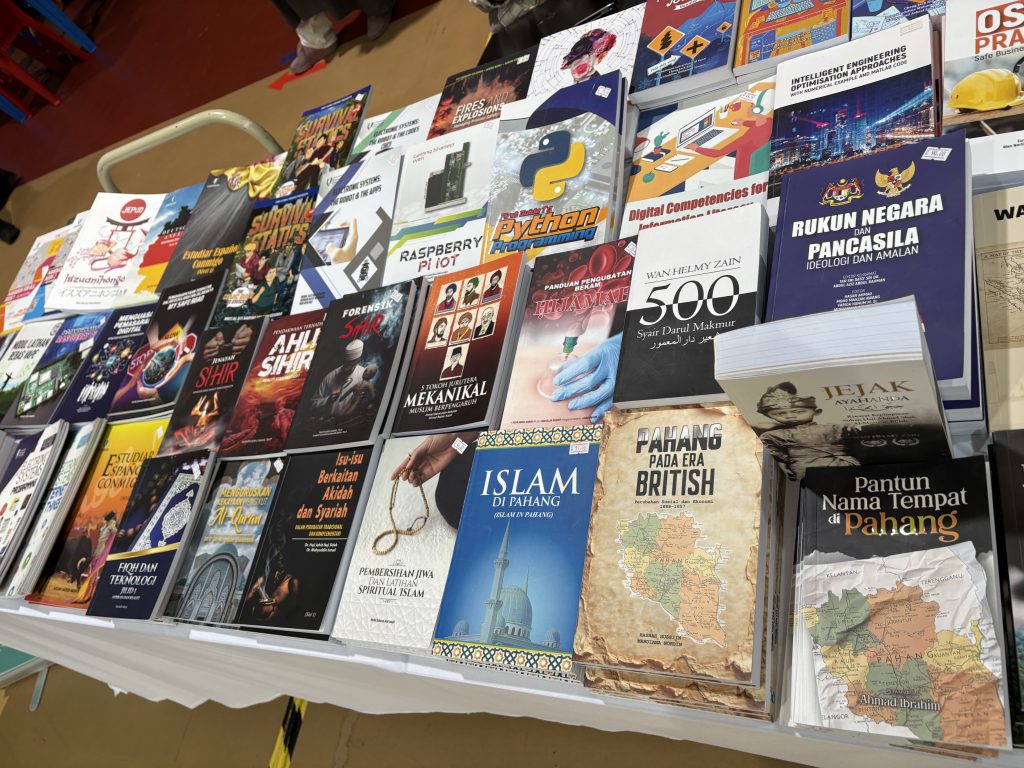
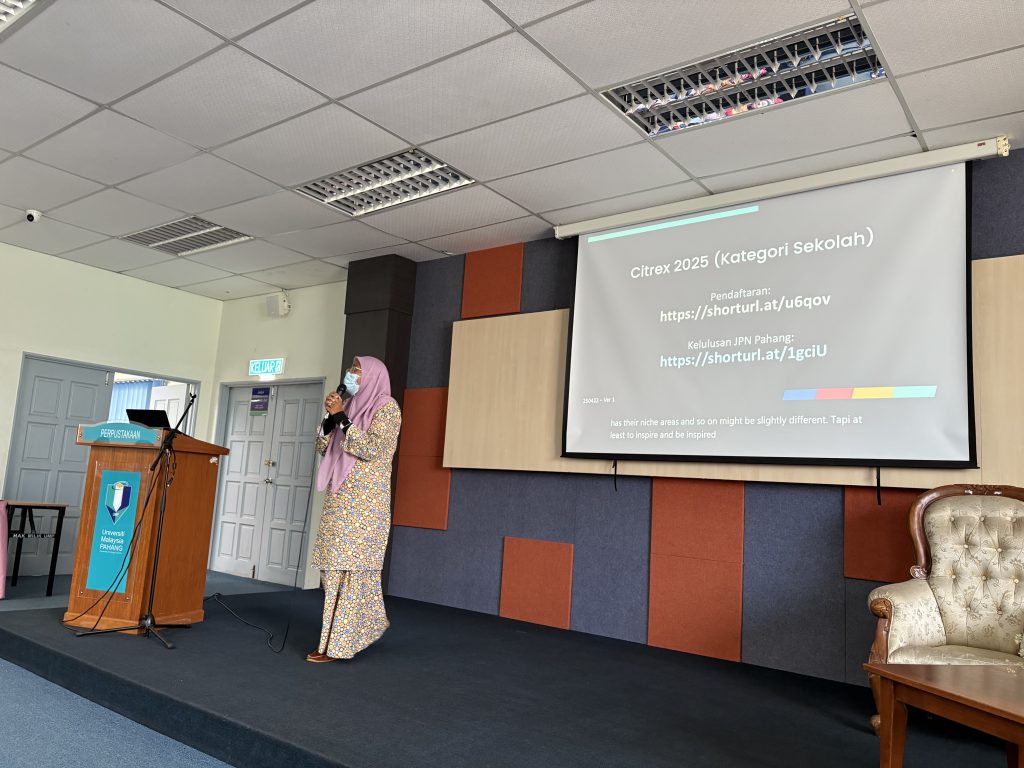
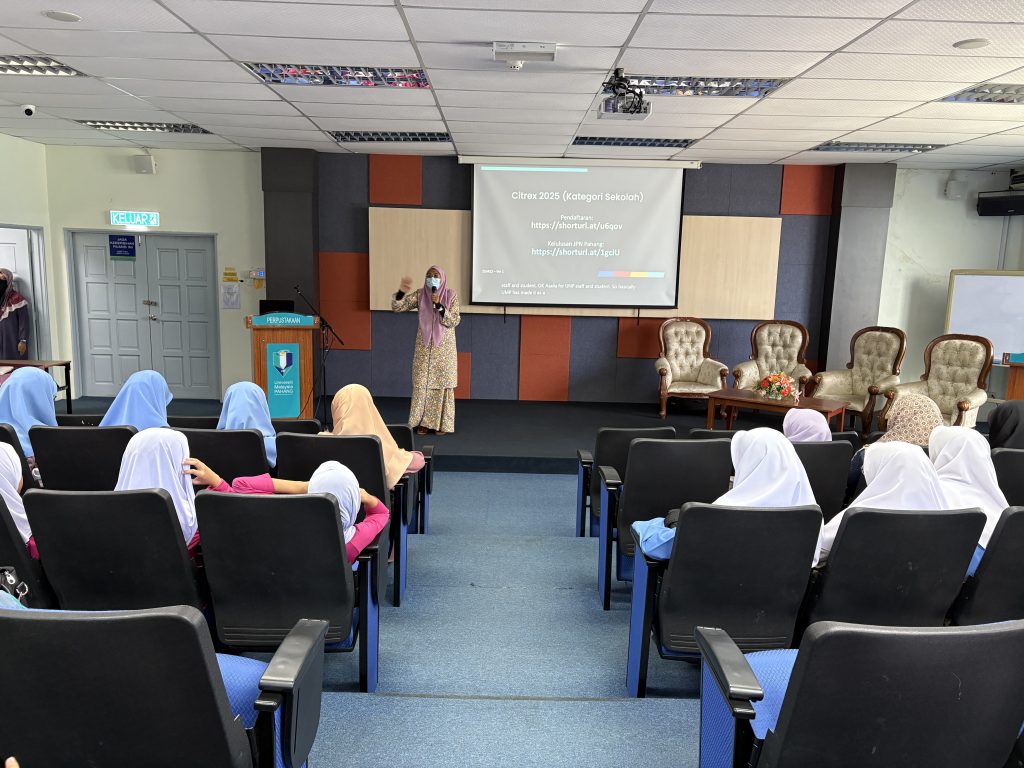
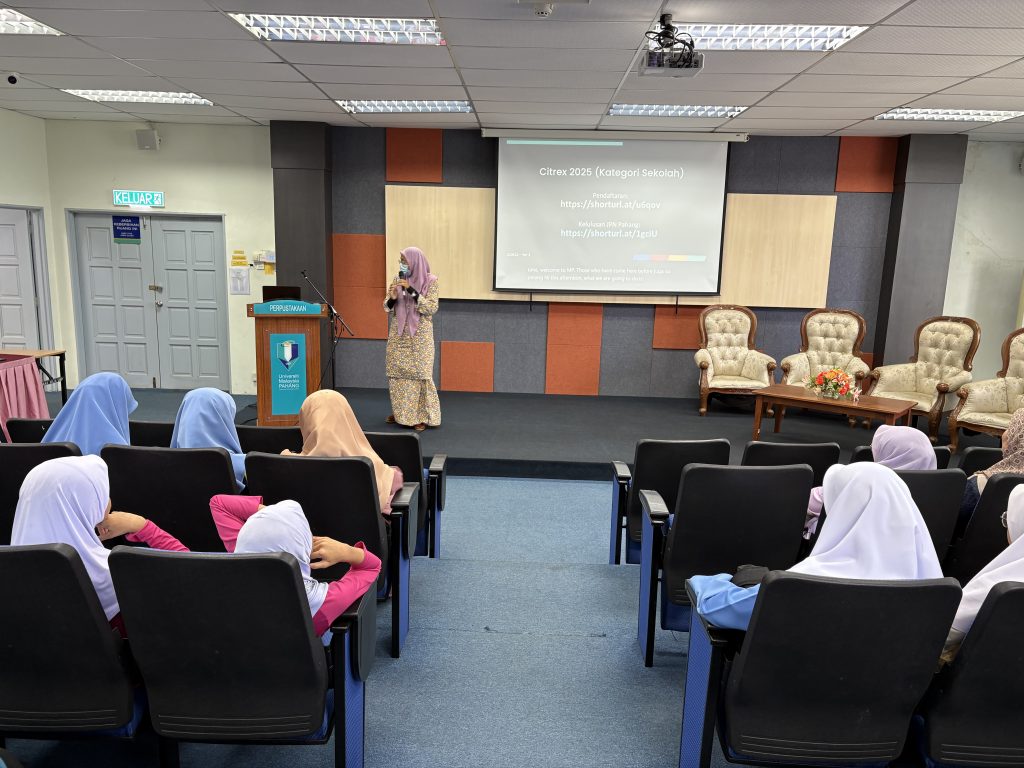
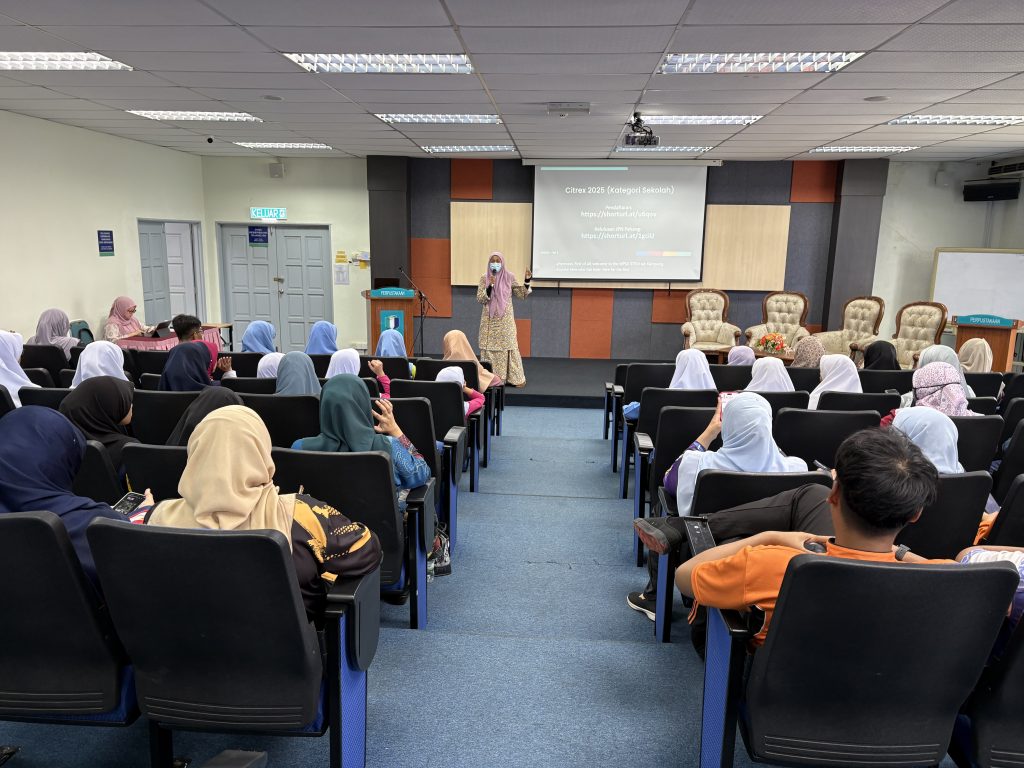
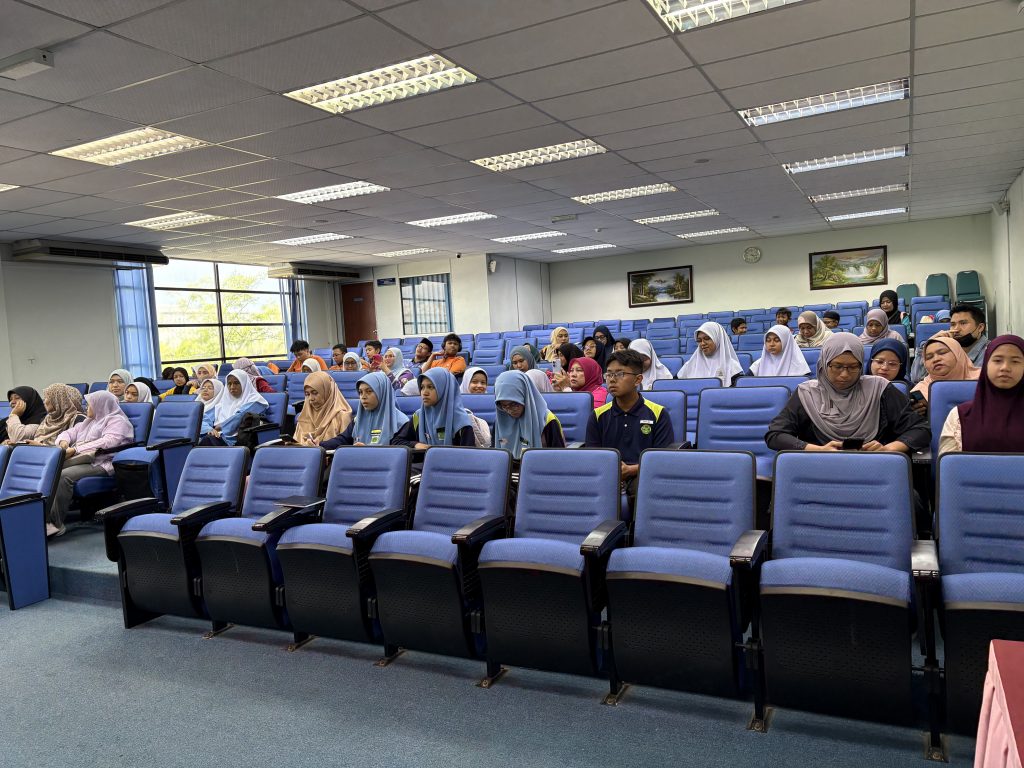
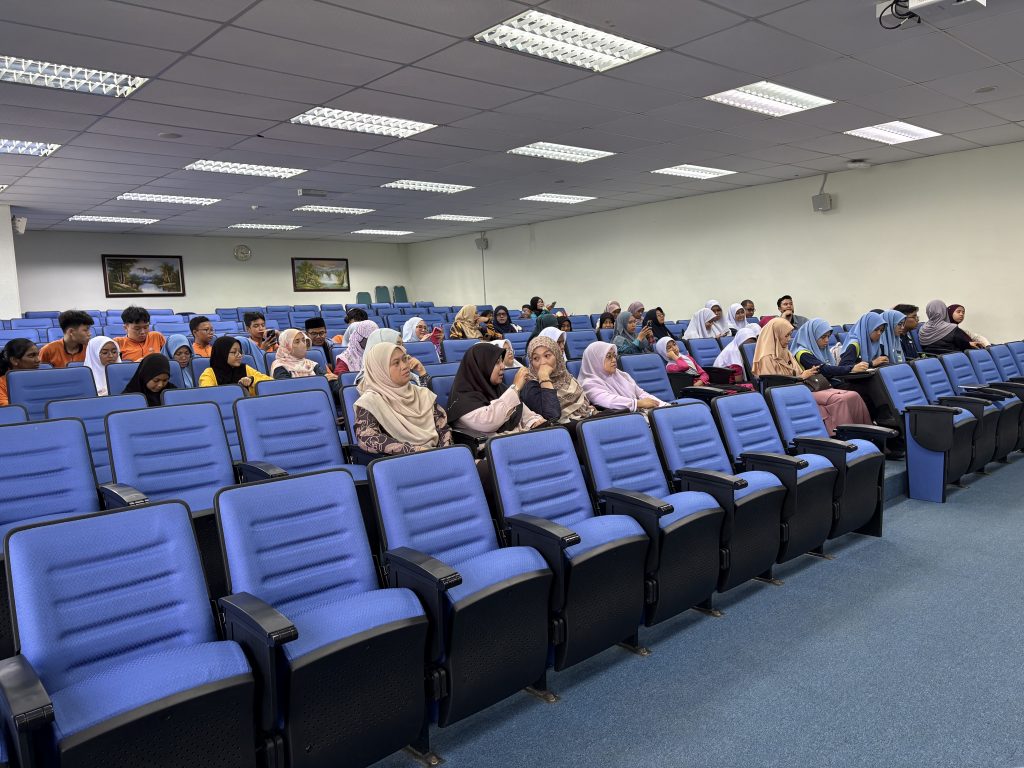
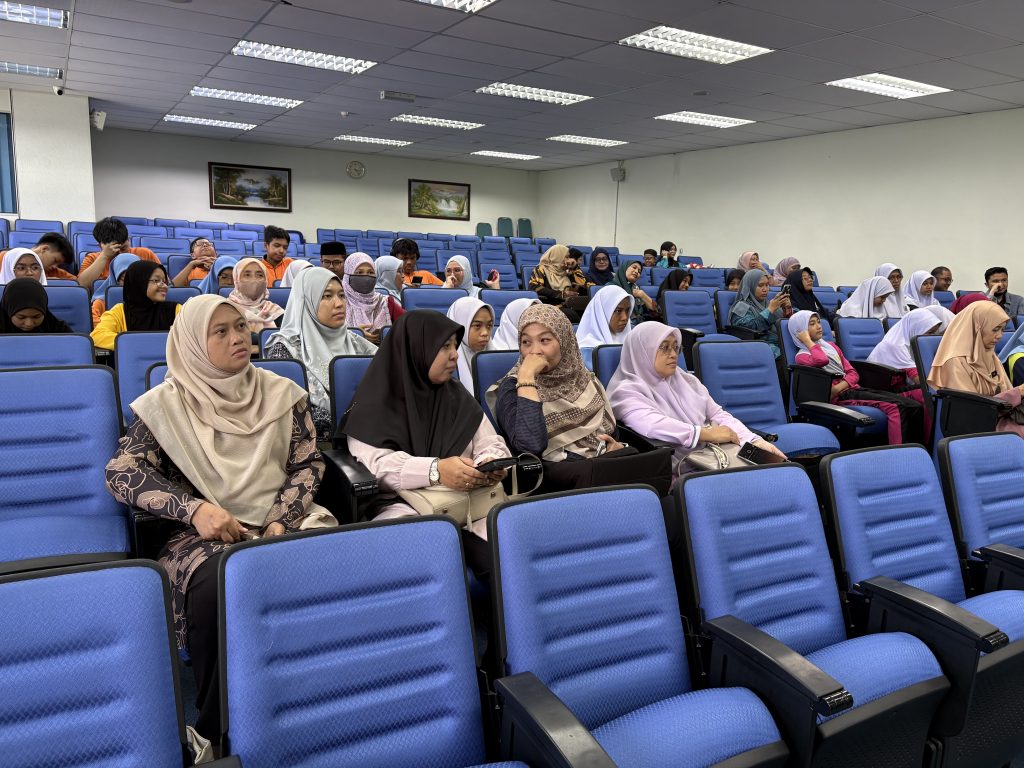
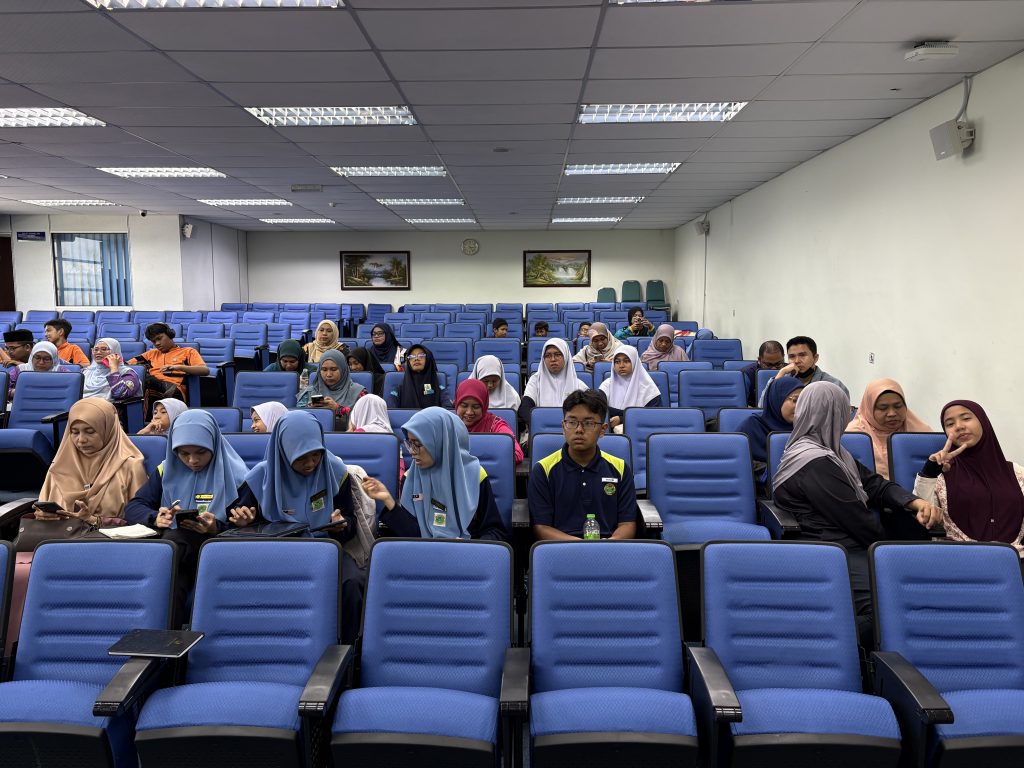
PPD Young Innovator Challenge Briefings


Young Innovator Challenge 2025 – Briefings


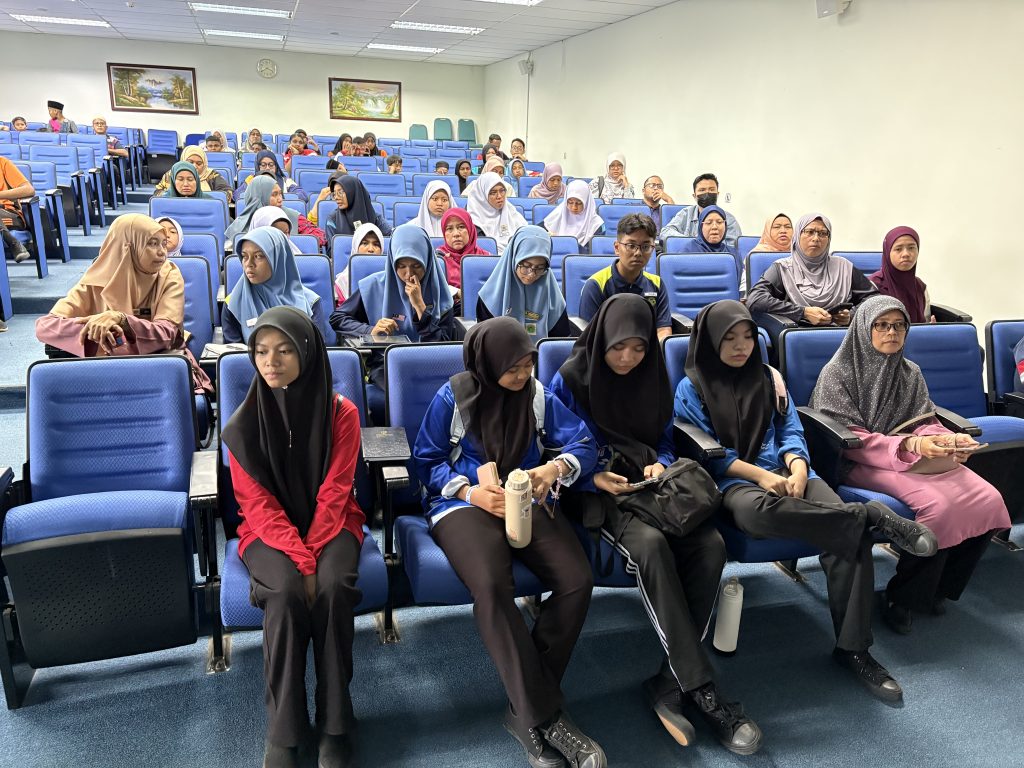
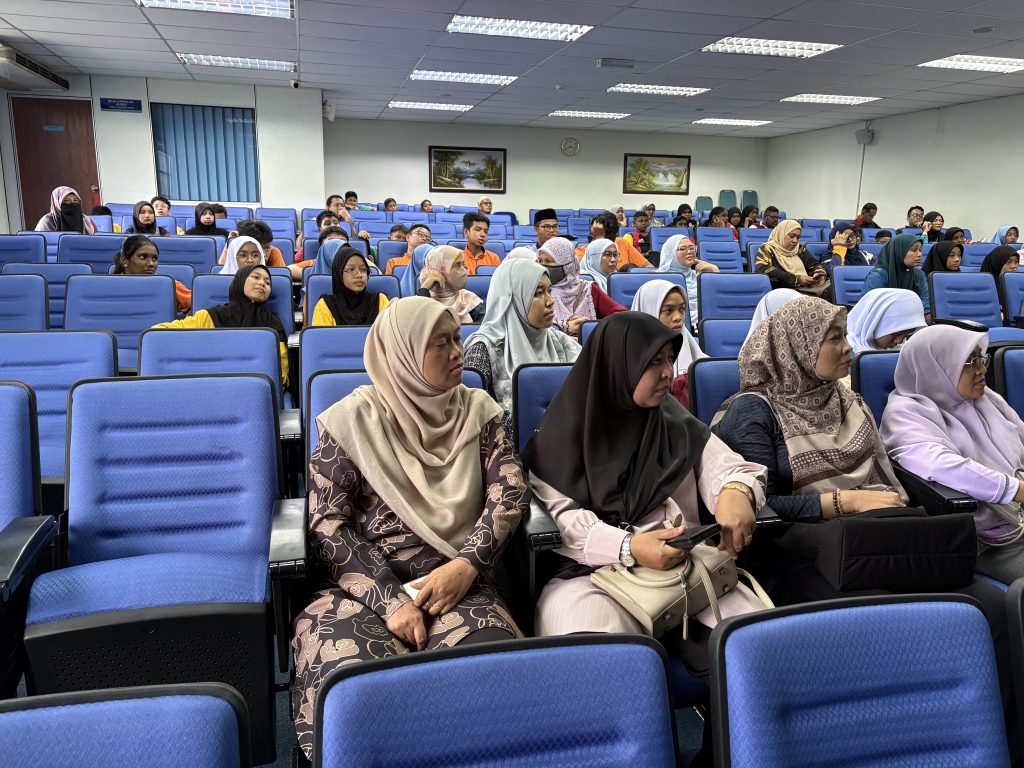
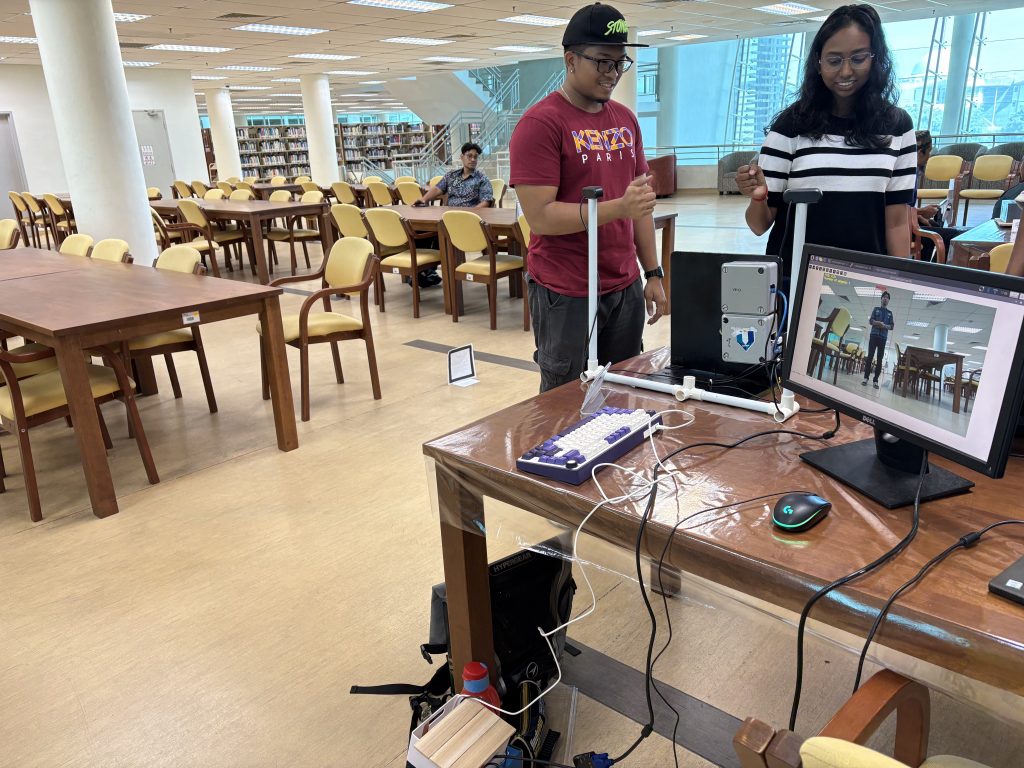
iFuture @ UMPSA 2025
iFuture @ UMPSA 2025 – TVET, Innovation & Future Leadership: From Ideas to Impact
https://www.facebook.com/share/v/18pGsW5jr9/


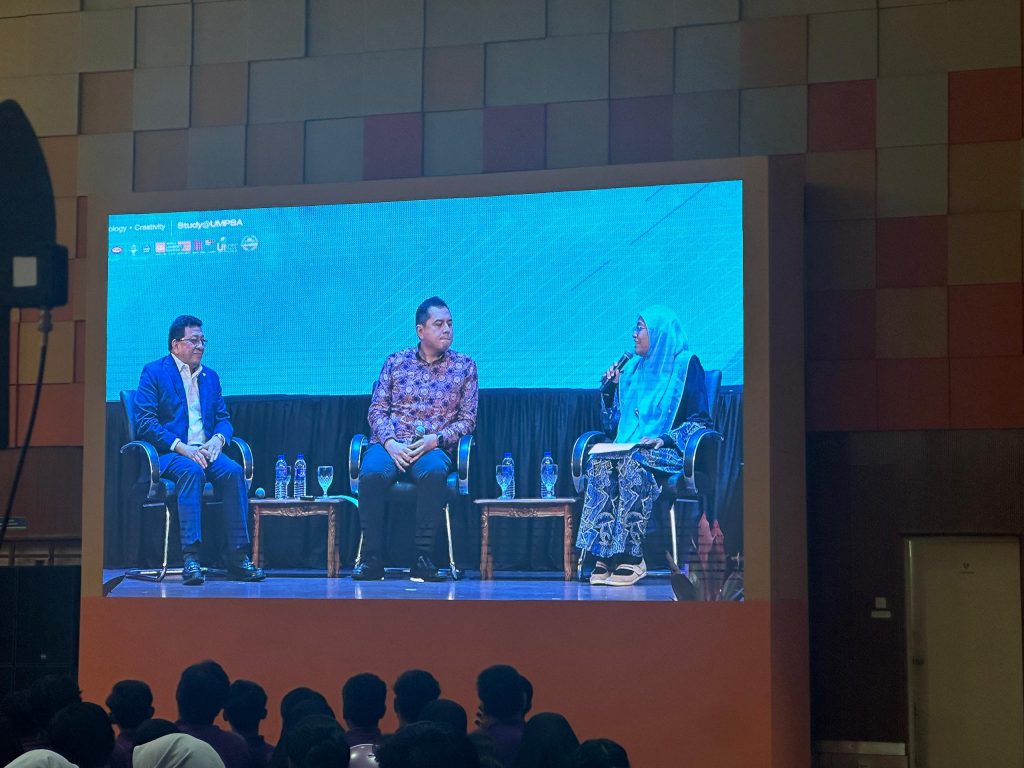
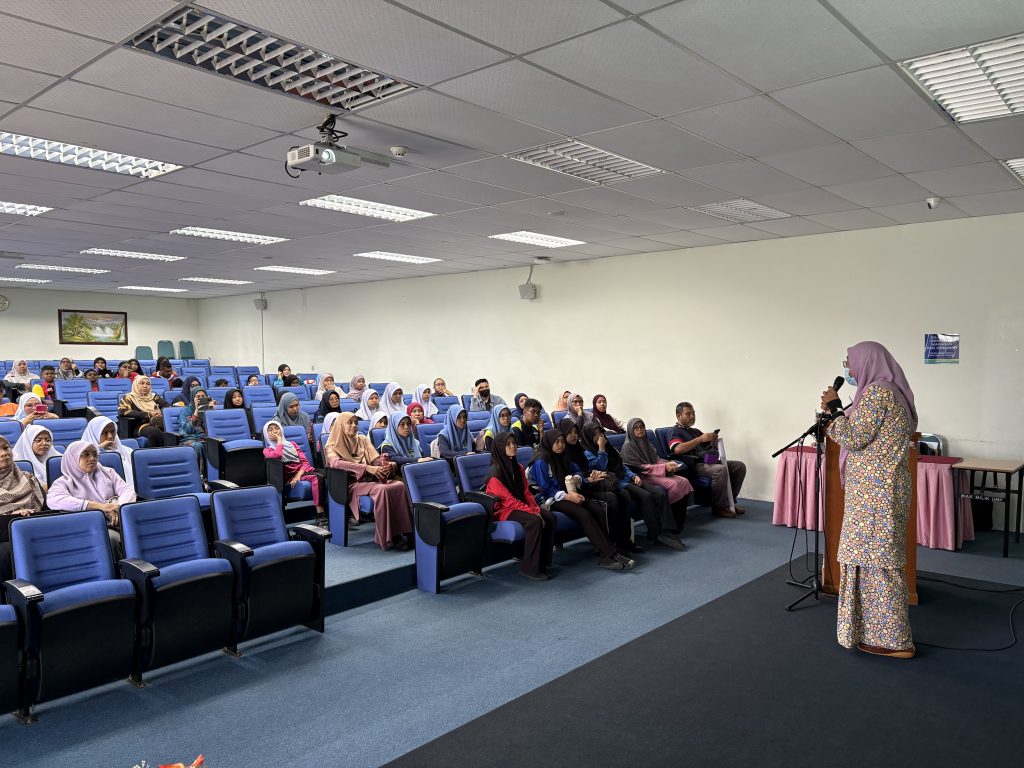
Today, I had the honour of moderating the iFuture @ UMPSA 2025 Forum, aimed to explore how TVET (Technical and Vocational Education and Training), innovation, and youth leadership can converge to build a more resilient and future-ready Malaysia.
We were joined by two distinguished leaders:
- Datuk Ir. Megat Jalaluddin Megat Hassan, President & CEO of Tenaga Nasional Berhad
- YB Dato’ Mohd Nizar Dato’ Sri Najib, Pahang State Executive Councillor for Investment, Industry, Science, Technology & Innovation
We began the session with a light and personal question to the panelists:
“When you were 10 years old, what did you dream of becoming?”
It’s always humbling to hear that even prominent leaders once had childhood dreams as simple as becoming a pilot or a firefighter. It reminds our youth that success starts from humble beginnings—and dreams are valid at every age.
Round 1: Leadership Journeys
To Datuk Ir. Megat – How did you rise to lead TNB? What values or turning points shaped your journey?”
To Dato’ Nizar – What inspired your entry into public service, and how do you view youth’s role in shaping Malaysia’s future?”
Both speakers highlighted the importance of values, mentorship, and community. Leadership is not born overnight. It’s a journey of learning, often shaped by hardship. As a moderator, I truly resonated with the message that real leaders are forged through lived experience and a consistent drive to contribute meaningfully.
Round 2: Perspectives from Industry & Government
To Datuk Ir. Megat – How does TNB view the importance of TVET and innovation in developing a future-ready workforce?”
To Dato’ Sri Mohd Nizar – What is the state government doing to bridge the gap between TVET institutions and industry demands?”
This segment affirmed the need for policy-industry-academia alignment. There is strong intent on both sides—but more platforms like this are needed to translate intent into action. A big takeaway was how TVET is no longer an “alternative” path—it is a primary driver of economic resilience.
Round 3: Challenges & Strategies in TVET and Youth Innovation
To Datuk Ir. Megat – What are the key challenges in hiring industry-ready TVET graduates, and how is TNB addressing them?
To Dato’ Sri Mohd Nizar – What are some state initiatives to empower innovation among youth, particularly in TVET?
This was a powerful round. We discussed gaps in soft skills, adaptability, and real-world exposure. But more importantly, we heard concrete solutions: apprenticeships, innovation grants, and integrated learning pathways. I personally believe that innovation must not be limited to tech—it includes tinkering, problem-solving, and thinking differently.
Round 4: Vision & Collaboration for the Future
To Datuk Ir. Megat – Is TNB open to deeper collaboration with universities like UMPSA in leadership and innovation training?”
To Dato’ Nizar – What are your hopes for TVET students, and how can the state support them?”
This round was particularly close to my heart. As an educator and innovator, I’ve seen that leaders are not just problem-solvers—they are full of ideas. Whether those ideas are big innovations or small tweaks in the classroom, the ability to think, question, and act is what separates a passive learner from a future leader.
And that kind of thinking requires exposure, hardship, and opportunities to build skills—in every direction.
Closing Reflections – A Message to Youth
We closed with this question to both panelists:
“What is your message to Malaysian and global youth as they navigate a future shaped by change and technology?”
Their answers were sincere and empowering—urging youth to stay curious, keep learning, and collaborate across boundaries.
I couldn’t agree more. If we want a generation that leads with courage and ideas, we must keep creating opportunities for them to explore, tinker, build, and fail safely.
I believe Leadership is not a position—it’s a practice =)
And at its core, leadership is the ability to generate ideas and act on them.
Whether you’re building a robot, writing code, or designing a simple classroom solution—those acts of creation are acts of leadership. My hope is that every student who joined us today leaves knowing that their voice, their skills, and their ideas matter.
Let us continue to support them—through conversations like these, and more importantly, through action.
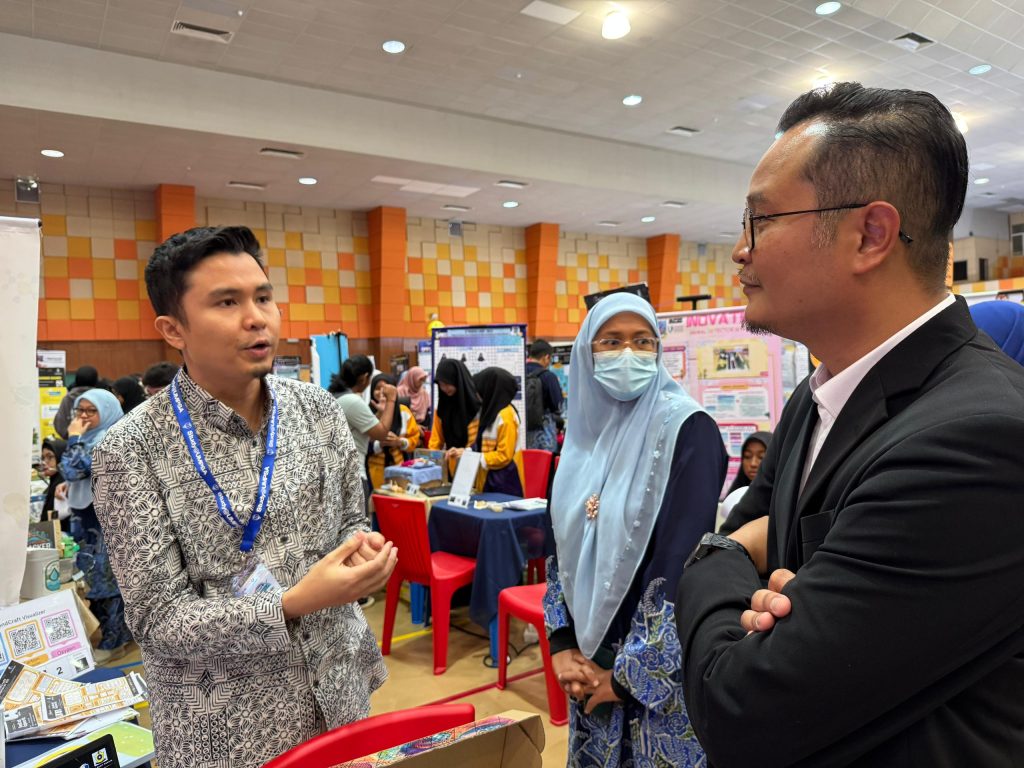
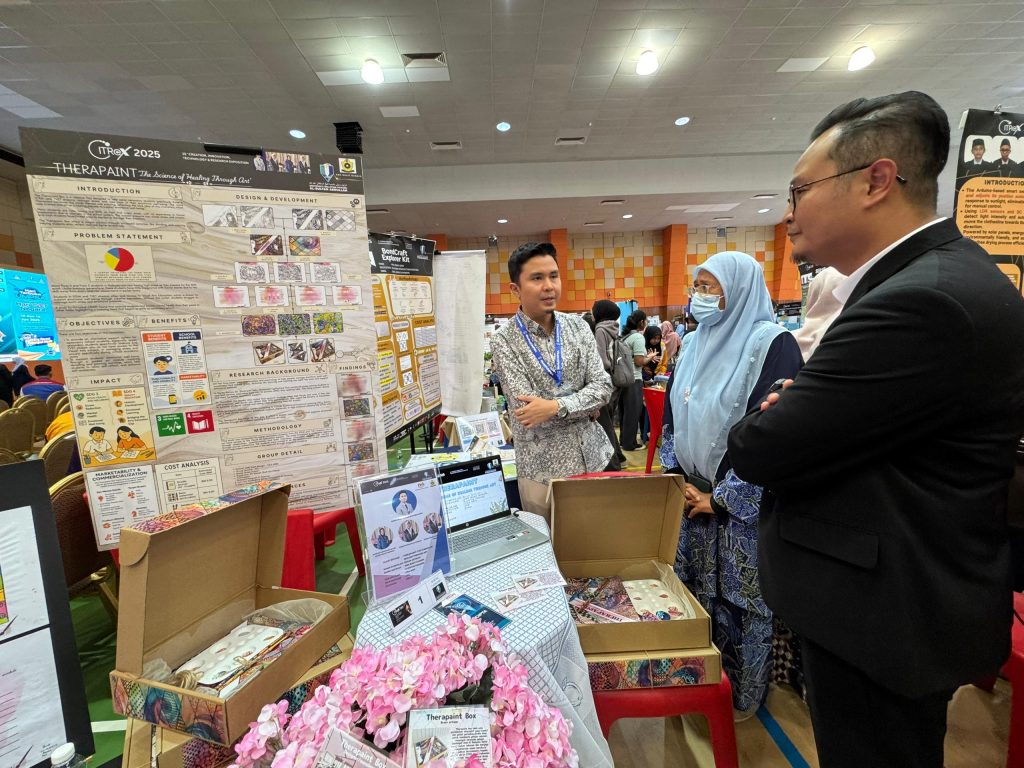
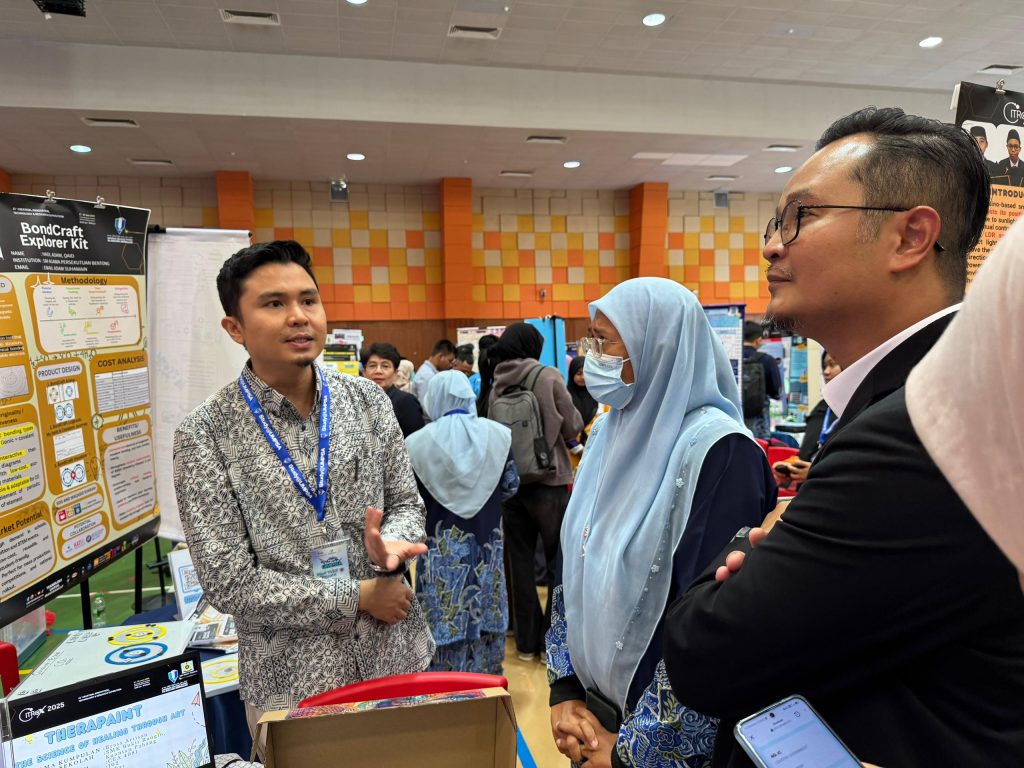
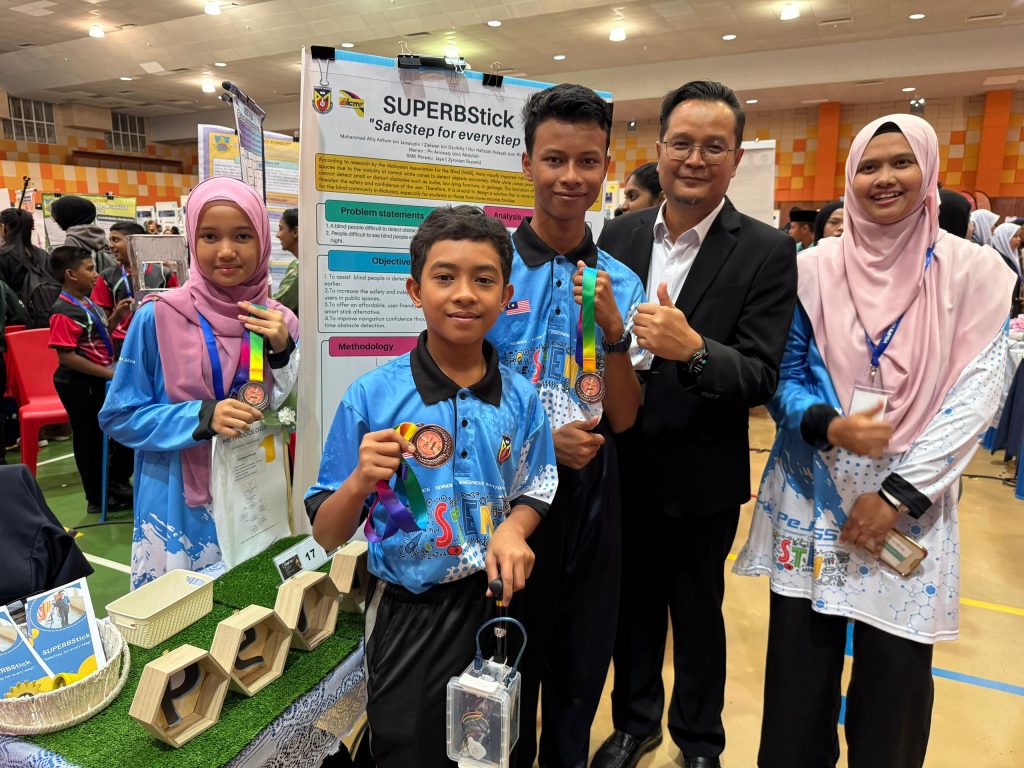
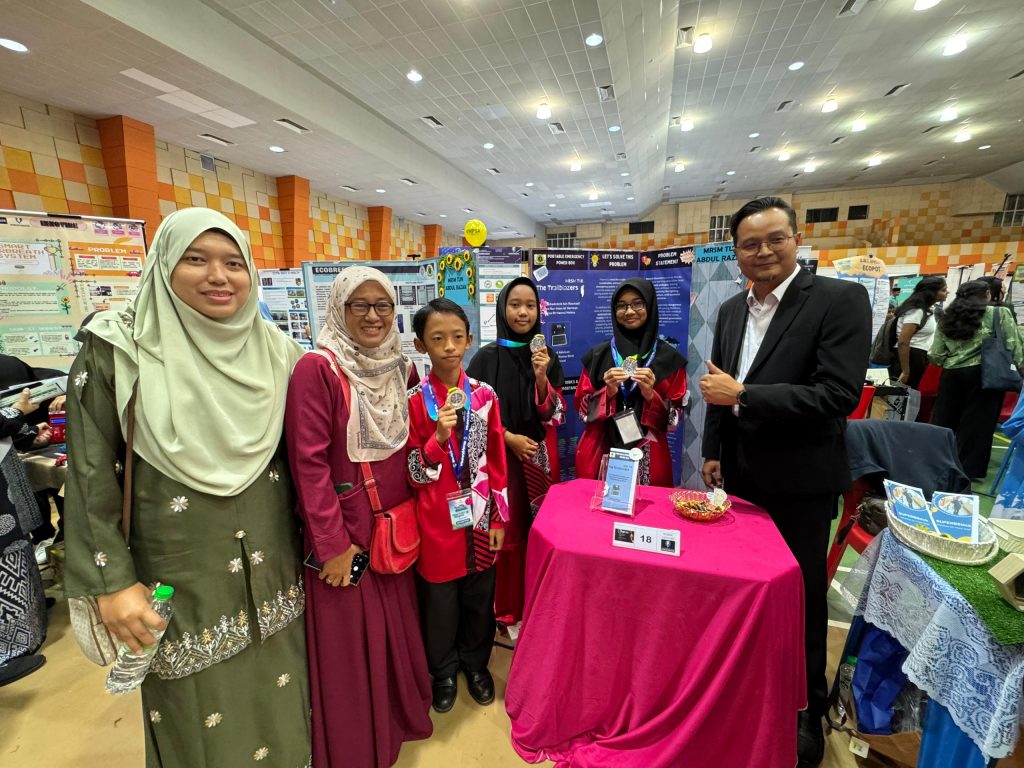
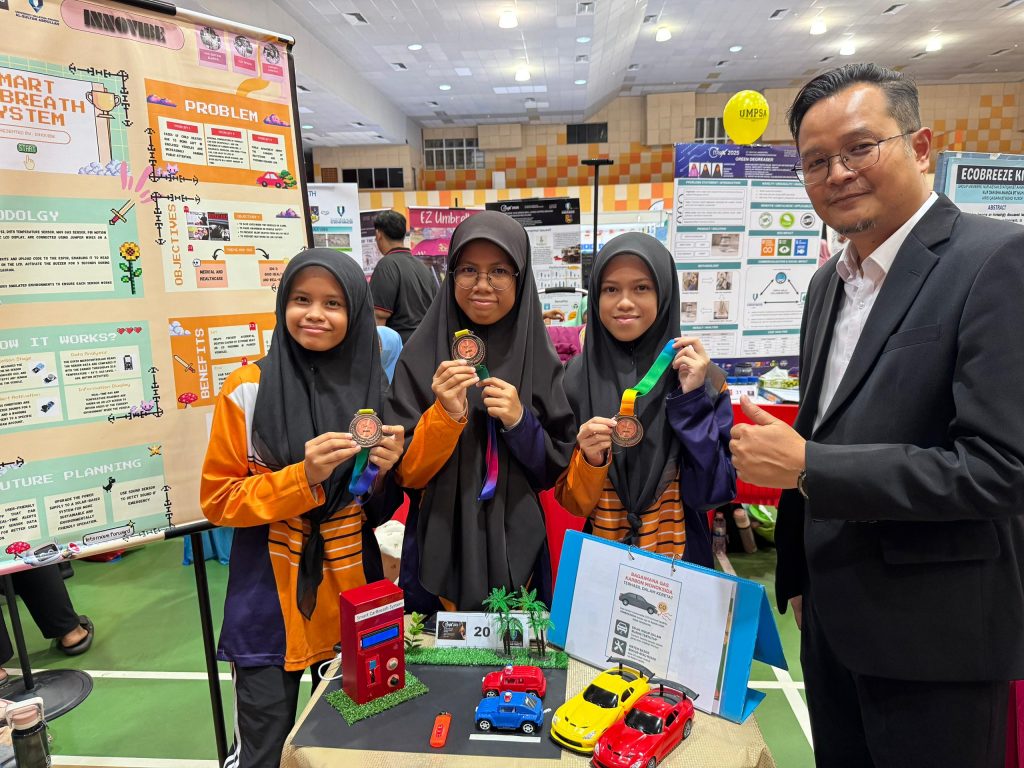
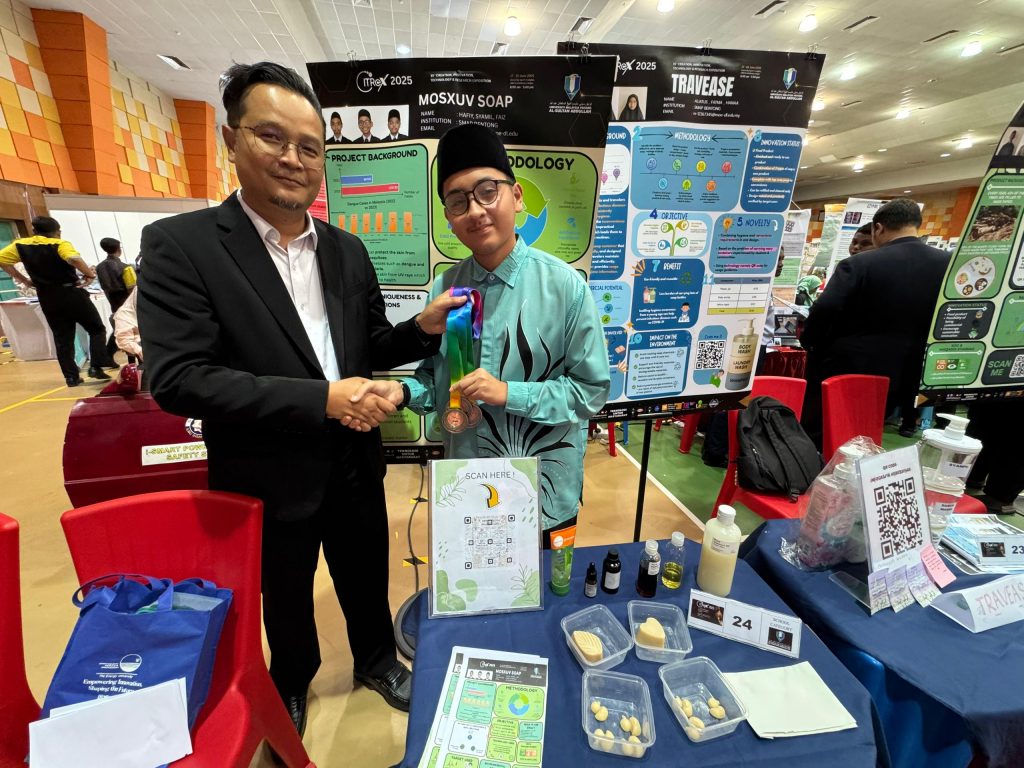
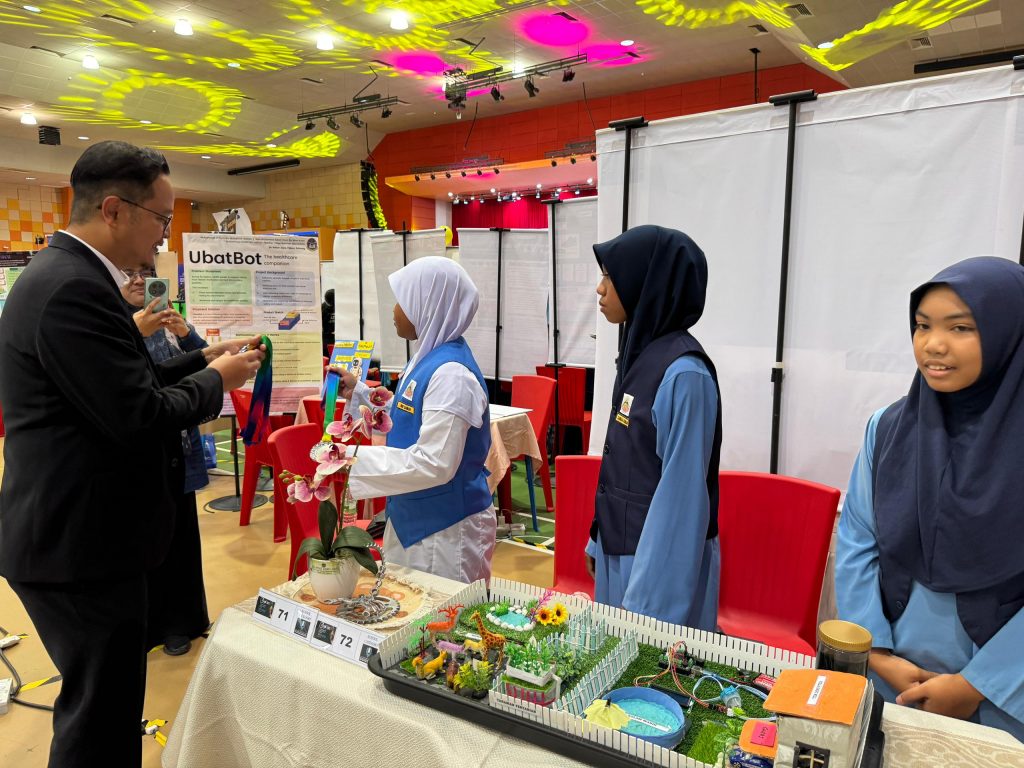
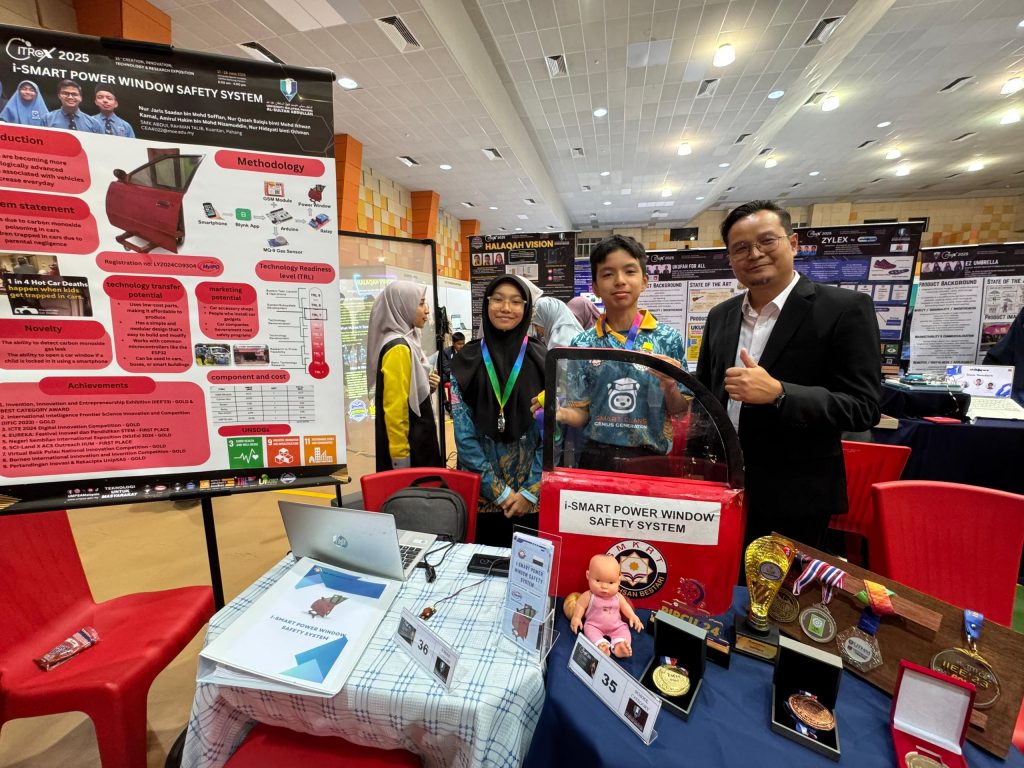
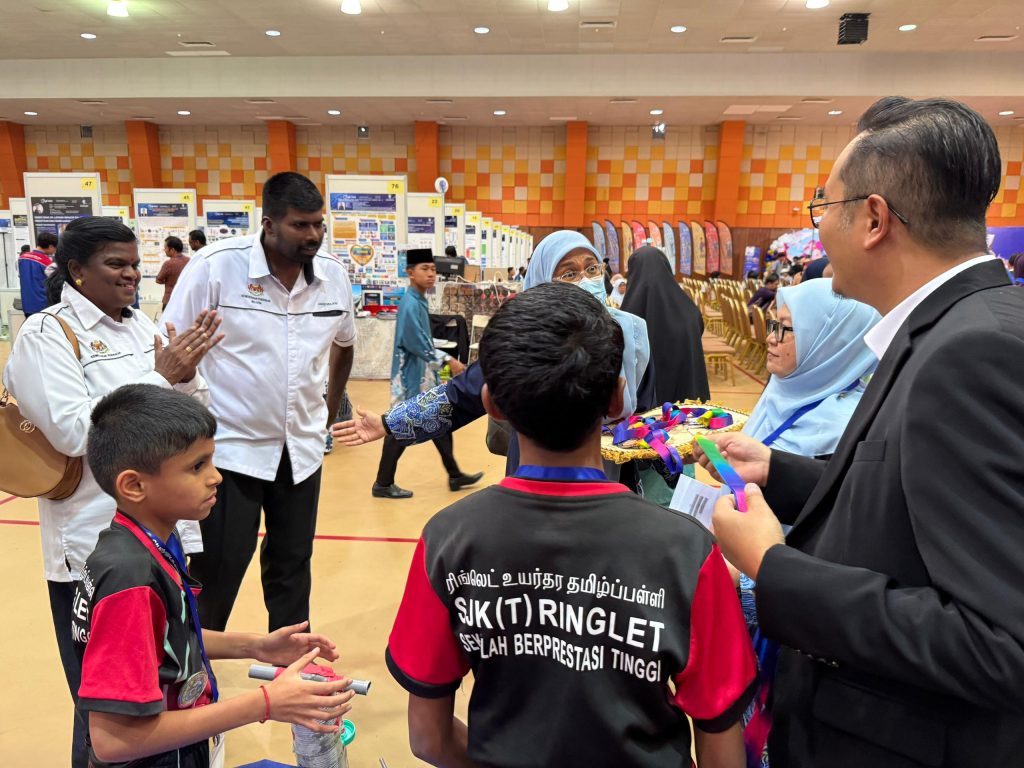
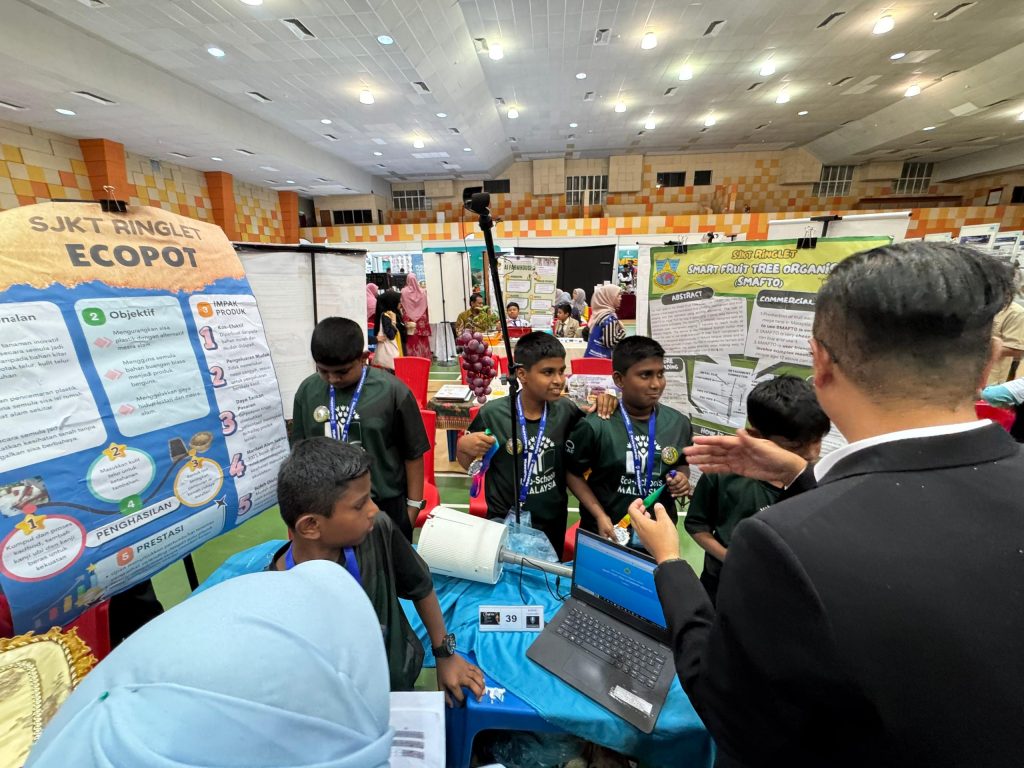
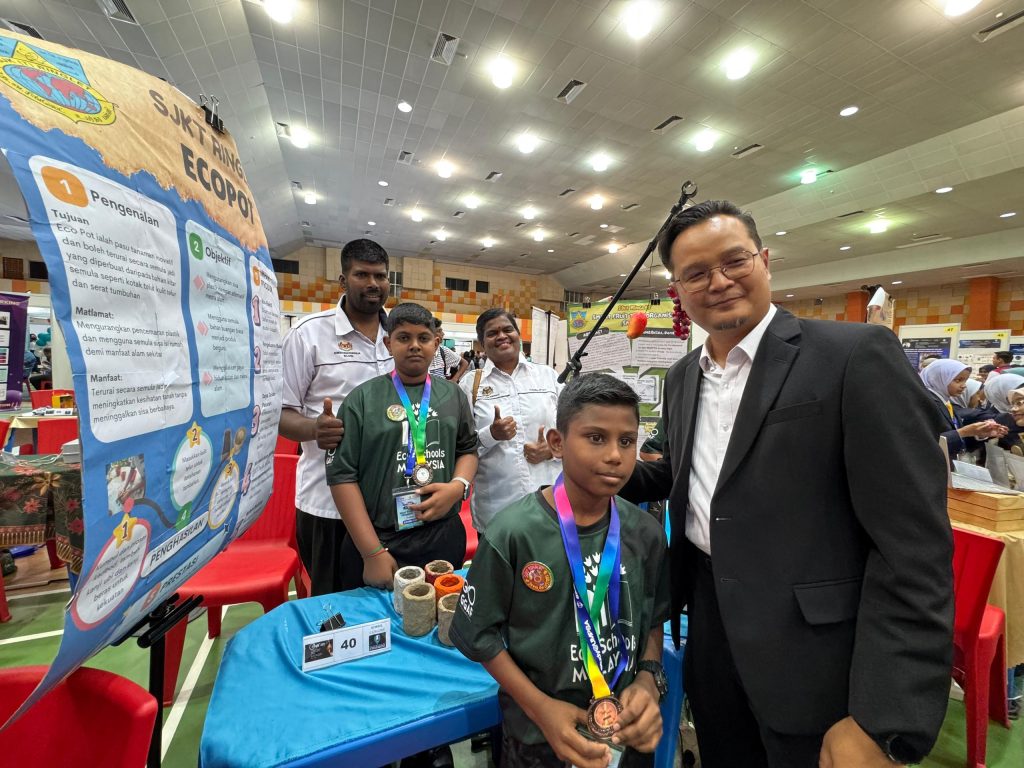
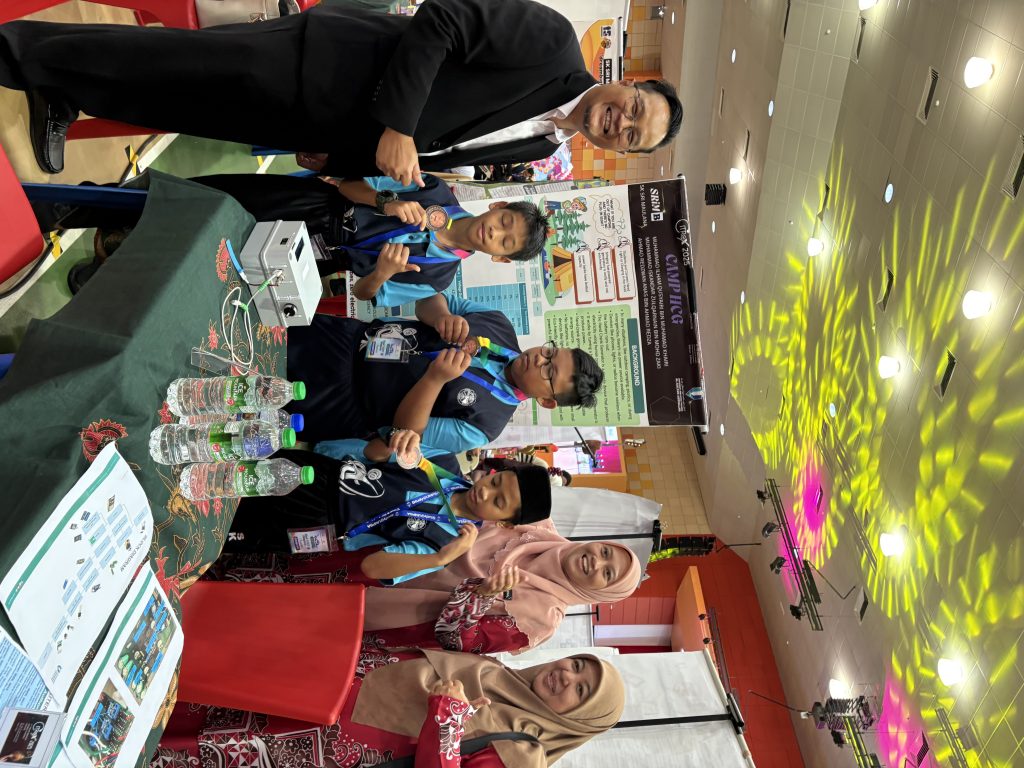
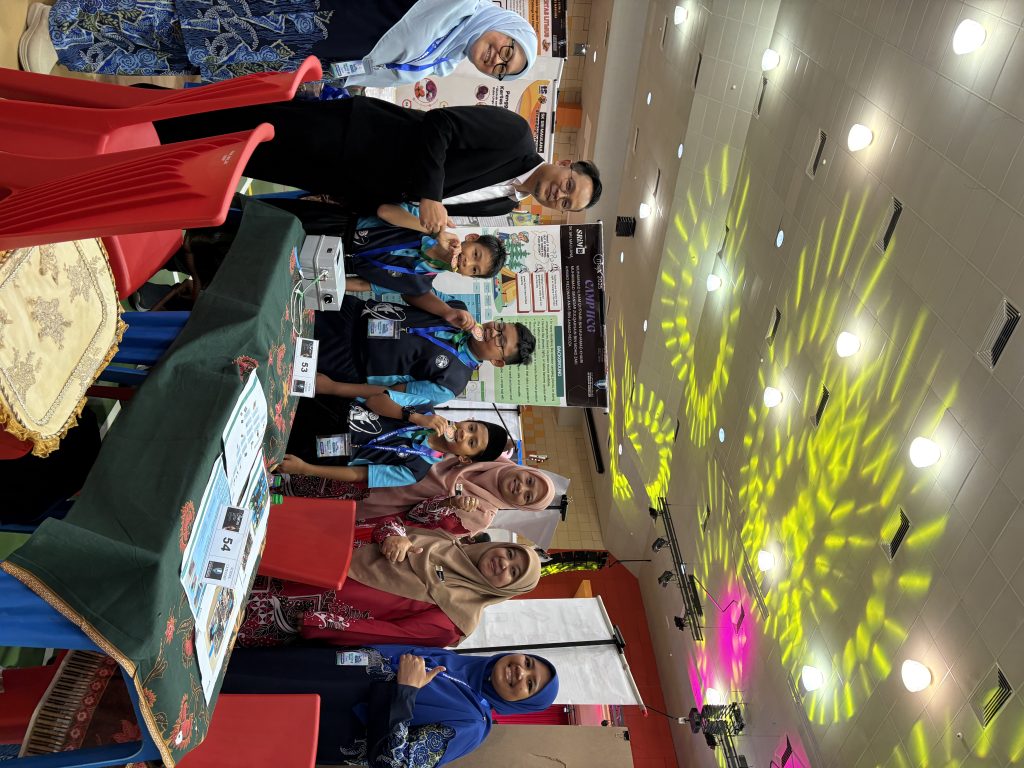
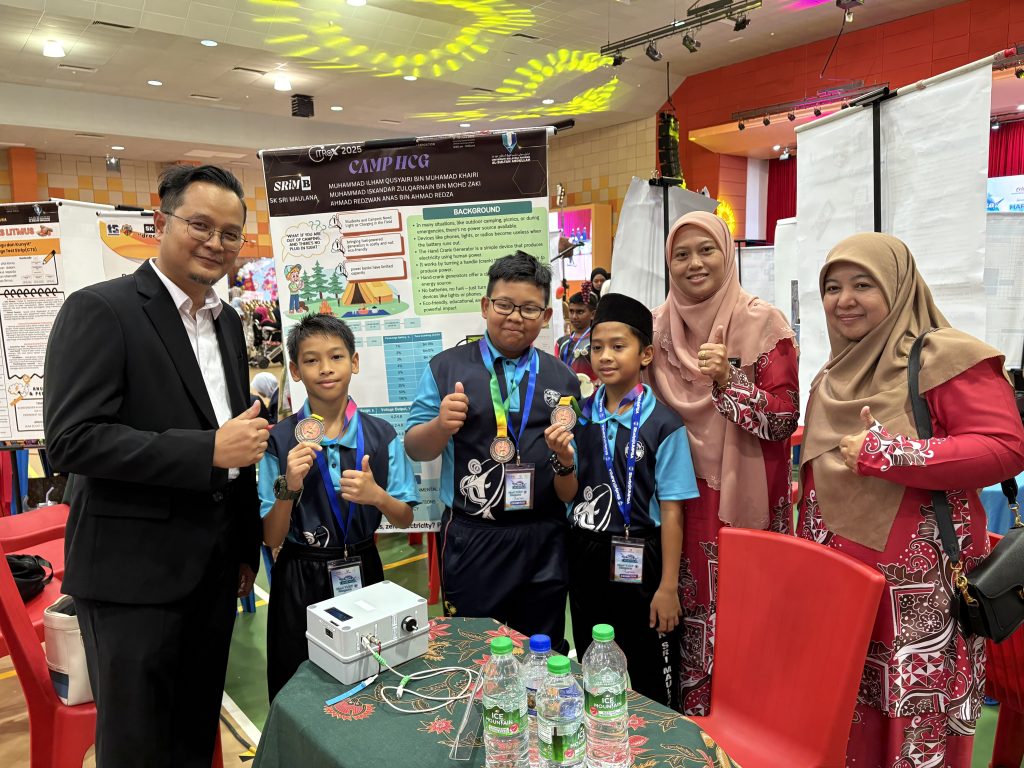
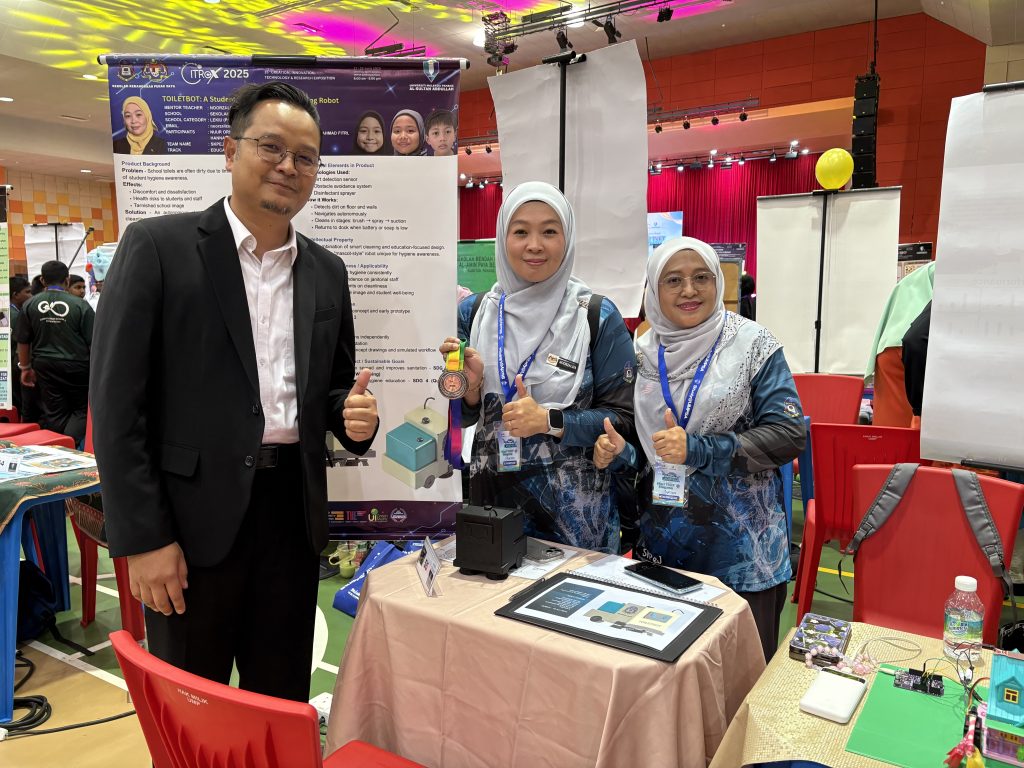
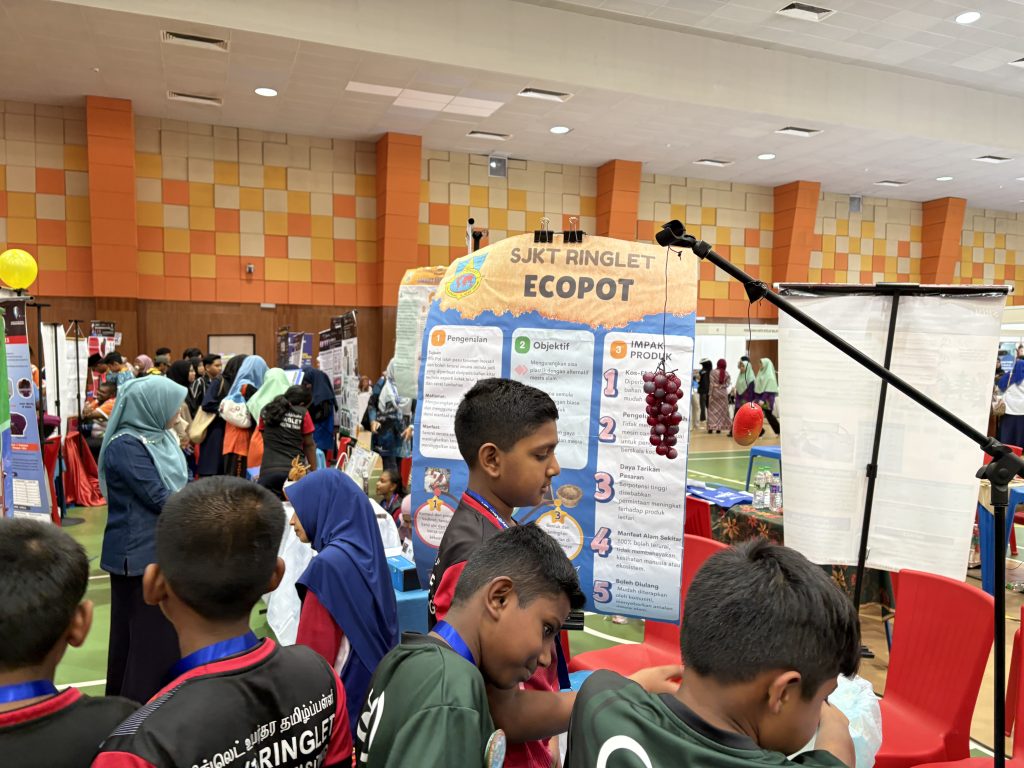
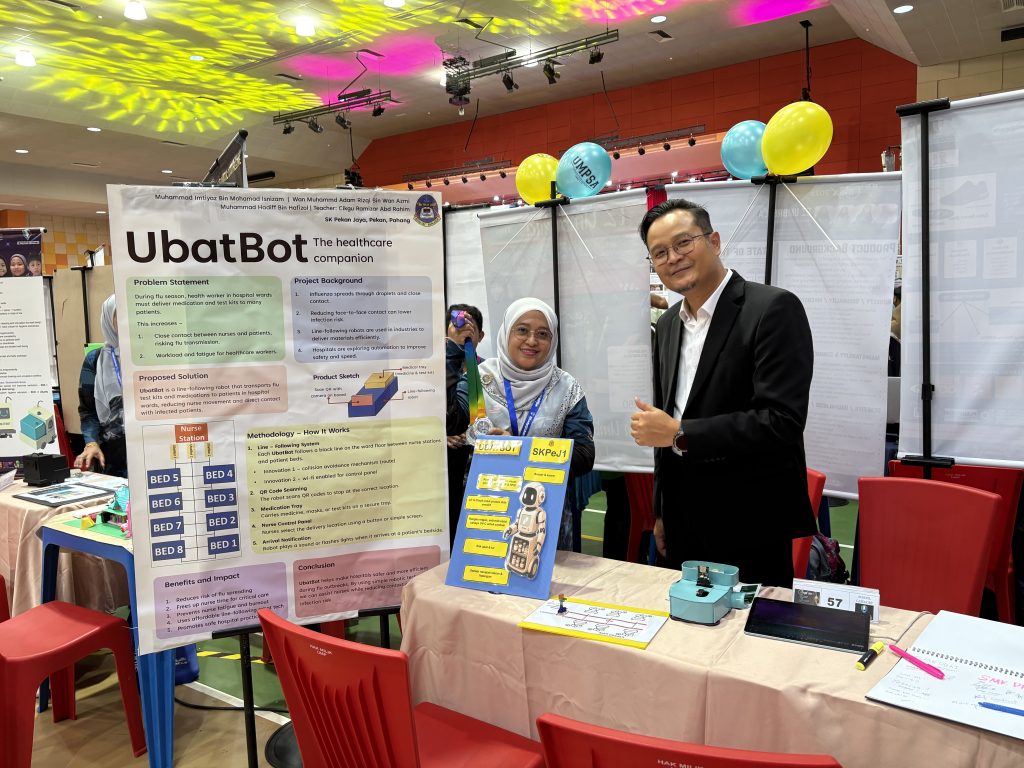
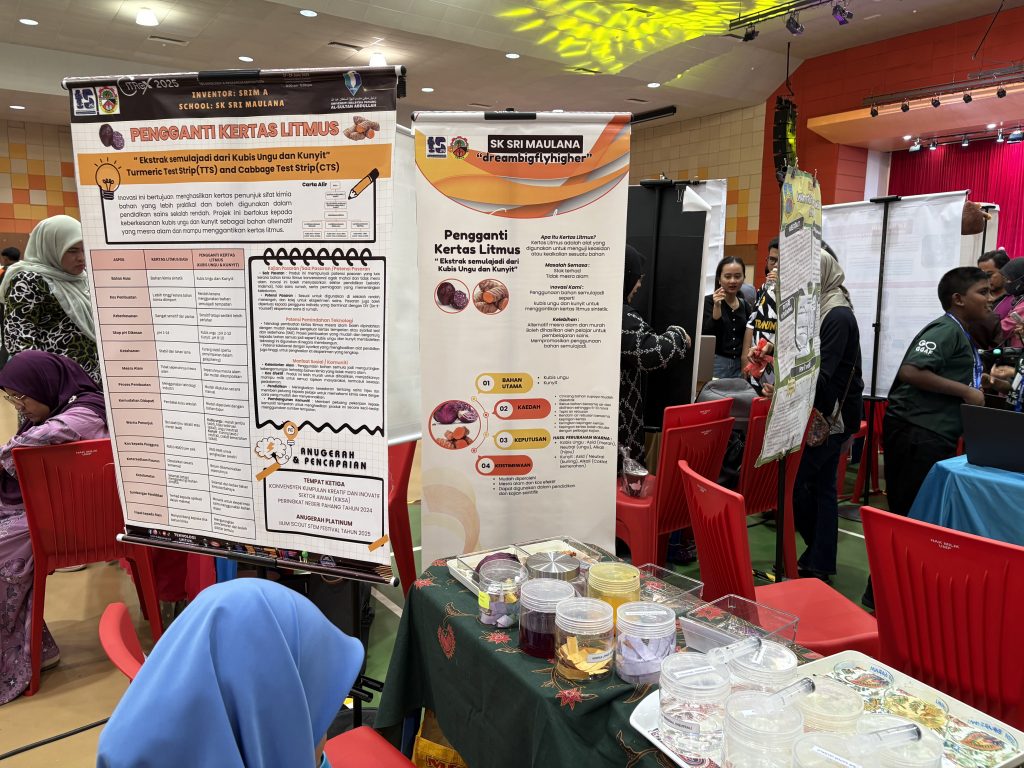
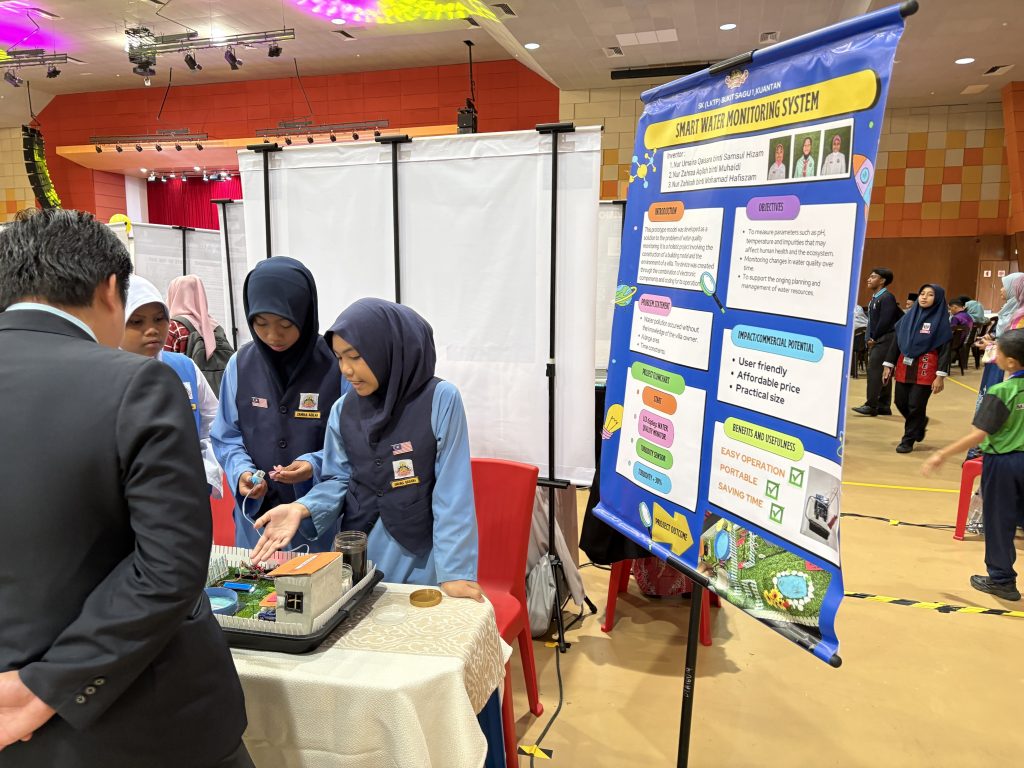
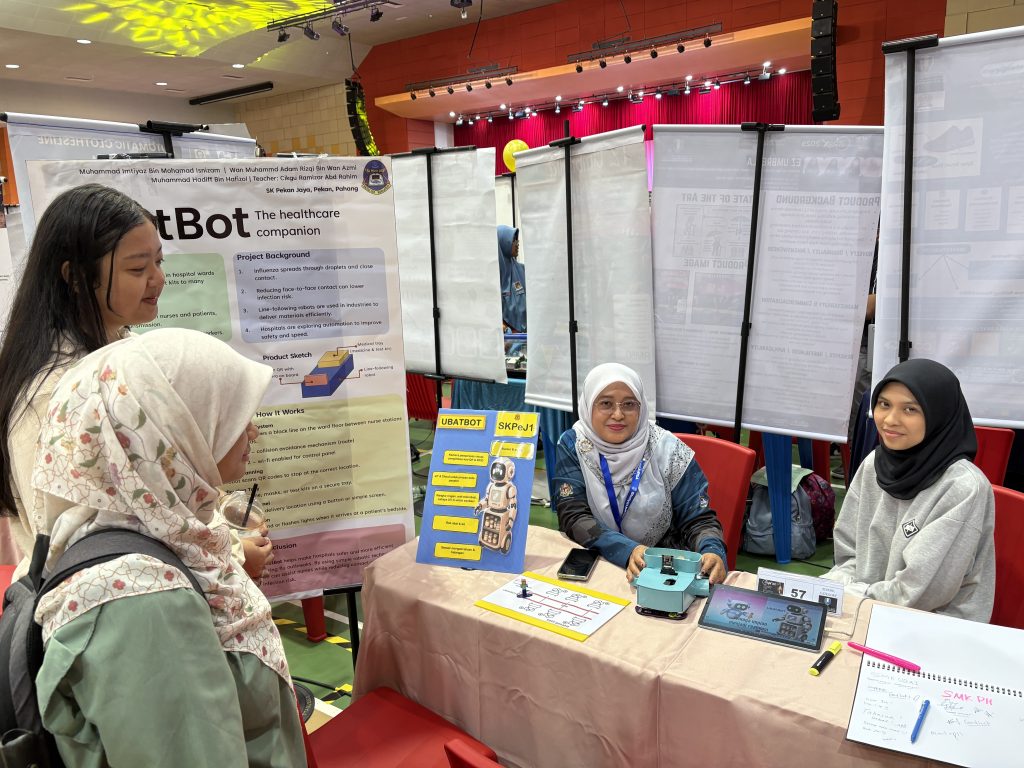
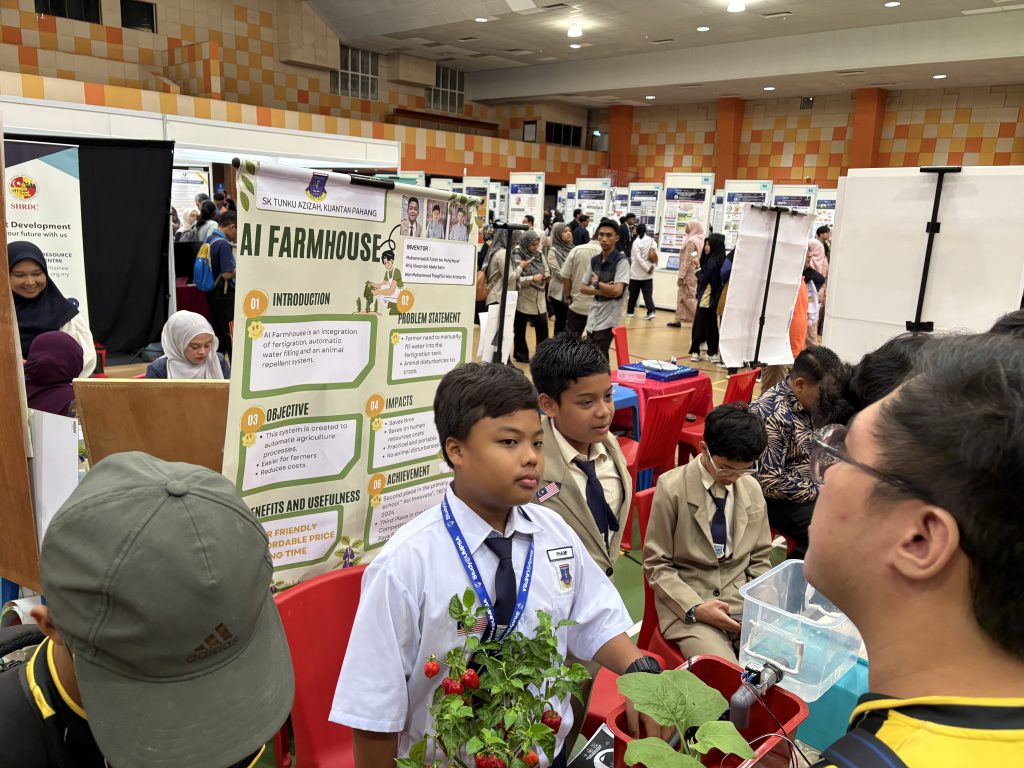
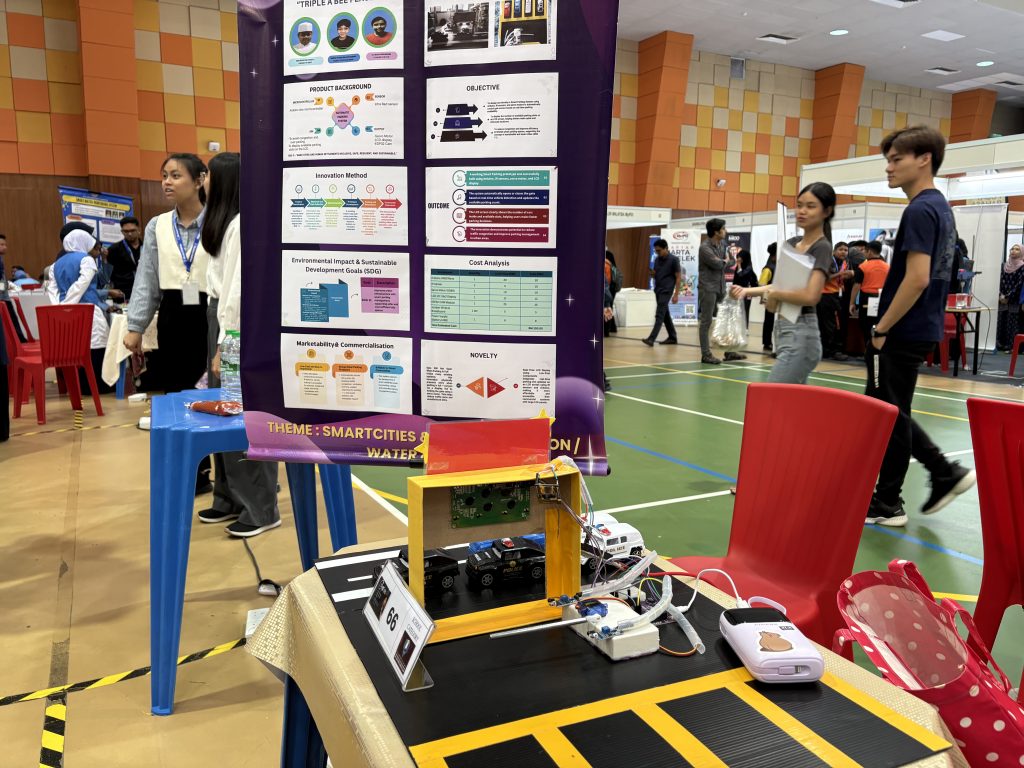
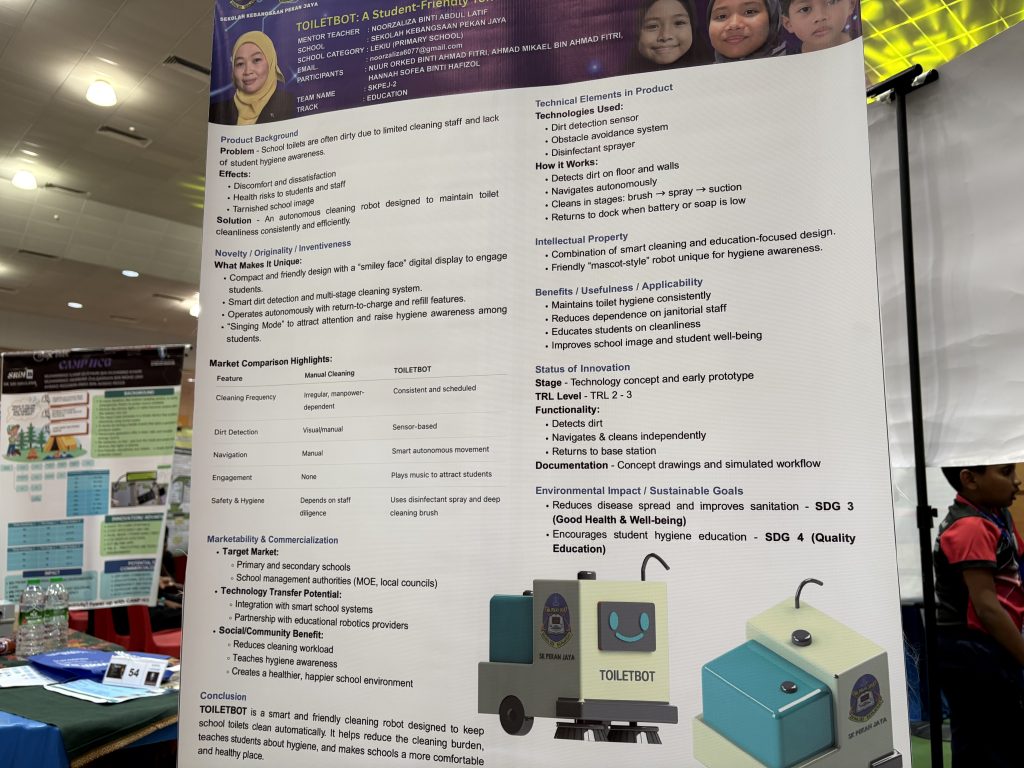
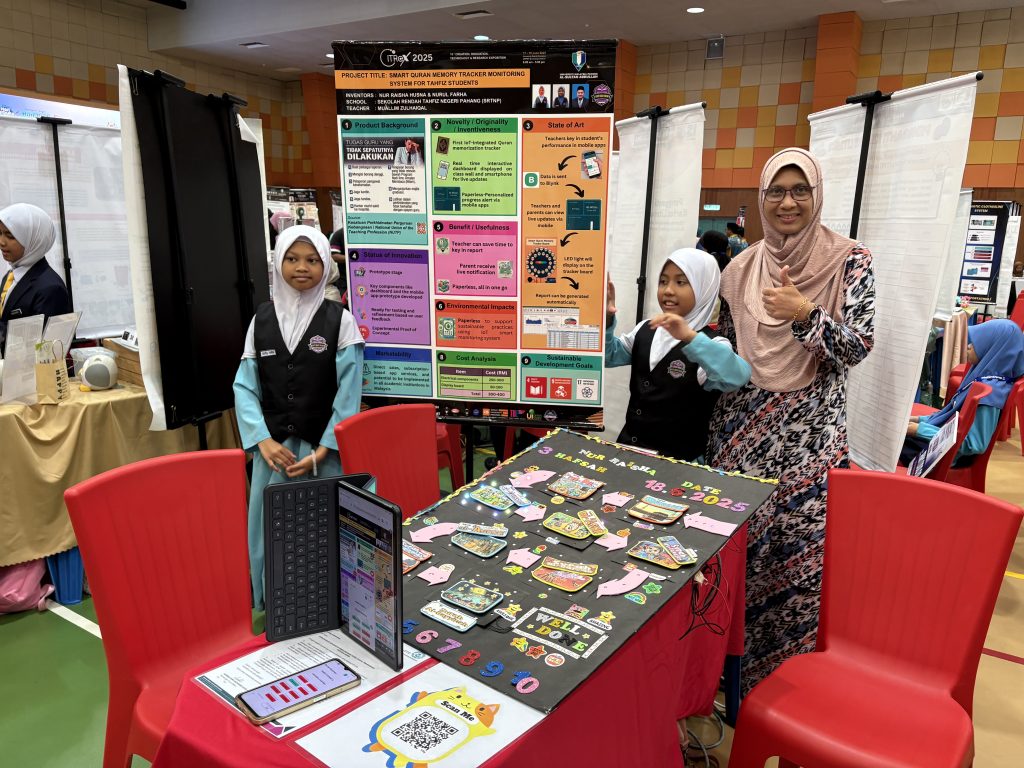
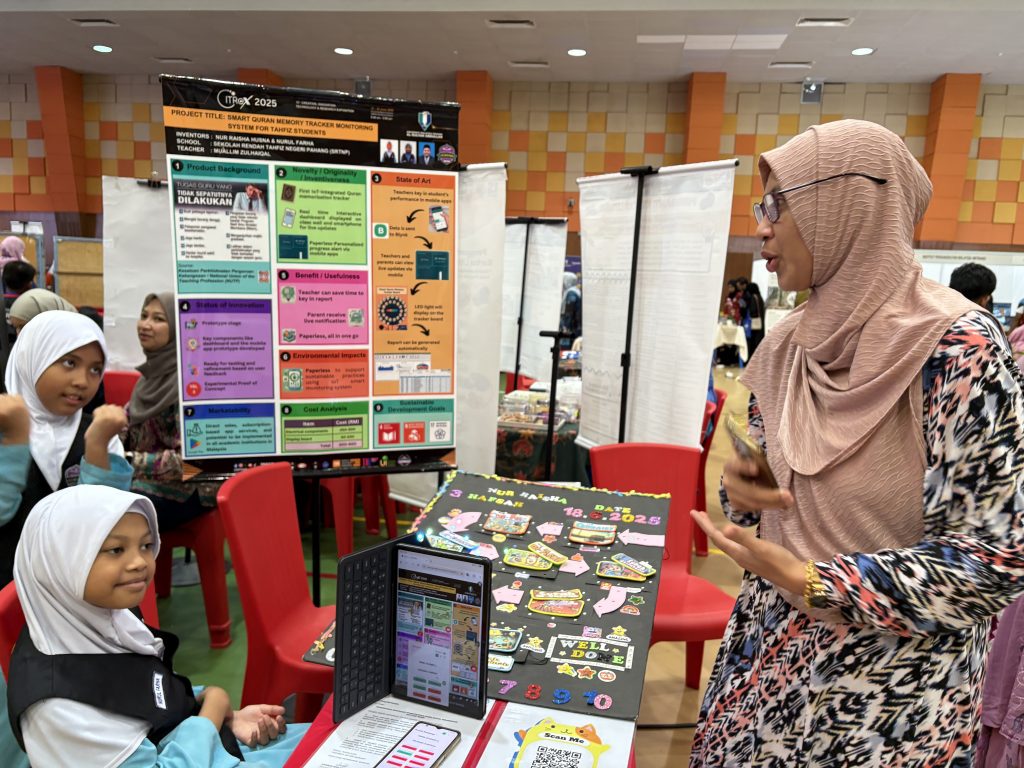
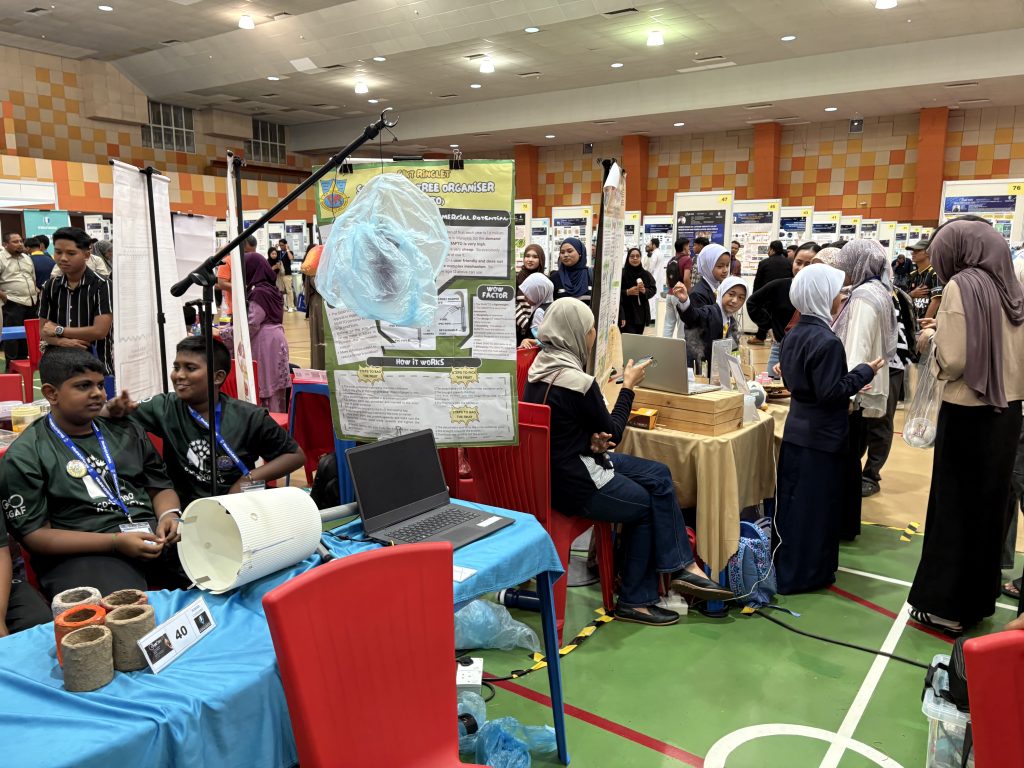
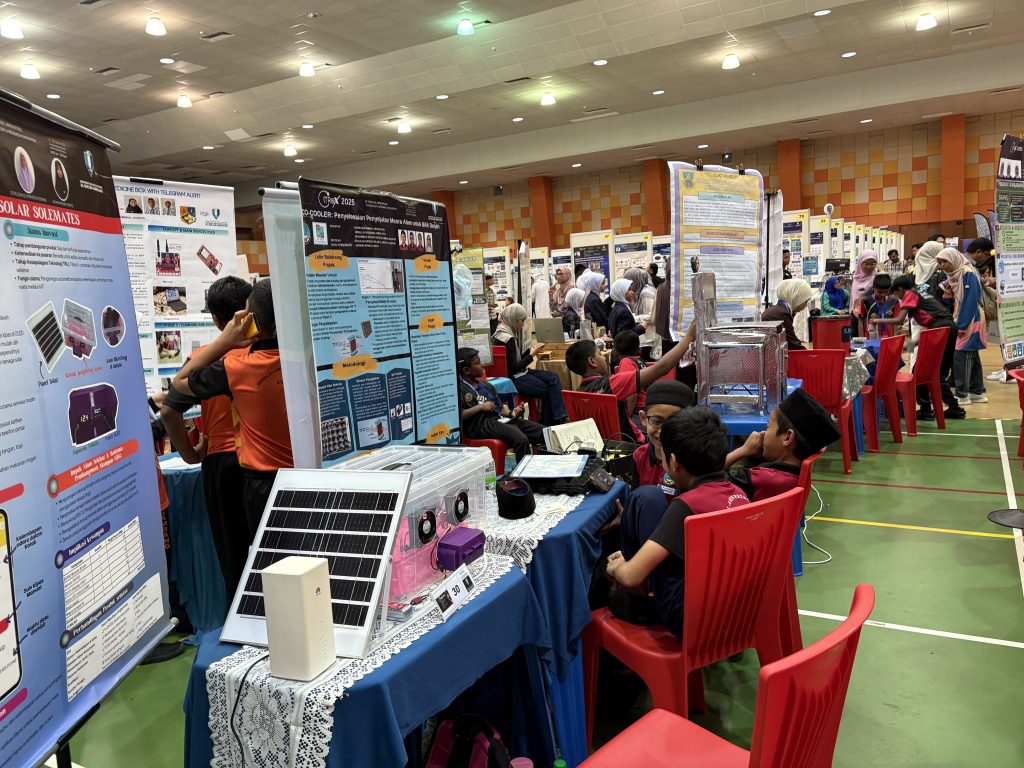
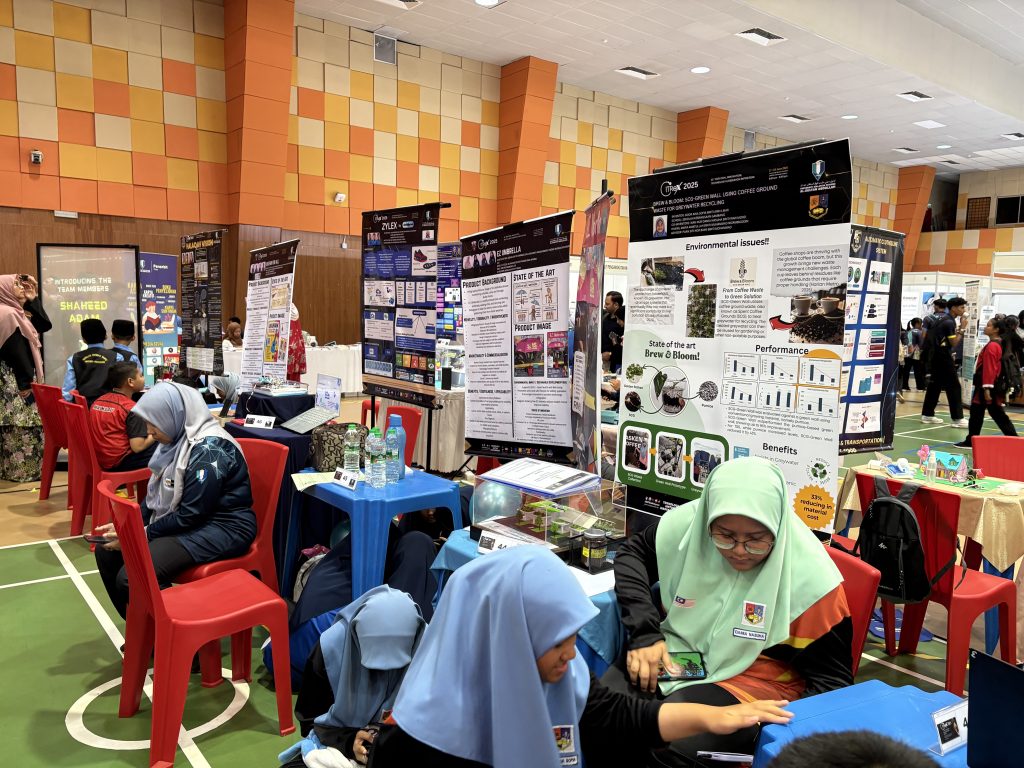
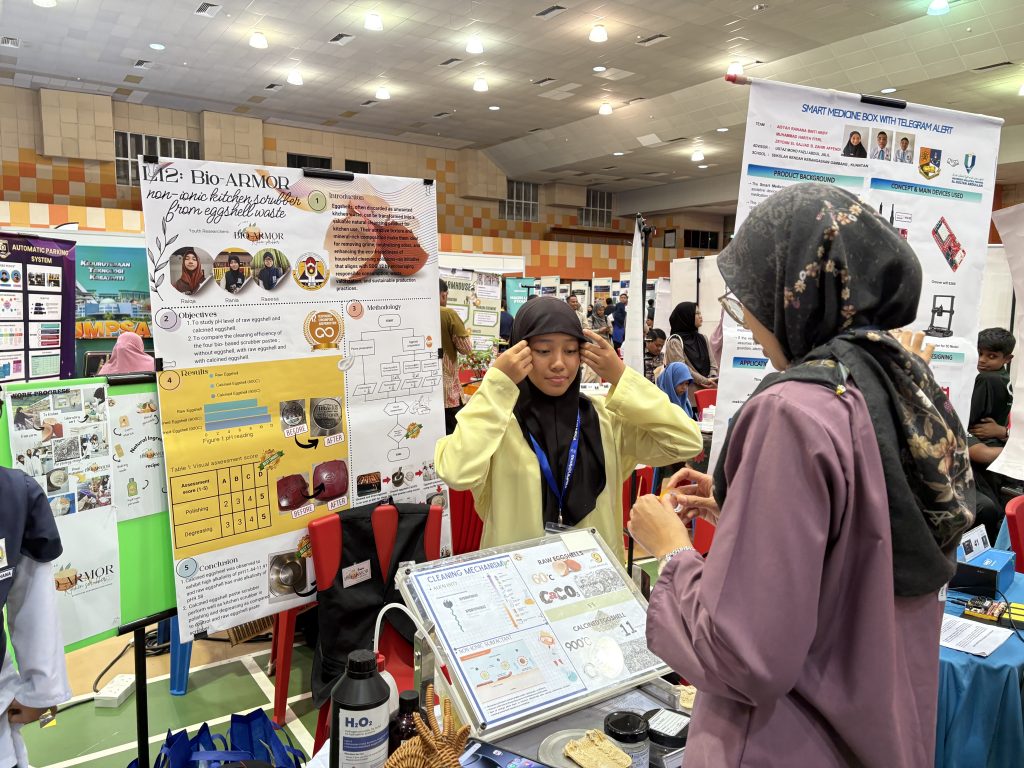
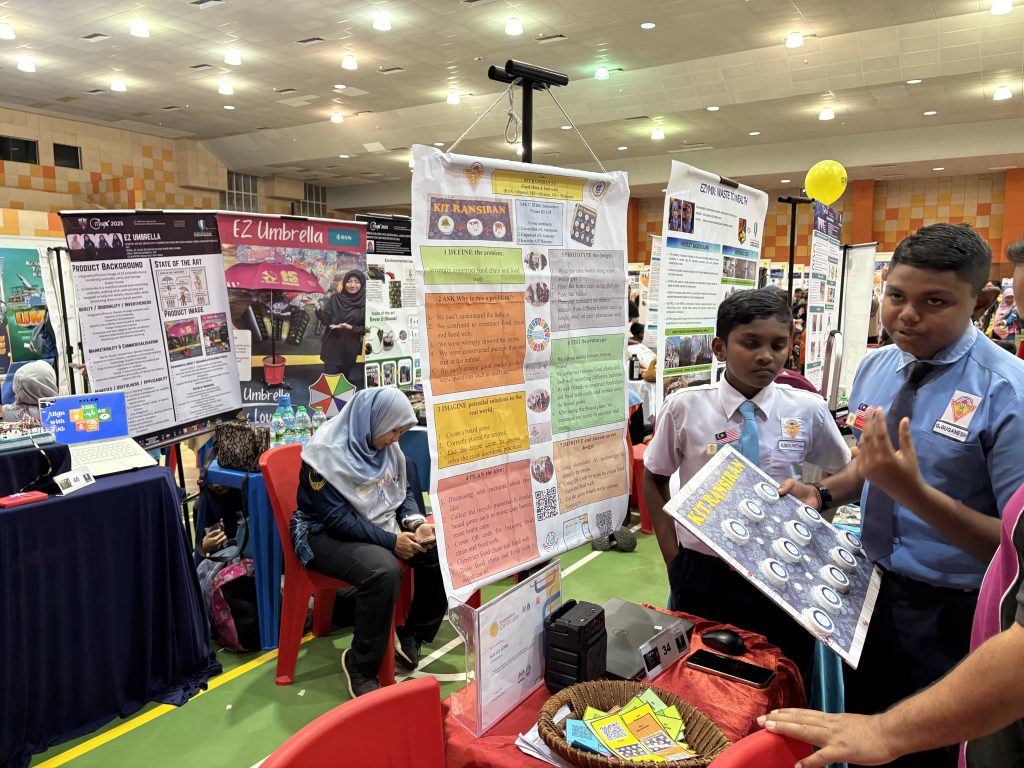
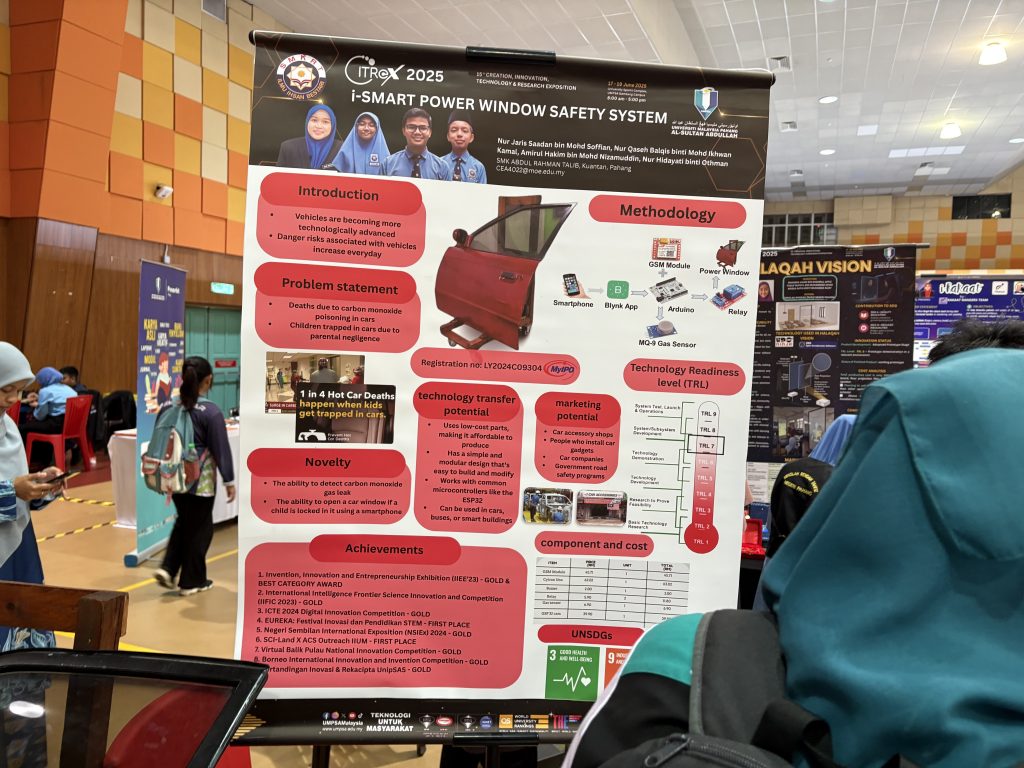
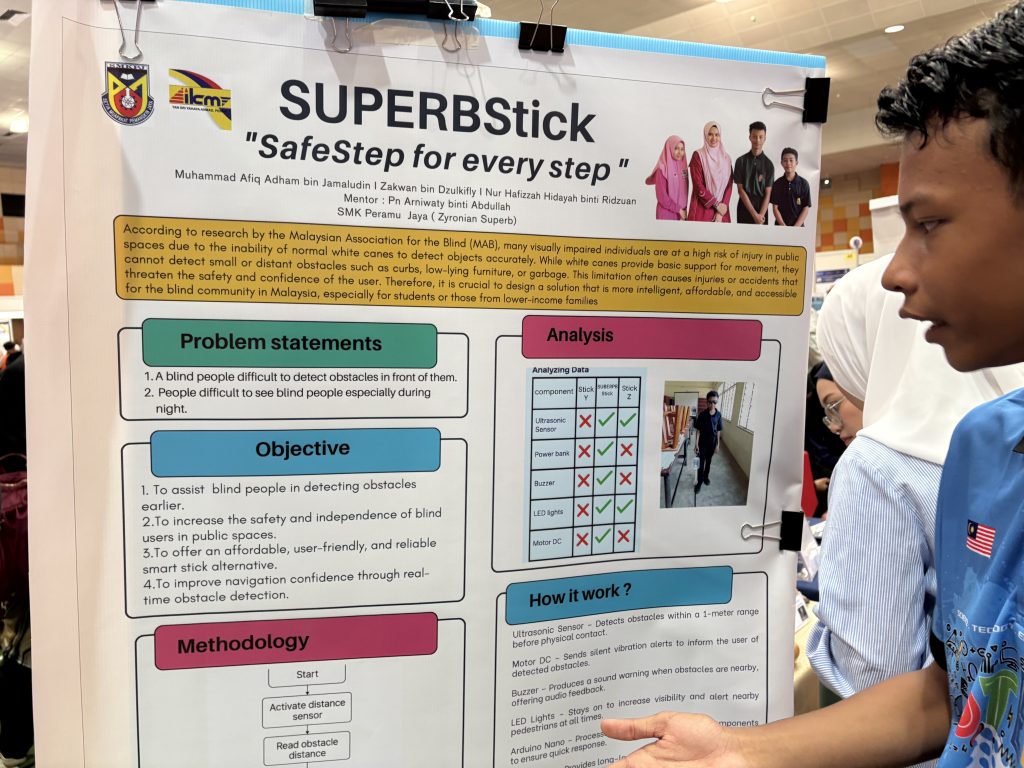
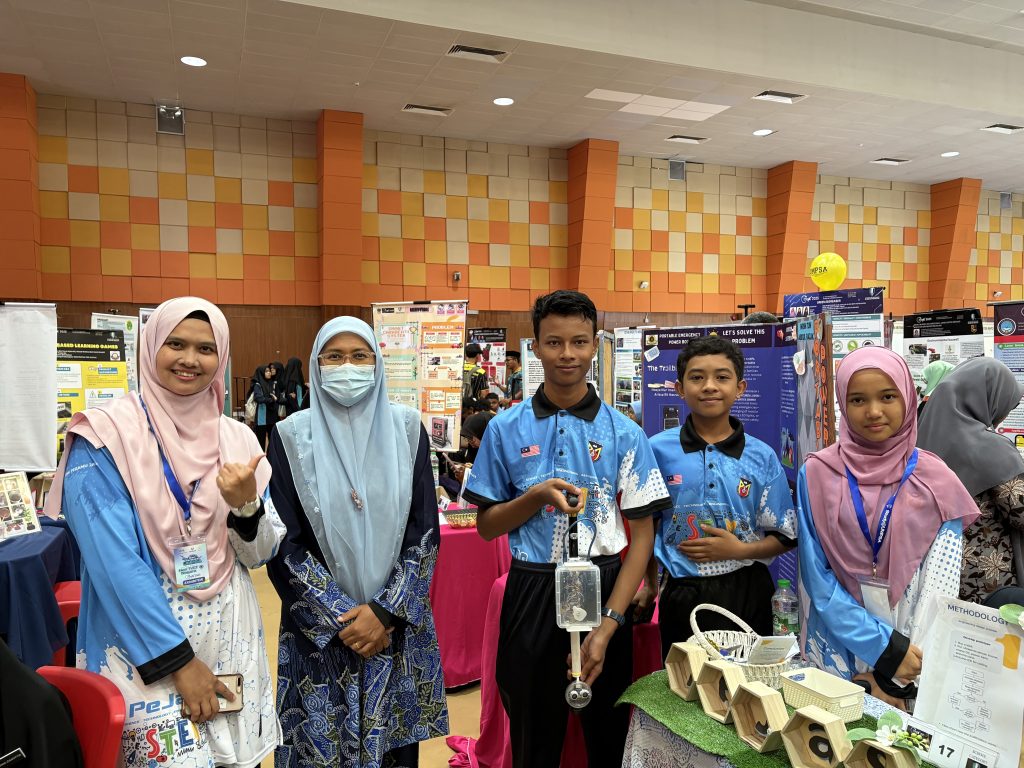
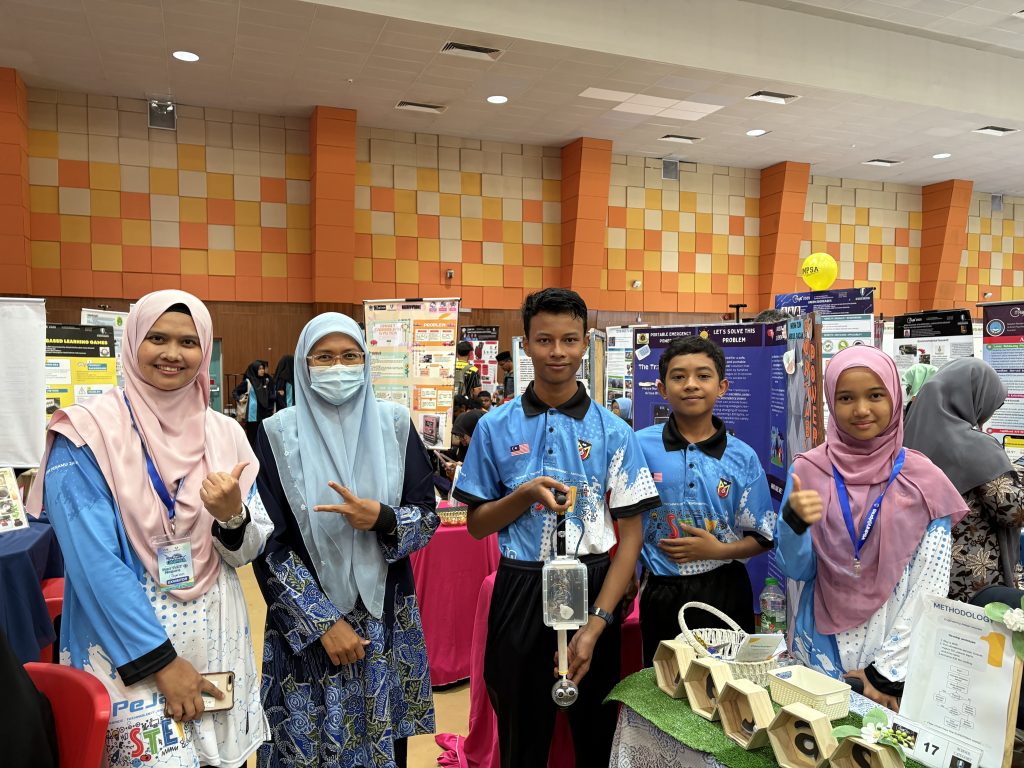
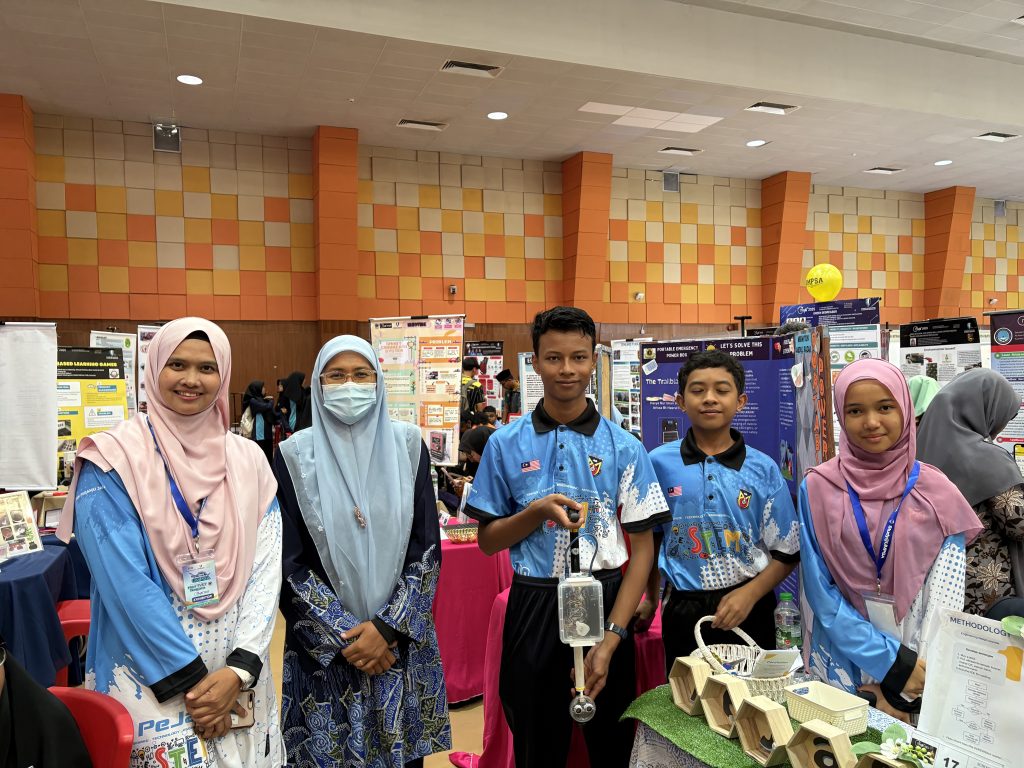
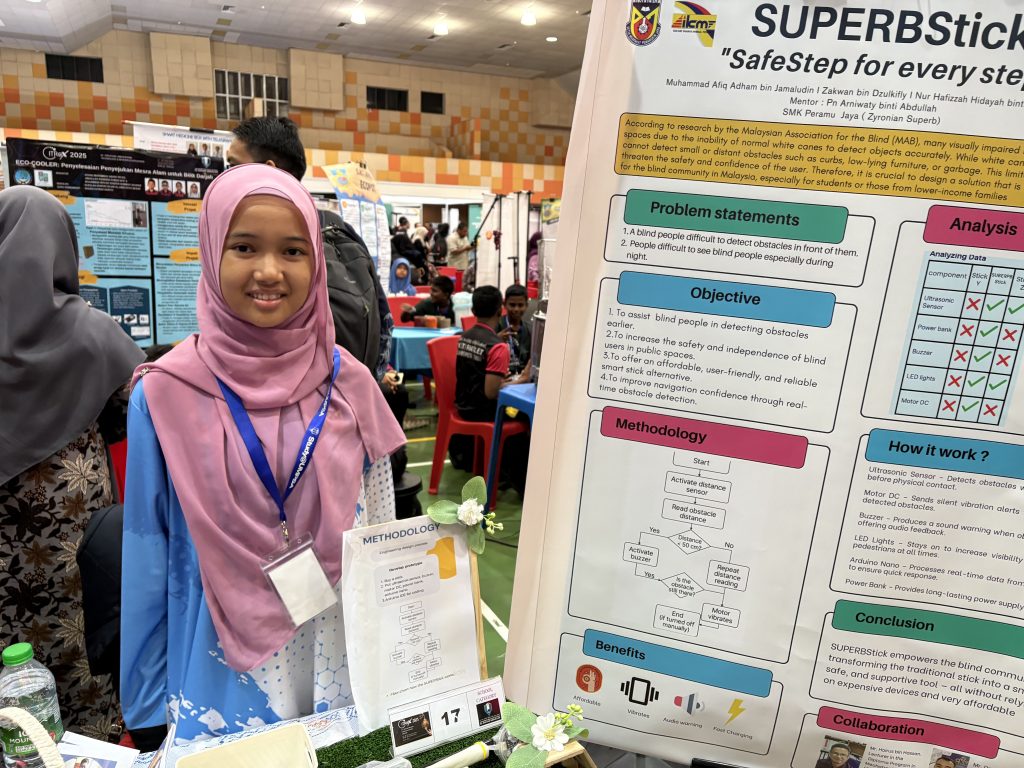
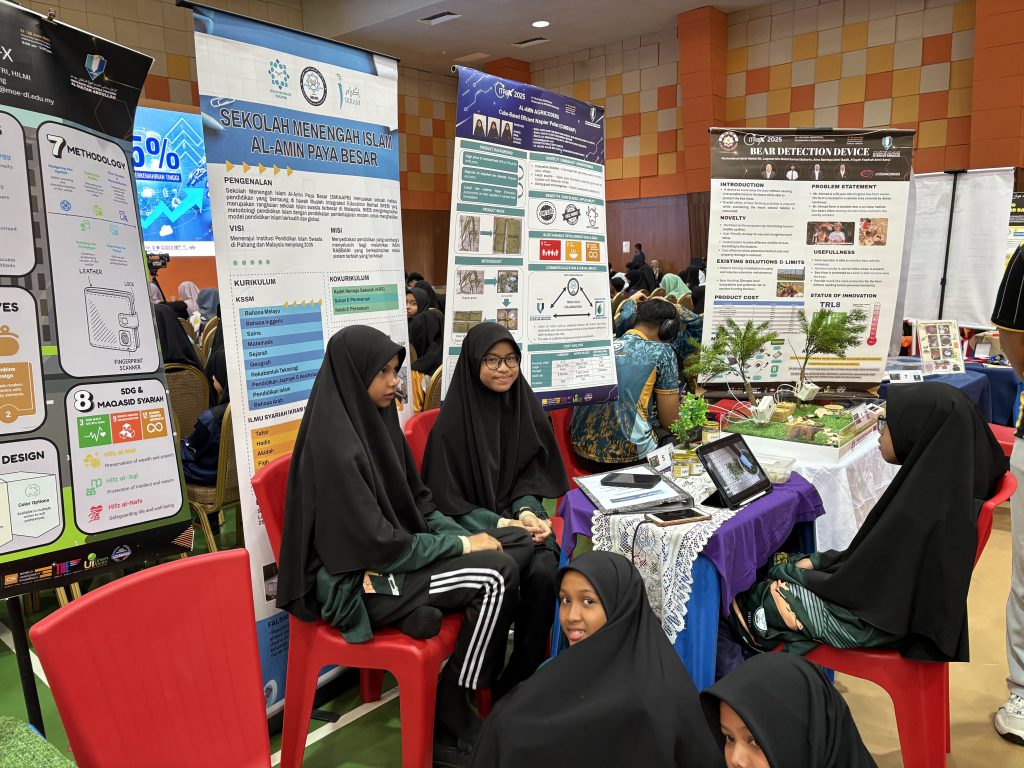
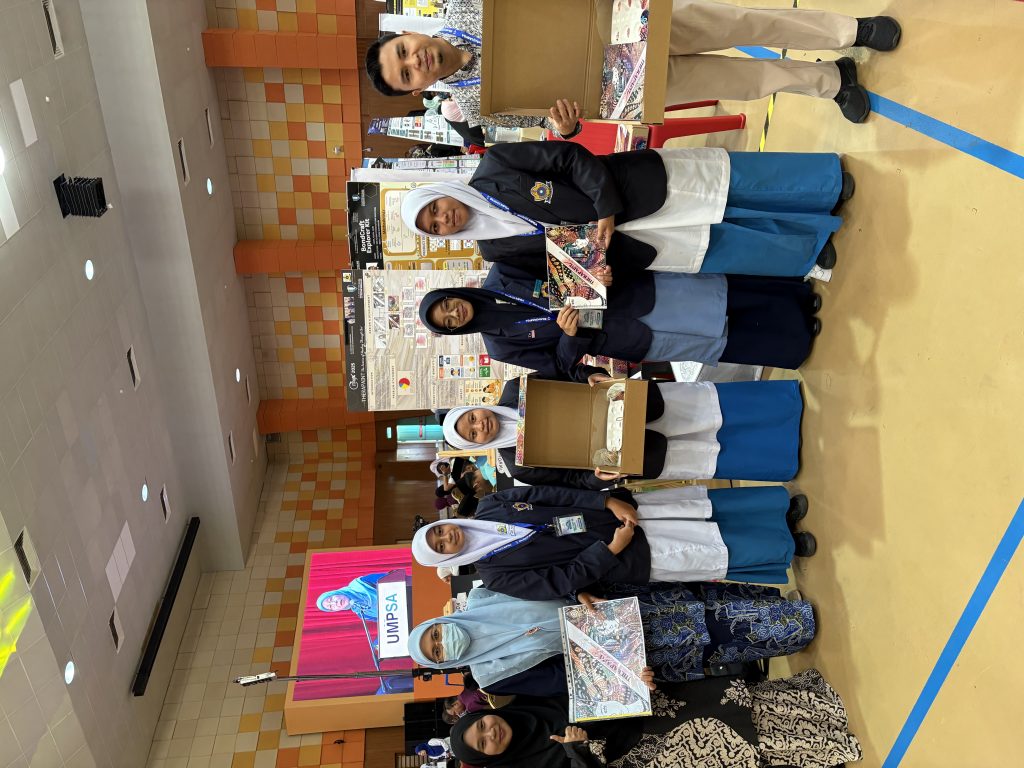
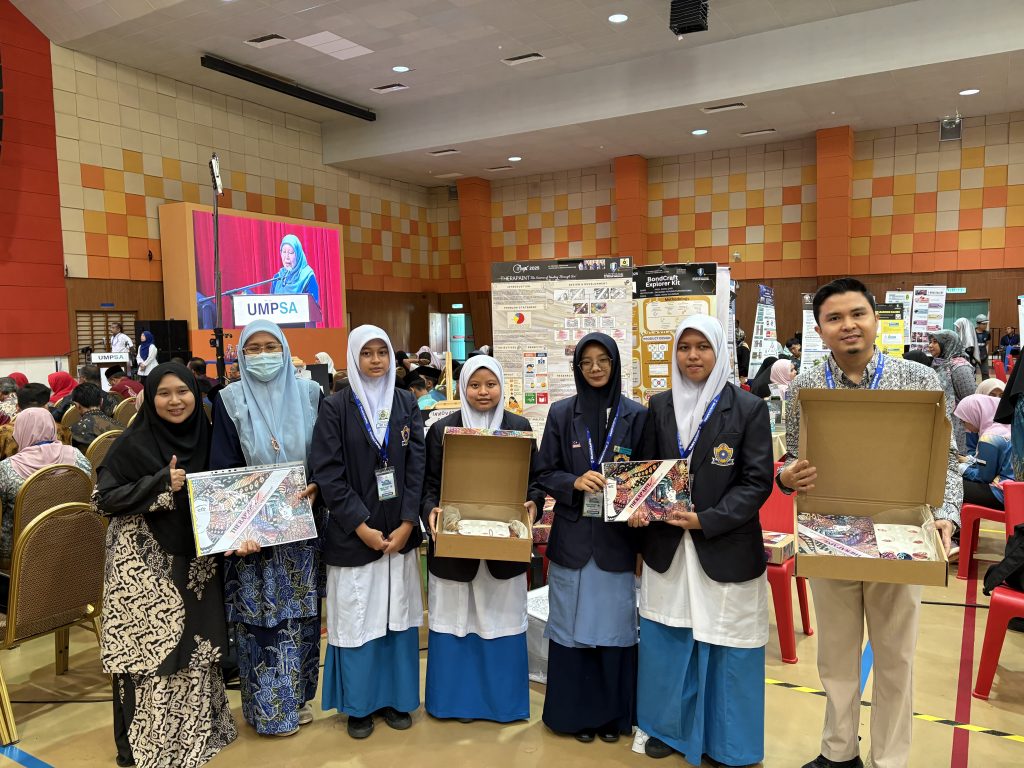
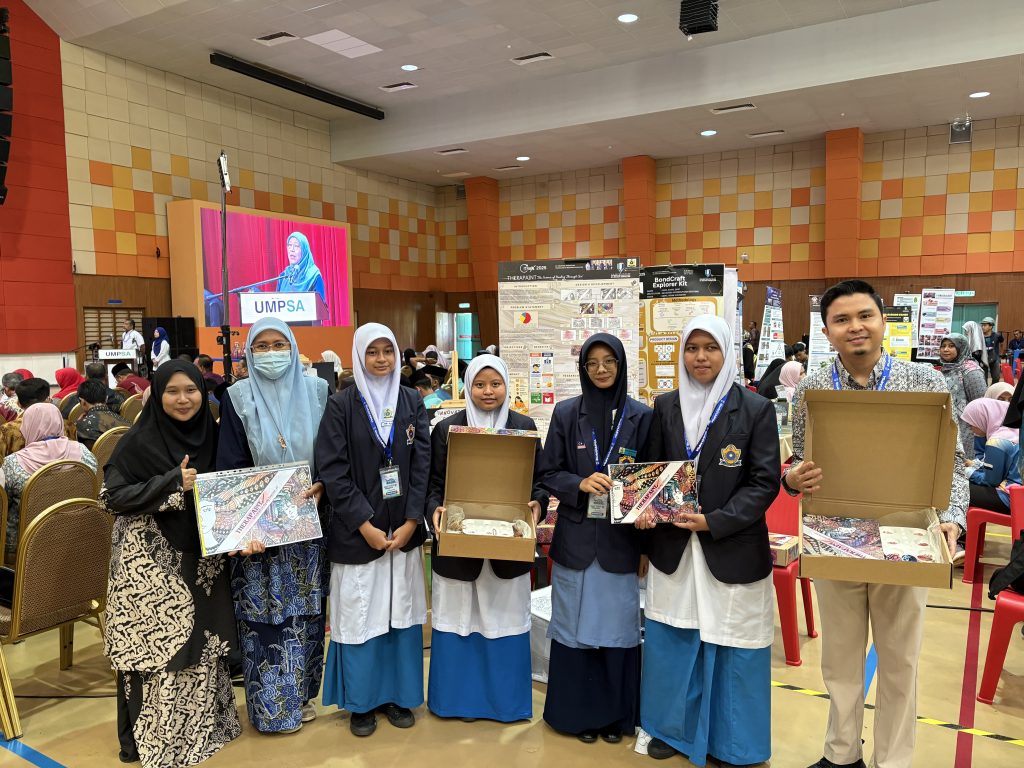
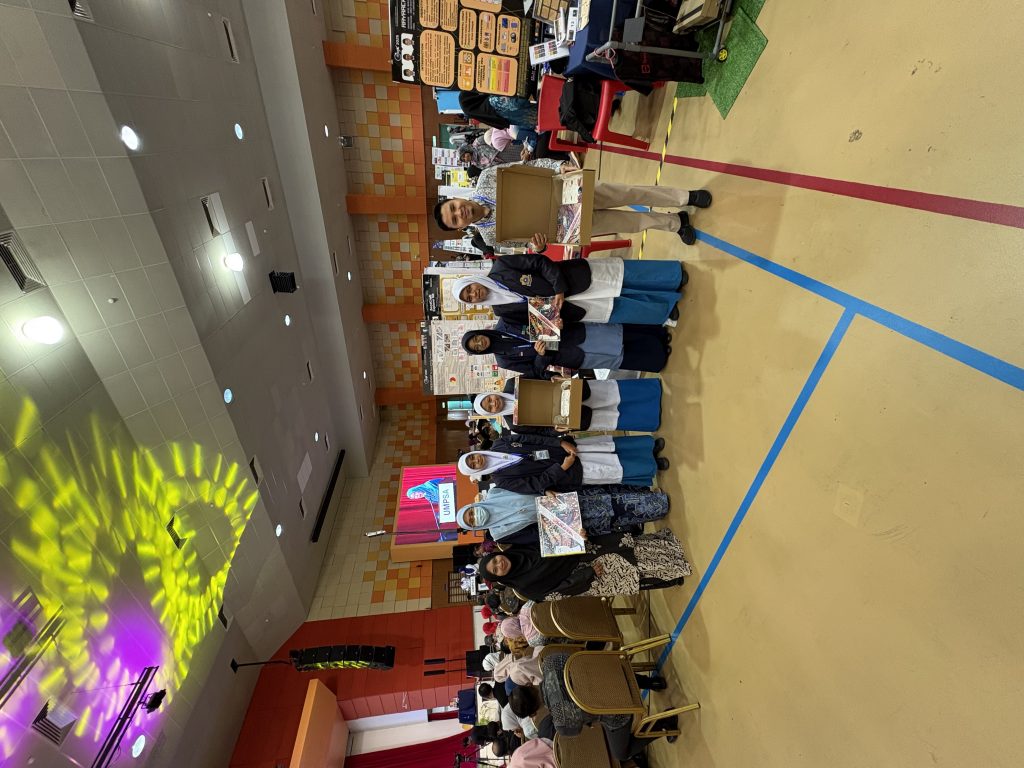
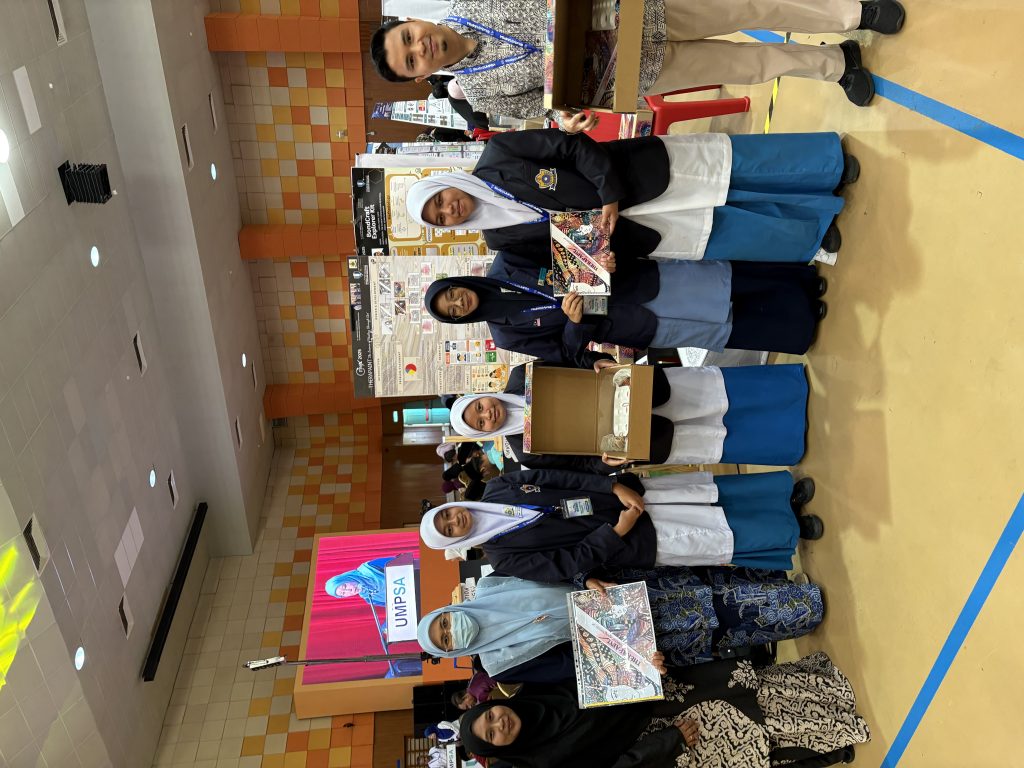
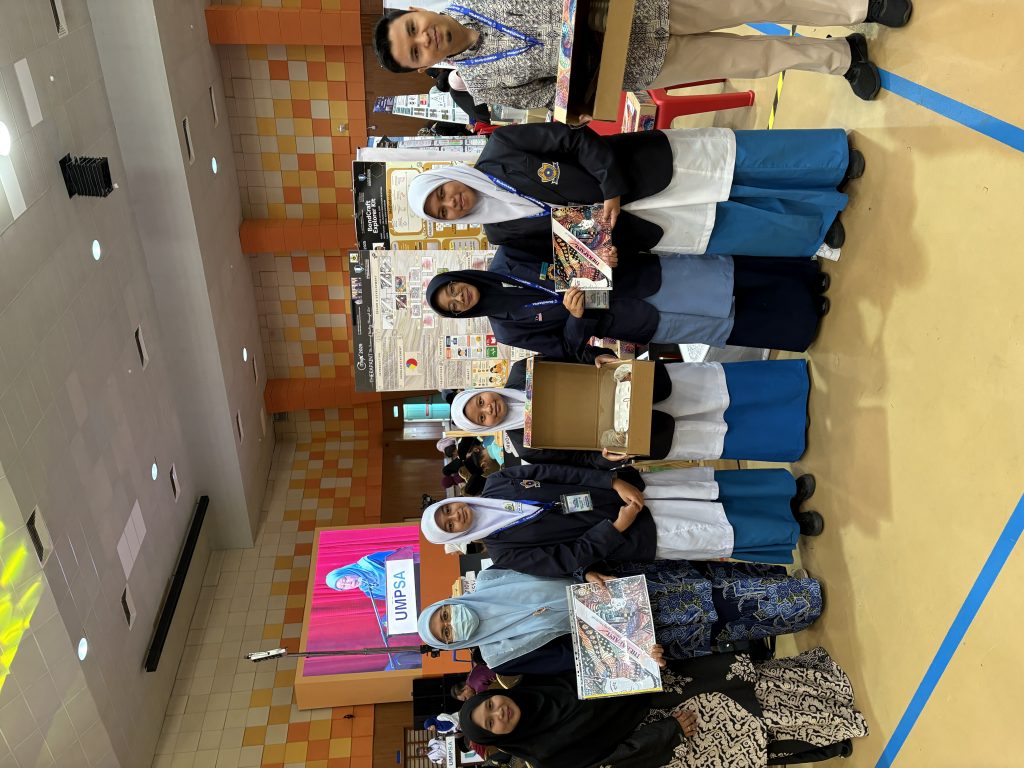
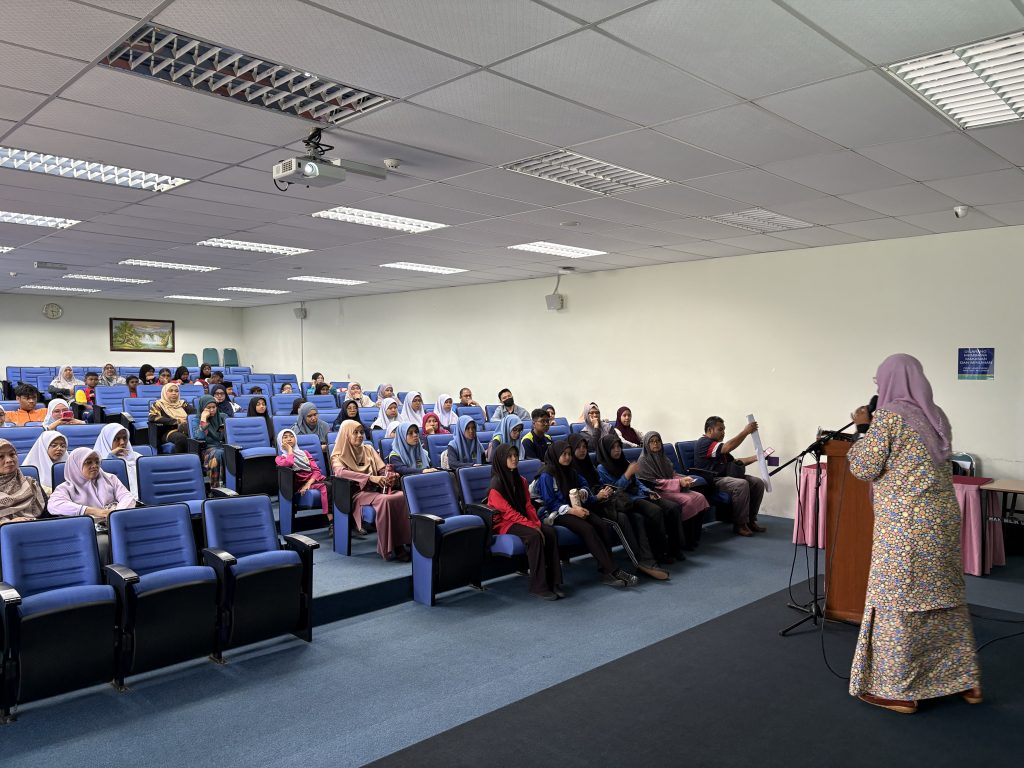
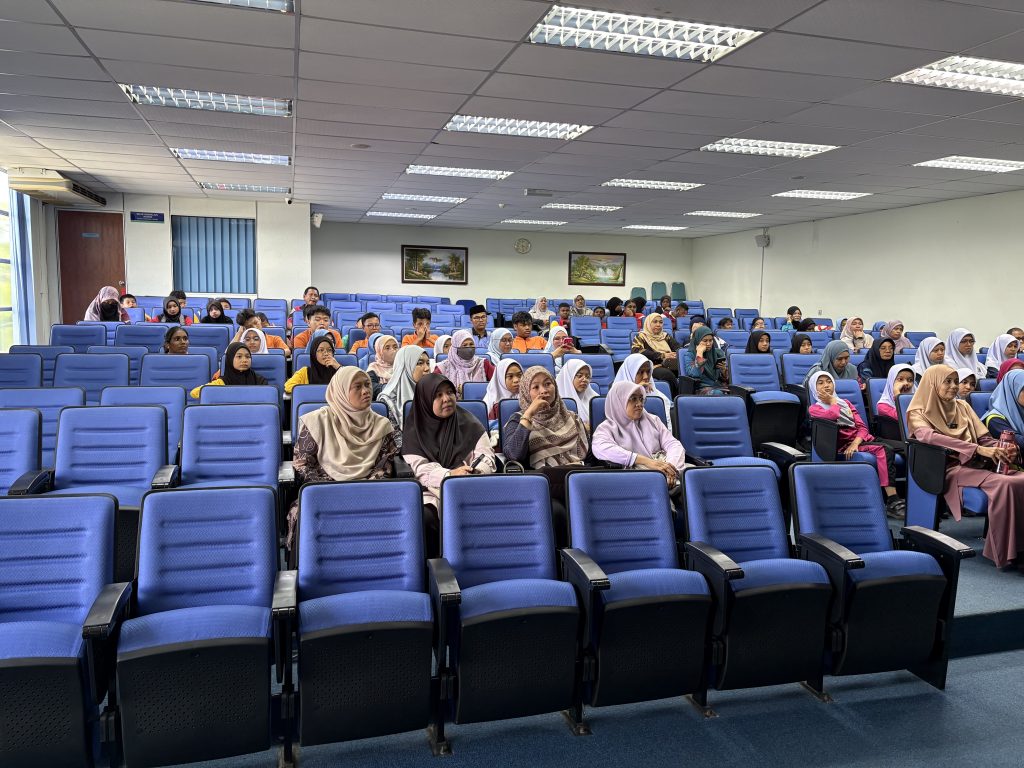
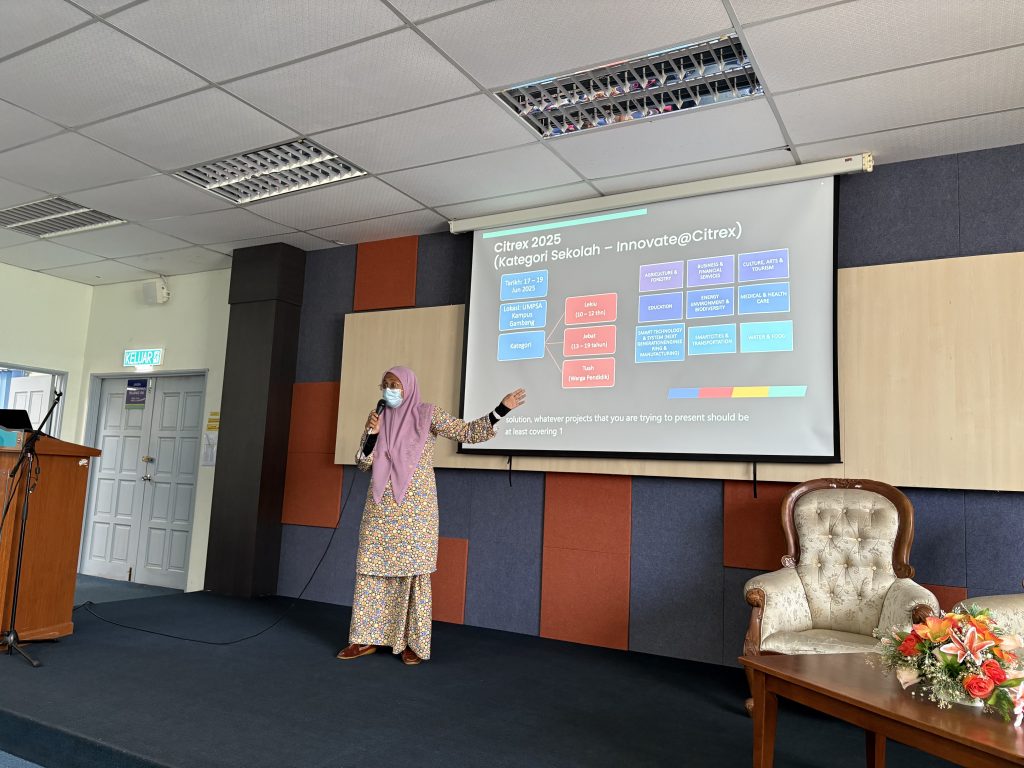
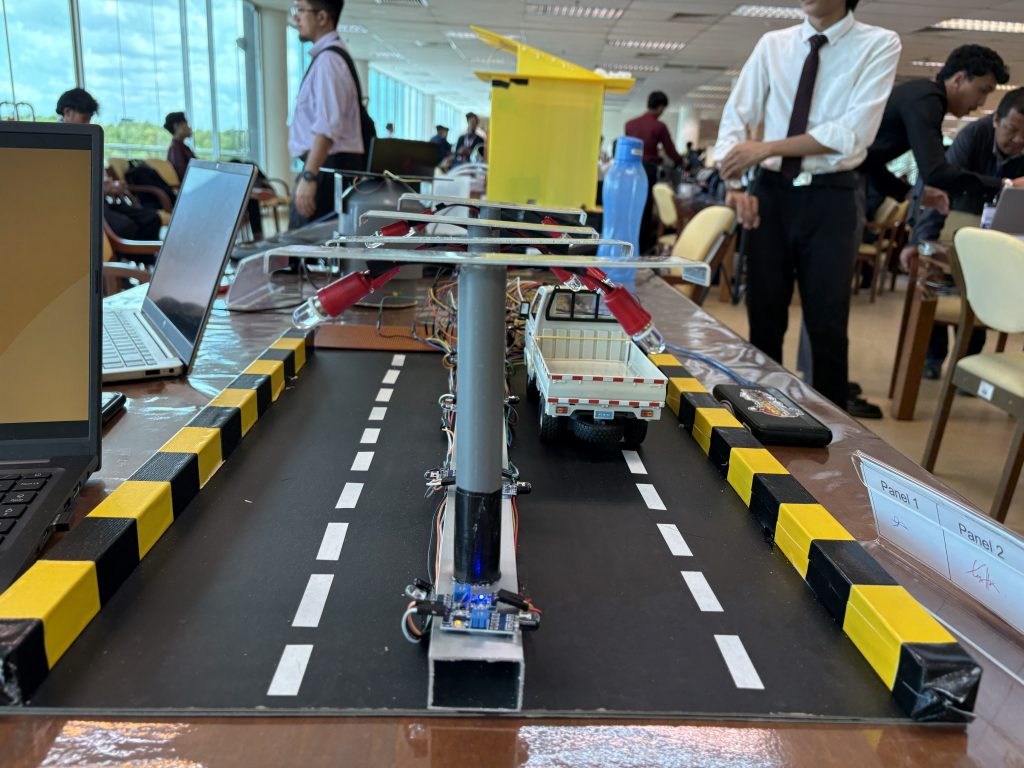
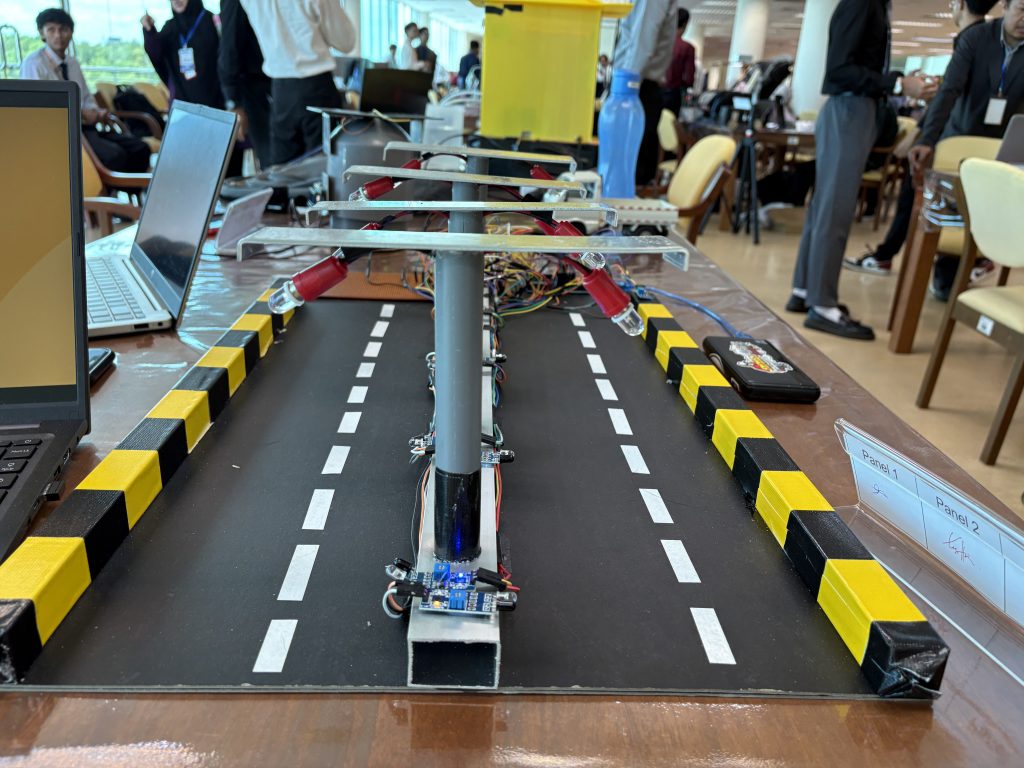
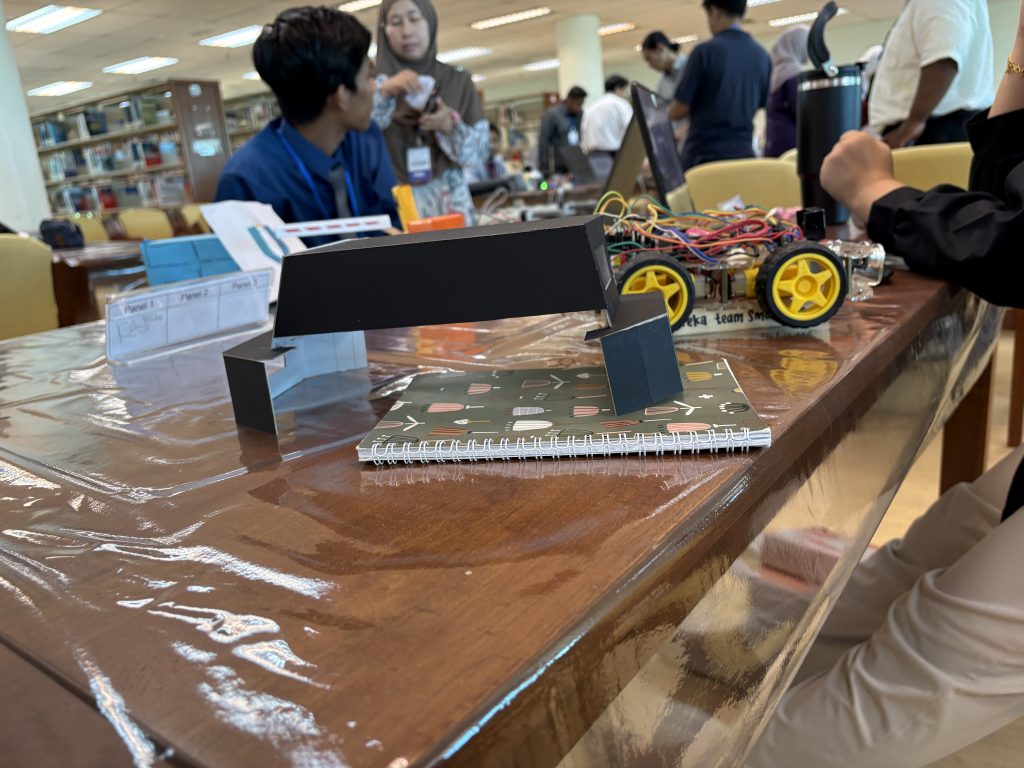
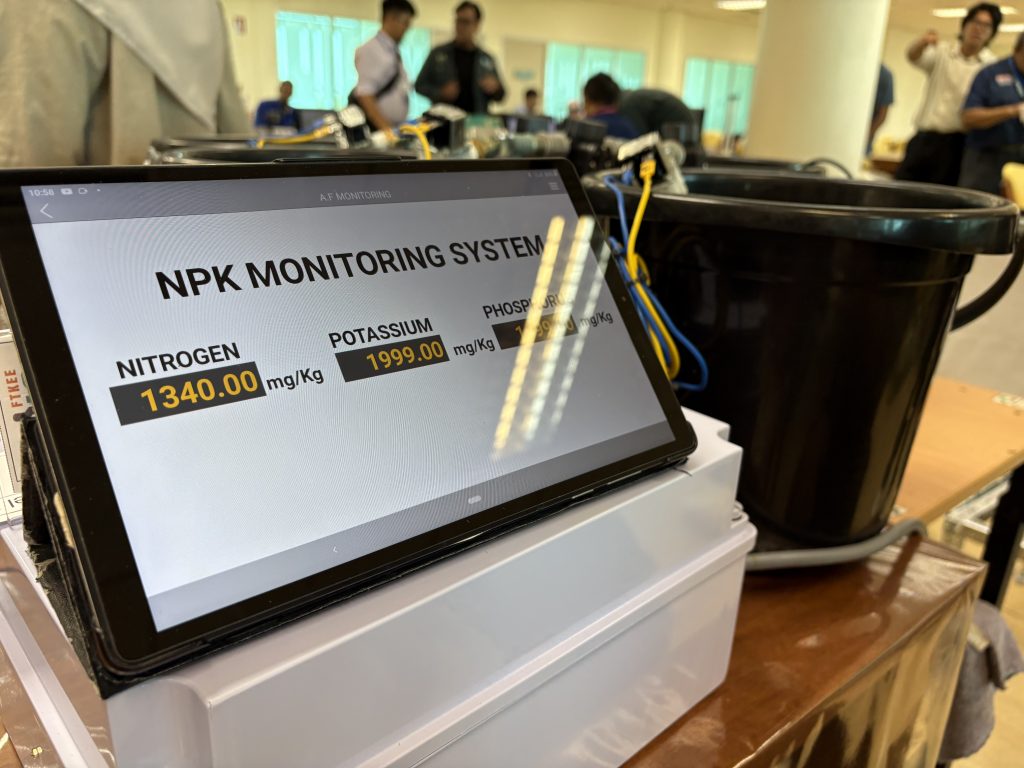
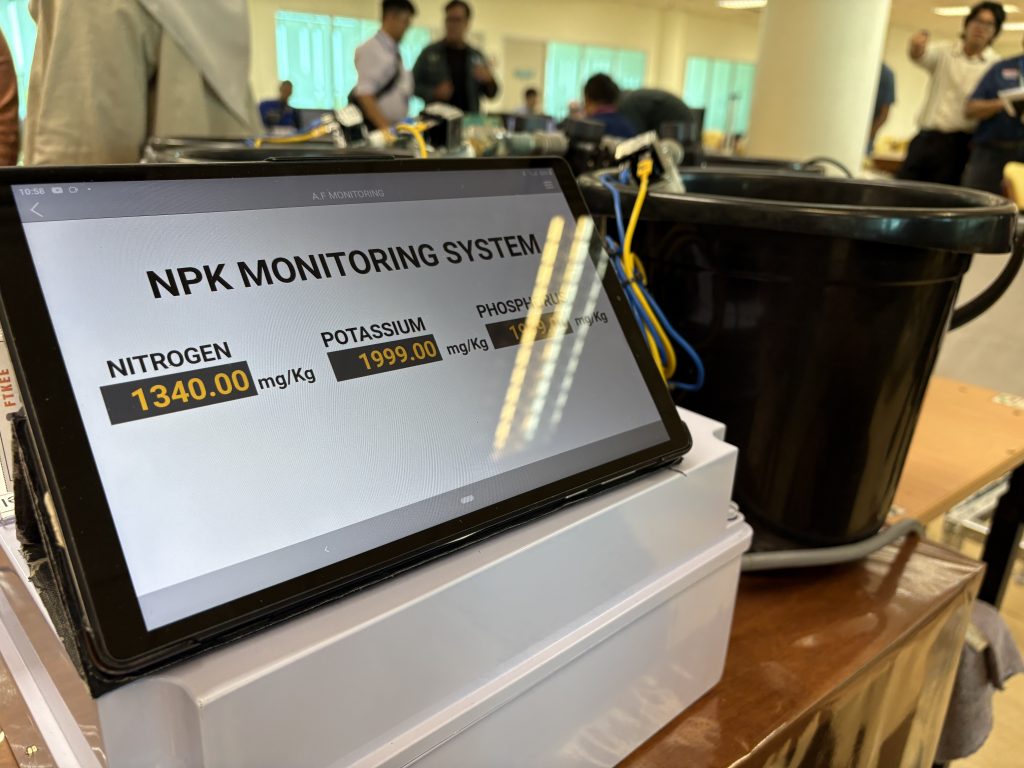
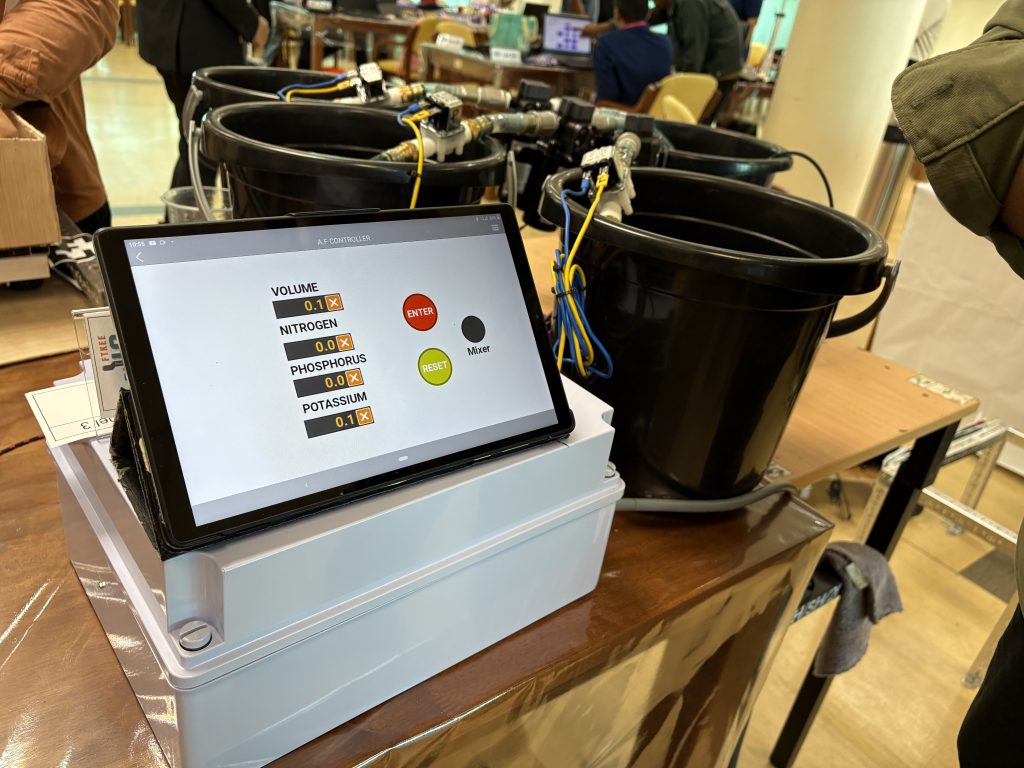
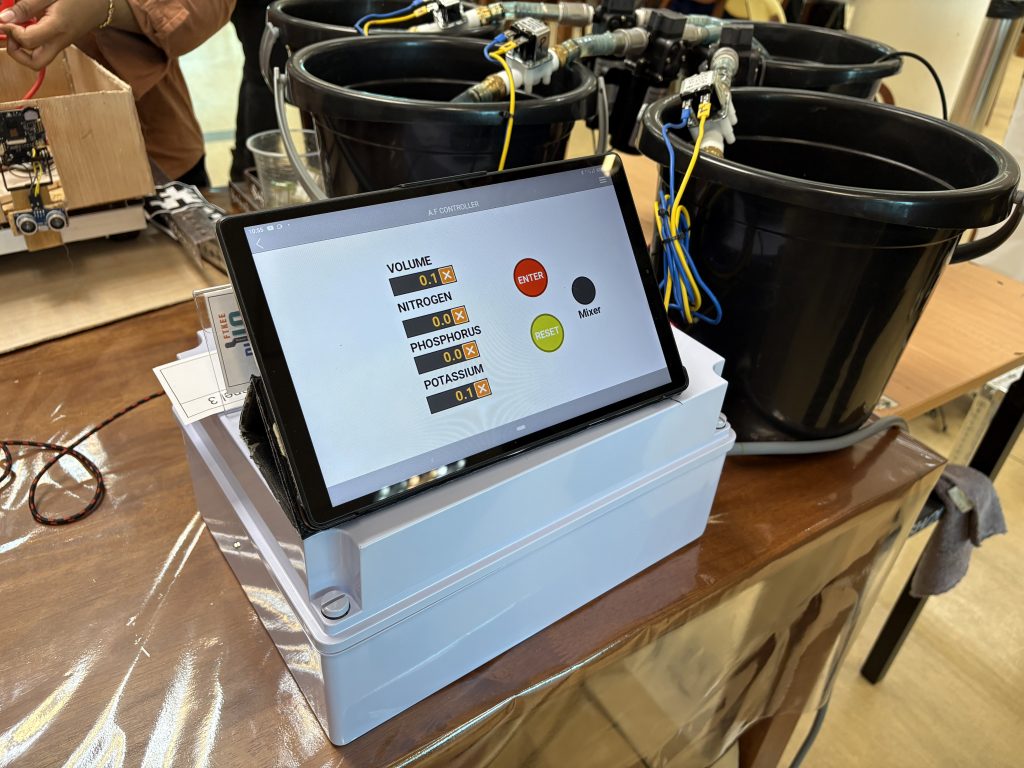
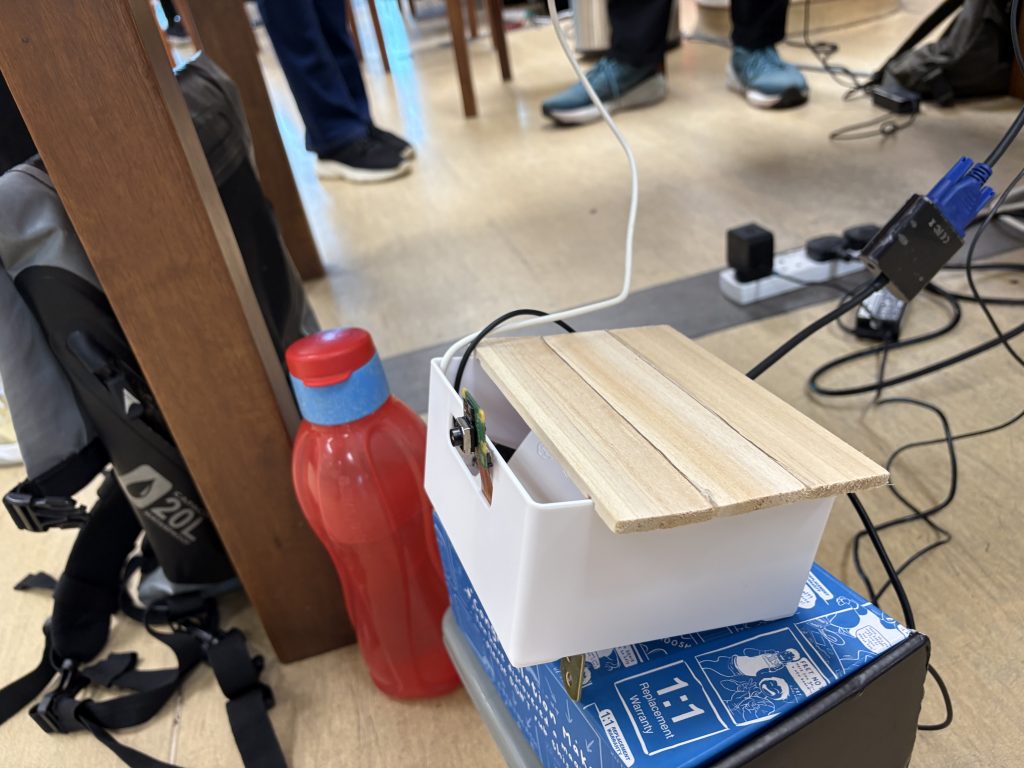
Citrex 2025 – School Category


Today marked the end of Citrex Program Inovasi @ UMPSA, a two-day event filled with ideas, creativity, and meaningful collaboration between students, teachers, and families. It wasn’t just a competition—it was a festival of ideas, a gathering of minds and hearts across three tracks:
-
-
-
LEKIU – for young innovators aged 10–12
-
HEBAT – for secondary school students aged 13–21
-
TUAH – for teachers
-
-
We were thrilled to host 47 primary schools under the LEKIU category, 36 teams from secondary schools under HEBAT, and 3 inspiring teacher-led teams under TUAH.
The Rubric – Measuring More Than Just Output
All participants were evaluated based on seven key items outlined in our rubric—designed to encourage critical thinking, creativity, and communication, rather than just “winning.”
Here’s what they were assessed on:
-
-
-
Problem Understanding & Background Research
– How well did the team define the issue? Was there real-world relevance and depth in their understanding? -
Innovation & Creativity
– Was the solution original, bold, or out-of-the-box? Did the idea show a spark of ingenuity? -
Design Thinking / Solution Development
– How was the idea developed? Was there structure, planning, and thought behind it? -
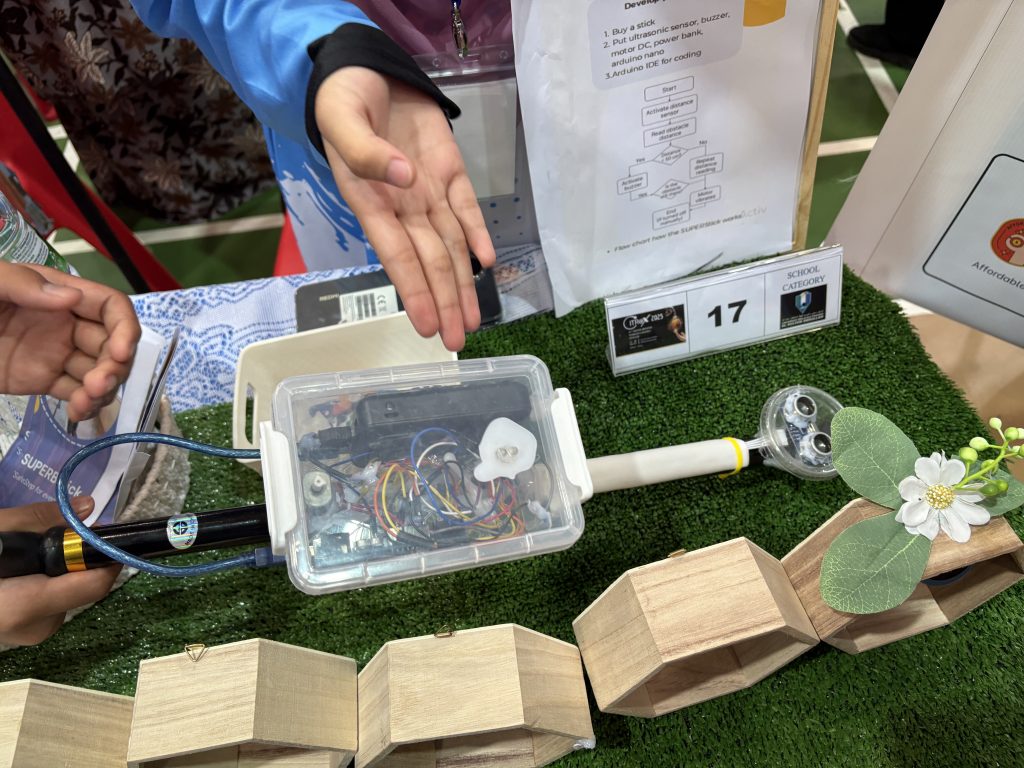
Use of Technology (Bonus)
– For those who incorporated robotics, sensors, or digital tools—how effectively were they used? -
Poster Presentation (A1 Format)
– Was the information presented clearly and visually engaging? Was the poster an effective communication tool? -
Demonstration of Product / Prototype
– Did the prototype (or model) work? Was the team able to explain how it works? -
Impact and Relevance
– Would this idea benefit a real-world community, school, or situation? Was the idea scalable or sustainable?
-
-
Winning teams were announced yesterday—congratulations to all of you!
But to those who didn’t walk away with medals—you are winners too.
Why? Because you showed up. You ideated. You built. You practiced. You stood in front of a crowd and shared your ideas with the world. That alone is victory.
You made it through the entire process of innovation—from ideation, to tinkering, to presentation. That journey is far more valuable than the outcome.
Hardware, Heartwork, and Hard Work
The Innovation Day wasn’t just about ideas—it was about hardware: the hands-on building, testing, soldering, debugging, sticking, and sometimes even starting over.
It was also about heartwork: families staying up late to glue and cut, teachers guiding teams with care, and students whispering to one another backstage before pitching.
Yes, we acknowledge that younger students often receive help from adults—and that’s okay. When those students step up, present in front of an audience, and explain their version of the innovation… they are learning. They are growing. That in itself is a massive win.
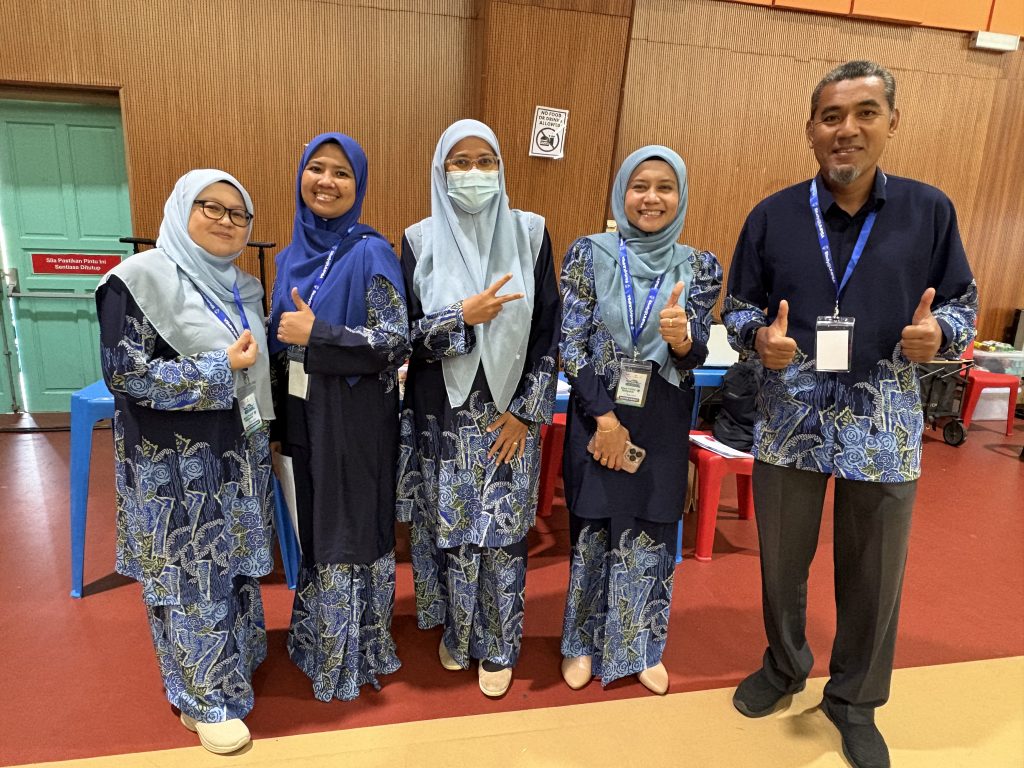
To our pro bono committee members – Pn Ijan, Dr Sue, Pn Yan, Pn Idde, Pn Nashua, Hj Zahir, mentors, volunteers, and judges—thank you.

It was fun, yes. It was exhausting, absolutely. But it was also incredibly worthwhile.
You helped make this festival of ideas a place where students, parents, and teachers met, built, and grew together. That’s the true spirit of STEM.
Final Words
At UMPSA STEM Lab, we believe that no idea is less brilliant than the next. Every project is an ilham—an inspiration gifted by Allah. What matters is not how polished it looks, but how much thought, care, and learning went into its creation.
To all participants,
Keep building. Keep dreaming. And keep solving problems—big or small.
You are the future. And the future looks bright.
Nurul – June 19th


Briefings

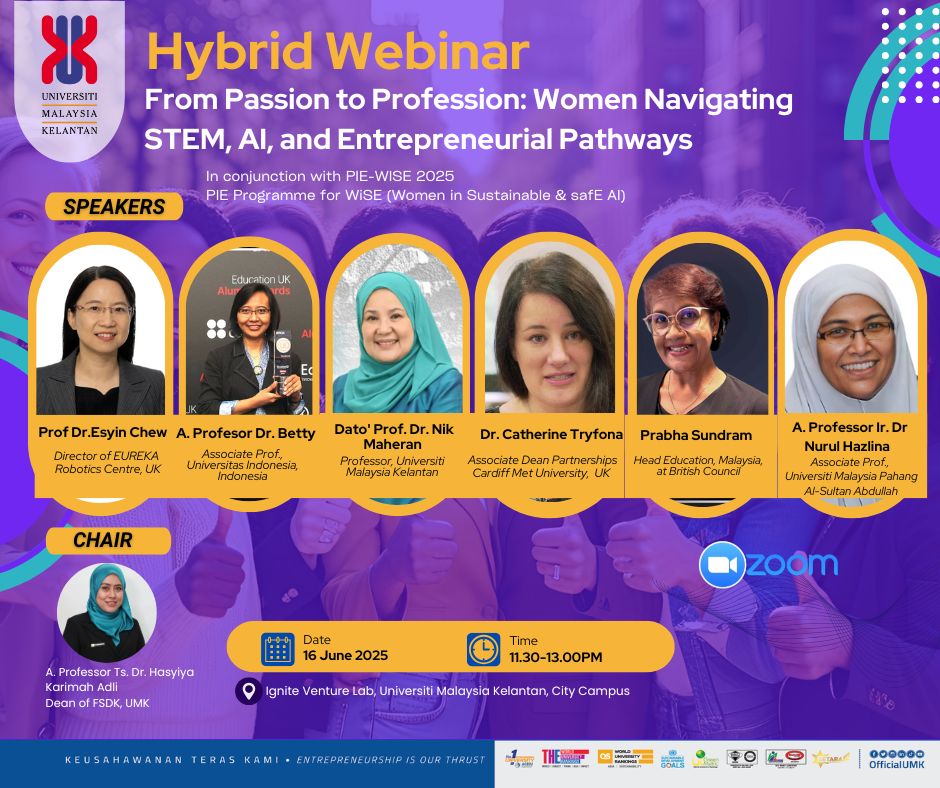
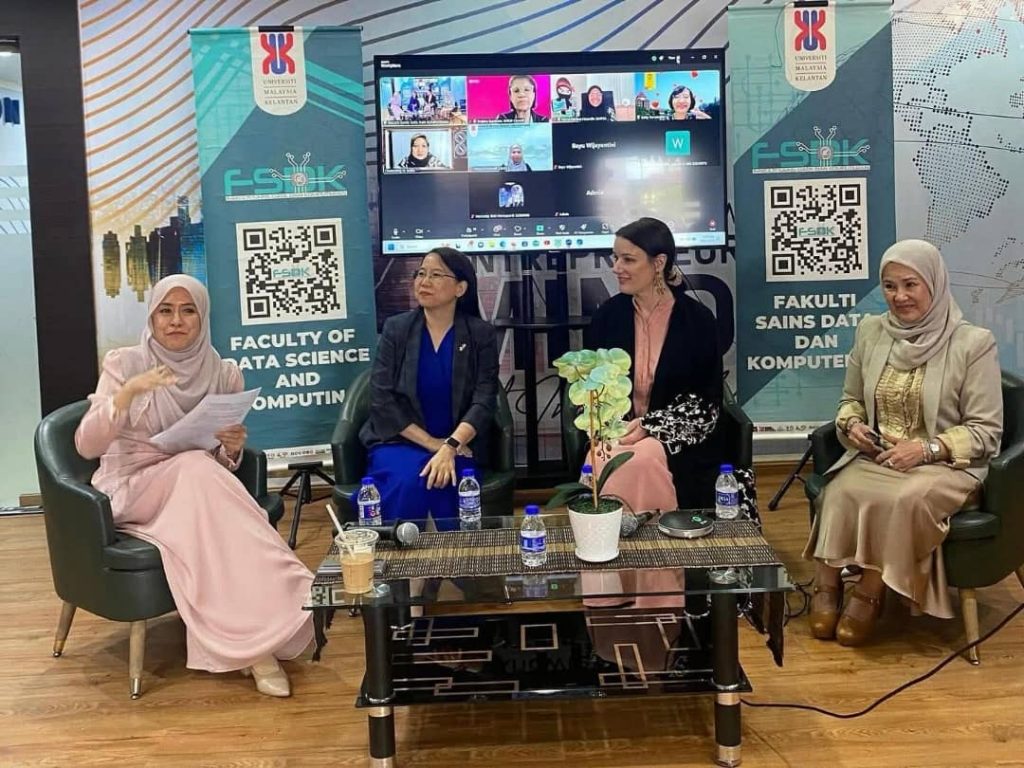
From Passion to Profession: Women Navigating STEM, AI, and Entrepreneurial Pathways
Today, I had the honor of being invited as one of the panelists in a session titled “From Passion to Profession: Women Navigating STEM, AI, and Entrepreneurial Pathways.” It was an inspiring space where stories, struggles, and successes intersected—and where we celebrated the growing role of women in shaping tomorrow’s technology. This event is part of PIE Cardiff Mett, British Council, UMPSA, UMK program.
I represented Universiti Malaysia Pahang Al-Sultan Abdullah (UMPSA) and UMPSA STEM Lab, where I currently serve the Faculty of Electrical and Electronics Engineering. I also lead the UMPSA STEM Lab, a collaborative hub where we design STEM outreach and digital making programs in partnership with schools, agencies, and industry players. Our mission is simple – open access, ignite curiosity, and empower communities with real technical skills.
Below were the questions in the seminar:-
Who Am I—And What Got Me Here?
Beyond the academic classroom, my passion lies in giving young people, especially in underserved communities, the chance to interact with real-world technology—whether it’s building miniature robots or learning to program embedded systems. These aren’t luxuries; they are opportunities. And for some communities, they are still out of reach due to high costs or lack of resources.
As a child, I had dreams too. I used to stargaze with my family, and I remember one magical night catching a meteor shower. At the age of 10, I proudly declared I wanted to be an astronaut—yes, it was written in my report card! Though I didn’t end up in space, my journey led me to the stars in a different way—through engineering, innovation, and education.
What Sparked My STEM Journey?
It started with a phone.
As a student, I was fascinated by how communication technologies work. During school recess, you’d often find me in the library, flipping through encyclopedias with colourful graphics. One story that left an impression was Alexander Graham Bell’s journey in inventing the telephone. That story steered me toward communication engineering, and later, into telecommunication systems and antenna design.
As technology rapidly shifted from analog to digital, I became even more intrigued. Eventually, my path led me to embedded systems and FPGA (Field-Programmable Gate Array)—the very hardware that drives robots. It all came full circle.
Facing Bias in the Field
Working in a male-dominated field comes with its own unique challenges. At times, I was the only woman in the room during technical discussions or project meetings. Sometimes, assumptions were made before I even said a word.
I learned that the best response is to show up, speak up, and deliver results. I focused on building credibility—not just for myself, but for the next generation of women watching quietly from the sidelines. Visibility matters.
The Skill That Matters Most? Resilience.
If you ask me the one mindset that truly matters in STEM today, it’s resilience.
Let me explain with a personal story. I loved music growing up, but music classes were expensive. When our school introduced music into the curriculum using affordable instruments like the recorder, it gave us all a chance to learn music theory and notation. That shaped how I think about access today.
Now, with tools like YouTube, Arduino kits, online simulators, and budget-friendly electronics, access to learning is no longer a luxury. My kids, for example, learn rollerblading tricks from online videos—something unimaginable when I was their age.
So, the challenge has shifted. It’s no longer just about access. It’s about perseverance. In a world where everyone can learn anything, those who keep learning, unlearning, and relearning will thrive.
That’s why at UMPSA STEM Lab, we design platforms that are affordable, replicable, and meaningful. A miniature robot can represent a whole world of technical possibilities. The goal is to open windows—and maybe even doors—for those who never knew such a world existed.
STEM isn’t just about coding or circuits. It’s about curiosity, courage, and community. I’m grateful for the opportunity to share this journey and to be part of a growing movement of women pushing boundaries, challenging norms, and creating inclusive tech futures.
If you’re reading this and thinking about your own path—don’t wait for permission to explore. The future is wide open =)


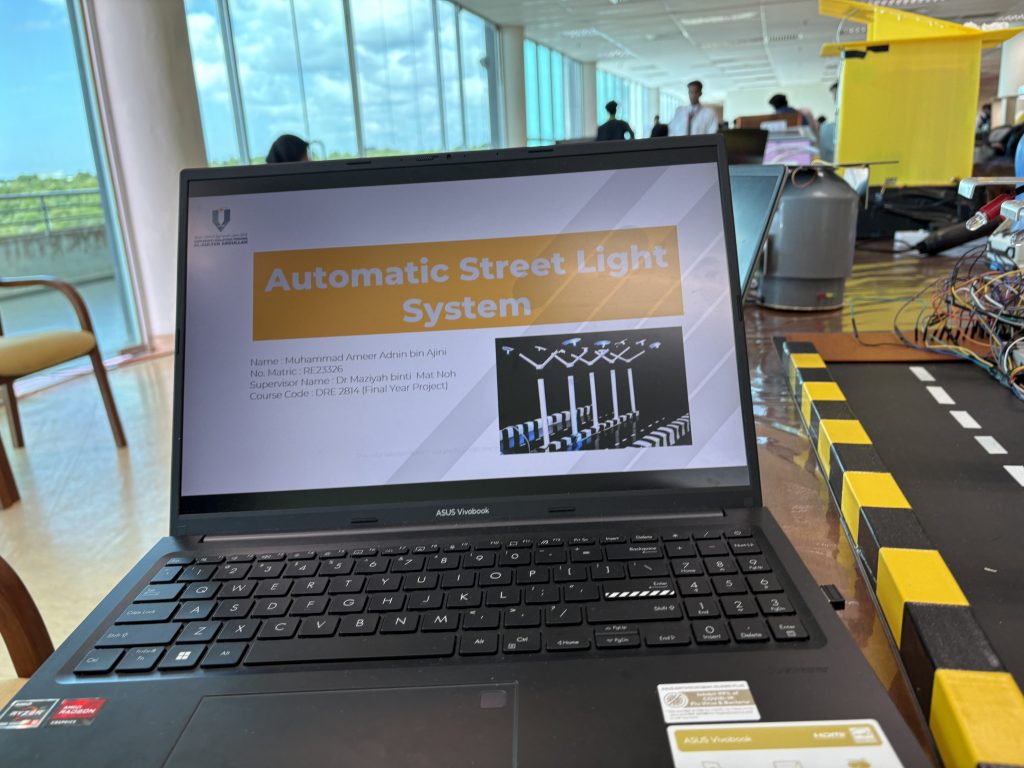
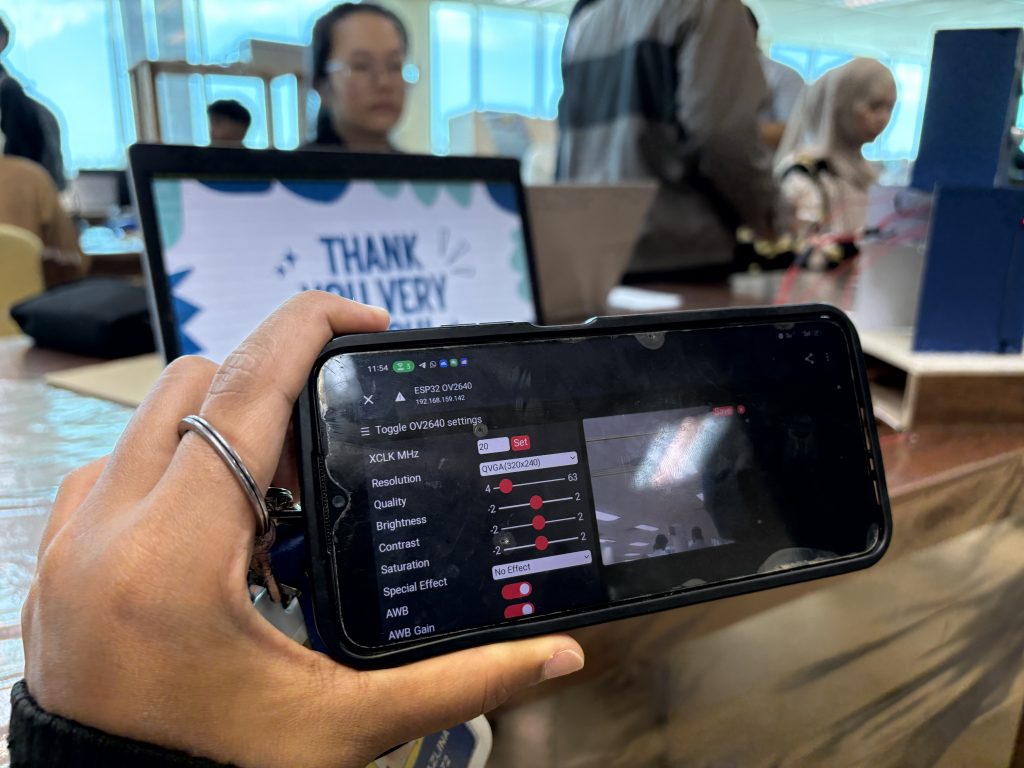
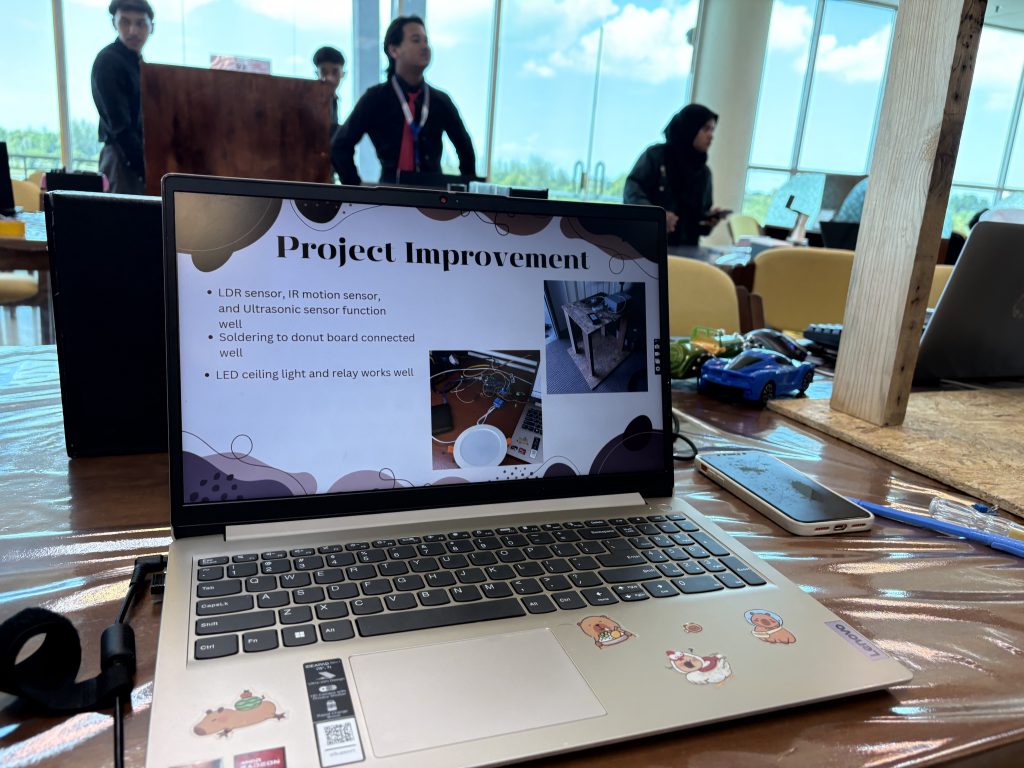
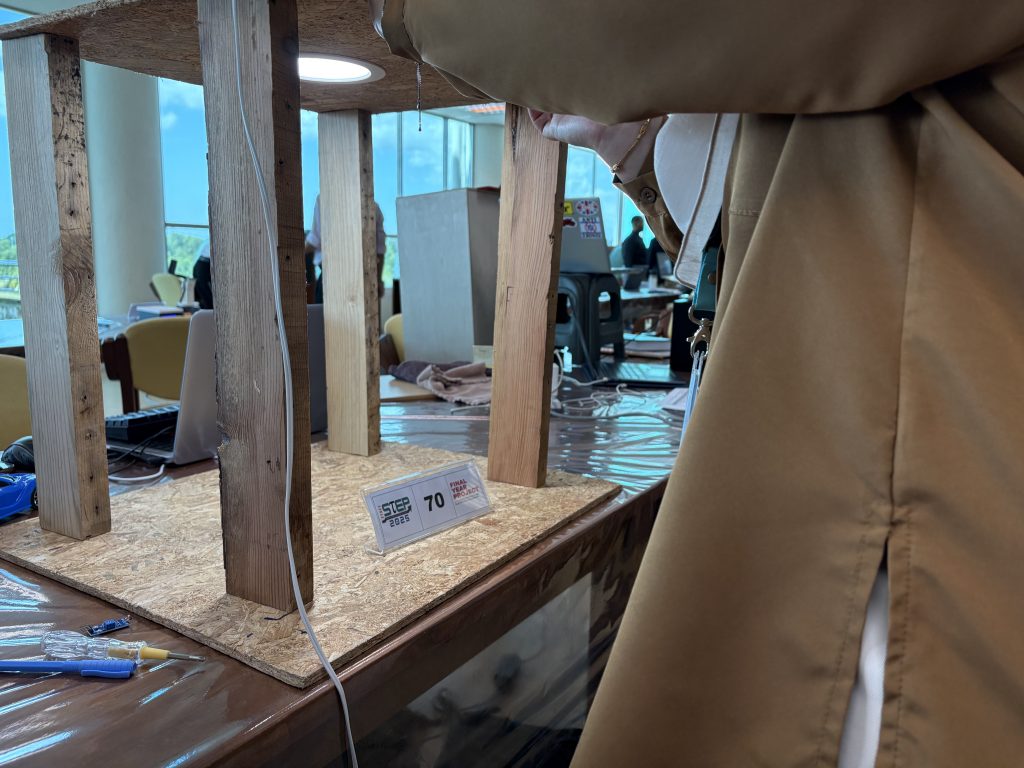
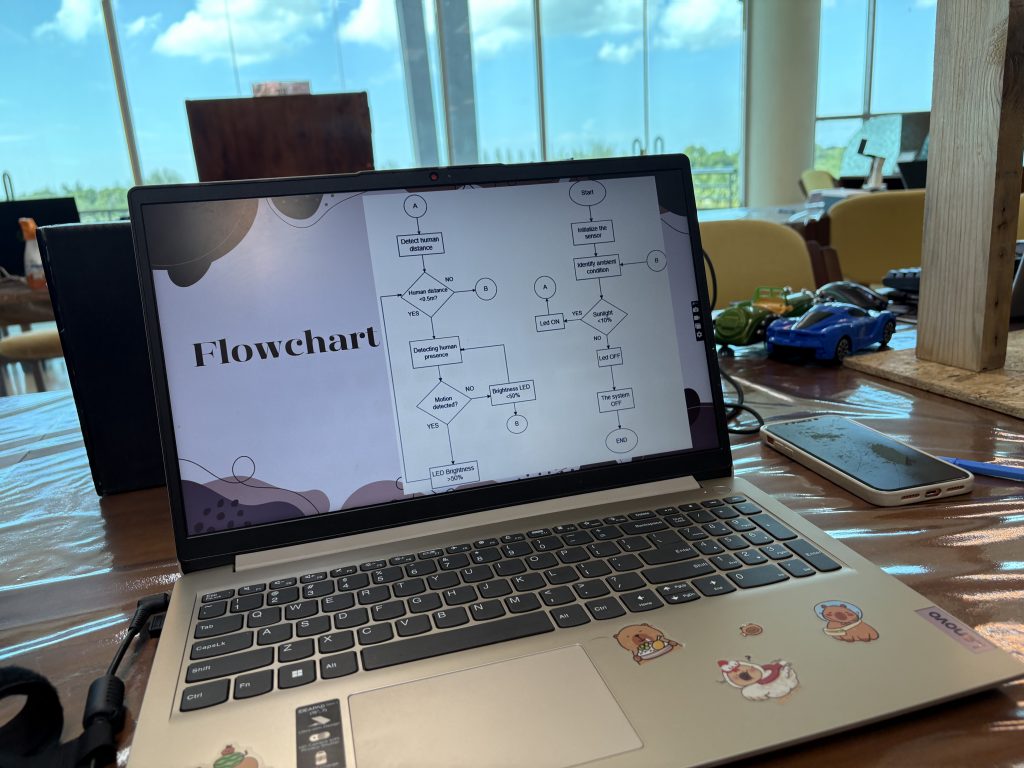
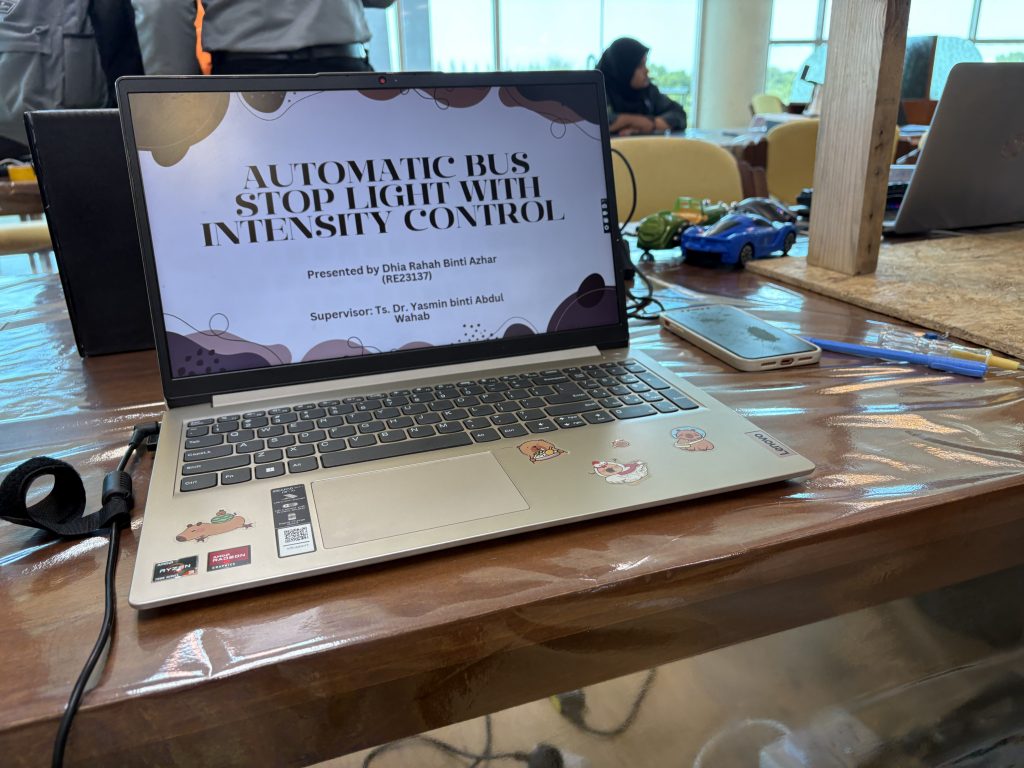
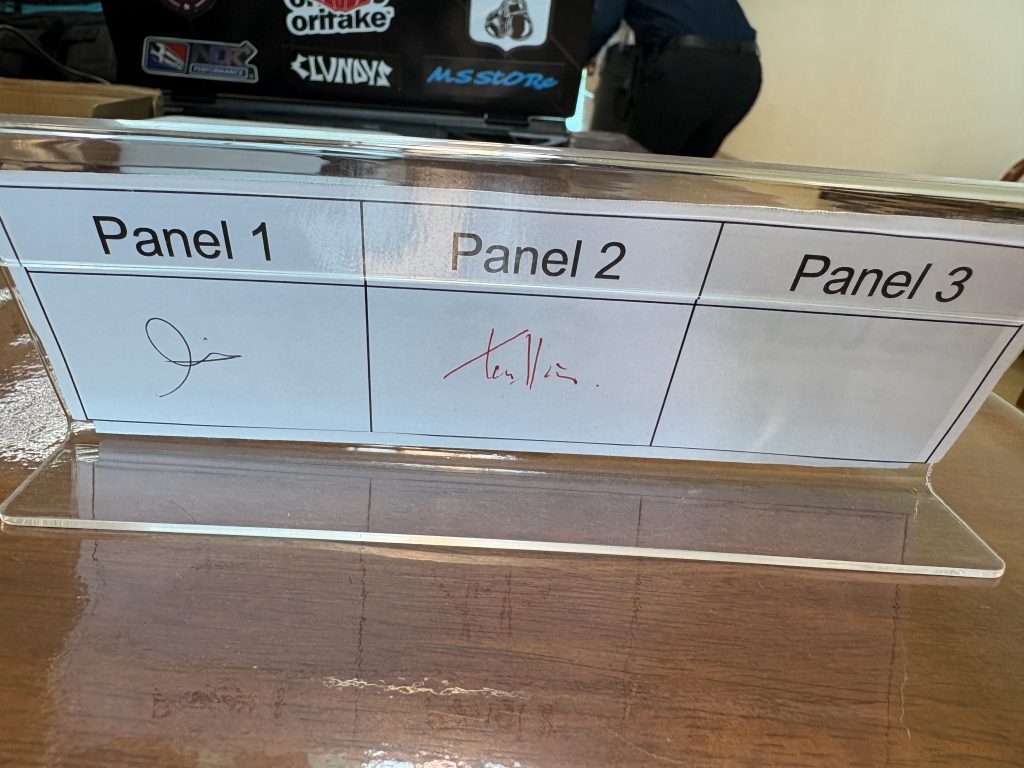
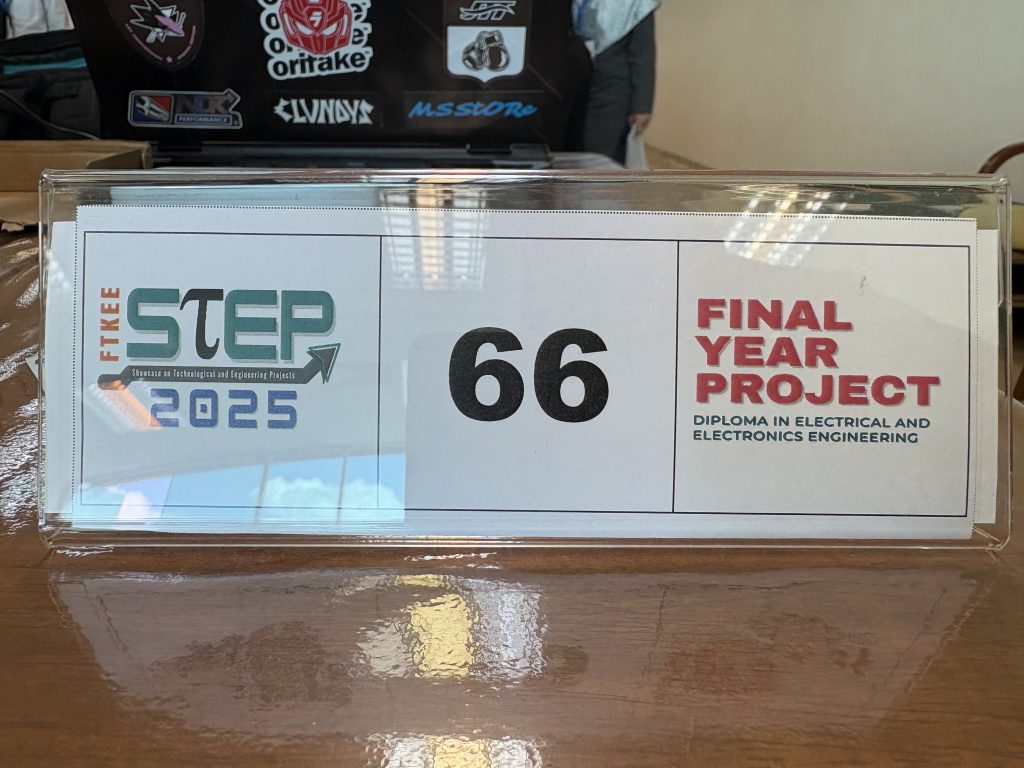
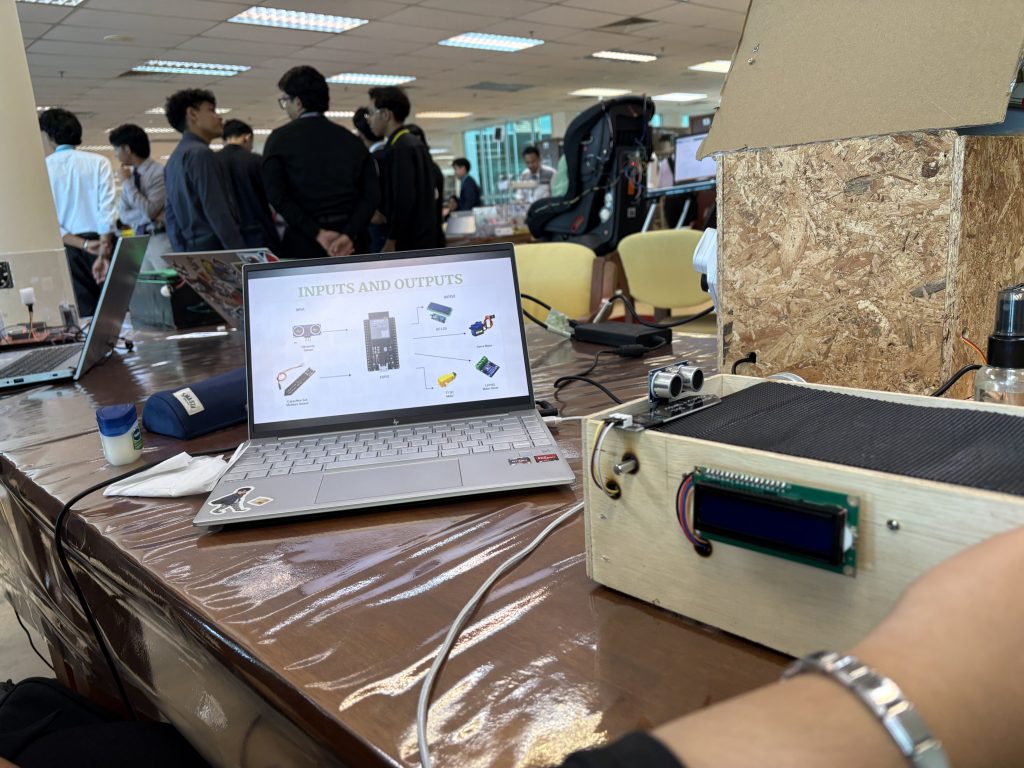
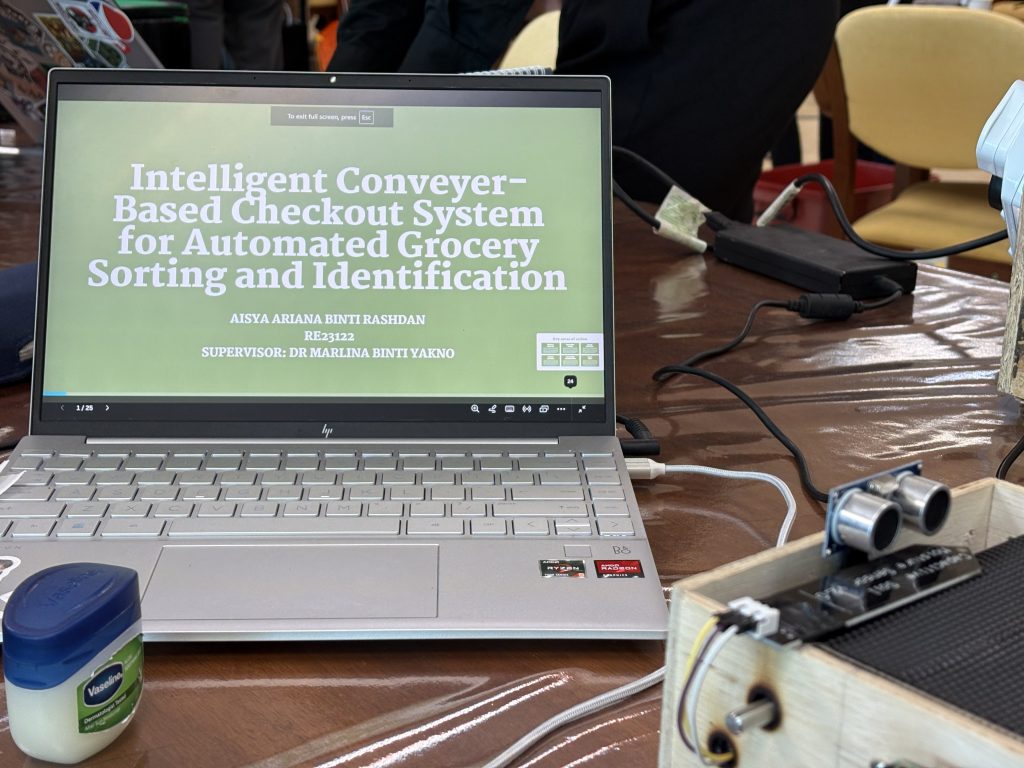
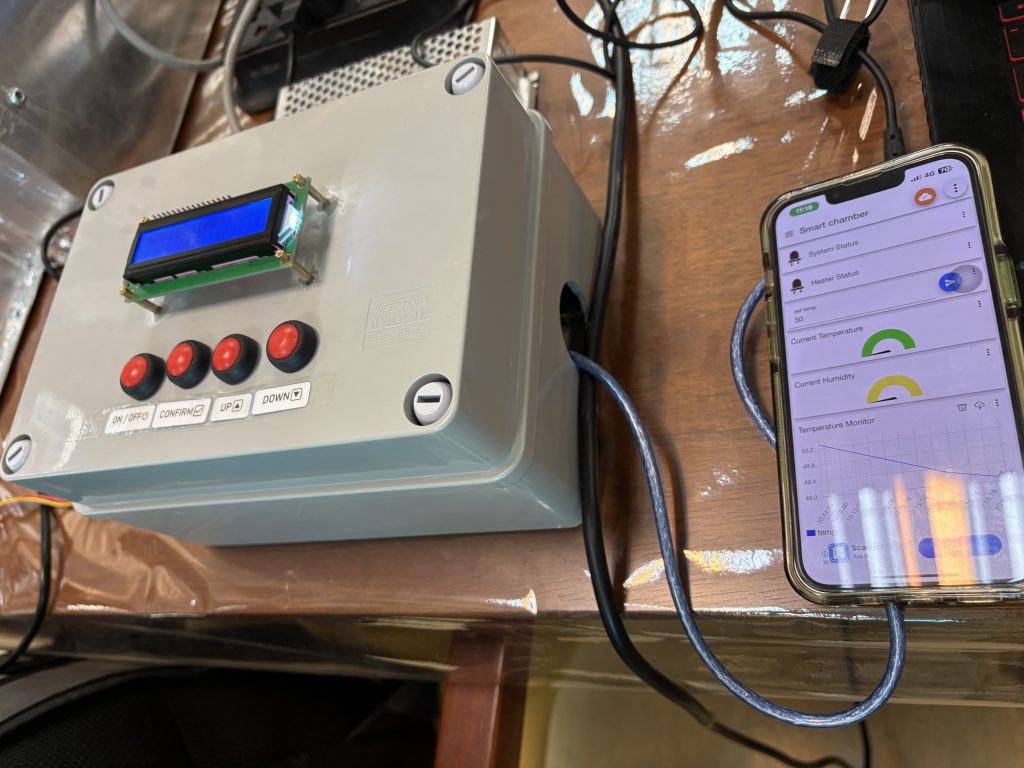
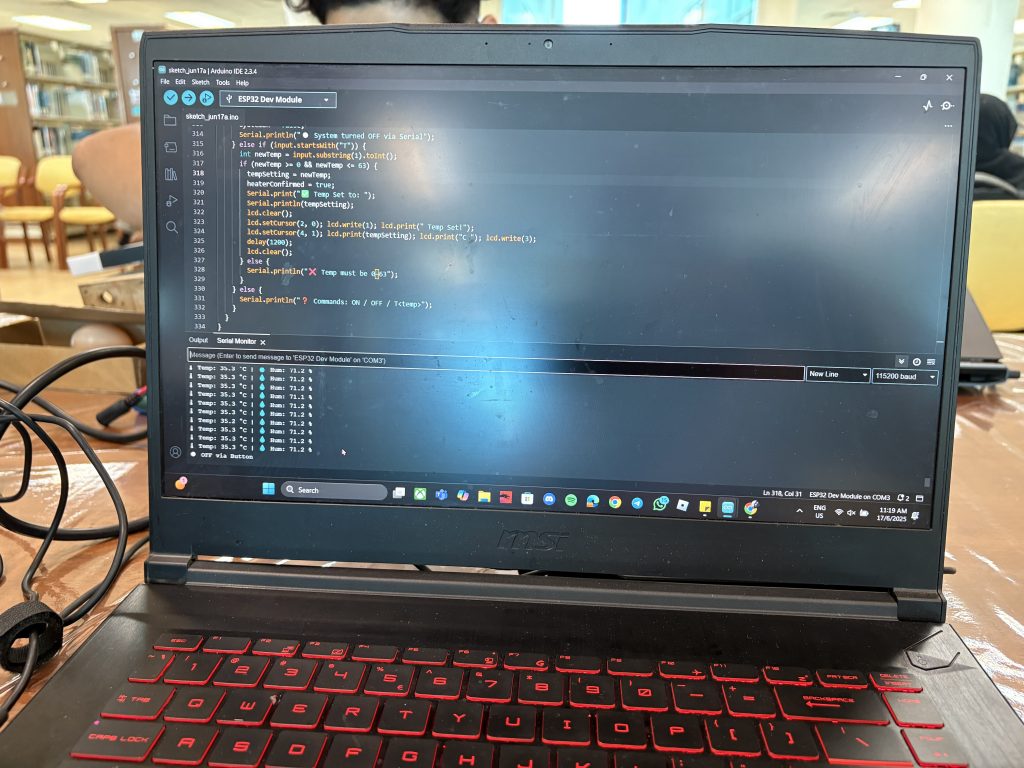
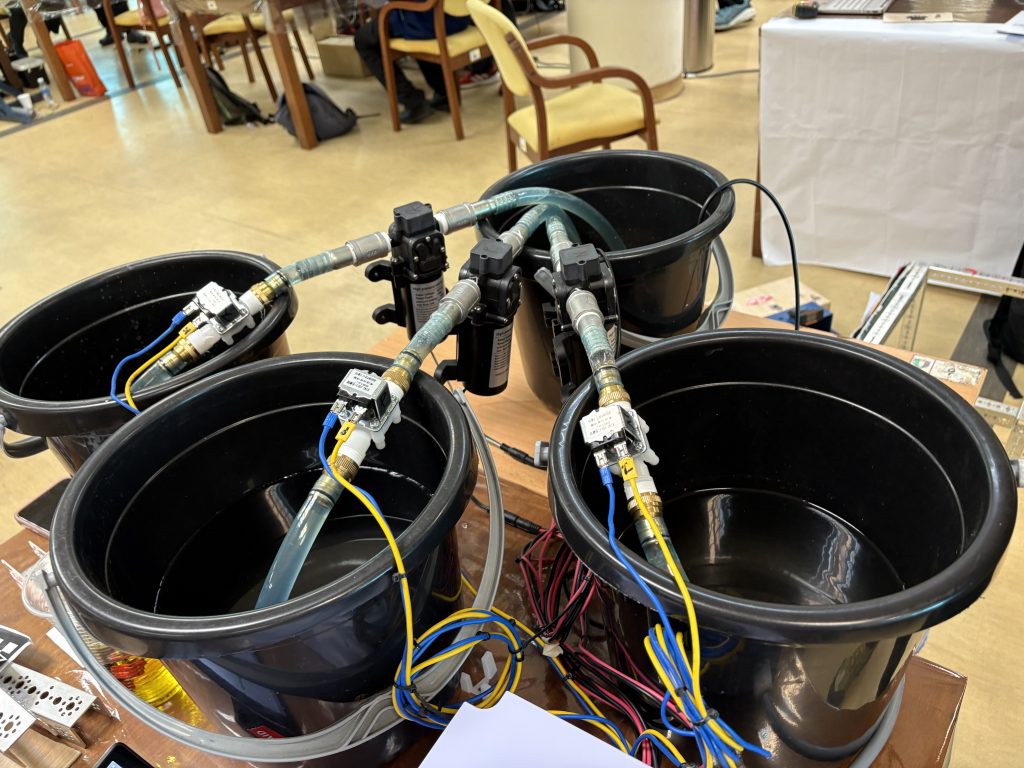
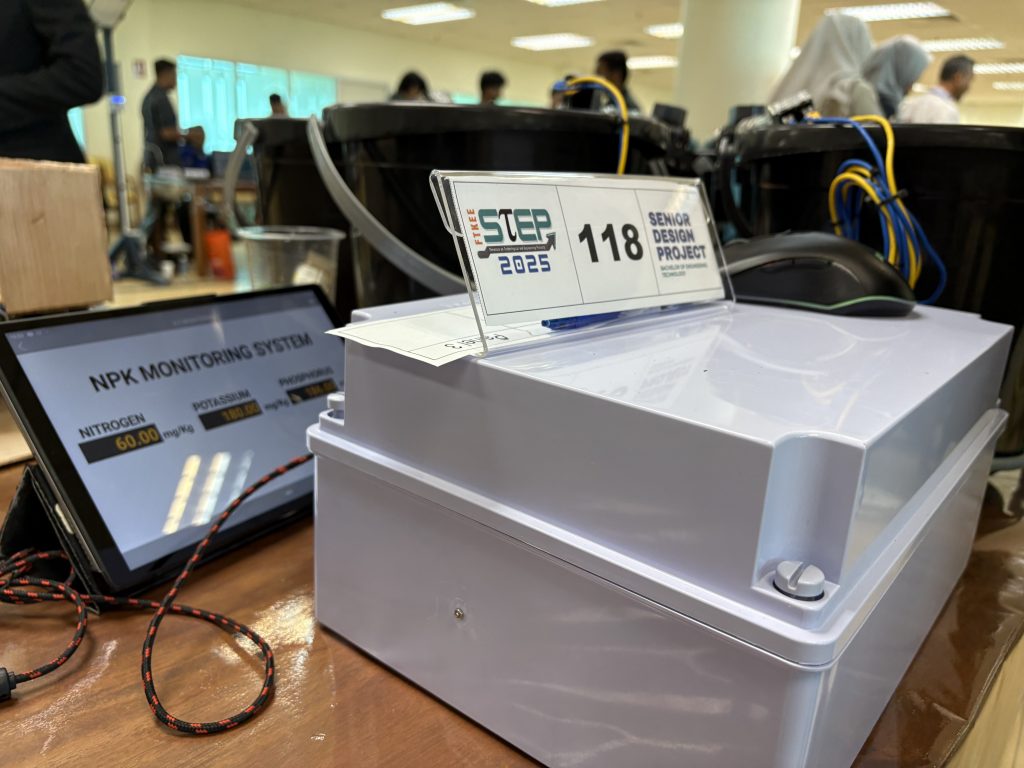
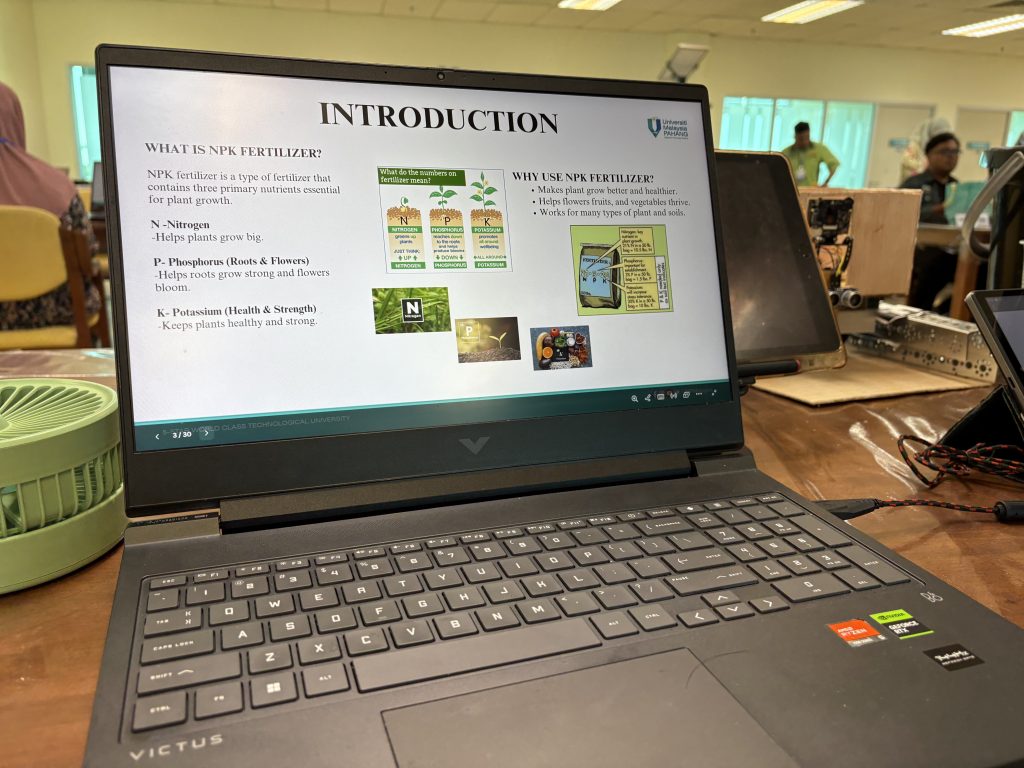
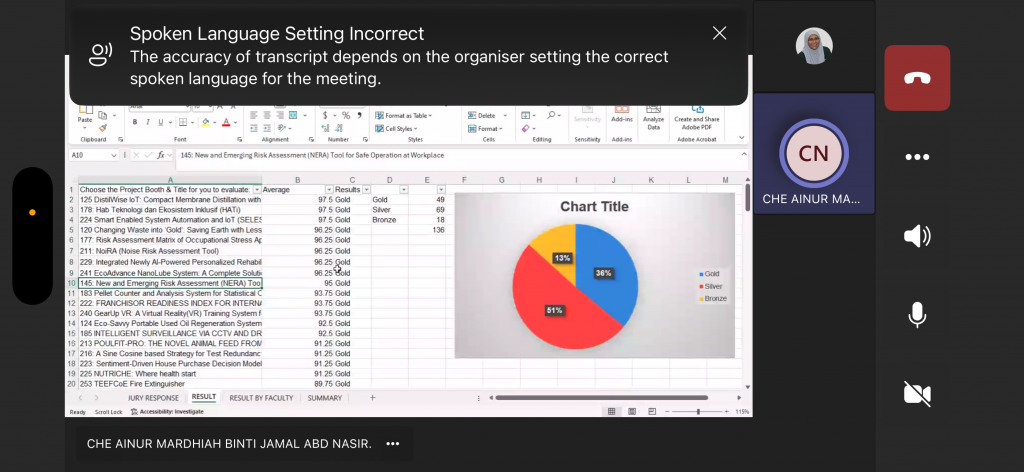
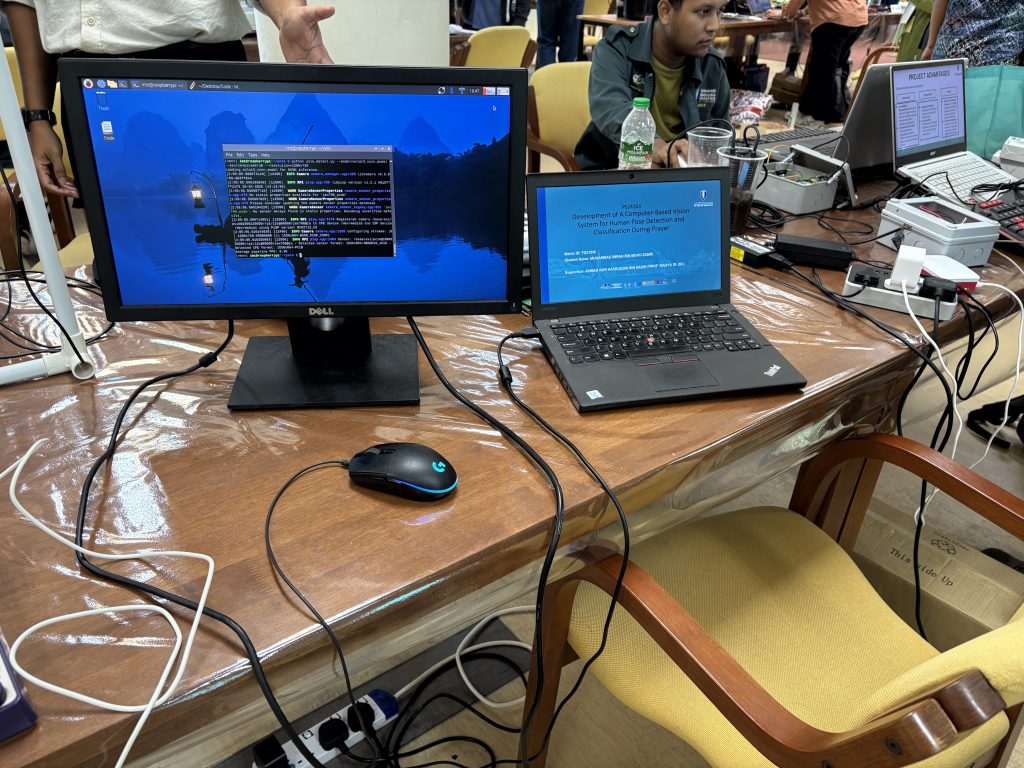
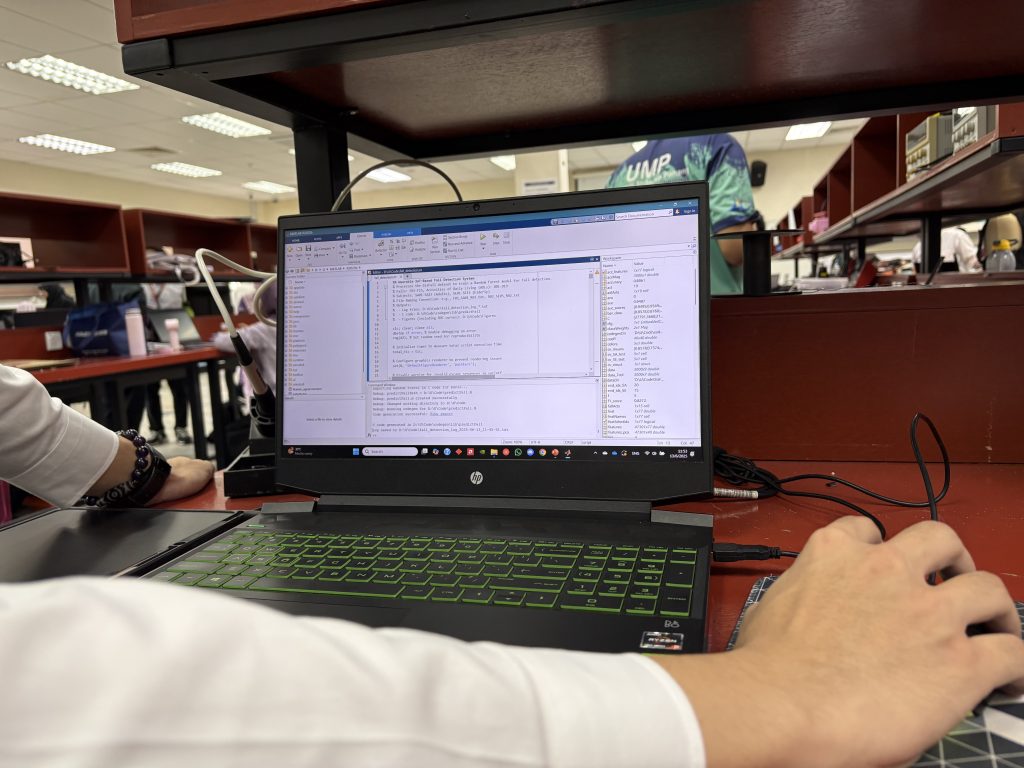
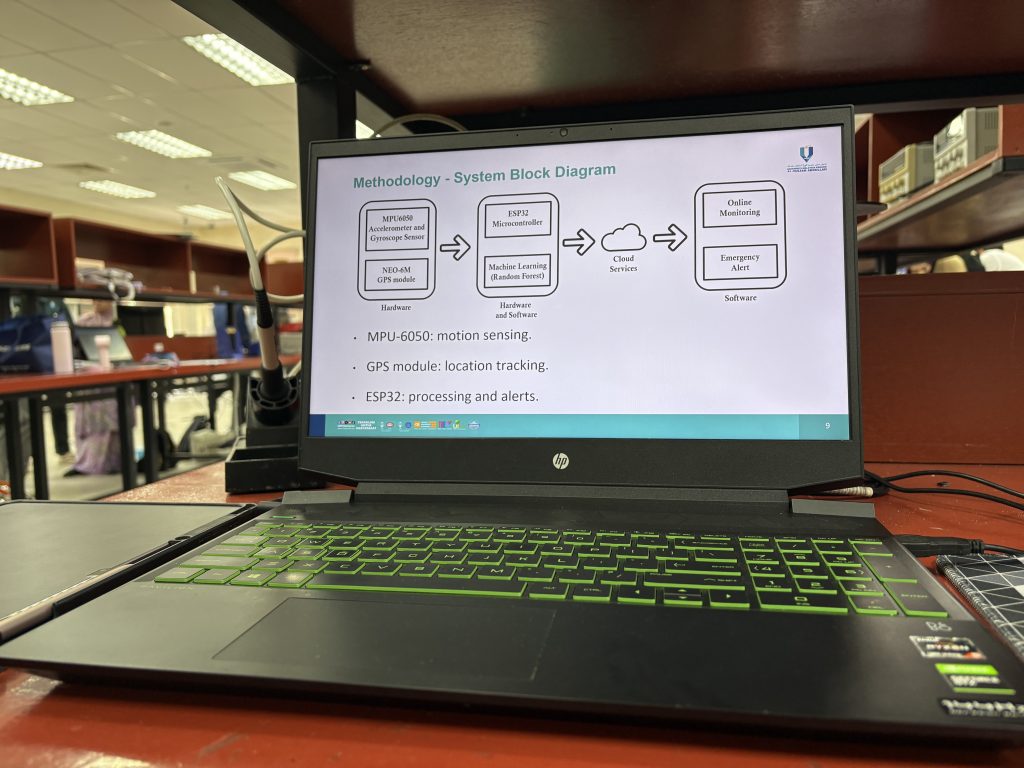
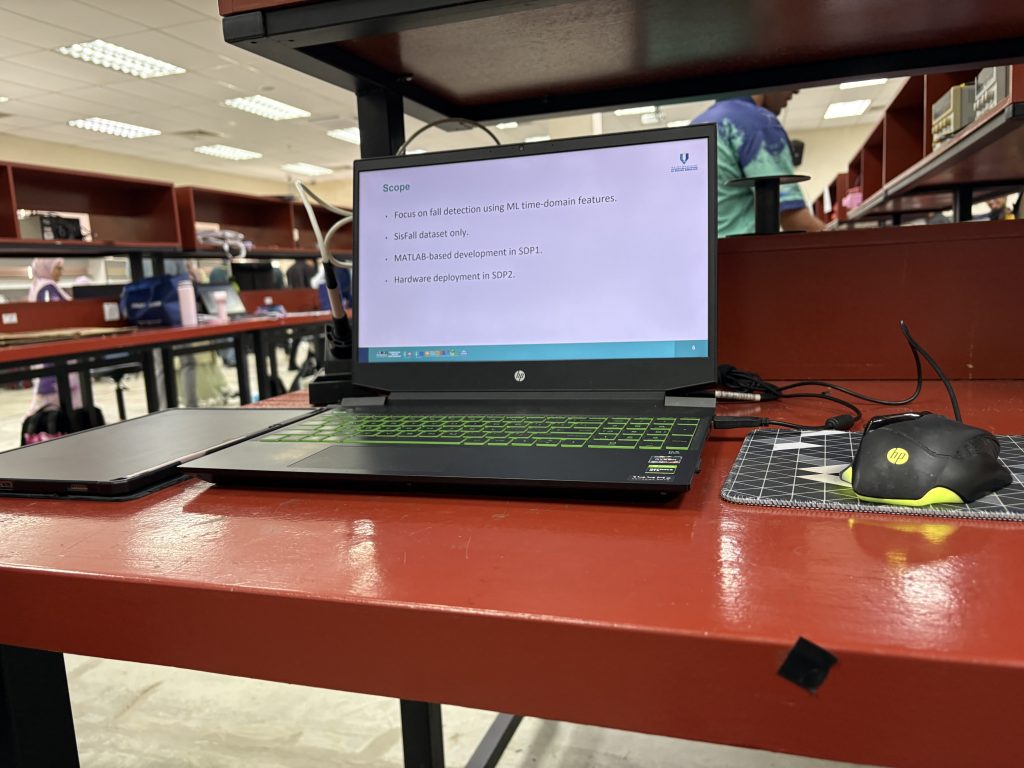
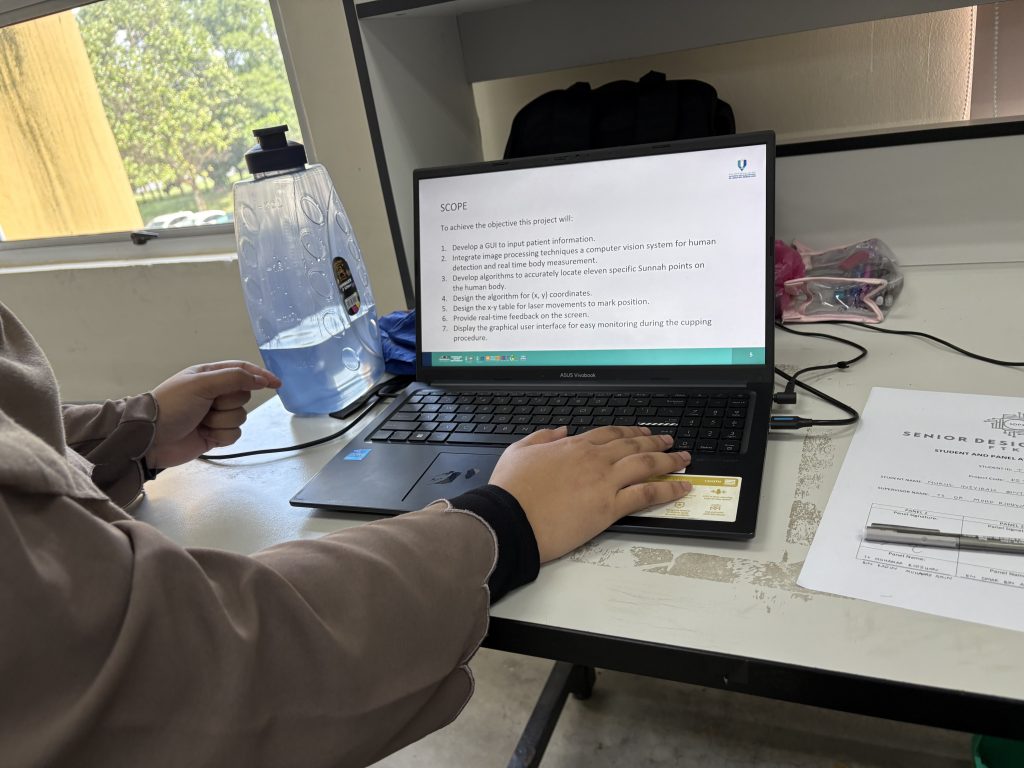
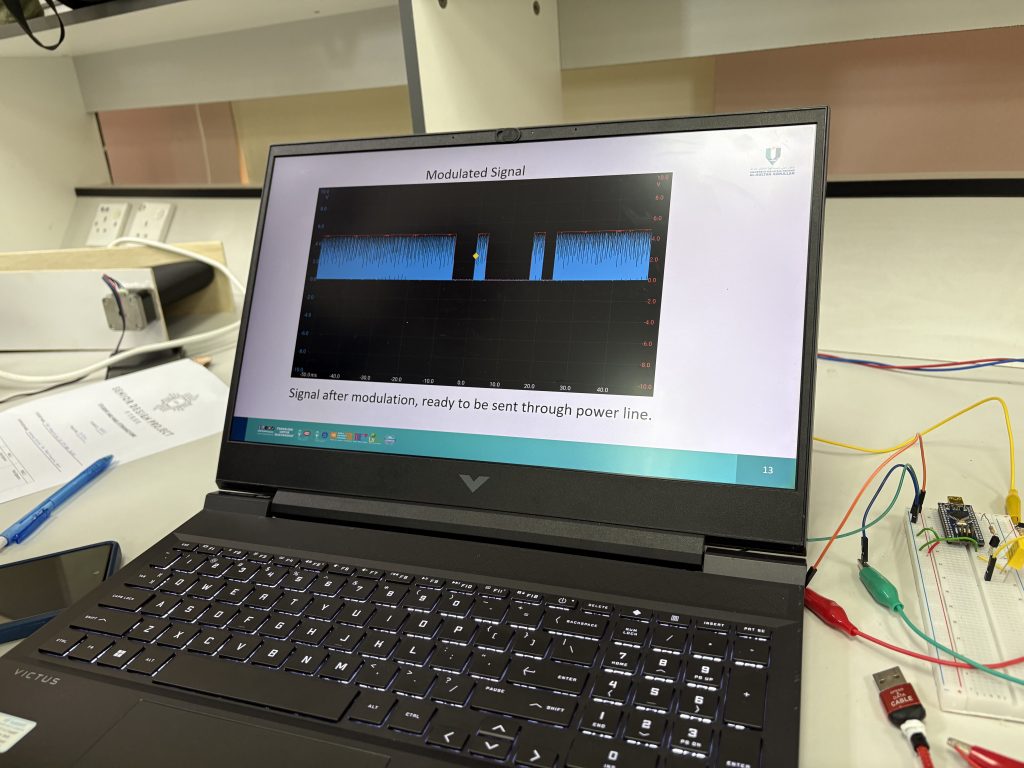
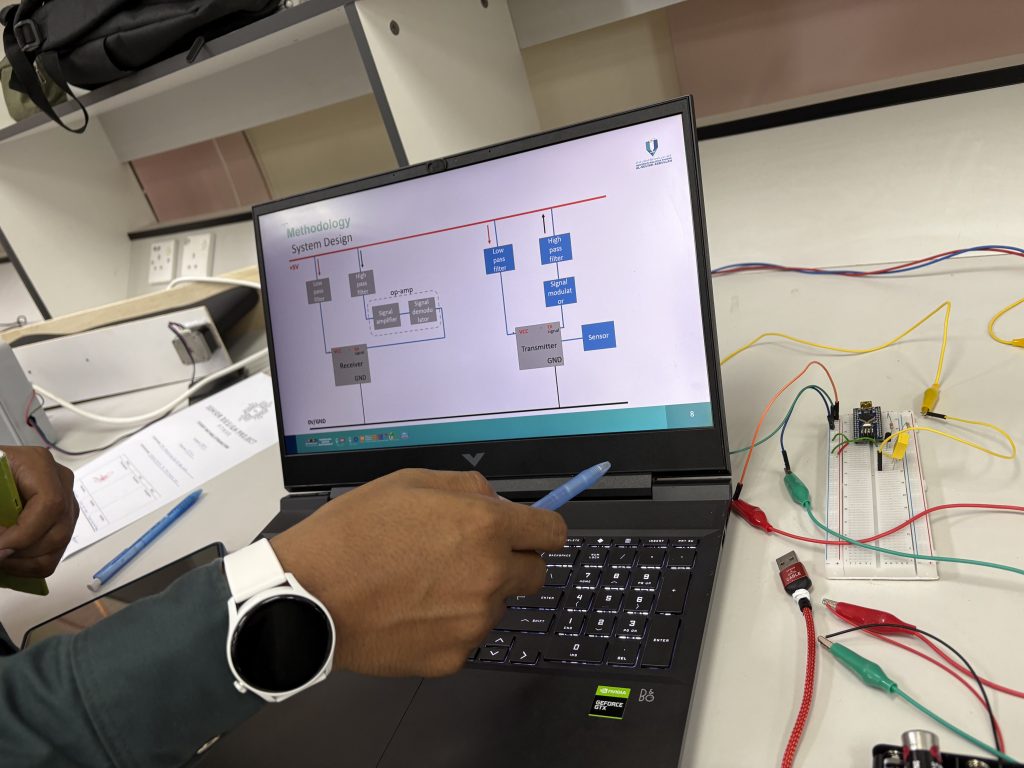
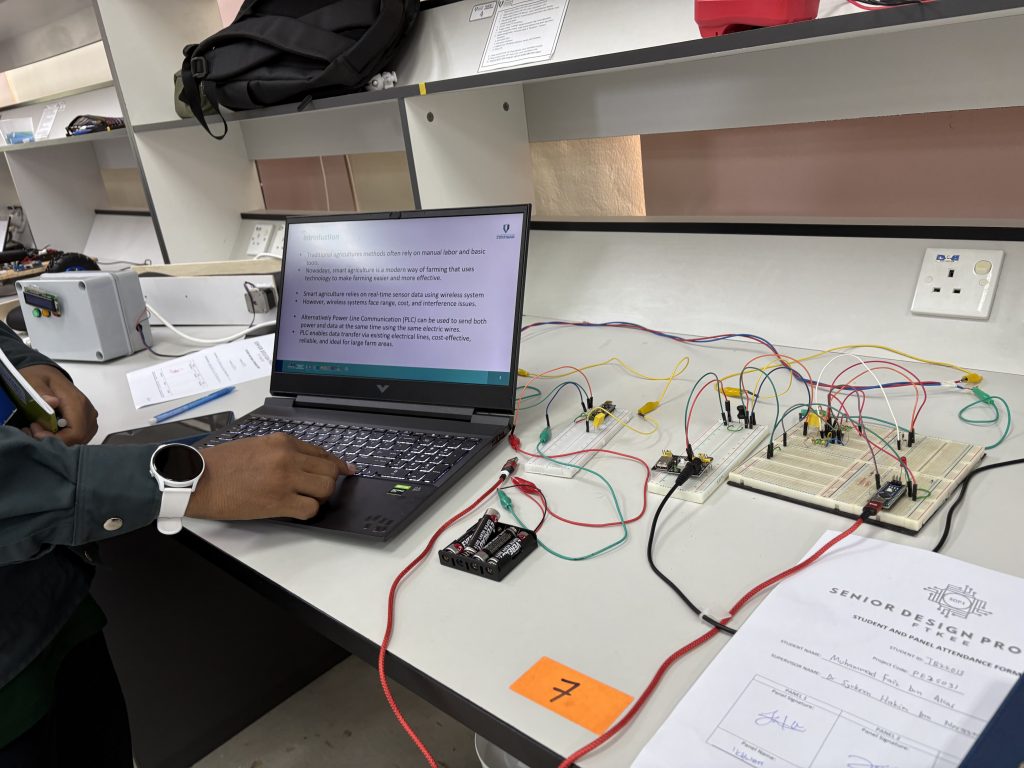
Seminar FYP dan SDP 2
Very2 well done


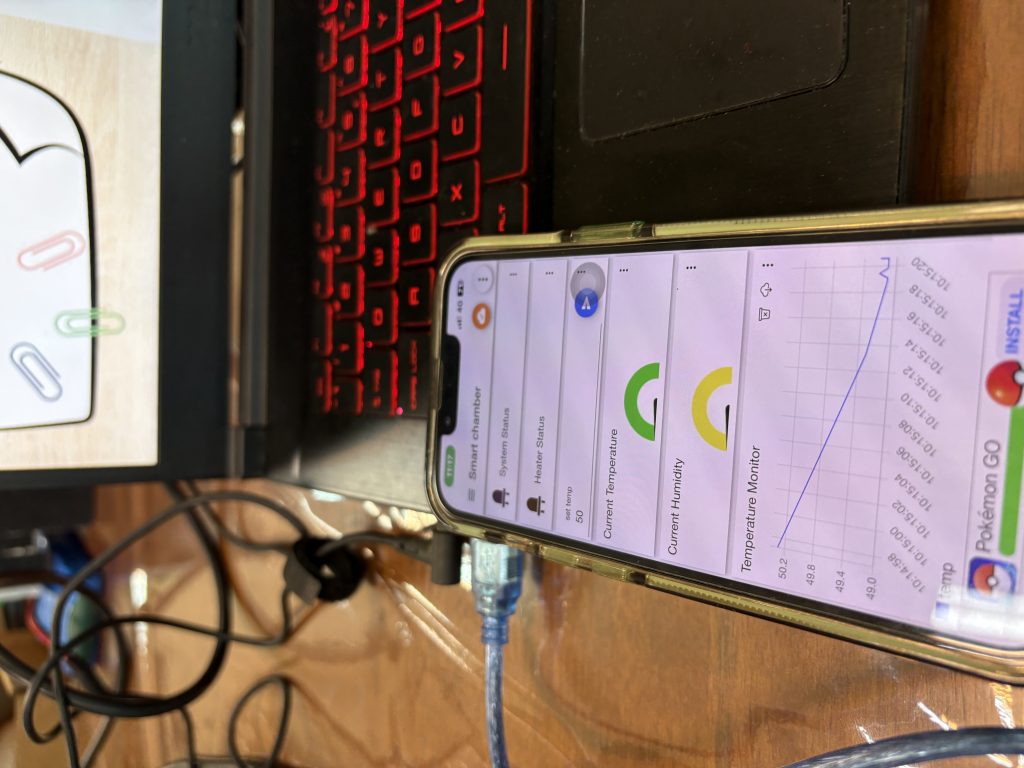

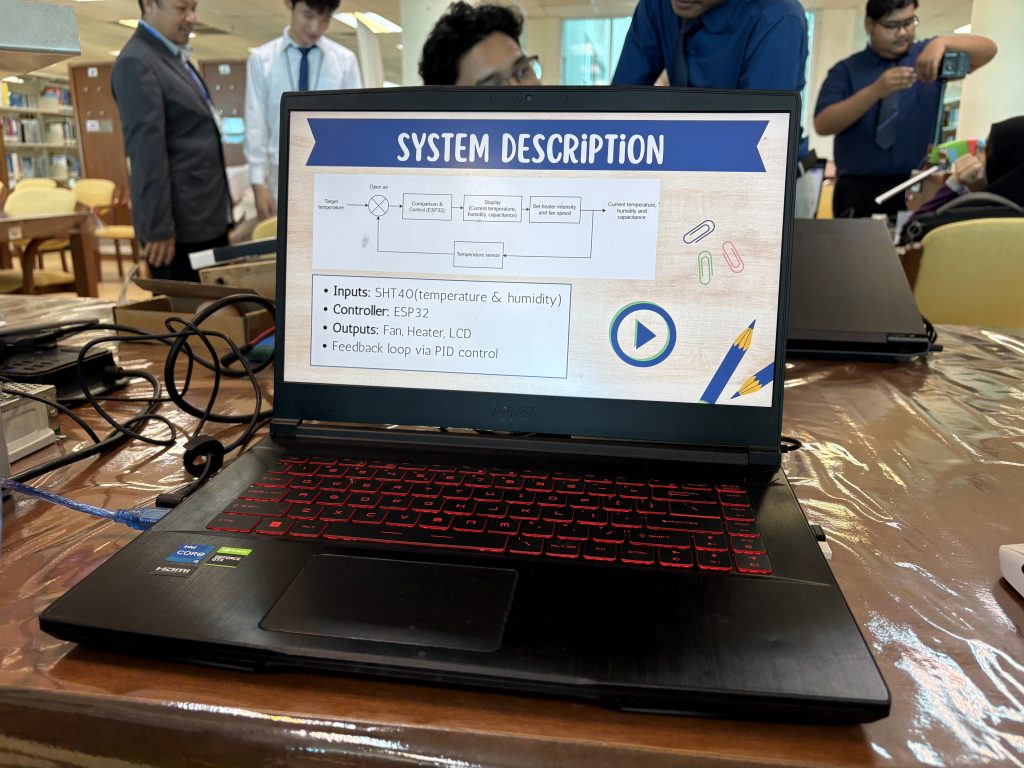
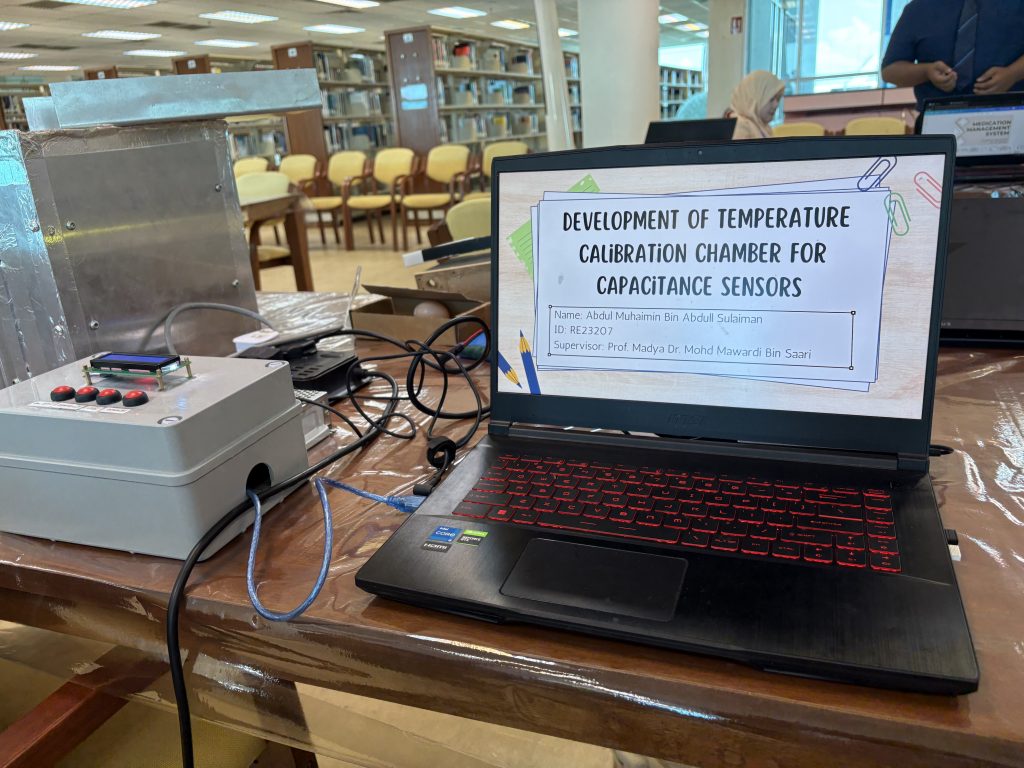


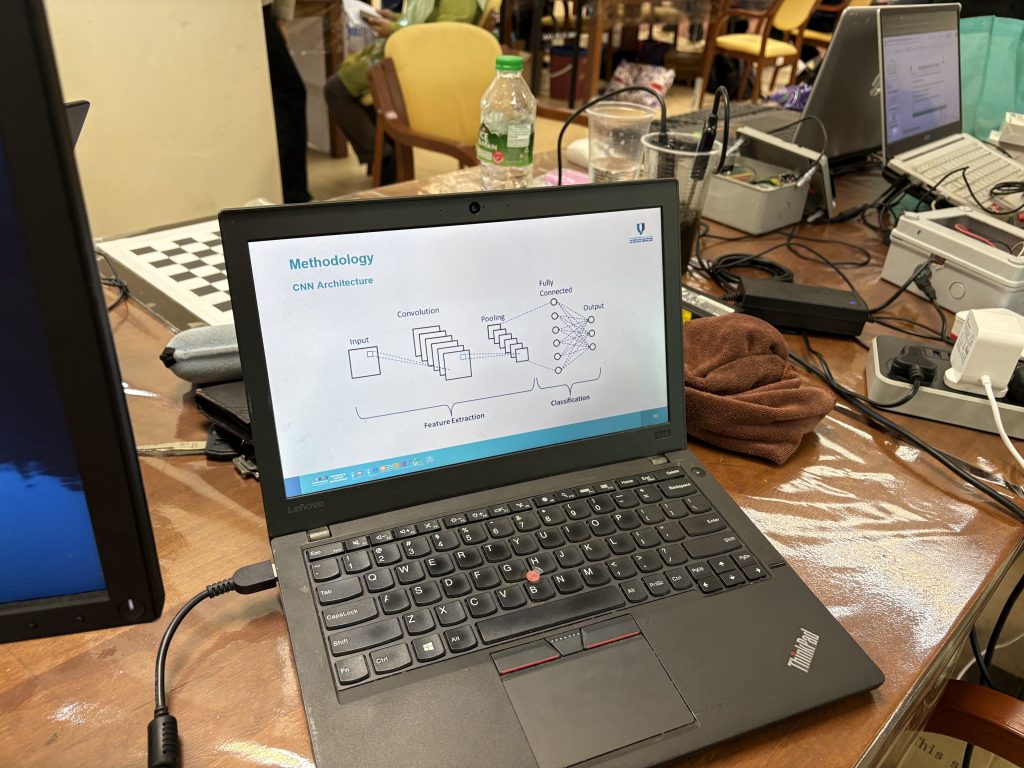
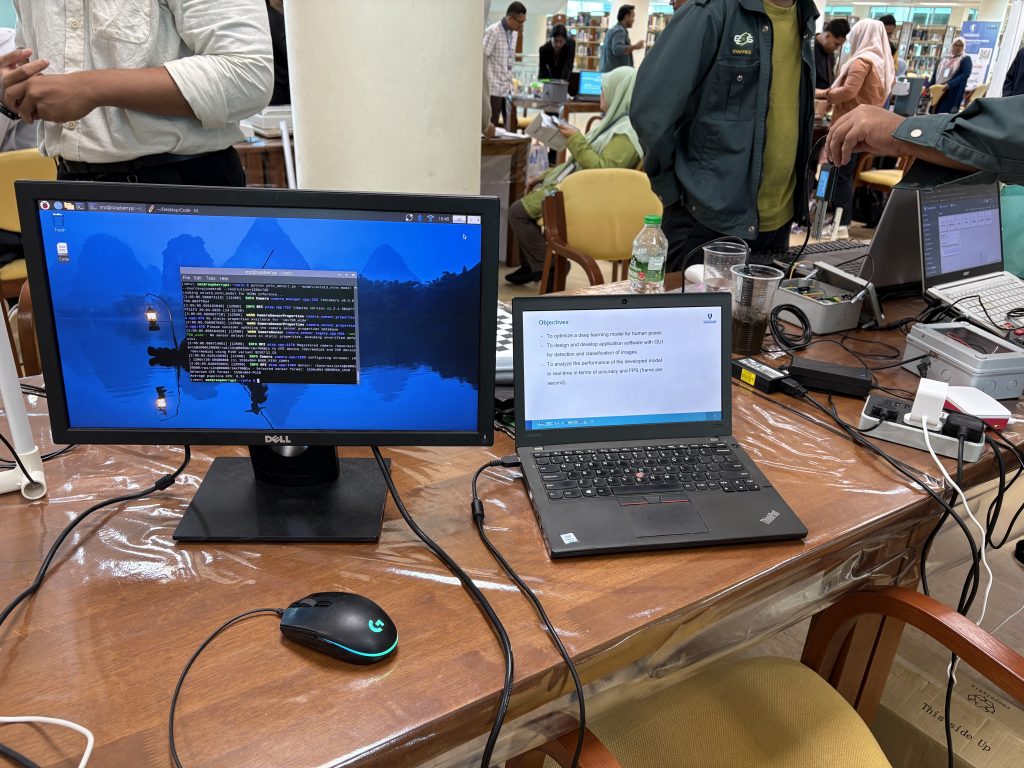
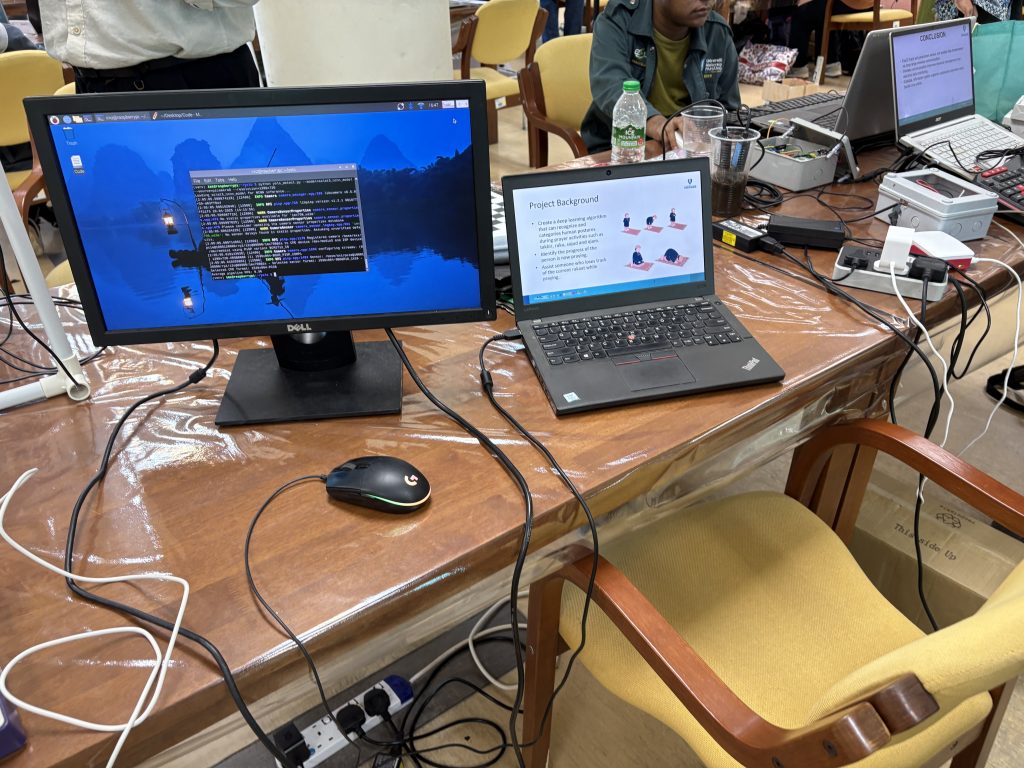
SDP 1 – Proposal Defense Seminar


Mesyuarat Fakulti June 2025


UMPSA Chumbaka Collaboration


